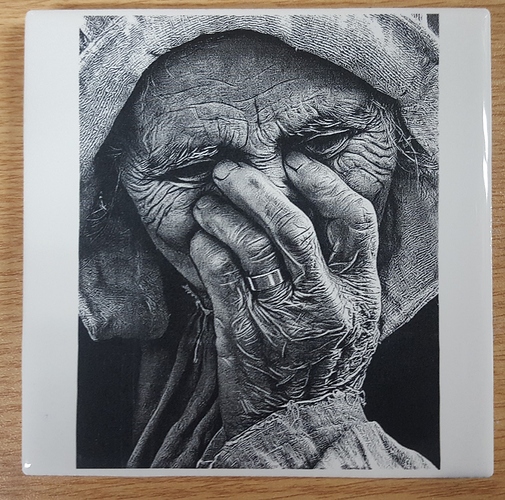
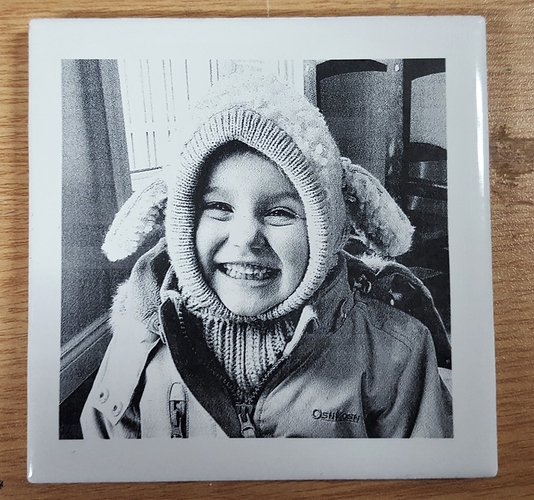
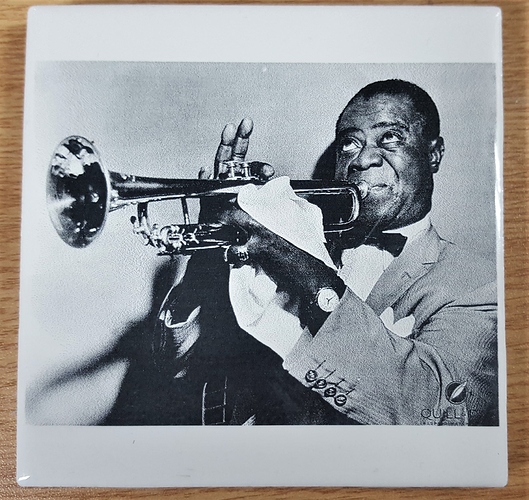
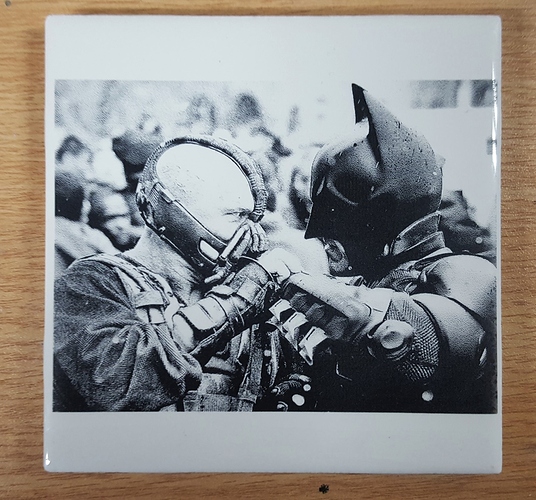
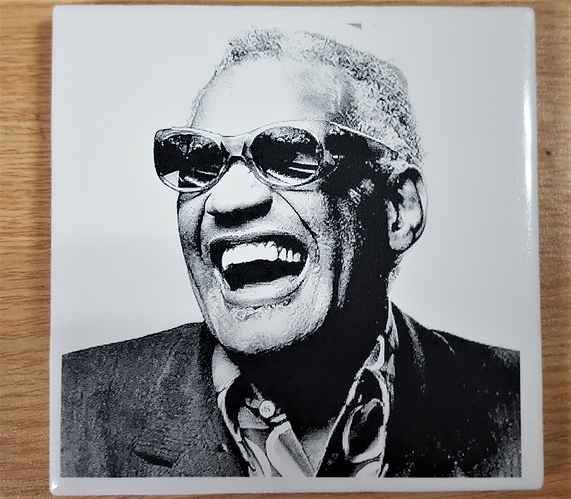
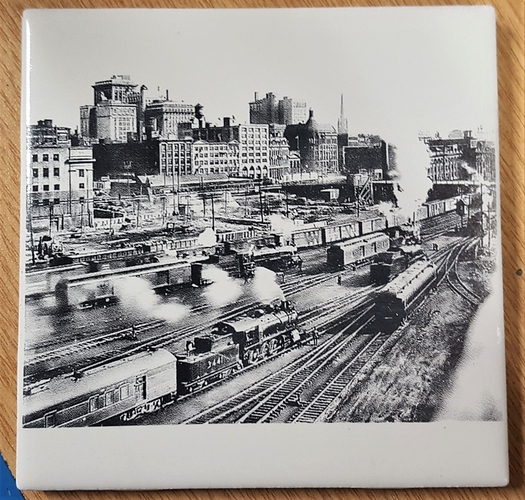
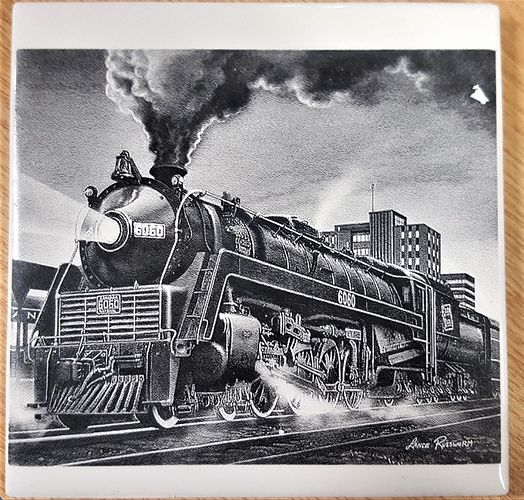
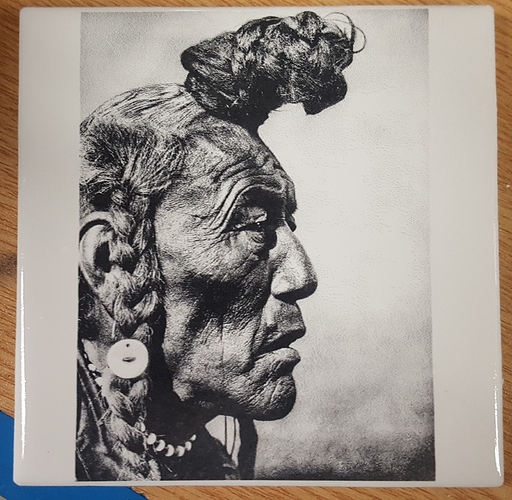
Wow, that’s fantastic. CONGRATULATIONS.
Could you give us any more details?
Thank you very much for sharing.
P.S.: What is the Norton method?
Wikipedia states:
Norton’s theorem holds, to illustrate in DC circuit theory terms: Any linear electrical network with voltage and current sources and only resistances can be replaced at terminals A–B by an equivalent current source Iₙₒ in parallel connection with an equivalent resistance Rₙₒ.
I don’t think this applies here.
There’s a YouTube video:
and an LB post:
I see in the video that the output is halftone image, which provides for pretty good detail when done with the correct parameters. I can’t tell in Bulldog’s images if they are halftone, and may not be, as other types of dithering, including those built into Lightburn can generate good results.
The Norton method appears to focus on spray painting black tile with white paint. I’ve done white landscaping rocks with black paint and black rocks with white paint to get clear line images.
Some tiles will engrave well with detail, without extra surface treatment, but it’s one of those test situations for that. The paint method will give consistent results without gamble.
All my videos methods etc are on this forum…https://www.facebook.com/groups/107222596696733/
The “Norton Tile Method” is painting white tile flat white
Once engraved ALL paint is removed with Lacquer thinner
The paint fuses to the tile
Can;t remove even with a sander
Nortons method for etching white ceramic Tile or Glass or Cups or Plates(for Diode Laser)
NICKY NORTON·TUESDAY, MAY 14, 2019·
DO NOT USE AIR ASSIST…it will reduce “Blacks”
1…Prepare Photo with a photo Editor…(as per instructions in how to engrave photo)
2…set size of photo to size you will laser on tile
3…set DPI to around 300
4…clean white tile with Lacquer thinner
5…paint tile / Glass Flat White…allow to dry (one light coating should do)
6…fine focus Laser beam
7…pick Image Mode to use ( I prefer Jarvis Dither and have had some success with Stucki Dither…Available with LightBurn software…this preference takes some trial runs and documentation …If Familiar with Sean Murray.s script…select “pass through”
8…for my 2.5 watt diode…speed 1200 mm/min…power 85% (my S-value in LightBurn =255) Line Interval = 0.085
9 takes approximately 50-70 minutes to complete
10…clean off all paint with Lacquer Thinner…
11…place felt pads on bottom to prevent scratching
That.s not my Method…I have no association with Thunder Laser…it that video they paint a white tile Black…and laser off the black paint with an inverted image…
Fantastic, thanks for sharing… 

@Bulldog, that’s an important distinction. Thanks for sharing the details, as some of us aren’t spacebook users.
Been trying to do this on a ortur master and it’s coming out ok but dont seem to get quite as much detail as yours. Is there anyway you can send me the batman photo so I can try buring it
@Johnboyjr all my stuff files etc are here
https://www.facebook.com/groups/522775308373490/
I thought they painted a black tile white?
How long do these normally take to print?
1-2 hours…
do you know of anyone doing this with a CO2 laser?
dozens,
where can I get an idea of a starting point?
on my FB page one member posted this…
My stock k40 I got good results with 75mm/s, 5ma or 13%ish, no air assist, and in meerk40t raster steps 2 over scan 0
Thanks for the very informative answer, I have found literally hundreds of videos and explanations of this process using diode lasers, however videos achieving the same results with a co2 laser lack any information (type of paint to use speed and power settings) nevermind finding any sort of article explaining the process for co2 lasers.
