It’s supper hard to achieve a diode laser burn quality with a CO2.
The images above were Created at a 2 watt output. A 100 Watt CO2 laser will not fire at that low of an output. Additionally the wavelength of a diode laser is different then that of a CO2.
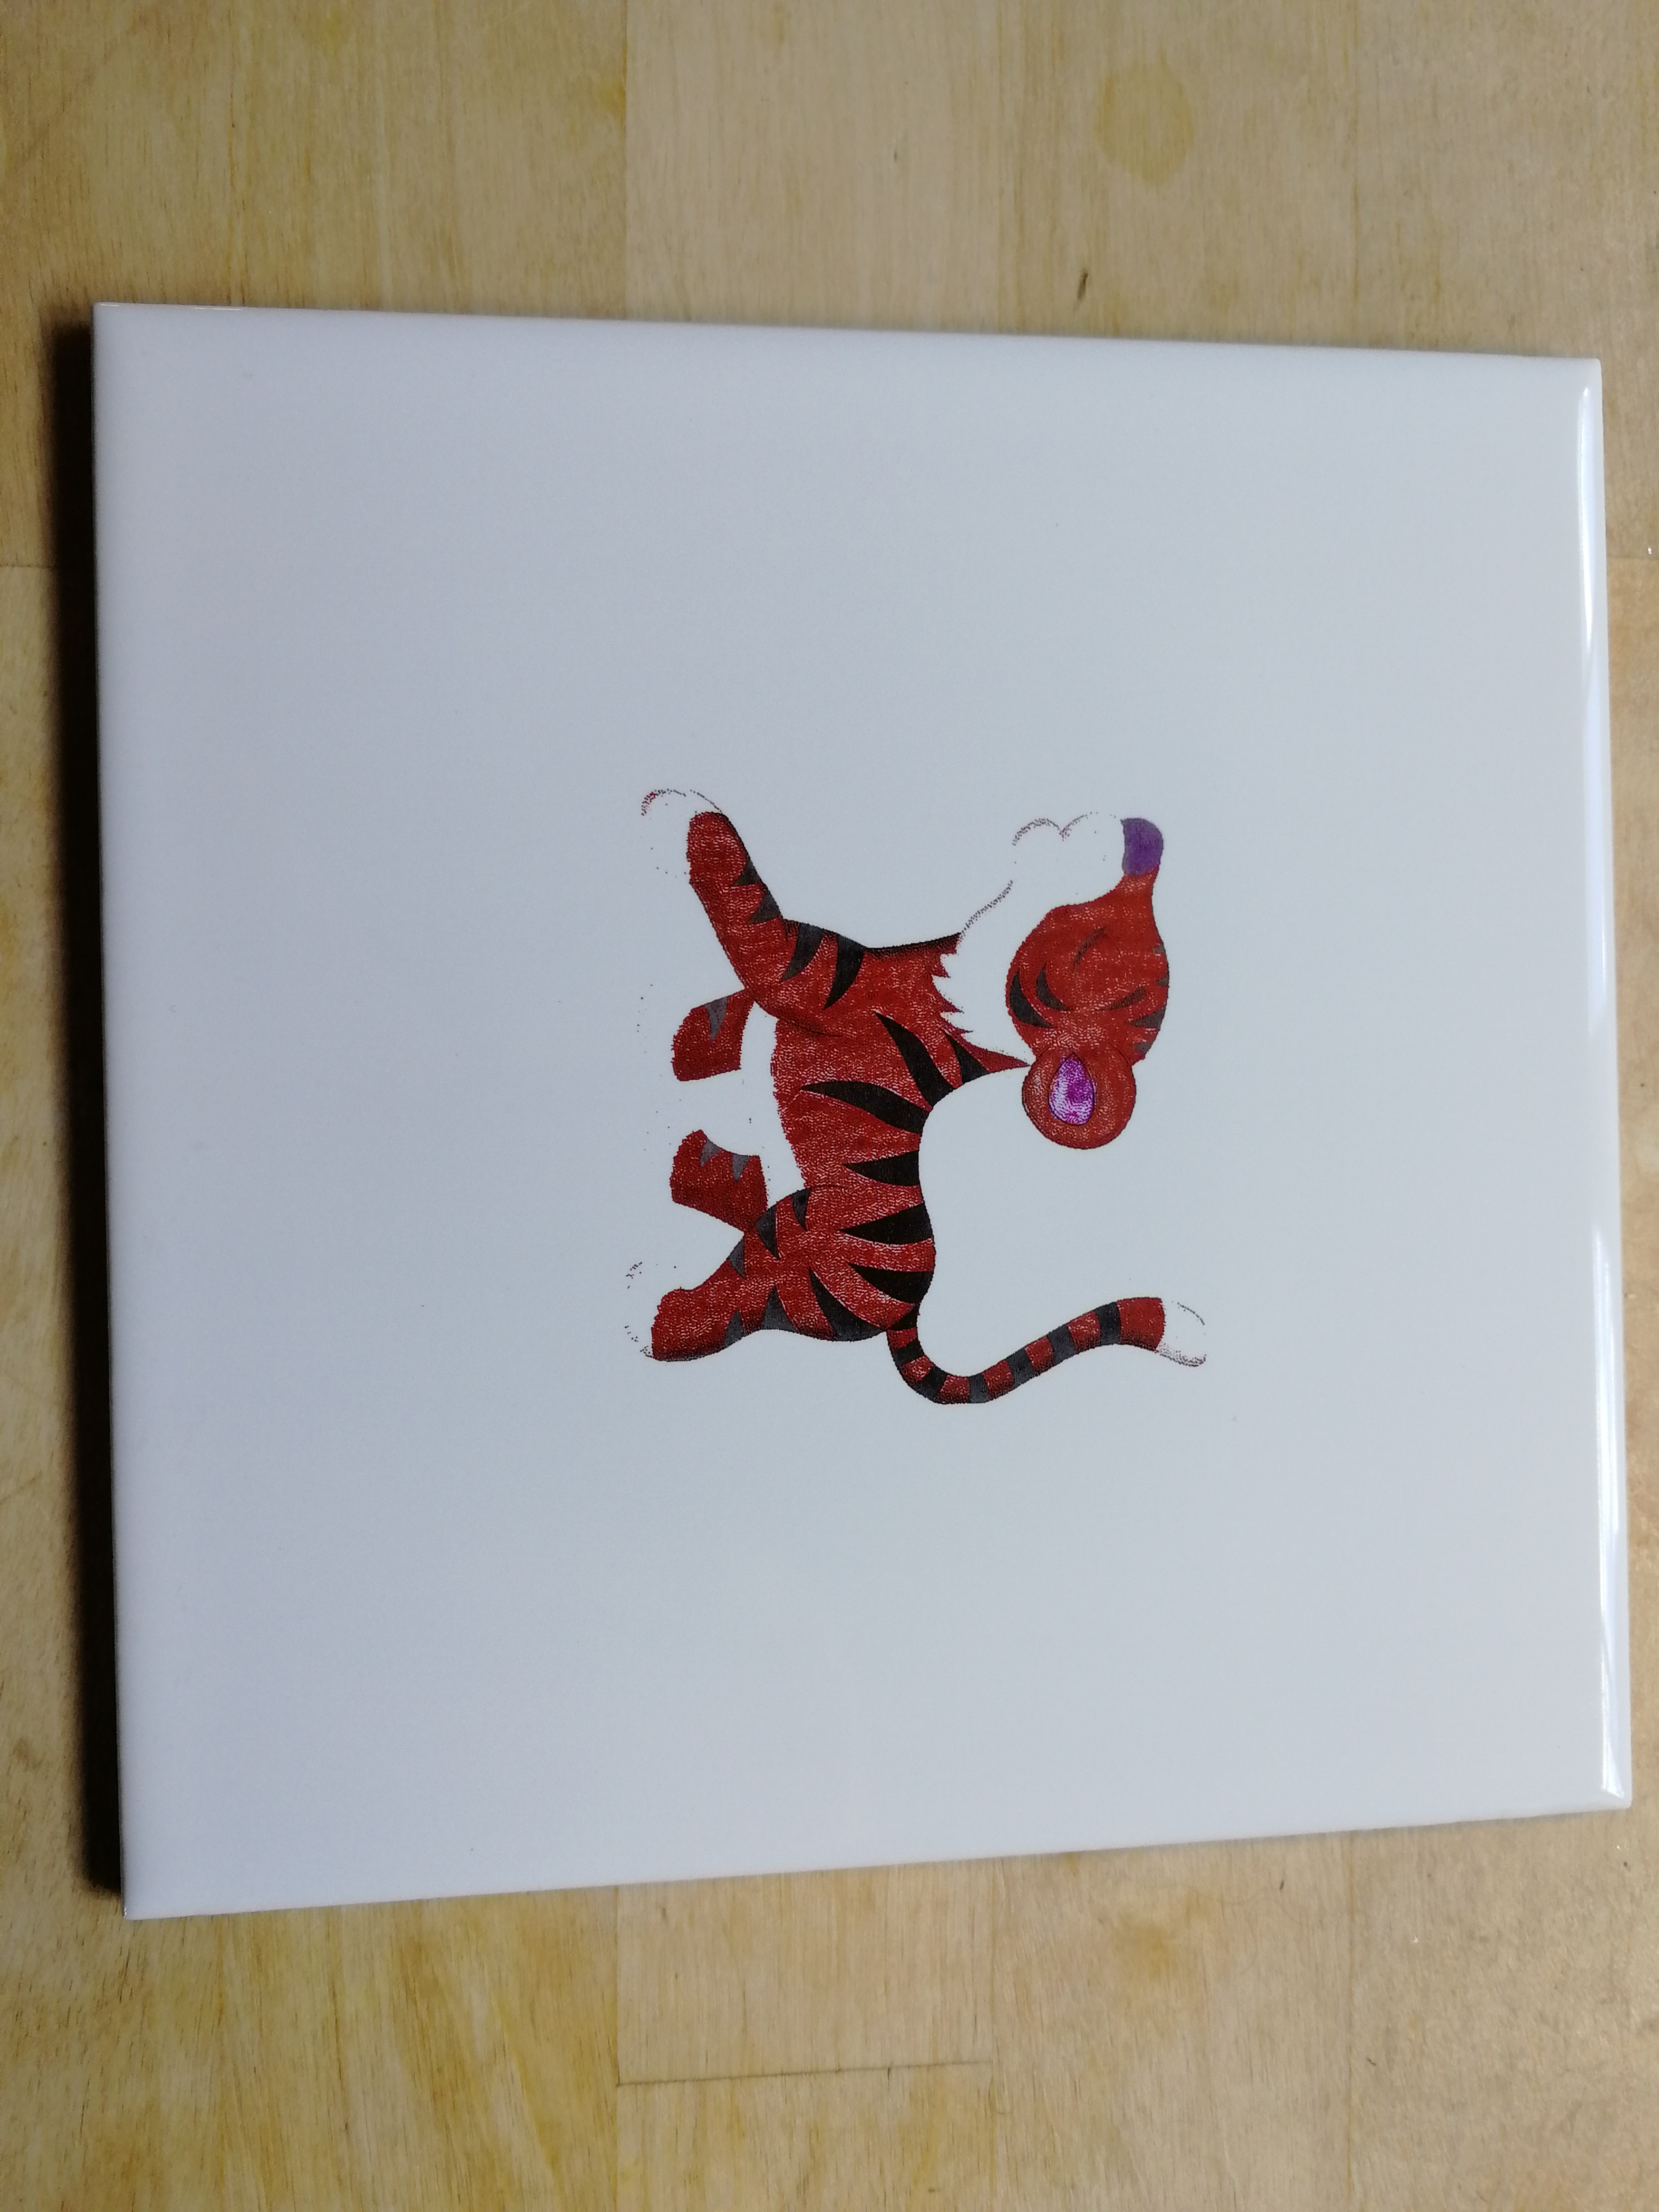
If you are using sharpies, you’ve burned through the vitreous layer to expose the ceramic underneath. That’s not ‘the norton method‘, which fuses the paint to the vitreous layer.
I have seen that vid and it is exactly my method to date.
I note that Bonjour, in his comment above, suggested that I was not using the Norton method as I had attempted to colour the engraving with a sharpie. I didnt understand this comment as I have followed the Norton method and AFTER this is completed I then colour the tile with a sharpie to produce the coloured effects.
It works to an extent but I cannot yet achieve a real ‘pop’ in my colours.
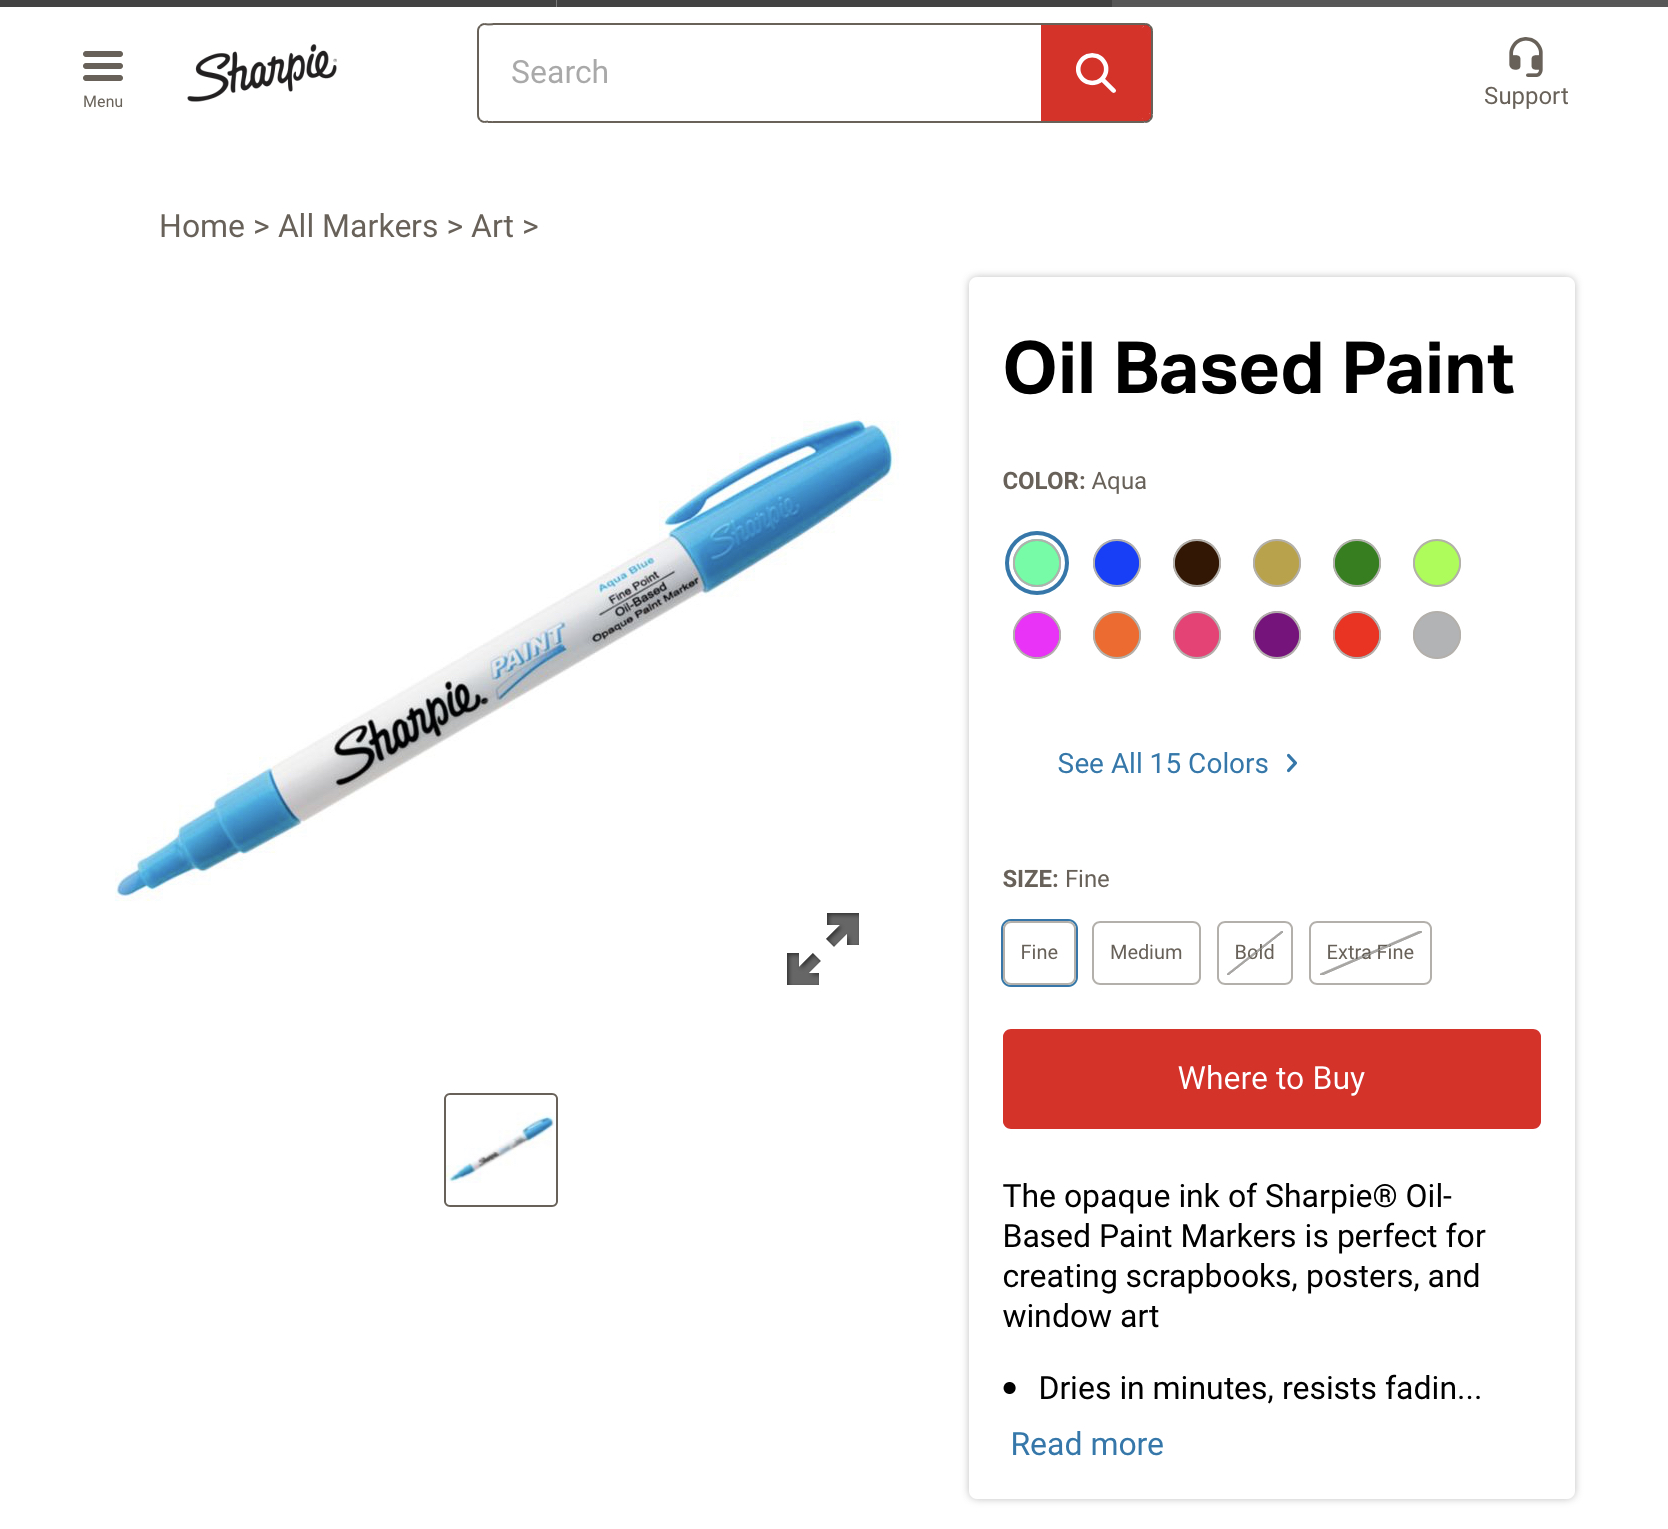
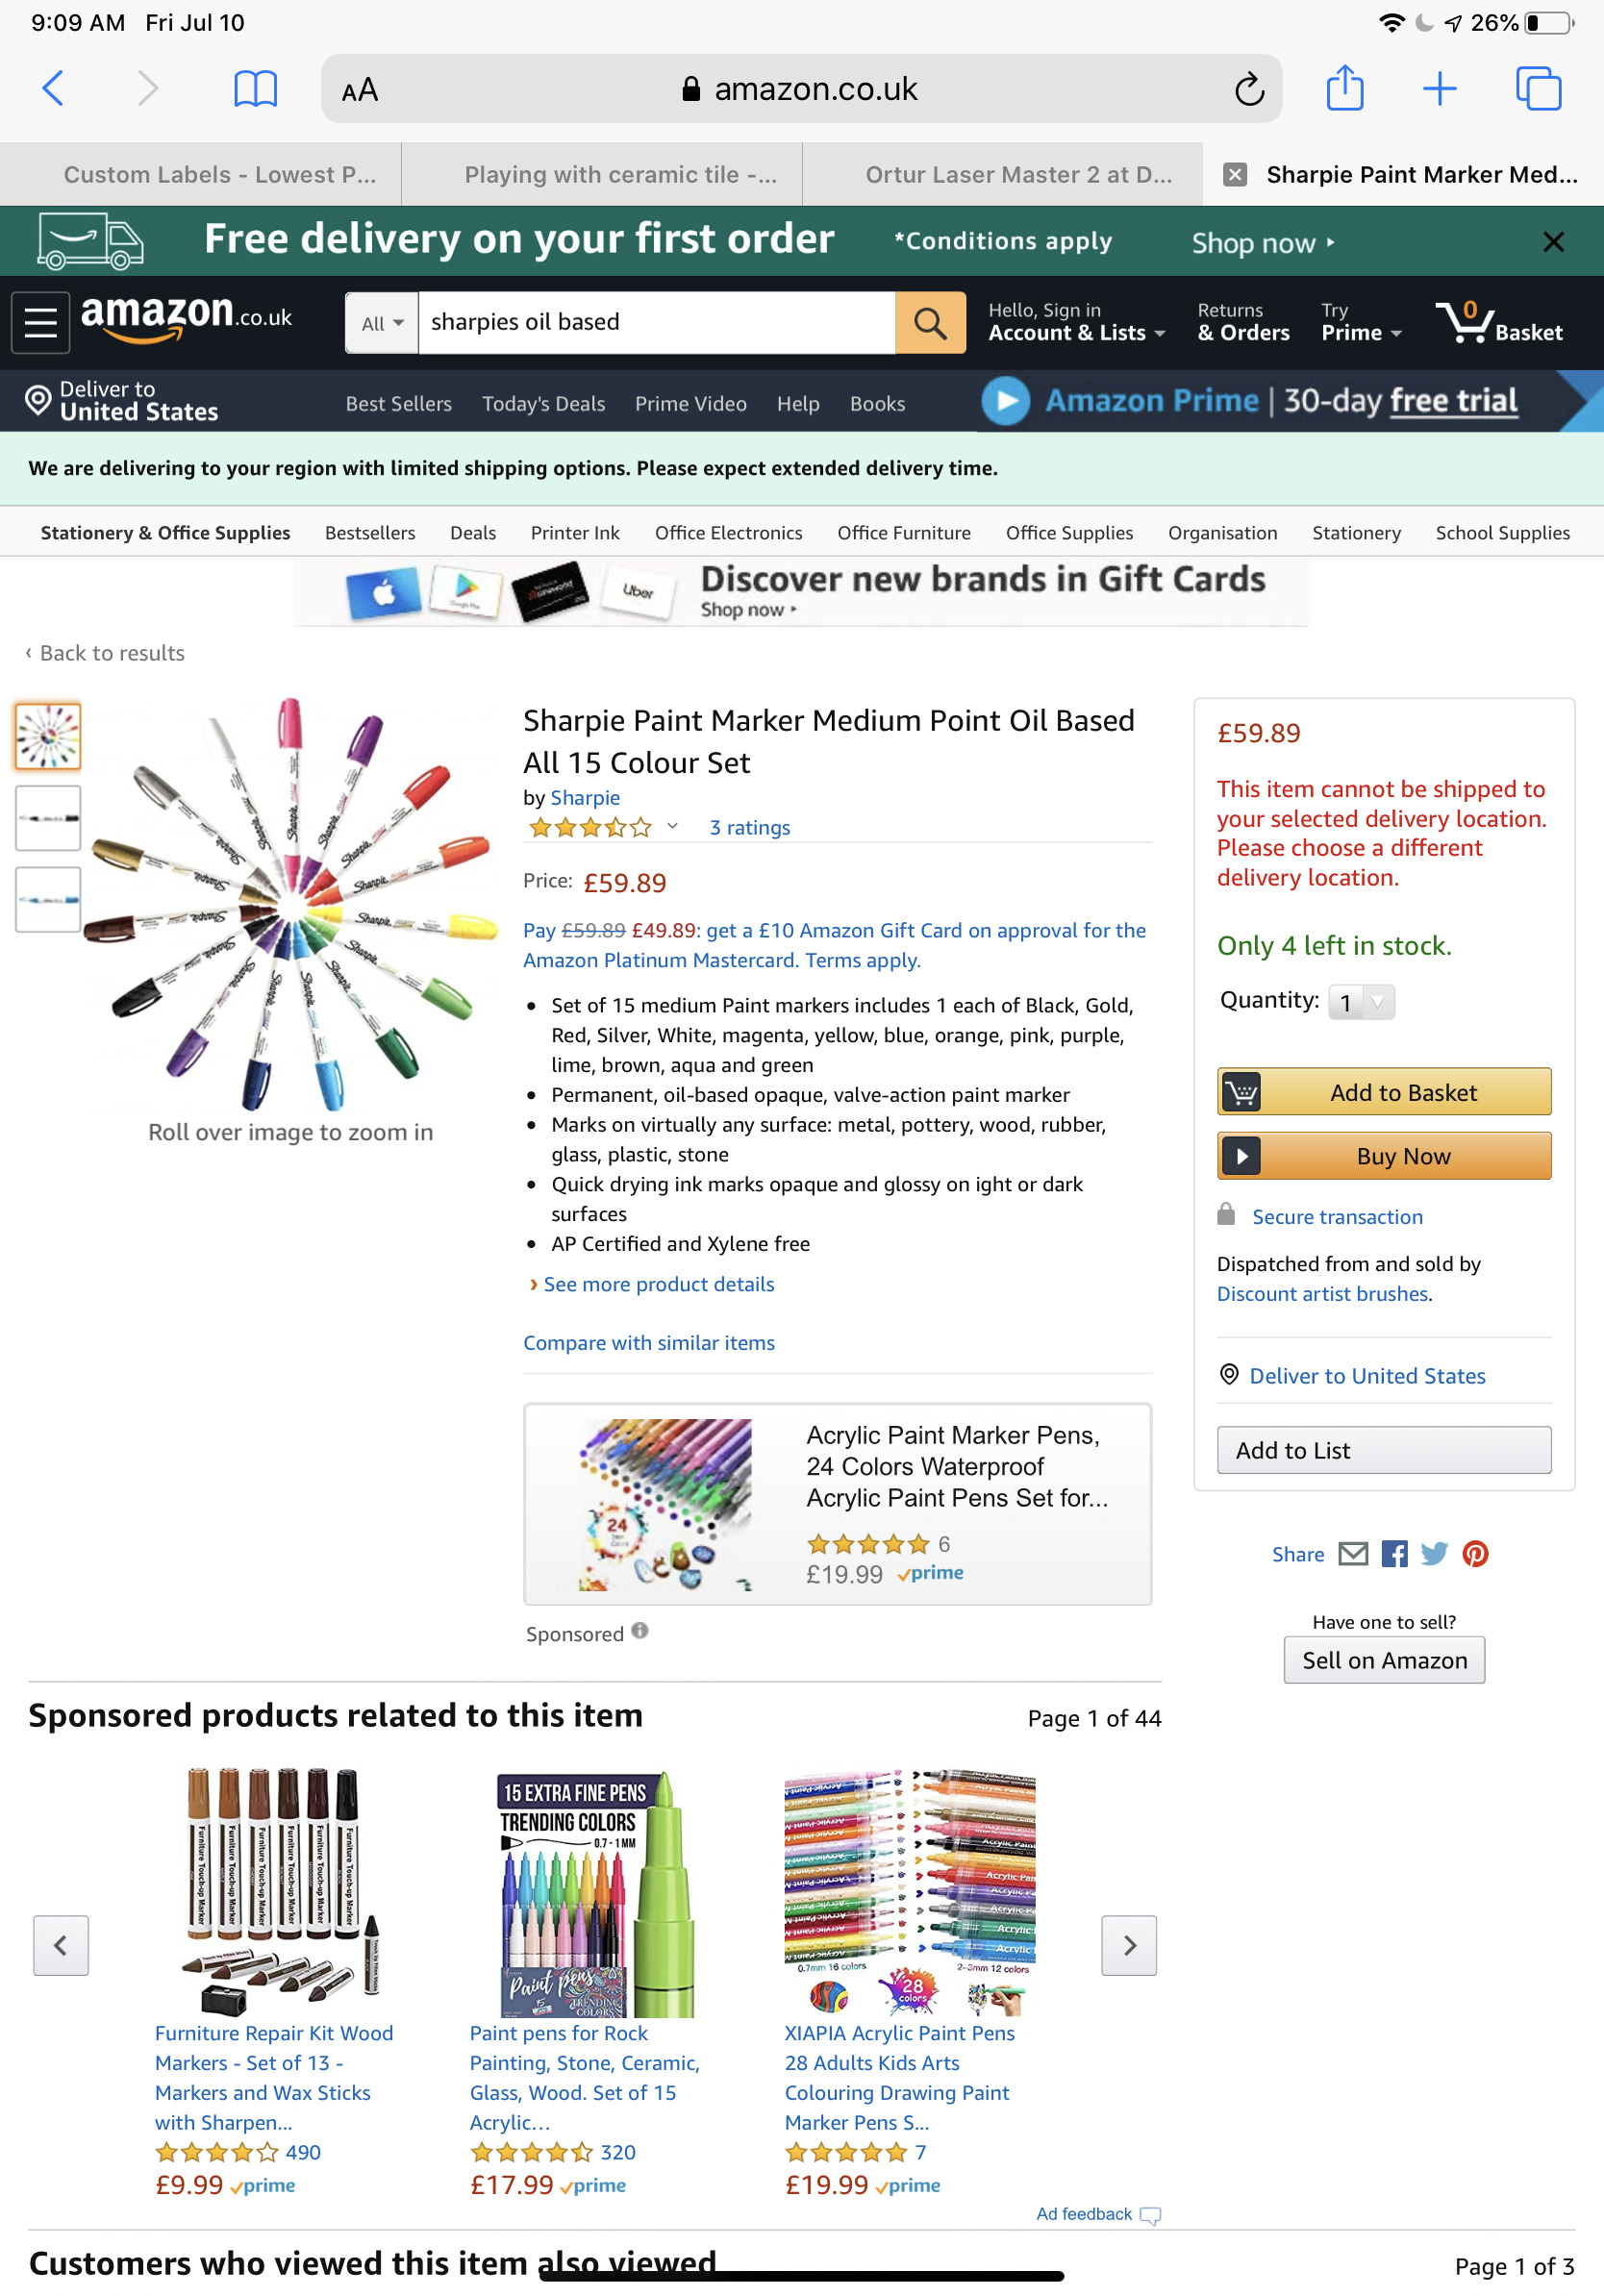
I like these oil based sharpies for coloring wood,glass, acrylic, tile, Leather, stone and metal hardware . The paint will not rub off and is waterproof. They are not opaque but in the right application they can’t be beat.
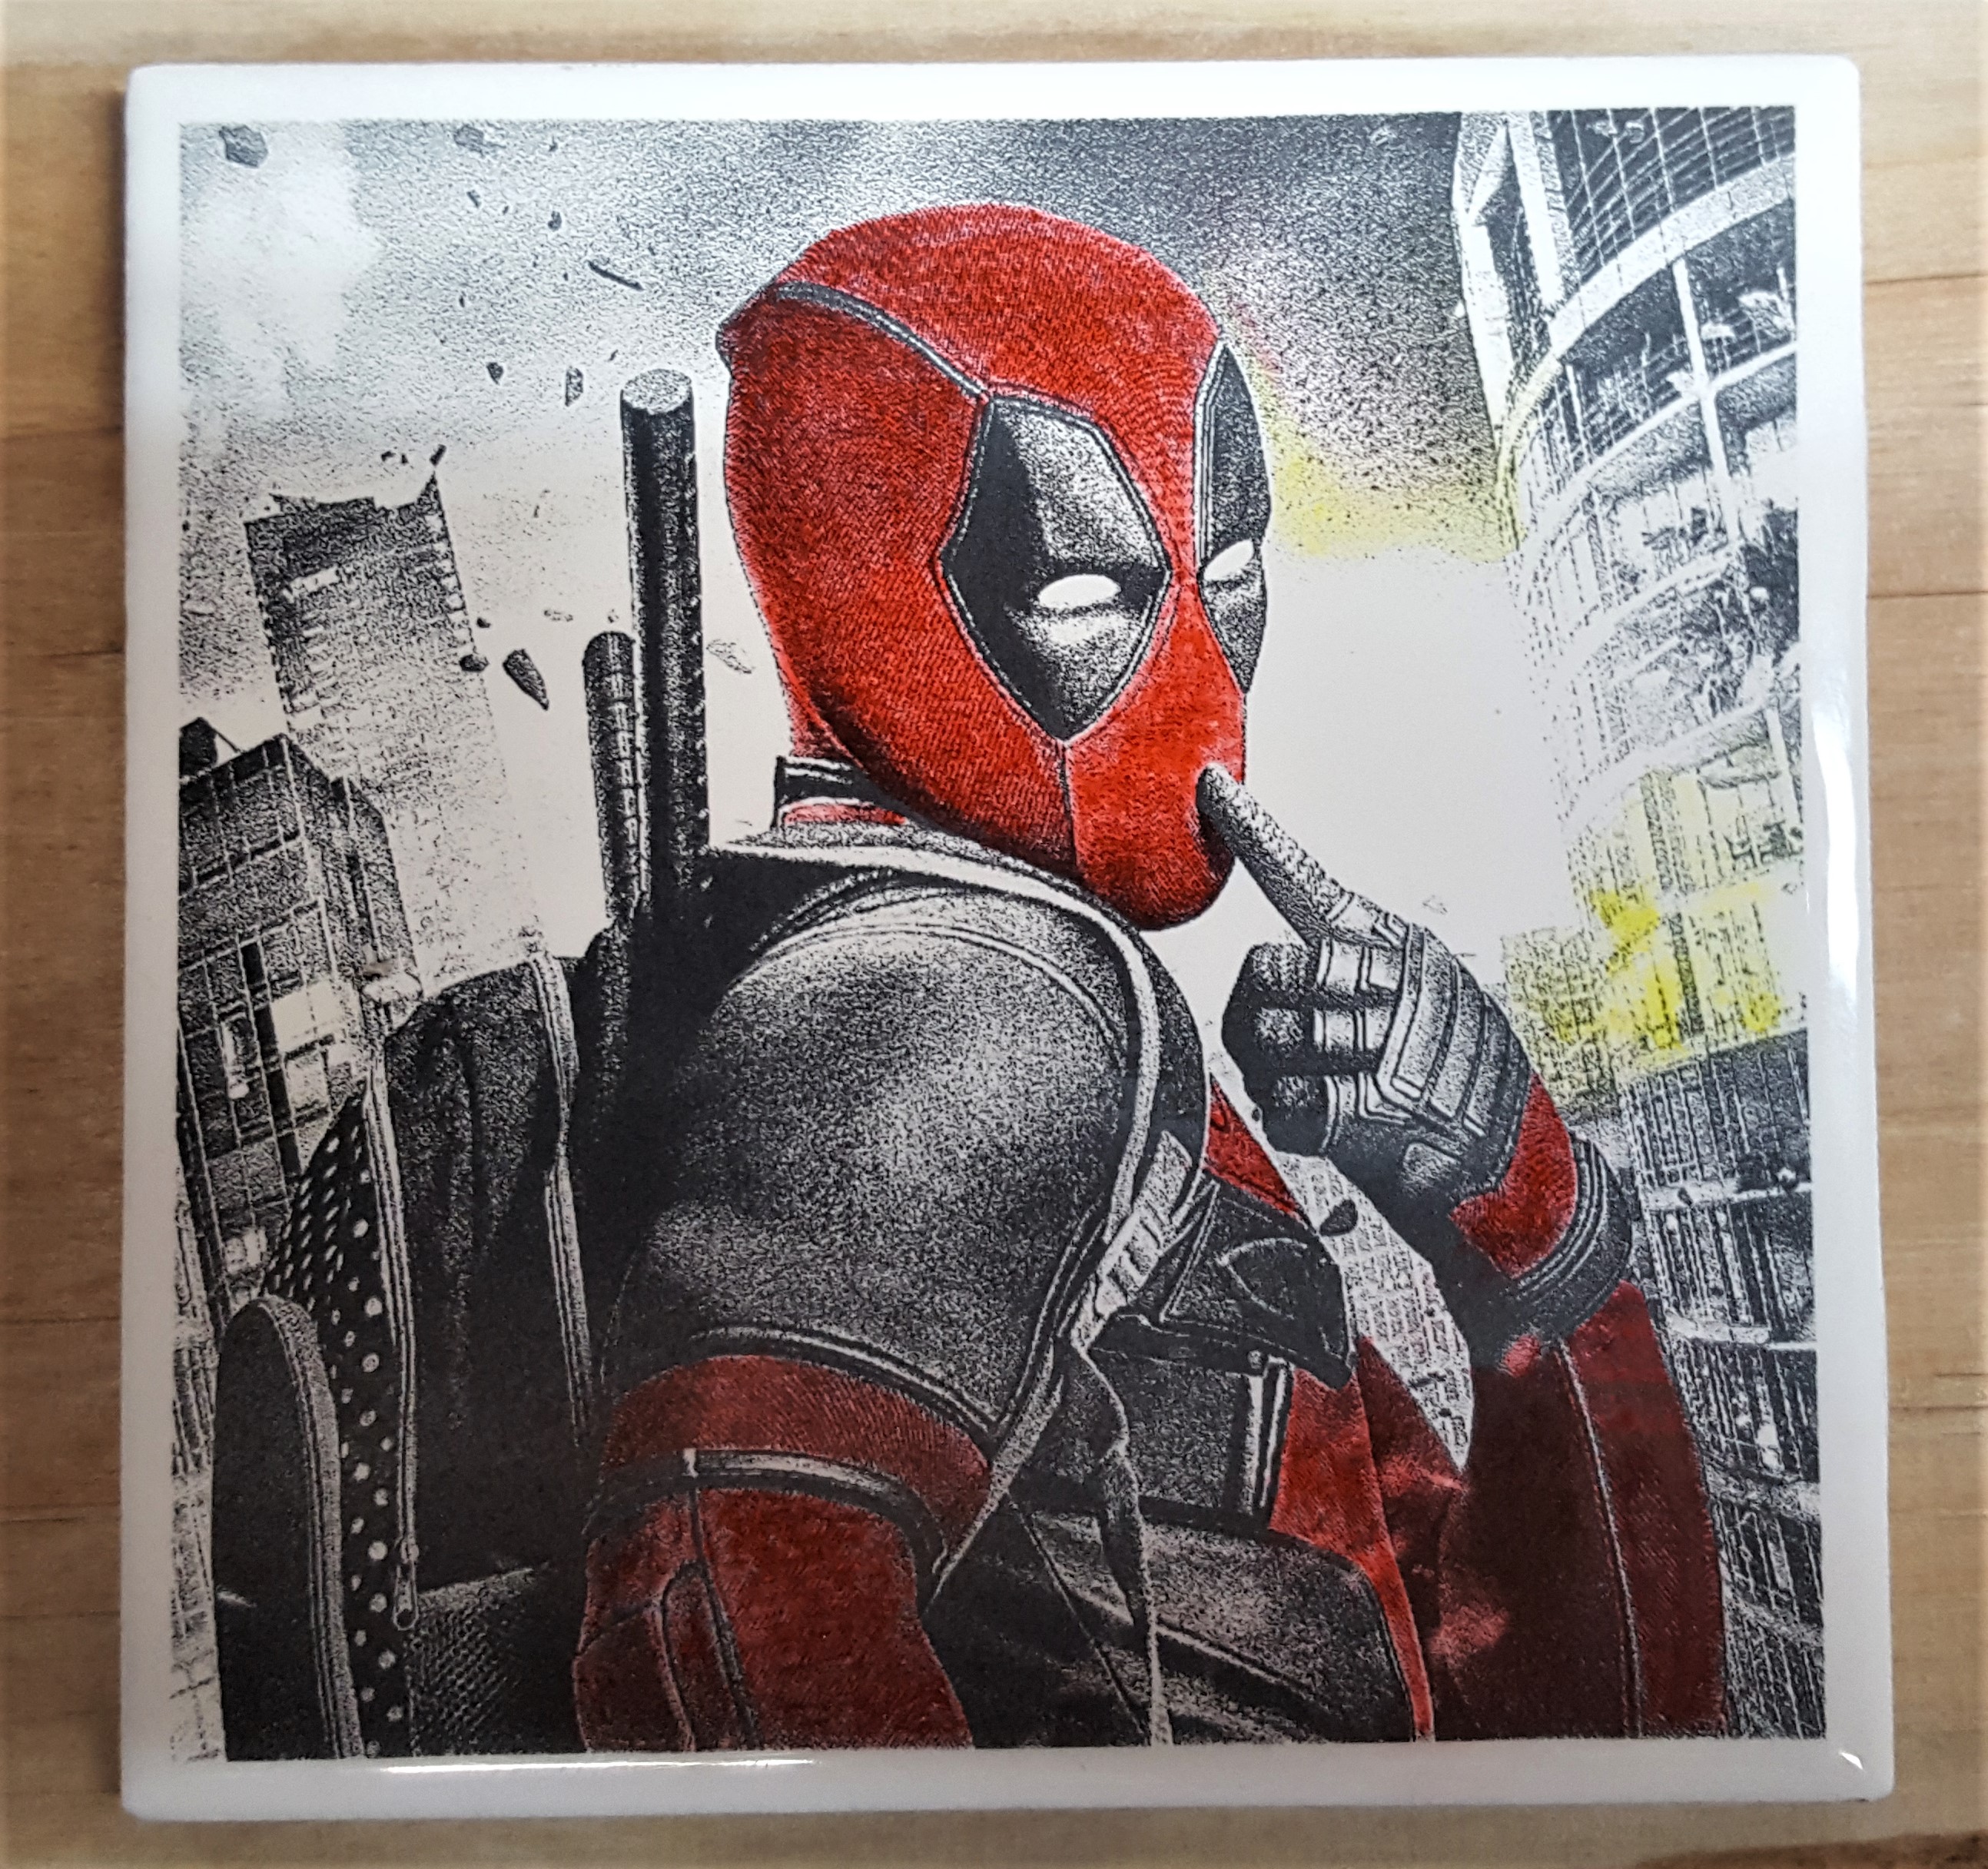
For some reason the right side of the the etching is alot lighter. I am wondering if the light areas because of a uneven spray. or maybe a improper setting
I was using enduramark for glass and ceramic. This was done on a 100w CO laser.
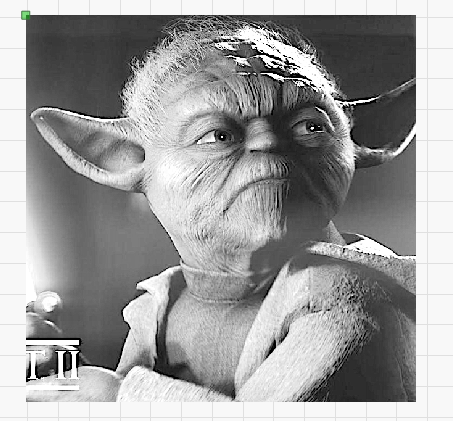
yoda was on ceramic tile and was set to 70m/m at 11 %
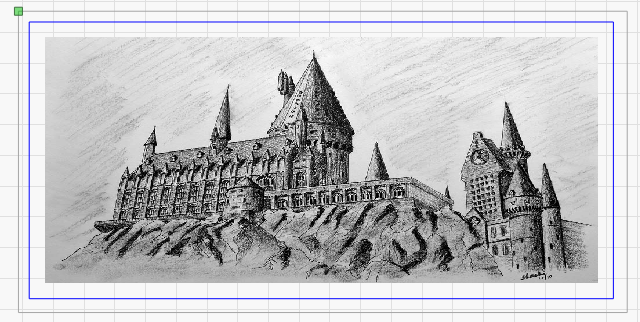
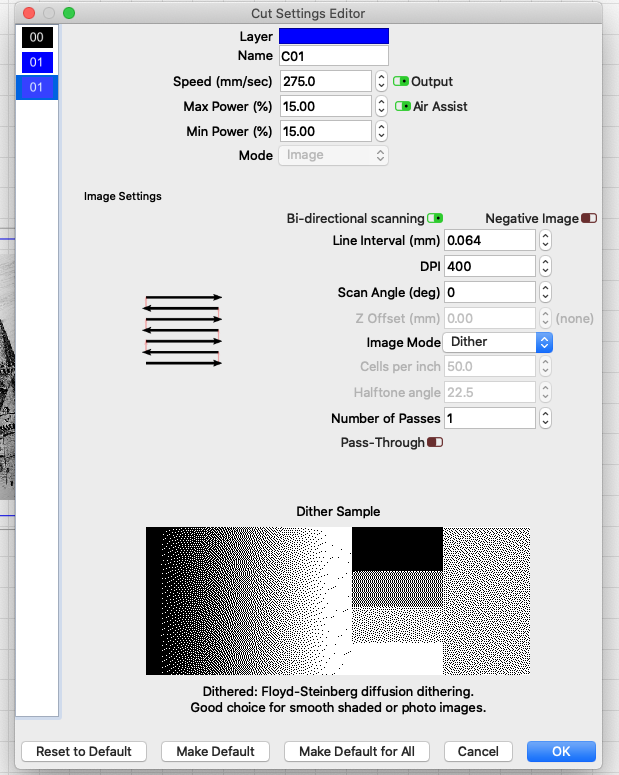
Hogwarts was on glass tile set to 275 mm at 15 %.
Hey Robert,
Is this script better than just doing everything in Lightburn (which would be my preferred option, having come from Coreldraw & RDworks), and do you have to pay for it? I’d be happy to if its a good improvement.