At the LBX 2023 conference in Peoria, there were samples of powder-coated wood with Lightburn logos.
I was told that one of the staff members (from British Columbia?) had produced them.
They looked great – and I would love to know about that process – and how to get those results on wood!
What powder works best?
What settings on CO2 lasers, diode lasers, fiber lasers? (I have a 100W CO2 and a 10W diode . . . I’m looking for a small, moderately-priced fiber laser if there is such a thing.)
Thanks. That’s where I had looked first, but haven’t had much success yet. I’ll keep trying.
The particular laser settings and powder coatings, etc., shown on the YouTube videos don’t precisely match my setup . . . and each YouTube video has slightly different suggestions. (I haven’t found the YouTube instructions always produce the effects for me that they did for those doing the videos.)
I’m also curious about the powder coating effect on various woods, baltic birch, basswood, MDF, oak, poplar, walnut, etc. (even acrylic), without having to try all those on my own. It can get somewhat expensive to try out all the possibilities before finding what’s best.
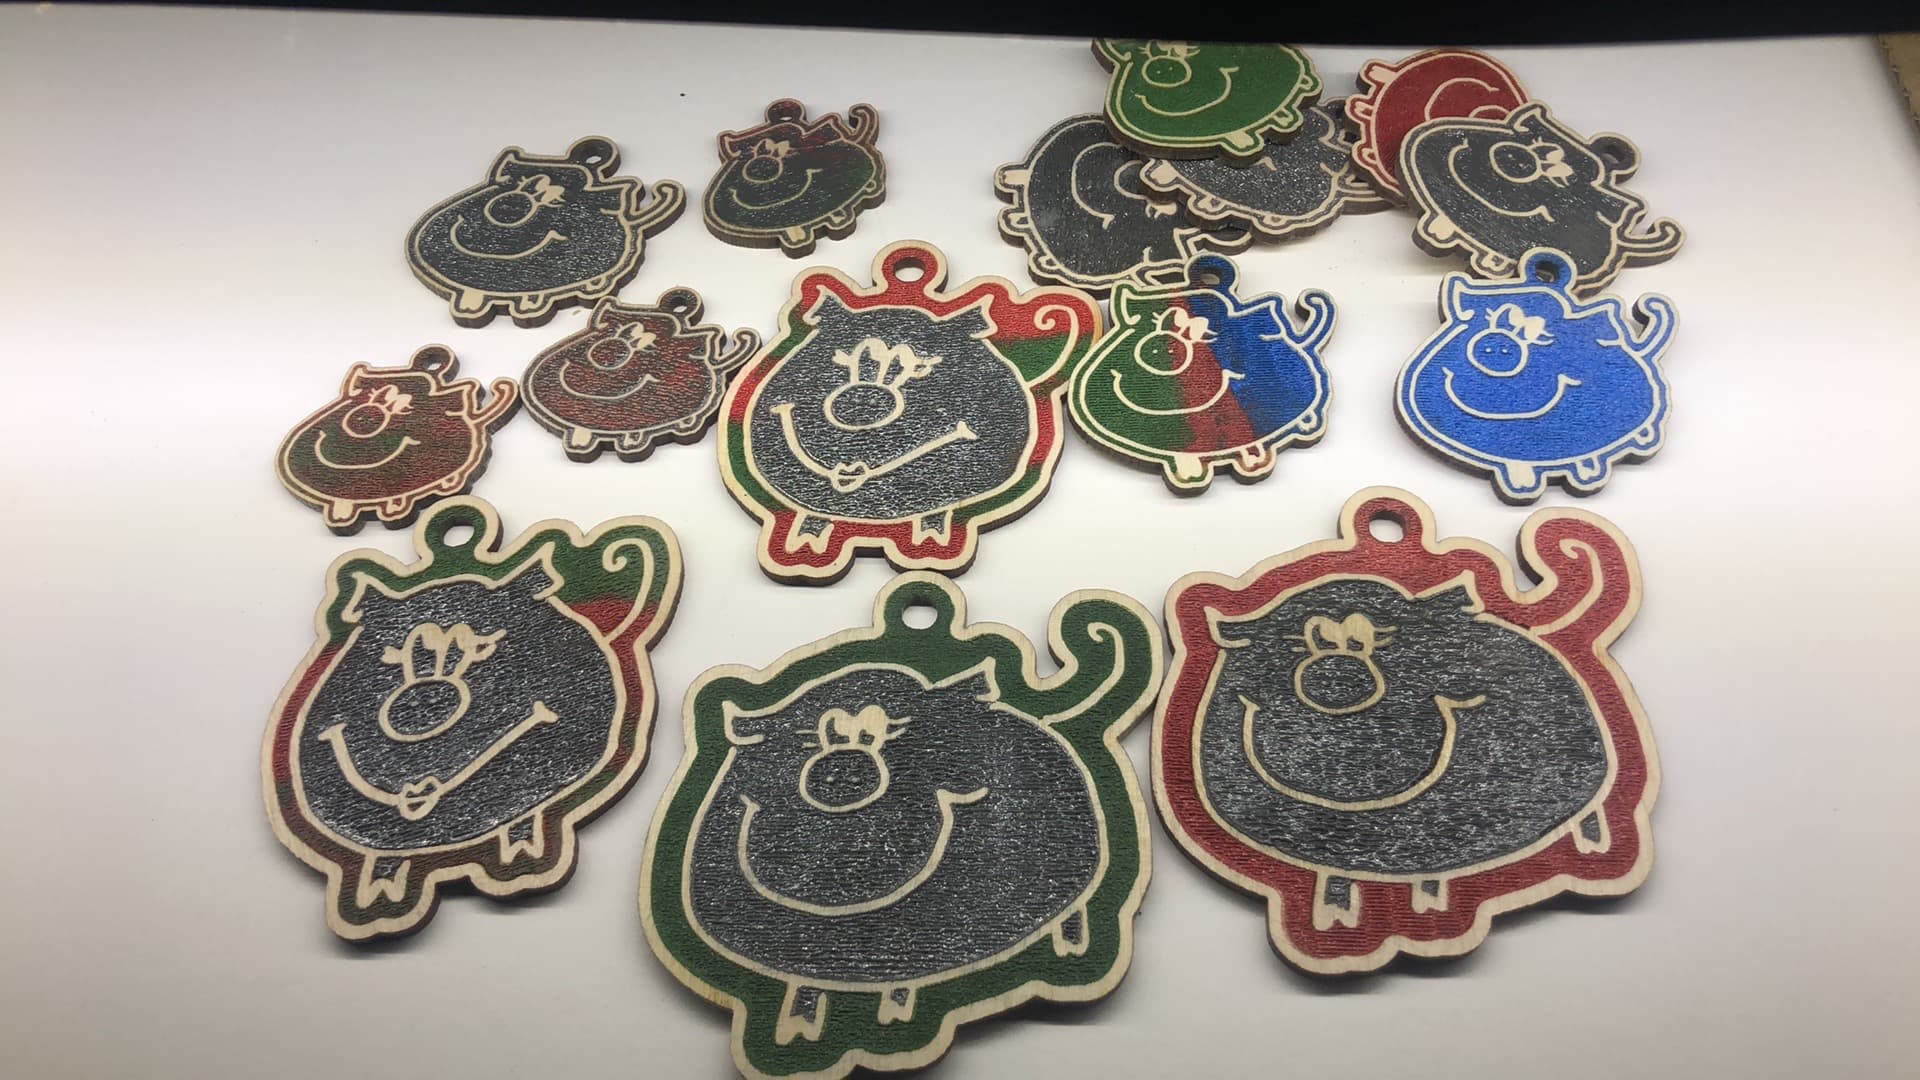
I was primarily and specifically curious about how the LBX 2023 sample pieces were done – partly because one of the samples used two colors.
Lastly, I wish there were a more precise way and cleaner way to add the thermoplastic powder which didn’t “waste” much powder, but there are ways to carefully retrieve the material which didn’t go into the engraving.
Something else that may give you a similar finish is Cerakote, can be applied to wood, comes in heat or air cure products, stencil friendly. Millions of colors. Spray or needle pen.
Part of the problem is that most of these are fairly expensive for small qualities. I can’t afford to try them all.
Also, while there are people using these materials, not all of them are manufactured with laser engraving in mind – and some of them may have certain hazards (e.g. Moly Lube).
And some are more appropriate for [fiber] laser engraving on metal than for diode or CO2 lasers trying to add some color on wood.
As for application: YouTube also has a cutter who uses a heat gun rather than the laser to fasten the powder coating. I have an industrial-grade hot air gun, but I wasn’t successful using it as described in the video.
All of this is what prompted me to ask what was used in the samples that were handed out at the LBX conference . . .
In reality, each and every machine is a little bit different, so you need to treat any settings you find as a potential starting point. Really requires some work on your end to fine tune things in for your particular machine. In the end, it’s not all plug and play, takes some research…
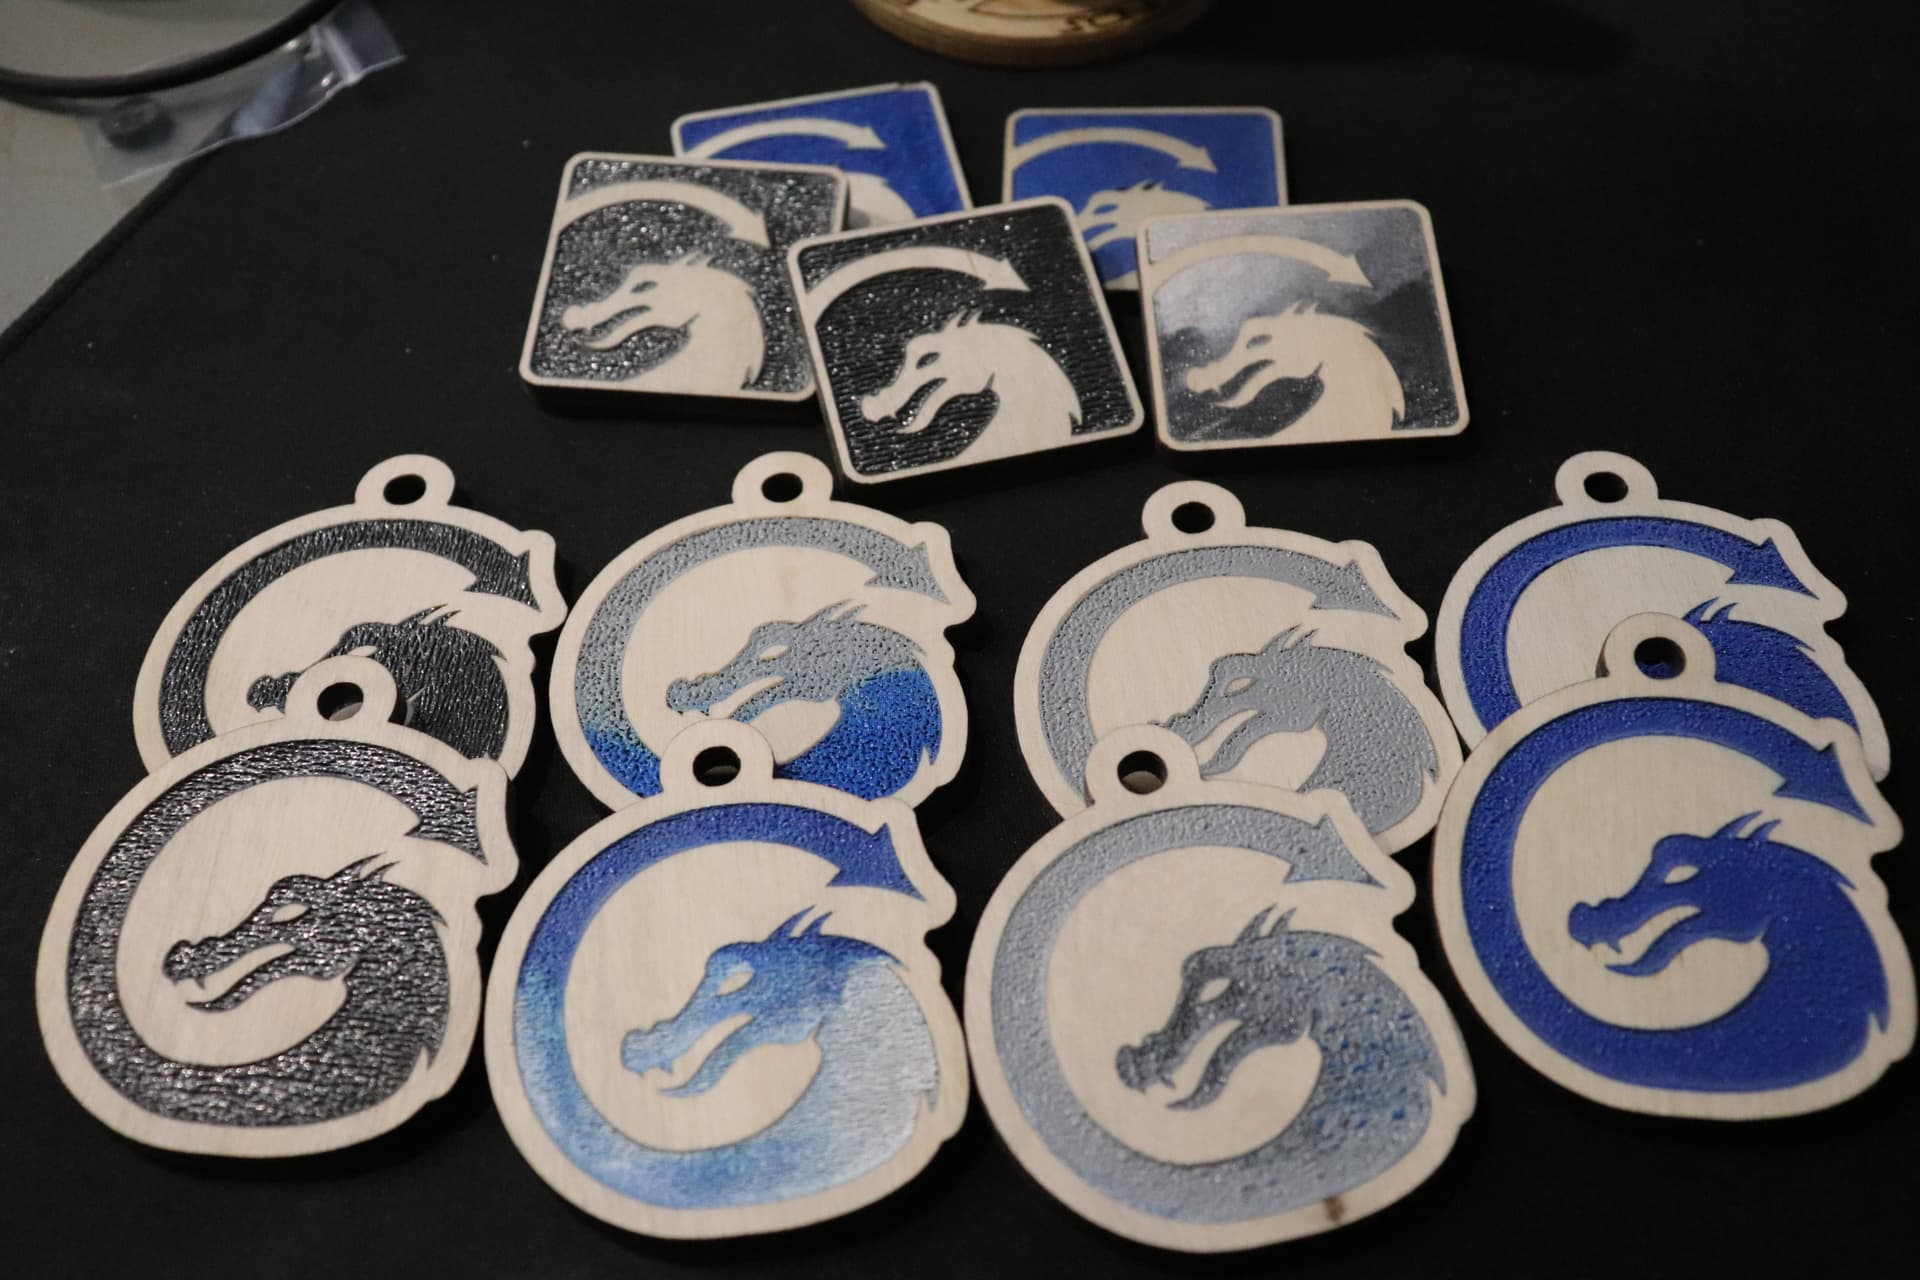
It helps to use some cardboard as a template to place the parts back in the laser after filling with the powder coating. Its messy so I do that away from my laser. I cut the outside shape of the item into the template so I can run multiple parts. Sometimes you may need to add more powder or run the laser over it more than once so, a template is key for making multiples.
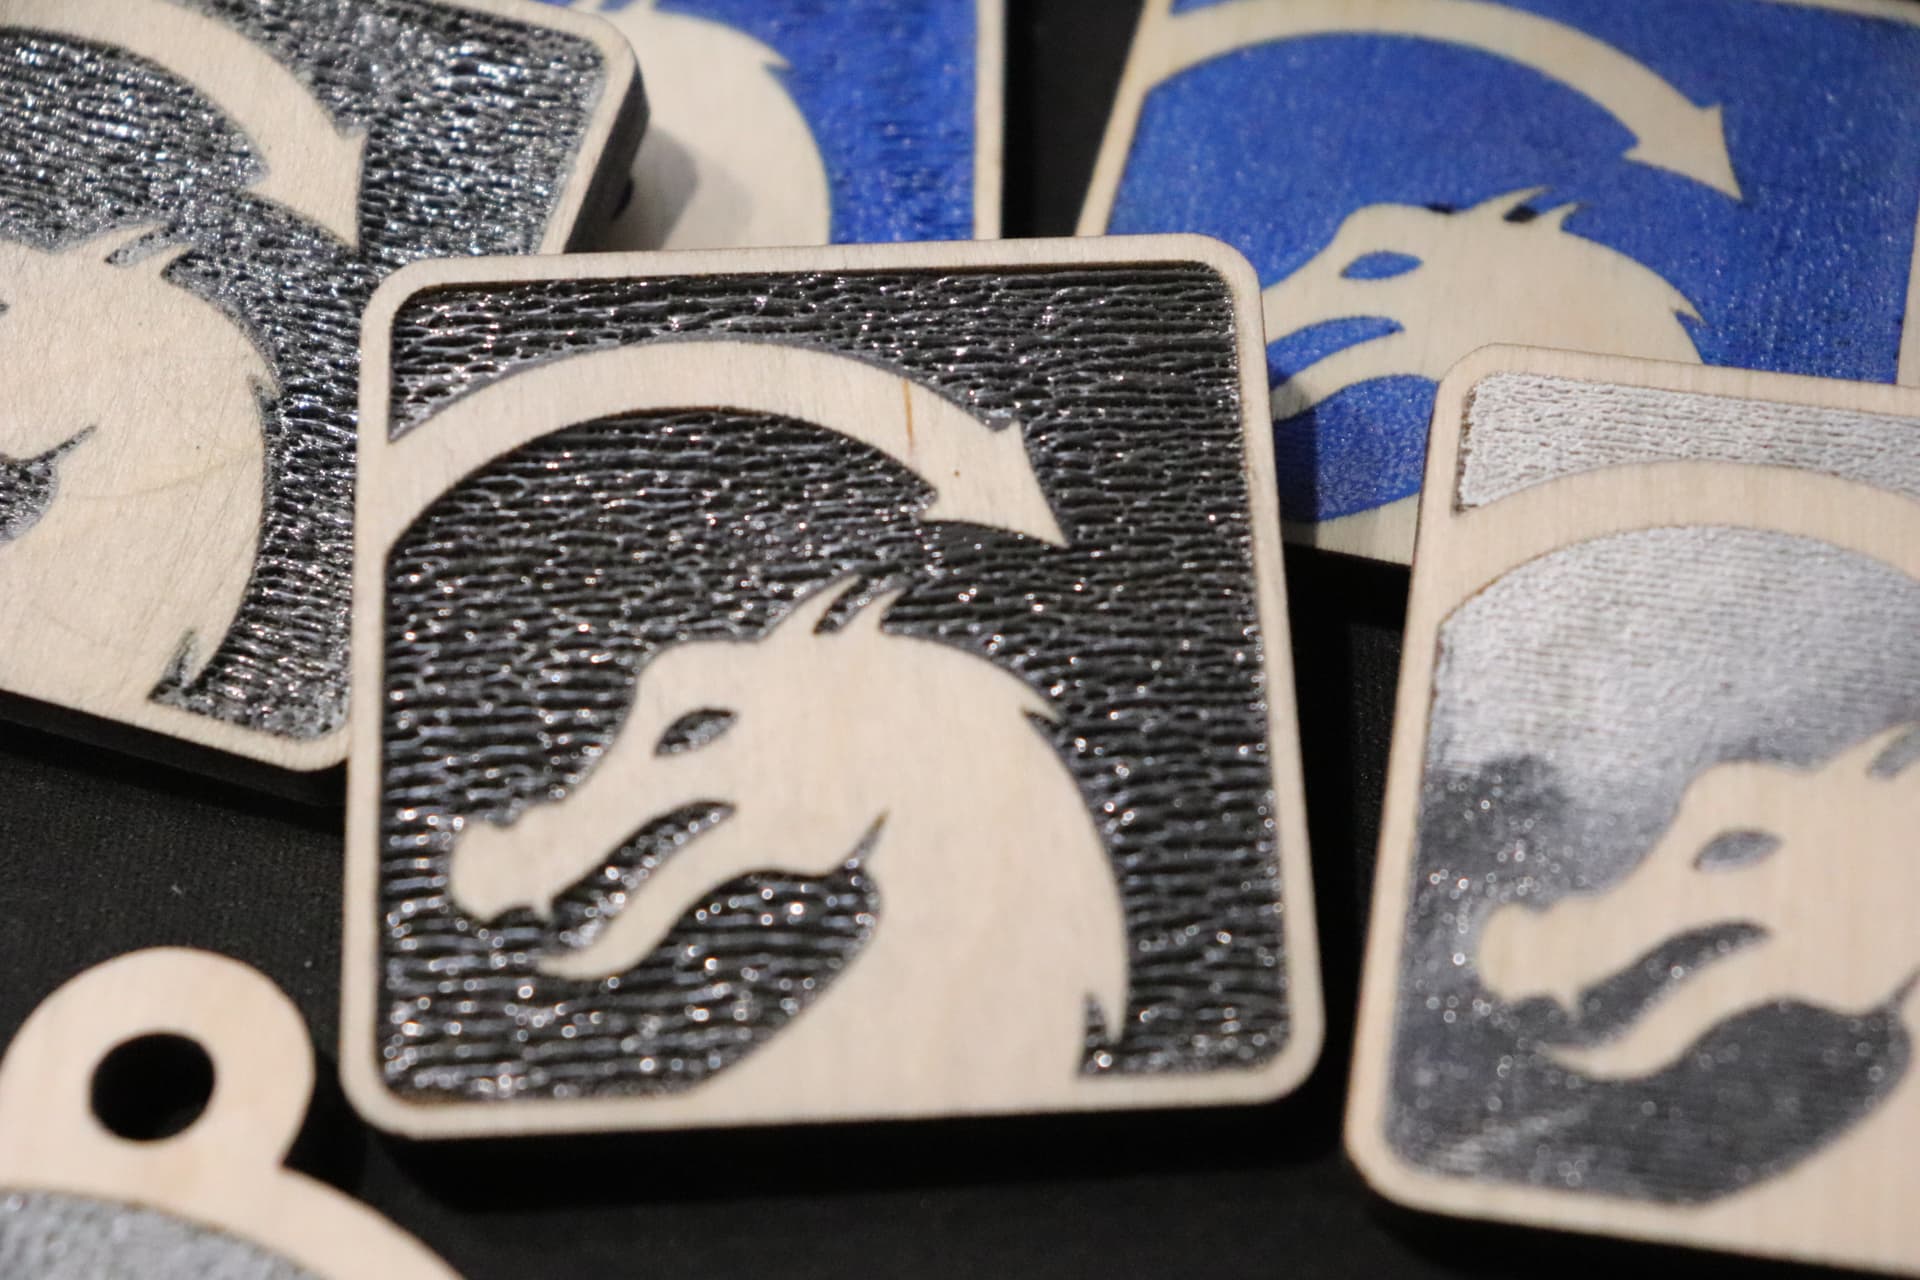
Start with a fairly deep engraving, (325 mm/s @ 30%- .2mm line interval), not too deep or the powder will be too thick. You need about .5-1mm of powder. I cut a pile of tags to fill. Sand them off to get a nice clean surface.
Then fill with powder coating and scrape off any excess with a card.
Place the part back in the template, make sure to turn off air assist! Or (flooooof) powder paint everywhere… Run the laser % as low as you can. It may make some fumes so be sure to have extractor fan running. 350 mm/s @ 14% .2mm interval worked best for most colors. You will have to experiment with your settings as they will likely be different than mine.
Double thanks to you: first for making the free samples at the conference and second for these clear instructions. Very helpful and much appreciated!
What brand of powder coating did you use? The colors were sharp and vibrant.
I’ve used paper/cardstock jigs, too. Very economical. I just have to make sure I don’t accidentally bump them and screw up the process. Perhaps using magnets to hold paper jig down?
You took all those lasered little LBX logos out of the machine . . . and THEN placed them back precisely on the paper jig . . . and THEN re-lasered them to achieve great results? Wow.
(I wish one could devise some little device or method to put powder down precisely without dusting everything up and wasting powder. Perhaps a creased piece of paper? A 3D printed contraption with a battery-powered mini-auger? )
And maybe I could figure out how to use > Move > Get position or Set Origin if I’m going to repeat the process. I haven’t learned how to use calibration points yet, but I know they’re out there, and maybe someday . . .
I’ll be thanking you each time I use your method to powder coat!
How far away from the project do you start up the heat gun – and then how close do you get to the surface so as not to flooooof (soniclab’s term. I think it may have Dutch etymology) the powder all over the place?
Use a small paintbrush to pick up the powder, gentle tap taps to drop powder where needed… you will make a mess. That is why a choose to play with the colors out in my wood shop away from my clean laser area. Fill the engraving and use an old bank card or something to scrape off excess powder.
I do not use a heat gun, the powder was set with the laser.
Remember if you have the outside vector of your part you can easily drop that anywhere on your jig and cut out an template to exactly orient your part. Simply cut the shape. Pop the piece down in the cutout and then you have perfect alignment. No messing about with trying to align the laser to your work. Instead align your part to the laser.
If you have troubles with multiple parts try “cut selected graphics”
I don’t think the ink will be as durable or fill the engraving like a powder coating. Still a very cool concept though. I would like to see some reviews on these machines.
I did, and it’s wonderful! I’ve only been using LightBurn for about three years now, I saw the button, but never knew what it did. Now I do and I wanted to thank you for your post. It’s a good day when you learn something new.
I tried ordering this powder coating from Amazon.ca (Canada) here in the States and got this message: “This item cannot be shipped to your selected delivery location. Please choose a different delivery location.”