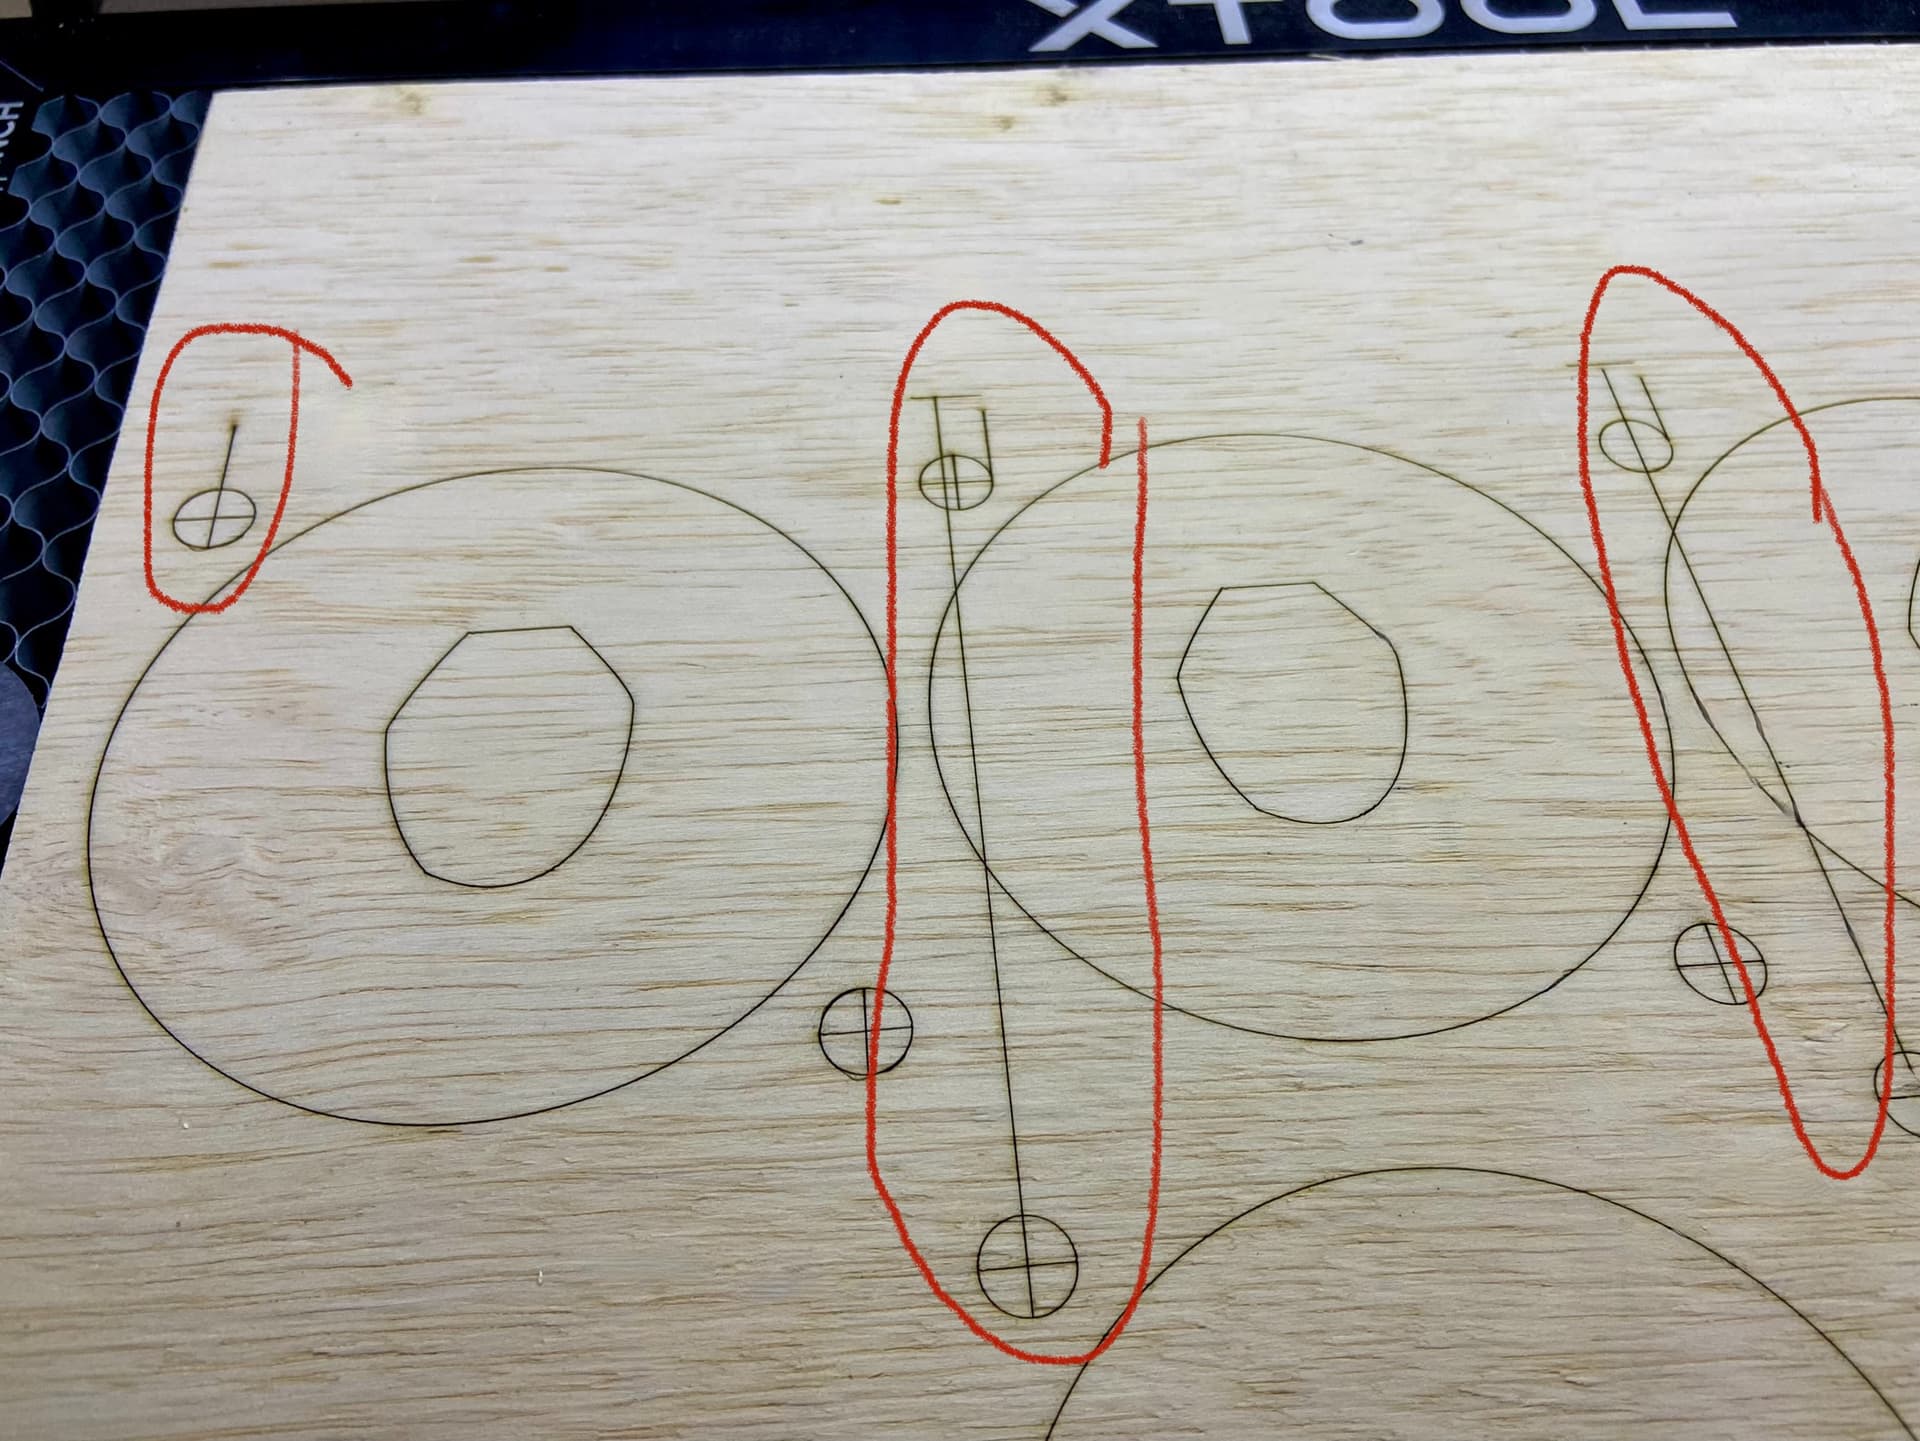
I having a recurring issue with Lightburn’s Print and Cut feature. While I’ve been able to get it to work on a couple of occasions, more times than not I have a tough time completing the task. Specifically, upon registering the two marks and hitting Start, the laser heads to the top center of my cutting area and starts with a vertical line down the middle. Then it begins to cut as expected. I have no items (hidden or otherwise) at that location.
Here is my process:
Make sure “Start From” is at Current Position
Home the laser (top left)
Start P&C Wizard
Choose the first registration mark in LB
Jog the laser (NOT manually moving it) to the center of my first registration mark
Click “Set First Target Position” in the wizard
Jog the laser (NOT manually) to the center of the second mark
Click “Set Second Target Position” in the wizard
Click “Align Outputs (No Scaling)”
Click “Frame” and verify framing in the correct area
Click “Start”
I’m using Current Position to start the Print & Cut Wizard, and it ends up using Absolute Coordinates after I choose the second registration mark, as is expected. If I hit Frame, it will frame correctly and where I expect it to cut. But once I press Start, it heads directly to the top center and begins burning a line down the center.
The vertical burn line appears to be the laser head tracking to the first coordinate for the job. In this case, it burns a line down to the top left registration mark. Once it gets there, it burns as expected. I just can’t figure out why it is burning that initial mark. Any suggestions or has anyone had this happen to them?
Can you upload 2 designs that represent the 1st and 2nd half of a Print and Cut set?
Are you using the red crosshair to do your alignment or are you using the laser light? If the latter, have you disabled the pointer offset in Device Settings?
Also, is there a reason why you’re starting with Current Position? As long as it’s in Absolute Coords by the time you cut it should be fine but trying to understand the rationale.
At first read, I don’t see anything obviously incorrect with your process.
Can you upload 2 designs that represent the 1st and 2nd half of a Print and Cut set?
A: Not sure I understand. I have only one file for this job. I made sure to include the reg marks so I could (theoretically) realign the project for additional passes. So I don’t have two designs. Please clarify.
Are you using the red crosshair to do your alignment or are you using the laser light? If the latter, have you disabled the pointer offset in Device Settings?
A: I do not use the red crosshair. It has been disabled from day one.
Also, is there a reason why you’re starting with Current Position? As long as it’s in Absolute Coords by the time you cut it should be fine but trying to understand the rationale.
A: In the video tutorial “Using Print and Cut to Recover a Project”, he was using User Origin to start. I thought it didn’t matter because once you select the second registration mark, it automatically changes to Absolute Coords. If this is a factor, I can certainly change it.
In your test, are you going through print and cut to do an additional pass? If so, then please provide the single design. If not, can you explain what you were doing with this test?
I don’t think it should be a factor… it’s just unnecessary in that case. Ideally you’d be in Absolute Coords all the time but as long as it’s set that way at the end it should be fine.
so as I continue to work on this problem, it doesn’t really appear to be an issue with print and cut. It appears to be some issue with the laser starting to burn before it gets to the first object it is supposed to burn.
I don’t see anything in the file that should cause what you’re seeing.
However, try one thing. Can you disable “Constant Power Mode” in the 15mm layer (C18)?
xTool have some known firmware issues with Constant Power Mode and I’m wondering if this is a potential symptom of that.
If that doesn’t resolve it, can you do File->Save Gcode for the one no registration test you showed in the video? Use a .txt extension and upload here.
The gcode looks perfectly fine. In this case I’m suspecting a different firmware issue or possibly a hardware failure of some kind.
Perhaps try running the gcode in LightBurn using “Run Gcode” in Laser window to make sure you’re getting the same behavior.
You may want to check XCS to see if there’s an eligible firmware update. It may be worth checking in with xTool support as well to see if they’re aware of this issue and to see if they can issue a fix. It’s not clear to me what in the file would even trigger this behavior. One thing possibly is the air-off command (M9). You could try toggling Air on in Cut settings to see if that changes the behavior.
Ironically, I opened XCS to verify that the laser cross was turned off. I was, but there WAS a firmware update and I applied it this morning. So similar behavior before and after the update. But I appreciate you thoroughly running me through the paces. I will follow up with Xtool next.
This is very telling. xTool should be able to do something with that if it can reproduce the issue. I’m actually surprised you don’t have this issue on all jobs.
It only happens on Print and Cut projects. First runs never have issues. I just opened a new file and re-tried the process. It wasn’t the original file. The issue carried over to the brand new file.
I’m a little confused by this. The gcode sample that you created, are you saying that was a print and cut operation? There’s nothing fundamentally different about print & cut other than transforming the coordinates. The gcode generated in no way is tied to print & cut.
Can you save the gcode for what would have been the first run of the same portion of the job as was in the original gcode that you saved and upload here? I can compare to see if there’s any meaningful difference.
To clarify, I can process jobs - engrave or cut - with no “trailing cut lines”. It’s only when a job is finished, and I then try to go back and line up the registration marks, that the laser head moves to the top and drops down with that vertical cut line. For all intents and purposes, the laser/software works fine for most jobs. Just not P&C jobs.