Having trouble with my print and cut… I have experience with P&C so not a problem with setting design up. My origin and home are both at 0,0,118.110. Absolute Coords are set. A little background. Was trying to set up P&C for a design that sat in an area of 10x10 inches. The design is circular, but its frame is square. LB sees the design, not the square. The design fills the square rather completely, so we can say the design is near 10" vertical and horizontal. As I was setting up my machine for P&C, my hand accidentally hit the origin button on the machine (Omtech red 22x28 max) while I was fine adjusting the laser head over the material. The machine went back to origin as it should. This is not to say that this may have caused a problem, as the problem might have existed whether I pushed origin or not. But what happens now is that once P&C is set, the design comes out smaller than it should be, about 7x7 inches. When I run the design without P&C, the image comes out perfectly every time, at roughly 10x10 inches (circum.). When I run frame, it performs in the same way. Any solutions?
If you rerun print and cut, do you get the same results?
What’s the nature of the print and cut job? In other words, what are you using print and cut to do?
#1 yes.
#2 normal job… laser an svg
I’ll ask in a different way. Why do you need print and cut for what you’re doing?
it needs to be squared on the material. Exact placement.
Are you trying to burn onto material that’s previously been printed to?
If so, are you using scaled or unscaled alignment? And are you certain that the printed output is printed to the same dimensions as the design?
#1 what?
#2 I measure out 10" square on material. put dots where laser should go for marker 1 and 2…
#3 yes the design is not as large as it should be… Ive printed it like 5 times…
I’m still not getting a full picture of what you’re doing. Let’s try this a different way.
Can you provide the following:
- photo of the material before starting print and cut
- the lbrn file(s) or a full screenshot of LightBurn with the design(s) ready to start print and cut
- when you print and cut, are you selecting the scaled or unscaled alignment?
I use scaled.
forget the design. I just made a simple line square from the shape tool at 10x10 inches, and it still frames the square at less than what it should.
This may sound like a strange question, but what do you think print and cut does?
Please post a screen shot of your design and describe what you are hoping for.
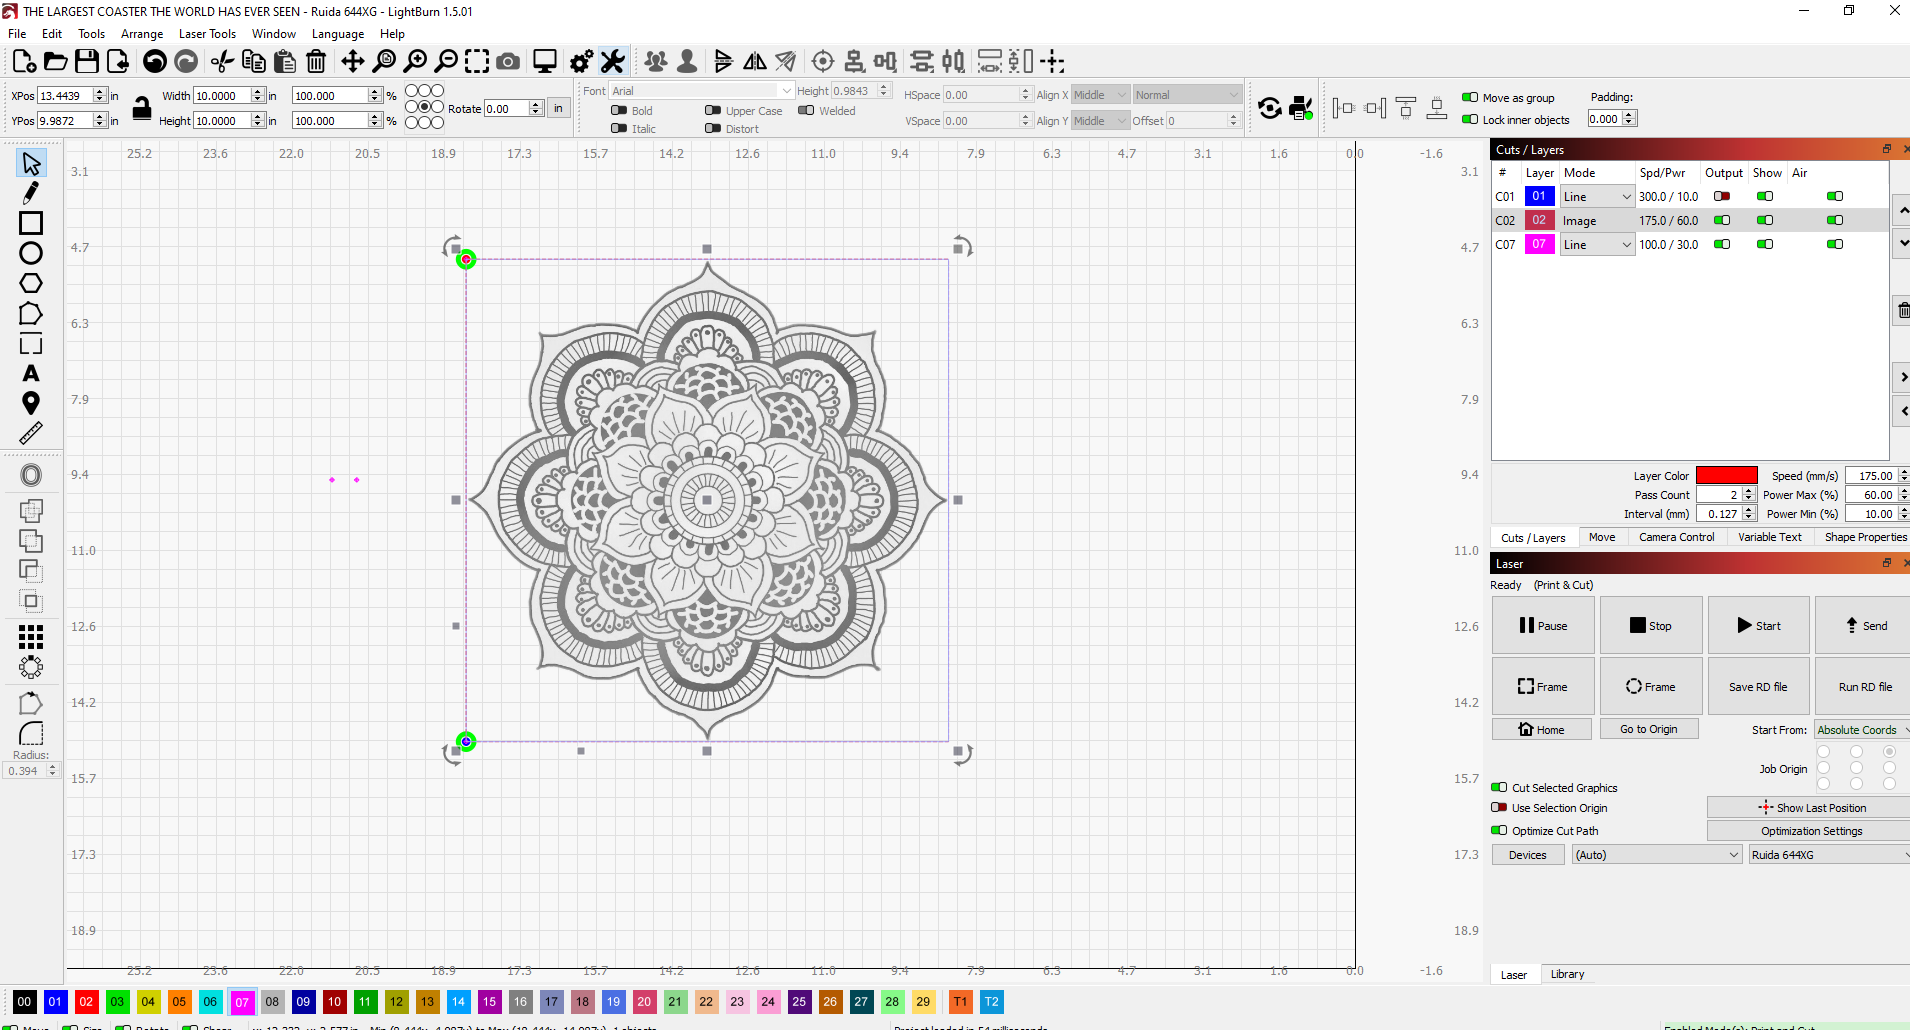


This is the LB file:
The google drive link is requesting a login.
Is this the same design that you’re describing in the opening post? If so, I can’t correlate the design in the file to what you’re describing.
I also see no provision in the design for using print and cut. Can you elaborate on the end to end workflow? It’s not clear to me what you’re doing.
[EDIT] Upon re-reading I think I follow better. You’re describing the bounding box of the design as being 10x10" and you’re working with an image. I’m still not clear on how you are setting up print and cut, however, so please elaborate there.
im using print and cut in this last example as well, an example… the board you see can easily be lasered into without print and cut, but the board I truly wish to put my design on requires it to be placed in a specific spot requiring print and cut… lets not waste time on this part… my design needs to be in a particular area to get the right fit. end of story.
and I do print and cut just like any of the many videos out there describe… I have made many things using this feature… the most popular video I watch is from Lightburn itself… I know how to use P&C…
You may know how to use P&C. I don’t know how you use print and cut. And it’s not apparent from what you’ve said and what’s in the design.
Sounds like you’re saying you want to burn to a specific location on a piece of material. How are you aligning the design to the material? And how large is the material?
I use the dots as shown in the video. did you see the video?
Which video?
Is this the one from google drive? I’m unable to see what’s there since it requires a login.