Can anyone recommend a step by step tutorial for lightburn? I’ve tried to use the links at the beginning of this forum but they are “404 not found”. I’ve downloaded the trial version, and I’ve managed to import a photo and resize it but that’s it. The youtube videos show a lot of different things on their screen that I don’t see on mine. I have no idea what to do with this and I don’t even know what questions to ask. I have a onefinity/masso and well versed in cnc but completely lost here. Jtech laser arrives tomorrow, and other than setting it up and turning it on, I’ll be totally stuck in the mud after that.
When I first started I found LA Hobby Guy on YouTube. He has a beginner playlist that really helped me get up to speed. Most of those videos are for older versions of lightburn so some things have changed but still a good primer.
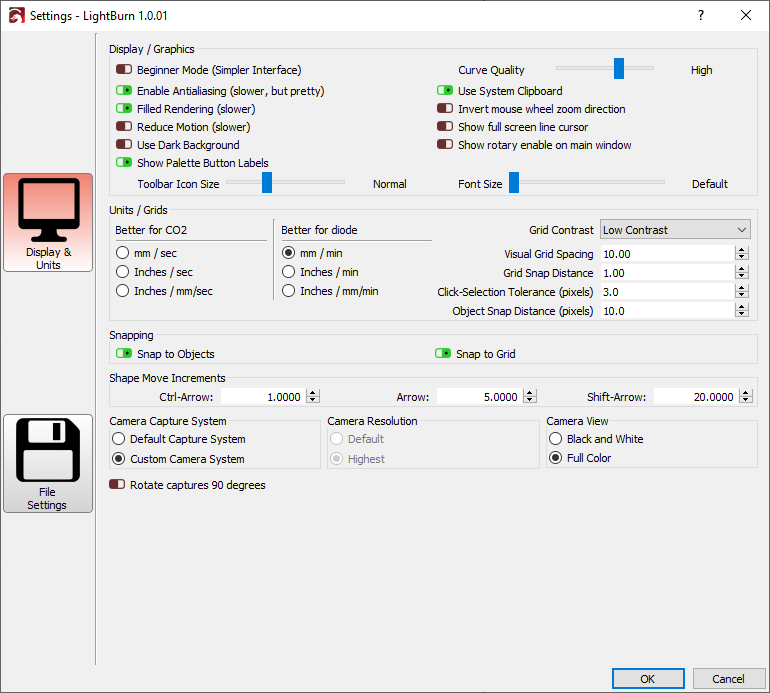
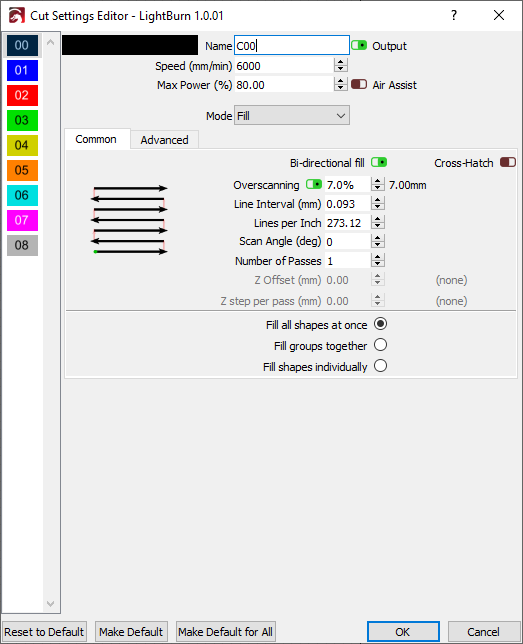
Turn off beginner mode to see the missing settings.
3 Likes
90 seconds into the first video, I said “THIS is how you make a tutorial video!” This guy should be getting paid by lightburn. I learned more from him in a minute than I have from combing youtube all day! Thanks for the recommendation!
1 Like
Like any software there’s a learning curve here. Do a simple project and see how it turns out. Until you run into a wall we cant provide any help without you asking specific questions. You will get lots of help on here. Ill send you the file. Have Fun

1 Like
So far, any links that I click on in this forum lead to “404 not found”
That link is bad. Try this one.
1 Like
Bingo there it is. Thanks
Well, maybe I can’t use lightburn after all…? The new device wizard has me stumped. My laser isn’t on the list. And I don’t see an option for not having lightburn directly connected to the laser machine.
How to set up Lightburn. Dont use the wizard. Look at this video and follow instructions for manual setup
That’s where I’m stuck. “How do you want to connect your device…ethernet/serial/etc”
None of the above.
[quote="lessyappinmorezappin, post:
[/quote]
Configure Lightburn to use with MASSO
Step 1 Select the right Machine type.
When you first open Lightburn it will Ask you to select your Device.
- Click on Create Manually
- select GRBL-M3 (1.1e or earlier) and click Next
- Select Serial/USB and click Next
- Enter the X & Y axis length for your machine and click Next
- Turn off Auto “home” your Laser, (switch will be brown when off), and click Next
- Click Finish

At the completion of step 1
Step 2  General settings
- Along the top line find the
 symbol and click on it
 - Under Unit / Grids select mm / min or Inches / min as required.
- Click OK
Completed General settings
Step 3  Device settings Basic settings tab
- Along the top line find the Along the top line find the symbol and click on it.
- Under the Basic settings tab select M8 for Air assist
- Set the S-value max to 1000
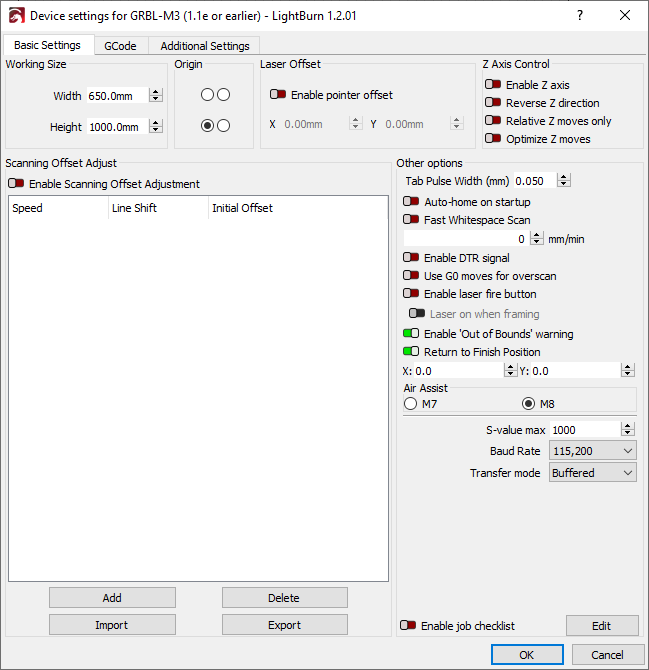
Completed Basic settings
Step 4  Device settings Gcode Tab
- Along the top line find the Along the top line find the symbol and click on it.
- Under Start Gcode enter T111 M06
- Enter S0
- M5
- Click OK
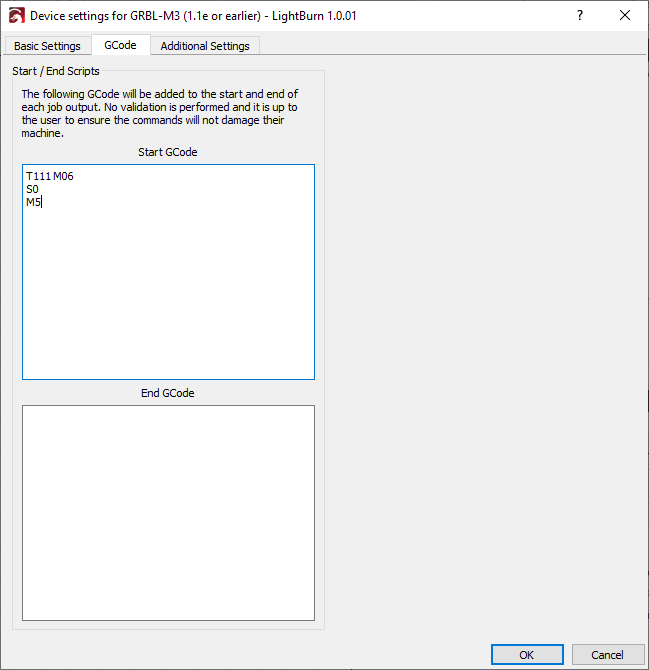
Completed Gcode Screen
Lightburn configuration is now complete.
Outputting Gcode
While there are many settings that you can use the steps above are the minimum needed to get up and running.
- Once you have created your project select Save Gcode to output your file.
- Remove the .gcode at the end of the file name and add .nc and all files from then on will save as .nc files
- Ensure that you have selected GRBL-M3 (1.1e or earlier) for your device when saving to ensure it outputs the correct Gcode format. This is only a problem if you set up more than one device.
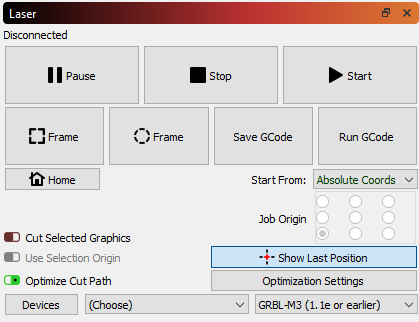
- Ignore the disconnected message on screen as it only applies when the Laser is connected directly to Lightburn.
Overscanning
This is an important feature then engraving photos or shading an object.
It allows the Laser to move past the end of the object you are engraving.
This is necessary to overcome acceleration and deceleration. Without overscanning the laser would slow down as it nears the end of the engraved area but because the laser is still turned on the area of acceleration or deceleration will get darker burning because the laser is moving slower in that area. This causes a fringing effect on your engraving.
By using overscanning on your layer the laser will move past the end of the engraving and turn the laser off then decelerate.
Likewise when accelerating it will start outside the engraving and turn on when it reaches the correct position. This will allow the Laser to reach the correct speed before turning on.
The faster you move longer the overscanning will need to be.
2 Likes
THIS helps!
Ok folks, with your help and the Louisiana hobby guy, I’ve managed to configure lightburn, do some stuff, post some code and get it to my machine. I’d be swearing and pulling out my hair all weekend otherwise. Thank you in a BIG way. I’m too old to be this stressed so you basically extended my life by at least 3 weeks!
Devices for Masso:
-Masso_Onefinity Elite Foreman.lbdev (3.5 KB)
-Masso_Onefinity Elite Journeyman.lbdev (3.5 KB)
-Masso_Onefinity Elite Woodworker.lbdev (3.5 KB)
-Masso_Onefinity Elite Machinist.lbdev (3.5 KB)
Thank you for this. I don’t know what it is. But thank you.
Sometimes manufacturers create a definitions setup .lbdev file ready to be imported into Lightburn by clicking Devices and then Import.
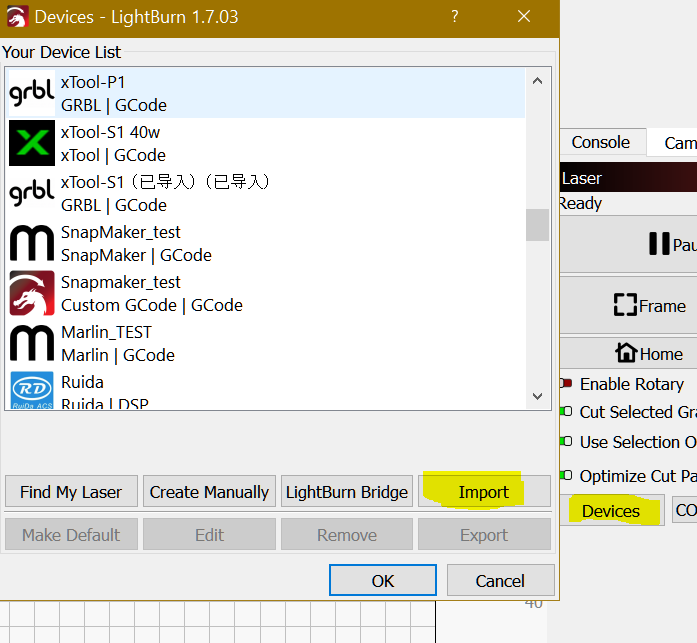
I had it working, but when I imported the file you sent, it says “library failed to load…yadda yadda” now I can’t do anything. I think I should uninstall and delete everything then start over from before. It’s become a real yard sale.
Just click Unlink Library then remove from list.
Use Serial
I totally agree. LA Hobby Guy (Rich) is great at explaining LB. I am a little biased since I am a Moderator on his FB group. I always point “noobs” to Rich['s “Lightburn 101” videos.
I think people get overwhelmed because it is new to them. I have been using LB since verion 0.9# and it has only got better since then.
1 Like