Hello Everyone,
I have a K40 with a very small bed and have a lot of A4 size ply that I want to use. I have purchased a larger laser that I will be collecting tonight but that still leaves me with lots of plywood.
I often find that if I buy a design from Etsy or somewhere that the design for 3mm fingers is way too big for my laser. I have been trying to work out how to adjust the size of the design but keep the 3mm holes or finger joint locations.
Resizing the entire cut is fine but what if I had a design that I wanted to cut in 3mm ply and also in 6mm ply and again in 2mm ply.
Is there a simple way to resize the design for A: different thicknesses of material B: to resize the design to make a smaller/larger version without having to redesign the entire thing?
I’ve been brewing on this since I saw this topic this morning. While I’m with @jkwilborn that there’s really no parametric way of handling this in Lightburn I think I have a reasonably quick and repeatable way of doing this without what I would consider a full redesign. Let me know if this fits your definition.
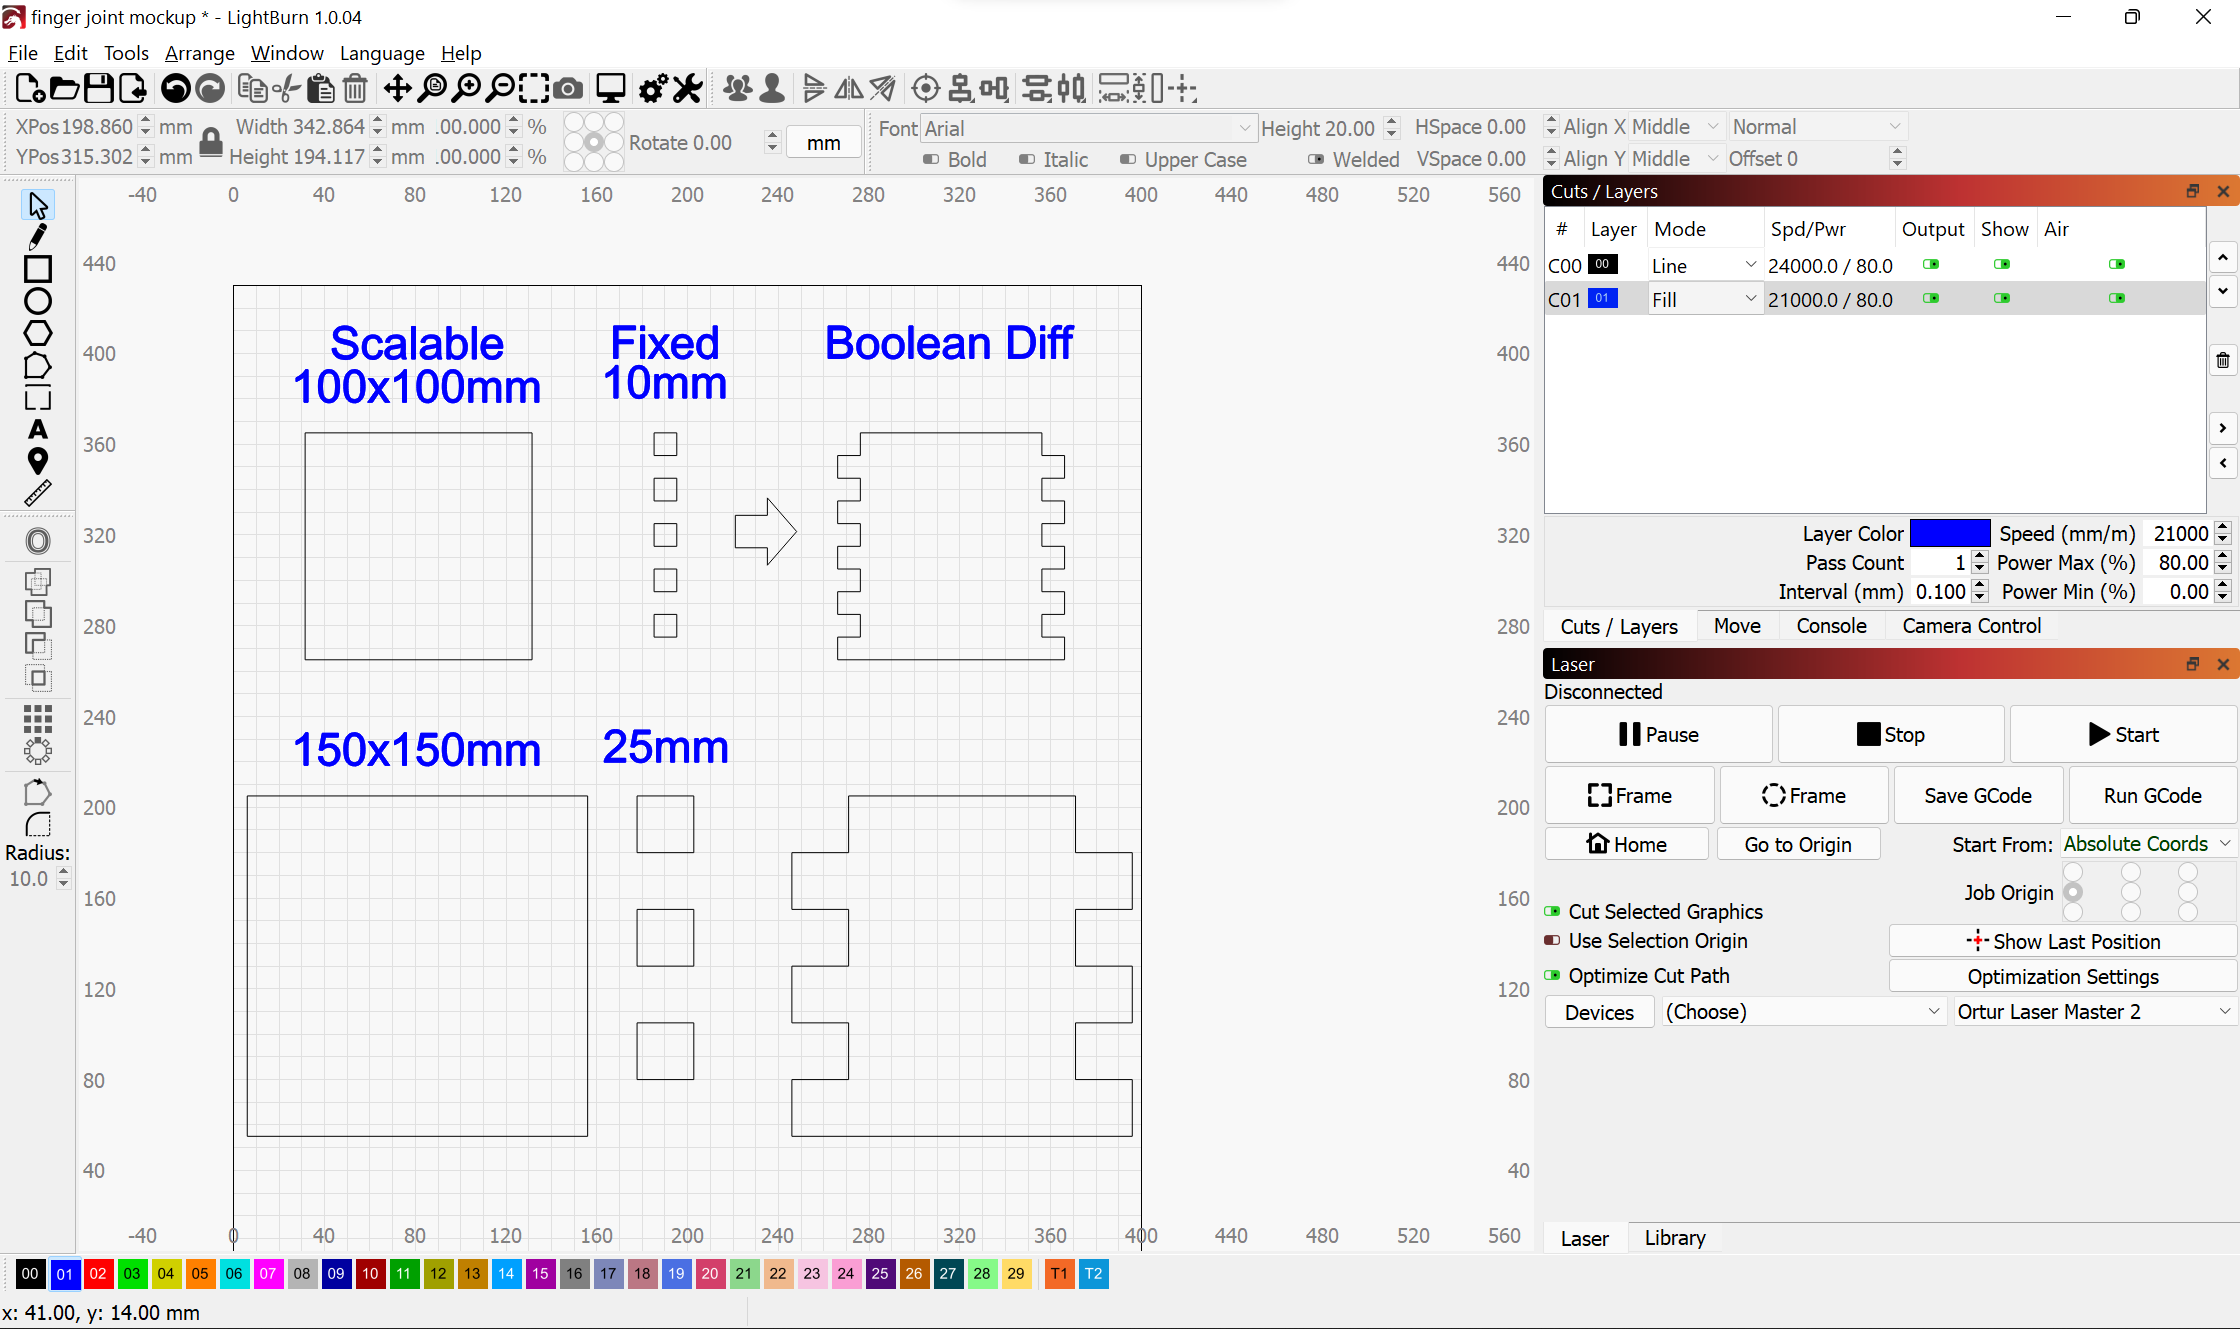
I see this as a 3 step solution:
modify your current base design to eliminate the fingers entirely. So instead of cuts into the wood for fingers, leave the outer perimeter solid. This is now the scalable and dynamic portion of your design going forward. You can change this to meet your needs.
pre-build a library of cookie cutter template shapes for your most common finger sizes. These are fixed and will not be scaled. The only potential accommodation could be to add more fingers as necessary but that could be mitigated by overbuilding this and only choosing as many as you need.
Pull it together for final design. Scale your base design as necessary, import your finger template of the appropriate size. Stamp your template against the base design by using a Boolean Diff.
The mockup was meant to be strictly abstract. The key idea being that you’d pick the appropriate fixed set of fingers that you felt appropriate. My assumption was that finger geometry should not change with scale of the base design. This technique could accommodate non-square fingers as well.
I haven’t looked into it but if LightBurn’s variable text capability is robust enough it’s possible this could be done partially parametrically using arrays.
I followed you. It wasn’t something in the plan for lightburn developers. They can’t do everything.
I do a number of things that would be quick in Lightburn, but do it in freecad since I can use the parametric tools available there. Export to a dxf and into lightburn. Easy change to modify it and re export it.
Thank you for the replies. I have no experience with Autocad so I downloaded it and immediately realised I was way out of my depth.
I have been looking into parametric designs and I think this will be the way to go although I like the idea of having a pool of finger joint sizes ready to go I think with complicated shapes it could become very problematic.
Am I able to share a file I would like to resize? I have an entire Alphabet of Box letters that I purchased that my wife wants in different sizes. Short of copying the design and adding different sized finger joints I am struggling to understand how I would make these designs fit different material thicknesses.
I would love to develop the skills I need but I am a long way from understanding Autocad Fusion and have had success with Lightburn for other projects.
Are there any plans for plugins in Lightburn? It would be great to have a finger joint calculator or a resizing tool wouldn’t it?
Thank you
MinkiSan
@RalphU How is that letter expected to be used? I’m curious why it’s left open-faced. What is the purpose of those 3 vertical tabs coming off from the top surface? I assume those are just extending through from the material beneath.
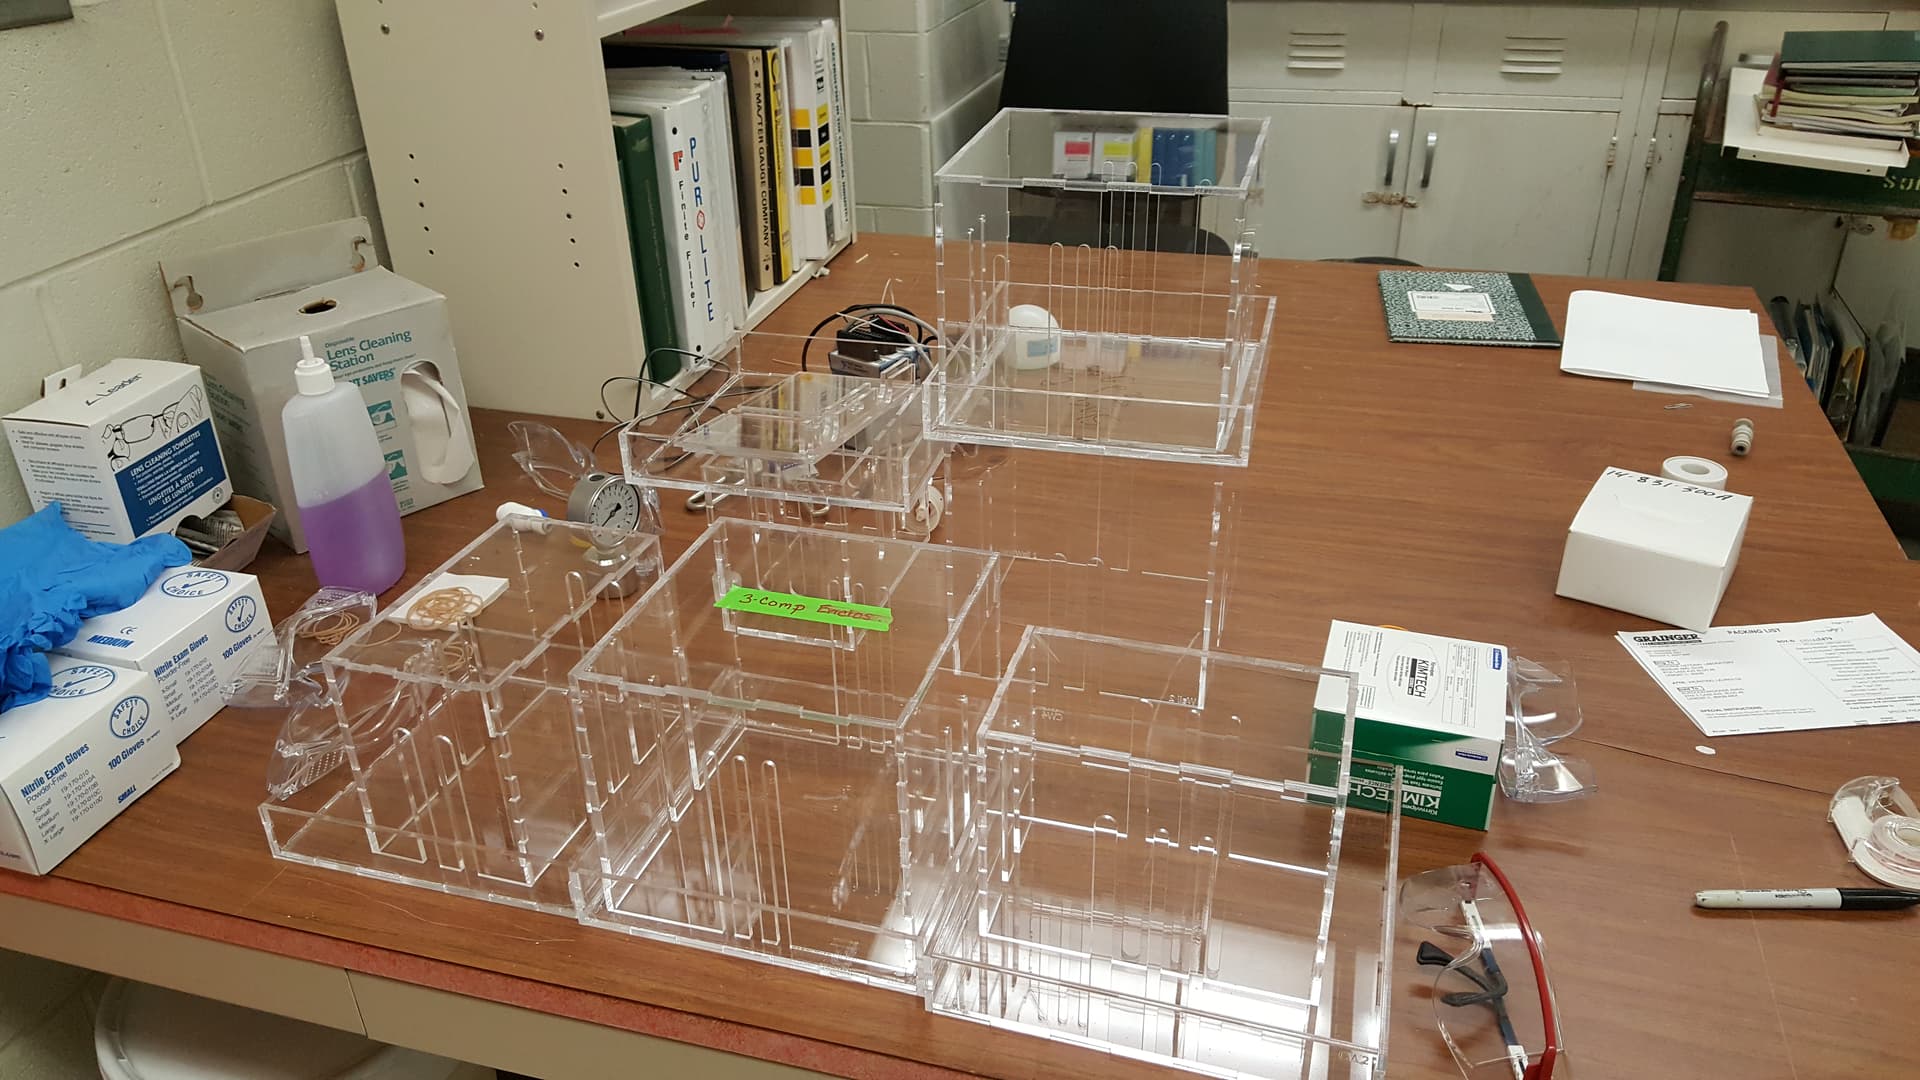
Onshape CAD has a feature called a Featurescript that is essentially a custom program that provides a special feature. Anyone can write them and there are a number that the user base has made available publicly. One of those is called “Laser Joint” and I use that to customize finger joints (tabs and slots) for laser cutting. It works a treat. I find that it is beneficial to make a small group of parts to make a test box that can be used to fine tune the parameters that adjust the fit of the interlocking parts. Here’s a group of enclosures that laser cut from acrylic for work: