Hi All, just embarking on my first rotary engraving. I have followed all the given instructions and set up from multiple sources and all seems good.
However - the “glass” not rotating? Machine engraves by using X and Y movement in Lightburn, but when I using Falcon Design space, the “glass” is rotating!!
Any ideas why Lightburn is not driving the rotary Pro motor?
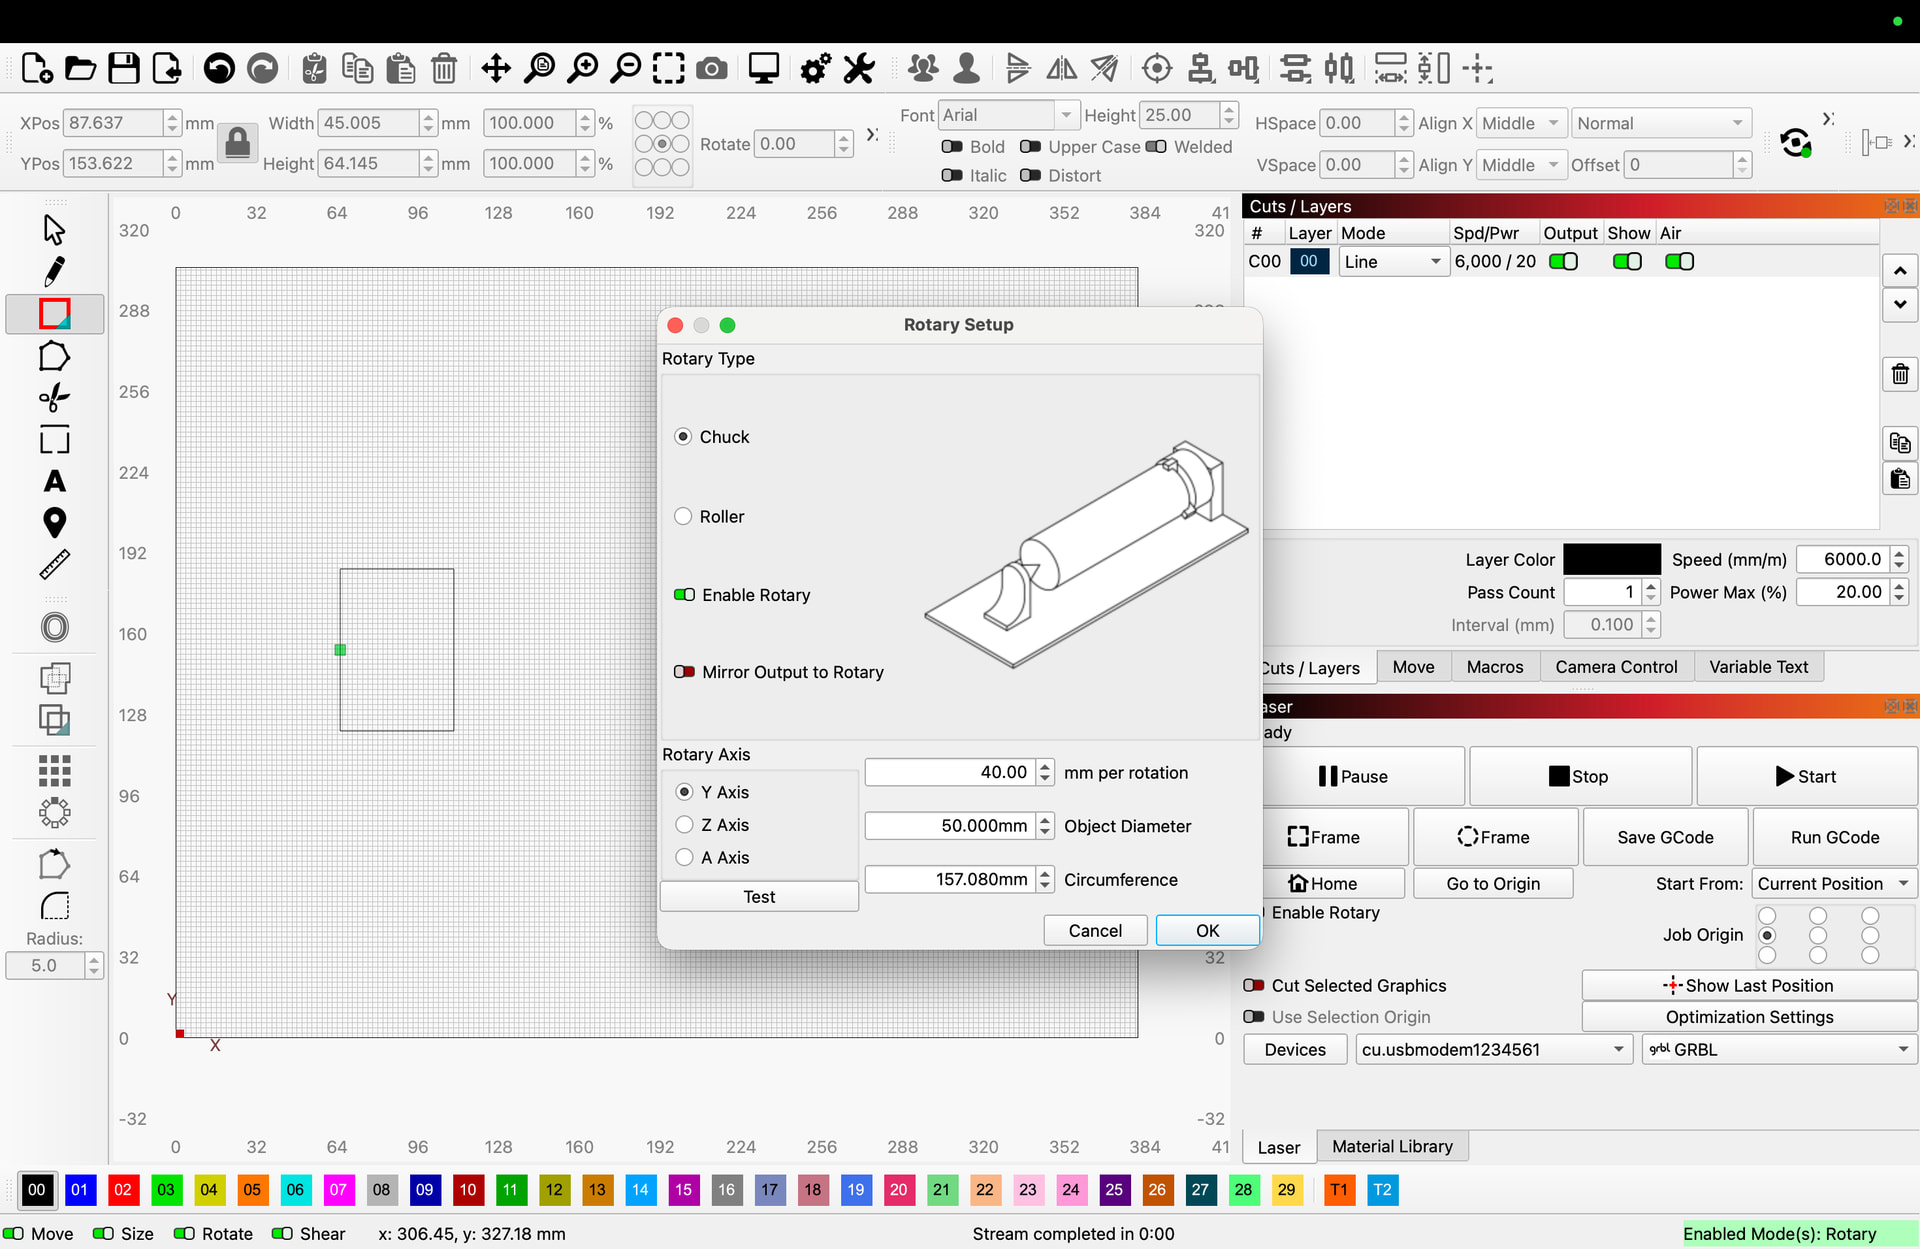
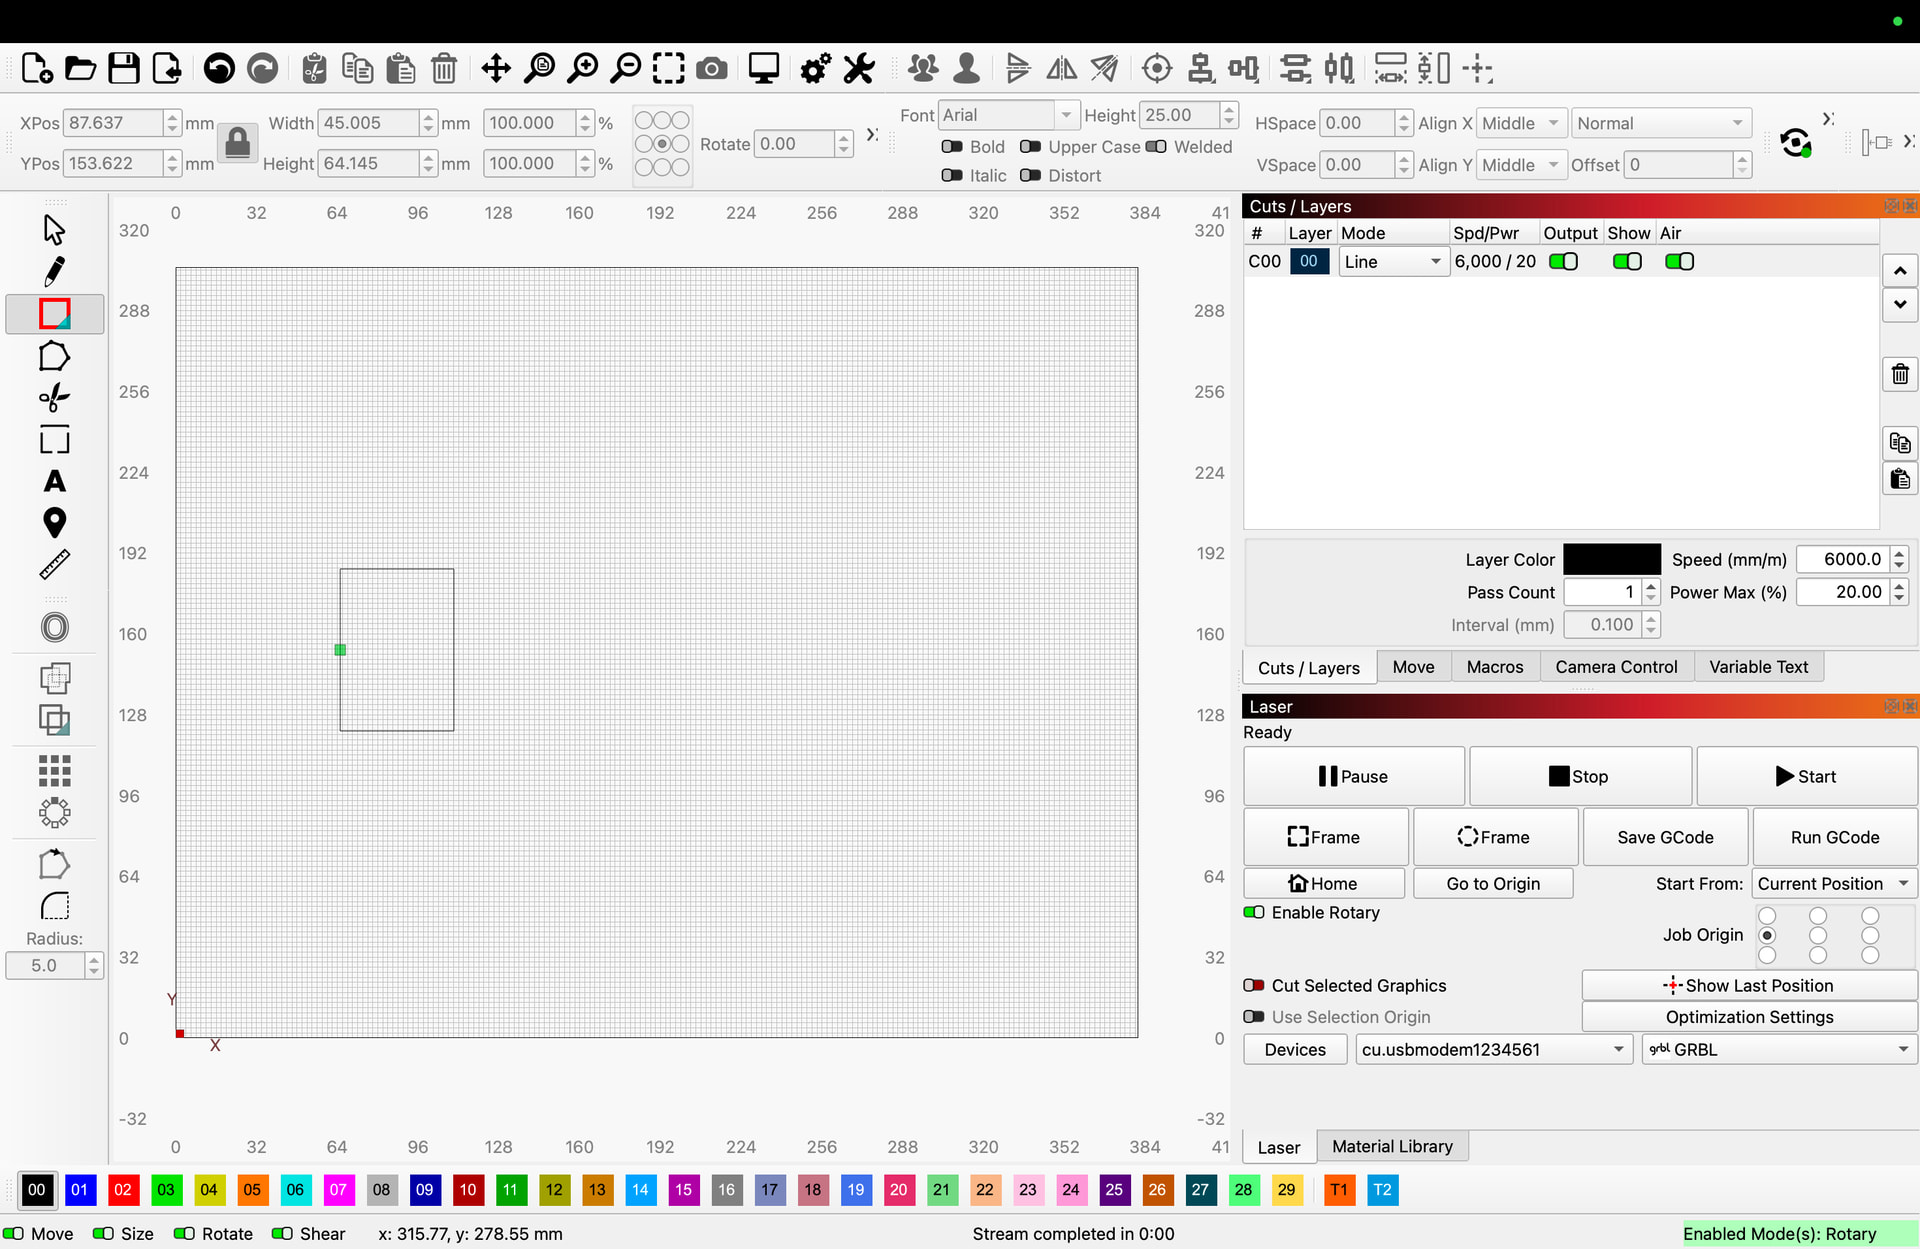
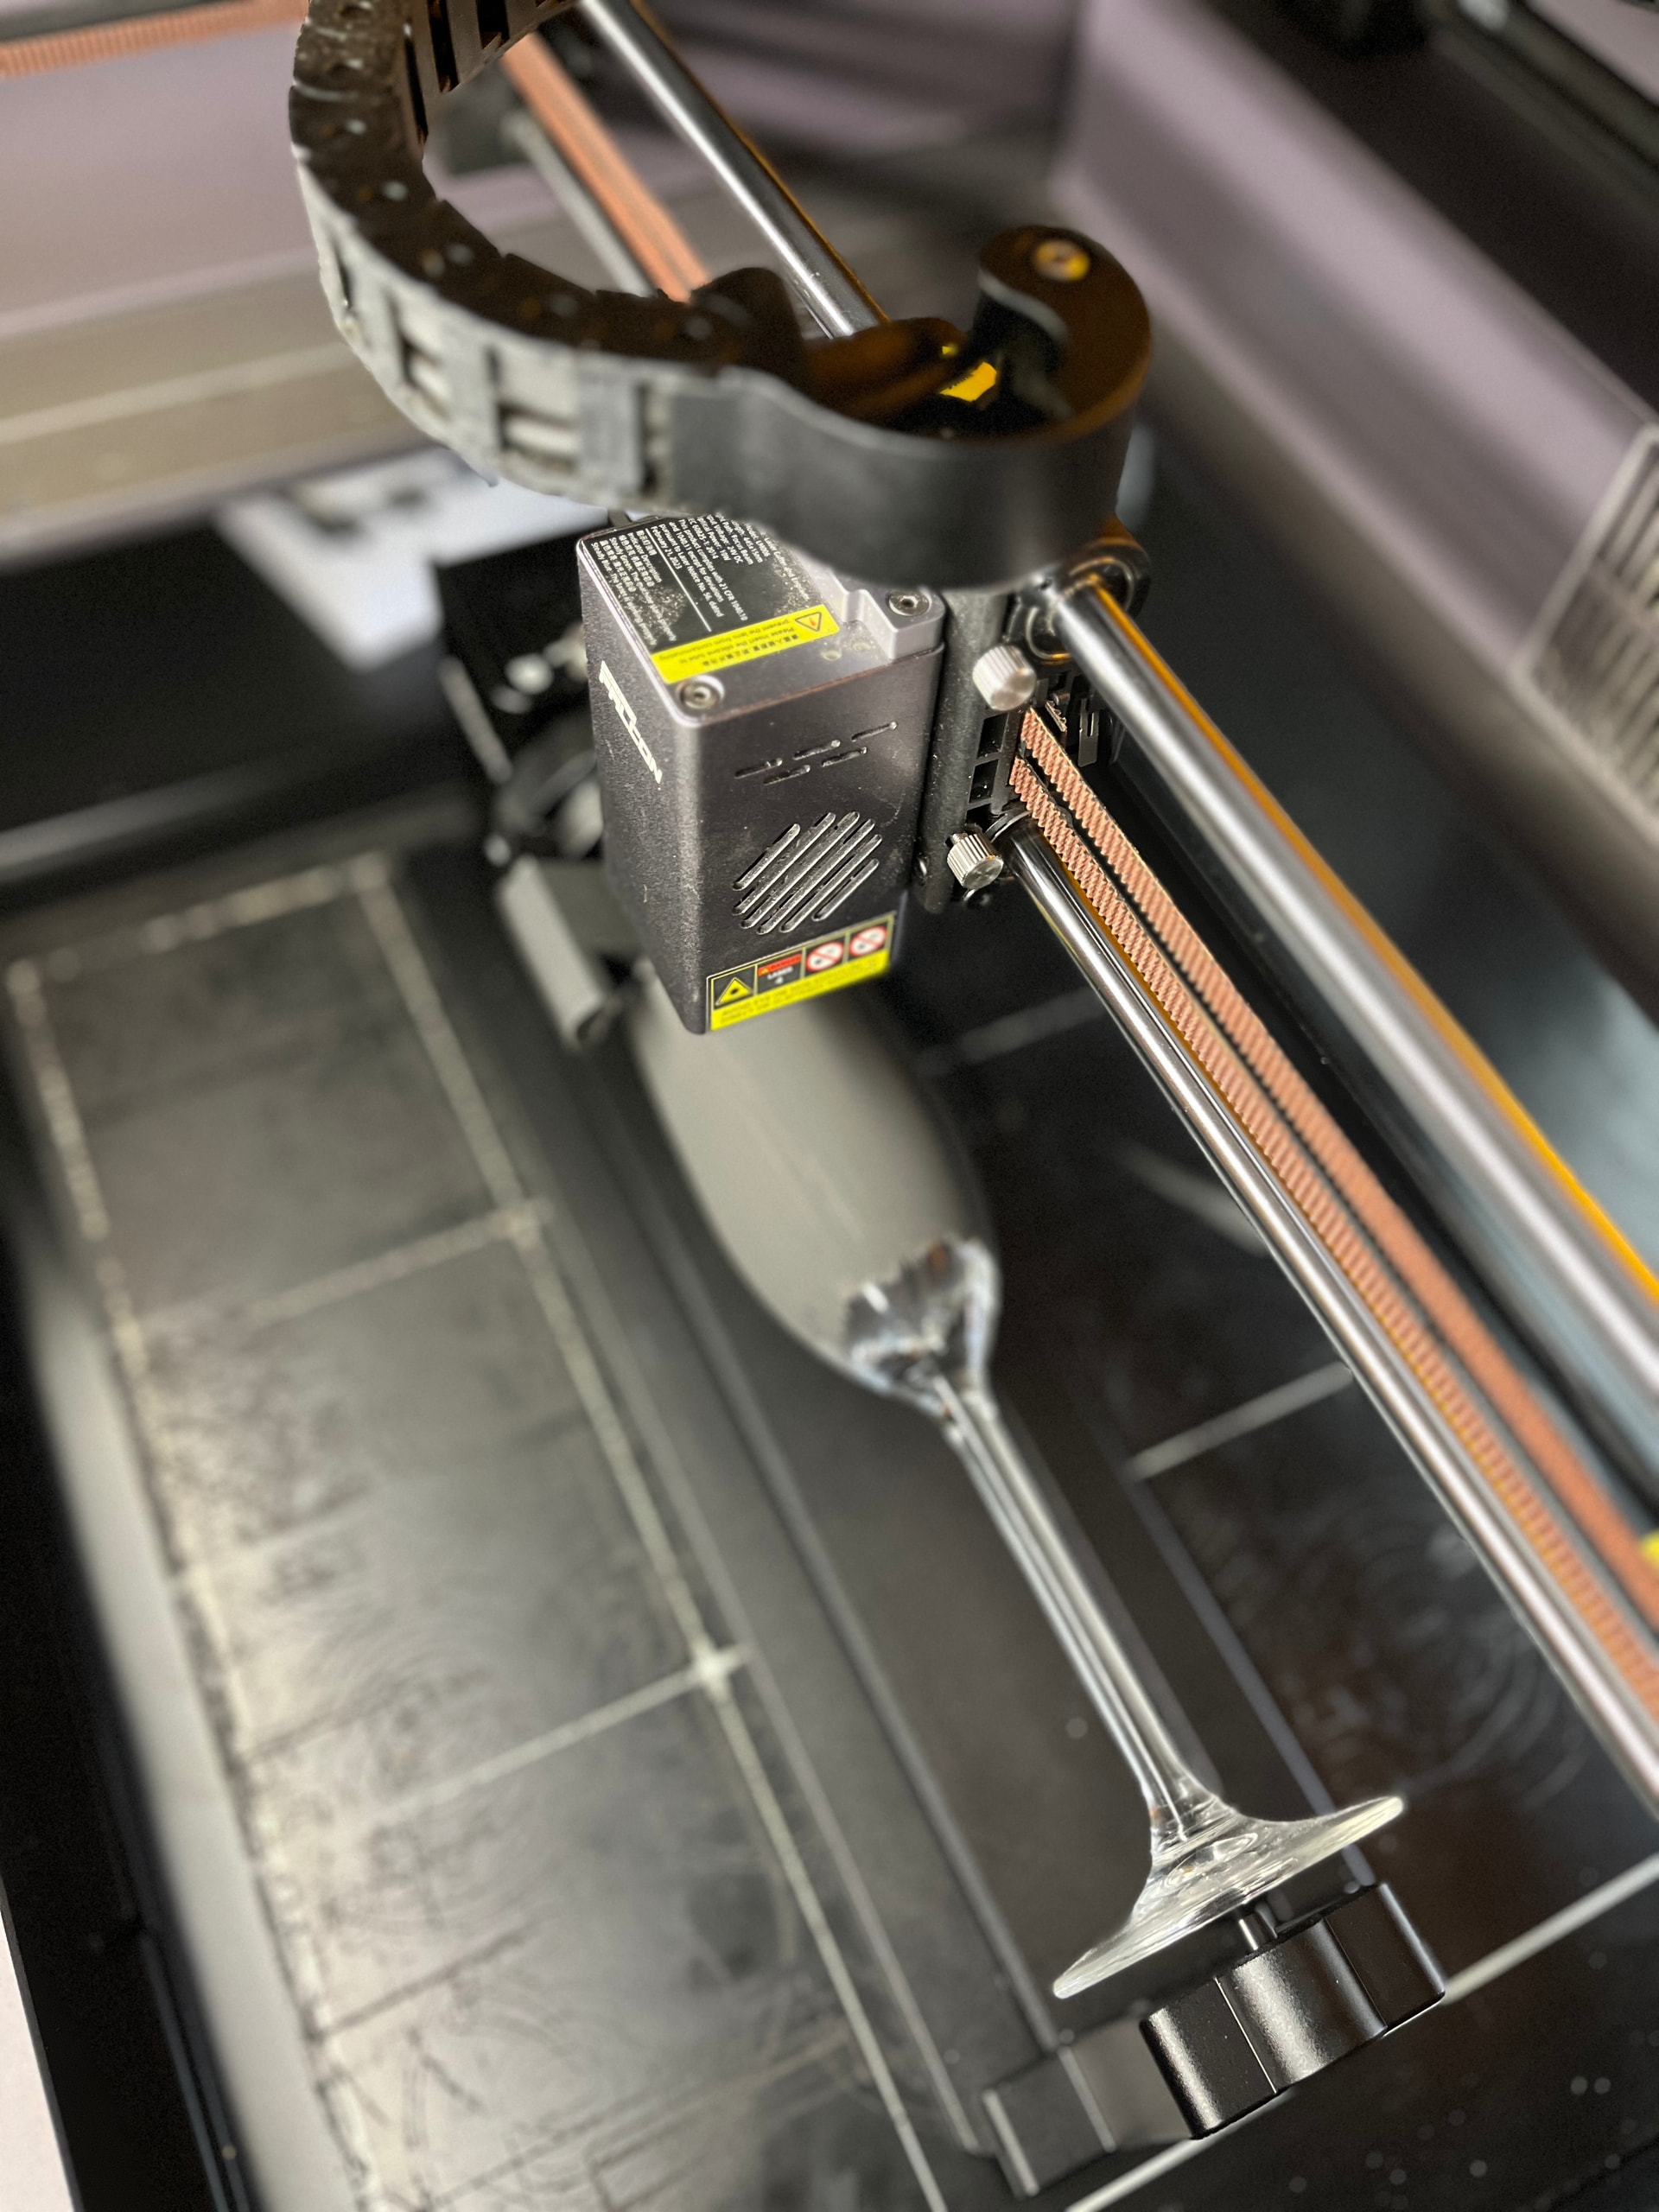
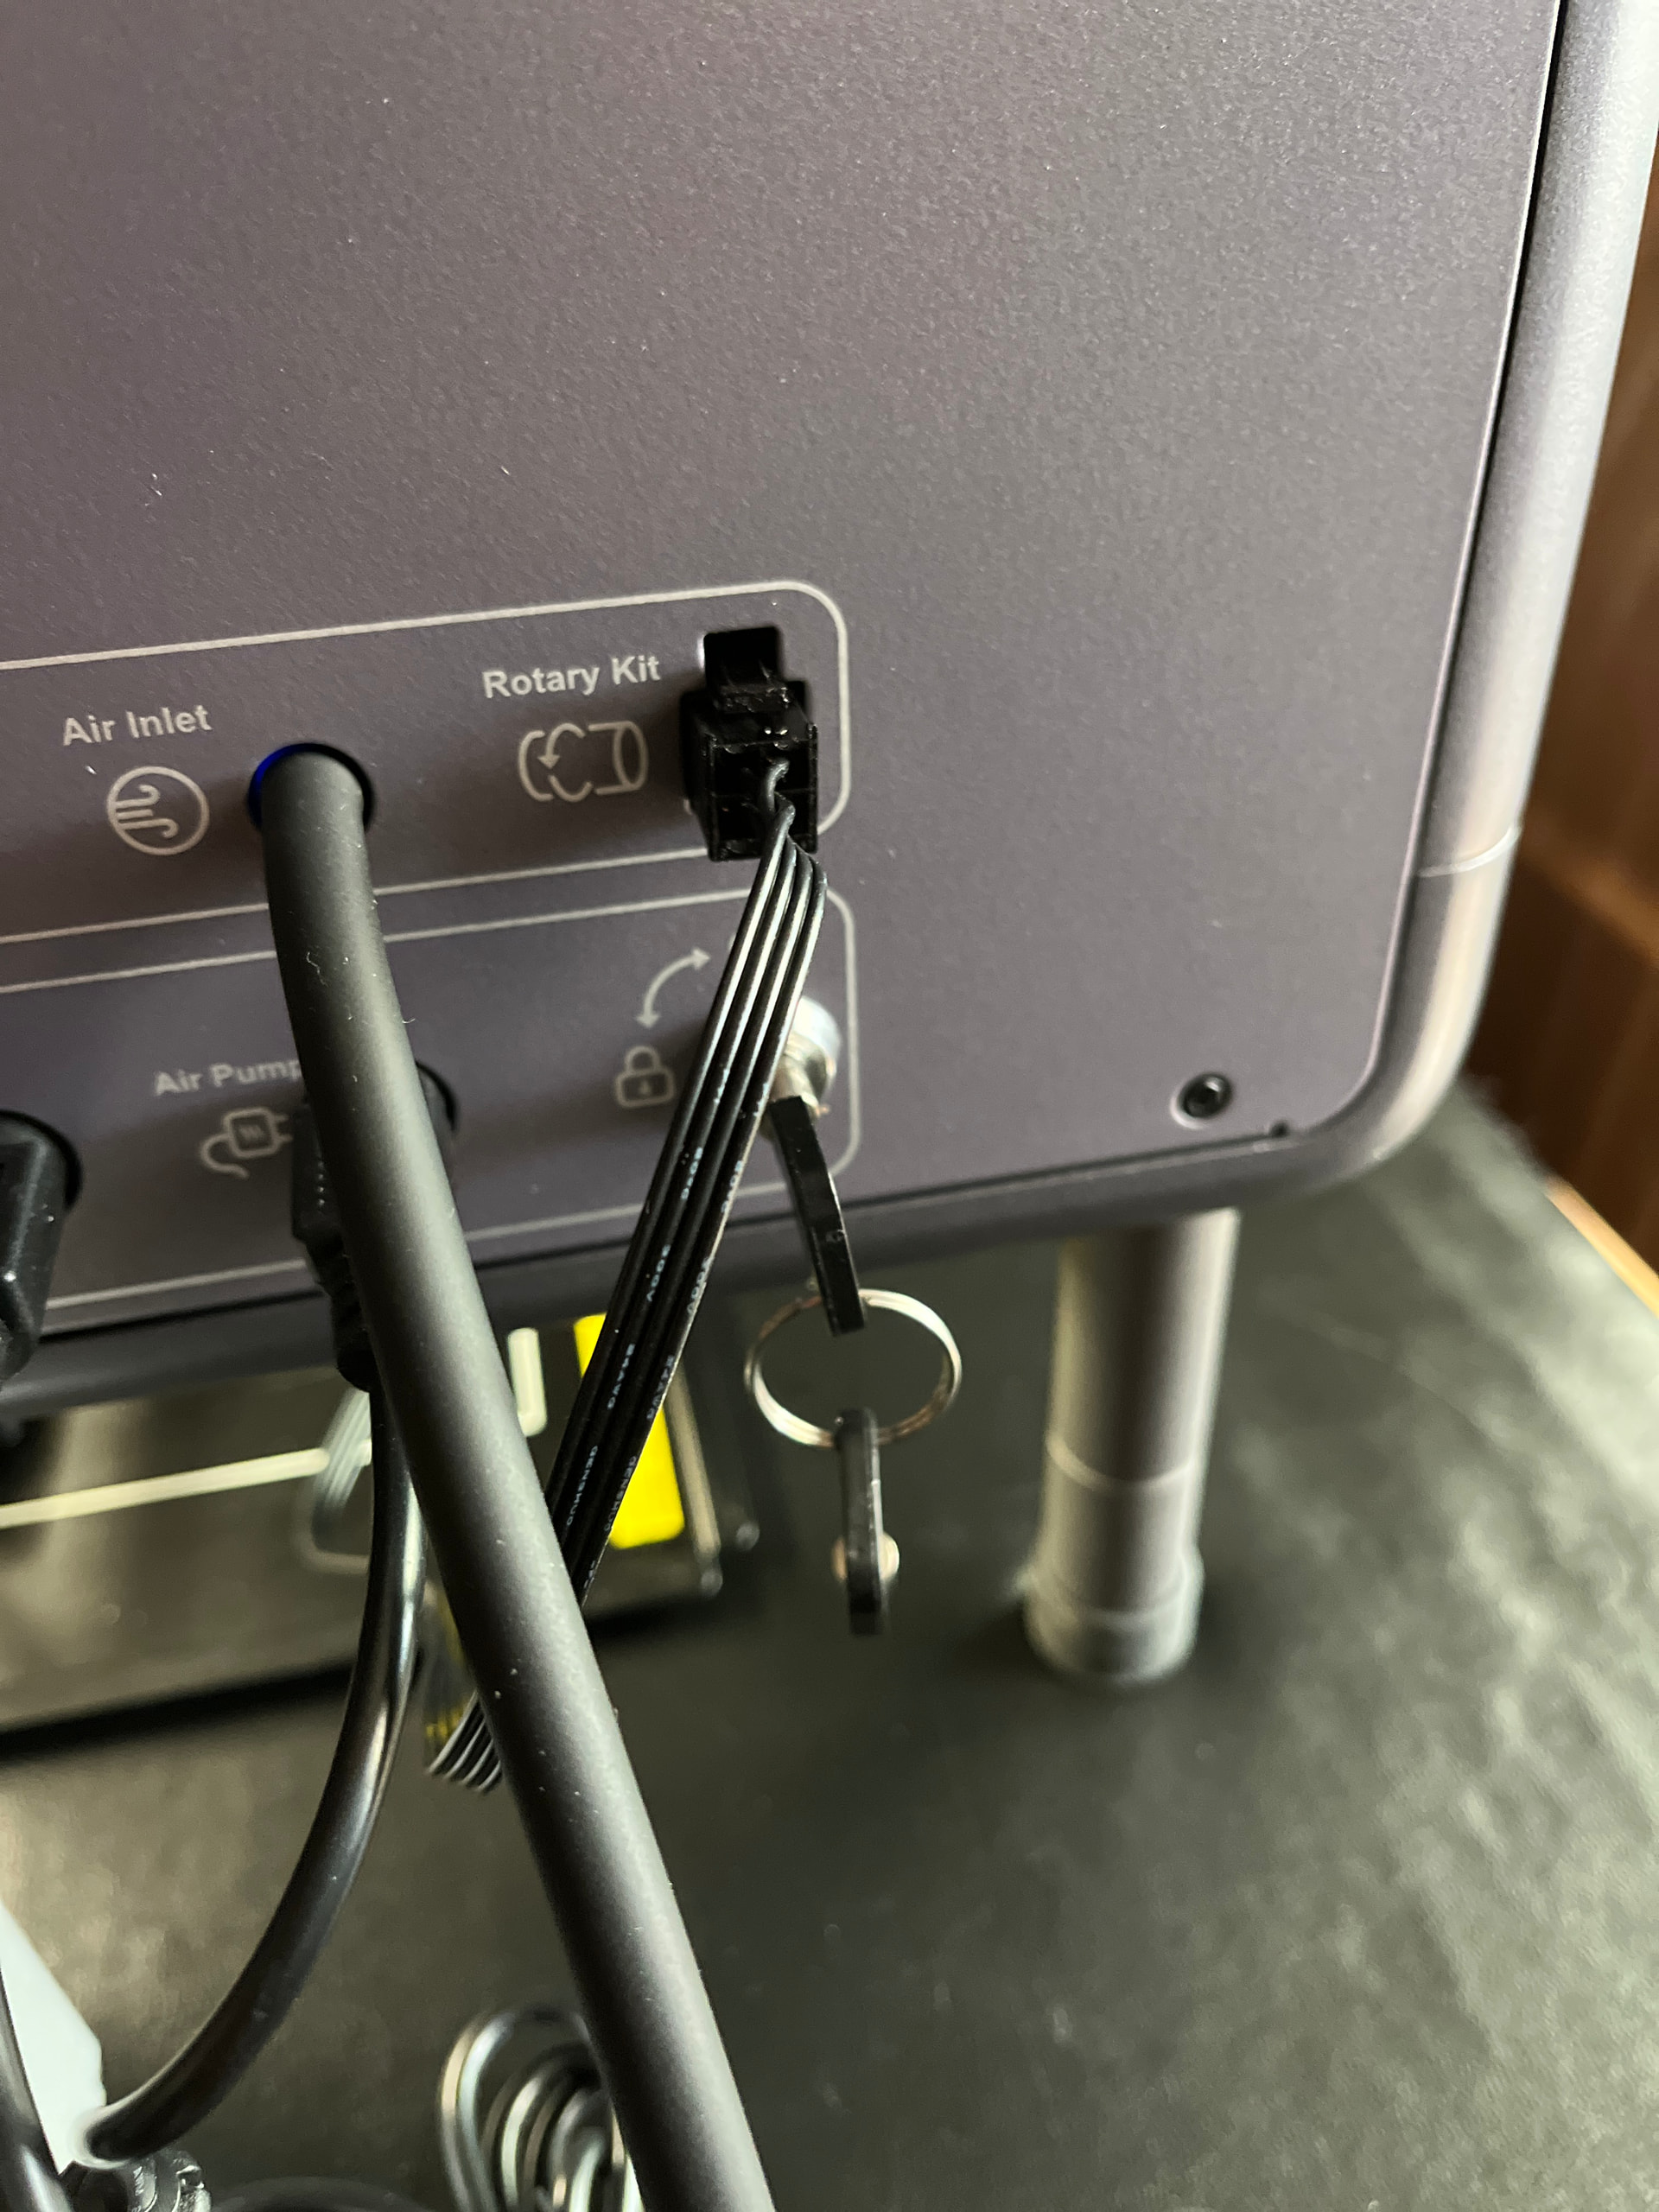
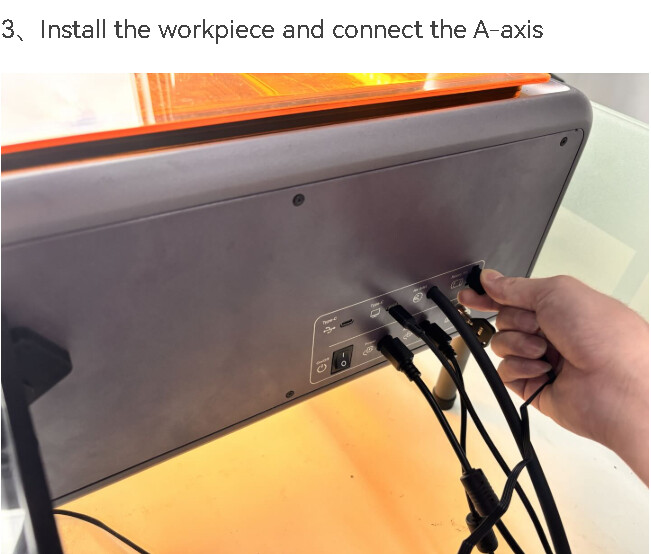
Screenshots (No phone pics please) of your Lightburn sdcreen with your project loaded, the cuts/Layers panel and laser panel showing and also of the Rotary Setup dialog would be helpful. Also a photo showing your machine with the rotary in place and the connections for it.
I am having this exact same issue. The instructions that come withe rotary say to set the axis to Y in lightburn, and the Rotations to 40. But this is for a totally differnt type of laser than the Falcon a1 pro. So I assume you are also trying to use it on one of them.
Videos I have watched say that you have to set it to Z axis but if I do that, it just raises the laser head straight up until it crashes.
seems the only one that works correct, makes the rotary actually turn and not the head of the laser moving in the x and y is setting it to the A axis but that then greys out the revoltions per mm.
So I think lightburn may not be compatible with falcons a1 and the rotary tool. may just have to go to falcon space for that.
When you click the test button in rotary setup the normal action is the rotary will make one complete rotation and return to the start point and the X axis may move a little during the process. What happens when you click the test button?
I think what the main issue is the instructions that they send with the reality rotary pro is not for the A1 pro so they tell you to connect it to the Y access in Lightburn and that’s not correct it is the a access that you have to use that’s the only one that will actually spin it a full 360 and work when you hit the test button and it seems that it’s hard to find anything out there about setting this up for light burn.
everytime i sat mine to Z it would raise the z axis all the way up and error out. I wonder do you have the A1 pro or just the A1. thinking it may be due to the auto focus
I have the base model, Falcon A1 10w. It’s working fine now, don’t fully understand how and why.
I initially tried all axis settings without success, but now with Rotary set to Z axis and 360mm per rotation it’s all good, can’t think of anything else I did, that may have helped.