I’m new to lasering. I’ve completed a few flat projects and a few projects on the rotary. I have the Ortur Rotary tool. I watched aYouTube video on adjusting the settings for the rotary, and here’s where I’m having problems. After configuring the settings, the rotary project works great. As soon as it’s complete and I go to complete the next rotary project, using the exact same object, it shows error code 9. I have to completely uninstall Lightburn, reinstall Lightburn, and it works for one project again. But the same happens after every project. I’m having to uninstall the program and reinstall it in order to get the projects done. I have the “start from” set to “current position.” But for some reason it doesn’t seem to like what I’m doing from one project to the next. Any suggestions?
The one thing I might check, the next time it happens, is what is the position of the axis’. I.E. click Get Position in the Move window and see if one (I’m assuming you are using the “Y” axis) is close to its limits. It would help if you could post everything in the console, both above and below “error 9”, to see if there is any additional information. I’m thinking that after completing a job you may be too close to a limit for it to process a new job. Just a guess on my part. good luck.
Thank you so much for responding. I’m attaching a screenshot of what I’m seeing.
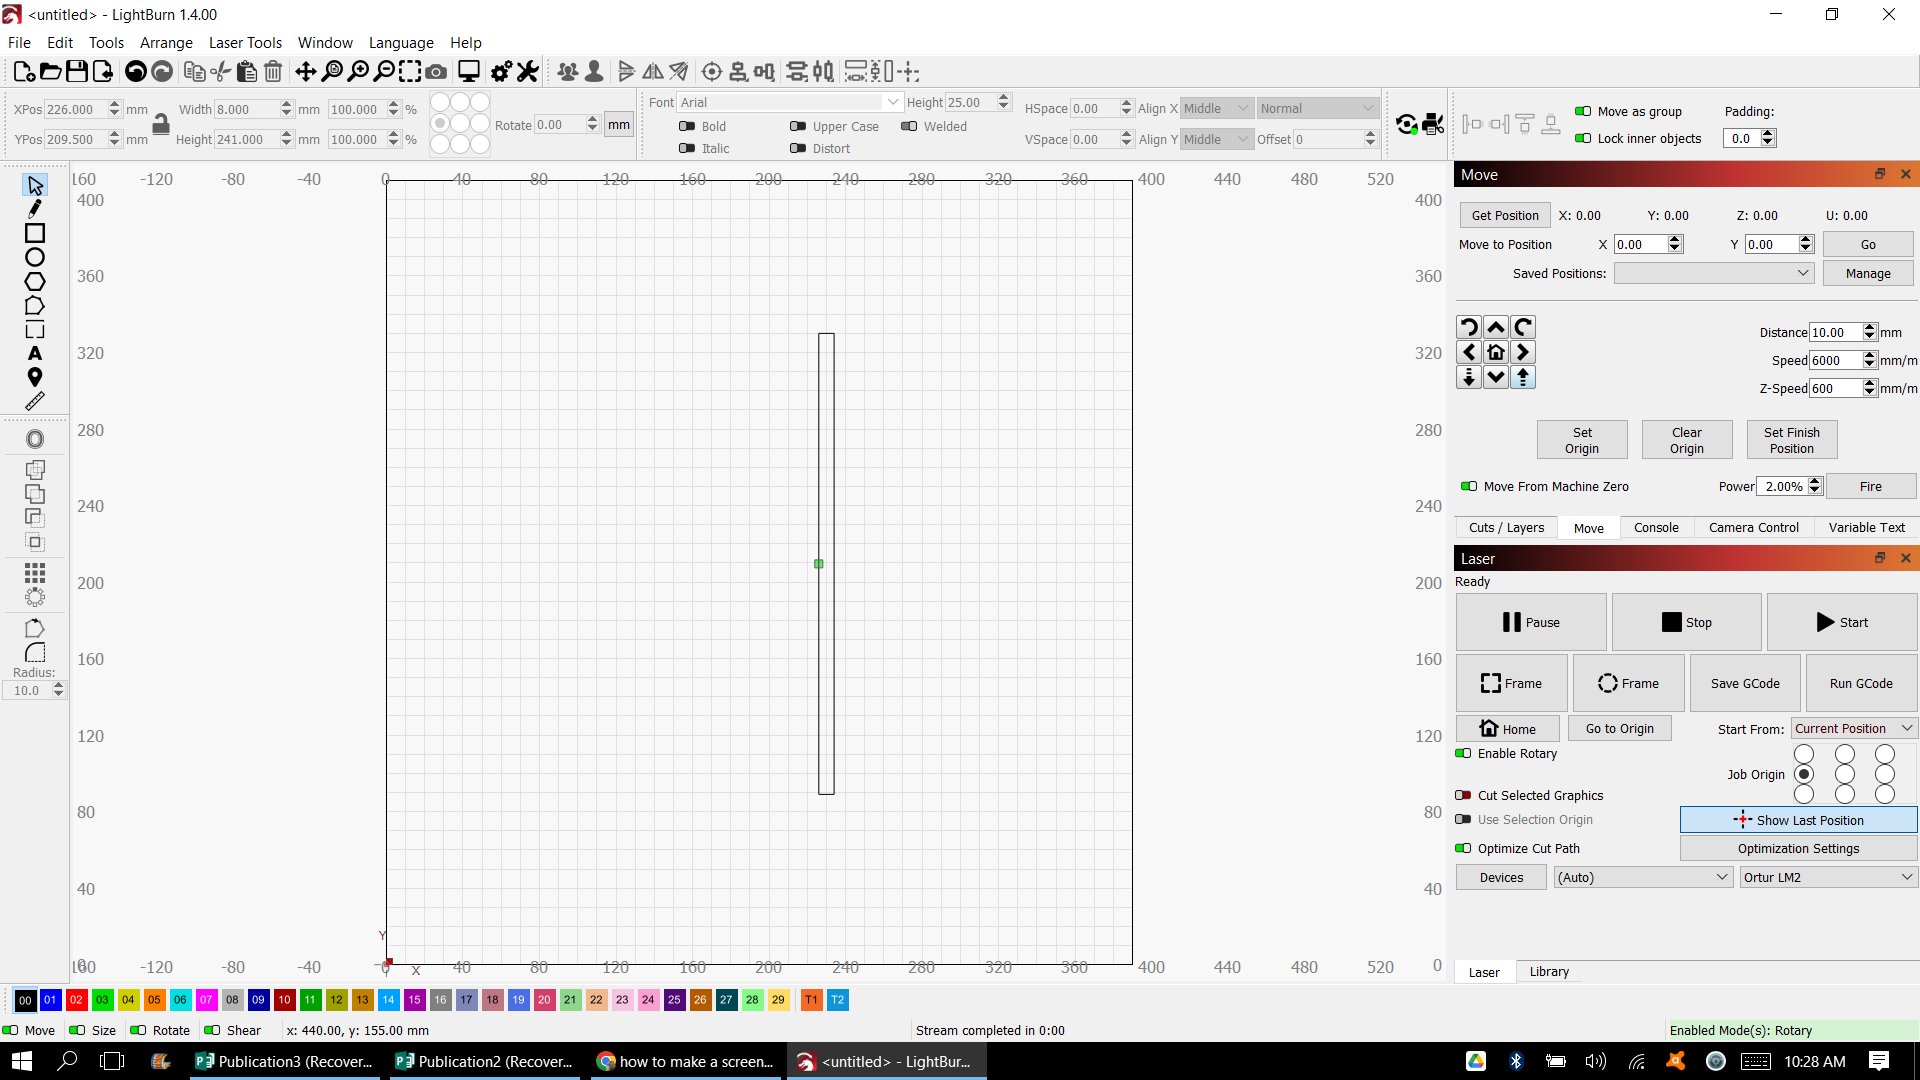
As far as the axis I’m using, yes, I’m using Y. I’ve been searching for the “Move” window, and I’m not having any luck. I’ll keep looking. This program is a bit intimidating.
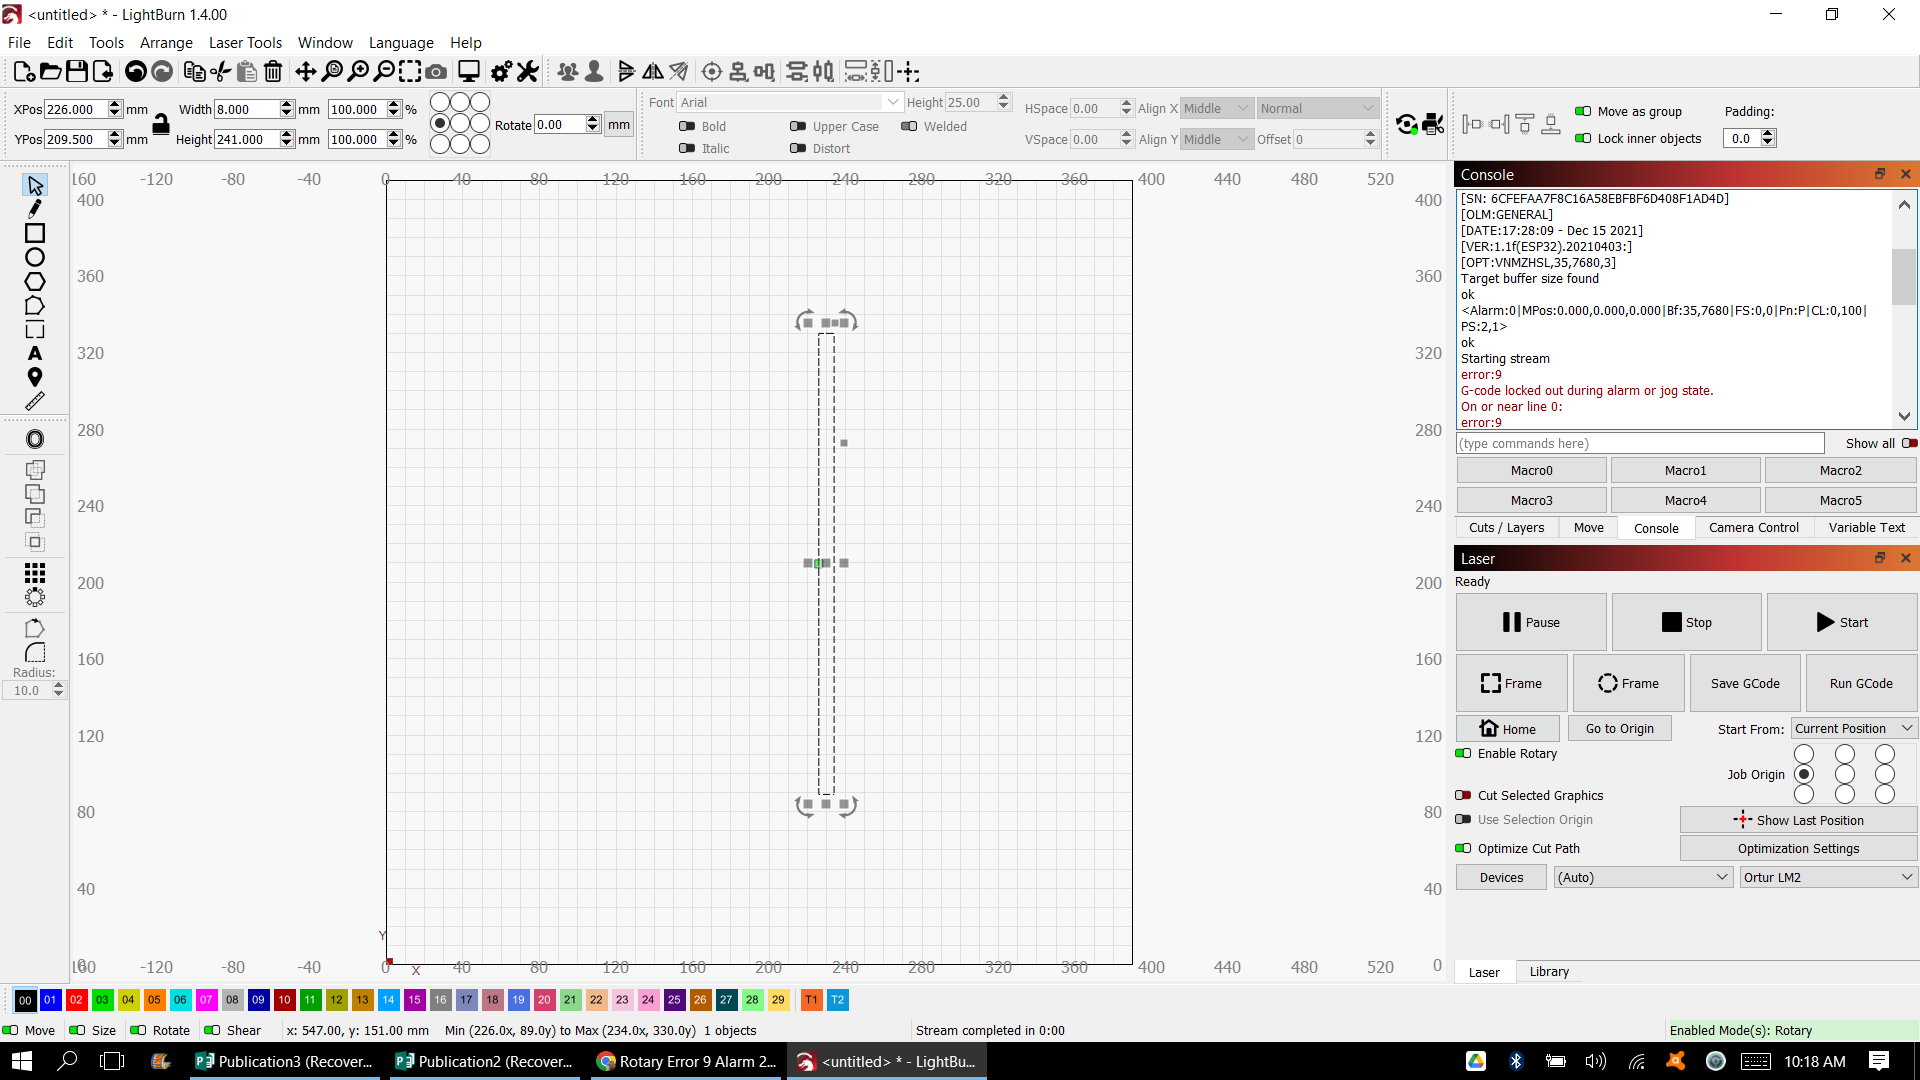
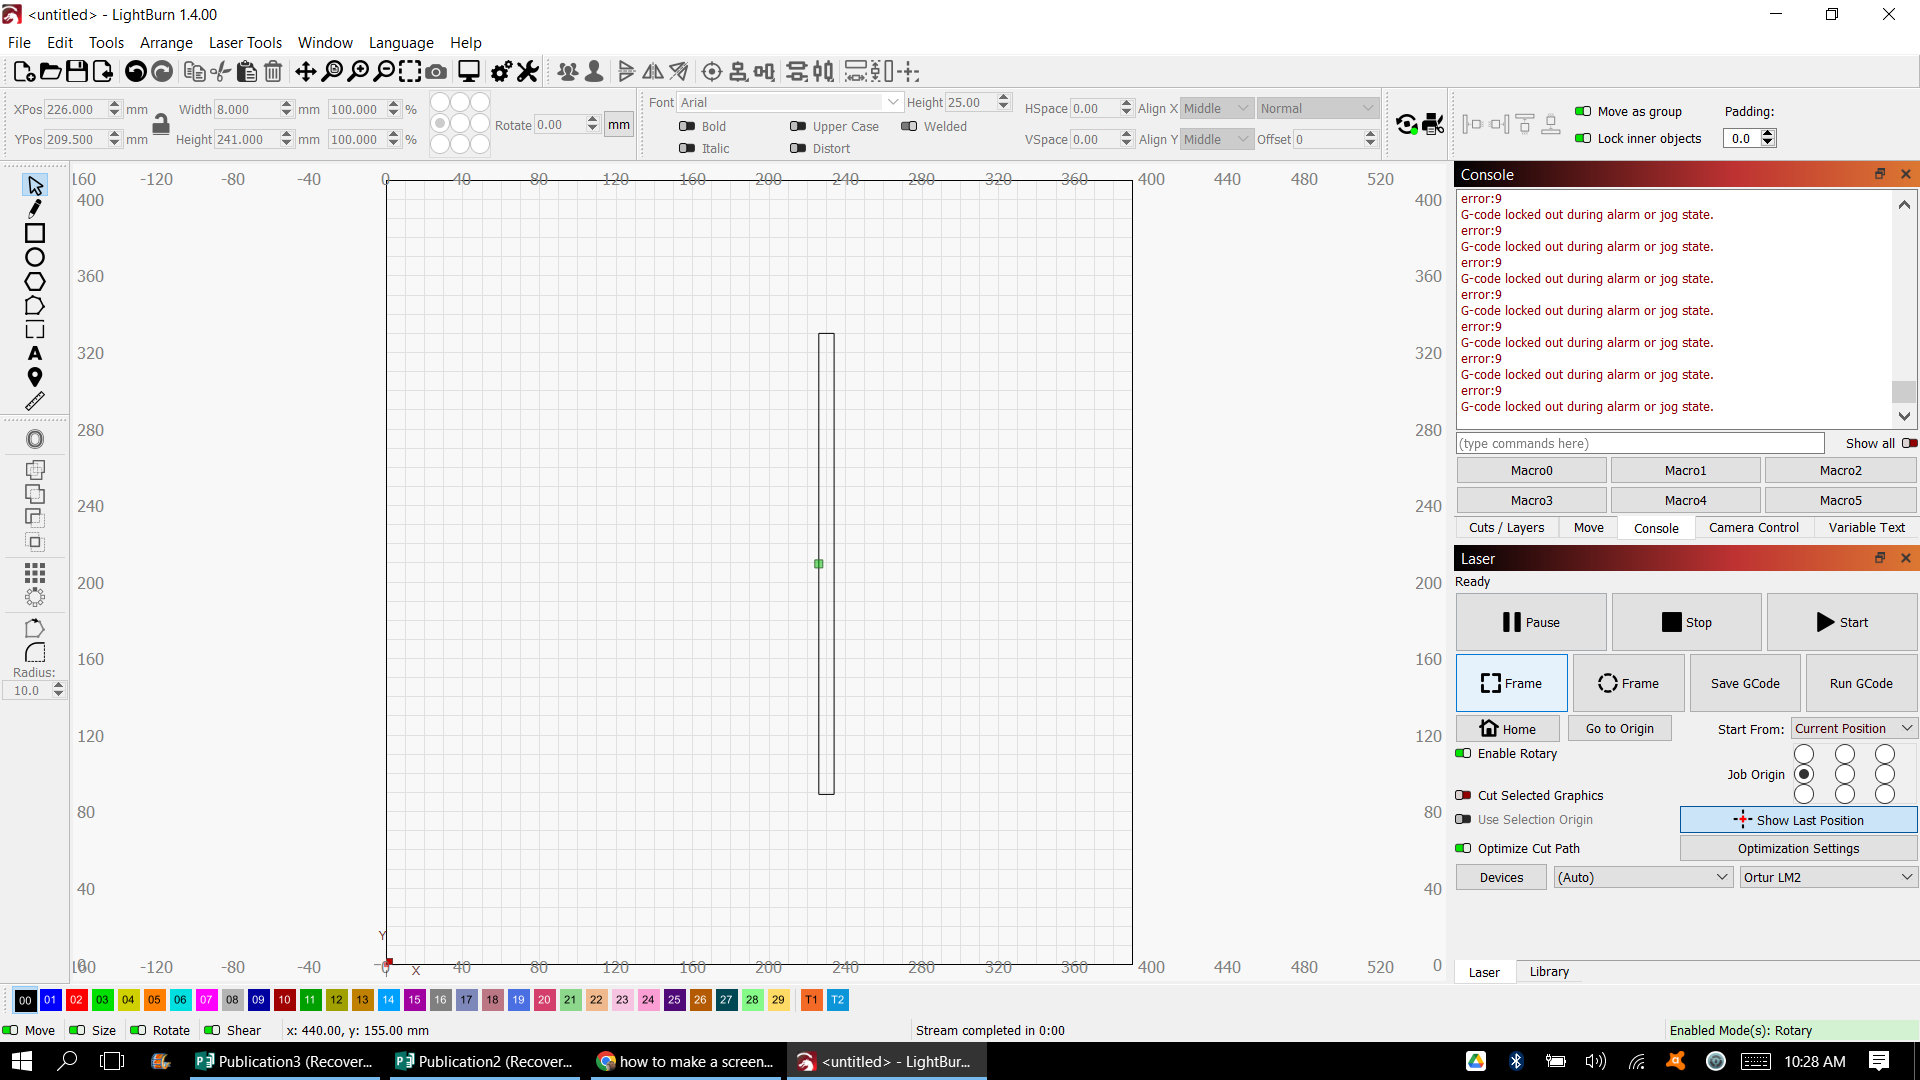
I found the Move Screen. It doesn’t seem to show anything when I press get position. Seems like I’m locked out of everything. Nothing moves. I read that right clicking on Devices clears the codes, but I’ve done that 100 times and it doesn’t seem to help.
In your first screen the terms ‘Starting Stream’ are shown. This may mean the engraver attempted to Home. Homing is a stream and homing should be turned off for rotary work.
After you set $22=0, when you start the engraver you do so with the engrave head front left (lower left on your screen).
You can confirm the current Machine Settings by entering the following in the Console window in LightBurn:
$$
then press Enter.
You’re more than welcome to select and copy the text from the Console window in LightBurn and Paste that (or any other) information into a reply here. The following may be of interest to you as well.
$i
then press enter will tell you which version of the LM2 you have and what the Firmware build date is. This can be very helpful.
$#
then press enter will tell you if a workspace offset is applied.
?
then press enter will report the ‘current status’ of your engraver and this may inform you as to which boundary was exceeded.
Good grief! I figured it out! The red light was flashing the whole time, and when I looked up why, one thread I read said to hit the stop button. Boom! That was all it took. Now I know that when the job is over and I’m getting ready to start another project, I need to hit the stop button first.
Thank you all so much for taking the time to lend a hand.
Glad you got is solved. Congrats.
This topic was automatically closed 30 days after the last reply. New replies are no longer allowed.