Marco of LightObject has done it! His work has paid off as a Ruida partner and their newest firmware works with the rotary tool on the U axis as a stand alone function. X and Y work perfectly and laser now fires as it should!
I realize Thunderlaser had this going for a while, but Marco deserves a great bit of appreciation for making this a public non-secured firmware update for his R6 controllers. I don’t know how this will work with other 6445G controllers yet, as this will need to be tested and or confirmed from someone in the know. But I can attest that this works the the R6 LO brand controller with his latest firmware release found in his forums.
I select “User origin” to get this to work right with Lightburn.
Worth noting, as before. the LightBurn “TEST” button does not work correctly with the rotary feature from the R6445G. So when setting this up from there, do not bother with the test button. I won’t work, but luckily isn’t needed anyhow.
There is a thread here about this as well:
Yes, it works for me. There needs to be some tweaks done, but otherwise the R6445G is now functioning correctly with this latest firmware
I haven’t tried/flashed this firmware yet but I’m intending to soon. What are you doing within lightburn (or elsewhere) to make it use the rotary instead of Y? Just putting it in to rotary mode and its working?
Yes, that’s it. It will function as normal but with the rotary on it’s own driver from U port.
There are a list of things that make it work better. A few homing quirks that need address from LightBurn possibly.
I would make sure to back up your settings and reload just for kicks once the firmware is done.
From there when I switched to Rotary and back from it, I would make sure to reset the home calibration by going to the DSP opening menu-Functions- Reset X+Y each time. I’ve had it lose calibration for some reason and haven’t been able to figure out why just yet. But I will and will report.
Oh, and make sure you set your setting on Lightburn to “User Origin” and not absolute origin. But that may need to get fixed for the camera thing to work with LB set to rotary. But that probably doesn’t matter to most anyways
Can you please offer more details, what does the mean, exactly?
To LightBurn or the controller itself?
Sorry, I’ve obviously been MIA on here for a bit and didn’t get your response till now.
What I mean is the “TEST button” in the rotary setup menu is essentially broken to the 6445G and will send it off on some wild tangent where it just creeps away until you push the stop button on the physical DSP controller.
And Lightburn is what would have to be tweaked to be fully bug free.
Ruida focuses on RDworks and isn’t concerned with the LightBurn compatibility. So Lightburn has to be the one to make the required adaptations until they provide their own controller, which they argue isn’t going to happen any time soon, but I think they will eventually see the light and figure this out. I feel like this is the ultimate evolution of this company, otherwise they will end up constantly having to back engineer things as they come. The problem with this is time. After enough manufacturers understand LB is becoming the main and best UI source, they might intentionally break their systems in ways to be difficult to debug per say. I’ve heard wind of the growing concerns of this.
But I am a nobody in the foot print of the industry and I don’t know what the actual case may be in the long run or who actually knows what they’re talking about in truth. Maybe a collaboration could happen, which would be the next best thing to an LB produced DSP.
This is extremely unlikely, and honestly unfounded “growing concerns” aren’t much more than conspiracy theory. Ruida’s COO and CTO both recognize that LightBurn helps them sell hardware, so they’re unlikely to try to intentionally break compatibility. They’ve been quite helpful when I ask questions about hardware, commands, etc, and have even offered us hardware for testing.
Might be nothing more. But I didn’t make it up.
And if they’ve been so helpful for you, then why haven’t you been able to get the rotary U axis firmware before now? I’ve seen post on here about it for a long time.
By the way. I’ve been really impressed with the program. The trace feature is superior to any other software I’ve seen thus far. The outline feature is also excellent.
Because I haven’t asked for it. I have a Thunder Laser which has that feature in it already, but the only thing that doesn’t work is the ‘Test’ button, so it’s not a high priority. I’m working on supporting three other controllers at the moment, keeping up with a growing business, handling a decent amount of technical support, and I’m the lead developer.
Yeah you’re right, the test button isn’t that big of a deal. At least the rotary works now.
That was and has been the largest down fall to the Ruida controllers IMO.
The LightObject T9 always had the feature but it isn’t compatible with LB and it’s processing ability leaves a lot to be desired when loading large files, so there is that…
It’s like none of them can ever seem to get it all right for some reason.
I know it’s a pipe dream at this point, but It sure will be a good day when these controllers have full compatibility without the bugs.
I know this is random for the topic, but the next thing that needs to get fixed is the auto focus issues many are having and some sort of tuning software for the stepper/servo hybrids from Leadshine. Steppers are less than ideal for these things.
Clearpath SD units work with them only because they have their own UI tuning ability. But man, you’re going to pay for them!
Have a look at this RDC5442G running clear paths>
I have updated my firmware and when I go to the Rotary Setup dialog I get the radio buttons for Rotary Axis.
Y Axis (selected)
Z Axis (greyed out)
A Axis (greyed out)
I have installed a stepper controller for the U axis and verified that it works just fine from the front panel. I have checked “Enable Rotary”
How do I get the A axis to enable?
The video you posted is engraving at 800 mm/sec with Ruida’s max acceleration of 15,000 mm. You don’t need servos or hybrid motors for this.
Here is my yako steppers running at 1016 mm/sec ![]()
")

Also, fast vector engraving

You’re right you don’t. And for a glass tube you can’t do anything past 1000mm/s without out running the pulse (20khz rate/pre-ionize/cutoff timing) But you’re never going to get the accuracy of the servos with steppers, and this is further dimenished the faster you go. Drivers and PSU stability is also critical. Especially with micro-step creep and HTD 3m belts you’re running. Repeatability is what I want to see your system do at these speeds. Show this from start to finish on a three row run of at least 4 semi complex item shapes that have raster fill+line then an outline cut with this setup. If you don’t get offset creep I will be very impressed, but I find it highly unlikely you will be able to do it.
Comparing leadshine stepper those clearpather SK/SD motors isn’t much of a competition in many ways.
That isn’t to say you can’t achieve speeds similar when running ultra light nozzle assemblies and belt reductions.
If I had your machine, I would concentrate of belts and pullies at this point. Something like 15-25mm 2m GT2 profiles with resonance dampers. I can see those HTD belts you’re running vibrating like a guitar string. Now for the paint removing stuff you’re doing in the videos, this sort thing probably isn’t an issue that is as noticeable. But scale your work on down to 1/3rd or less the size of what you have on that 40" raster engrave on the red plate and run this again on acrylic that you also cut out with rounded corners. The rounded corners will likely show belt resonance marks.
Either way, if I’m wrong then the truth will be known what you can do in overall performance with this. But it really can’t be shown removing paint from a plate.
By the way, what are your motors, drivers and PSU used? I just want to know if you have anything different from the typical.
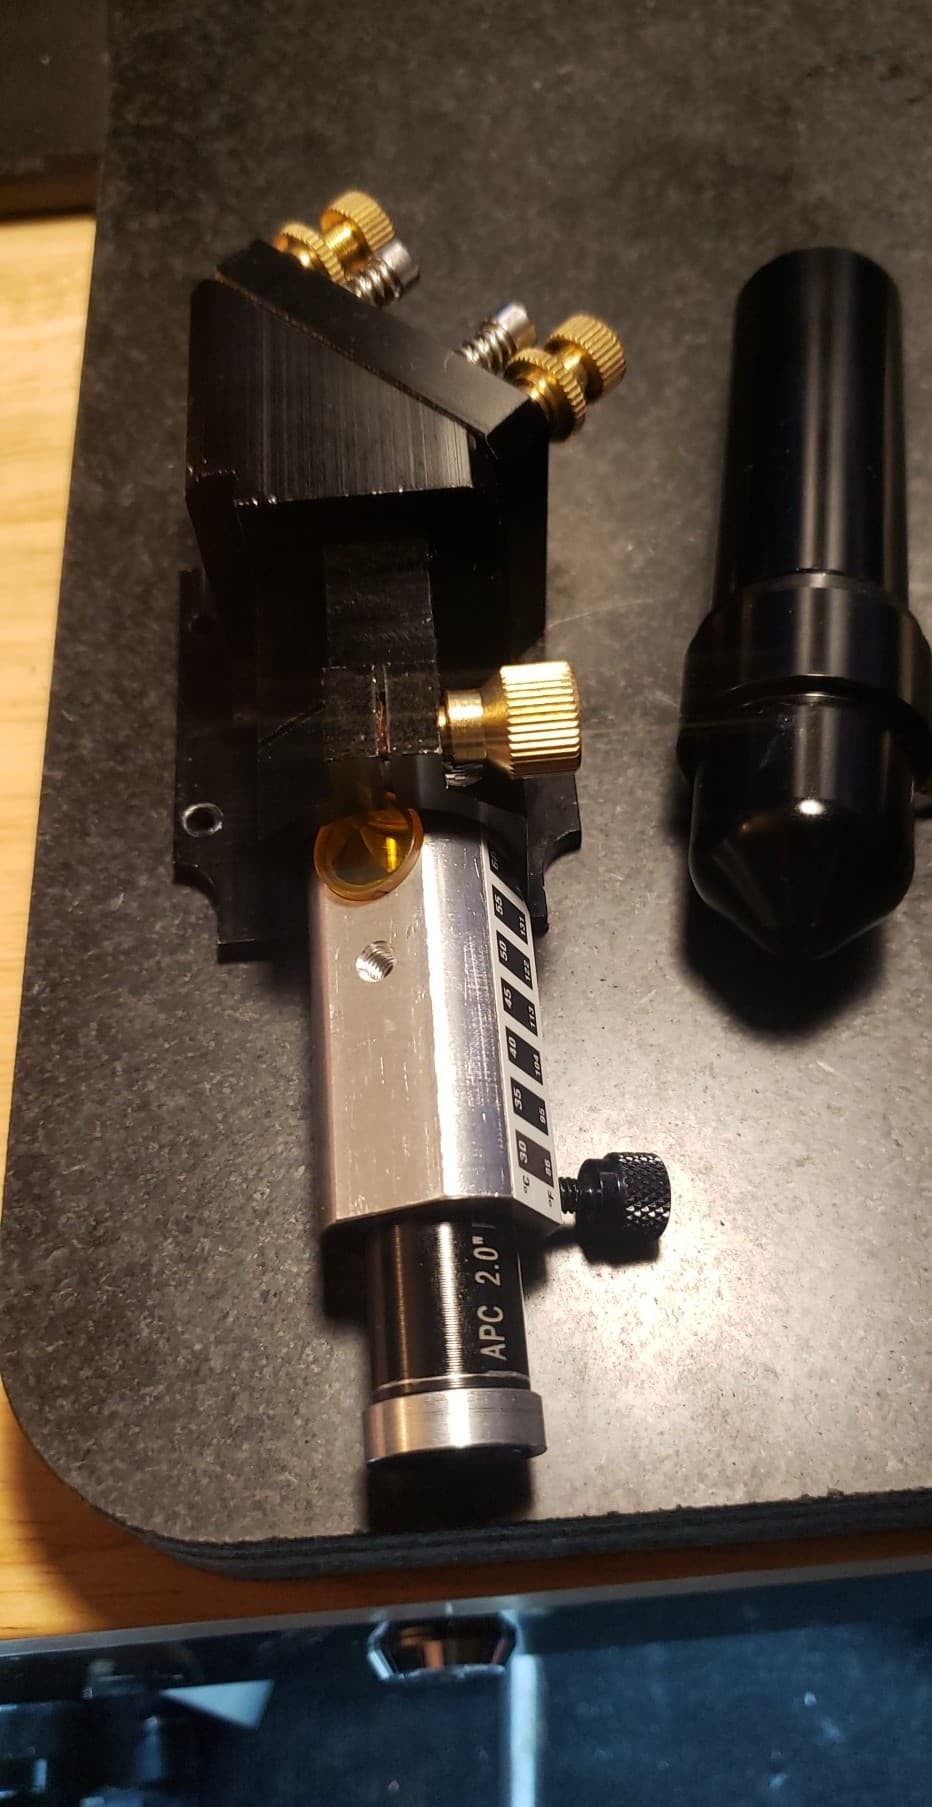
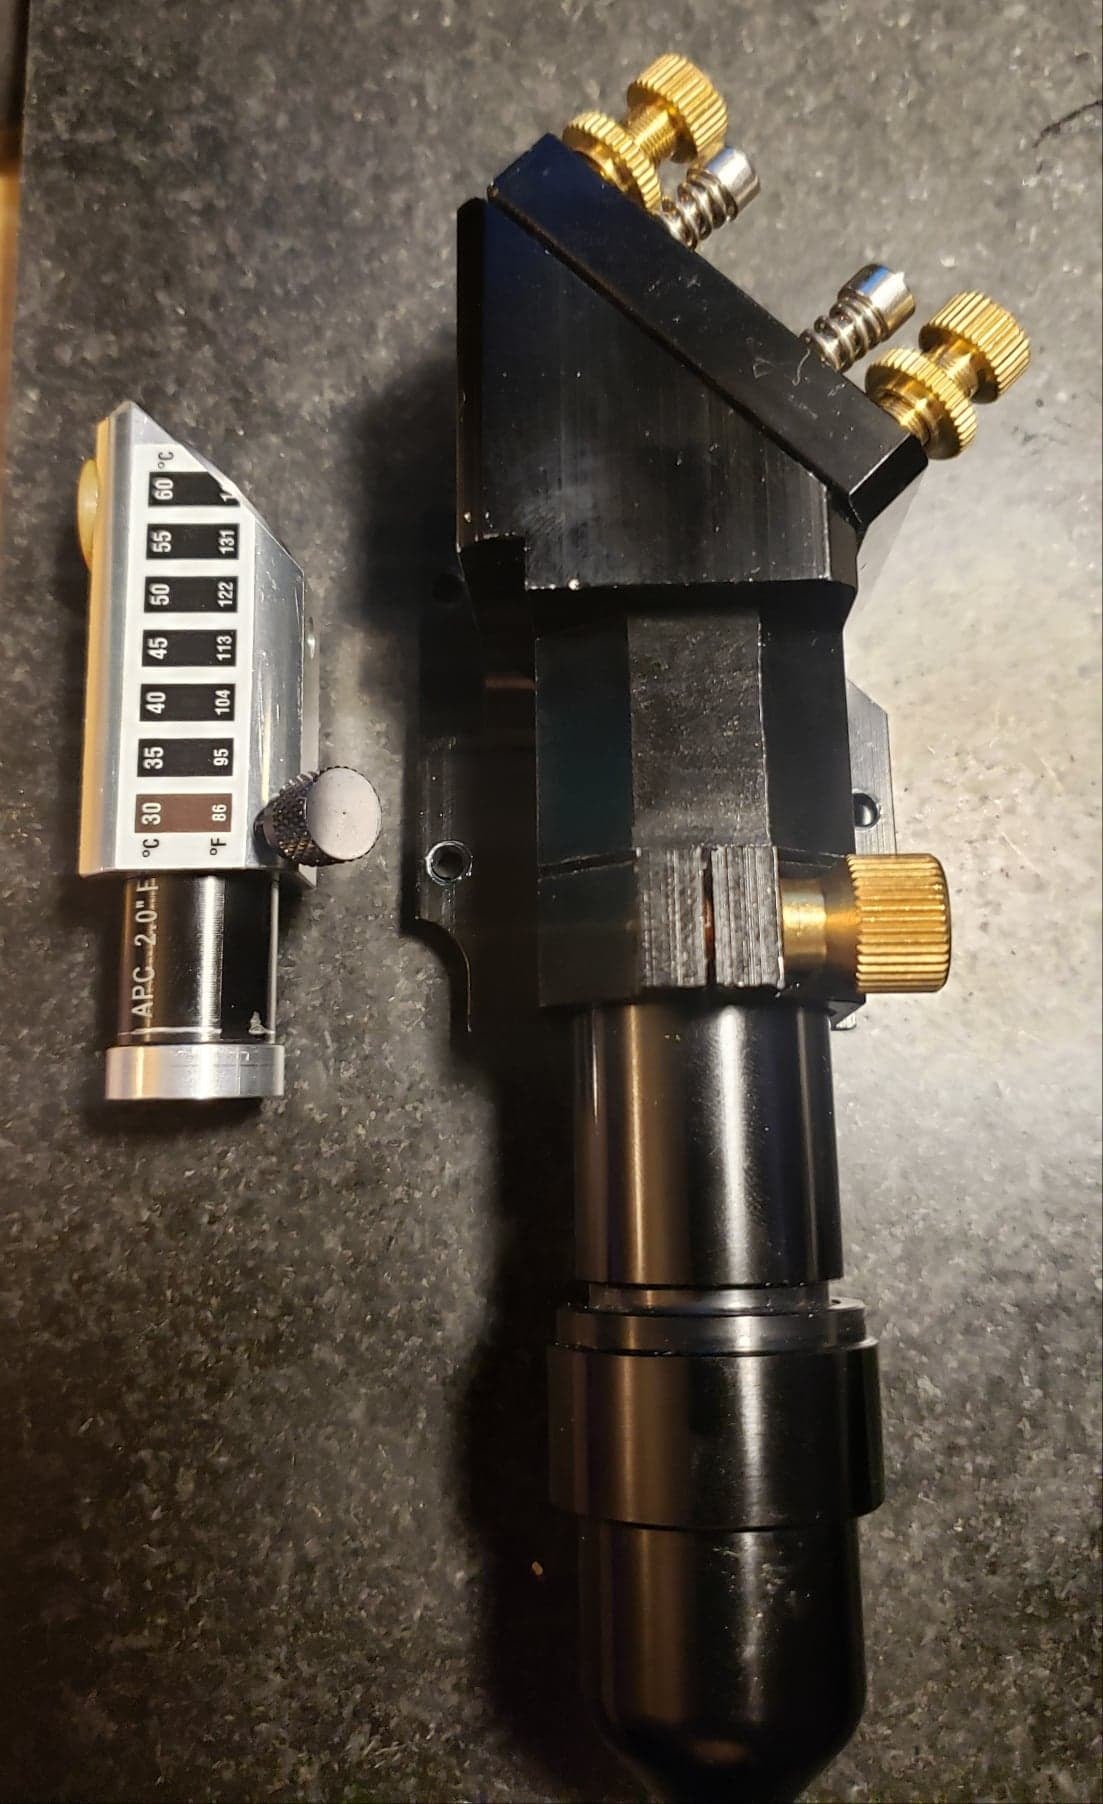
You night be interested in the nozzle Steve Walters (American Photonics) and I have been currently testing/developing.
Also, please join my group > https://www.facebook.com/groups/DIYLaser
I’d like you to post your machine and comments on there. You’re obviously well involved and might be able to shed some light on the topic for us. There are many brilliant minds on that group and I feel like you might fit right in.

I same issue X and Y still greyed after fw patch 
How did you select the u axis from within lightburn? The only axis enabled in the rotary setup dialog is y for me.
I am new to my 6445G and found this discussion. Not much info from people that have installed this patch.
Nothing on lightobject fb page after I asked if anyone has tried it. And no reaction on cnczone either.
People wanted this feature I thought. I am going to wait.
I am interested too. I would love to use the U axis instead of the Y axis.