Hey all, I have just got a Ruida controlled machine and running LB via ethernet from a Windows PC.
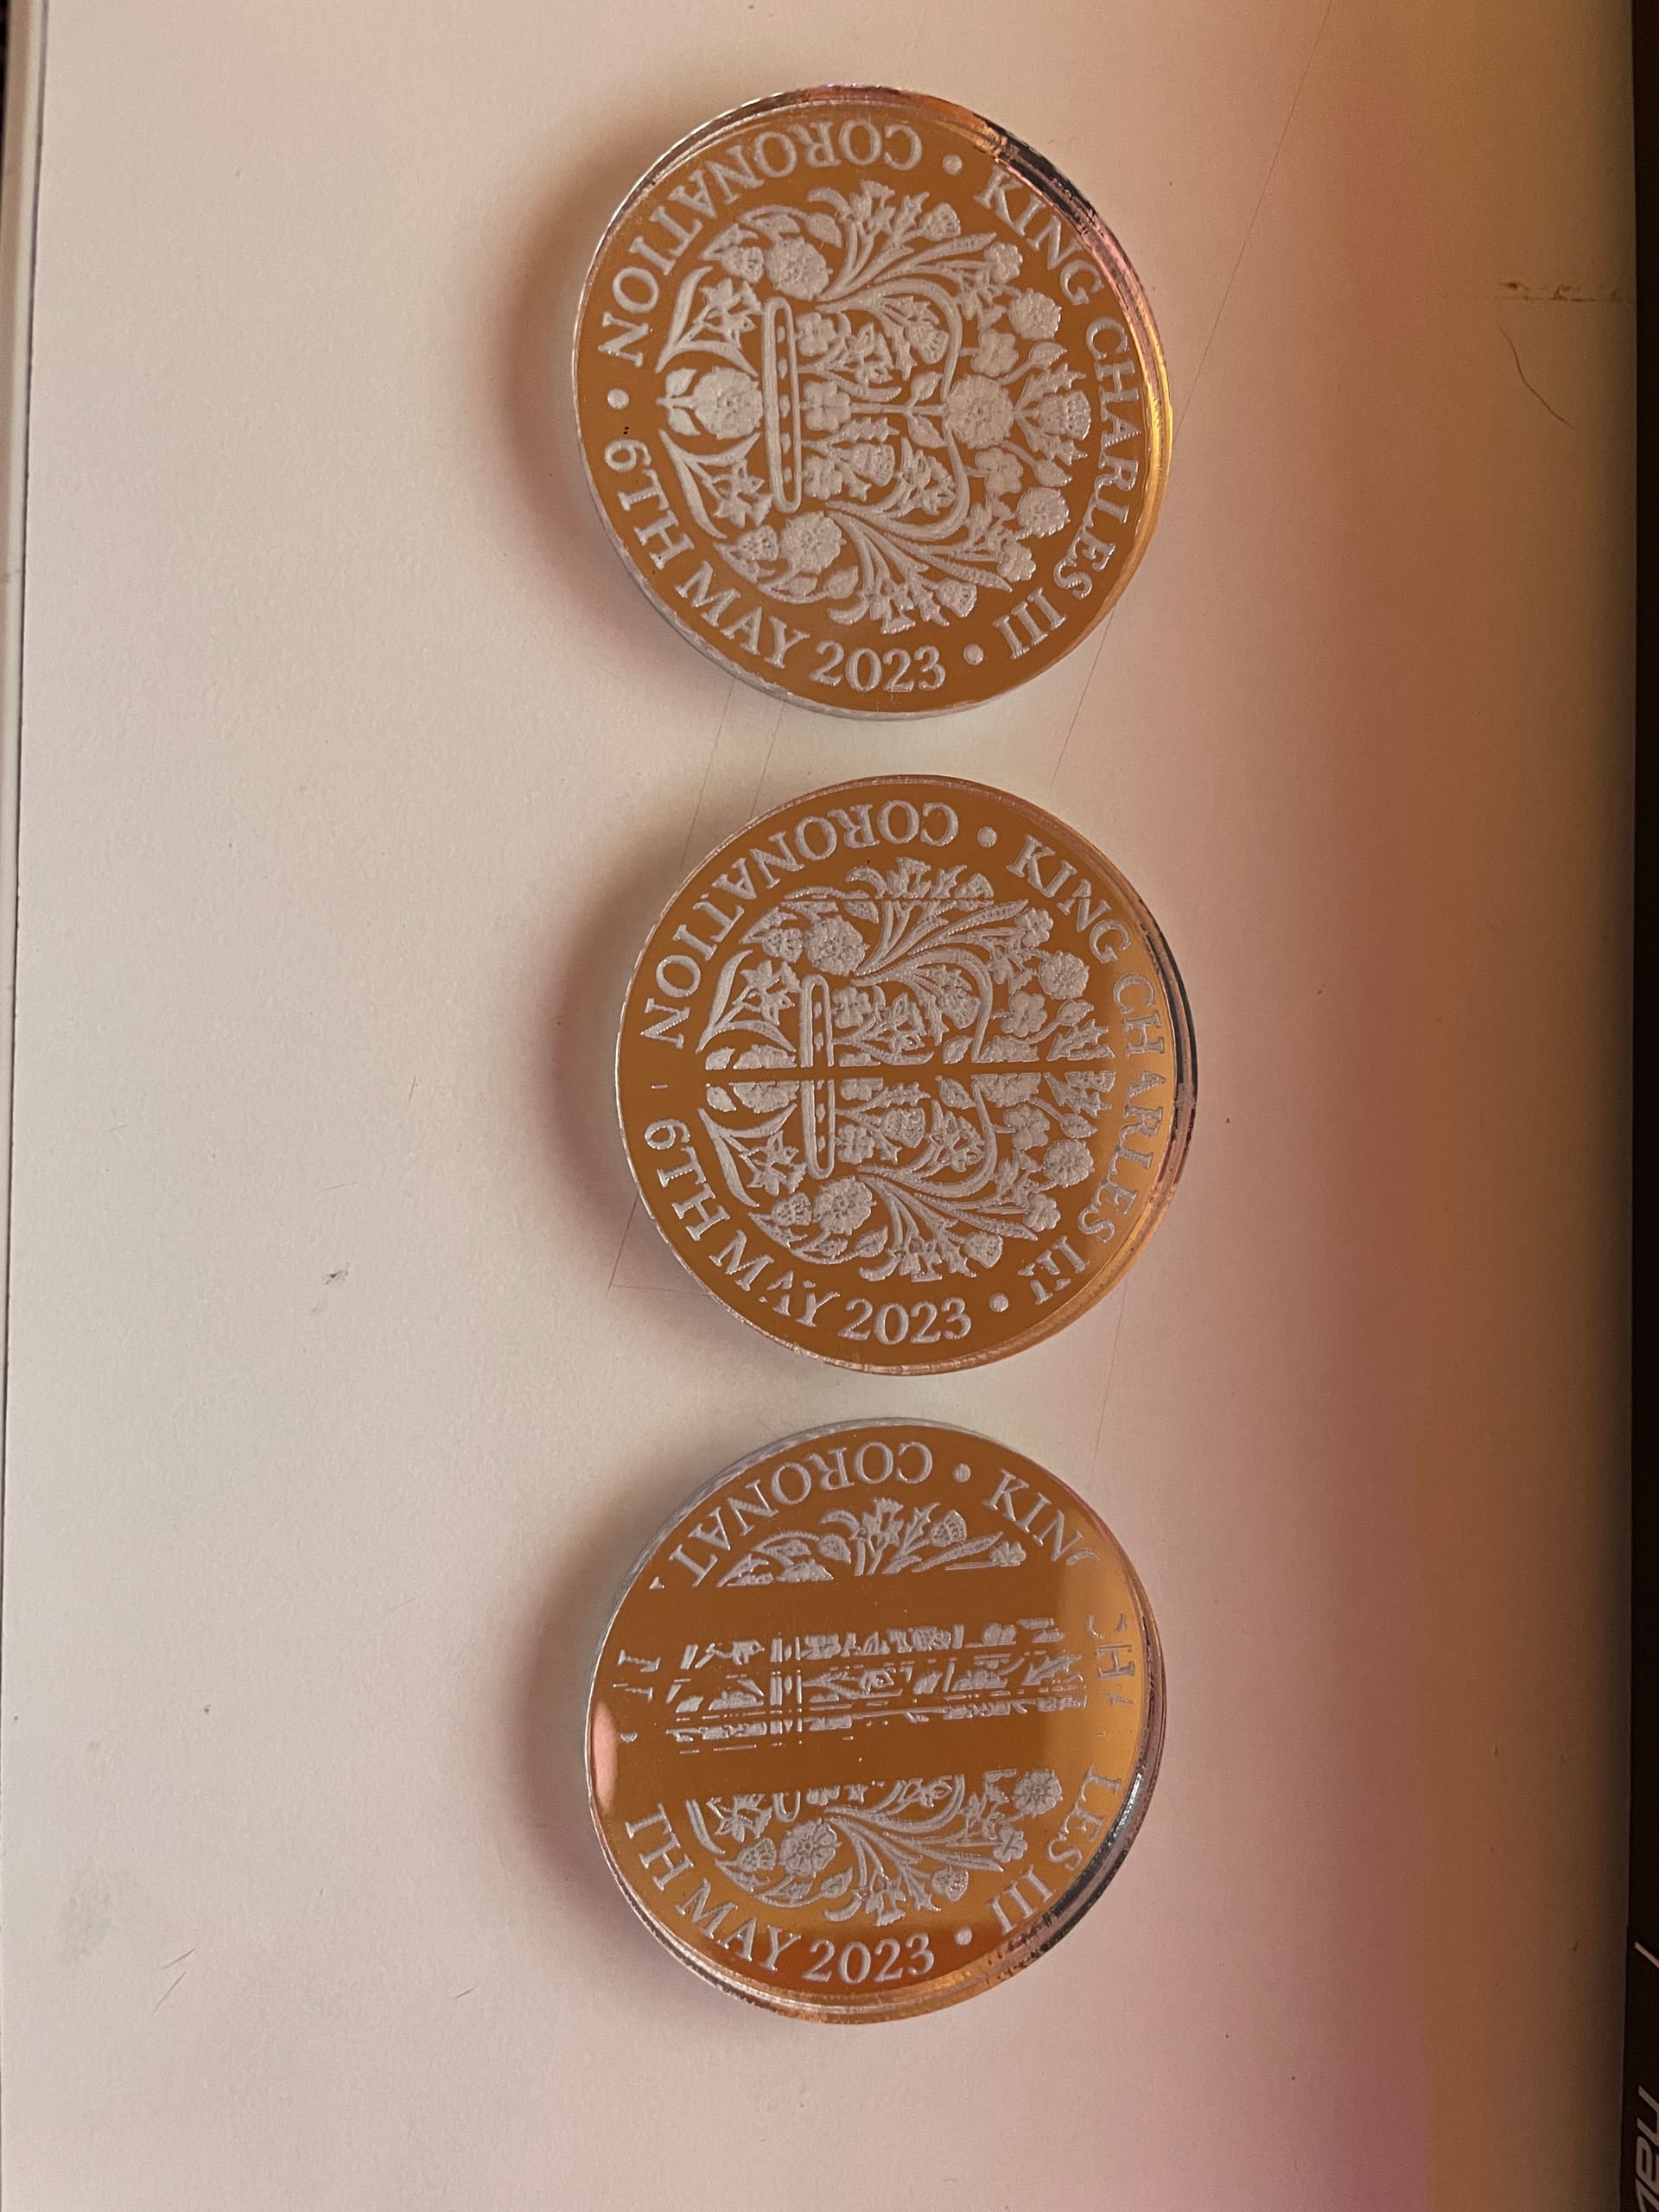
Just come to do a burn and the first row are great, second row has a small gap where the laser has stopped firing and started again, and the 3rd row has roughly 8-10mm gap where the laser has stopped firing, then started again as the gantry has moved.
Any ideas how to troubleshoot? I am new to Ruida. Thanks
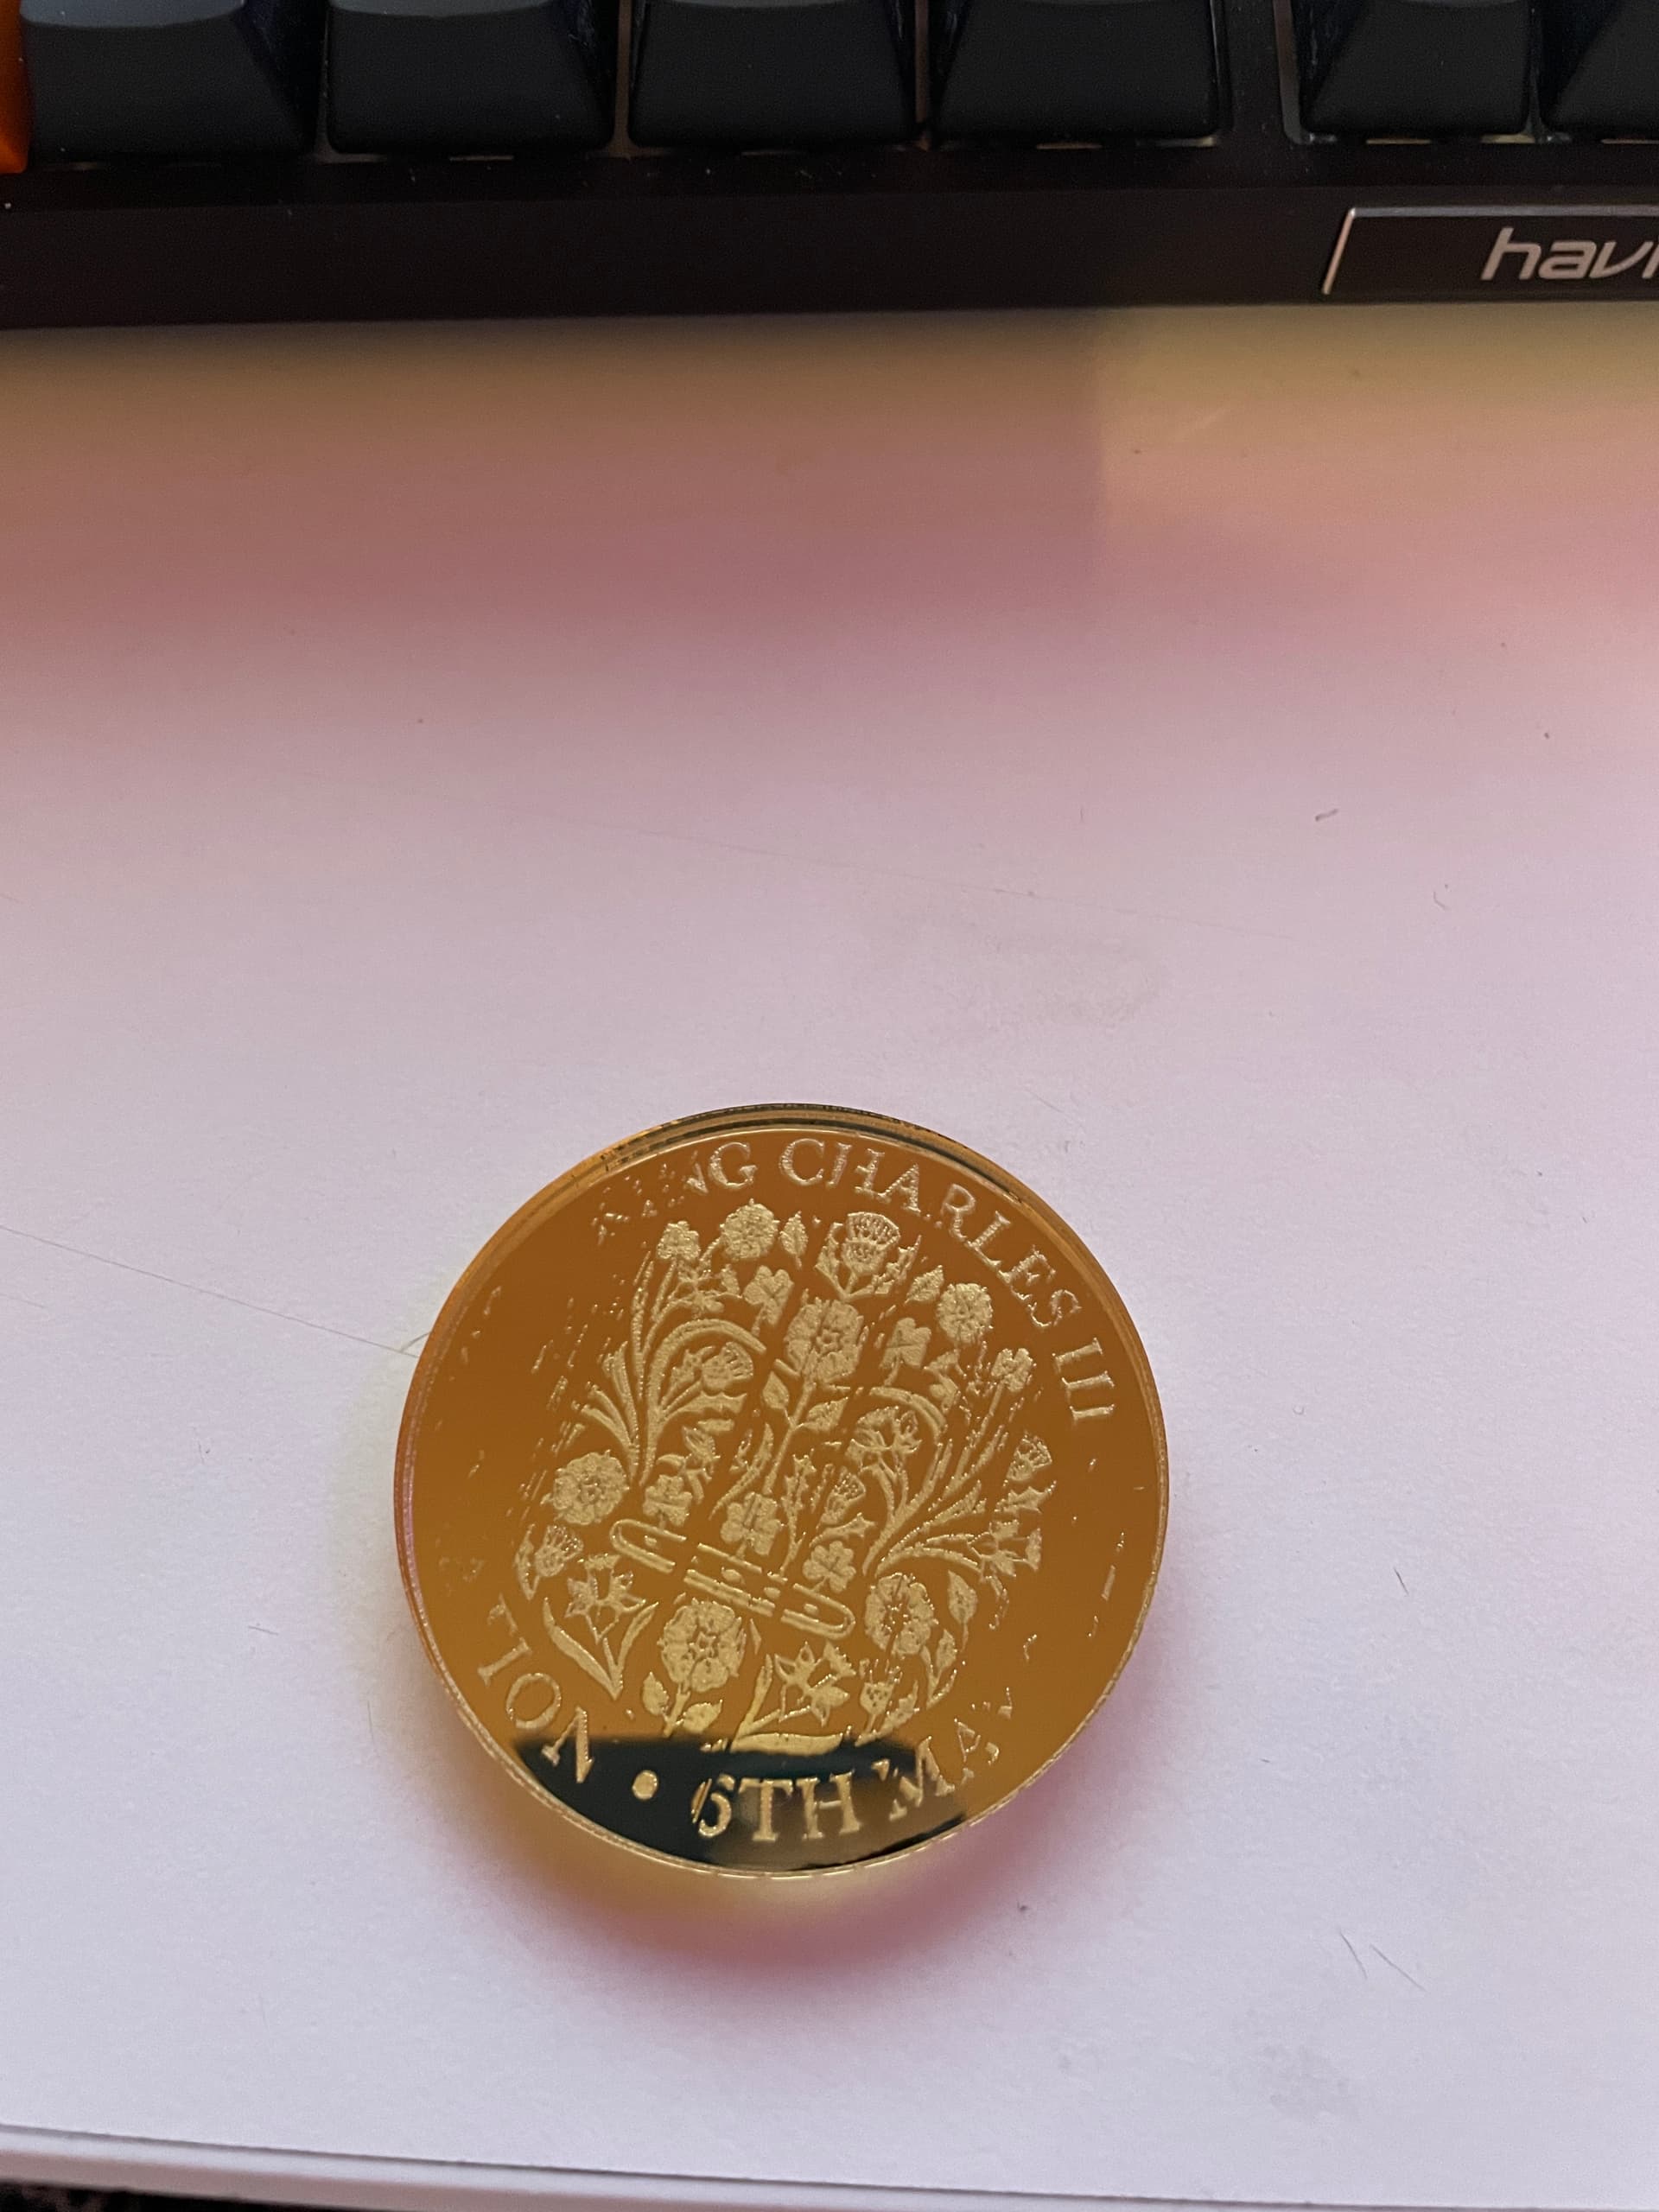
Photos for reference, all done in the same job. Top one was first to be done, on a line with 3, middle was 2nd again, 3 in the line and bottom last with 3 again. All lines turned out identical
It’s very likely that the 6% power is the problem. Most dc excited co2 do not lase at such low power settings.
Mine won’t lase down at power levels that low… I’d suggest you up the power and adjust speed… I can lase at around 9%, depending on the ambient temperature, but I try to keep the minimum near 10%.
A good test is to just bump the power to 10%, might scorch a part, but it will help identify the issue.
Sorry for the bad new… kind of thought as much from the first picture… it’s pretty effectively showing an expired tube…
Happens to all of us sooner or later…
Just out of curiosity, how long since you noticed it’s had a problem… did it move slowly or quickly to failure?
Mine worked fine, went on a 3 day weekend and was so bad I had to re-align it to get it to cut some things while I waited for new one to arrive. Mine wasn’t as bad as yours.
So I think I have this one figured and I have replaced the tube, aligned and we’re cooking on gas in terms of power. However…no matter if I send 1% or 50% power as an engrave, it does not alter the outcome of what the machine does.
The controller is set to 1% min power and 90% max power on the control panel, I have send 1% power for engrave and it engraves as deep as it does with 20%.
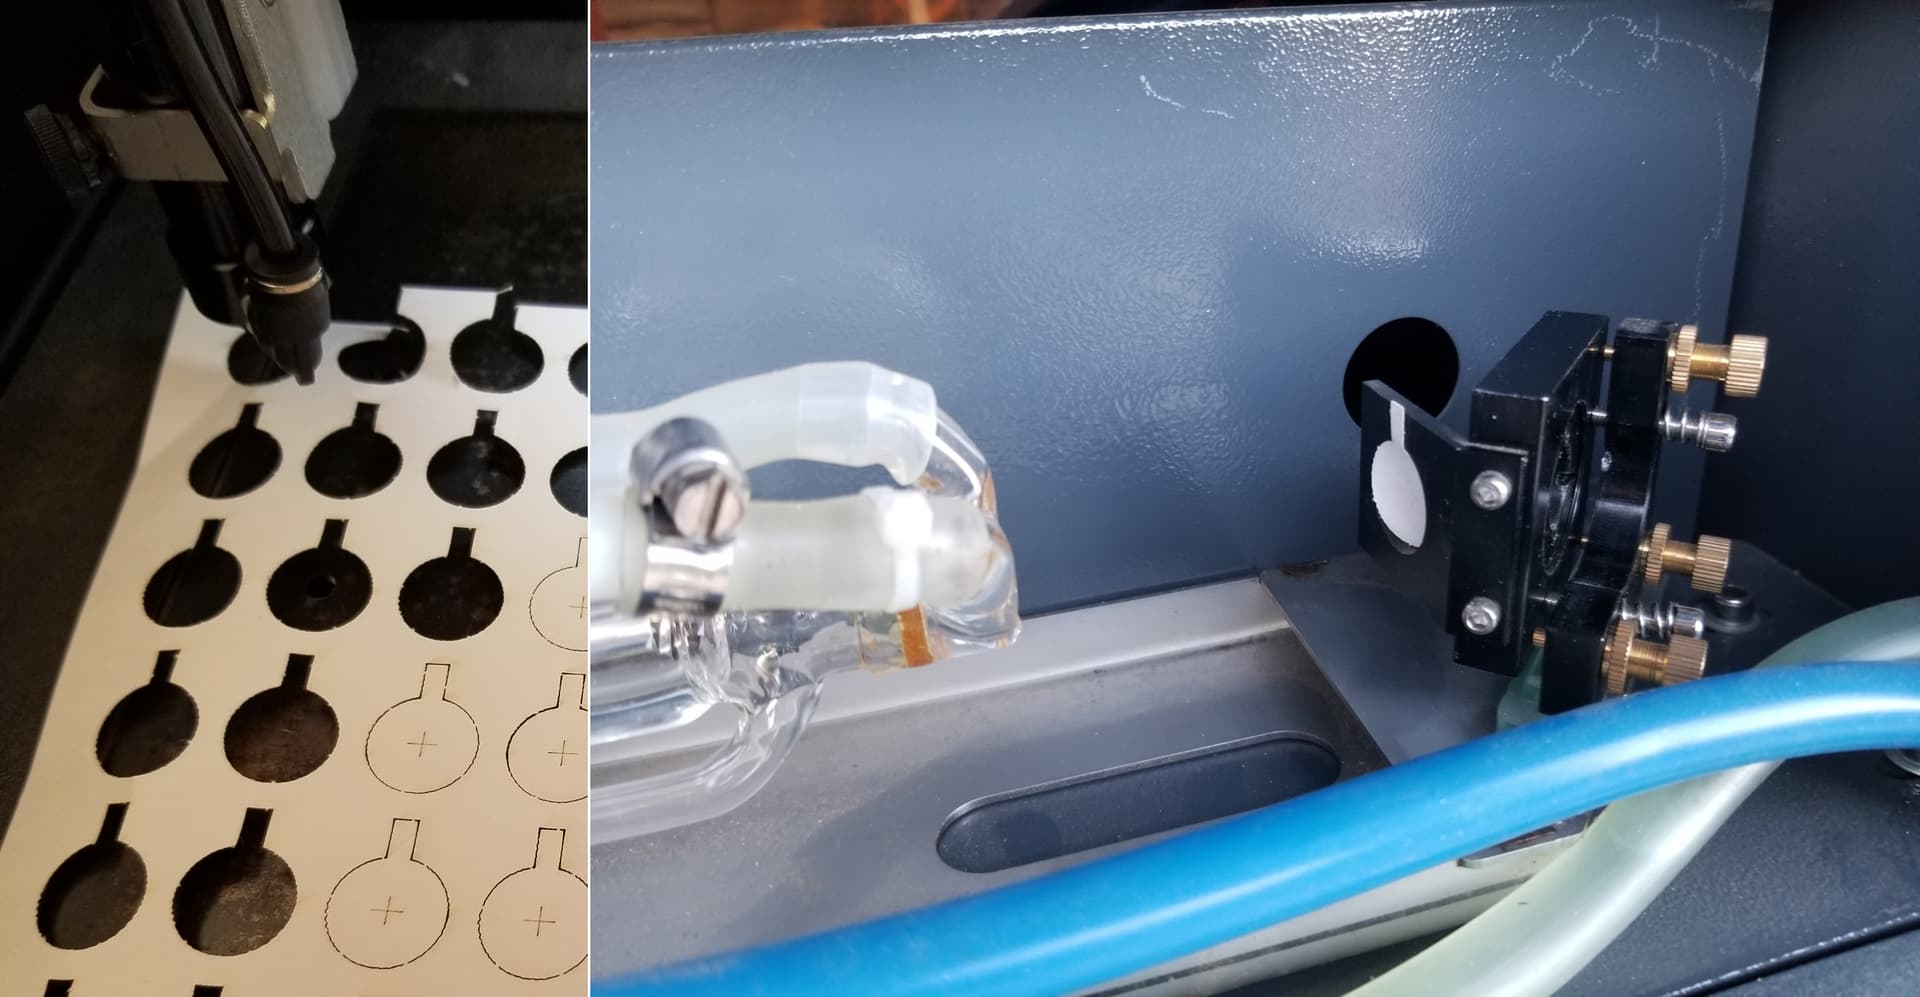
I have a Cloudray 80W PSU coming today to replace the 60W version the machine currently has, when the tube needs changing again that way I can just get an 80w tube and have a more powerful machine.
Looked at the connections and its a straight swap over from the 60w to 80w nice and easy. It also comes with a digital ammeter which plugs directly into the PSU sp that makes things easier also
So, swapped out the PSU for an 80W Cloudray and bam, issue GONE.
Thanks to this forum, I read a few other people had had the same issue previously and it turned out to be the power supply.
Now engraving acrylic at 2-3 Ma and cutting though at 10ma. The Cloudray PSU is great, comes with a digital Ma meter that connects to the PSU via ethernet. It doesnt come with a case but I have designed one and am 3D printing it as we speak.
Thank you to everyone for their input and hope this can help someone in the future