Hi -
Design question here.
I’m creating a navigation or compass rose to engrave. On the triangles that point N, S, E, W, I want it to be half filled/shaded (engraved) and half not filled – but with a line engraved around the unshaded part. (see photo) I can’t figure out how to do this.
When I did it last night, all sides filled (engraved).

OK, so I did a quick, so the triangles are on the opposite side from yours, but the idea is the same. Place the desired triangles on a ‘Fill’ layer.
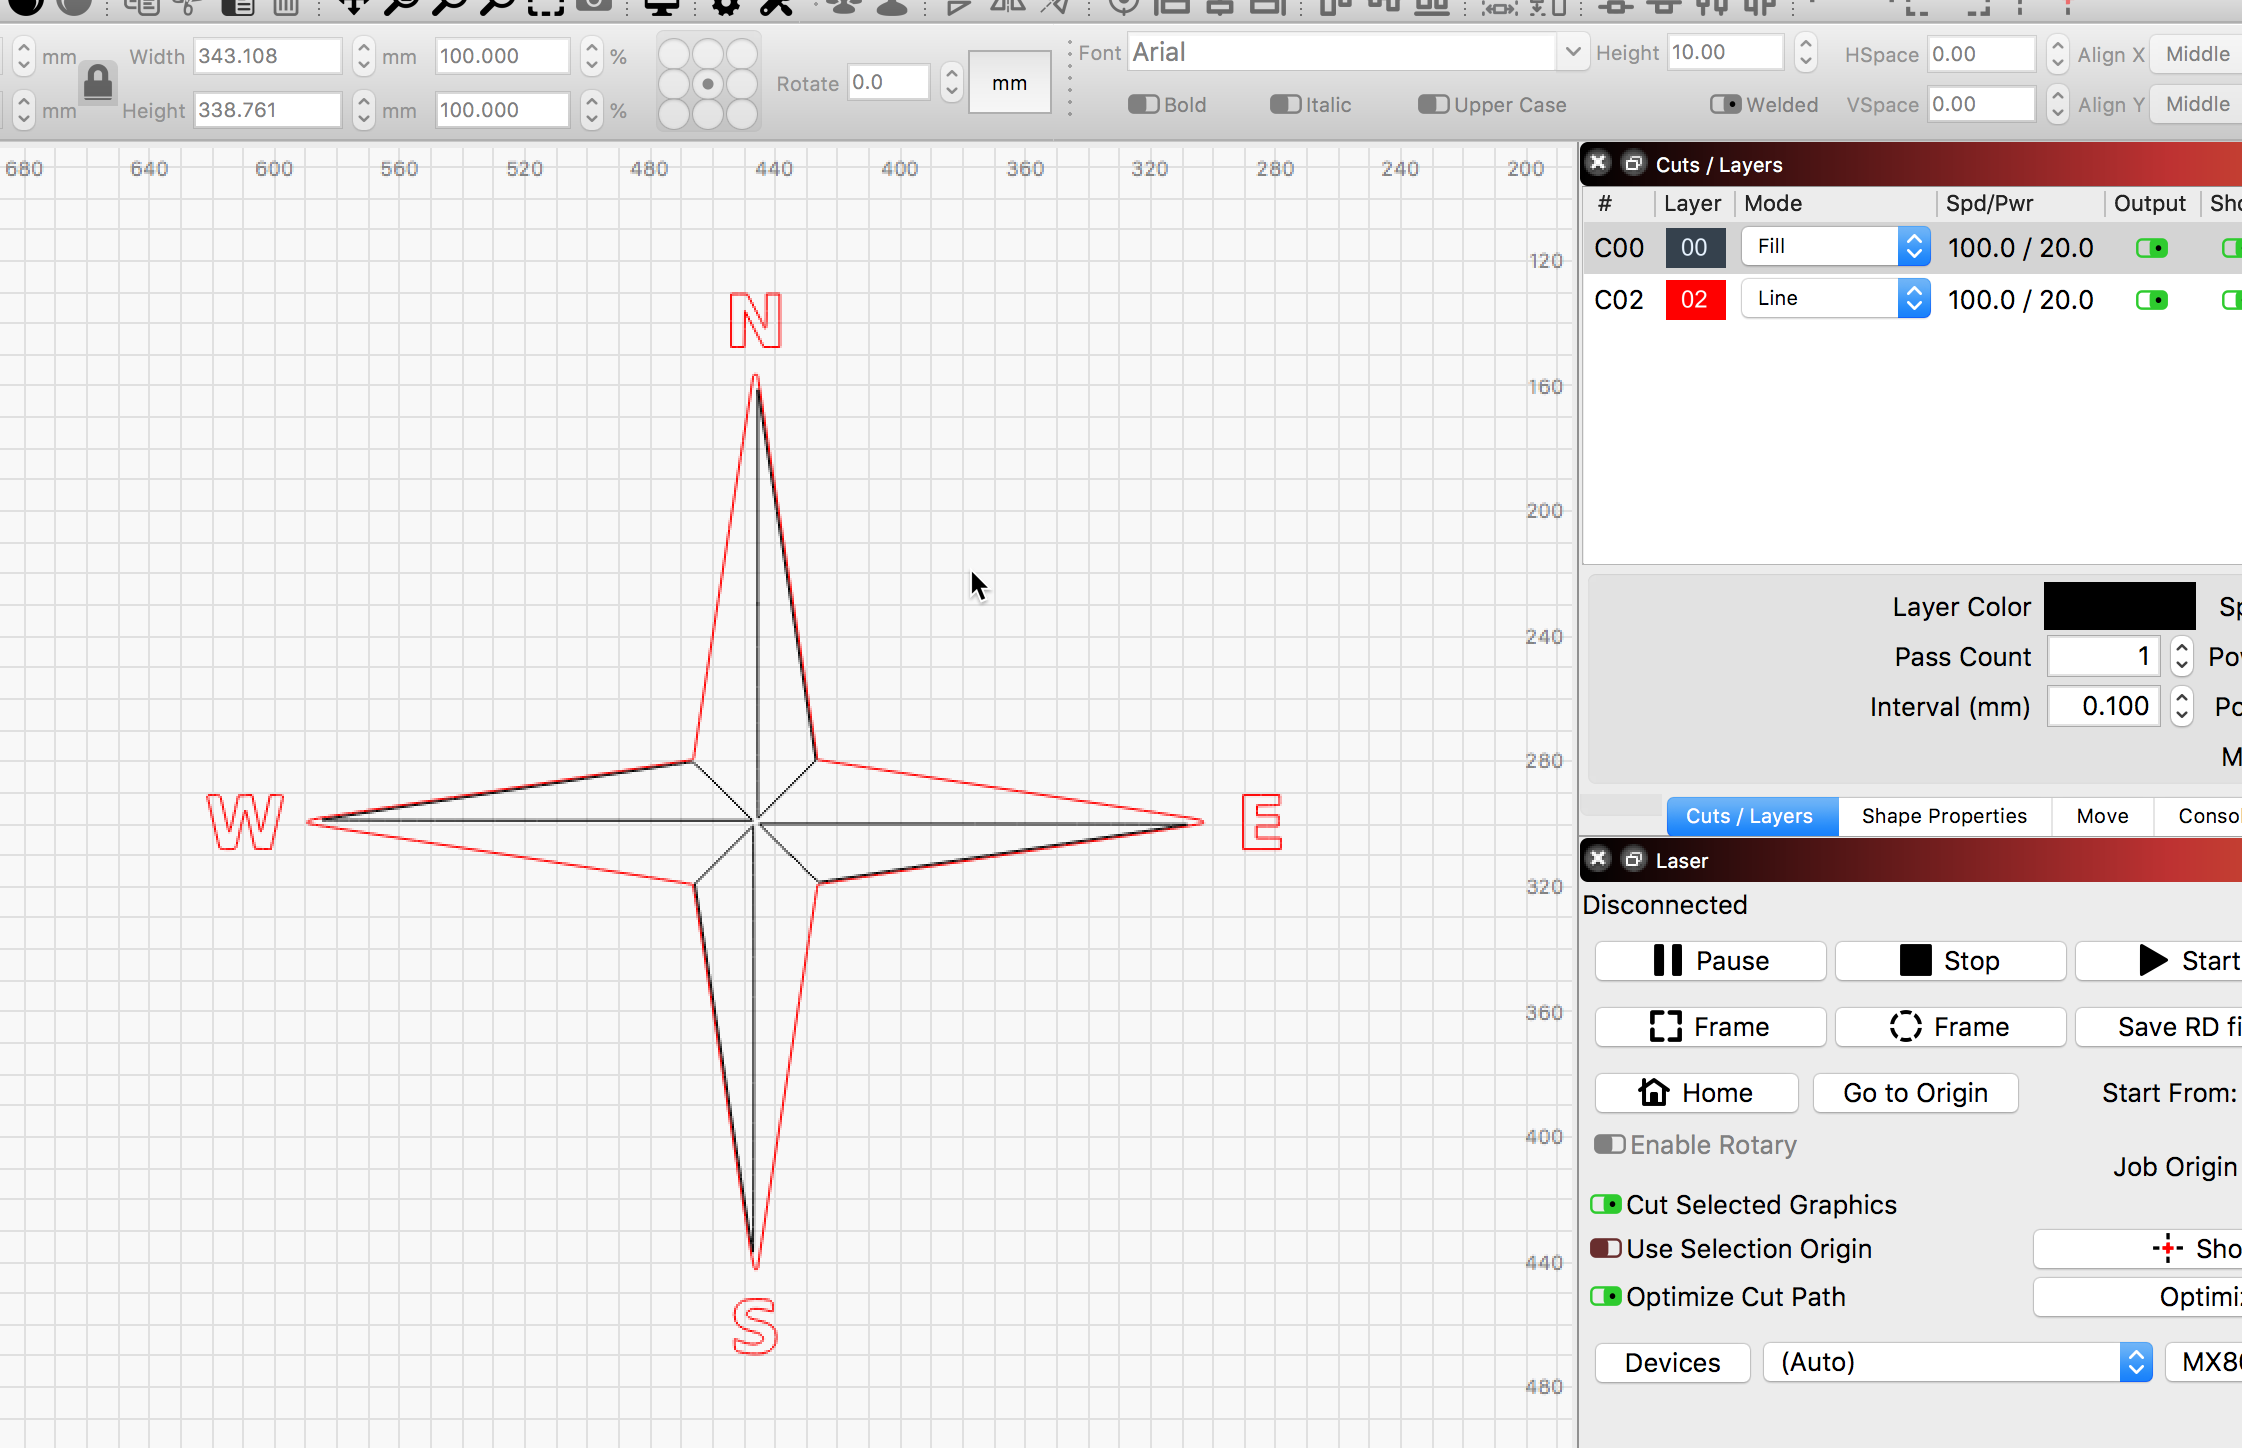

Edit: And now flipped to match your work. 

2 Likes
If this works and was helpful, please mark ‘Solution’ to help others find easier when searching. Thanks!

1 Like
Thanks! Ok, but won’t the red lines on layer 2 cut?
Yes, I set to ‘Line’, but did not set power to anything in particular as I was not running the job. If you only want the red paths to mark the surface, turn the power down. If, on the other hand, you want to have the red shape paths to also be a Fill, you would need to add a small offset so the path has a fill area and not just a single line. Then set both paths to a Fill layer of your choosing. Is that what you are asking?

Yes. I’m asking how to achieve the actual look of the rose. I have already designed it. But it filled the entire triangle each time. I think I see what you mean by an offset. I will try that.
remember that line mode does not mean it has to be cut through, ie you can set a line mode power level so low it hardly marks the material or set it high and burn all the way through. Layer 1 is the outline and layer 2 holds the 4 triangles you want dark.
1 Like
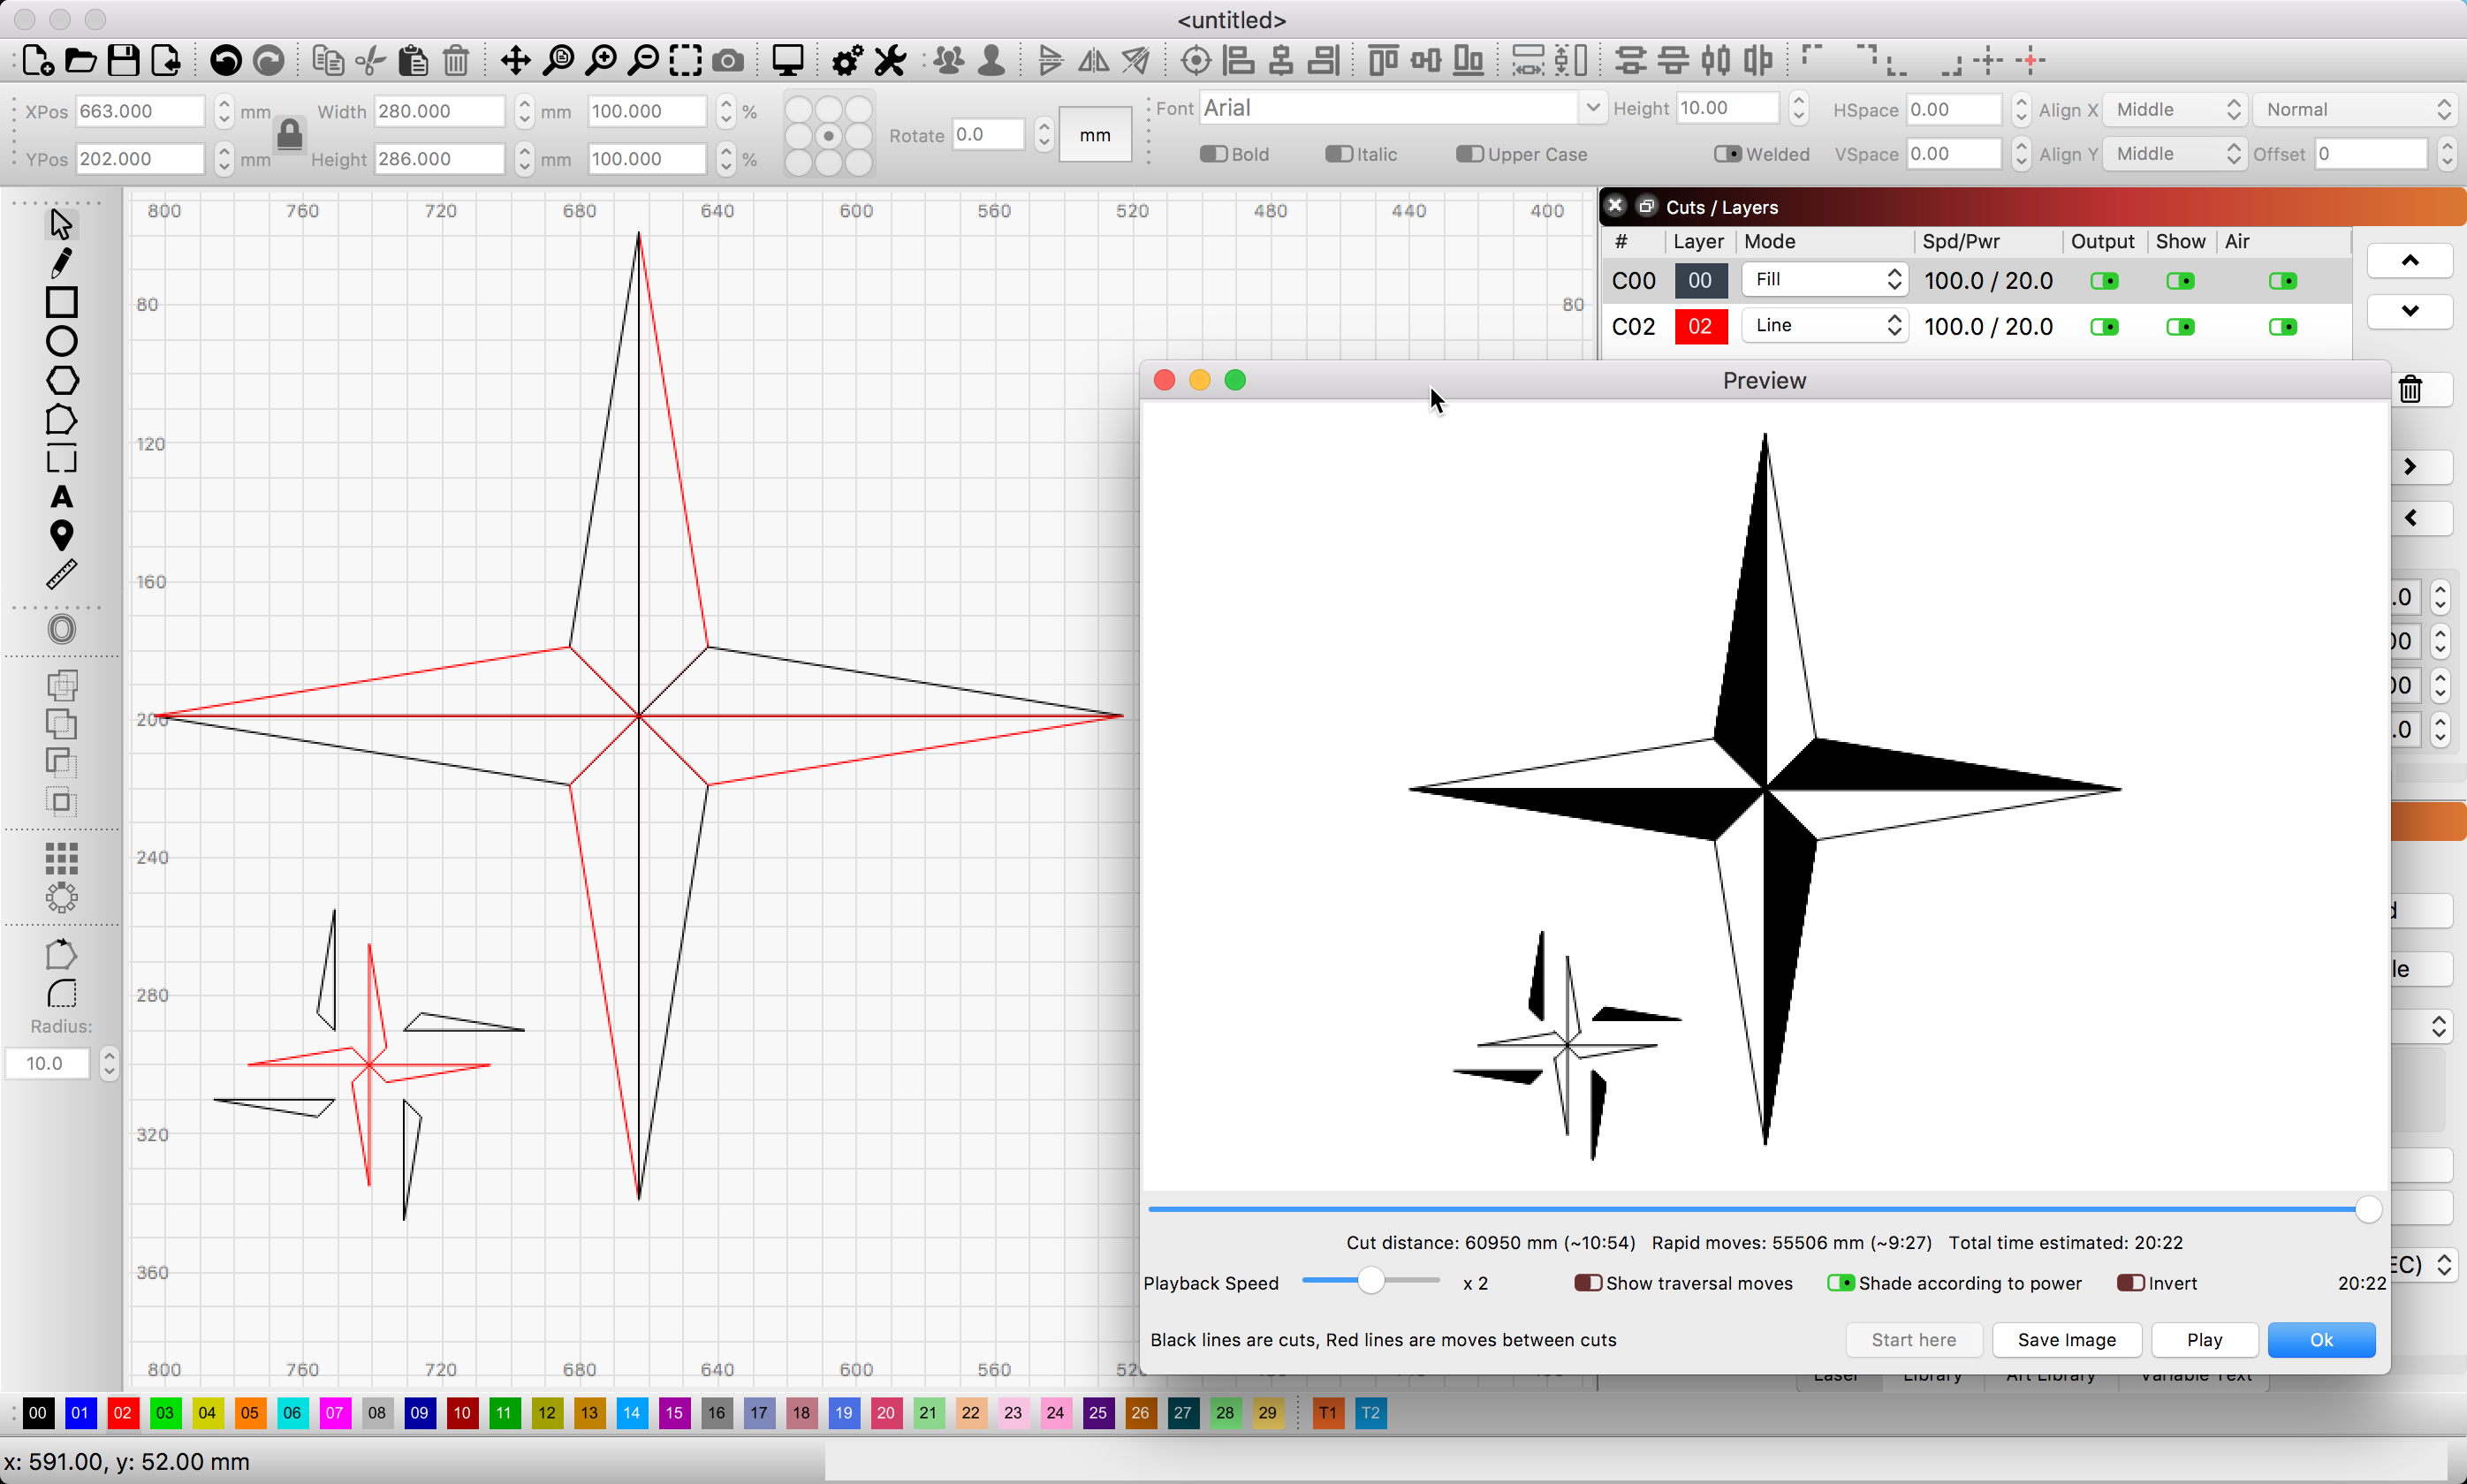
Please post your LightBurn file and I can take a look. Fills are defined by shape boundaries. Here is a post to help with the understanding of how these bounds work as a fill toggle.
Here I create the same shapes, small one on the lower-left pulled apart for illustration.
1 Like
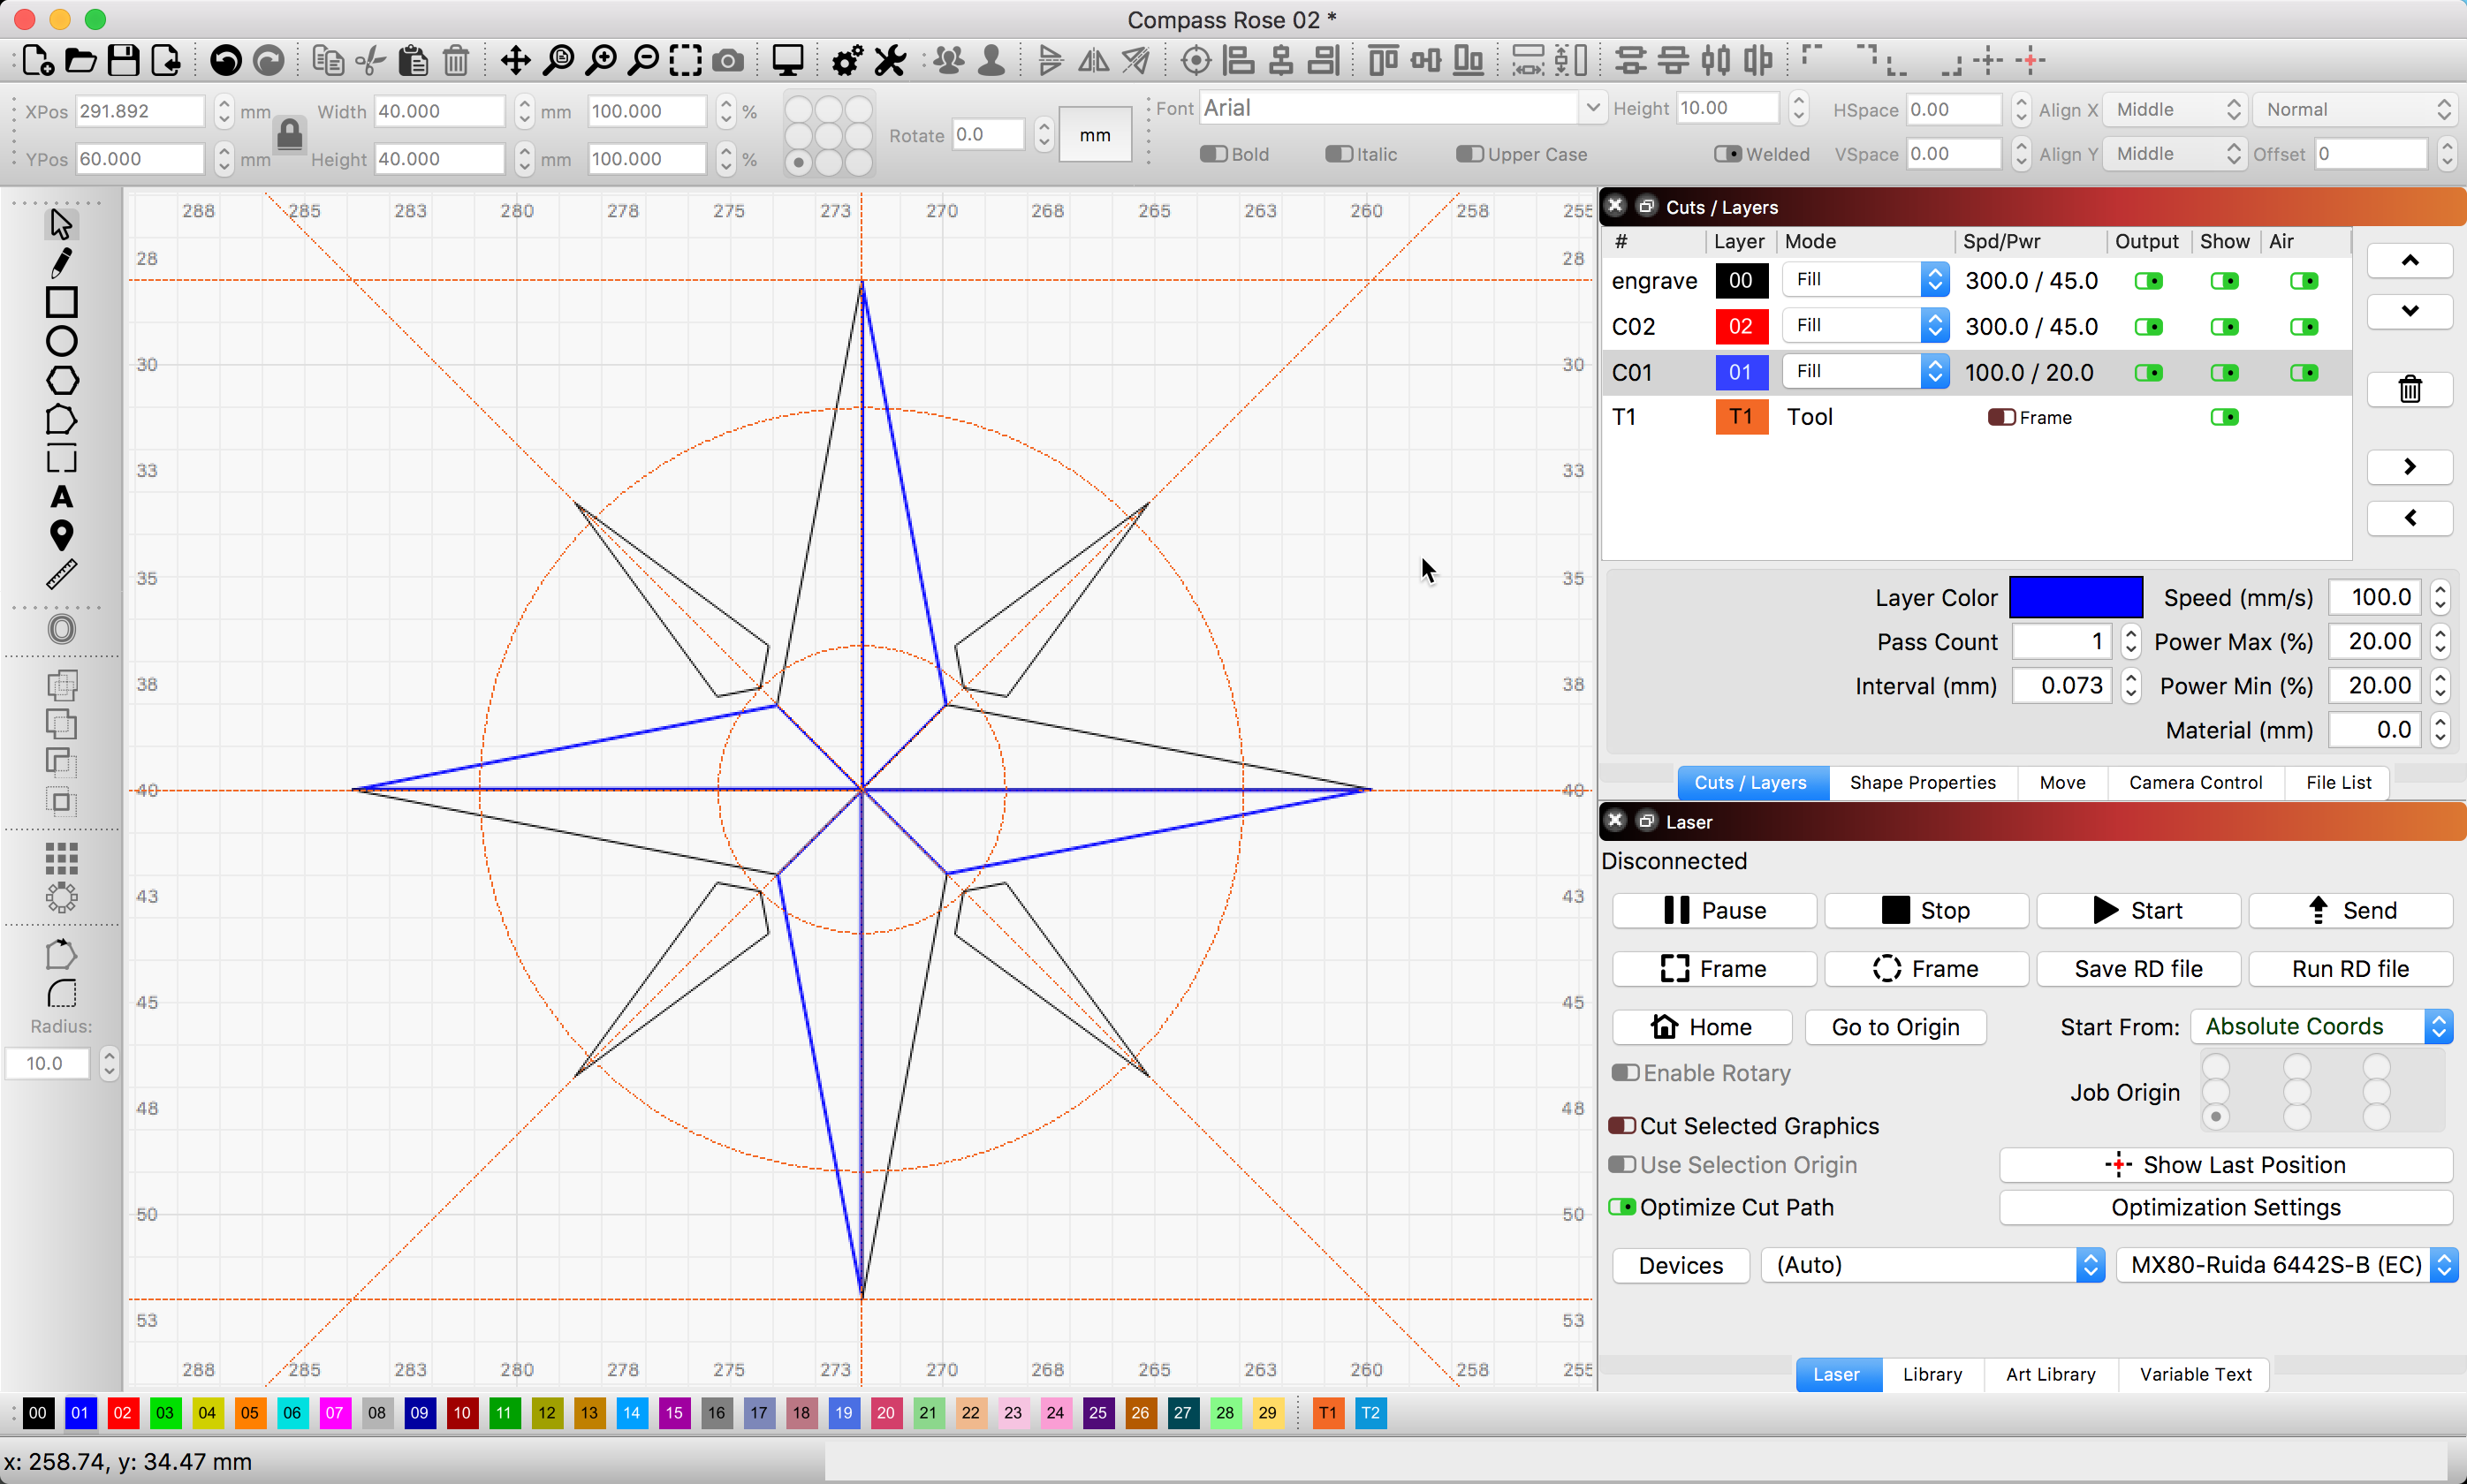
Here’s what I set up (haven’t run it yet).
Compass Rose.lbrn (29.8 KB)
Compass Rose 02.lbrn (35.5 KB)
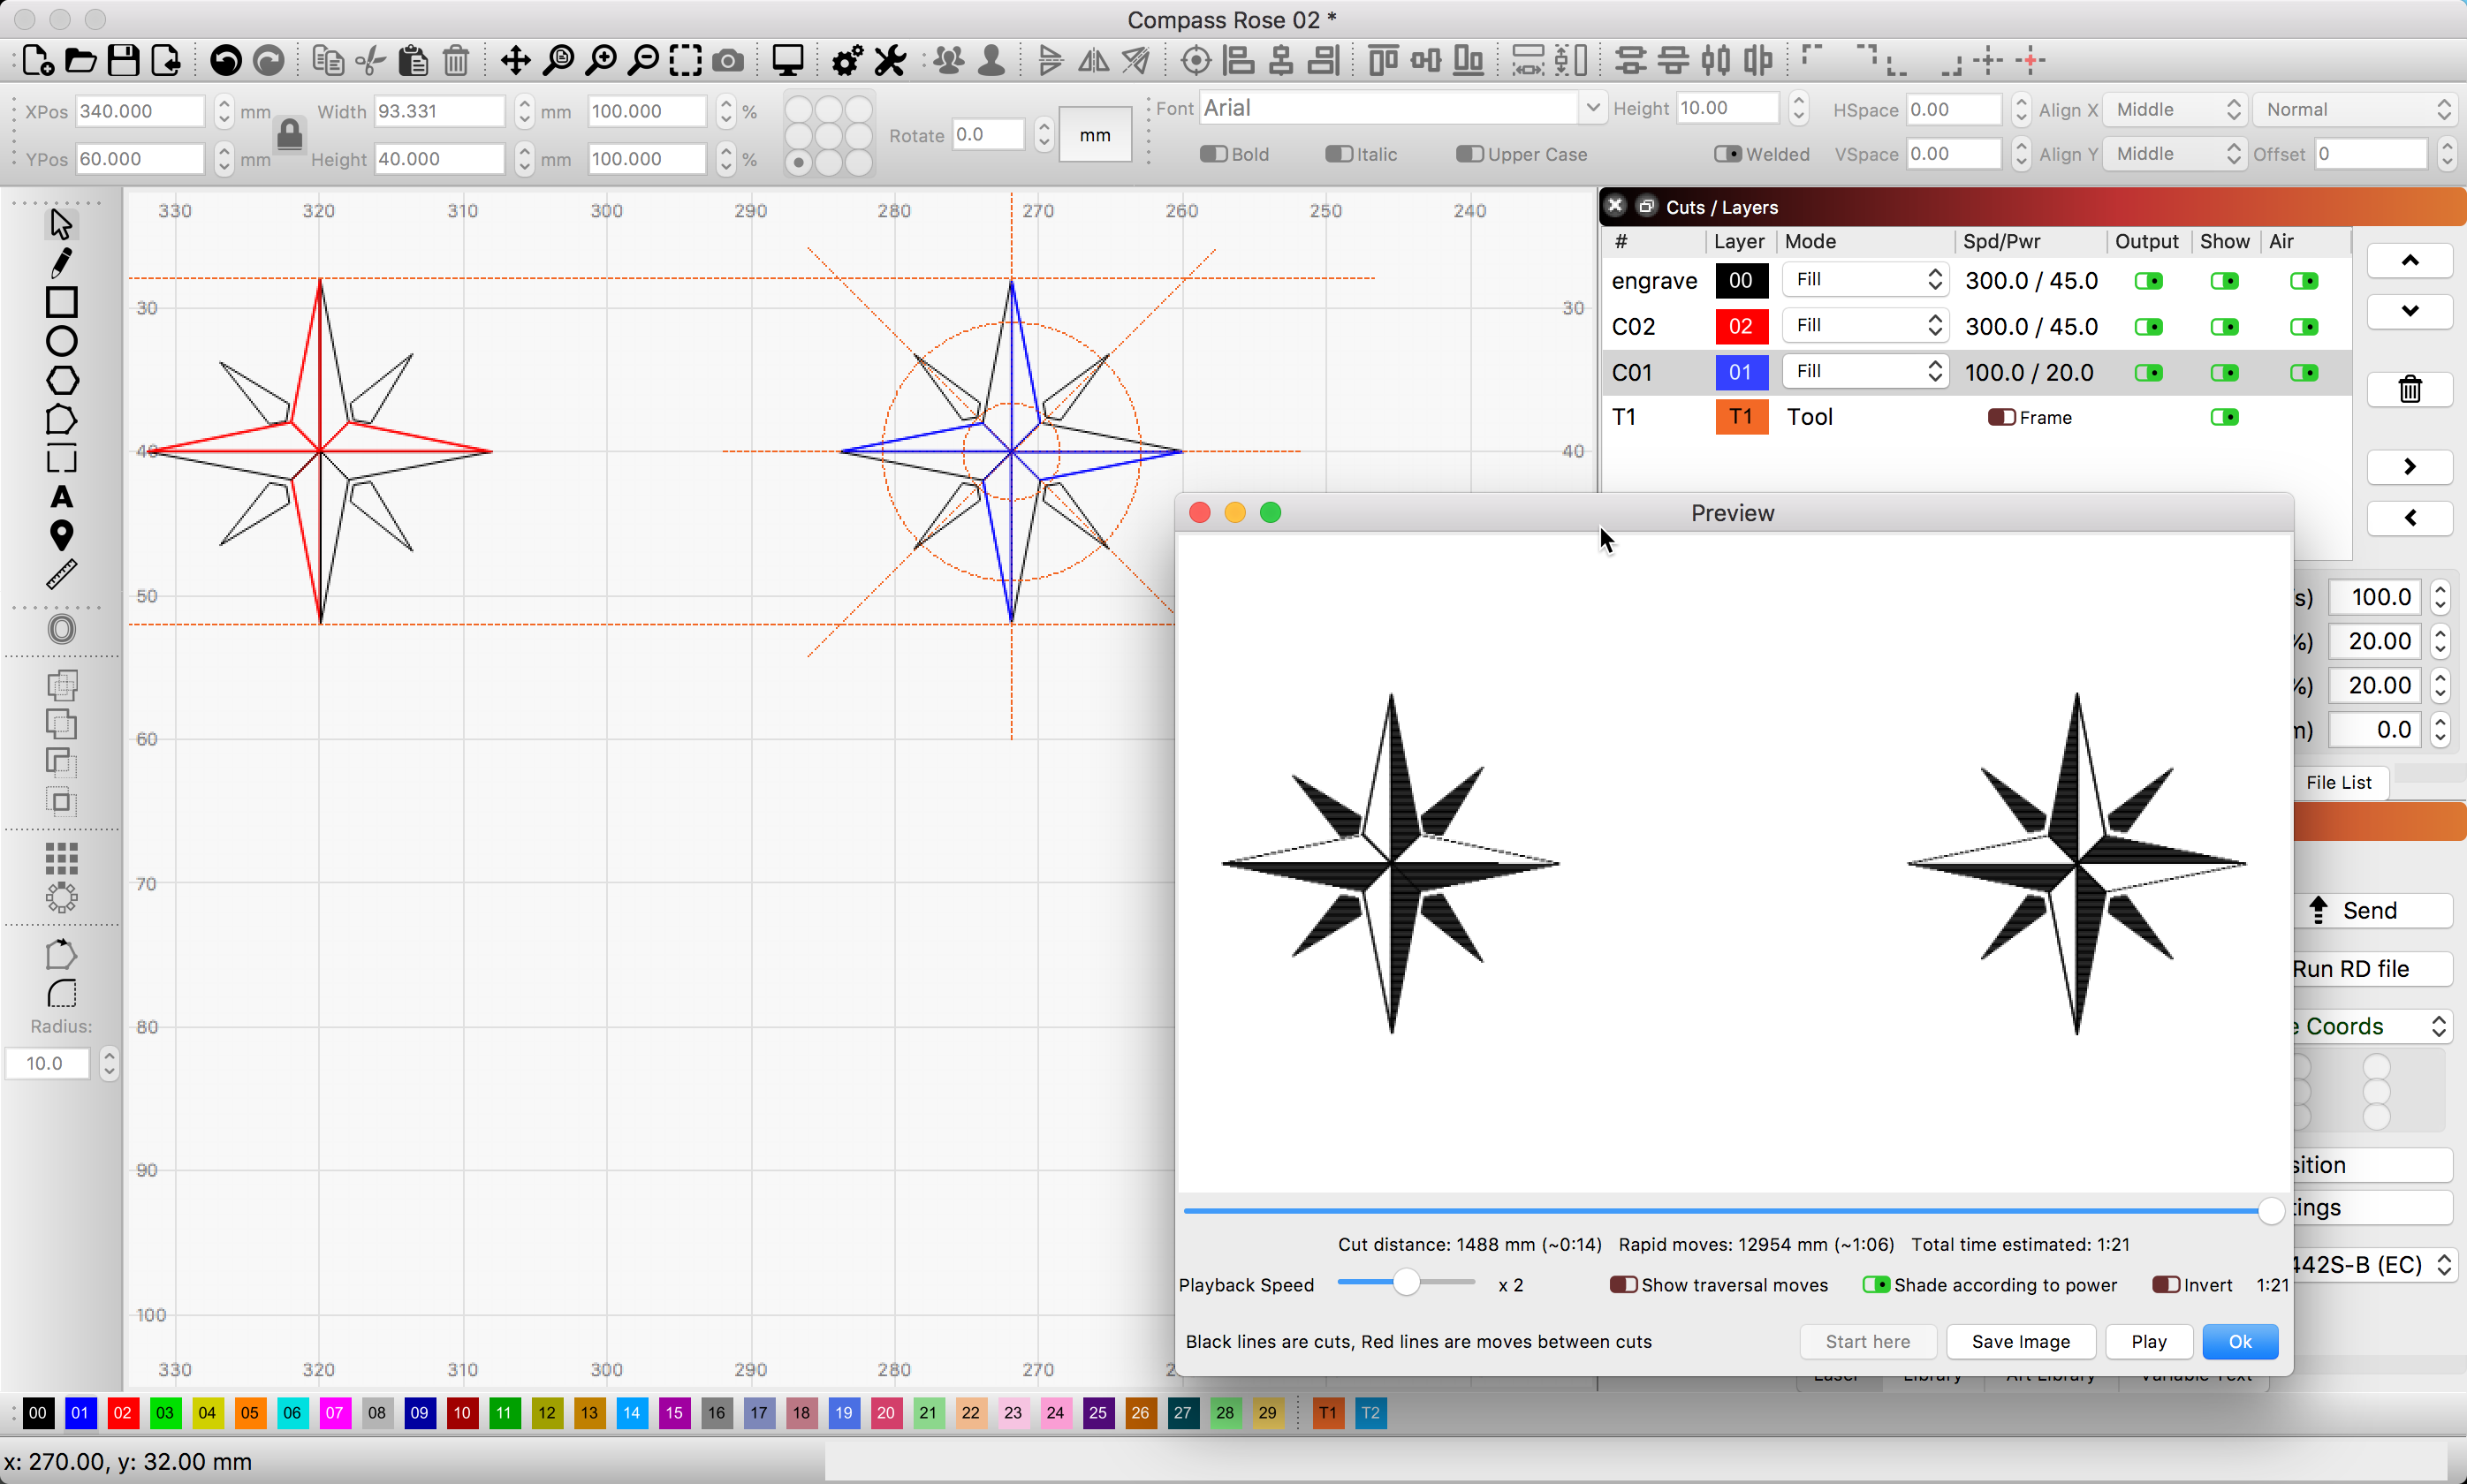
For clarity, the one on the right is the one I made. Take a look at how I assembled this and please note, I have not set the power nor fill settings to best match your machine output, so you will need to tune those.
1 Like
do some experiments with Fill+Line too as I think you’ll like the outcome. Often times a raster engrave will get you little bits of jaggy edges due to scan lines and variations in on/off times. What Fill+Line does is a fill and then it frames the fill area with a line which sharpens up the outside edge of the raster engraved area.
1 Like
This topic was automatically closed 30 days after the last reply. New replies are no longer allowed.