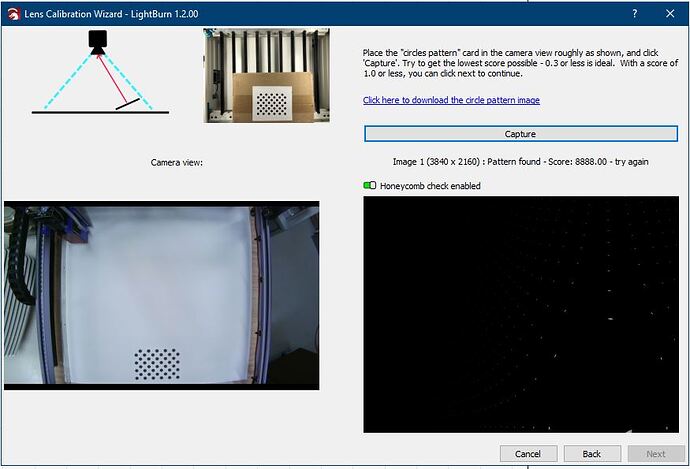
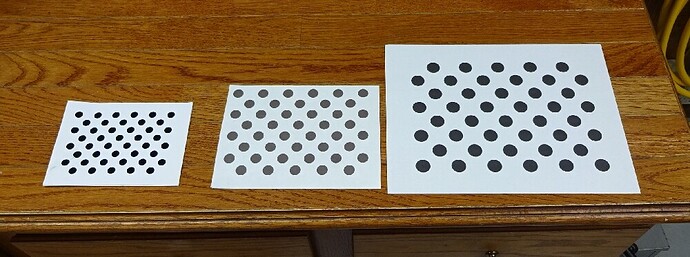
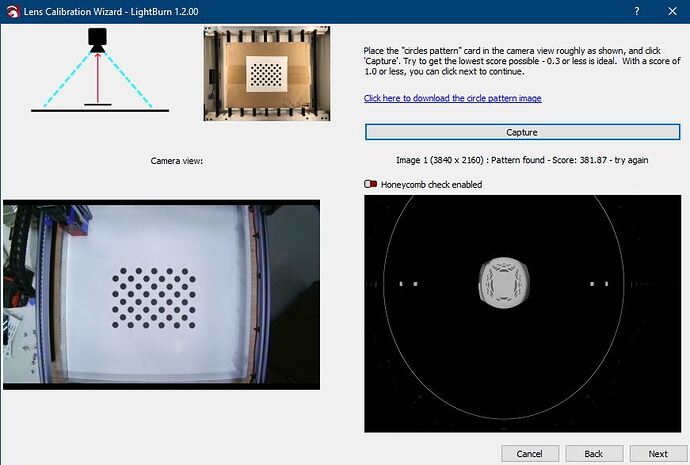
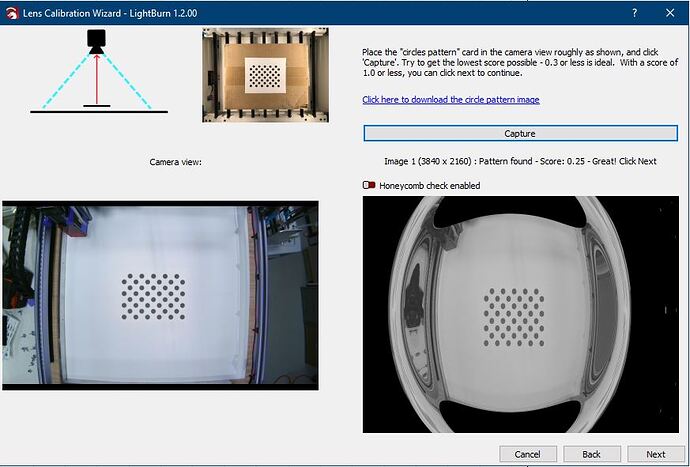
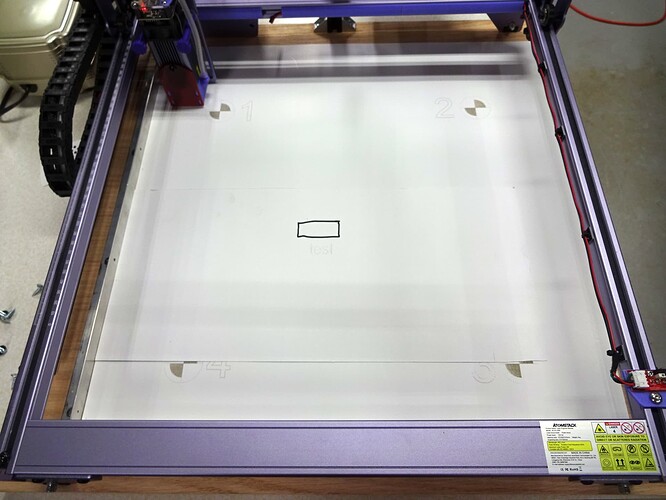
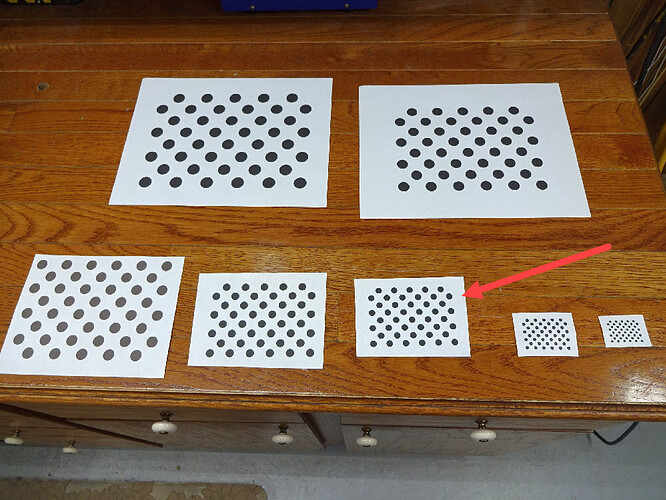
I bought the Lightburn 120w camera and am having issues getting it aligned. I have a white bed and I have tried the dots on plain paper and even photo paper and still can not get anything better than “not bad” anybody have a suggestion?
Note that the process you’re referring to is called “camera calibration”. I’m calling this out because there’s a separate process post calibration called “camera alignment” that could be a source of confusion if mixed-up.
Based on the photo some things come to mind:
- I can’t quite tell from the photo but it looks like camera may be out of focus. I’d suggest using a normal camera application to confirm.
- The calibration pattern looks small relative to the camera view. The camera pattern should roughly fill 1 part of a 3x3 grid of the image.
- See if you can increase the lighting in the space.
I did. I focused it best I could with the windows 10 camera app and looks very good on this end. I have several lights around it just to do this. The printed dots are about 4¾" x 3½" outside to outside. The camera lens is about 13¼" from the bed also. I did try clicking the Non-fisheye lens camera at first and made it further through but never to the end.
Okay. Then focus may not be an issue. Was just hard to tell from the photo.
I’m basing the idea that the pattern is too small on the camera view. You can see that the pattern is very small relative to the overall image. Either raise the pattern to be closer to the camera or print the pattern larger to accommodate.
Again, I’m basing this on the image. I suspect the pattern size is the primary issue but the image is relatively dim. Even more light I suspect would be useful as long as it doesn’t blow out the pattern.
For sure this is a fisheye lens so need not bother with the non-fisheye. Apparently different corrections are used for each so important to stick to the correct setting.
Note that for calibration (but not alignment) you needn’t have the camera mounted to the laser. You can do this in a different environment if that makes it easier.
If you’re not able to get calibration working you may be able to use one of the pre-calibrated camera settings made available.
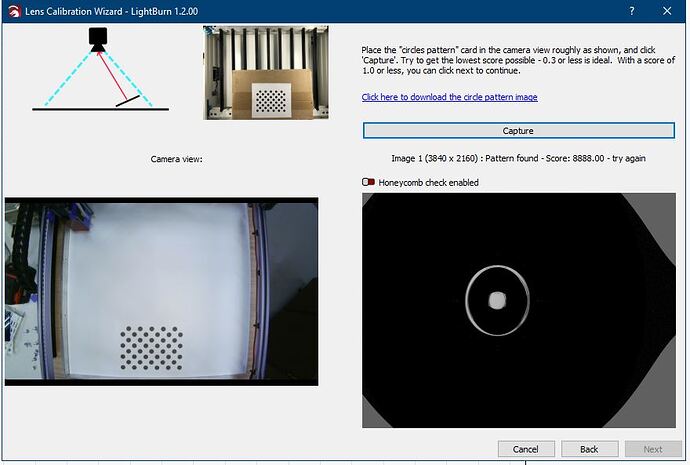
I scaled the dots up to 6½" x 4¾" and added another light and still can’t get past the first capture.
Can you take a revised screenshot?
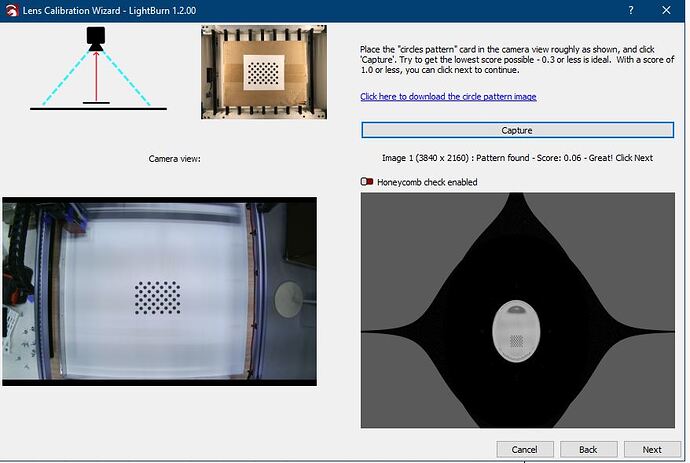
The score of 8888 is interesting. I wonder if that’s just the worst score possible.
Not certain but the pattern may be still be small. The captured image is a little odd but perhaps because the pattern was not detected.
Can you try holding the pattern by hand and iteratively hitting the Capture button? See if you can get any different score at all. It’s possible there’s a more fundamental problem going on. If you are able to get varying scores then that means it’s working but just needs to be tweaked. If not then something else to explore.
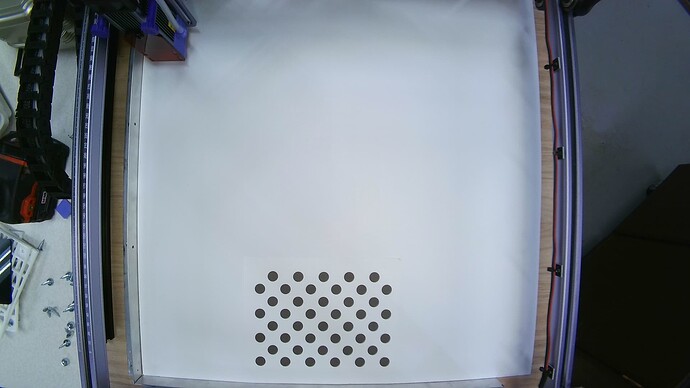
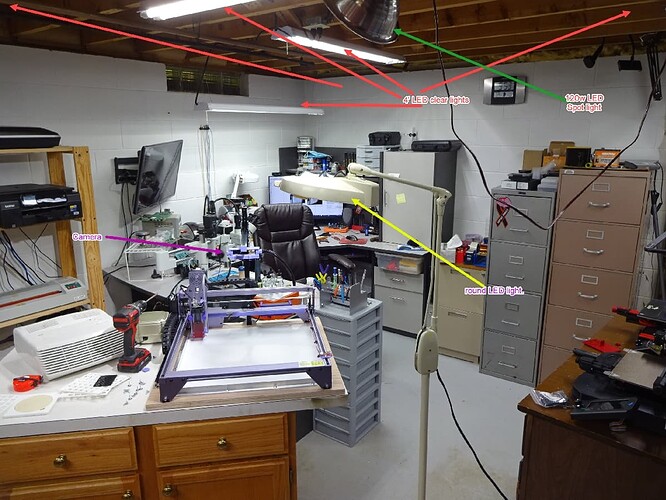
It’s not always 8888 it varies all the time. I’m getting way frustrated now. I have tried 5 different sizes of dots up to 8½x11 and here is where I’m working. I almost need sunglasses. All the lights are the daylight kind with clear coverings. So I don’t get it.
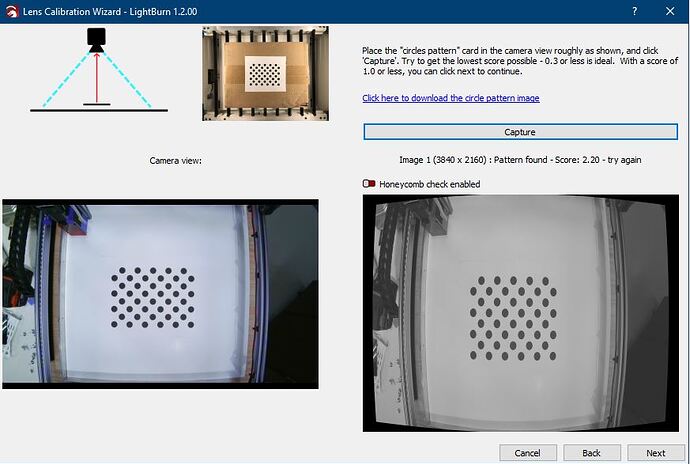
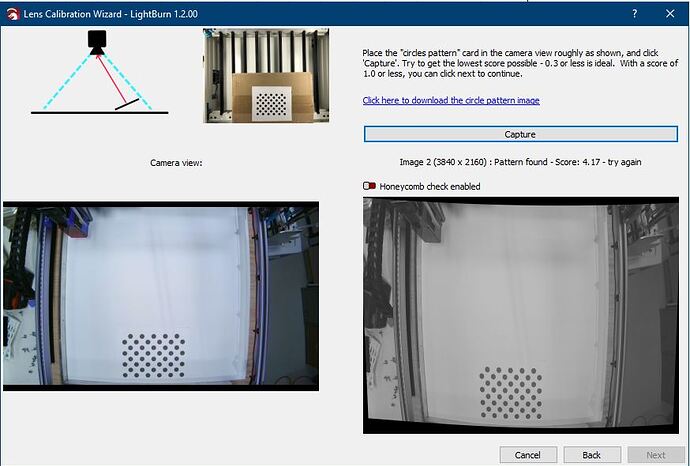
What types of scores are you seeing? Can you post an updated screenshot? I was concerned that you’re not really getting a visible capture. Normally the image would be heavily distorted but have more image.
Have you tried using a preset calibration?
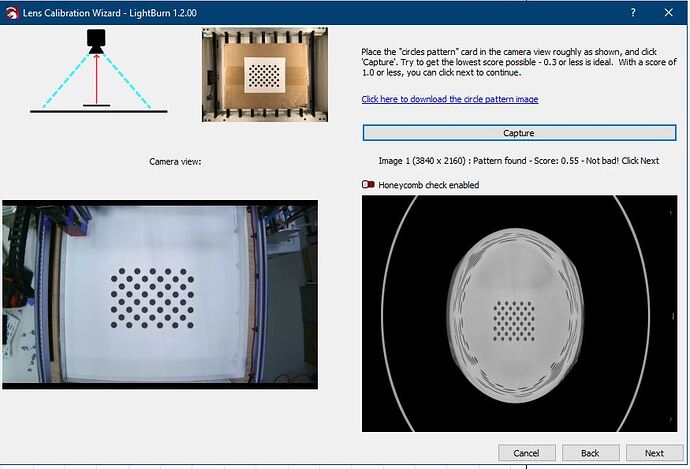
Ok. It looks like you’re making progres and is just a matter of getting just the right position.
A couple of notes:
- don’t concern yourself with a distorted capture. Only the score matters. Proceed as long as the score is good.
- I suspect there’s something in the screen that’s confusing the program where it’s mistaking it for the pattern. Not certain but it may be the drag chain or possibly the holes on the railing. You may want to cover those things up or do the calibration away from the laser
- Looks like you’re using just printed sheets for the pattern. It’s possible that the slight waves in the print may be interpreted as distortion by the algorithm. Ideally the pattern would be pasted to a known flat substrate
- Note that the captures for the non-middle portions ask for the pattern to be angled toward the camera. I believe this is generally true for all fisheye lens captures.
I have tried 3 more sizes of that pattern and can not get past the 3rd capture. Next I checked the pre-done settings then went on to the next part and did the burn at the 4 corners the put the crosshairs in position. I then made a small box on the paper with a pen and tried to do a burn inside it and was not even close. ready to throw this whole thing out! almost 10pm by me time to quit.
Did you adjust the scale so that it covered most of the bed?
How far off was it?
Can you confirm that independent of the camera that your laser burns dimensionally accurate designs? Meaning that you’ve calibrated the X and Y axes?
Taking a step away I think generally prudent if you’re getting frustrated. Fresh eyes may reveal something.
Yes, I made it bigger to cover the whole bed. the test burn was actually under the box I drew but centered ok. I have never calibrated X and Y axes. I have yet to even burn anything out except for the test pattern.
Got it. When you get back to it you may want to confirm your XY axes calibration so you’re only dealing with one variable at a time. It’s likely already within a percent or two but every bit counts if you’re trying to dial-in something very specific.
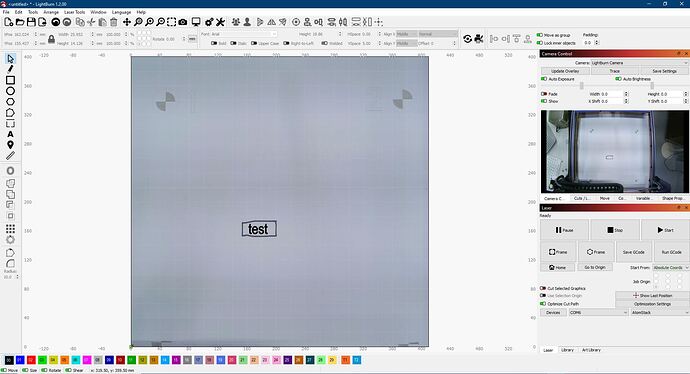
Did not come up with anything new laying awake in bed last night. LOL can’t shut the brain down with this. Anyway here are 2 pics of what I was trying to do with letters in a box and what the actual results were. I am going to do the X Y alignment now. From what I seen I make a box and measure it to see if it is actually the correct size.
Looks like X and Y are right on the money.
Okay. Then one less variable to deal with.
I’m surprised by how far off the engraving is. I was expecting plus/minus a couple of mm. Not off by what looks like ~20 mm.
I suggest you go through the alignment process again. Make sure you burn new alignment marks or adjust scale so that it’s the same as when you first burned the targets.
Small adjustments can be made with the controls in Camera window but I wouldn’t expect adjustments of a huge degree.
When you chose the preset calibration I assume it picked your specific camera model, correct?
Also, one thing I’m noticing is that the bottom of the bed seems to be cut off in the overlay. Can you confirm that your workspace size is set correctly?
Also, not sure what’s going on but looks like the camera view is a different orientation from the overlay and the drawn box doesn’t seem to correlate.
GOT IT! a fresh start did help. This is what I did so I hope it will help others having the same issue. I used a slightly smaller pattern than what you get downloading it. I also found out that the settings in Windows 10 camera app will carry over into Lightburn so I opened that and turned the brightness all the way up. I also used a piece of white cardstock as a wall against the side of the gantry the the pattern was on. After that everything went through right away maybe 2 clicks for image. I then went through the Camera Alignment again and tried the text in the box again and was perfect this time.
