The origin buttons in Lightburn determine placement of the graphic around the start point. If you use the center origin button in Lightburn and make a mark center of your cup, place the laser on that mark and it should be where you want it. Other options are If you know how far down from the top you want the top of your graphic then you can use the left center origin point or if you want to measure from the bottom to the edge, use the right center origin. As always, test on tape first.
Did you reenable homing after taking the rotary out? Did you turn off the rotarty?
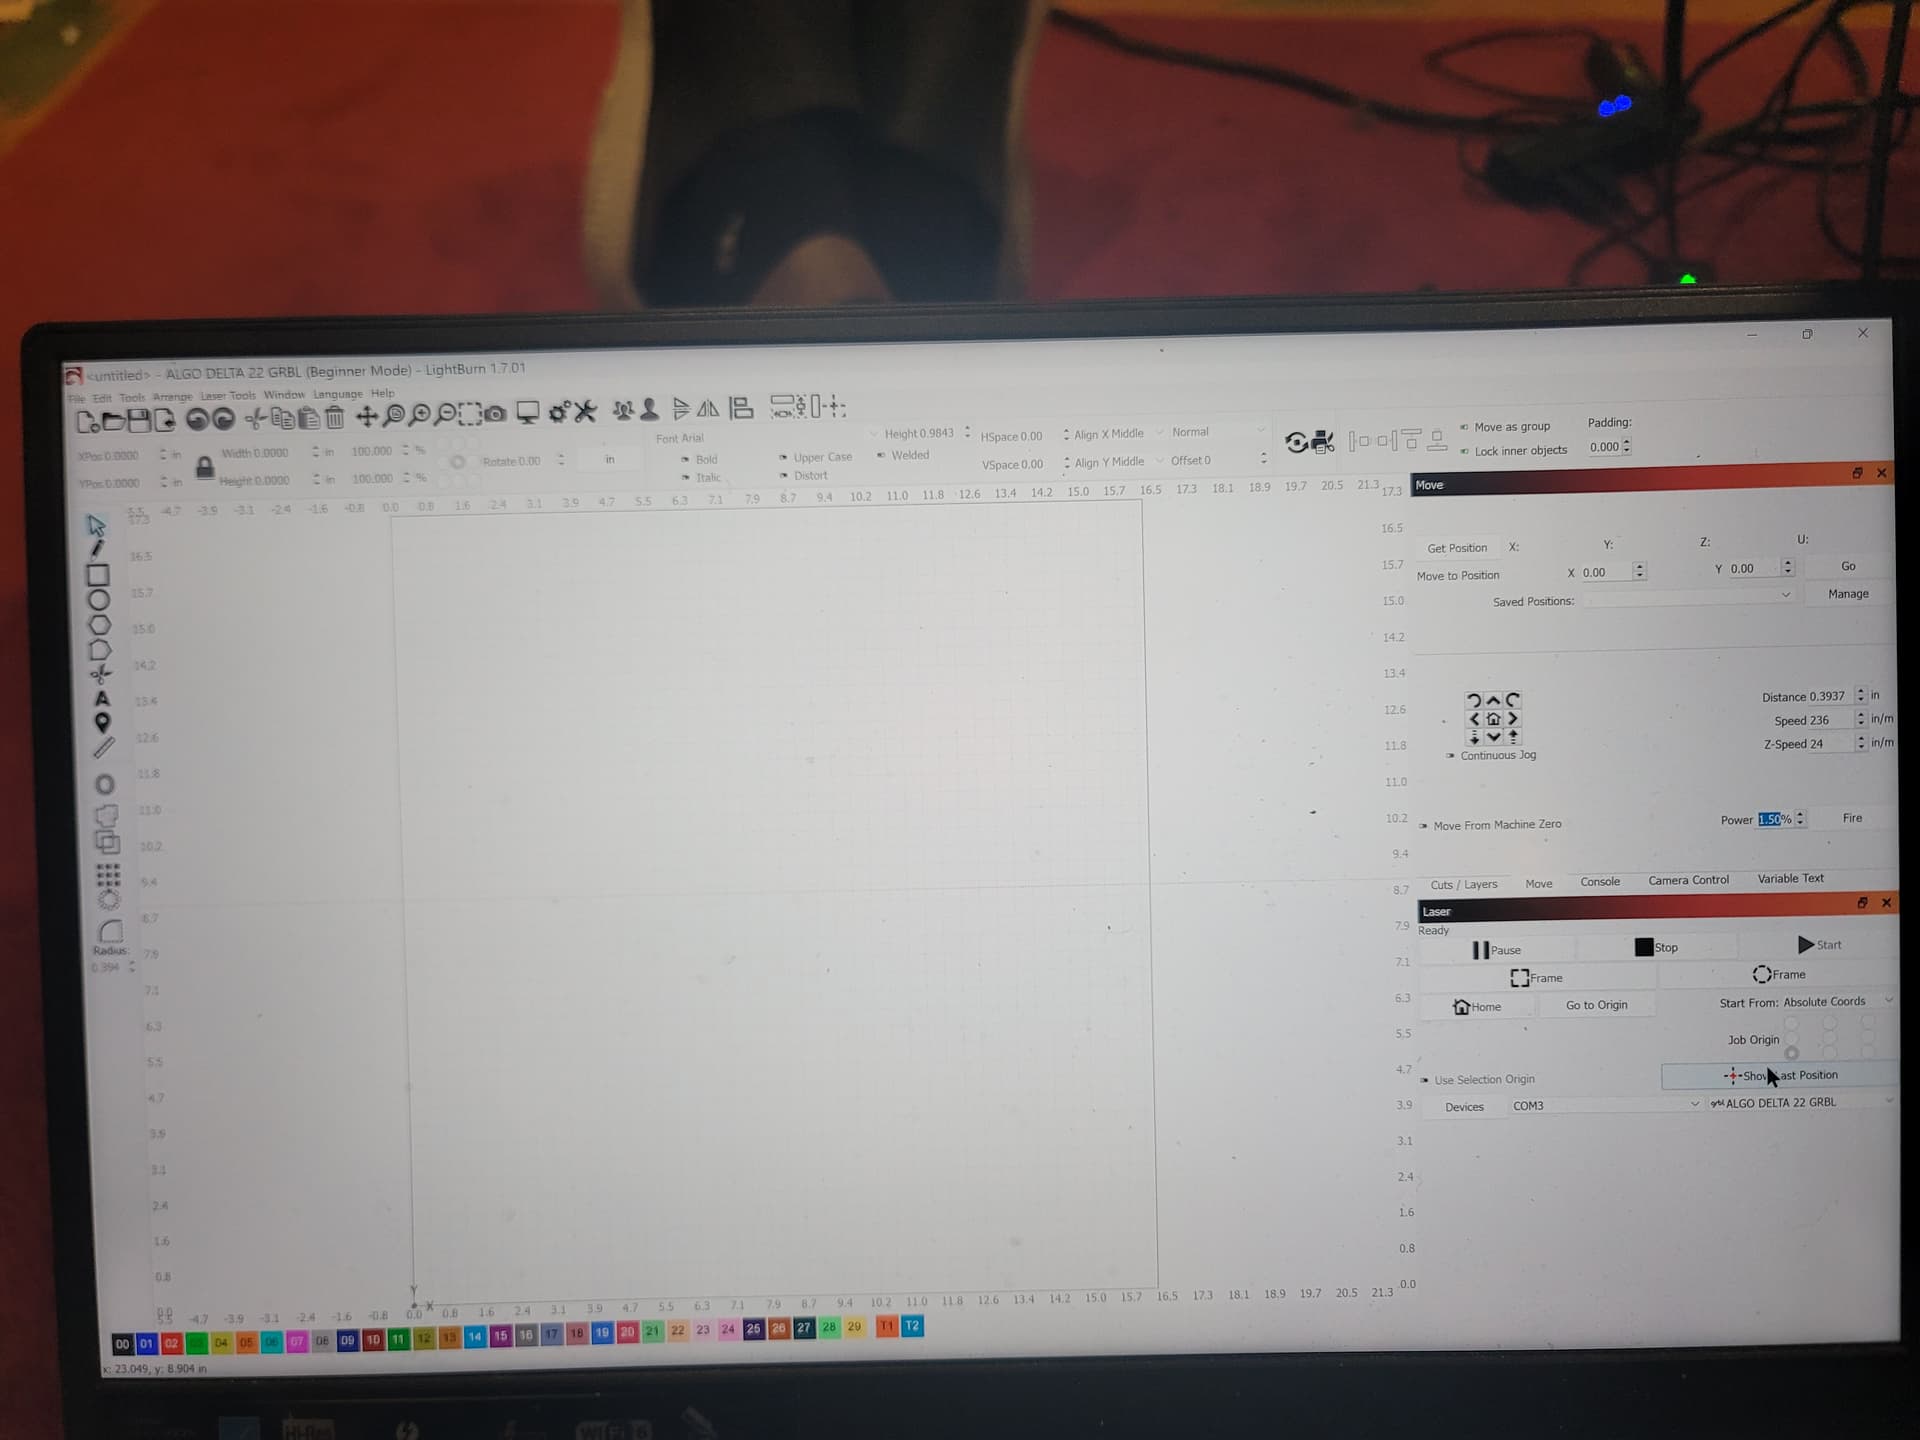
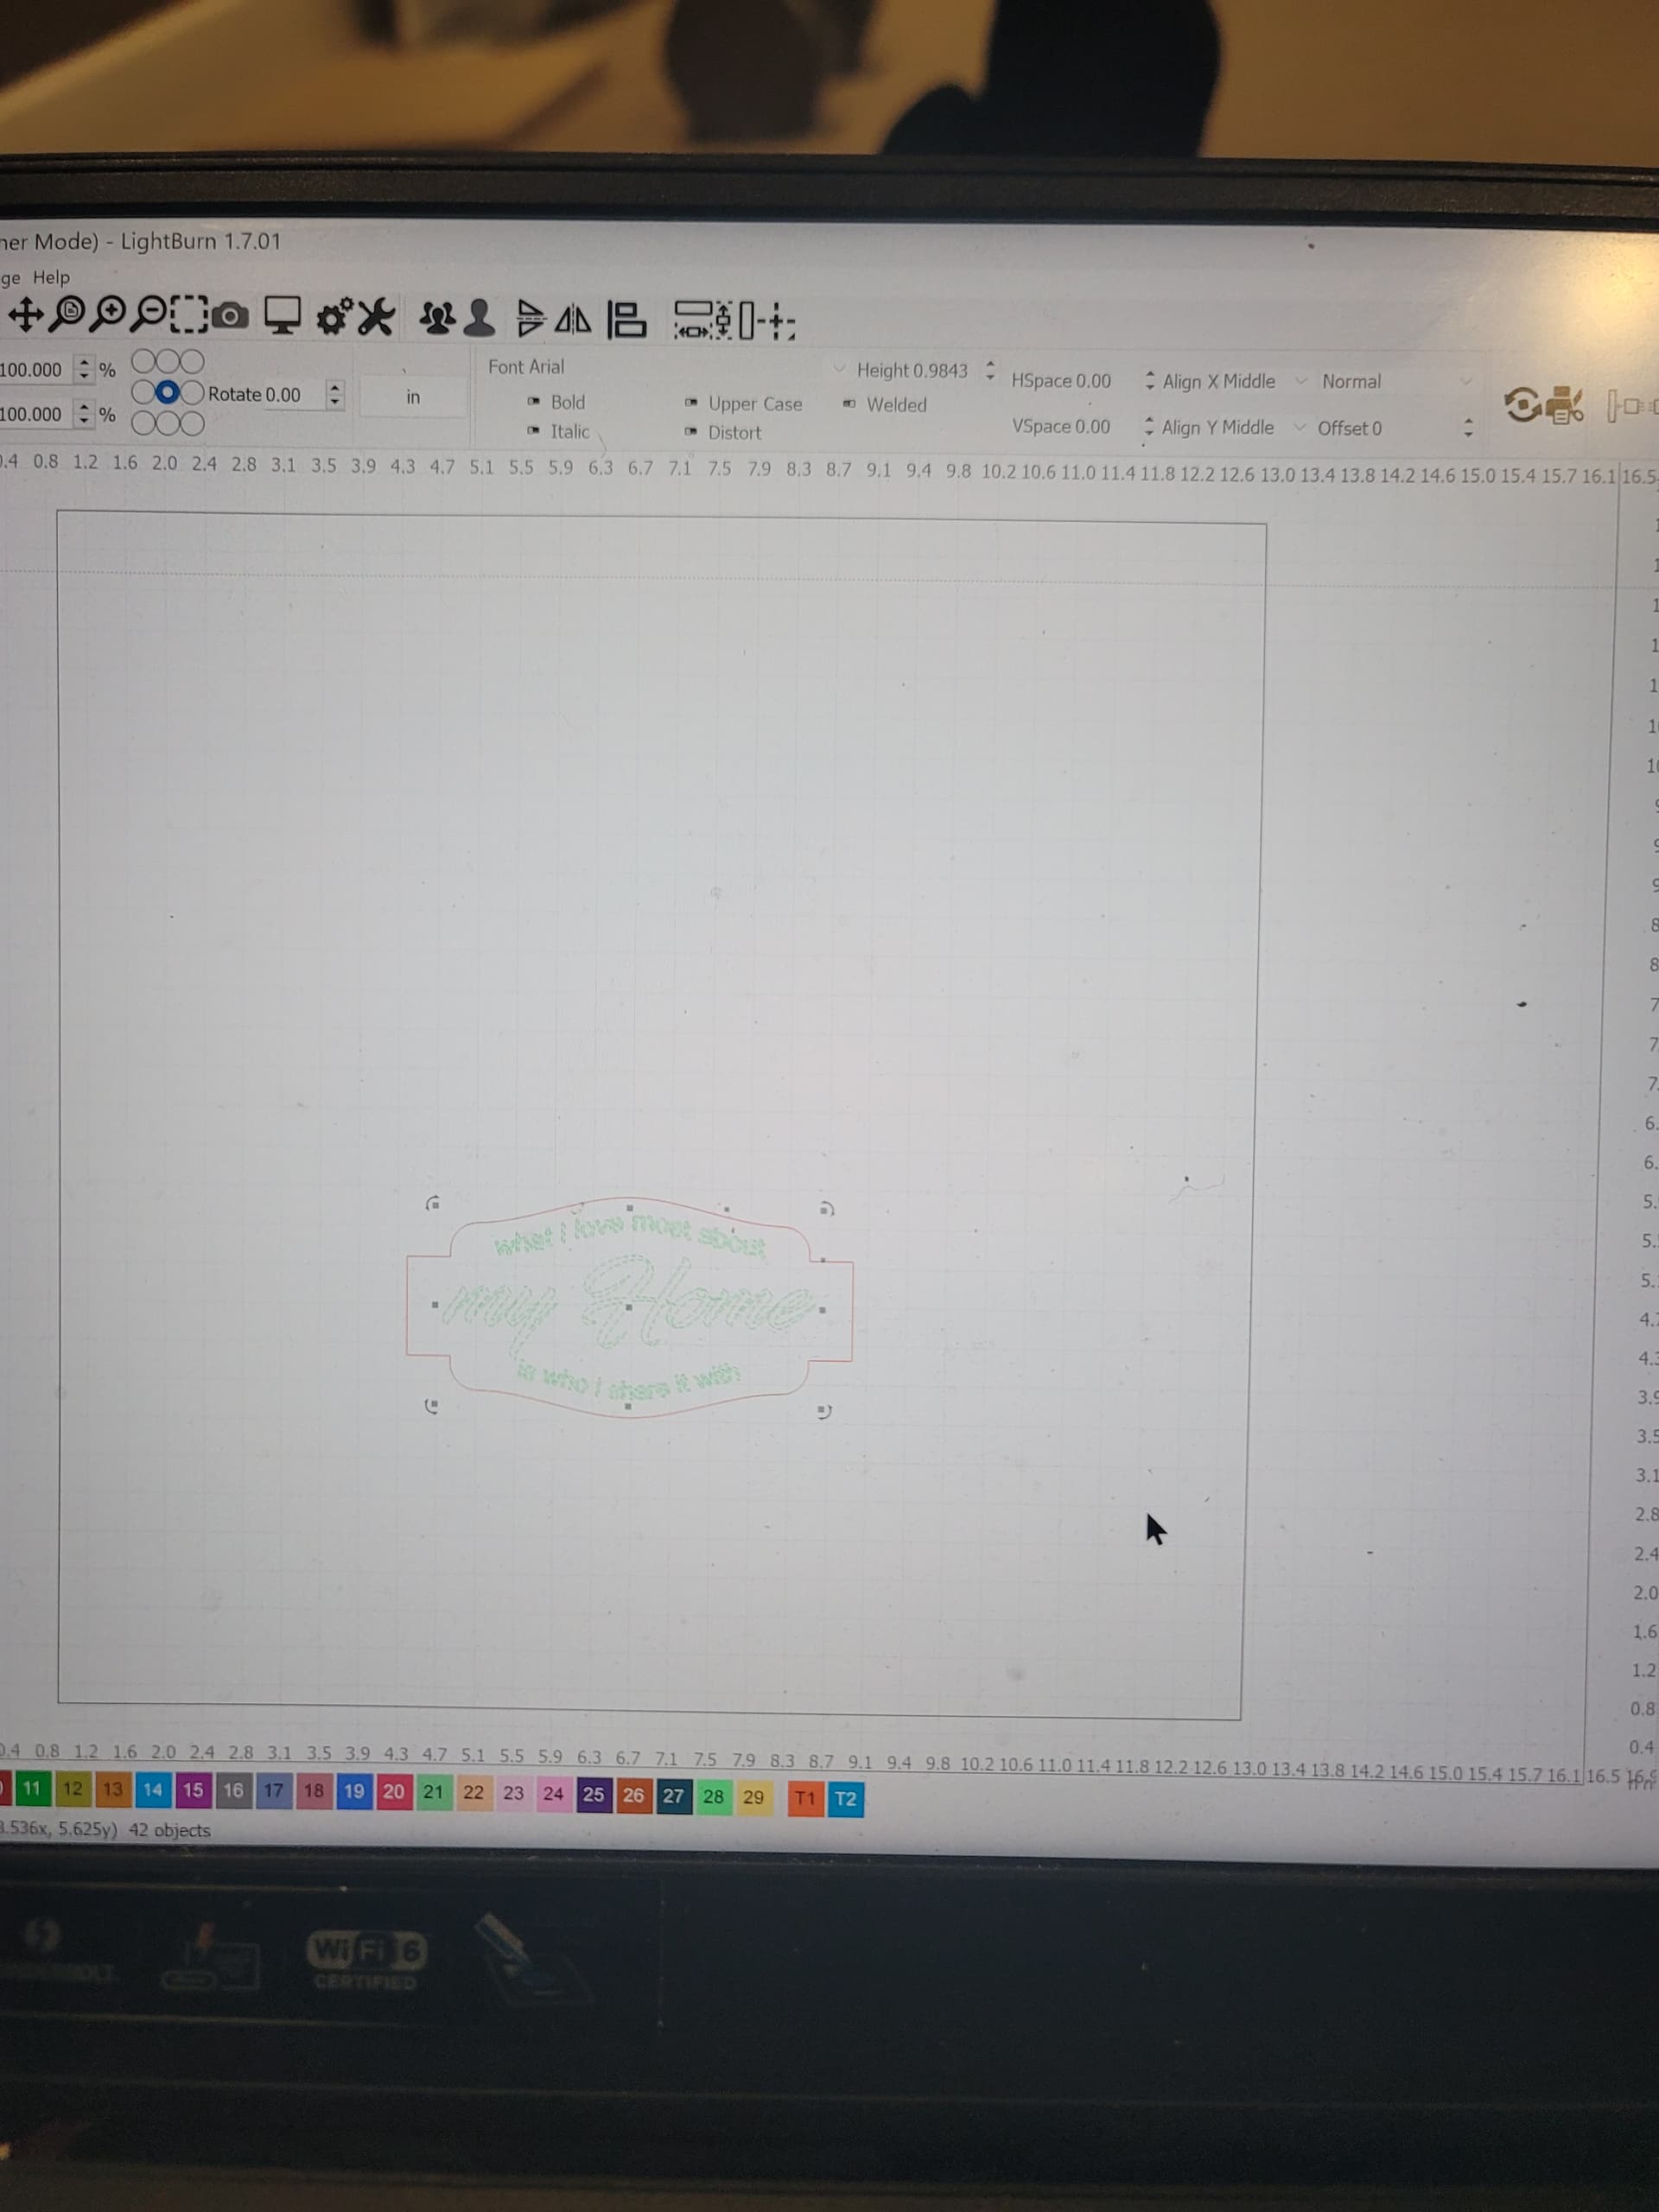
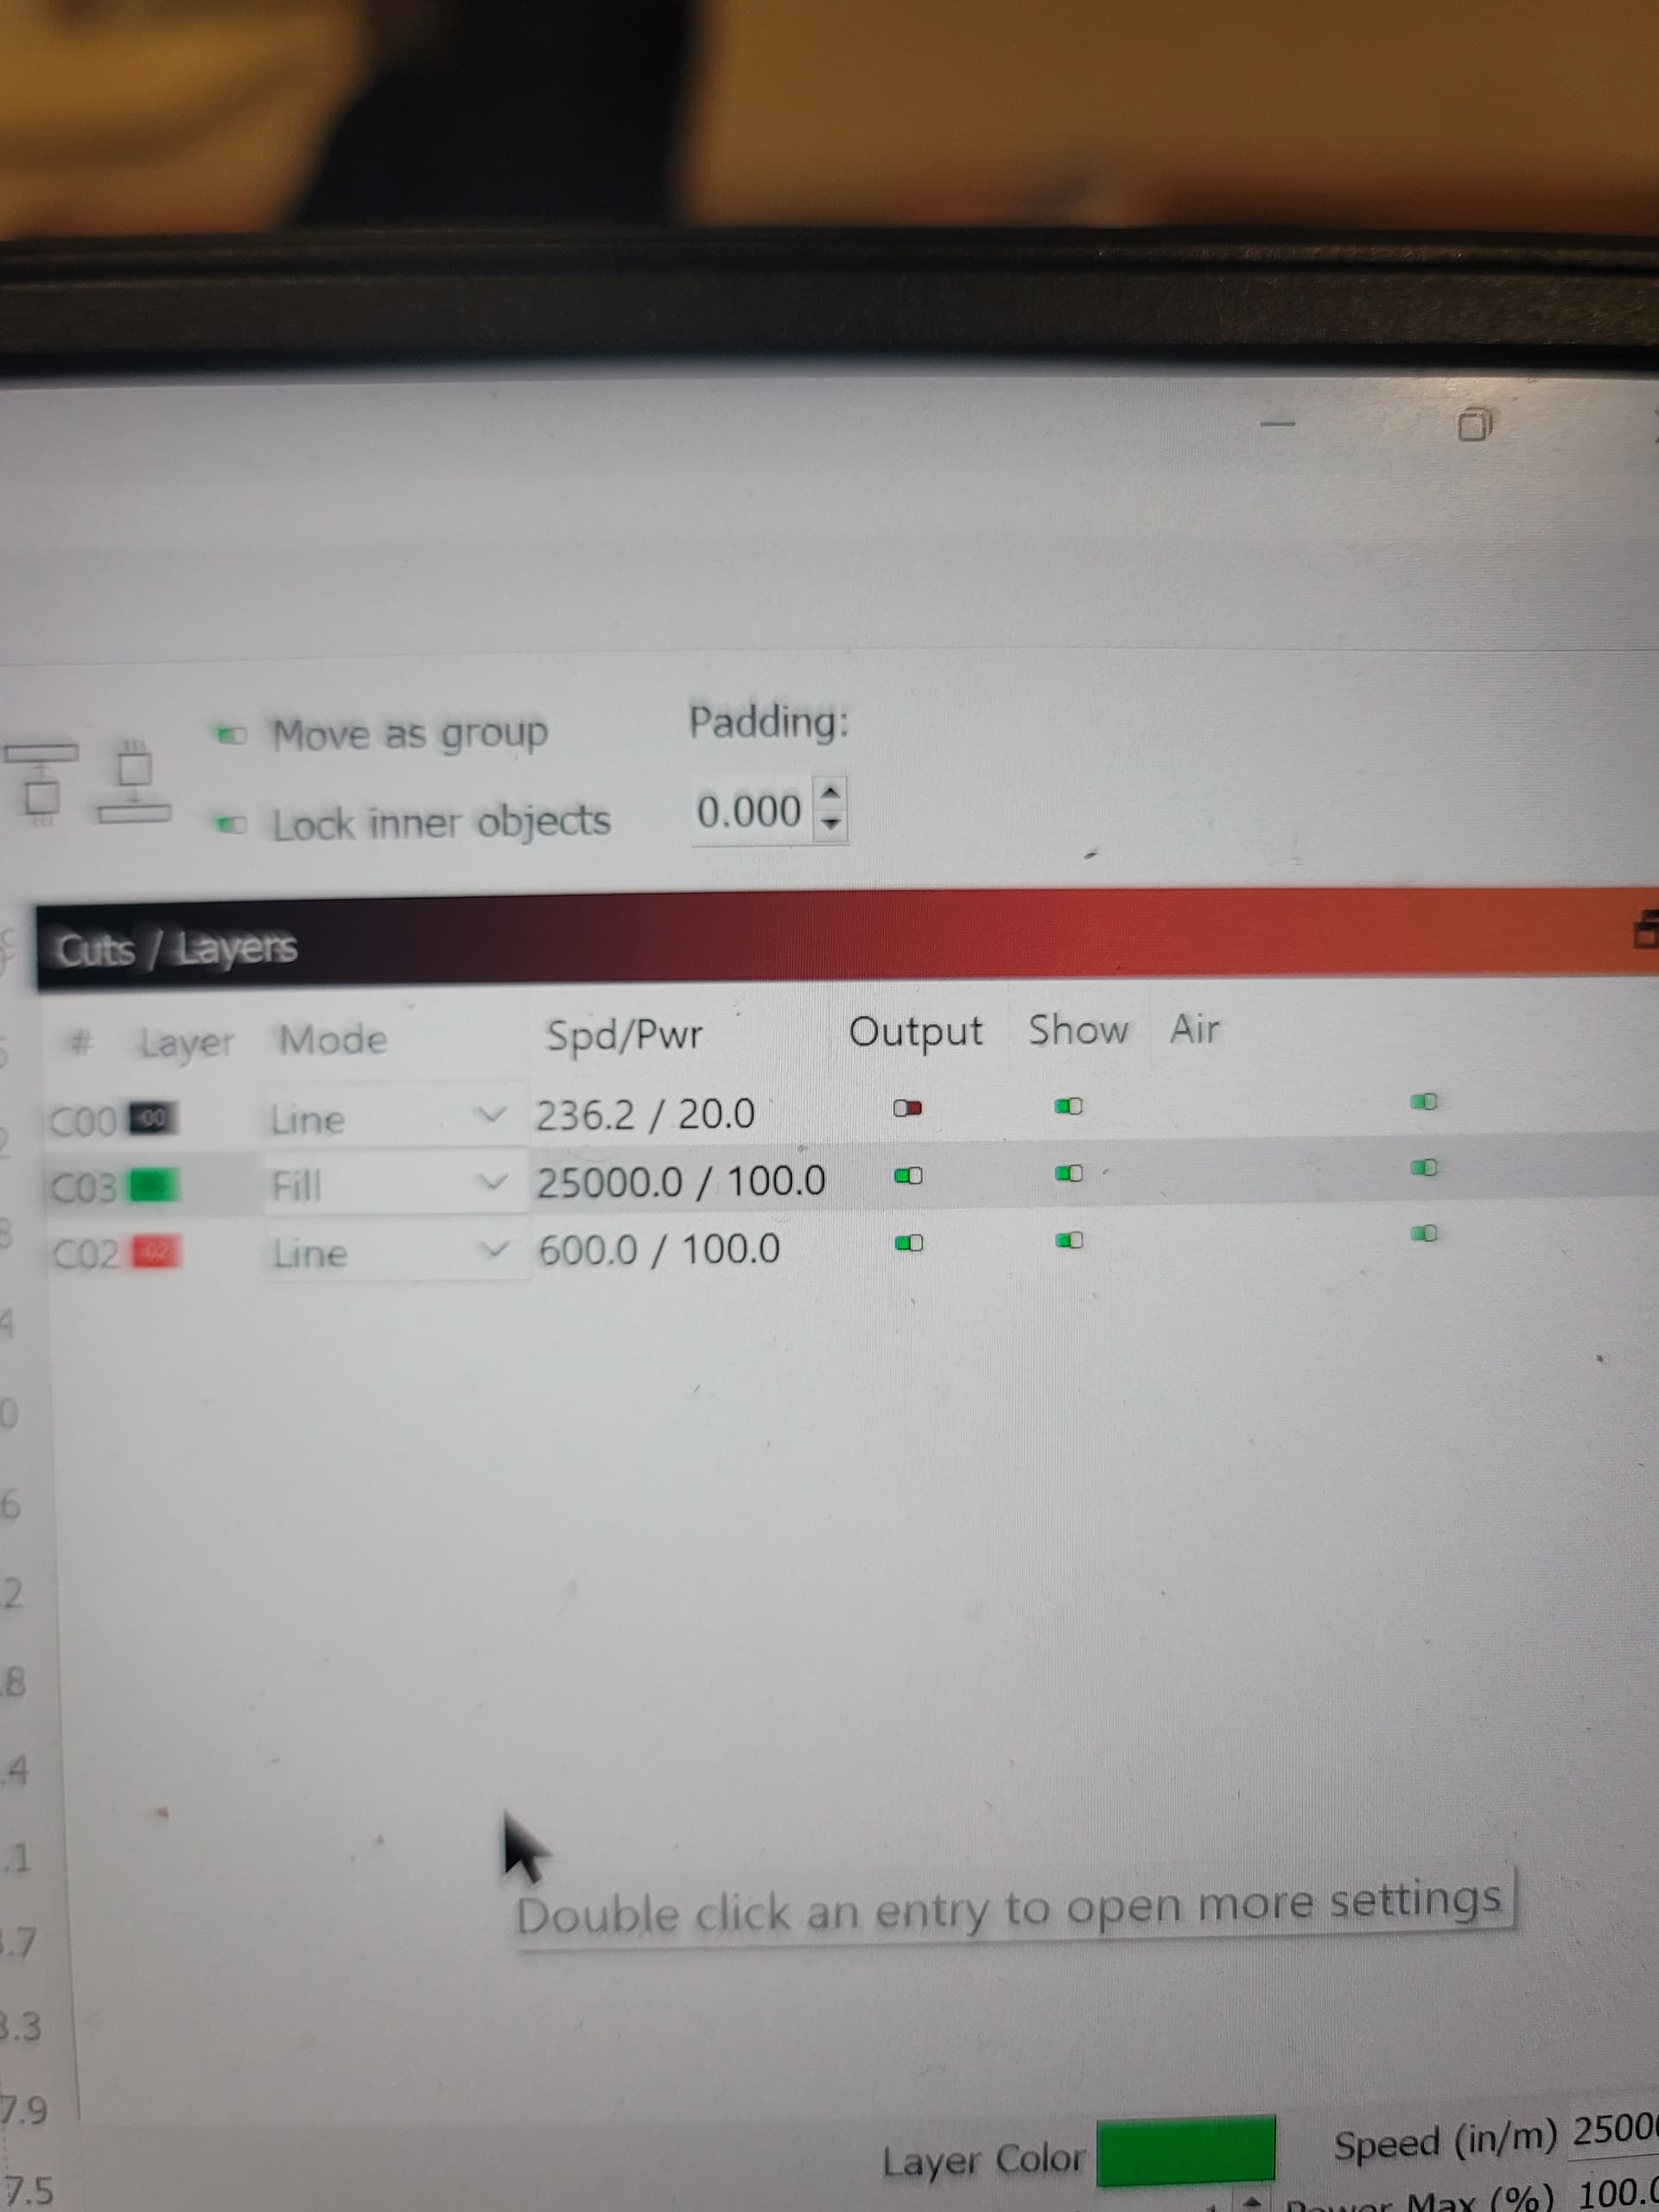
Please post a screenshot of your entire Lightburn screen showing your project with the Cuts/Layers Panel and Laser Panel visible. A screenshot is better than a photo.
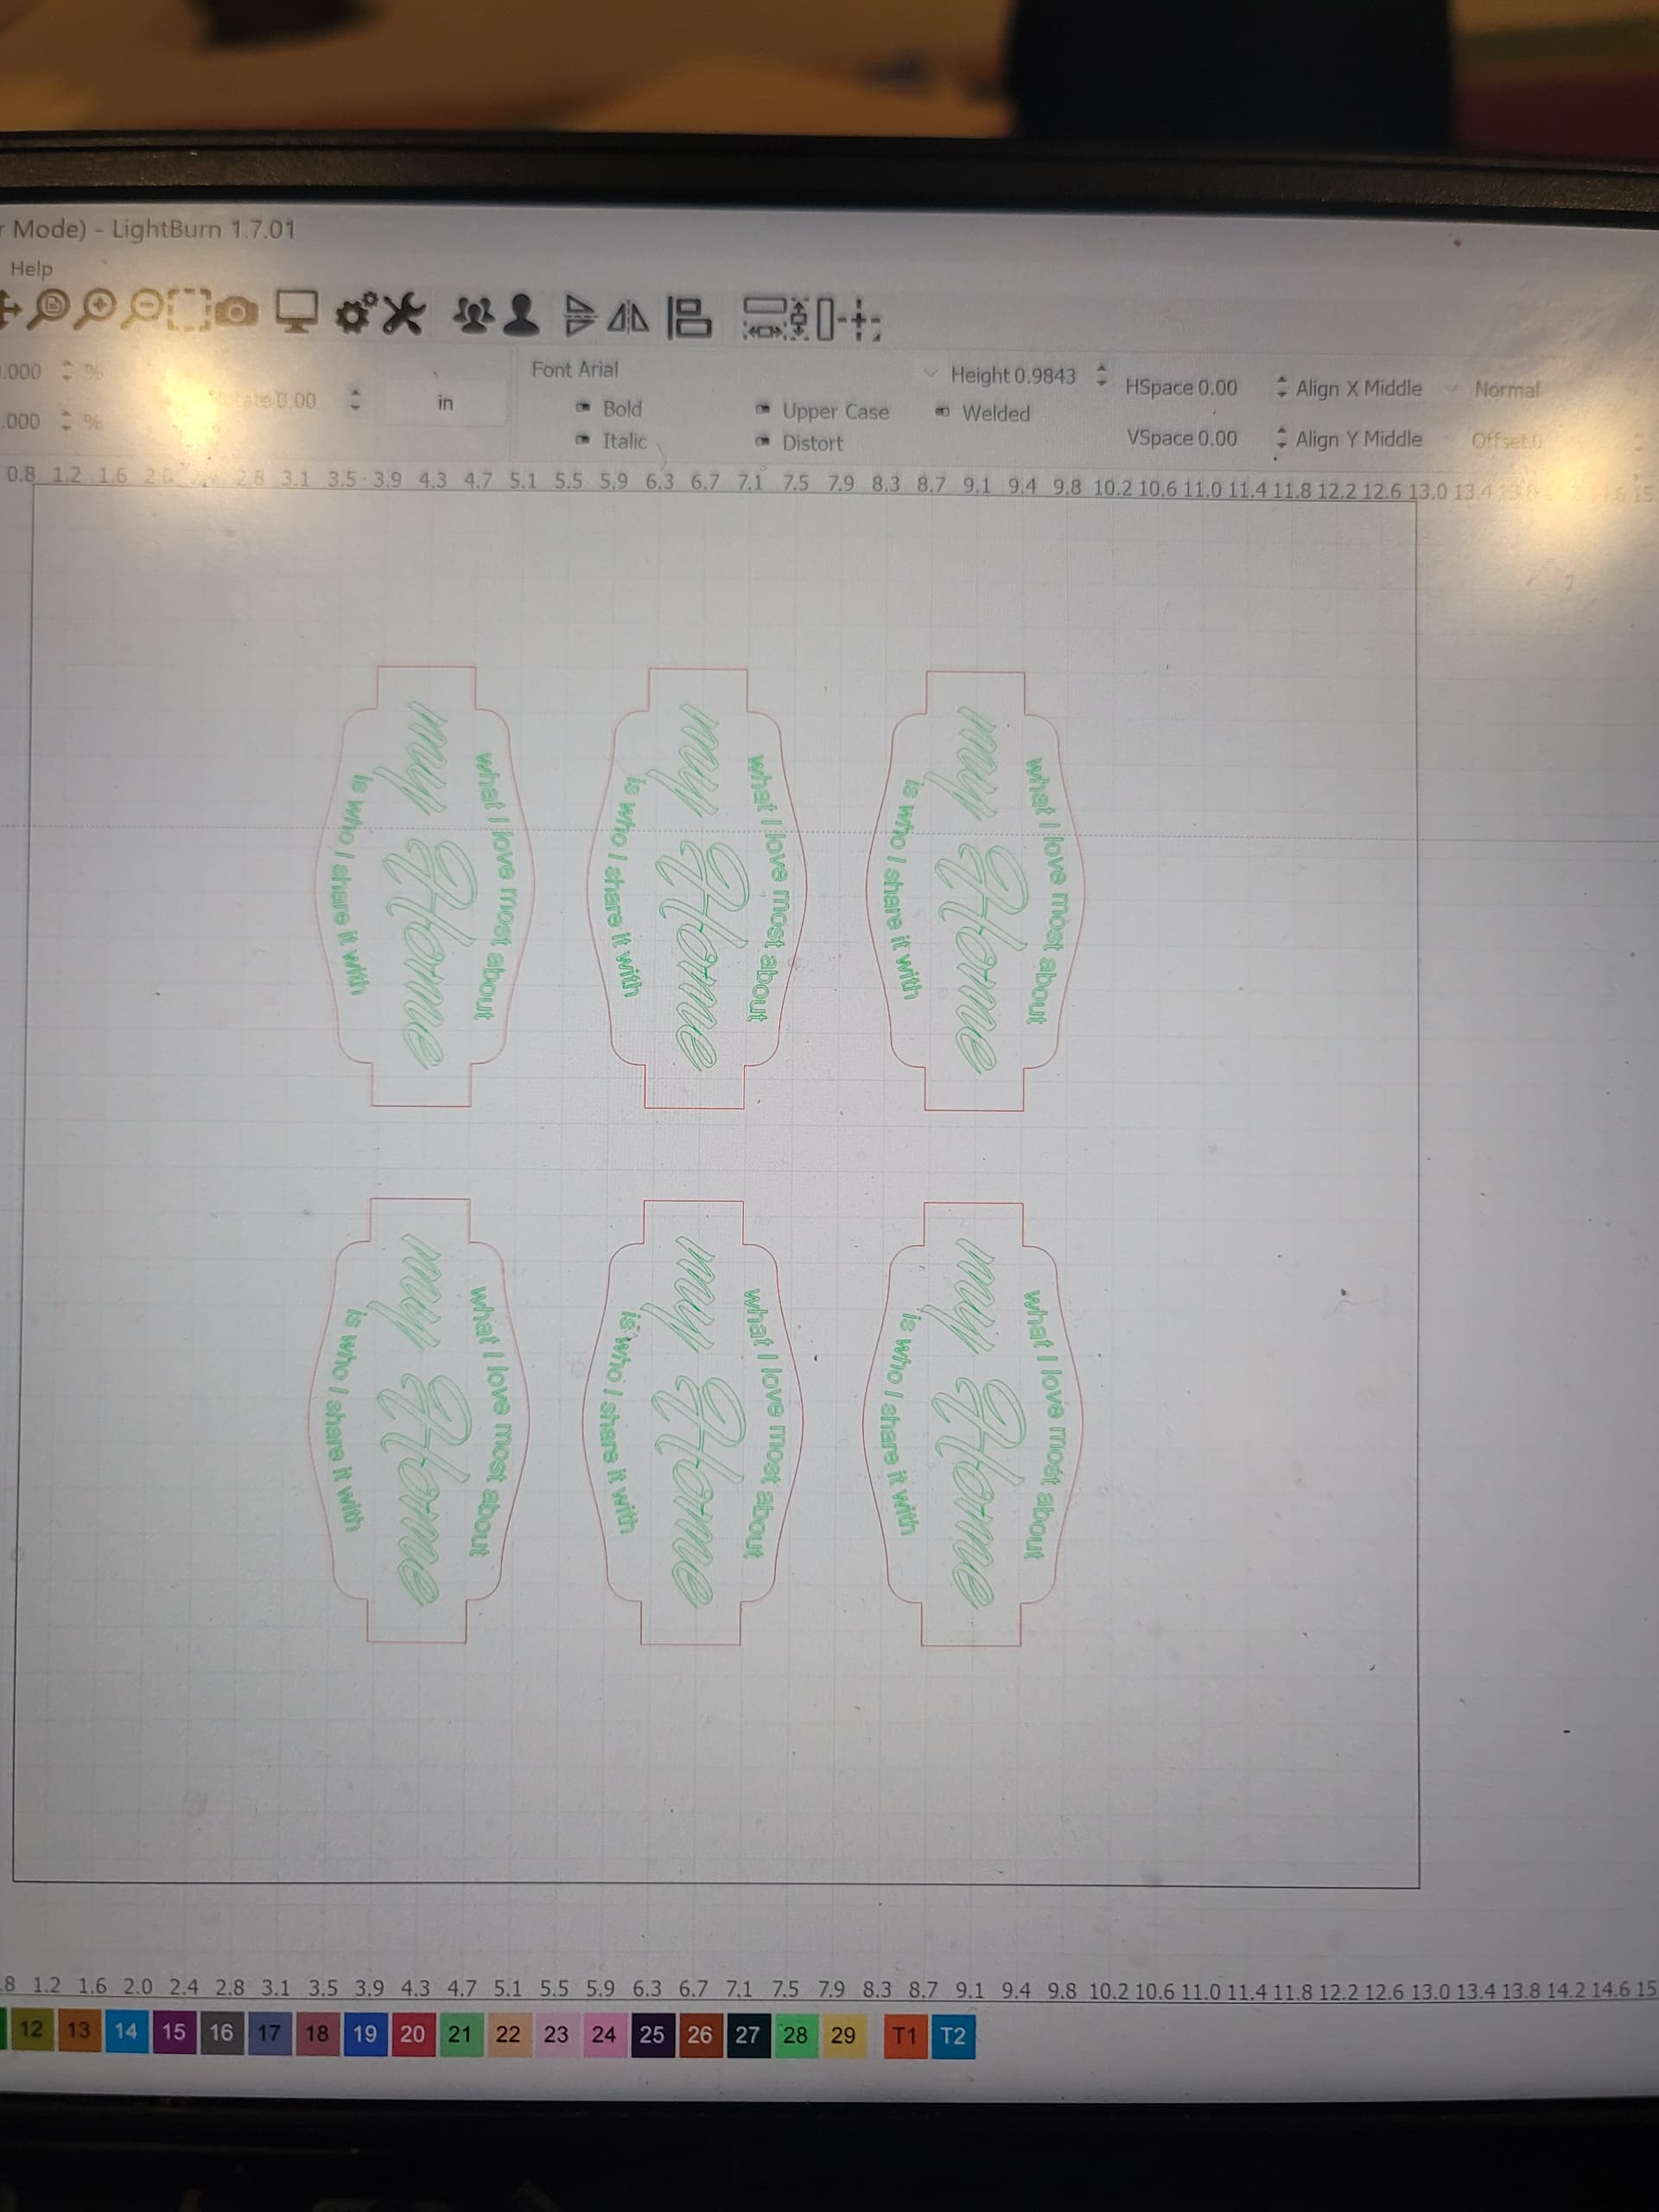
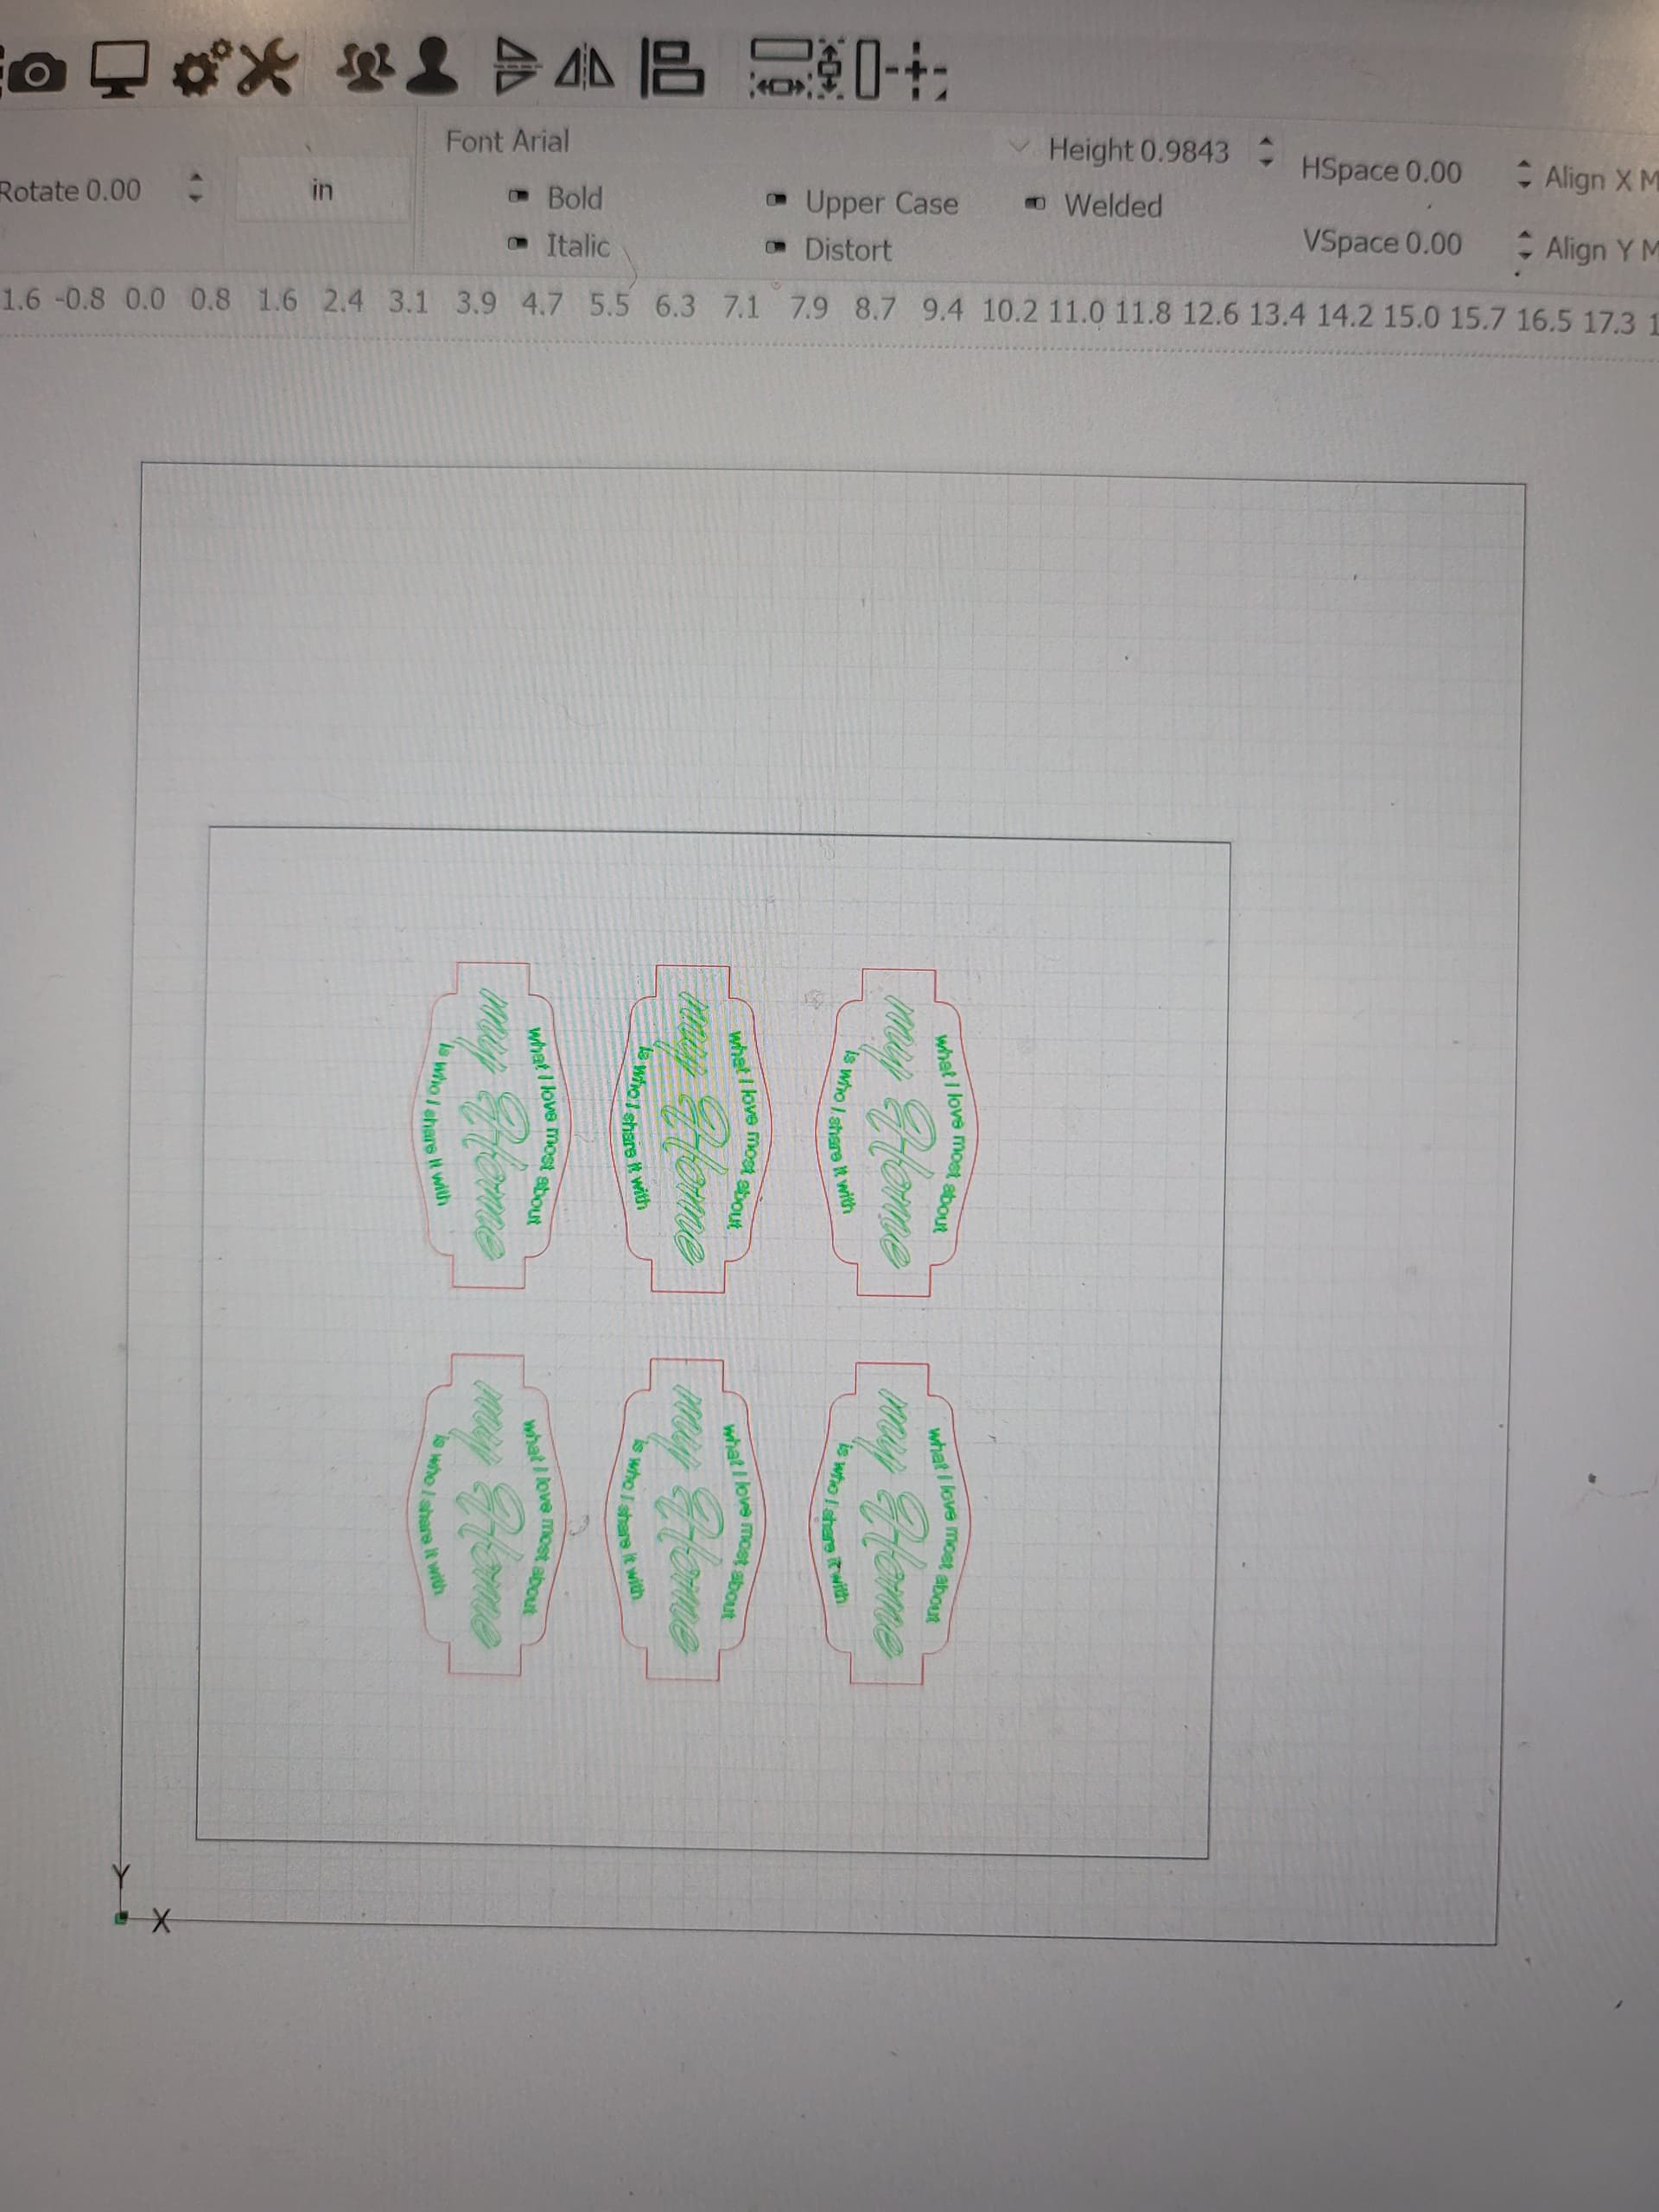
Im dealing with more than that, i had 50, 3 x 4 designs to cut out, i did 23 at speed of 700/ power of 100 Line, The fill was 25000 and power 100. Everything was going perfect, and it stop cutting after 23 pieces with code 9 then got it to go again but no fill or line would show up
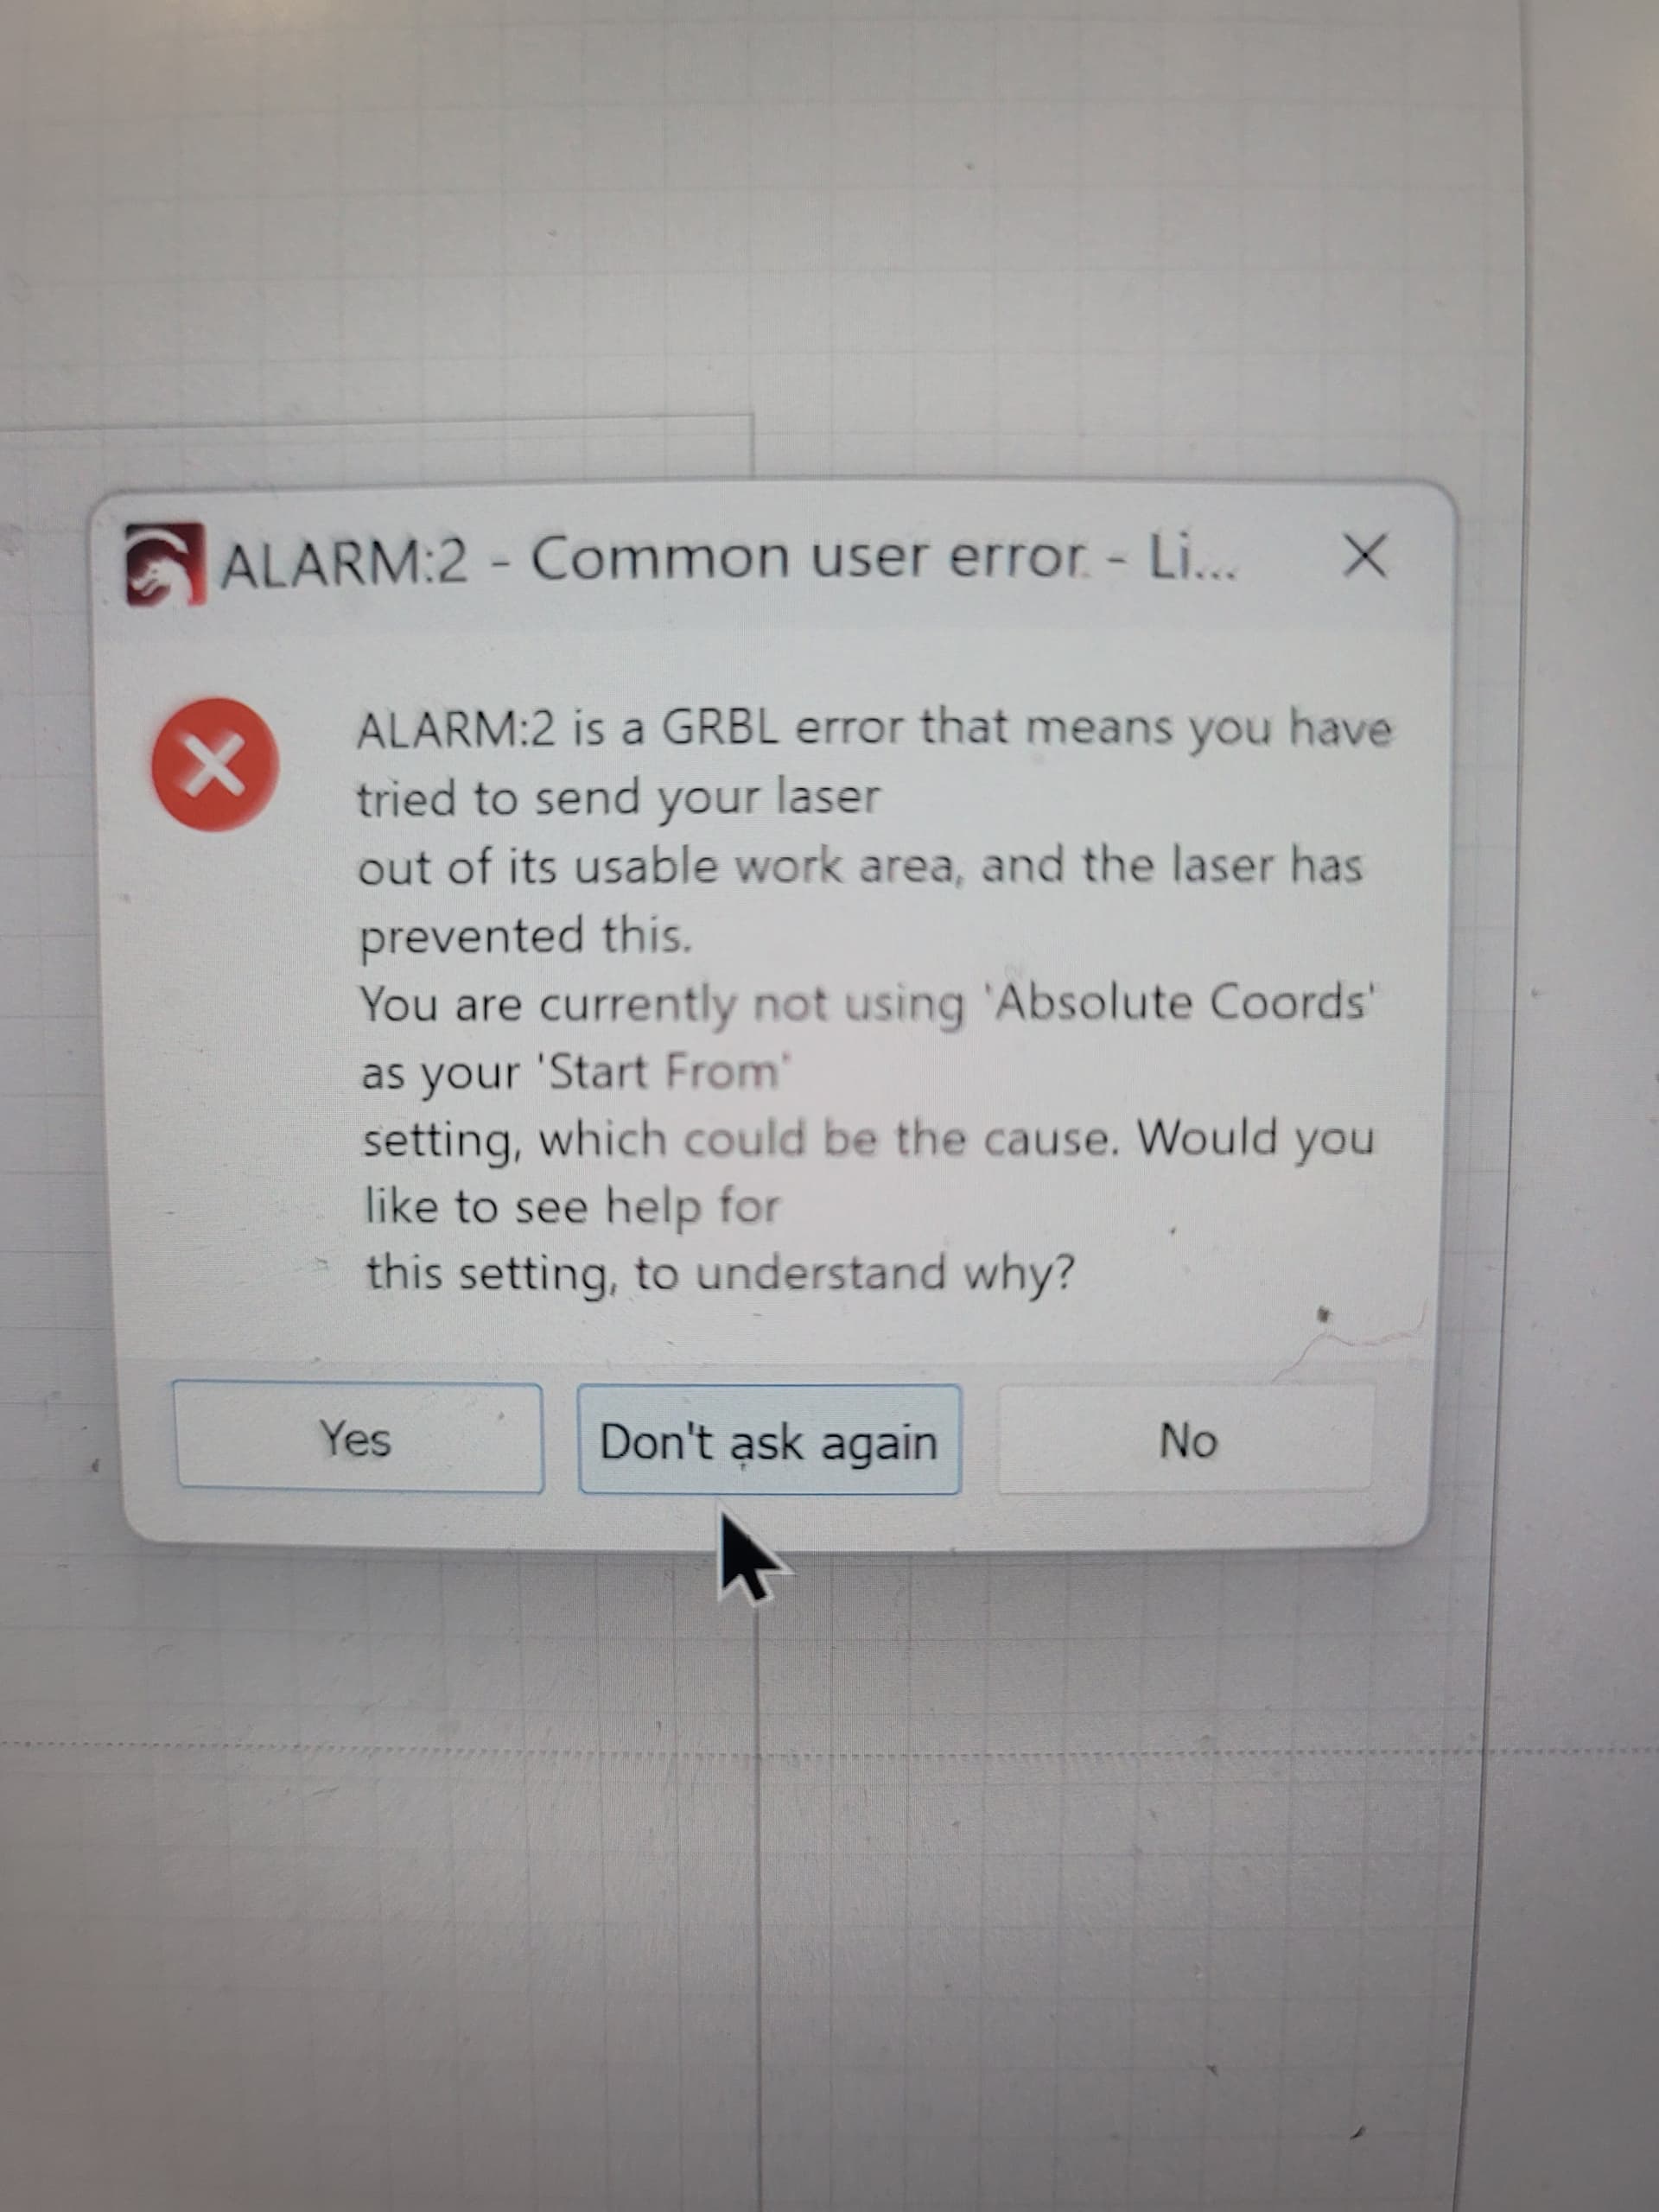
Your project isn’t on your screen, so I have no idea what happened or why. It. could be that something was too close to the edge and the overscan caused an issue, IDK.
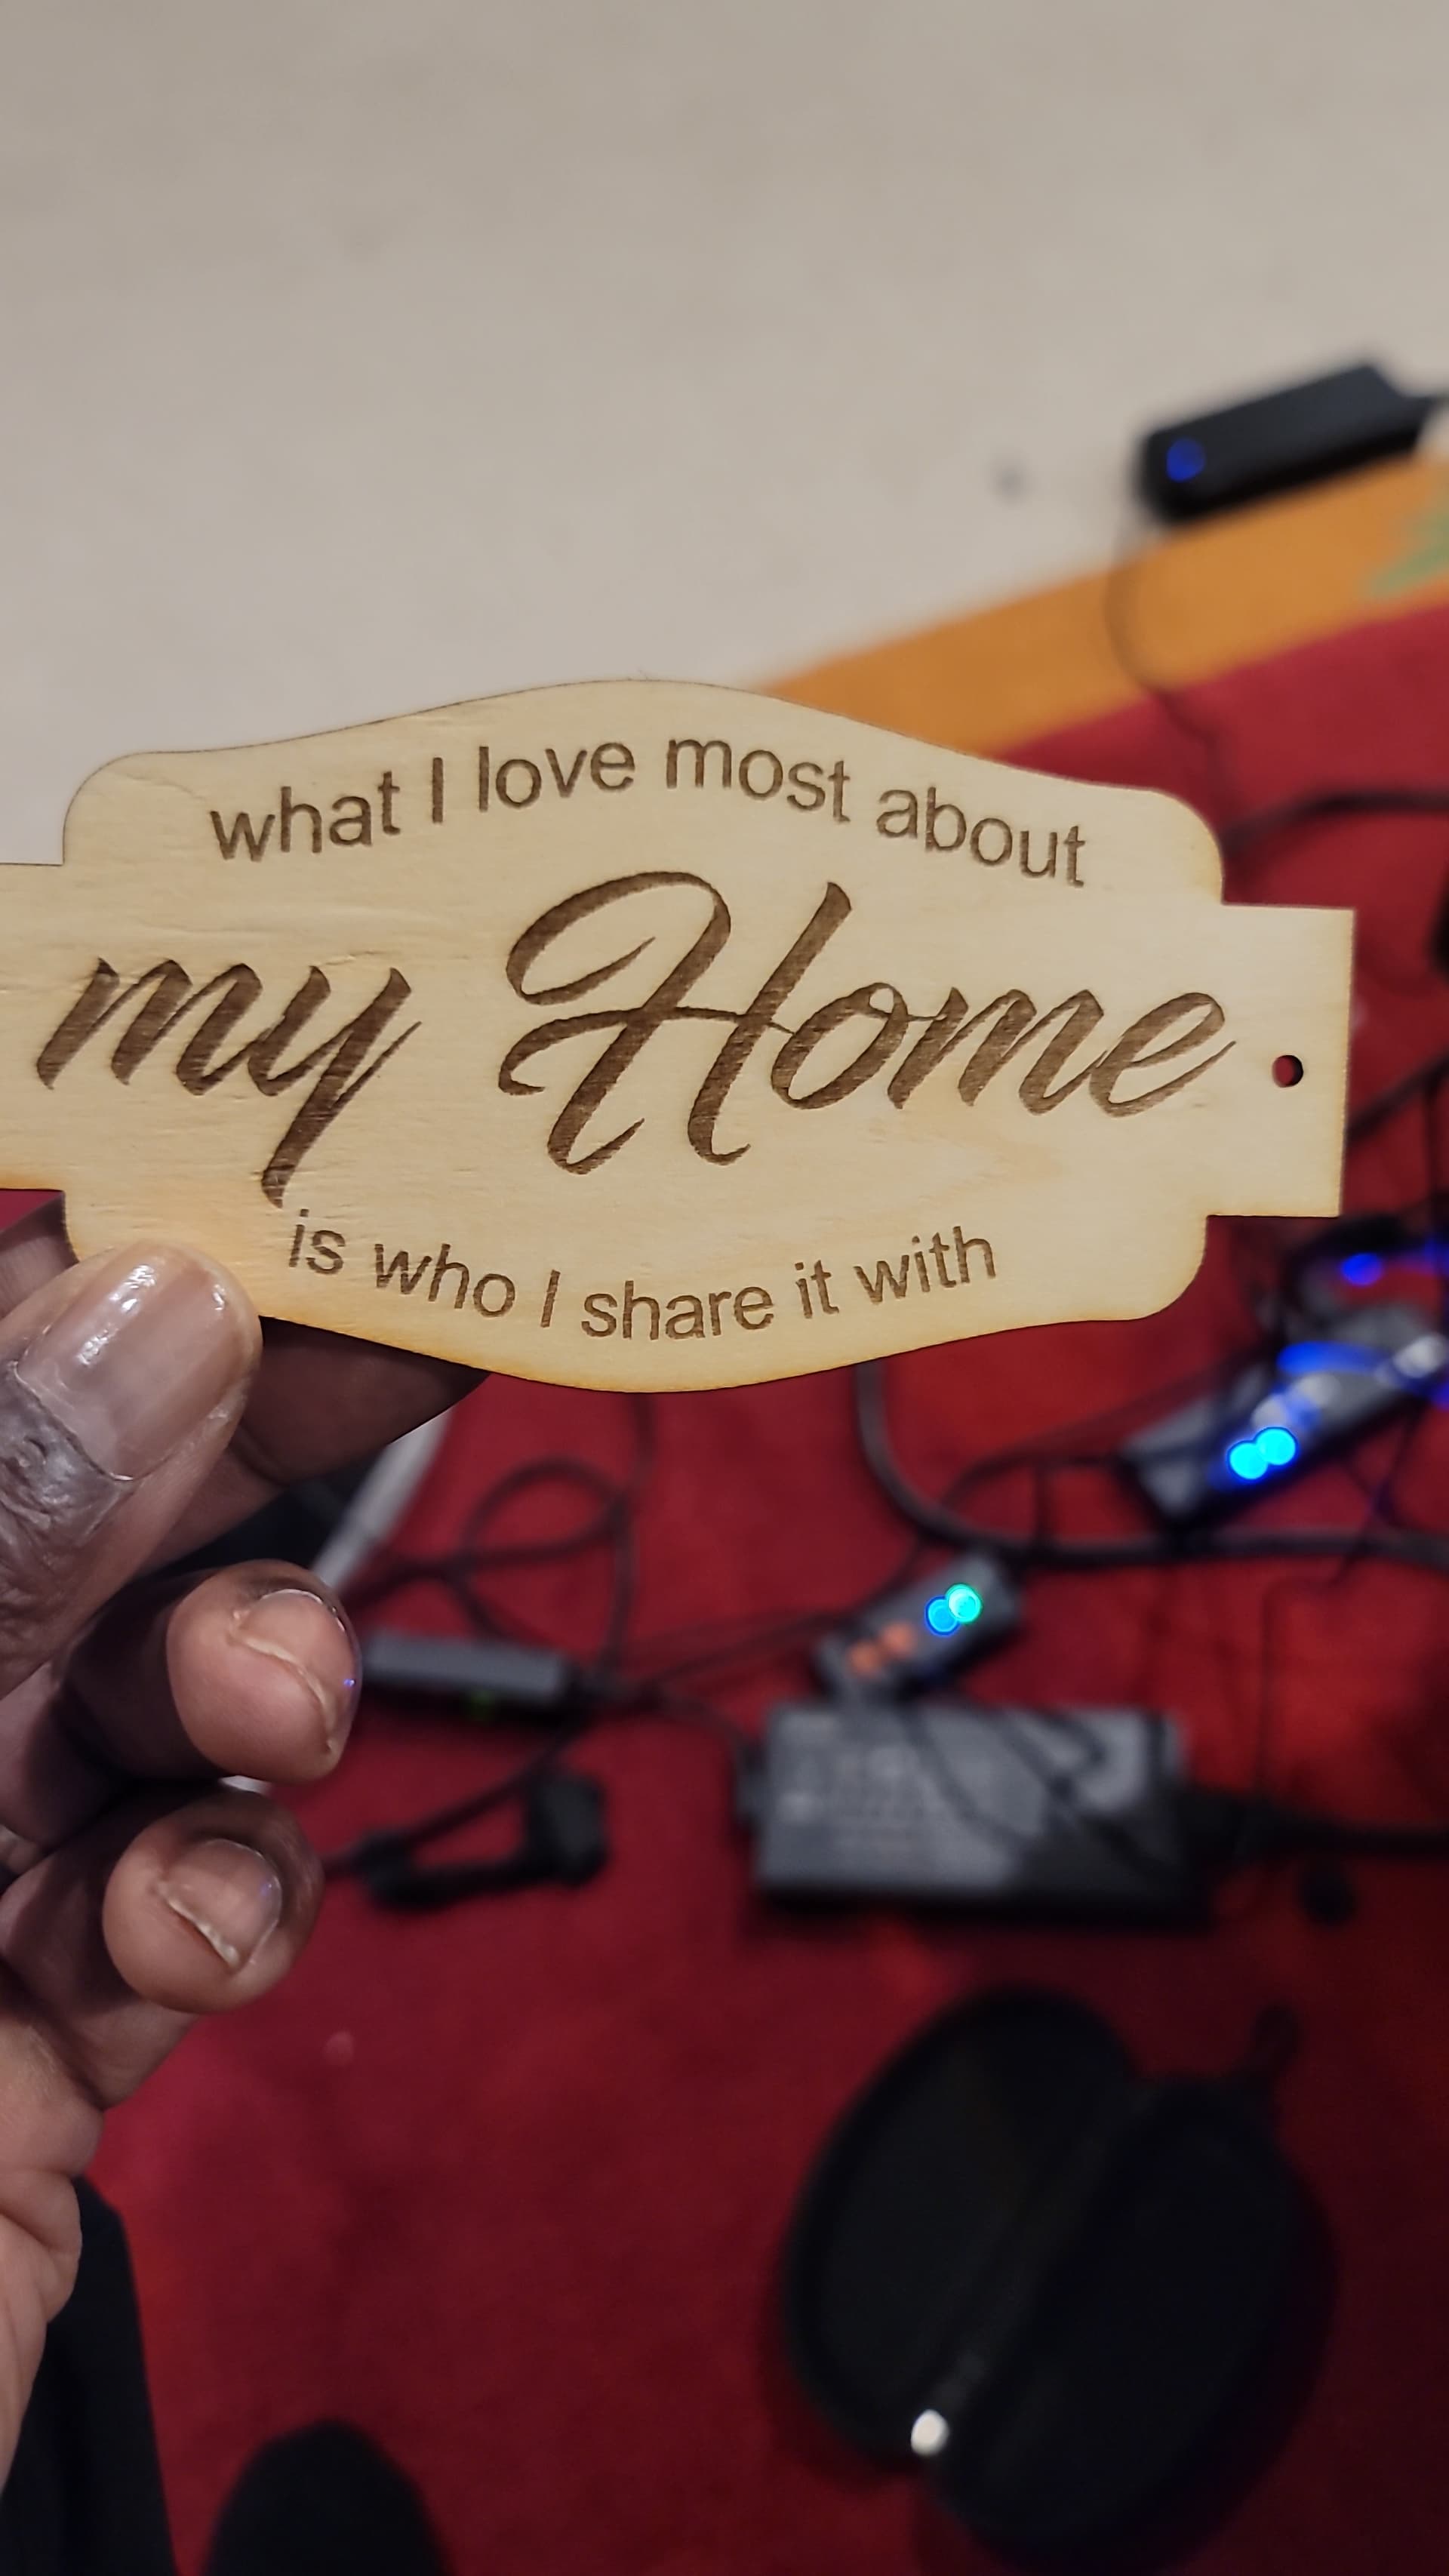
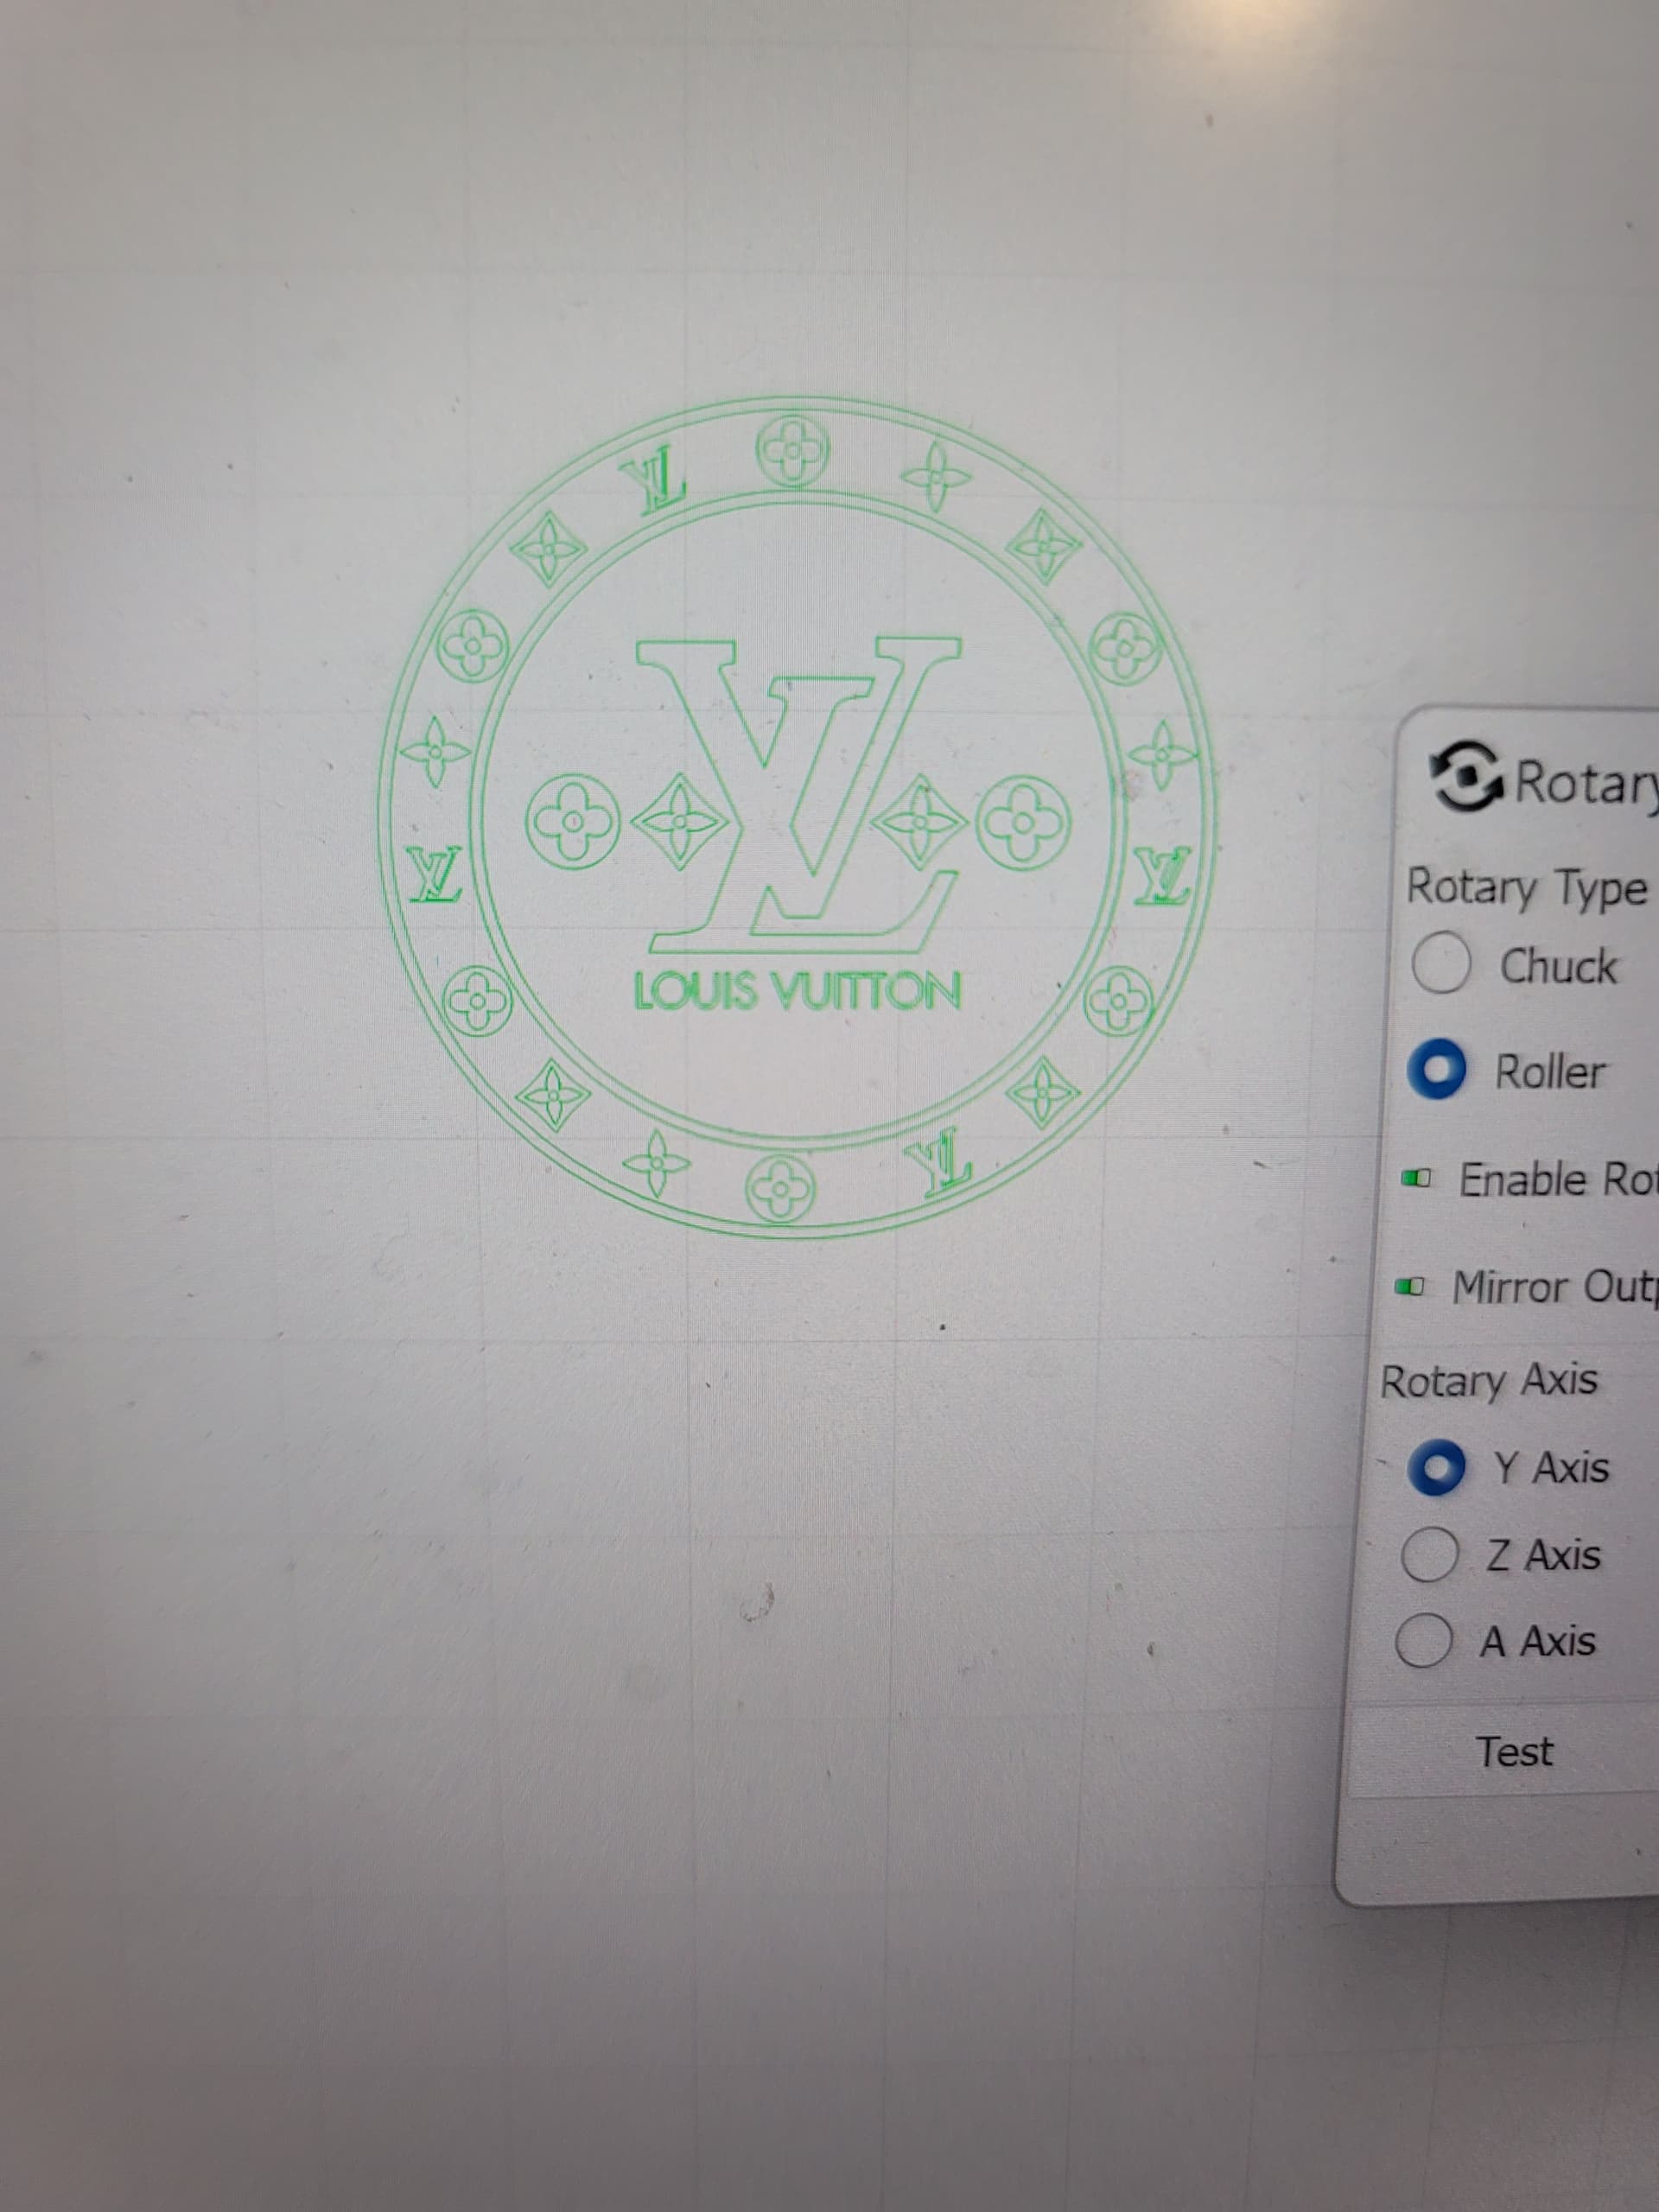
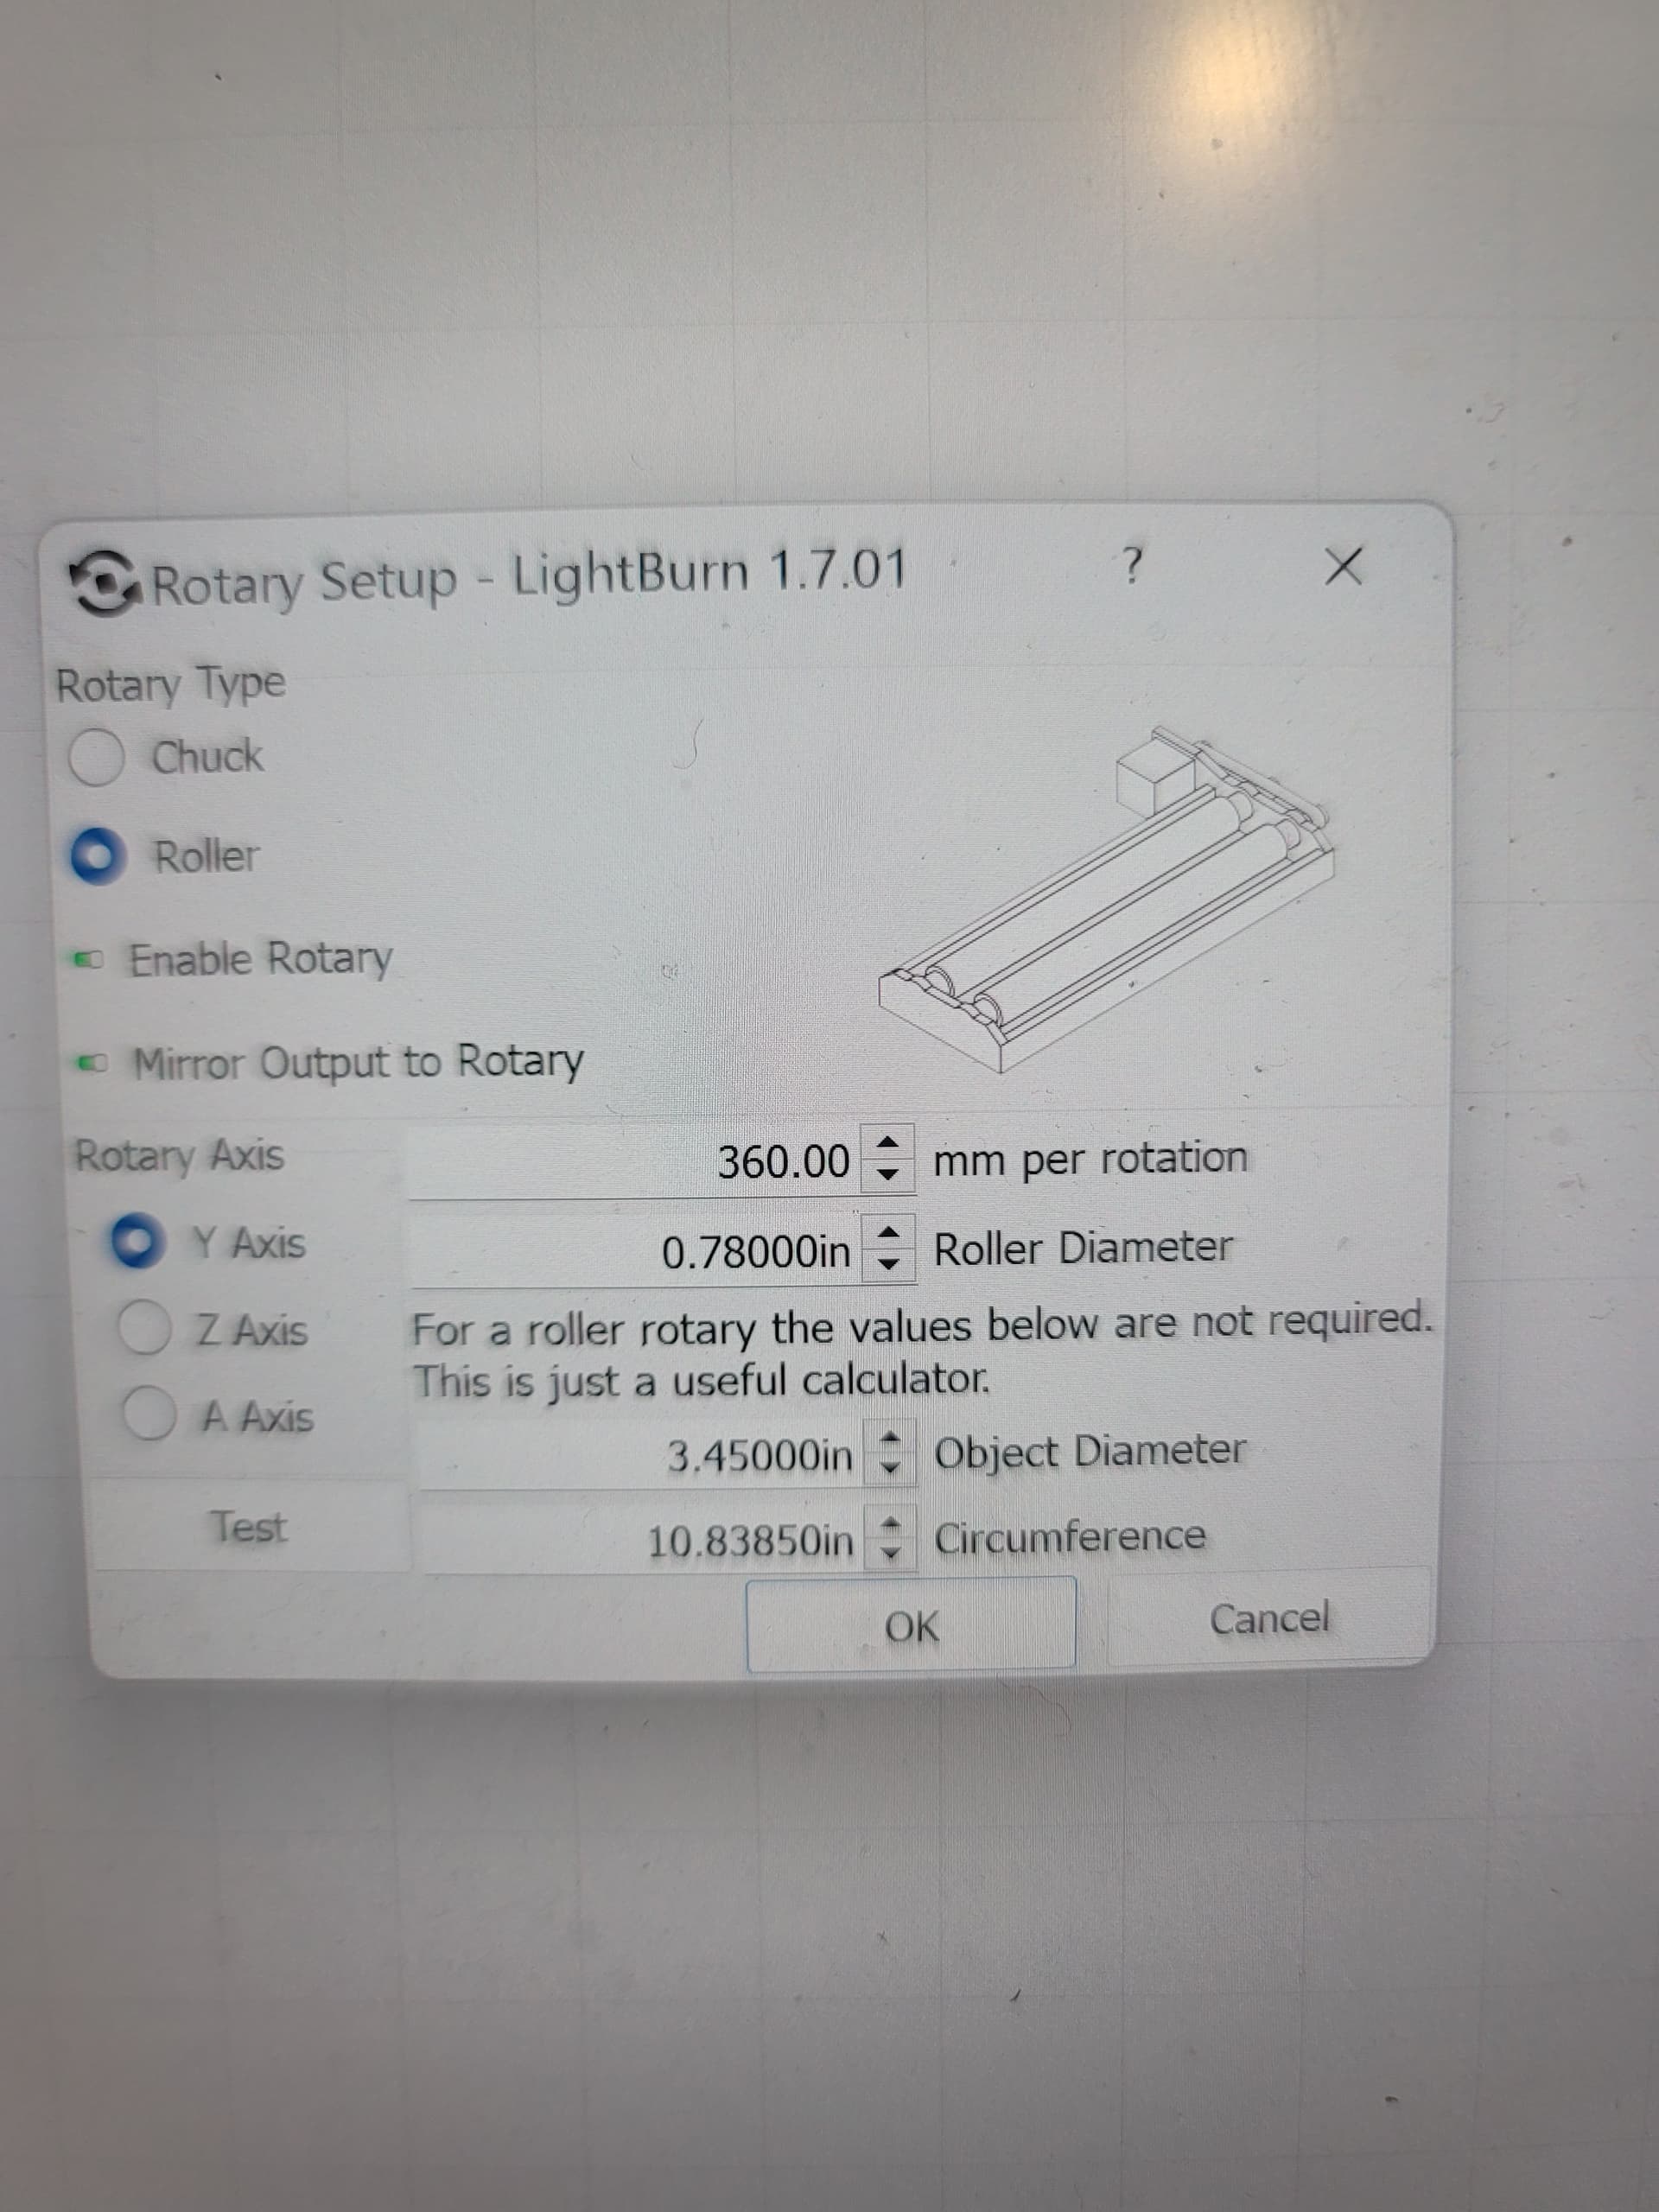
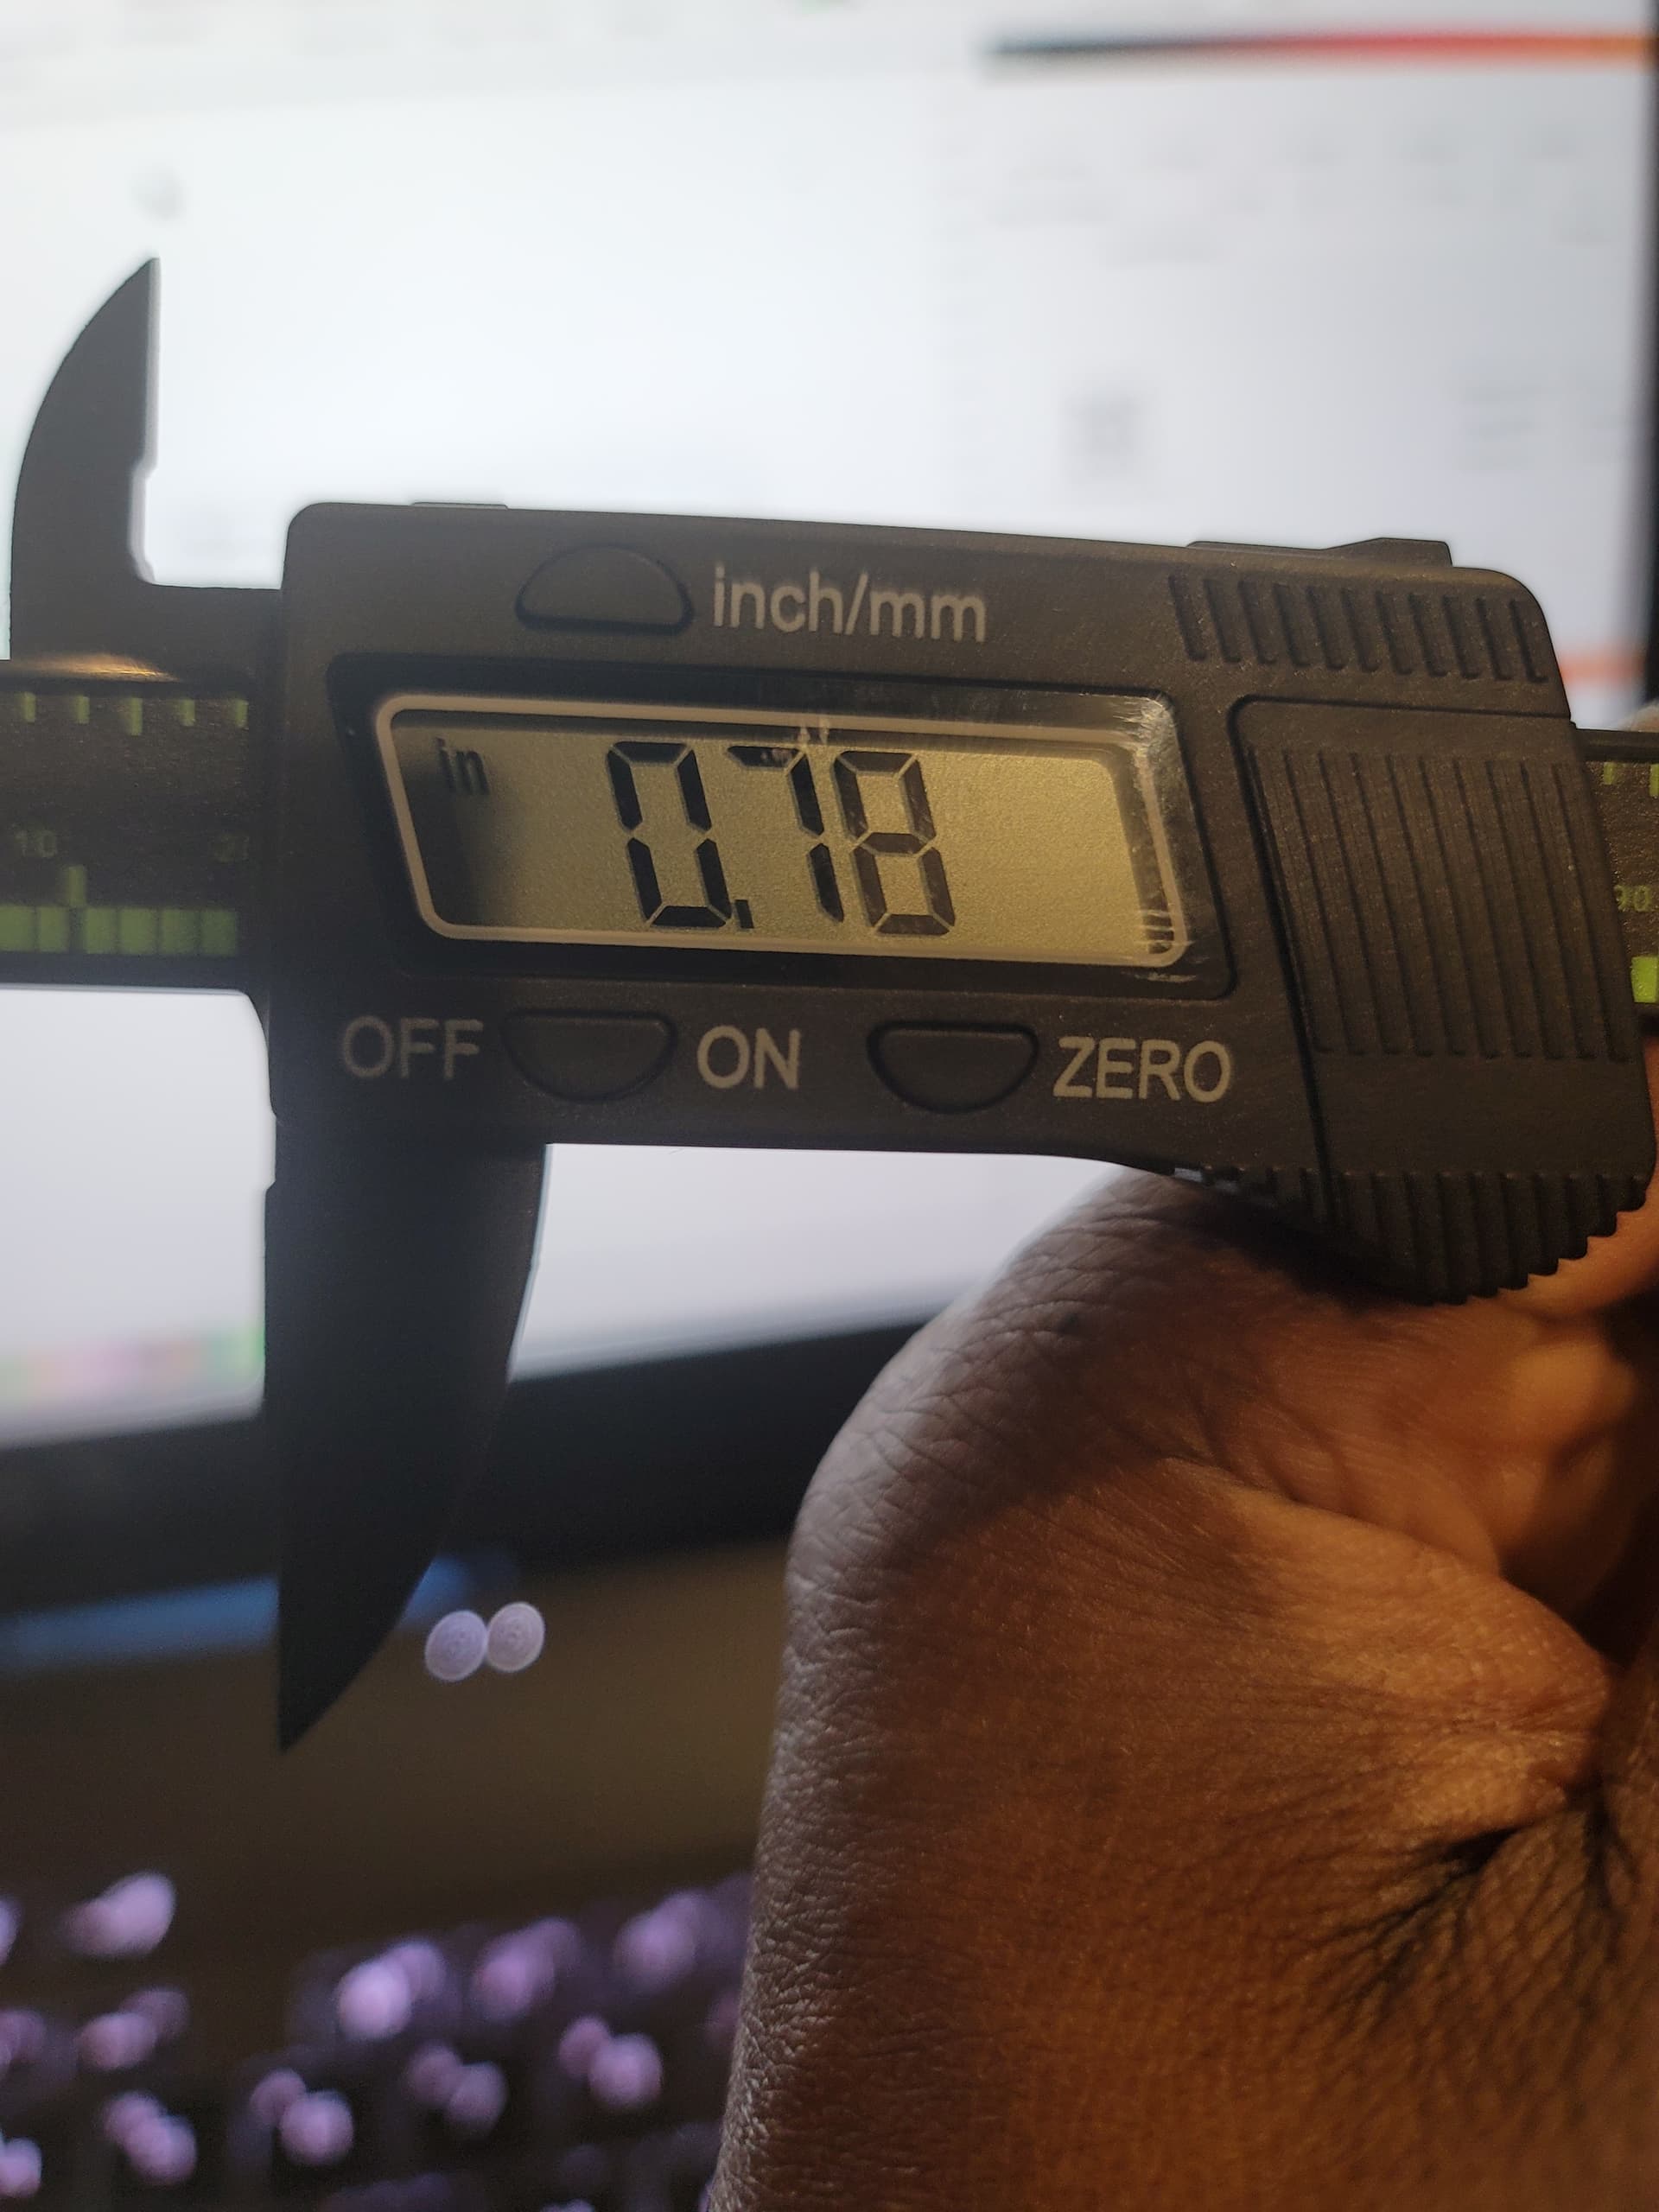
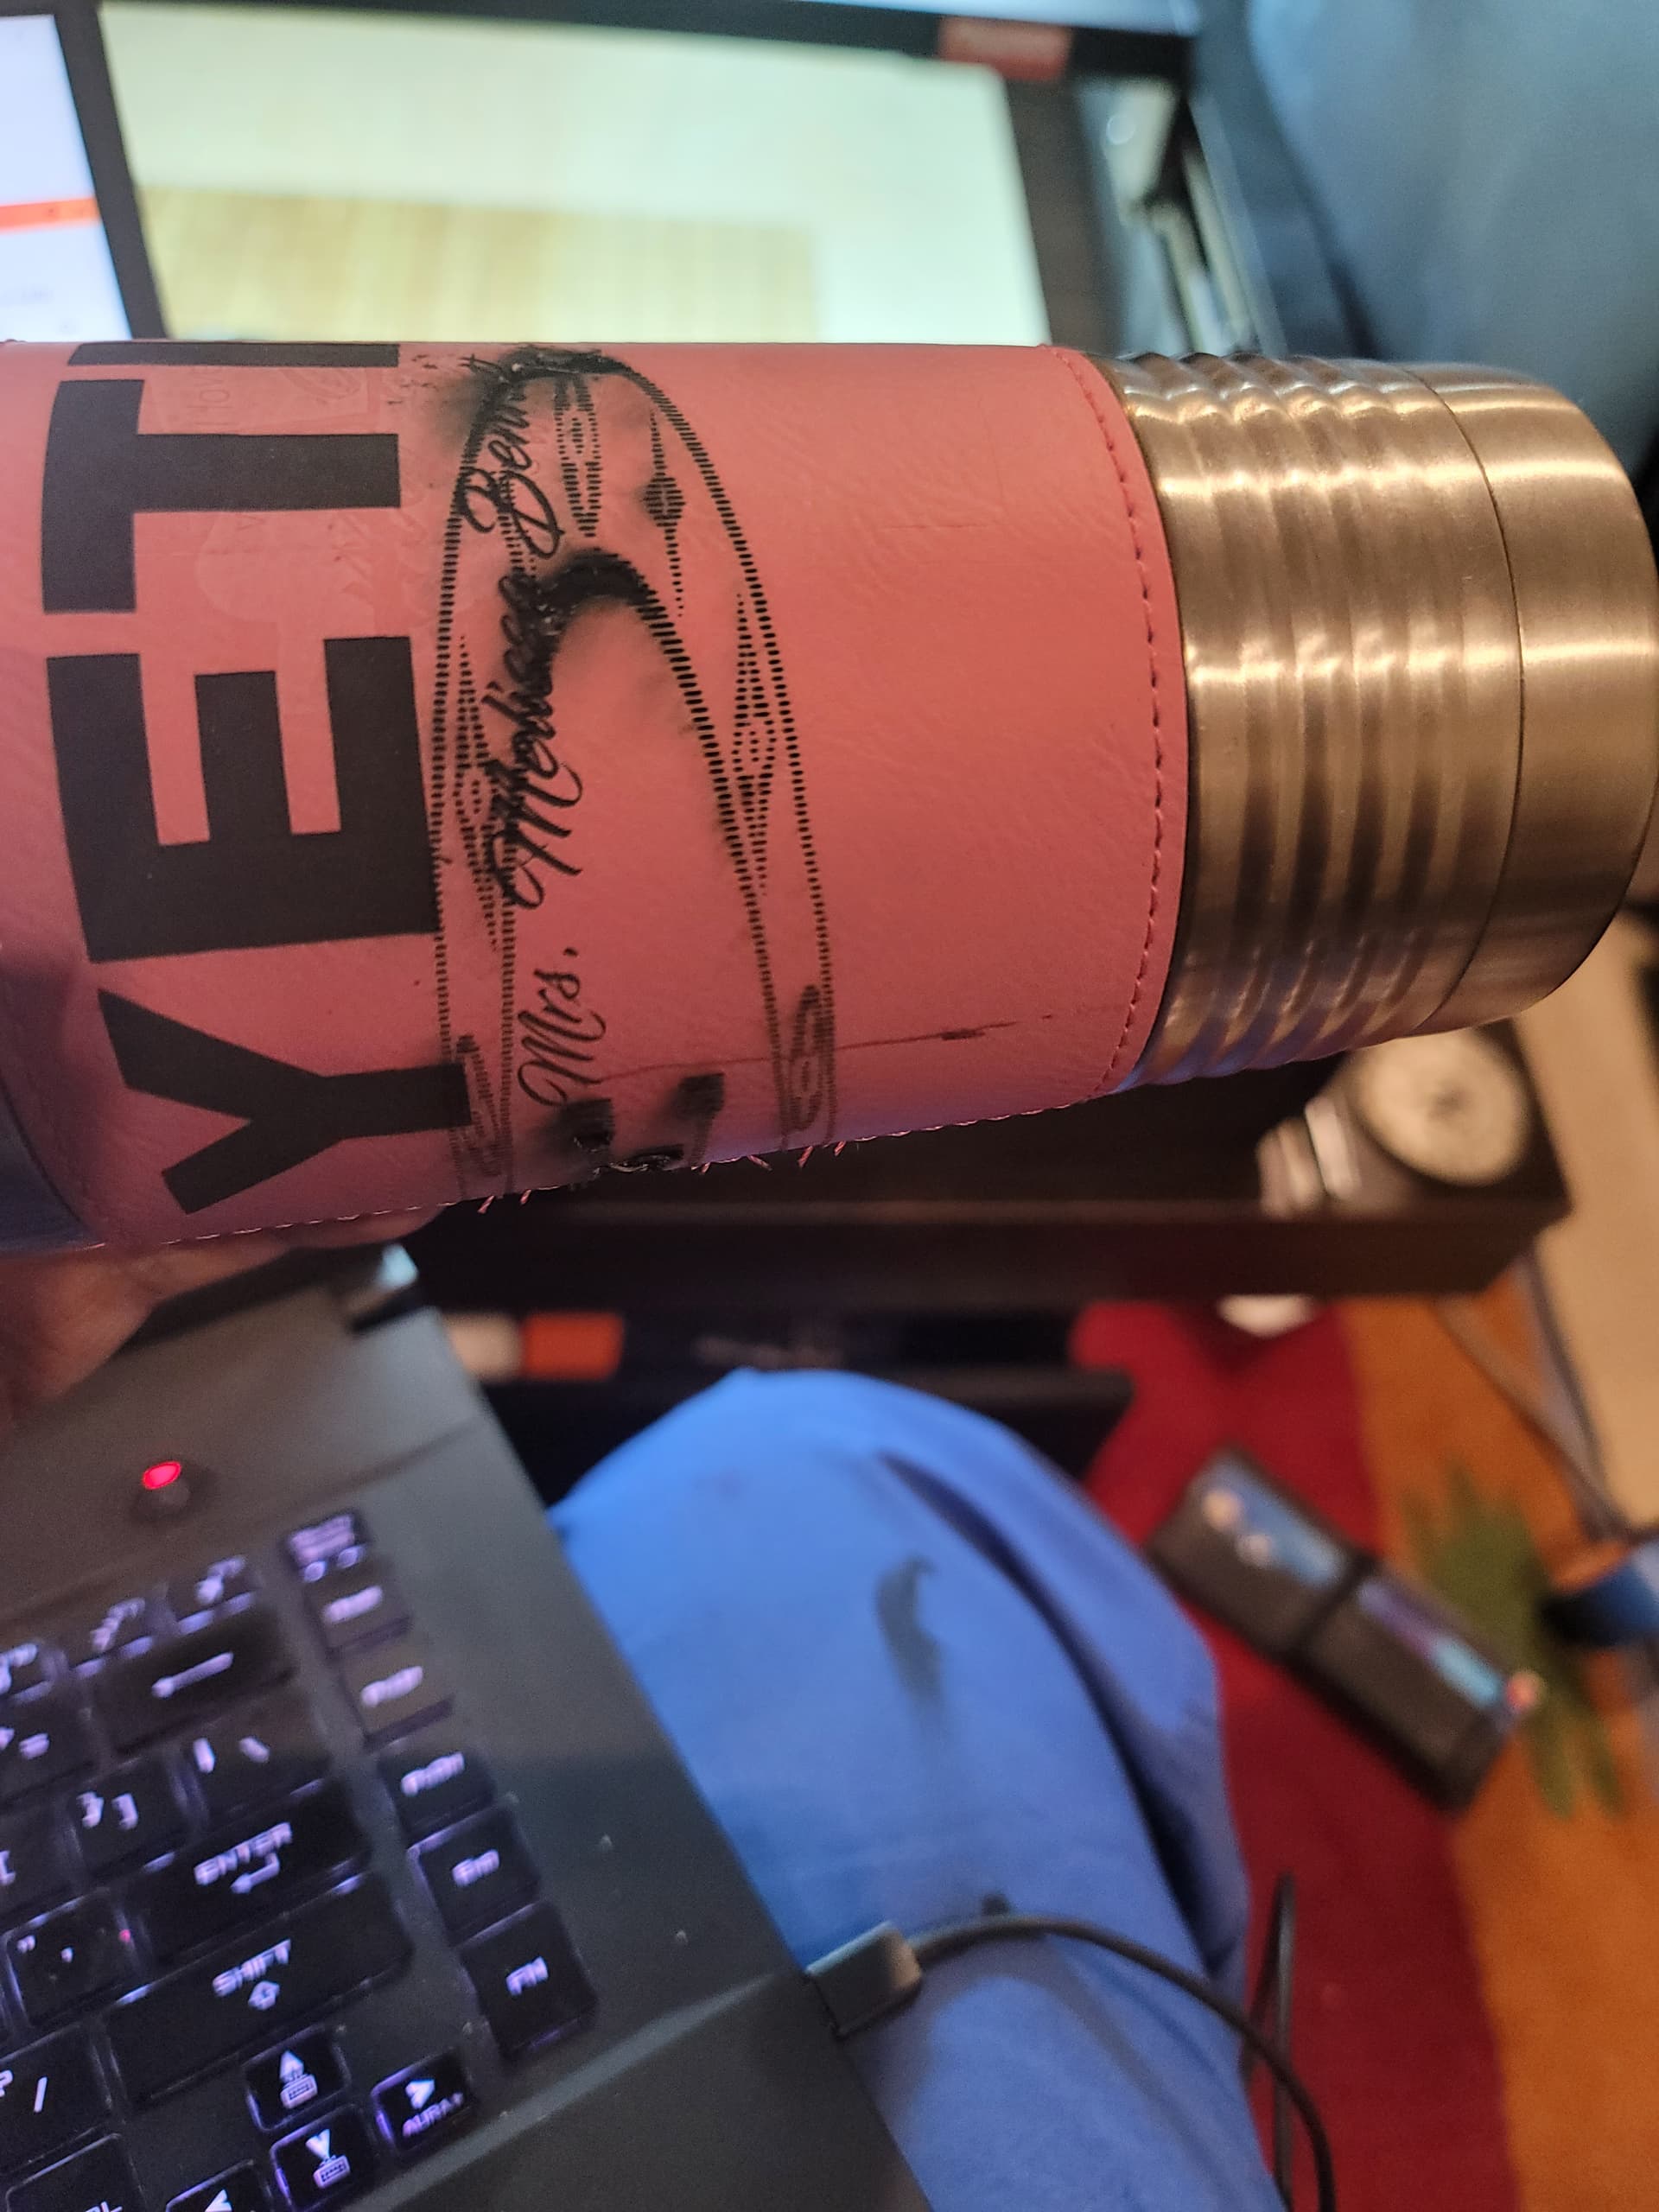
Good evening, i had to reset software yesterday, i tried to do a cup with the design in the picture. It burned and stretched all out of shape. I sent a picture of the diameter of the rollers. U gave me a setting that worked on everything. Sorry for the screw up
I don’t remember what setting we ended up with but I can remind you how we got there. I think we started at 80 for rotation then I had you burn a known distance and see if it matched. Then adjusted the rotation until the file and burn matched. I like to use 100mm, but you had a 3x3 sticker that you were using.