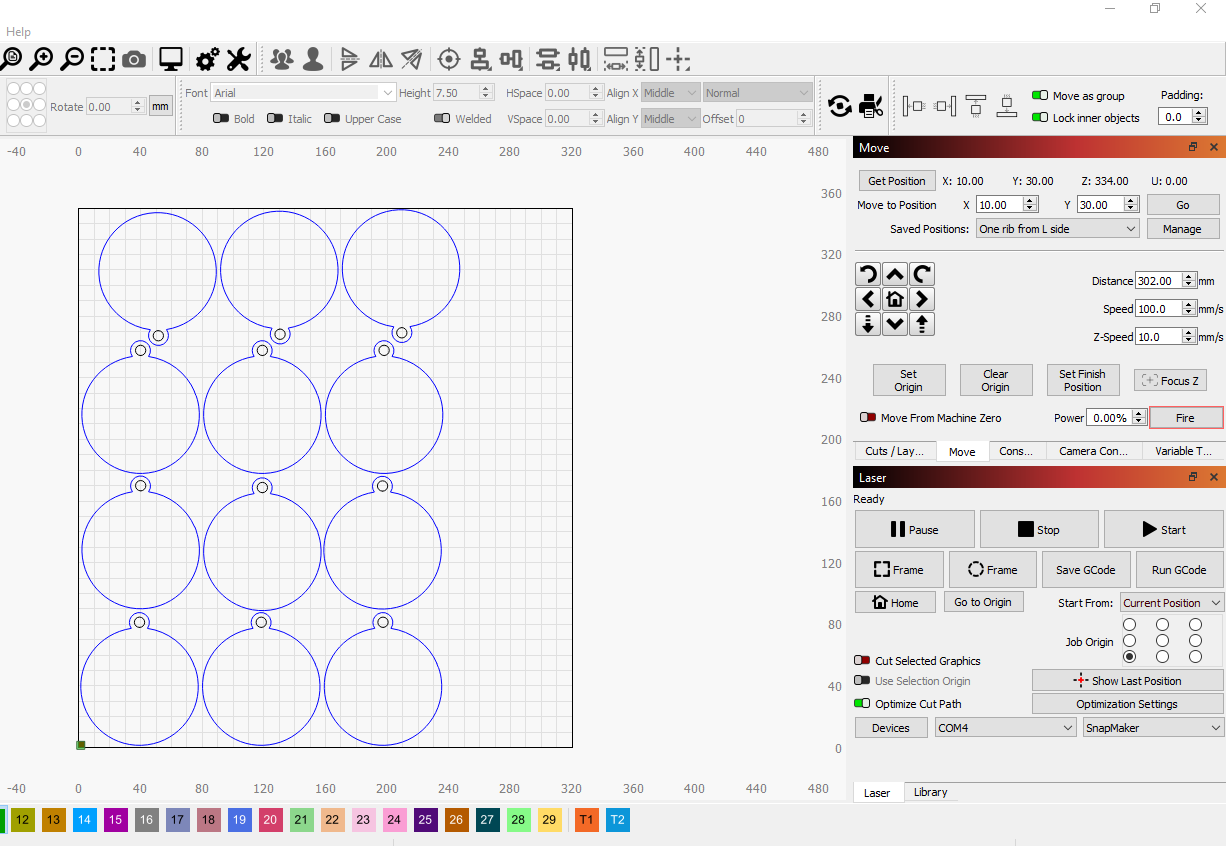
I have my Snapmaker connected but I’m having a couple issues. I have the bed size set to 320 by 350 with the origin being the front left corner. The problem is that no matter what I do, when running the frame it will not use the whole bed - a strip of approximately 35mm at the top of the bed is just “dead space”
I have followed the steps that were listed for configuring the program to my machine.
I would love to be able to use my whole bed, as the snapmaker bed isn’t huge in the first place. Right now with not being able access the whole bed - I can’t even complete customer orders in the sizes they are wanting. Which leaves me at looking for a larger machine, which I didn’t want to do until my sales “paid off” this machine.
Is there anyway I can get ahold of the people who made Lightburn directly?
Snapmaker2 is built around the Marlin 2.0 codebase.
Some of the GRBL features, such as $$ weren’t included.
The configuration and settings appear to be baked-in when it’s compiled.
If the Snapmaker has a configured workspace that is smaller than the bed, it’s likely that It can’t reach the edges with either the spindle, the laser or the print head. Often the bed is larger than the allowable workspace to allow for workpiece clamping.
I hate to say it, but it’s possible with most software to tell the engraver that is has more workspace than it does. This creates errors and lost motion when the engraver runs into the physical limits.
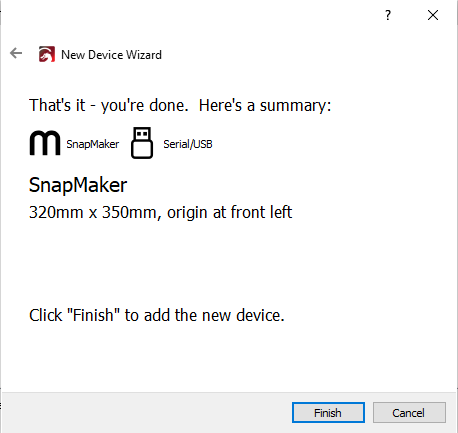
I don’t have a Snapmaker 2 on hand. I’ll attempt to see if there’s a spec in the manual as to the workspace size.
Edit: The website says
Laser Engraving and Cutting
Work Area (W × D):
320 × 350 mm
@JohnJohn I’m assuming that because when I tell it to go to the absolute coordinates that is goes off the front left corner of the bed, would be making it not reach the back of the bed. I have to use X5 Y22 to get it to line up where X0 Y0 should be
Does your machine Home to back left in Absol-coords, Origin at front left and find Job origin, Frame, work ok?
What is “Dead band 35mm at the back”?
Snapmaker and I got my machine sorted last week and I have use of the full cutting bed now.
They sent me a command which I used (I have to input that command on each Startup or set as a macro preset) at first it made no difference and we tried other commands until I think we were running out of options.
After many attempts they suggested the original command again or video-call to simultaneously work through issues with the product team. I input the command and suddenly Absol-Coords worked perfectly.
The day before the fix I had been “pressing buttons” and messed up my console readout and got the suggestion from forum to check my baud rate. I did that and found I was not using the correct device profile either and LB could no longer find my device.
I ended up reinstalling snapmaker 20w lbdev file, set baud rate, checked all connections and all was well.
I dont know what the fix was specifically but I deeply suspect I was just not coordinating my observation and settings due to info overload and finally got it right, or the reinstalling of lbdev helped along with the new commands or all the above.