Hi there, I have a Neje 40w (15 output) on a 1x1m Cnc board which was custom made for me.
I am currently cutting and engraving my wifes leather products.
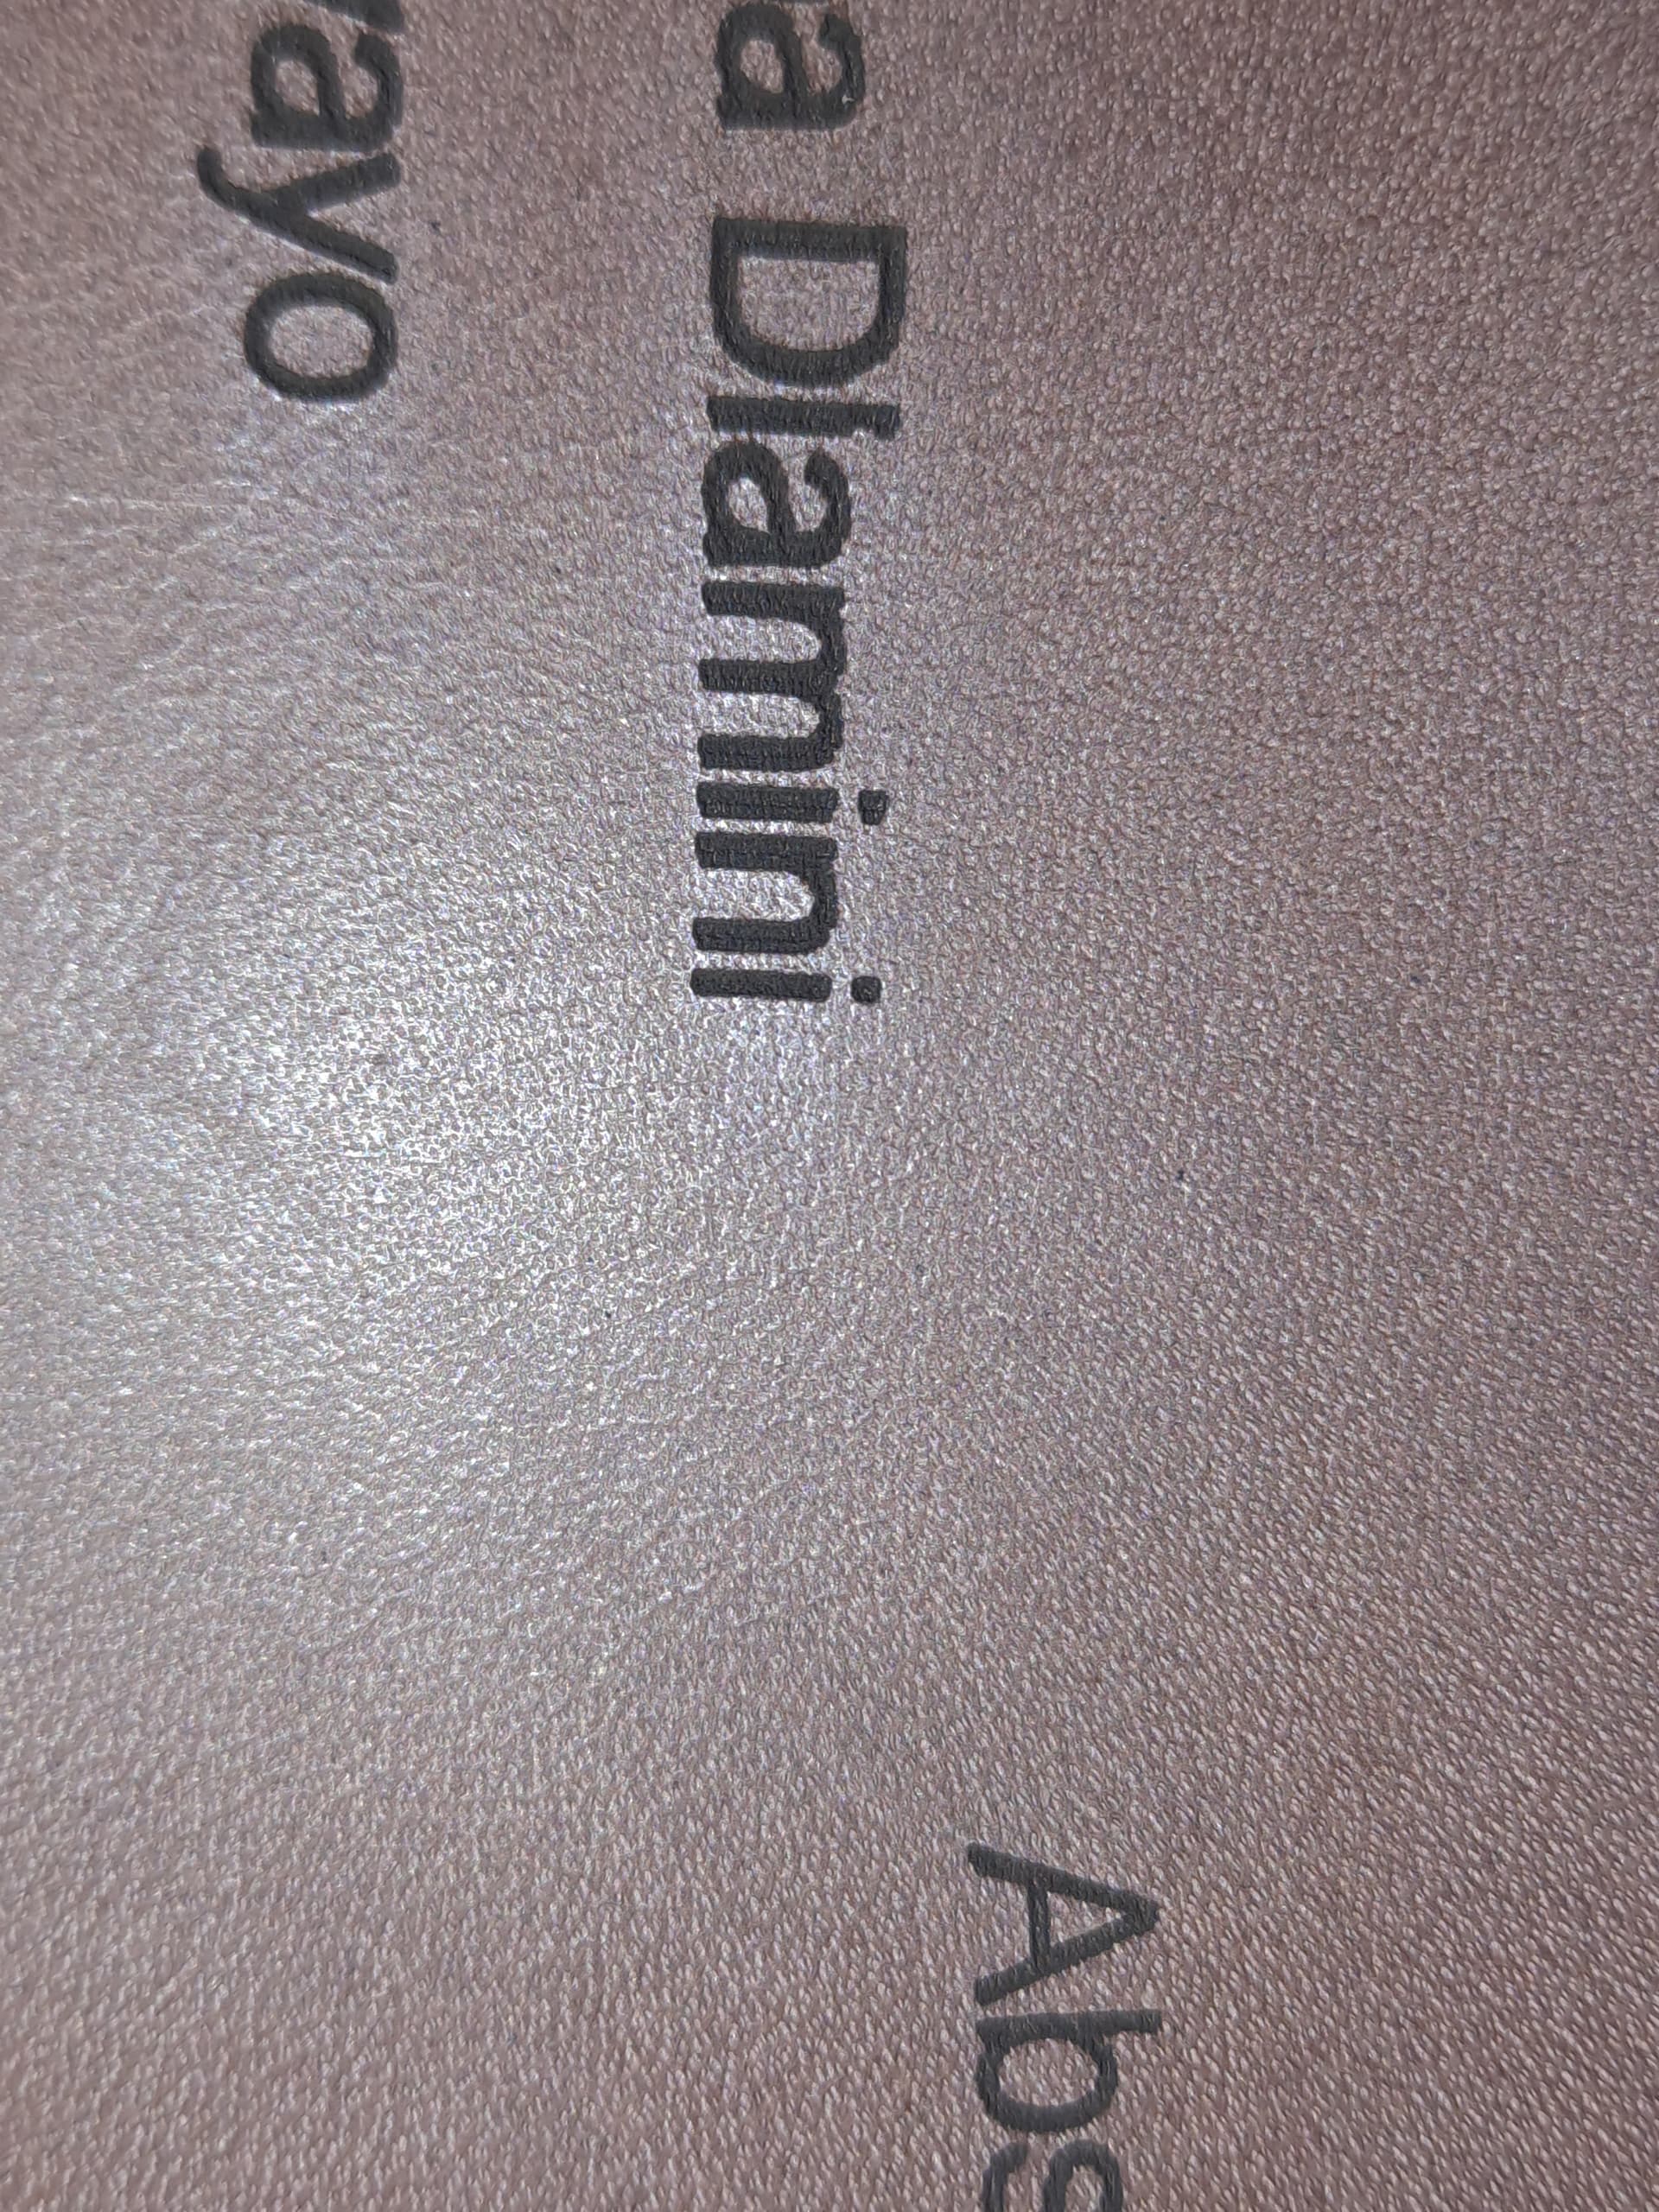
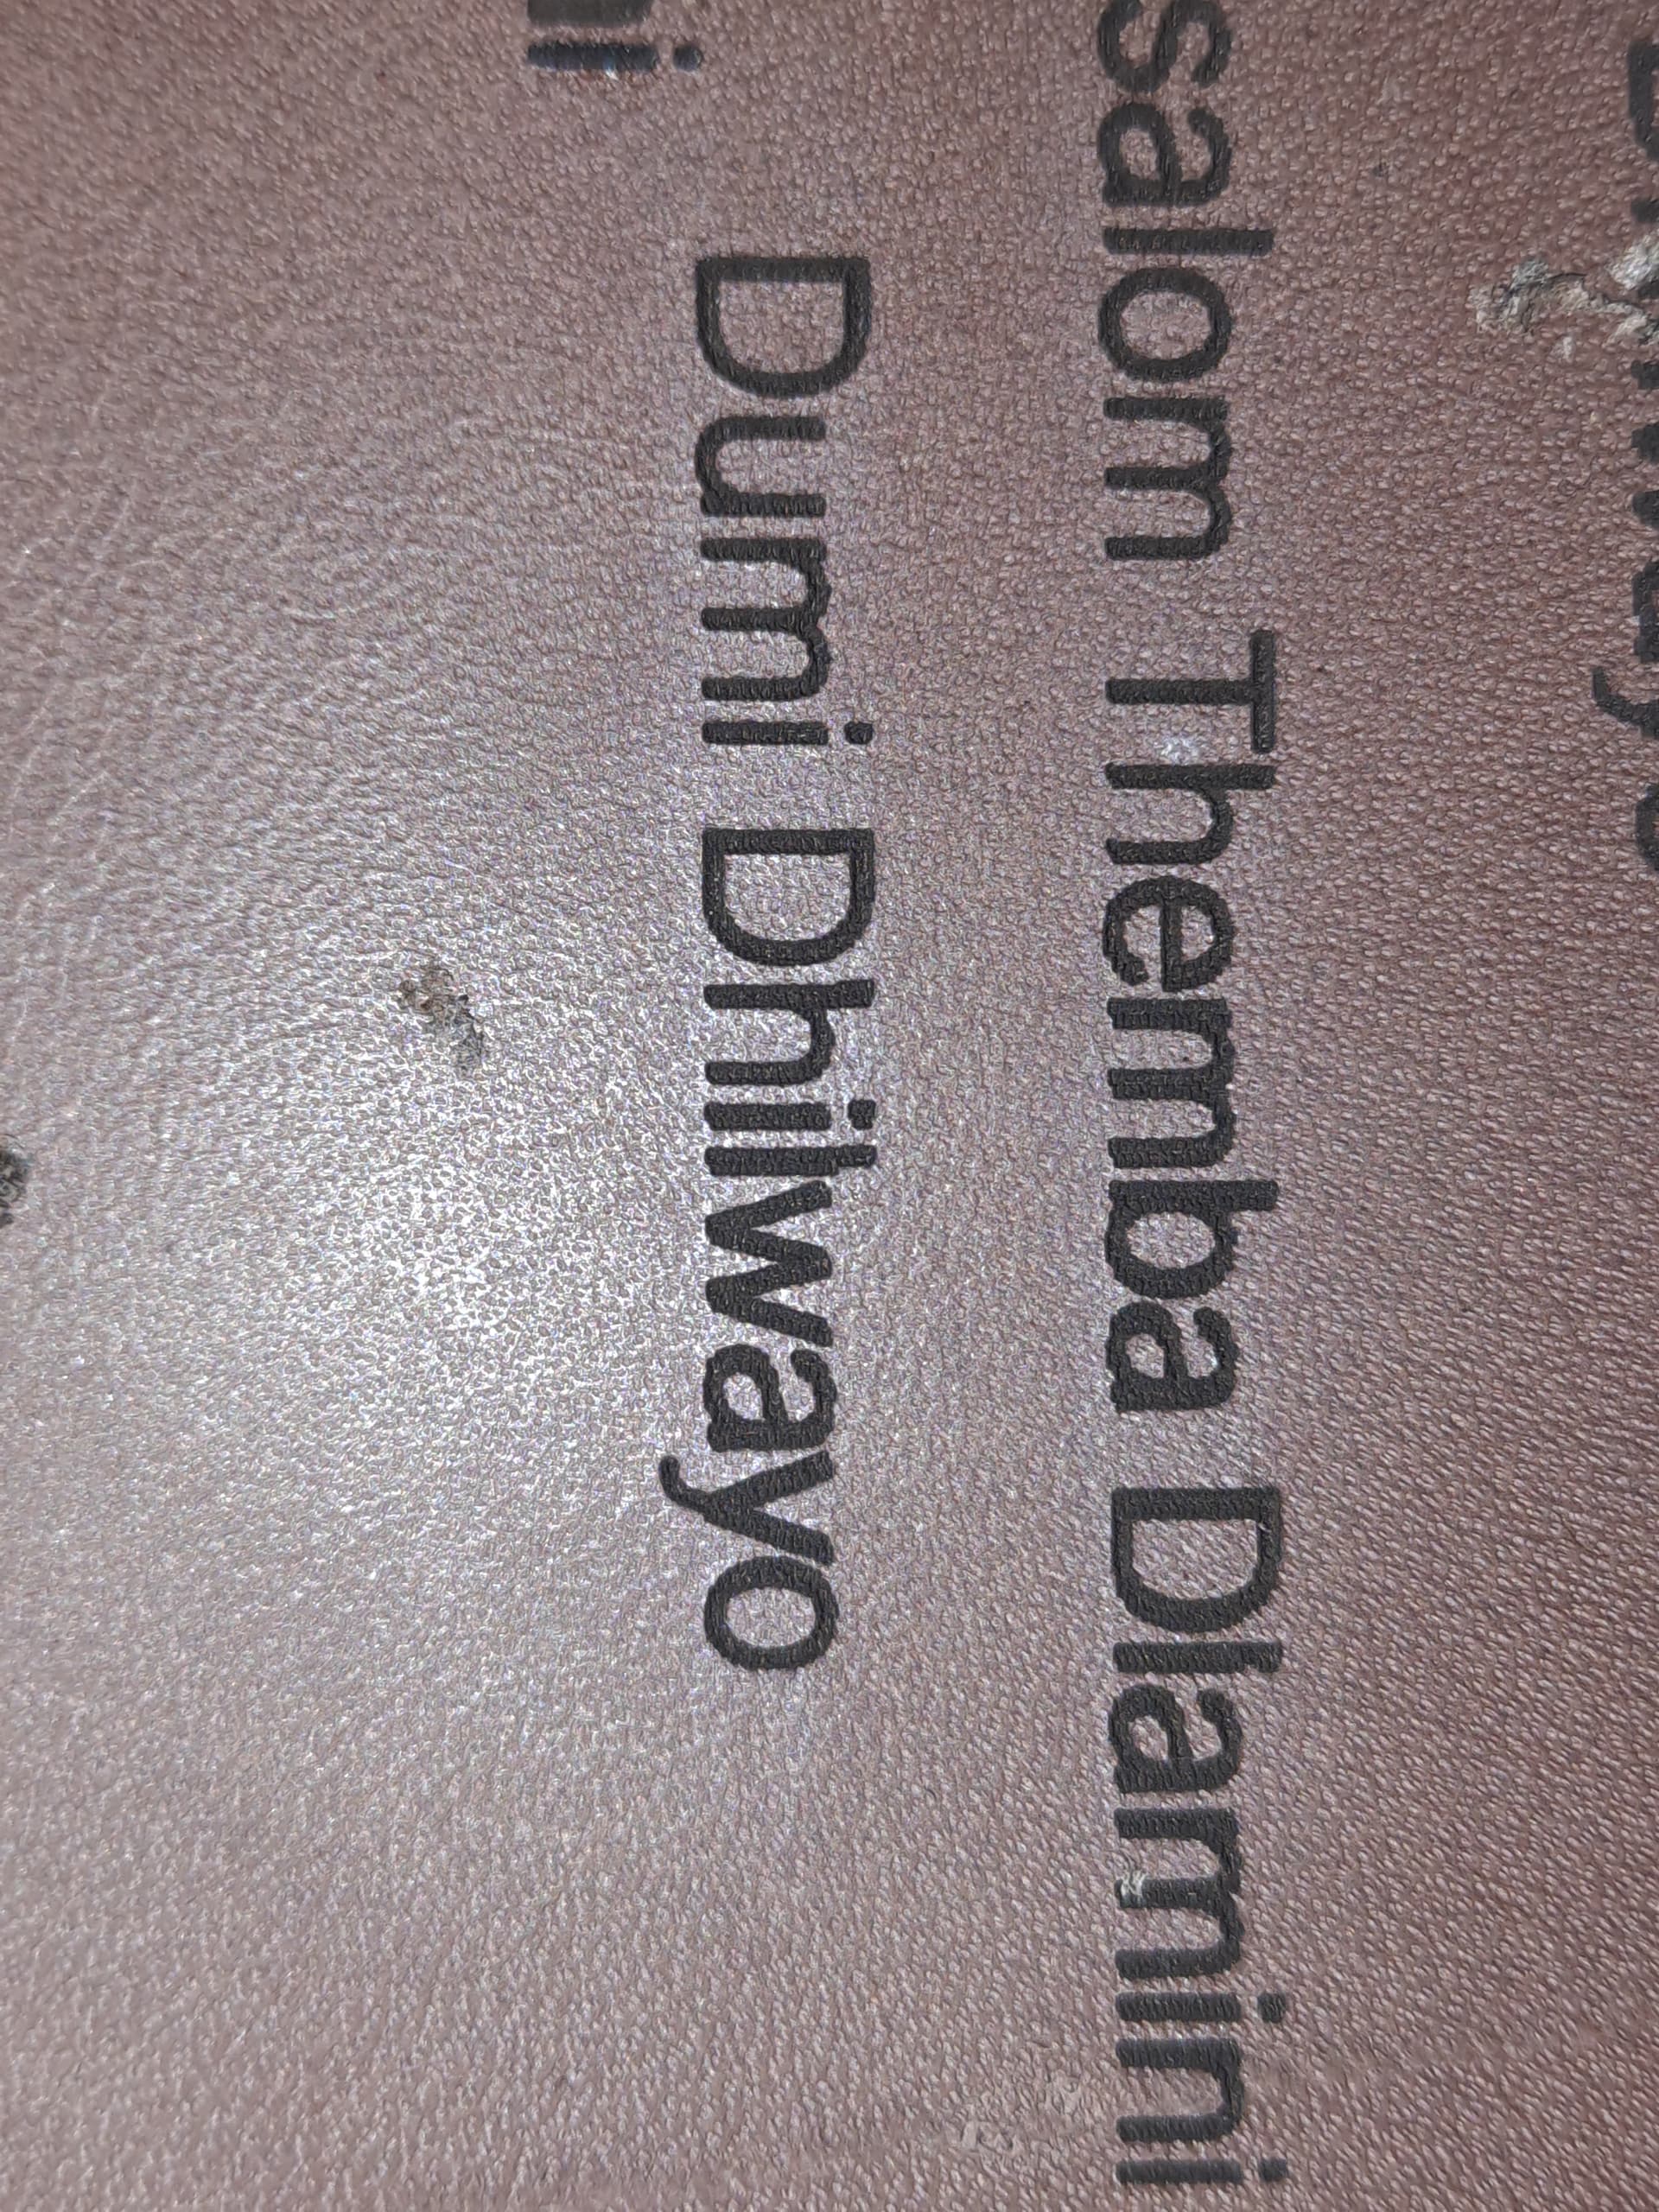
The challenge I am faced with is that specific letters have specific issues on them which do not appear on screen. No matter if I engrave on a different spot on the board. Always specific letter that has an issue. Makes me think its the font or image itself? Or lightburn?
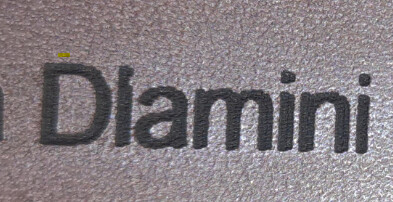
See the images, the l in Dlamini always has a small dent in it close to the top. Also some names it is like it Bolds the last 4 letters. Every time. Doesnt change.
Any advice would be appreciated so much as I am running out of time to engrave an order of 116 wallets, mousepads, deskpads etc.
Do you have ‘overscanning’ enabled in your fill layer? If not, that’s likely the cause.
The ‘dent’ in the 2nd letter above corresponds precisely to where the gaps in the i’s are:
If the laser is starting right at the edge there, it’s probably not firing hot enough while accelerating. If you add a bit of overscan, it gives the laser time to speed up before firing, and will likely solve the problem (notice the red ‘movement’ lines shown):
The ‘bolding’ of the letters could be misaligned scans. If you turn off ‘Bi-directional’ engraving and the bolding effect is gone, you likely have something a bit loose in the machine.
When using the Fill setting I do not have the option on my Lightburn to enable or disable Bi directional Scanning. However, I have gone over the whole machine, which is a month old by the way, fairly new. nothing is loose.
I have set the overscanning up to 4.5% and it seems to have minimized the effect on the L.
However the bolding of the last letters in the names do not go away. Any other advice ?
By the way, I have tried offset fill, which completely solves both issues, but with offset fill there is a line in the middle of the letters, so thats not a solution sadly.
The machine being brand new is actually a strong argument for there being something off still, since you self assemble it - It’s very common for self assembled machines to have a few issues to work out before they’re solid. “Loose” isn’t quite the right word, but if the belts aren’t correctly tensioned it will cause the effect you’re seeing.
If you don’t have the option to turn off bi-directional, you’re likely in ‘Beginner Mode’, which you can disable in the main settings.
Hi Oz apologies for the long time to reply. Doing multiple jobs.
I have switched off beginners mode. I have bi directional scanning off but the bolding/doubling effect is still there.
I was wondering if the turnaround speed or something is too fast? to make the machine maybe sometimes lose a step when stopping and reversing its direction very quickly? To me the machine stops quite quickly when reversing its direction.
Ok so if I slow down the speed, the smaller text at the bottom of the logos are now perfect, no doubling or ghosting. but the Big Logo part has a piece that is a few lines, being off to the left. I will post a picture