Inspired by Russ Sadler, I have tried several of his tests and trials since I started with my first diode laser.
I could quickly see the logic and importance of having proper material and machine tests and the accompanying documentation.
In order to keep an eye on one’s CO2 laser tube, it is important to compare collected data once in a while, to see in good time whether one’s tube is still close to one’s expectation or whether one should look around for a replacement.
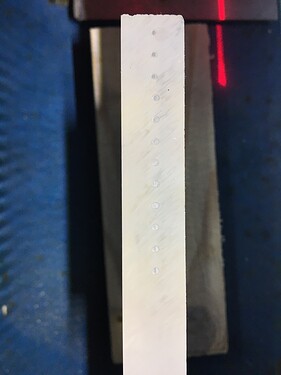
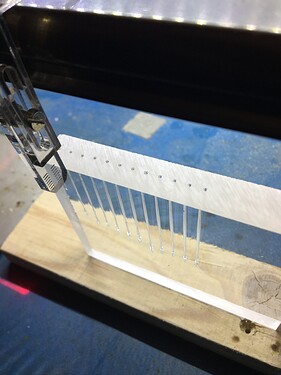
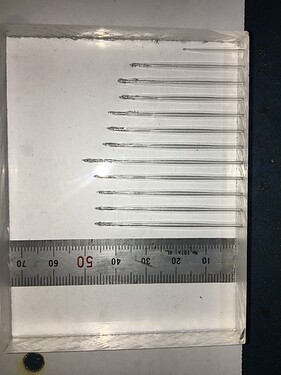
The most spectacular test for us with “ordinary” CO2 tubes is always the acrylic penetration test. The result is almost like the last one I made, however, my peak value has moved a bit, from 13.5mA to 14mA, so I use 0.5 mA more energy to achieve the same result. Beyond that, there are a few things that are remarkable. The most important thing for me is that I can again see that the input above 14mA is meaningless and only contributes to an increased wear of my tube. Another important realization for me is that I can see, from the fine result obtained, that my mirrors and the lens are reasonably correctly adjusted and that a standard K40 with a standard 2 "/ 50.8mm lens can be used for a lot.
In order to complete this test, I need to remove my machine bed. It’s ok, so I might as well clean the machine right away.
My focal point is about 7mm into the acrylic. Next time I will set it to 20+ just to see the difference.
Here is the data from my little test
| TF | 0-1000% | e/mA | p/mm | t/ms |
|---|---|---|---|---|
| 1 | 100 | 3 | 19 | 9809 |
| 2 | 200 | 4,5 | 36 | 9809 |
| 3 | 300 | 7 | 39 | 9809 |
| 4 | 400 | 9,5 | 39 | 9809 |
| 410 | 10 | 9809 | ||
| 5 | 425 | 10,5 | 42 | 9809 |
| 450 | 11 | 9809 | ||
| 6 | 500 | 13 | 42 | 9809 |
| 525 | 15,5 | 9809 | ||
| 7 | 550 | 14 | 44 | 9809 |
| 8 | 575 | 15 | 51 | 9809 |
| 600 | 15,5 | 9809 | ||
| 9 | 625 | 16 | 46 | 9809 |
| 10 | 650 | 17 | 45 | 9809 |
| 11 | 675 | 17,5 | 46 | 9809 |
| 12 | 700 | 18 | 46 | 9809 |


