Please can someone give me some pointers as to where I am going wrong.
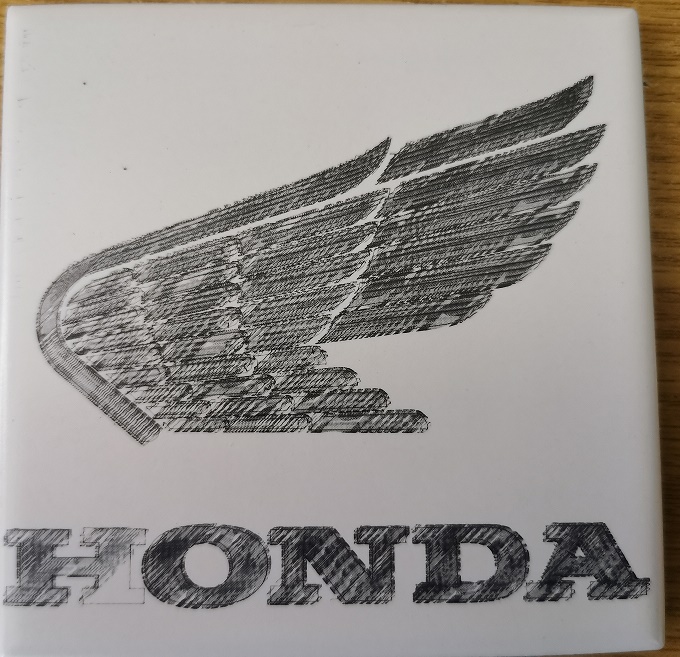
I am trying to burn onto glazed tiles, no problem there, but the results are inconsistent as you will see from the photos.
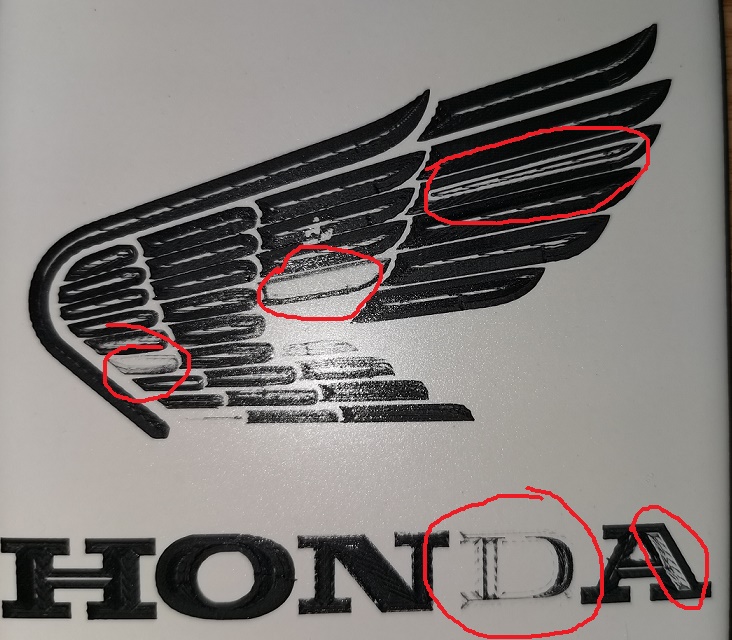
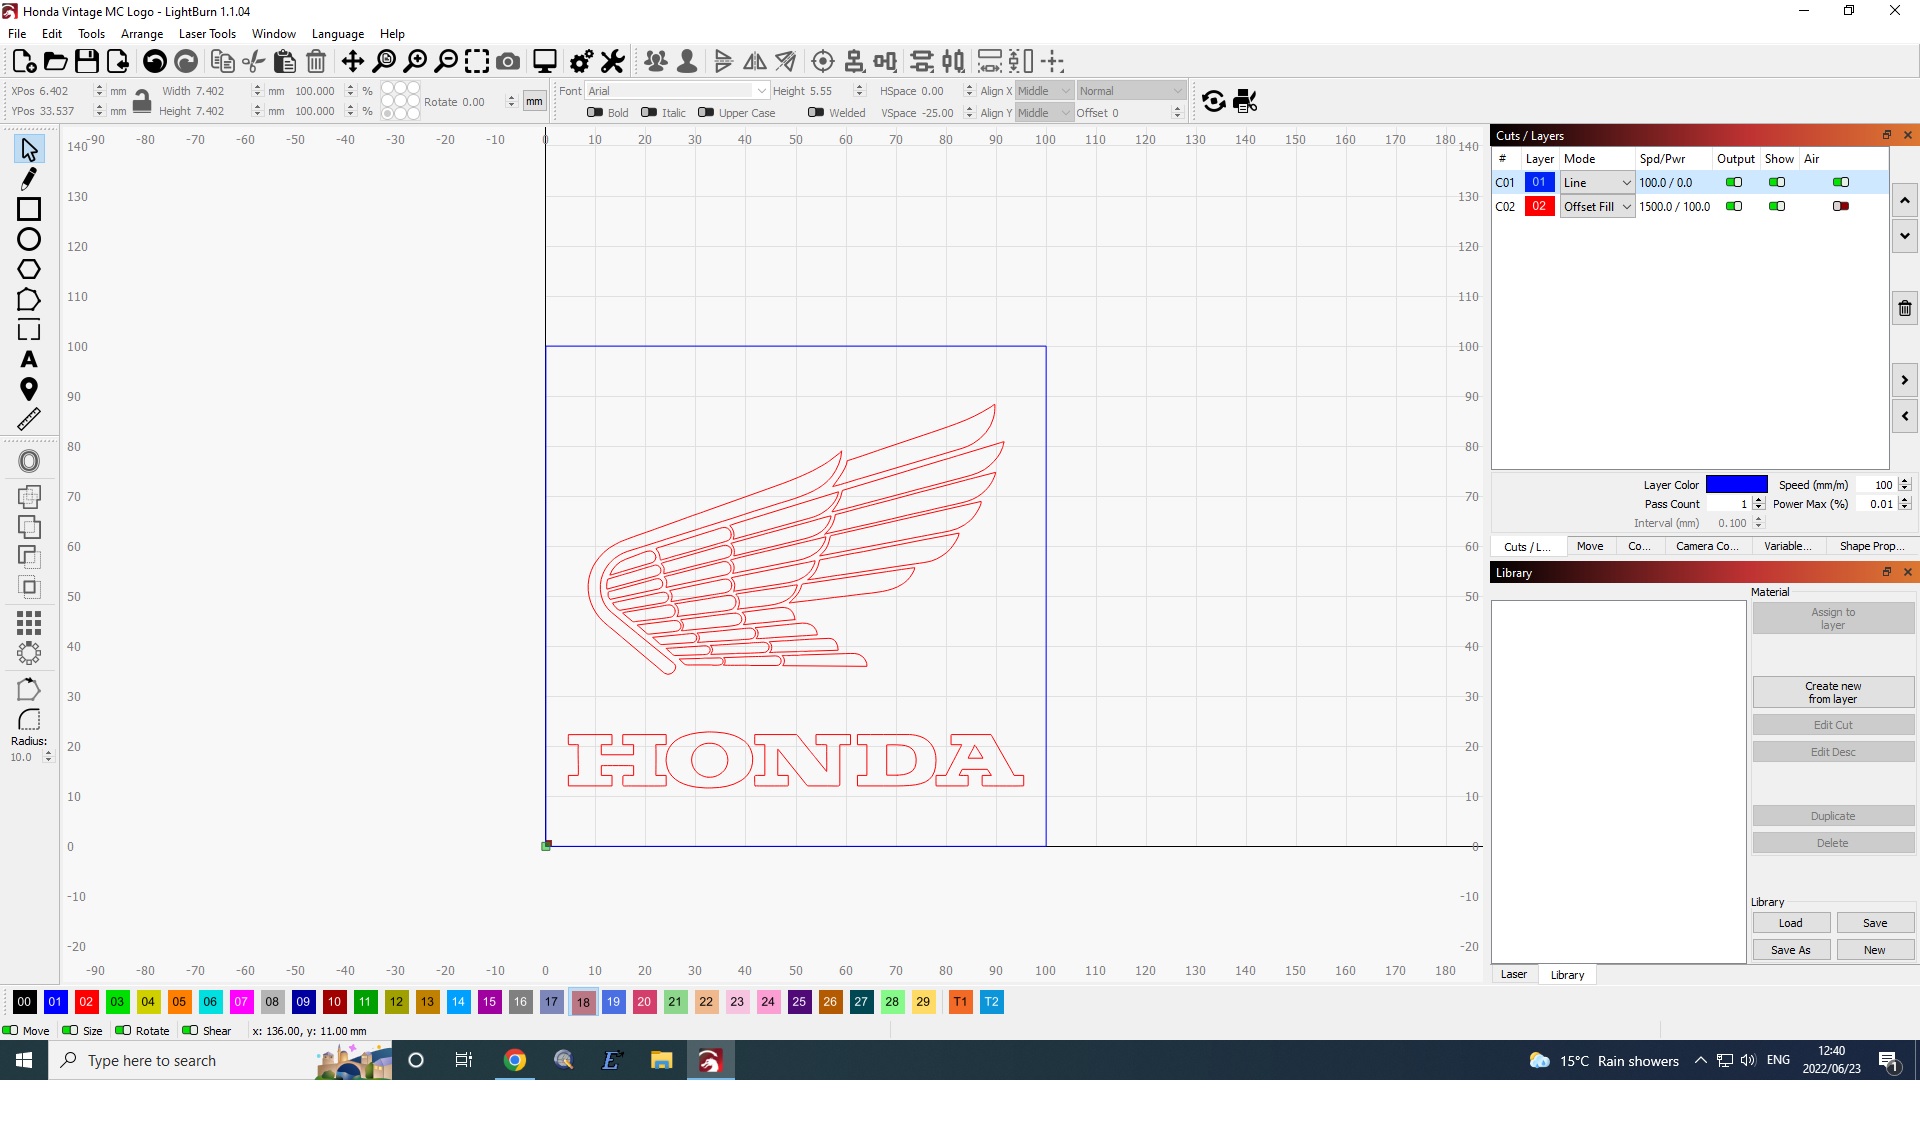
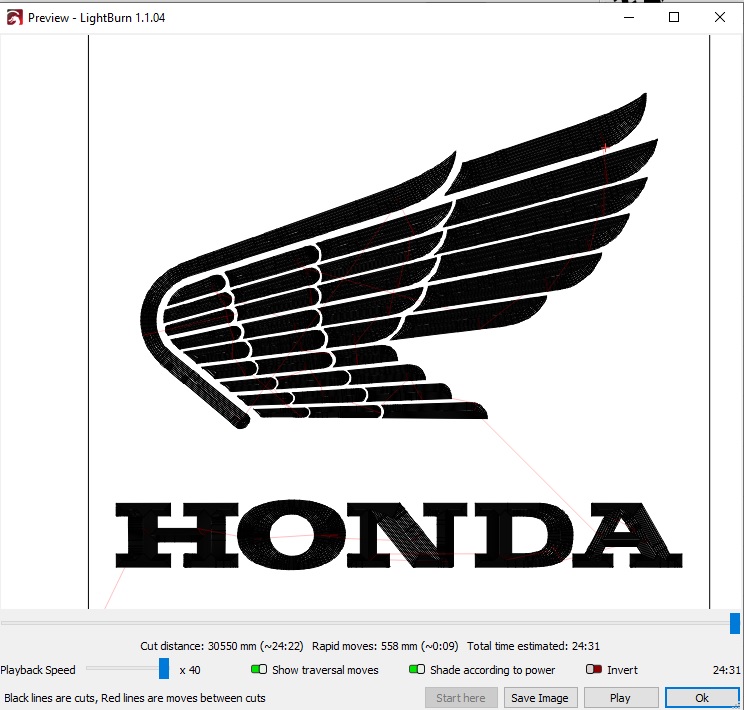
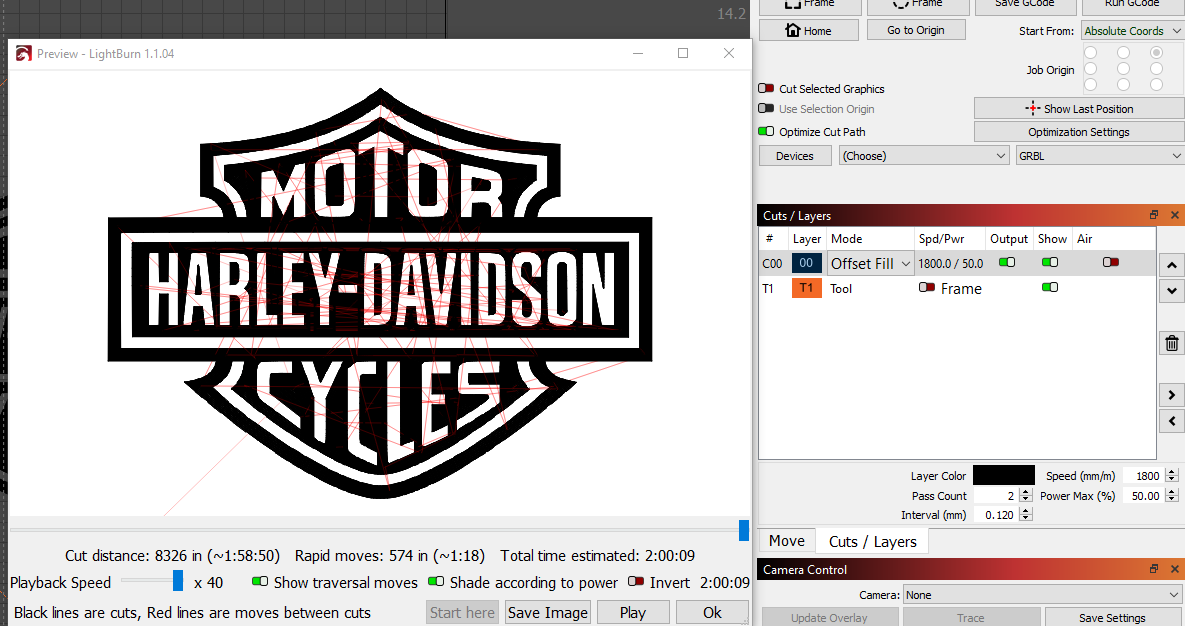
The Honda logo was a JPEG which was converted by Lightburn to vector art and offset fill. It worked mostly, but as you can see marked in red, there are some areas that did not burn. It looks fine in the preview.
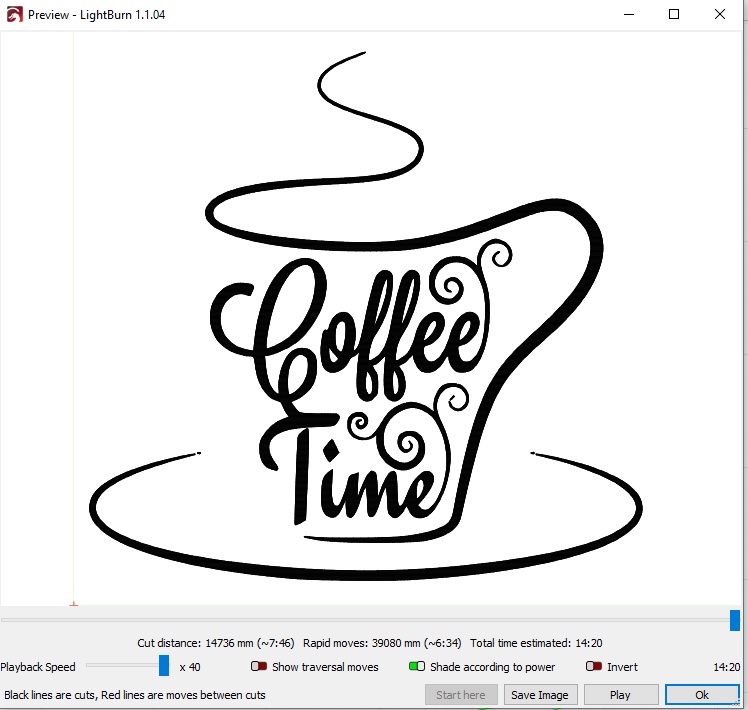
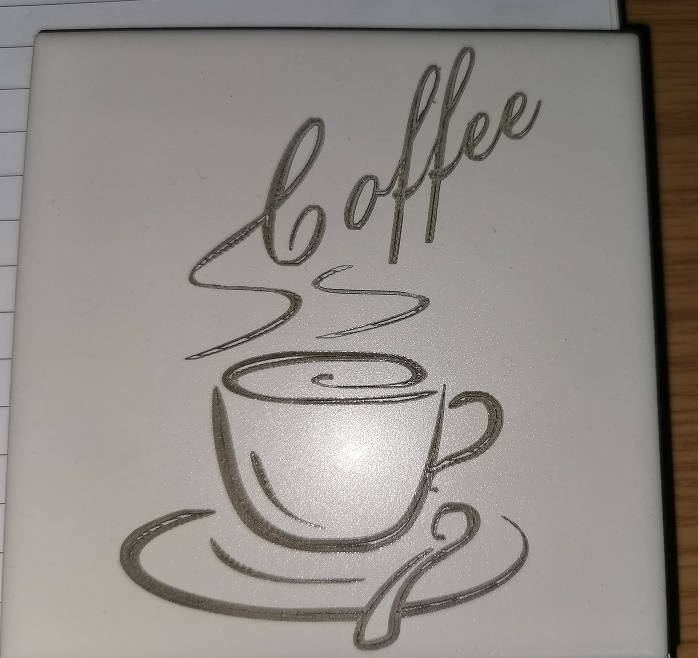
Also, the tile I burned using just the fill has gone completely crazy. I managed to get the coffee one to work using offset fill.
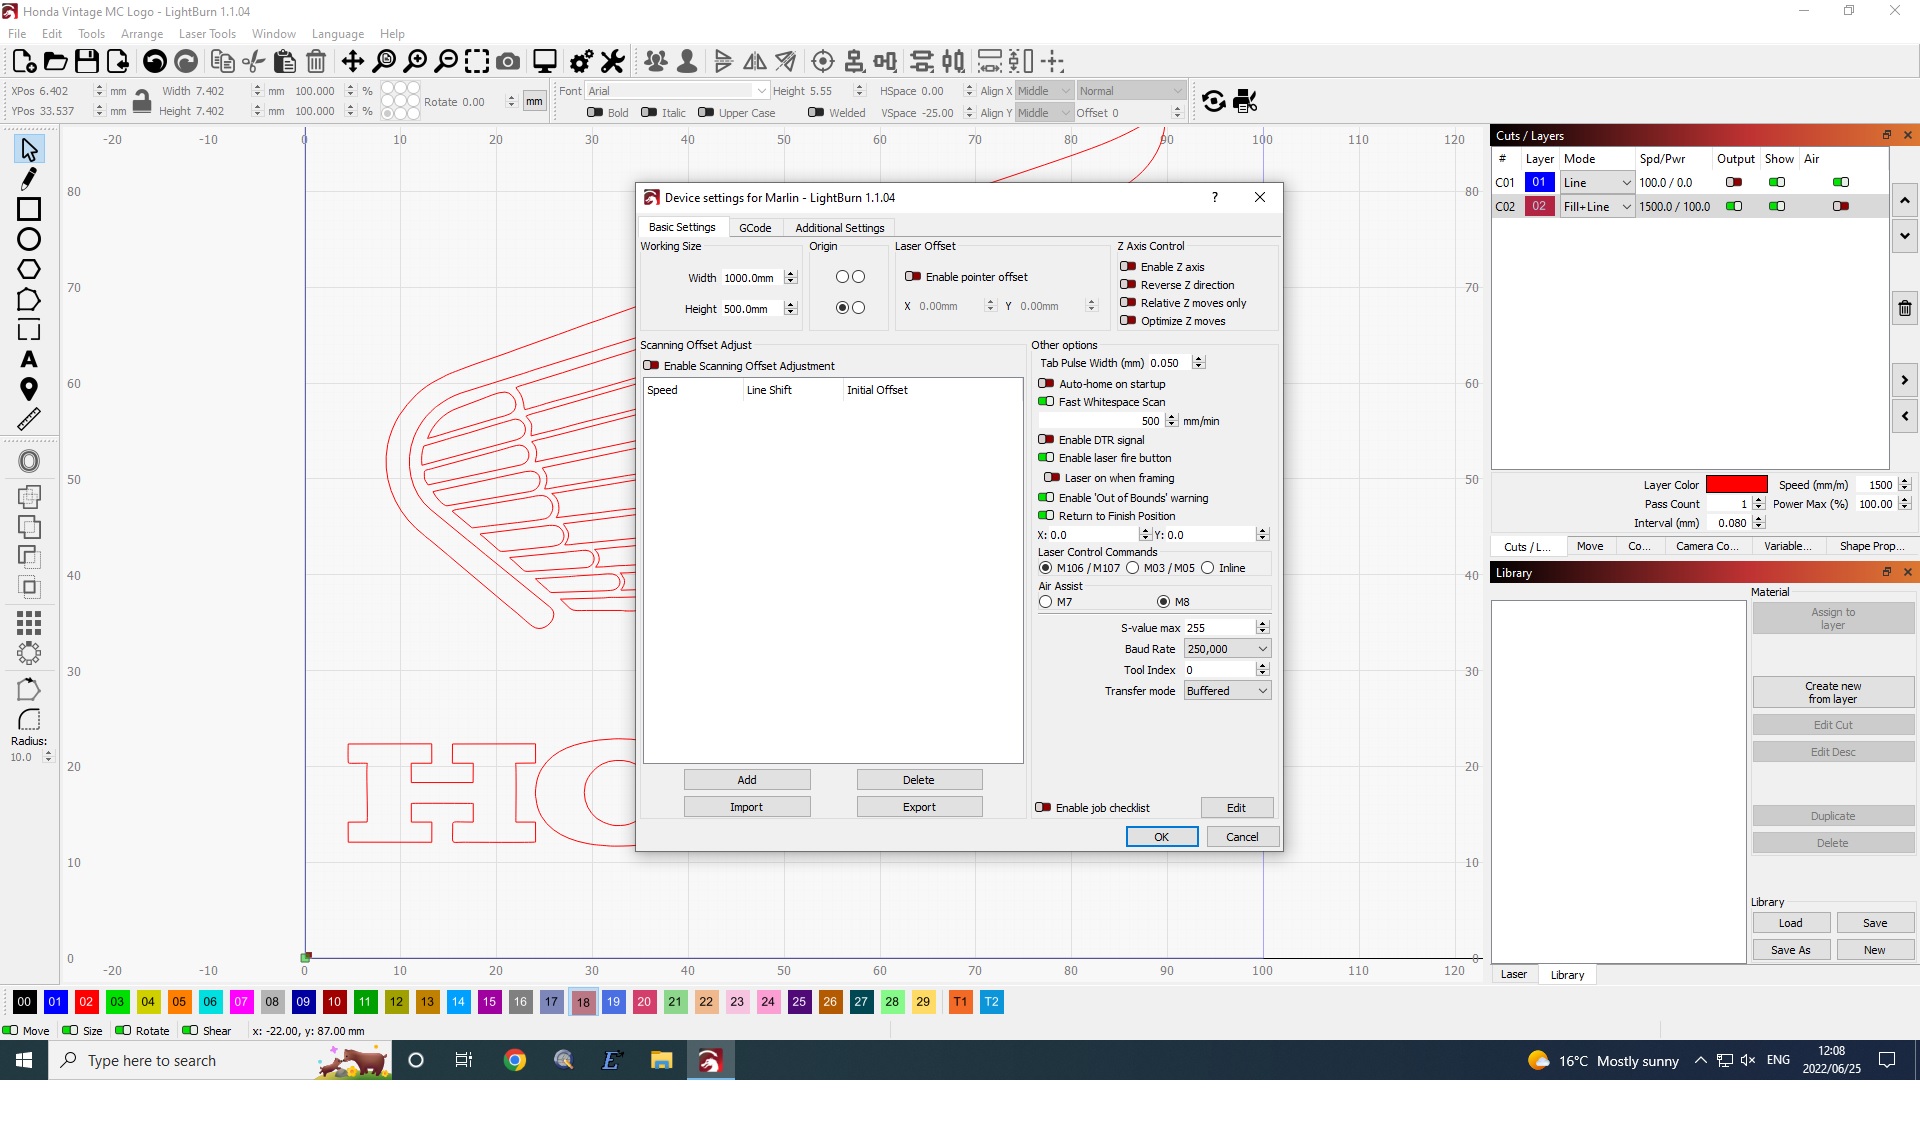
I am using a Neje 40w on a custom CNC running Marlin. I process the files on Lightburn on my PC then export the gcode to a SD card which then goes to the machine. Burning speed seems to work best at 1750mm/min @ 100% power.
Is this a processing issue, a gcode issue or a speed issue. I came to these settings having done a test grid. and 1750 @100% gave the best results. Any slower it burns through the glaze. If I reduce the power, then I just get a very lined fill.
How does it come out on a piece of wood? Tile can be tricky to get the settings down, and the piece prep has a significant impact. Did you clean the tile with acetone before you … did what? Painted it white or coated it in zinc cold galvanizing solution?
Do you have air assist? or even cross ventilation?
For large pieces, I will break them into sections to keep the gcode file small enough to not choke my older laptop. Try that for the Honda - select roughly half the project and run the burn, then select the remainder and burn.
Thanks James, The tile prep is flawless, it is definitely that the laser is not firing at the blank places.
I am using air assist and cross ventilation.
Paint used was Rustoleum Gloss white which I see others using with great results.
Thank you for the suggestion, I will try break the Honda down into two files.
I am using an arduino mega 2560 control card and Ramps 1.4 board. Do you think this could be the reason, that it cannot process the gcode fast enough? It handles cutting fine, and never had an issue with it, but this tile burning is all new to me. Perhaps upgrading to a 32 bit board perhaps help?
What do you think about the coffee tile problem? Do you think it could be related? Almost looks like the laser is not turning off on that one. It works much better if I use the Offset method rather than the fill method.
I use a diode laser, so keep that in mind. I found on some of my failed tiles that I over exposed the tile, burning all the way through the glaze and the markings were whited (if that is a word) - out. The question about the wood scrap was to evaluate if the laser was over exposed on those missing parts. My best diagnosis is the file size and the transfer from LB to the SD card to the machine. I am wrong quite often, just ask my wife
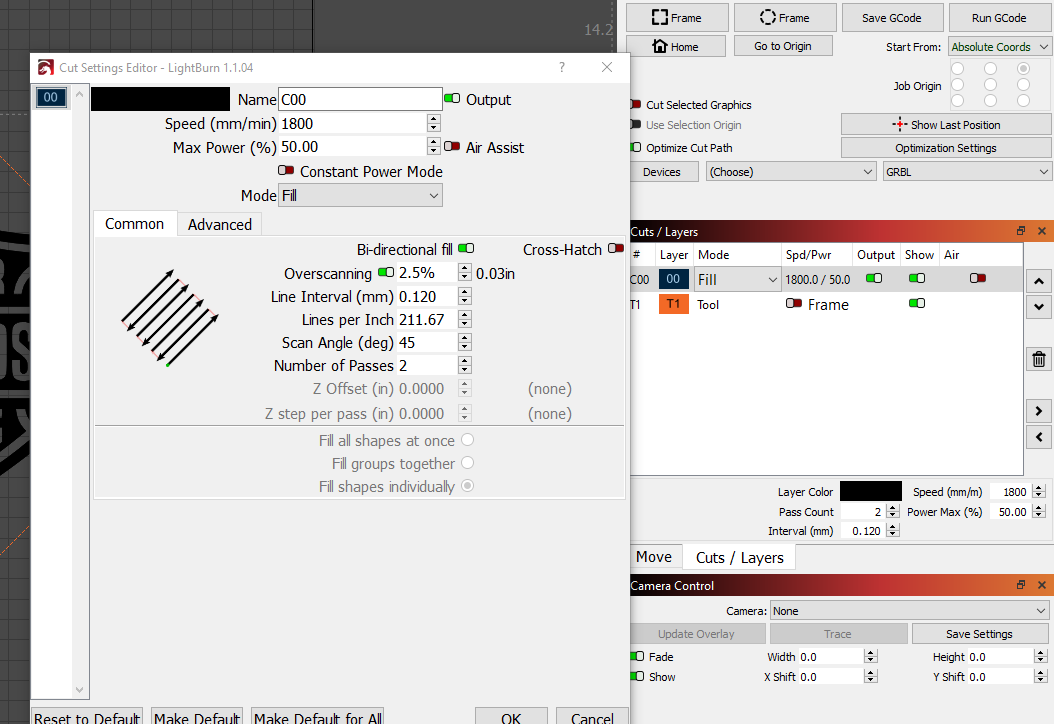
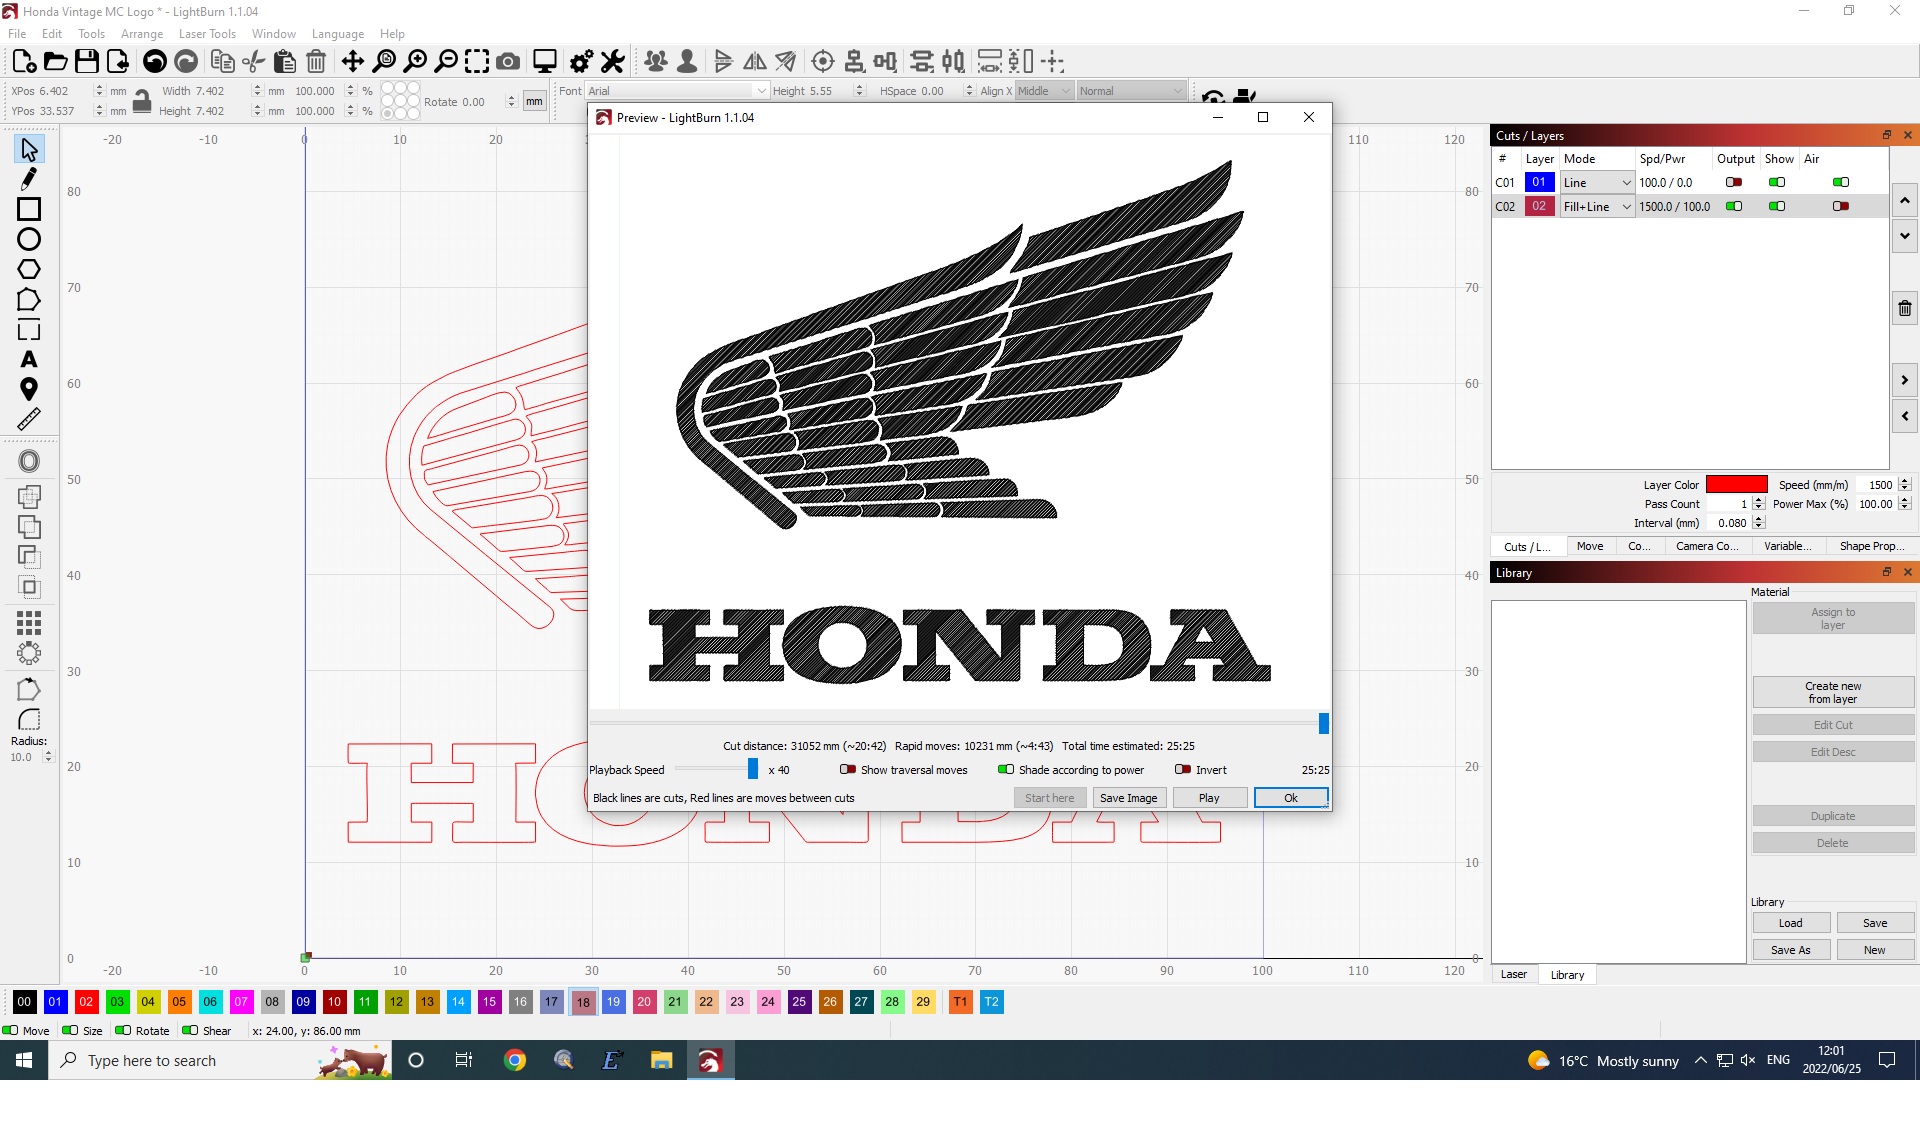
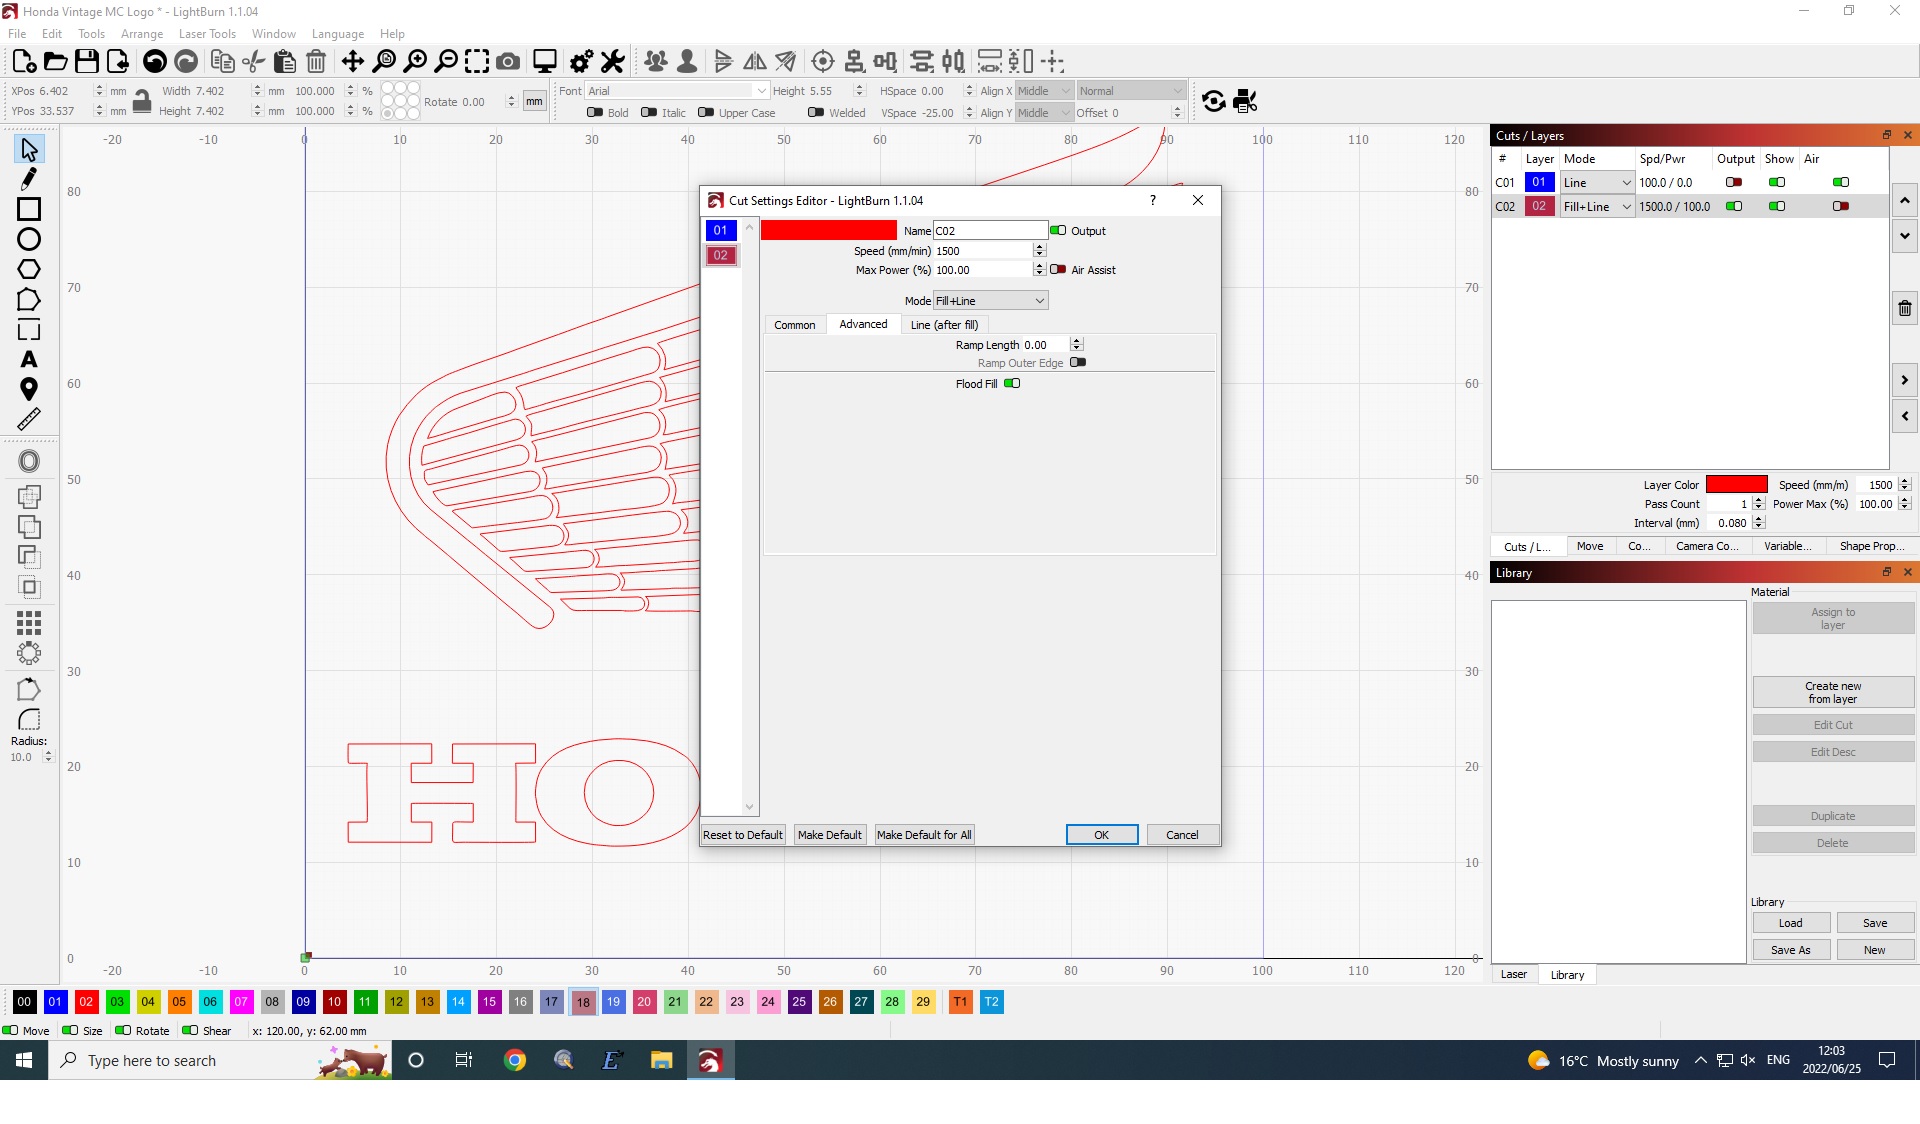
Have you tried the FLOOD FILL setting? It is under the LAYER tab, then ADVANCED tab. That will prevent the machine from scanning completely from side to side and only move the head where the laser needs to fire.
You may also benefit from increasing your interval (space between the lines covered by the laser) - if over exposure is the issue. Less time to run the job is a side benefit.
I am also using a diode laser like you. I have the Neje 40w (I think optical is about 11w as its a dual diode) I too have discovered in my journey to this point that if I slow the speed down to less than 1000mm/min that the glaze burns through so very conscious of that.
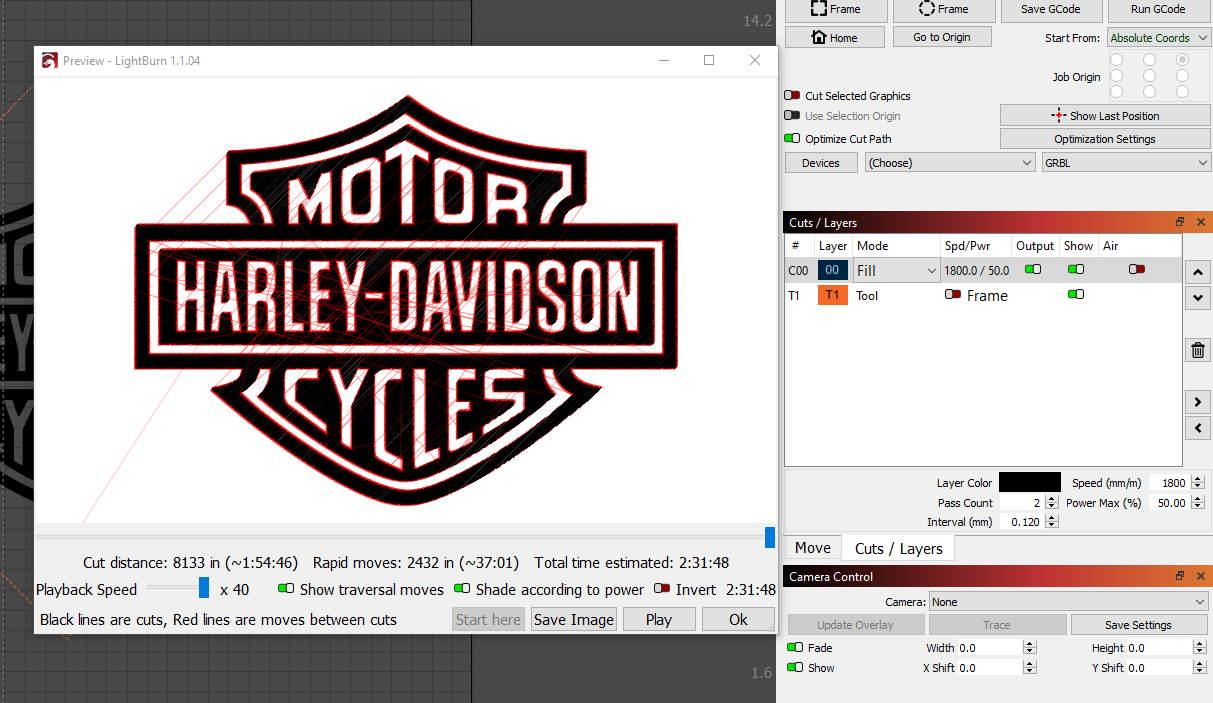
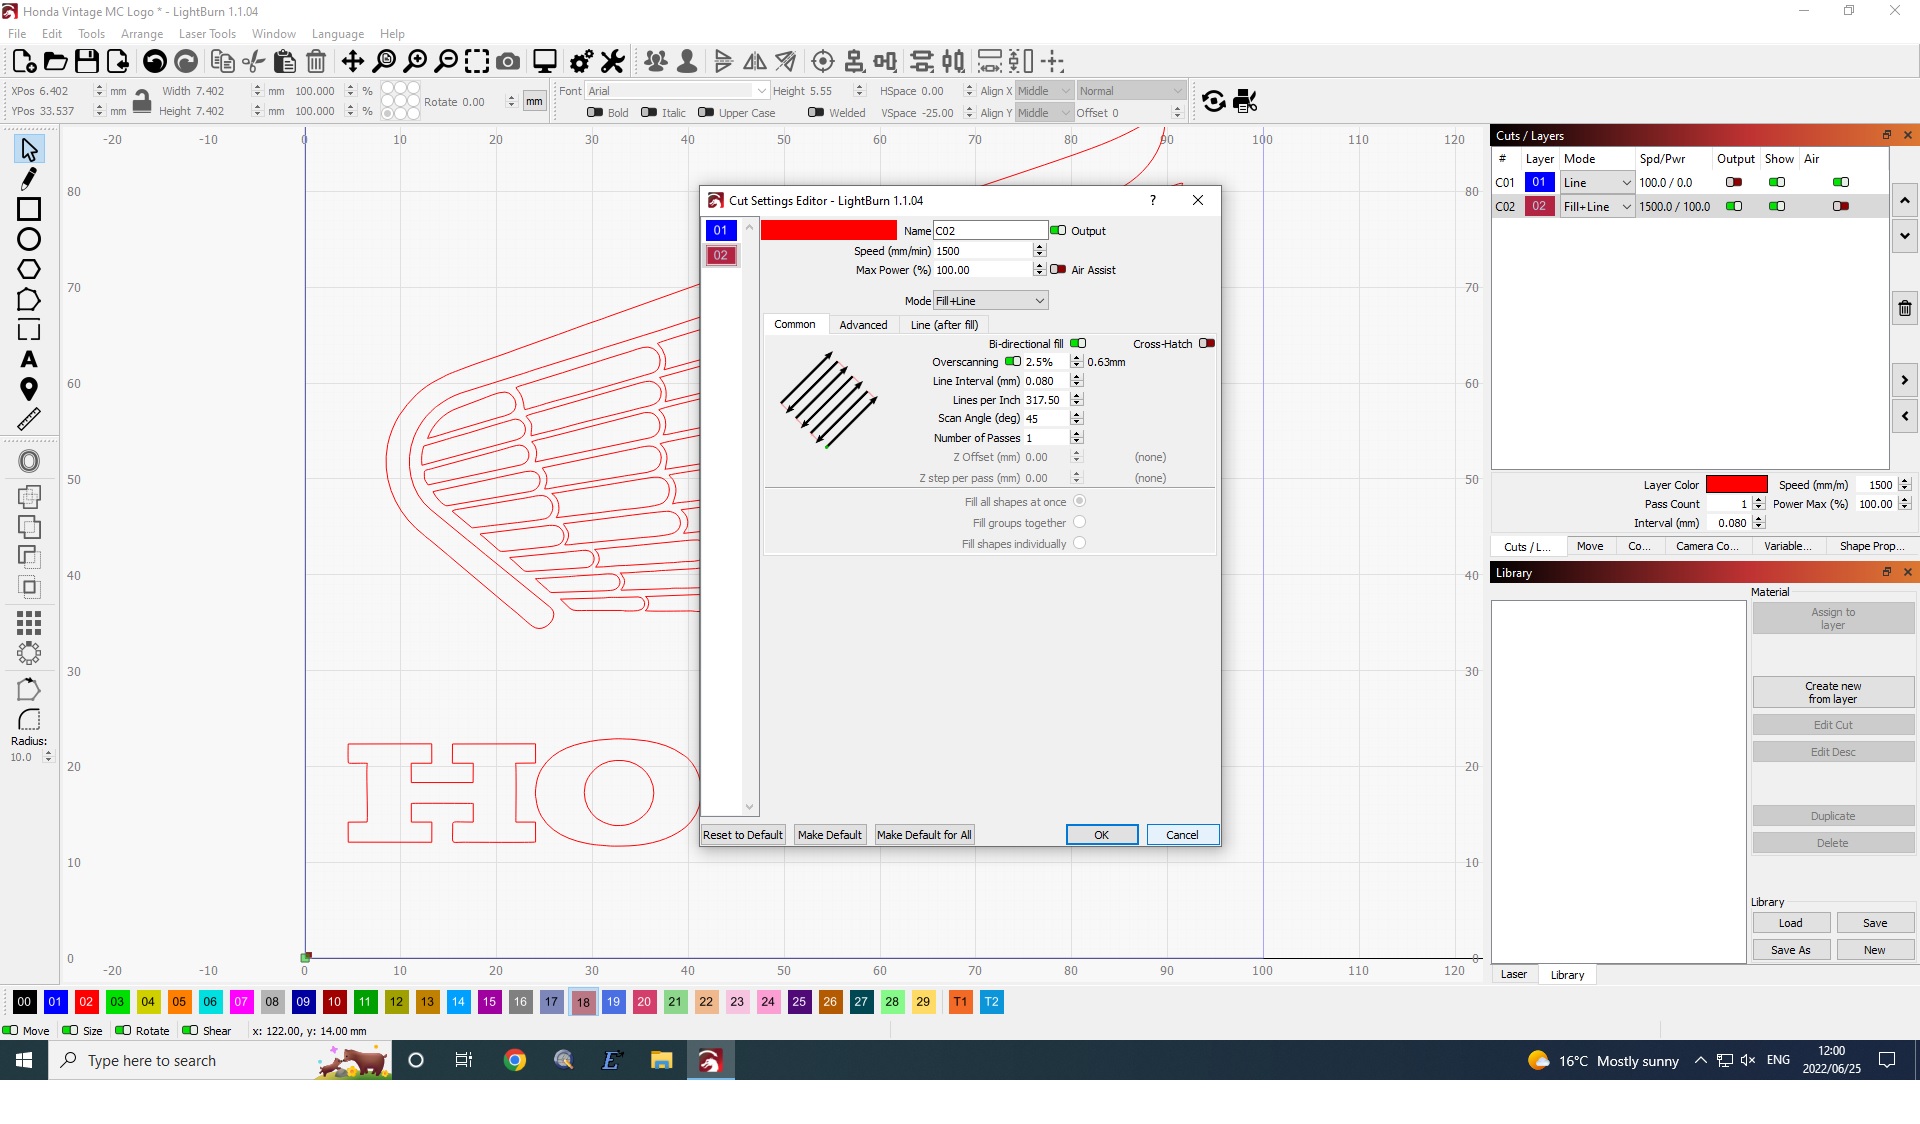
I have tried the Honda file again with your settings, and with the speed that my test indicates as being the most suitable. (1500mm/min)
You can see it has totally missed part of the H and I watched it the whole time, it definitely missed it, its not that the laser did not fire, it totally avoided that section. It stopped and moved to the wings section.
I changed the Interval/mm to 0.08 to see if that helps but still the line fill is very poor.
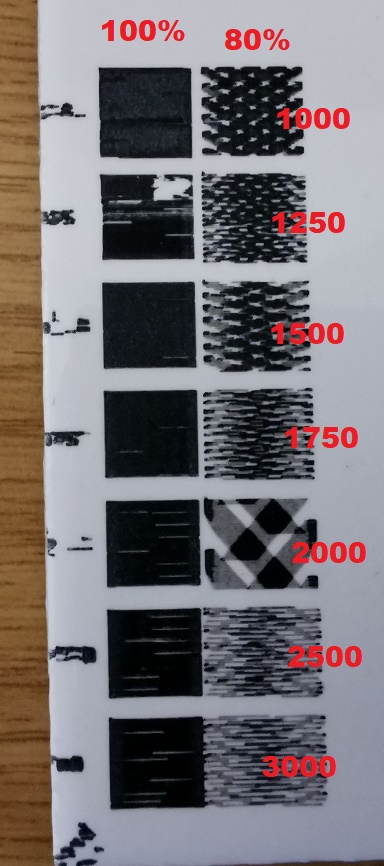
I have also included below a photo of the second test I did, I took all the squares away that were below 80% fill and below 1750mm/min as they came out awful on the full 10 x 10 test. The speed of 1500 at 100% to me gave the best results.
Sorry for not using my “outside” voice to entirely address your question. The settings I showed you were used on acacia wood - and were tangential to the advice I was offering in those posts. For the tile work, I assume you are not trying to use ablation to enhance the depth of the cut, so one pass with enough heat should do the trick. The path slant is kind of fun to play with and can be used to improve project time or add a different texture.
My most common error is changing media and not re-focusing the laser. I cannot tell you how many times I have scrapped a piece because the focus is off. I kick myself every time (but not hard enough to make me remember)
The specific parameters of WHY your system is dropping data is a bit above my experience. I am an avid amateur with the laser as an end user.
All else taken out of the context, I would fix the problem of the H by:
Don’t move the piece before you look at it (find a missing burn? then next:)
Home the laser.
Edit the project using the Boolean tools to cut out the missing shape from the part that did print.
Preview to verify and then launch the print again - printing only where it missed.
I can go more in depth on step by step if you need. I would be interested in that would fix the missing parts. Also, I think I see on the wings that the individual sections are look like they are feathered rather than blocky.
Not trying to be critical - but I do see in the HONDA text that your fill and line are not lining up. The O is out of round and the fill extends past the line. Hmmmmm. I think there may be more than one setting out of balance. Sadly, I cannot tell you what to adjust to make the backlash less obvious. You may be able to search out old threads that address that problem.
Hey there, did you have the chance to work anymore with the laser? If you found the resolution, please post it here so other people can benefit from the common knowledge. Thanks.
This is Marlin, correct? If you’re using one of the fan outputs with default / stock firmware, they only update about 10 times per second, which is fine for cutting but far too slow for engraving.
Thanks Oz, Yes, I am using Marlin through the fan output, M106/7. That confirms it then, it is a throughput issue.
Thank you, that is very valuable information which I am sure will help a lot of users.
I am busy making up a new controller using GRBL and a different controller board. I will report back on how it works. I have a good feeling now that it will be the solution. If it does i will mark your post as Solution. It might take a few days.
Just to advise I have not forgotten to mark this as solved, just that I am fighting with what I thought was going to be a quickly make up a new GRBL controller. Little did I know I would fall into another can of worms. CNC Shield V3, only works on Grbl 0.8 of course I downloaded V1.1 being the latest version and spent ages wandering why the stepper motors wouldn’t work. Only after downgrading to GRBL 0.8 could I get any response.
Now, however, I THINK may have found an alternative solution to this as I downloaded the GRBL1.1_CNCShield30_ortur driver which I found on the Endurance laser website and the steppers respond. I have installed that in-between bouts of load shedding and have successfully got things to work with Openbuilds Control program as I also couldn’t get any success with the Universal Gcode Sender program. I am sure its all just calibration now…I hope.
Having Googled and I see a lot of people having the same issues but no one giving any solutions, so I am guessing there is a setup in GRBL1.1 that prevents the stepper motors responding with CNC Shield V3 and using a hex file, no way to edit it for different configurations to make it work.
Anyway, I am hopefully a step closer to getting a working miniature Laser engraver to test Lightburn out on some more tiles. Wasnt happy with the laser cut machine i built so have printed a bunch of parts to make up something better…I hope. Fingers crossed will have something to test by the end of this weekend
So I have managed to get the CNC Shield work with GRBL1.1f as I was hoping to use a offline controller, but I have so far managed to get the new machine to run from the laptop, and have done a test tile with my old 5.5W. Definitely more definition in the burn so I am going to mark this topic as solved as I delve deeper into finessing the setting of GRBL and Lightburn and how to get my laptop to run without keeping switching off. A temperature thing I assume.