I am new to the LB community and I have not seen a couple of funtions that I feel would make the software functions more enjoyable.
As I was playing with the text to path feature ( which is awesome!) I found myself wanting to remove the text path line so that all that remained was the text. Is there an option where you can “pin” the text in place and remove the line?
I am familiar with plot design soft ware such as “Bren Cutengrave” program. In this program you use verticies to tell the plotter where to cut ( exactly like the laser plotter) In the engrave program you can move, add and delete verticies of your choice. Is there an option like that in Lightburn? The only thing I found was the “node” feature, yet I may not be familiar enough with it to make it do what I want. I want to be able to control and modify certain points on a cut line to tell the laser where to cut. Any advice?
One more thing. I was doing a large cut out project, yet I only wanted to cut out a couple section at a time. I left the entire cut project on the drawing board ( which took up the entire 700x500 space) and then delete what I didn’t want cut at that time, then I would paste the items back and delete the already cut items. I want to know if there is a " ghost " feature where you can leave your entire cut project on the drawing board, yet tell the laser to only cut certain sections at a time and not do the whole project at once.
Thank you for your time in helping me with my suggestions.
To remove the line, select the text, go to edit -> convert to path, and then you can select and delete the line, and the text will stay in the position that it’s in.
Welcome Jason, Thanks for visiting and offering your comments and questions. I would like to point you to some of the resources we provide as you integrate LightBurn into your workflow.
Using the ‘Search’ (upper-right on each page) is a great way to find answers to many of the questions that can arise as you first start using LightBurn.
To remove or hide the path used with your text, you have several options. You can move the path to a different, non-outputting layer. This allows you to still edit your text as text. Alternatively, you can convert the text to paths (no longer editable as text), then delete the original path used.
Not following what you are wanting to achieve, so this will need some more details for me to help. What do you mean when you say, “control and modify certain points on a cut line to tell the laser where to cut.”?
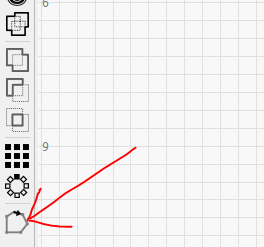
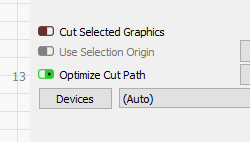
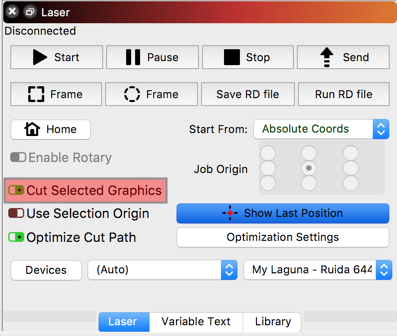
You can identify to only output selected shapes using the ‘Cut Selected Graphics’.
Thank you Blake! those pictures help tremendously! And thank you for clarifying how the node feature operates. I haven’t tried your suggestions yet, but I look forward to it!
Thank you Rick, The ‘cut selected graphics’ feature looks to be what I was talking about for the “ghost” image. ( I wasn’t certain if I was describing it correctly, but it seems you were able to interpret what I meant. I will try your suggestion once I get home. As for the ‘certain points’ I was talking about, I will try to better explain what I mean in a later massage when I am able to take screen shots.
Thank you again for the support! I want to say that I love this software and cant wait to become more familiar with it. Its very intuitive and offers a ton of options for the creative mind!
You’ll also want to click ‘Use selection origin’ if you use ‘Cut selected Graphics’.
The normal way it works, without that second toggle enabled, is meant for re-cutting portions of your design if they didn’t go all the way through. If I have 100 items on my workspace and 3 of them didn’t cut through, I can select the outlines of those three, click ‘Cut selected graphics’, and click Start. The laser will run the job as though everything were included in the cut, so the positions on the laser don’t change when just the 3 items are cut out.
If you click ‘Use selection origin’ it makes the system behave as though your selection is the only thing loaded, and the origin is computed from just those items, instead of the whole content of the job.