Press the Windows logo key and type snip. This should bring up the Snipping Tool. Click on that and start experimenting.
Here’s a link that explains various ways to take screenshots on Windows 8.
As @Will_vl mentioned, the snipping tool is the most versatile but I wasn’t sure whether Win 8 had that available.
Sorry, I ran out of response times and had to wait 30 minutes before I could respond.
Do you ever get unlimited responses???

I don’t know which one did it but I right clicked and hit PASTE and this is what came up.
SOOOO, As you can see my Speed and Power are 700 & 80 but the Burn is still light. Which direction should I go on the settings?
There’s a number of things that might be causing this.
Can you select one of the washers then go to Shape Properties to see what’s shown there?
Also under device settings, what is shown for your S-value max? Does that jib with your laser settings?
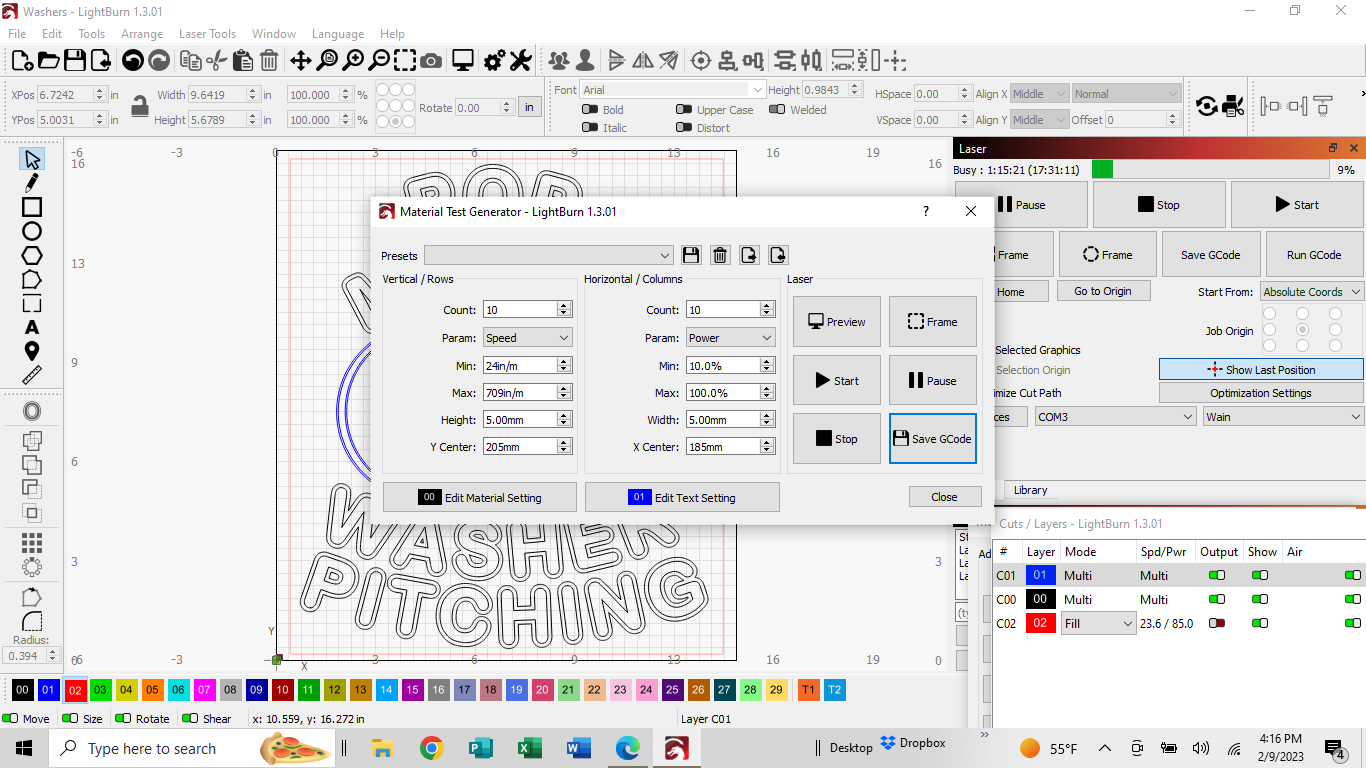
Ok, no problem, glad you got the screenshots working. That 700in/min seems extremely fast!! I work in metric and that equates to 17,780mm/min. On my diode laser I’d probably be running around 2000mm/min (that’s about 78in/min) @80% on birch ply but it depends on the power of your laser module and material etc. It’s really worth getting your material test right first though so you know what combination of power and speed gives you a particular result. Could you post a screenshot of the ‘Material Test’ dialogue with the same settings you showed in your photo?
No, I’ve never run into maximum post limit but I know it’s ‘a thing’.
Sorry, I had to wait 15 minutes.
Here is the Material Test I ran.
I slowed my Speed down to 70 and the Preview says it will take 38 minutes. I am trying it at that speed and it looks like it may be darker but going to take a while???
Ok, thanks for that. I’m surprised that those setting created a grid of squares that were all so over-burned. With a range of 10% to 100% and speeds of 24in/min to 709in/min I’d have expected quite a lot of variation in darkness across the grid.
Yes, lasering stuff on a diode laser takes time! As you can see, this design of mine takes over 4hrs on my Ortur LaserMaster 2 Pro 5W diode laser in 3mm Birch ply.
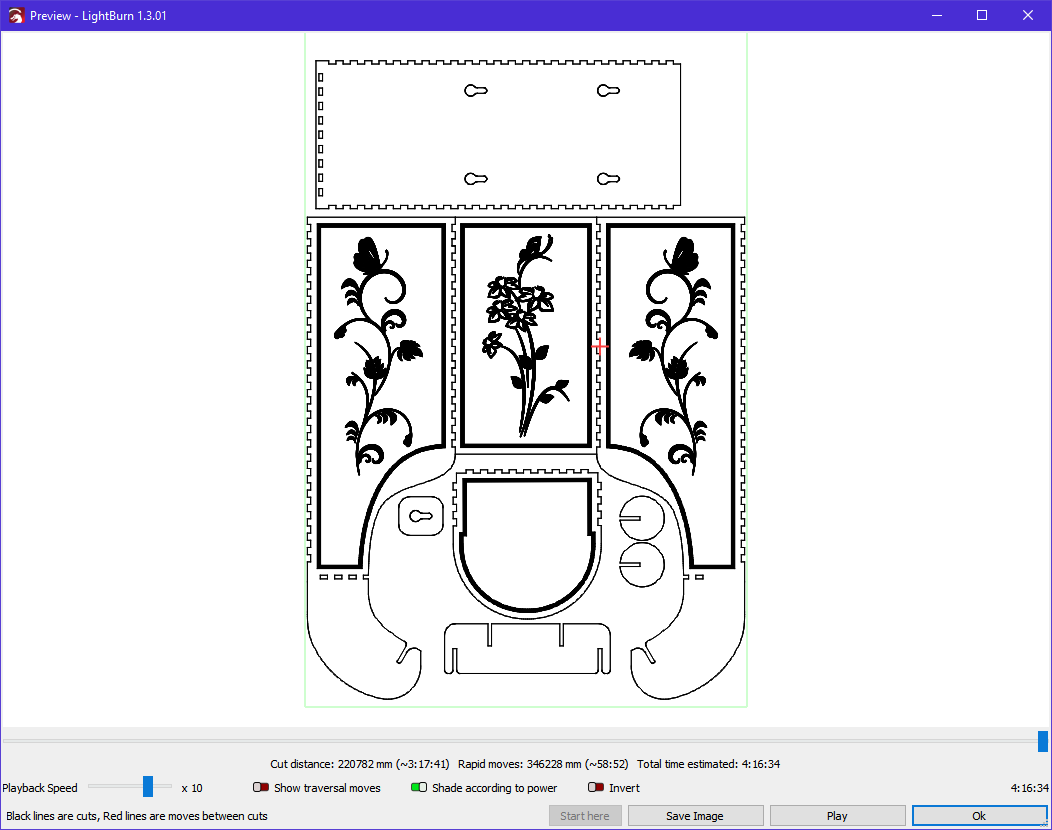

WOW, That’s a pretty elaborate drawing. 4 Hours, That’s a while!
Sorry, I’m having to wait an hour to respond. I think it was more like 2 hours…
I guess it does take time on this type laser. It’s a basic less expensive laser.
It looks like I may have to slow my work down to get a deeper/darker burn.
I am just using Pine Plywood. It also looks like I may have to enlarge/spread my offsets more to get a wider line.
WHILE I’VE BEEN WAITING MY ENGRAVER WAS BURNING AND JUST STOPPED!
The fan is running but it quit burning and moving.
ANY IDEA WHY THIS WOULD HAPPEN? I wouldn’t want this to happen in the middle of a project…
I turned my computer off and started the burn over. It’s working better now.
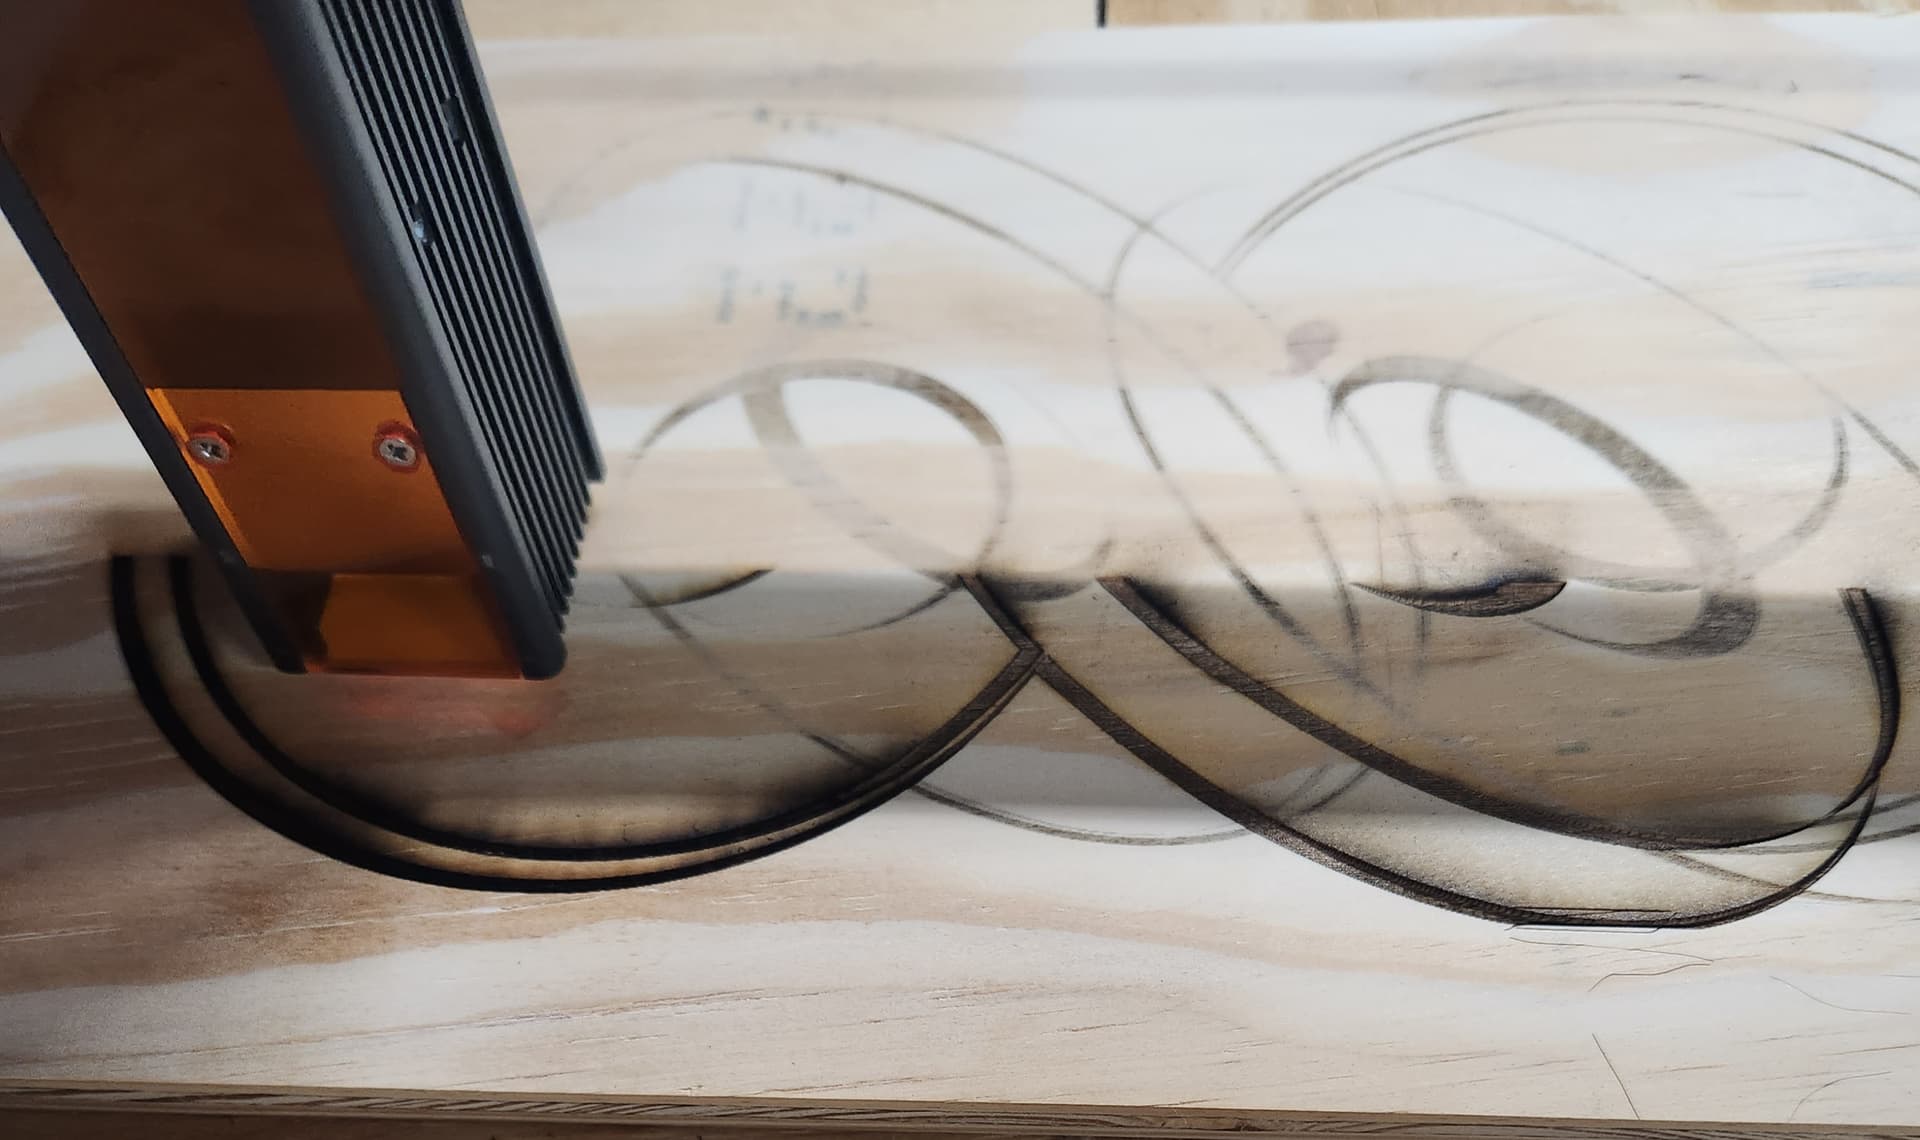
It looks to have some, what I would call “overburn” but I guess that is to be expected.
I’m attaching a photo of the washers (darkest) about a third of the way done.
Any other Suggestions or ideas would surely be appreciated…
Thanks!
That’s a real nuisance having to wait before you can post and must be very frustrating ![]()
I’ve not actually made that one yet but it’s based on this version I designed and made:
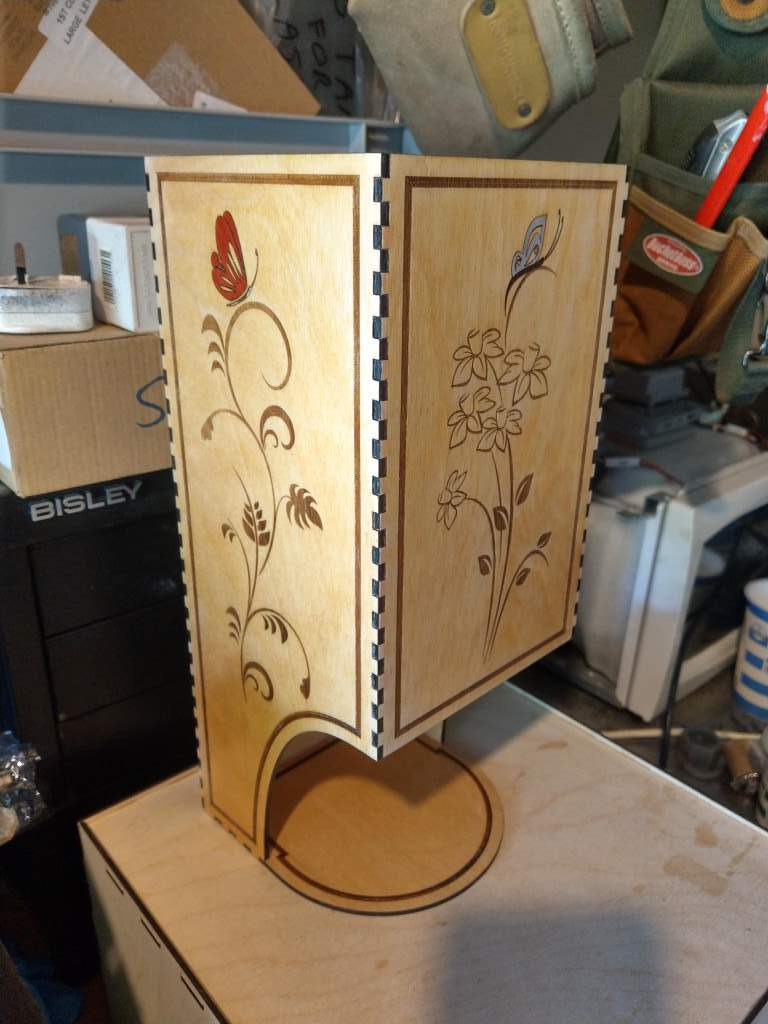
The butterflies’ wings are inlaid with coloured veneer and the whole thing is treated with lemon shellac. If you can’t guess what it is it’s for holding toilet rolls and has slots in the back for mounting on the wall. The graphics are clipart from CorelDraw and the basic box design was generated on boxes.py.
And here’s a tea bag box:

and some caddies for lasered slate coasters, again with inlaid veneer:

Yours is looking a lot better now. You’ll find there’s usually quite a bit of trial and error involved as you never really know how it’s going to come out until you actually do it.
Sorry, I don’t know why your machine stopped part way through but it might be worth posting a new question on the forum specifically about this. Yes, the ‘overburn’ can be greatly improved with the addition of air-assist (search the forum, there’s plenty of discussion on the subject).
Well, Pops… Maybe someone like @JohnJohn can elevate you so you can post without waiting …
Keep your fingers crossed… ![]()
![]()
1 Like
I’ve been following this thread. I realized just now that you were being delayed by the automation for being ‘New’. I adjusted that. You’re so close to your finished project this shouldn’t stand in your way.
Seems reasonable; Done and done! Thanks for the heads up.
2 Likes
Thank You All!
1 Like
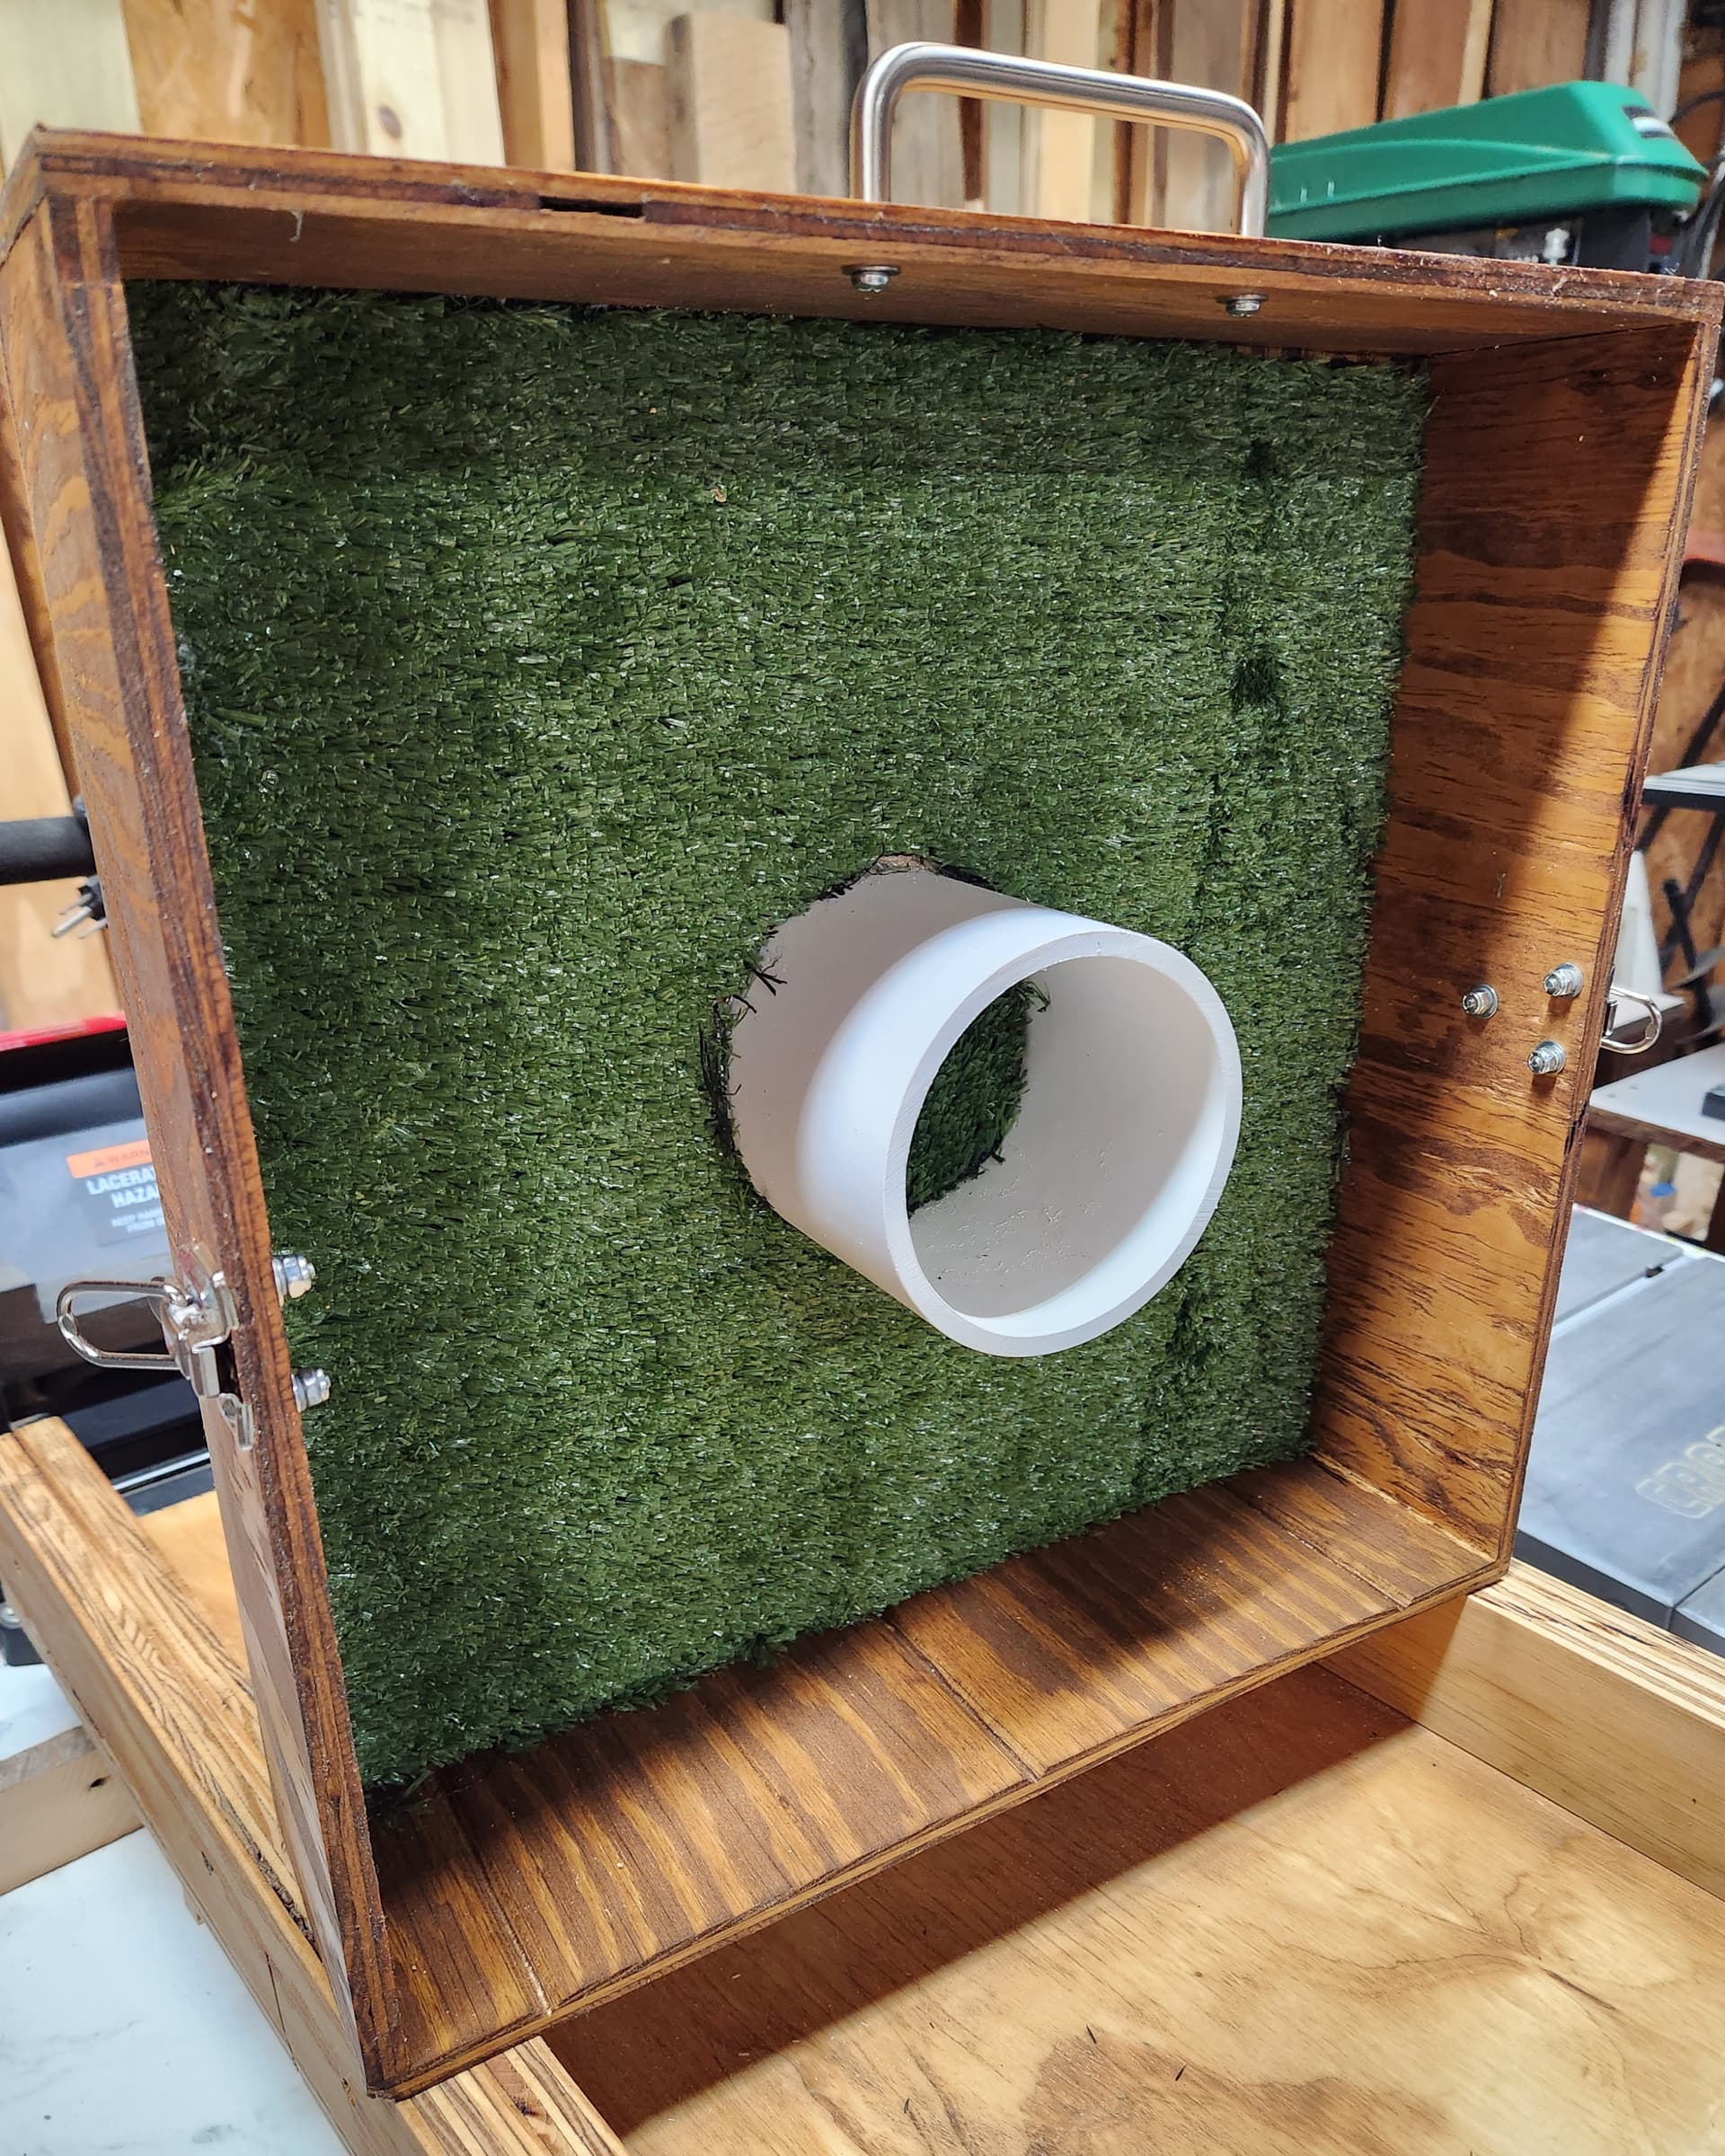

Well, With all of y’alls help, I tried engraving my Washer Box.
This is a 16"x16"x8" box I made and cut in half. I added latches to hold the two halves together. I also glued down the “turf” material and epoxied & screwed the 4"x3 3/4" PVC.
I have 16 3/4" washers I painted 4 each Red, Blue, Green, & Yellow.
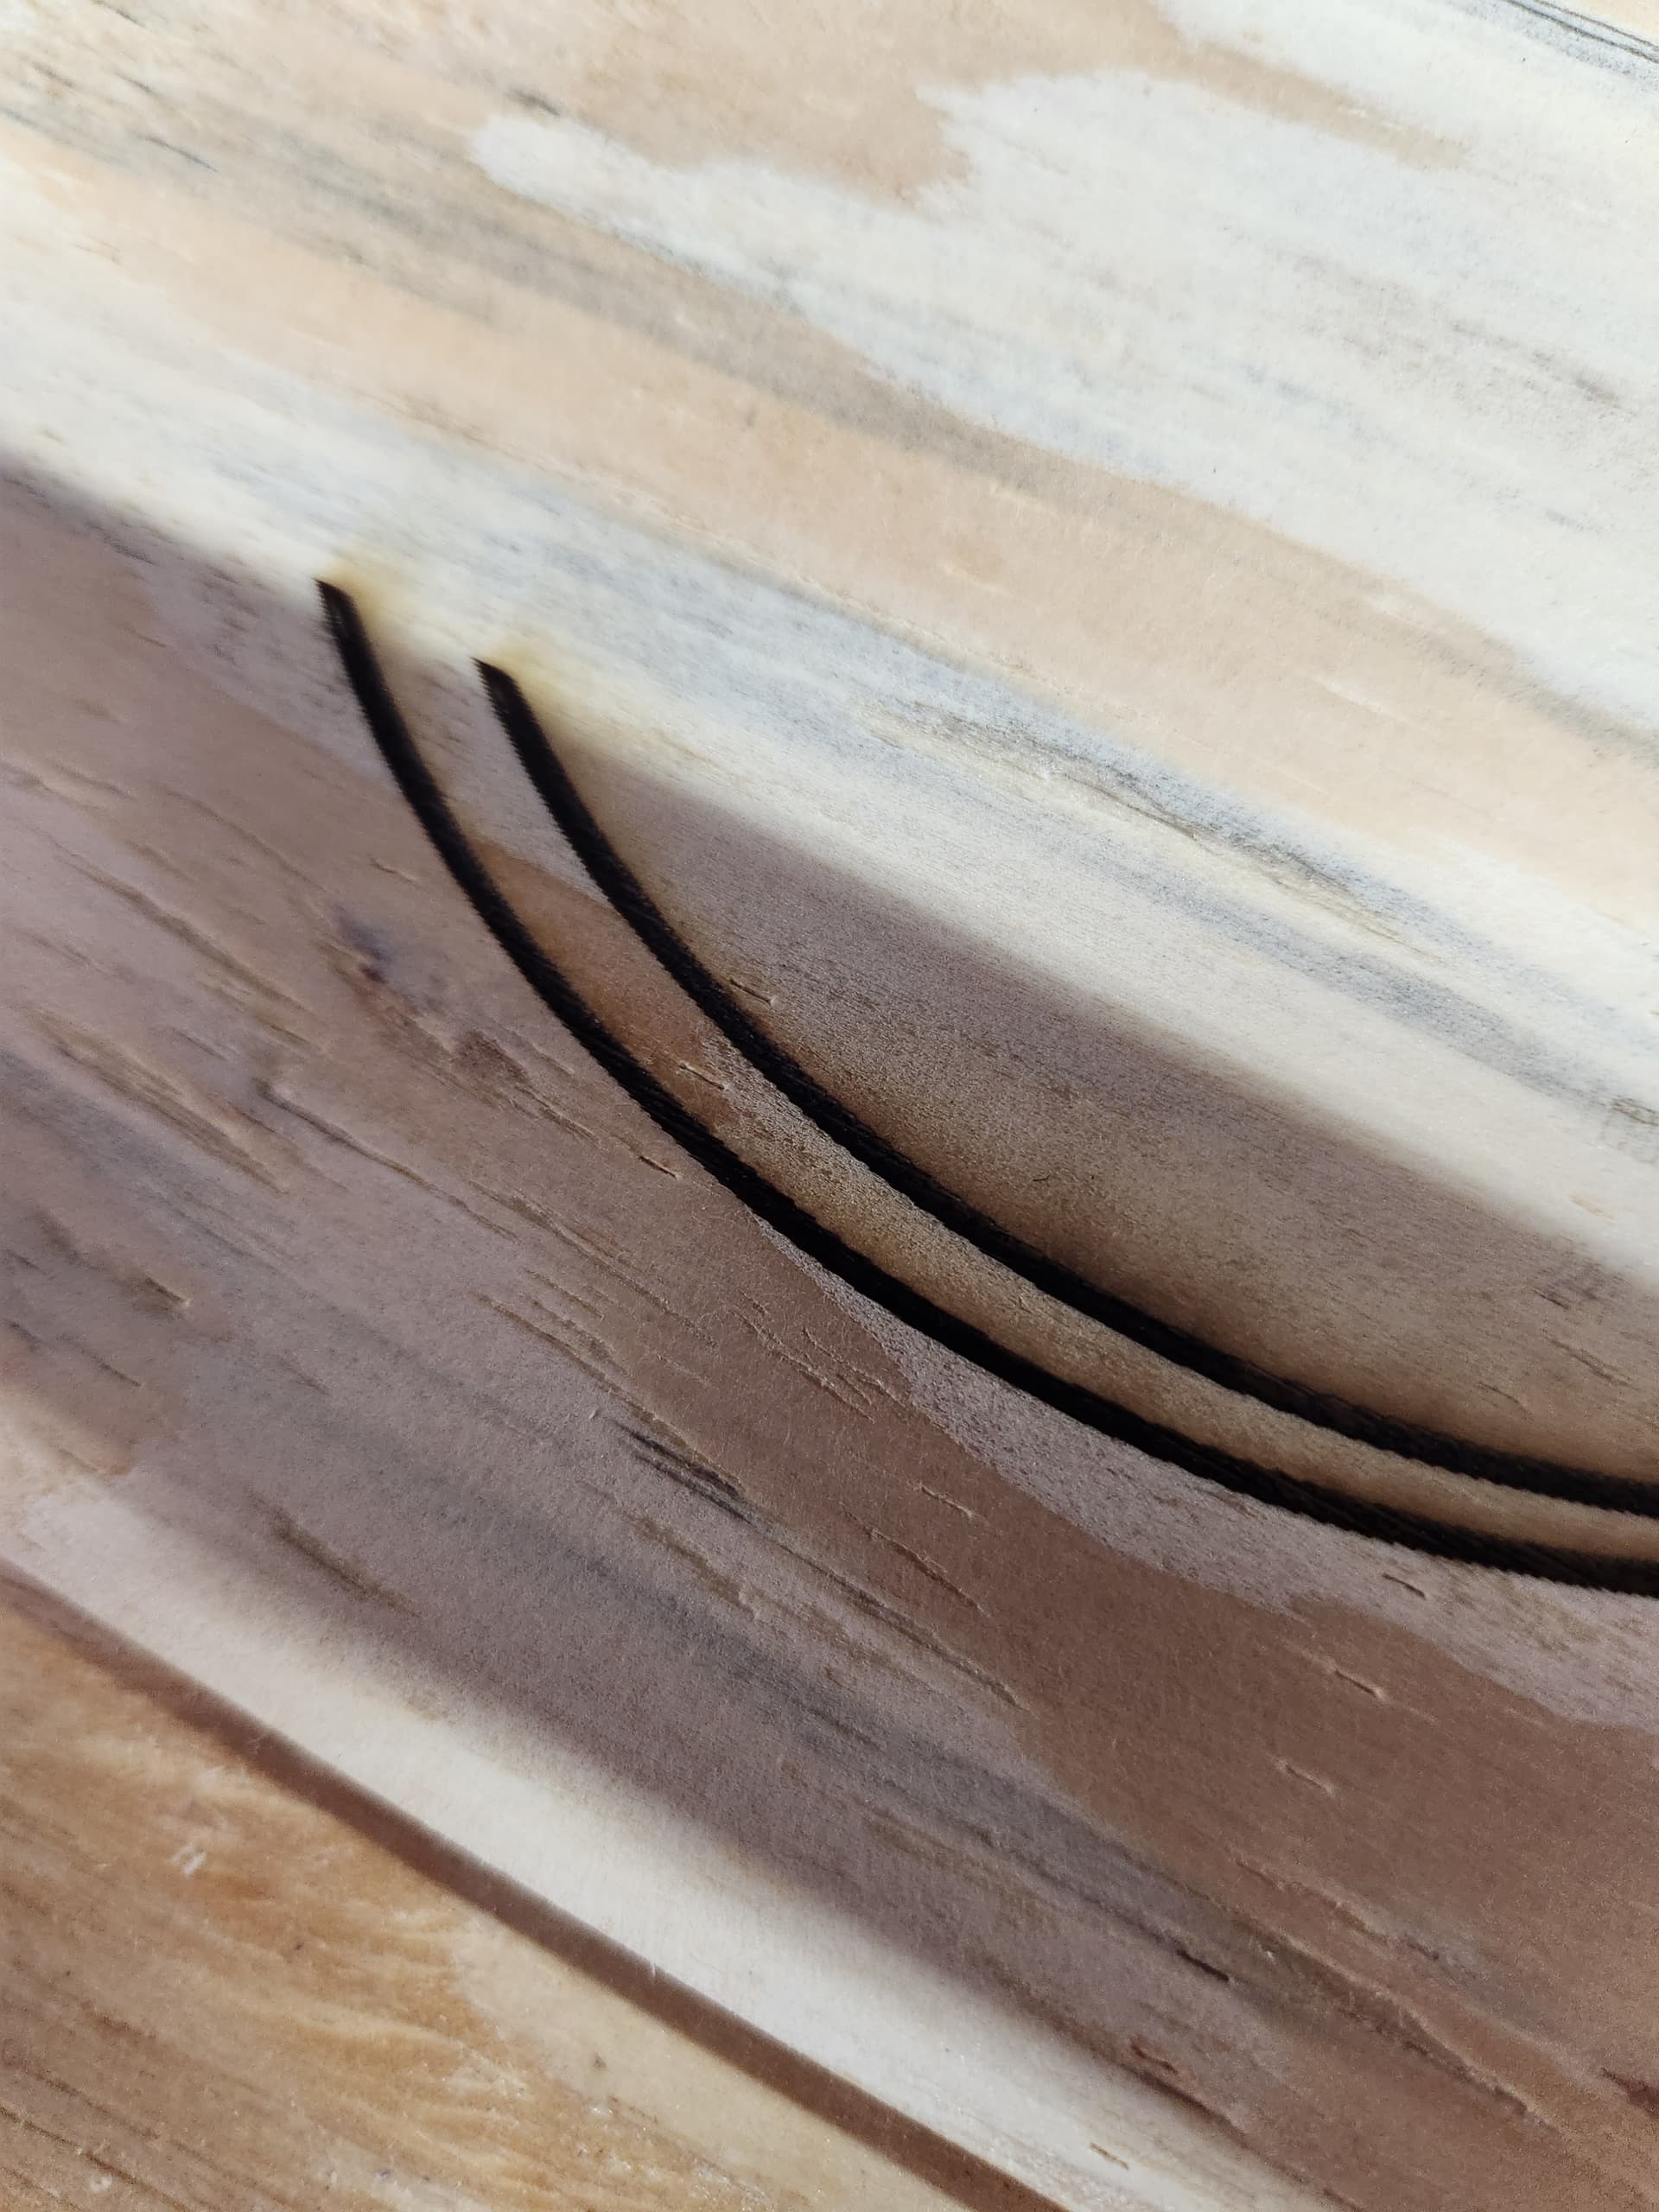
The word WASHERS in the photo has a glitch in it. I don’t know what happened. I am thinking about letting the engraver go back over it.
I am engraving the other box half. The lettering turned out nice.BUT when the program started to do the washers (started at the bottom right washer) it started burning in the middle of the S in Myers. I don’t know why it didn’t start where it was supposed to, above the R in Washer? (Any Ideas?)
Then I had to STOP the engraver and Move the C001 (Blue Layer) to First position and Start it again. After it got about a fourth of the washers burned the engraver just stopped like it did yesterday. So, I had to turn engraver off and back on and send it to home. When I started the washer burning over it wasn’t lined up with where it had previously burned so it was burning a little off from the previous burn. I moved the laser a little to try and get it back in the right position. It’s close but not exactly. Hopefully it will be alright for my first try.
Any Ideas will be appreciated.
Thanks again for everyone’s help!
Edit: 1 Box took about 8 hours to engrave!
1 Like
Great to see you making progress. If you haven’t already I’d definitely seek help on your issue with the machine stopping part way through.
I thought yesterday that the engraver stopping was because my computer went to sleep but I turned off the sleep settings so that wasn’t it.
I will try to ask that question when I get done…
Thanks Marcus!
I am also noticing a lot of the “overburn” is when the engraver hits the soft grain in the wood.

Yep… the beauty of natural materials… they vary right across the whole piece…
I look at the grain before I burn it to pick the best grain orientation.
Grbl can only buffer a few lines of code, so Lightburn has to slowly send the job over the usb as the machine does the work. If the communications connection fails in the middle of a job there isn’t any way to recover that I know of…
Generally keep them as short as possible and don’t use usb repeaters or splitters.
Good luck
![]()
Gotcha. Thanks Jack!
1 Like
Use illustrator