Seems like a normal progression. I dropped a note to @BillieRuben about maybe a change in how the documentation reads. It’s hers, so I’ll let her figure it out for how to describe it.
Good luck and have fun.

Seems like a normal progression. I dropped a note to @BillieRuben about maybe a change in how the documentation reads. It’s hers, so I’ll let her figure it out for how to describe it.
Good luck and have fun.
Thanks for the update.
Alright!
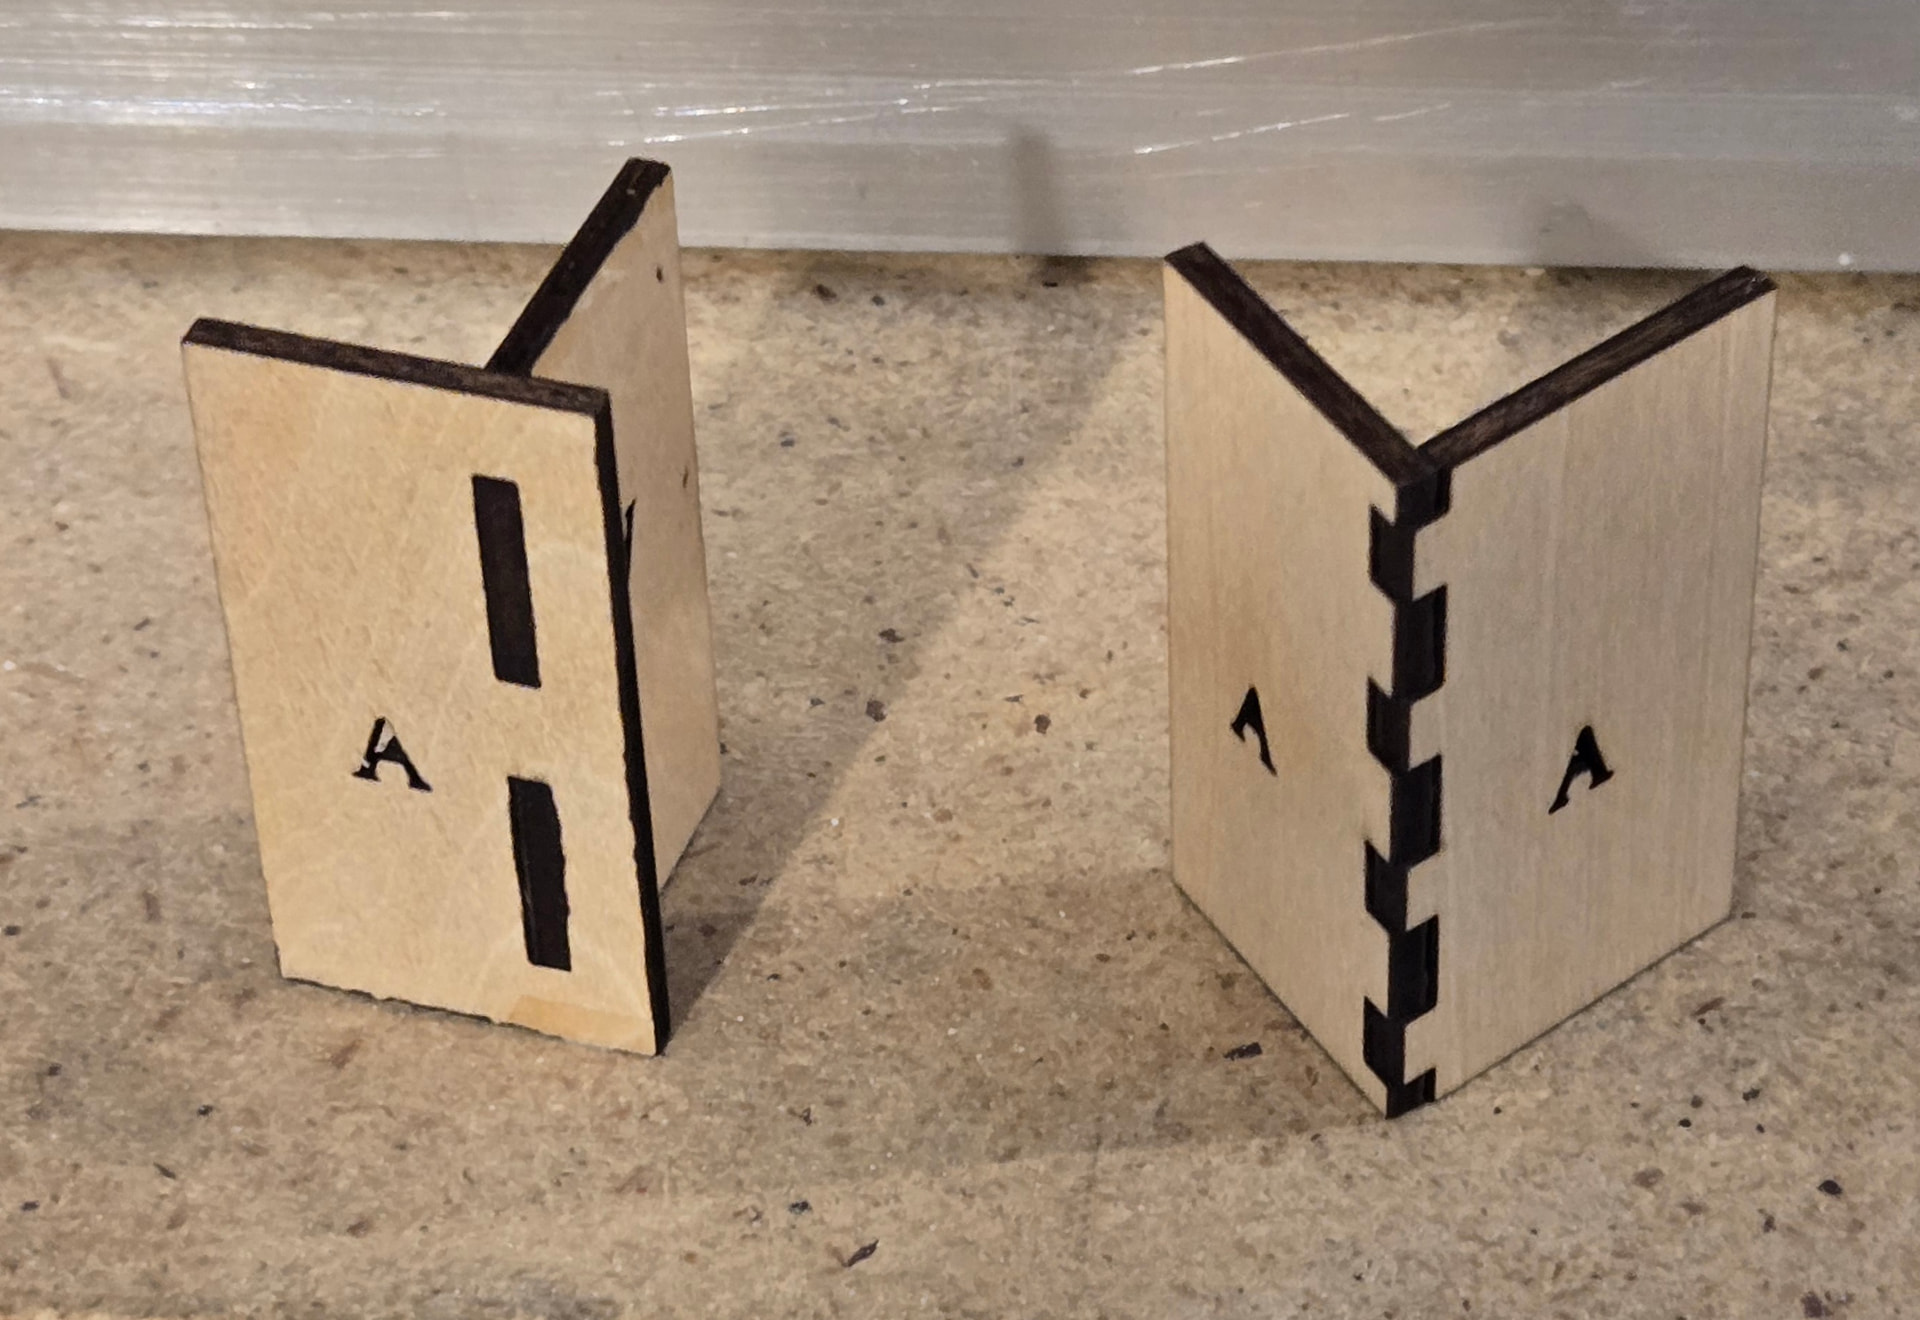
My kerf tallies out to be 0.063. This is good for a nice fit for 3mm plywood.
I also understand for other material this could vary and further testing is advised.
Thank you all again for being so patient with me. I know I can be a little dense sometimes.
Your persistence paid off!
Is this the kerf value you enter in Lightburn?
I assume you’re talking mm. It’s always a good idea to make a notation for units when you use, numbers, they don’t mean much without units.
Your minimum beam size is 0.280mm, using half that for each side, I still get 0.140mm, much larger than your 0.063mm. I can tell you, from experience, it will be larger than your spot size.
If you have a bit that was 1", there is no way to drill a 1/2" hole with it, is there?
Somehow, I think we’re not communicating… 
I think that is a typo on their website. My 40w is only half that, and that would be a huge dot for a 5w laser. I have a 5w module with adjustable focus (it came with my Genmitsu 3018) that is not nearly that bad.
Thanks, just going by what I have…
You’re welcome!
I’m also persistent when I don’t understand something.
Knowing something without understanding it is like memorizing it. You don’t know why, you just know that’s how it is.
If the focal dot of the laser module is 0.06mm, that seems great to me!
All I know is the 0.063 as the offset works for a snug fit for Slots and Tabs.
That is the spec for my 10w diode. I am betting the 5w (4.5w) is even better.
Considsr cloned Sub-Layers to make more passes with less power to reduce charring.
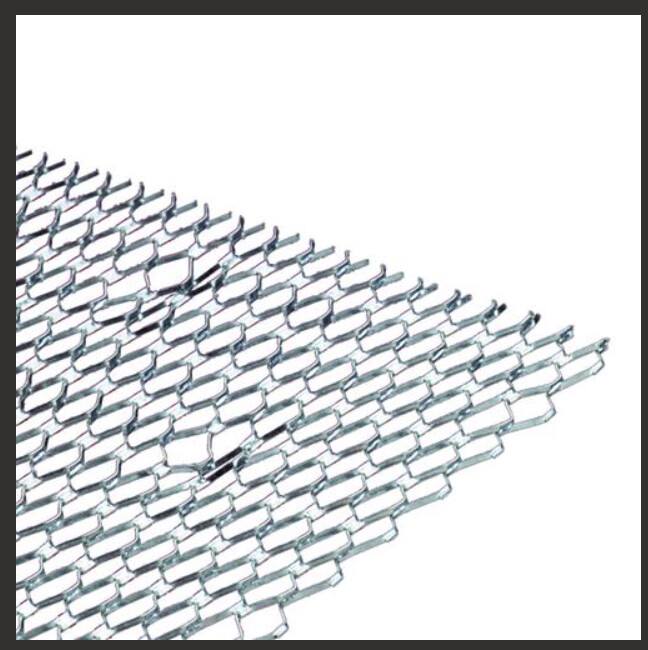
I tried the Kerf Test on top of the honeycomb. The net result was all those little cut pieces fell into the honeycomb. Any suggestions for how to avoid that? I guess I could put another piece of wood underneath the part for the kerf test. I know a good minimum cut setting for my material, so presumably the laser wouldn’t go too far into the wood underneath.
And then, do you slip something really thin to collect the cut-out pieces? Or do you do the vernier measurements directly on the machine? (The honeycomb came with my machine, but I use that kind of metal grid on my airbrush booth.)
I use my fingers. Sometimes I have lifted the Furring and brush pieces out. Sometimes tweezers.
Can you explain Cloned sub-layers?
More passes at less power I understand. Might this be all that is needed?
Would multiple passes change the result?
Everything here:
I do teeny things on an inch-deep square glass tray that started life as a ceiling light, with the material resting on the sides. It’s an ancient stripped-down version of this, from back when bulbs were incandescent:
The little bits may get scorched in there, but they won’t get lost in the chaff.
And no problems with the laser bouncing off the glass?