What does it mean when you can see banding in the preview image in lightburn and it also burns the exact same way?
I searched the forums and did find some post about banding but none had resolutions that I understood or were specific.
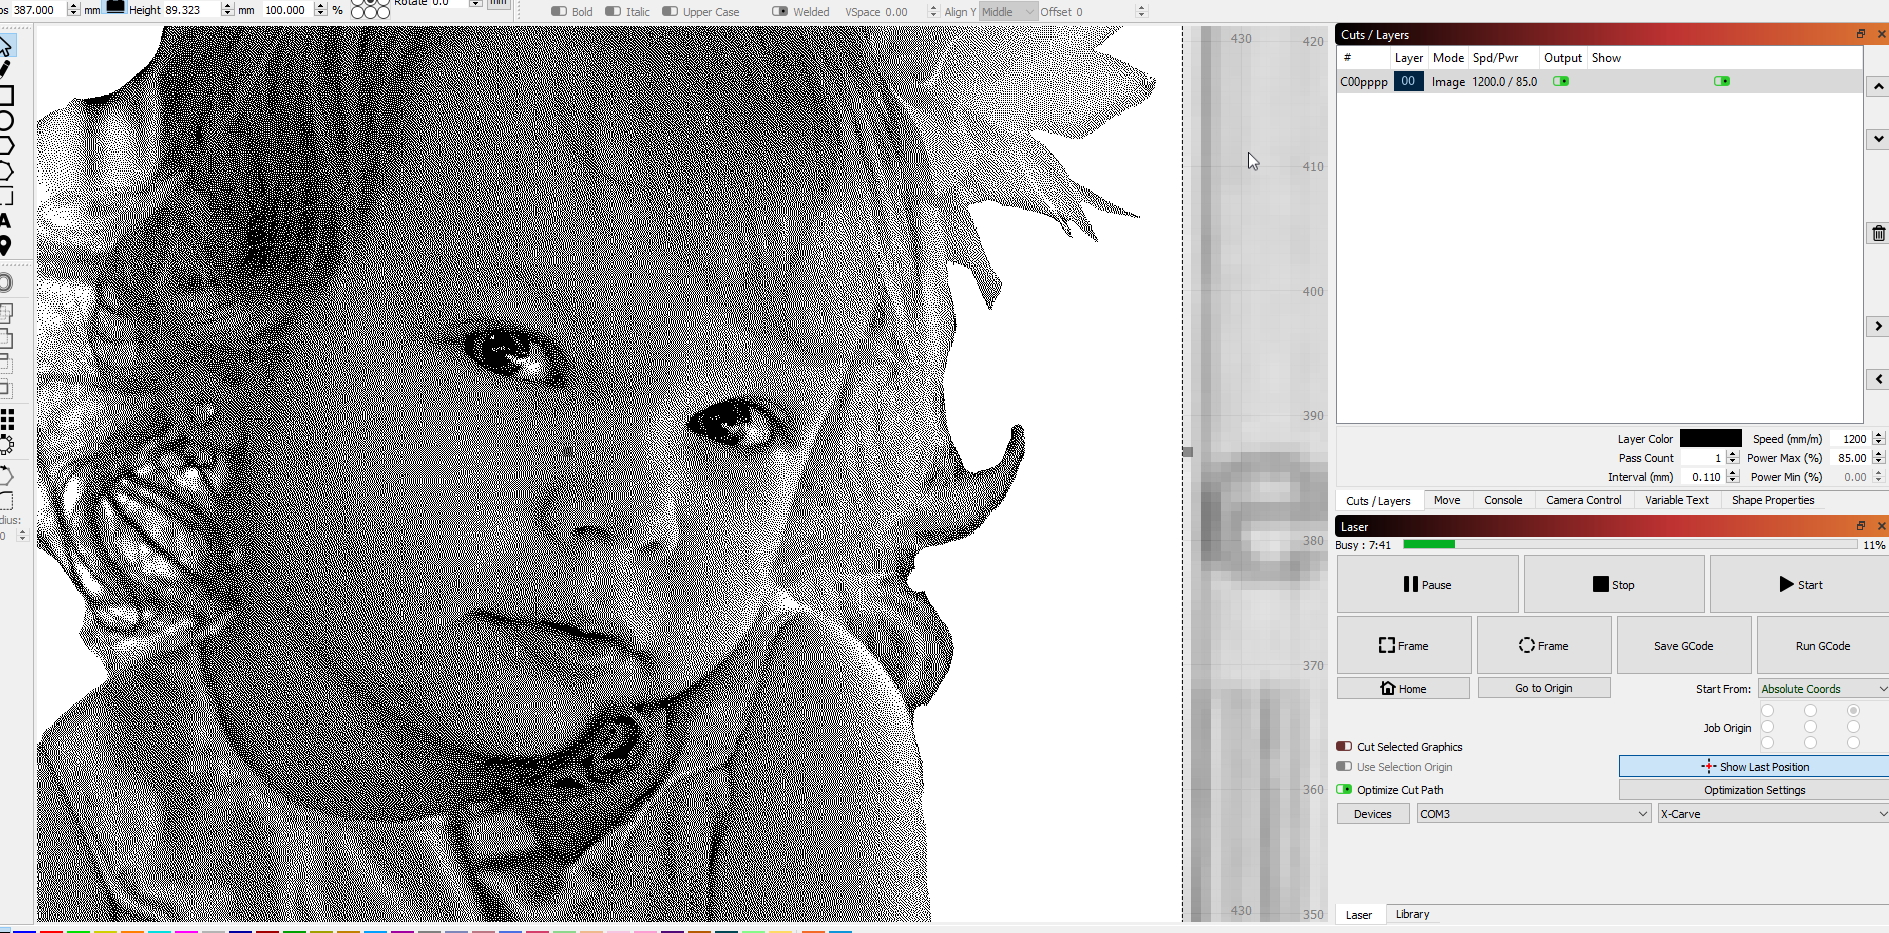
All dithering and settings are done in lightburn, using stucki, 231 DPI.
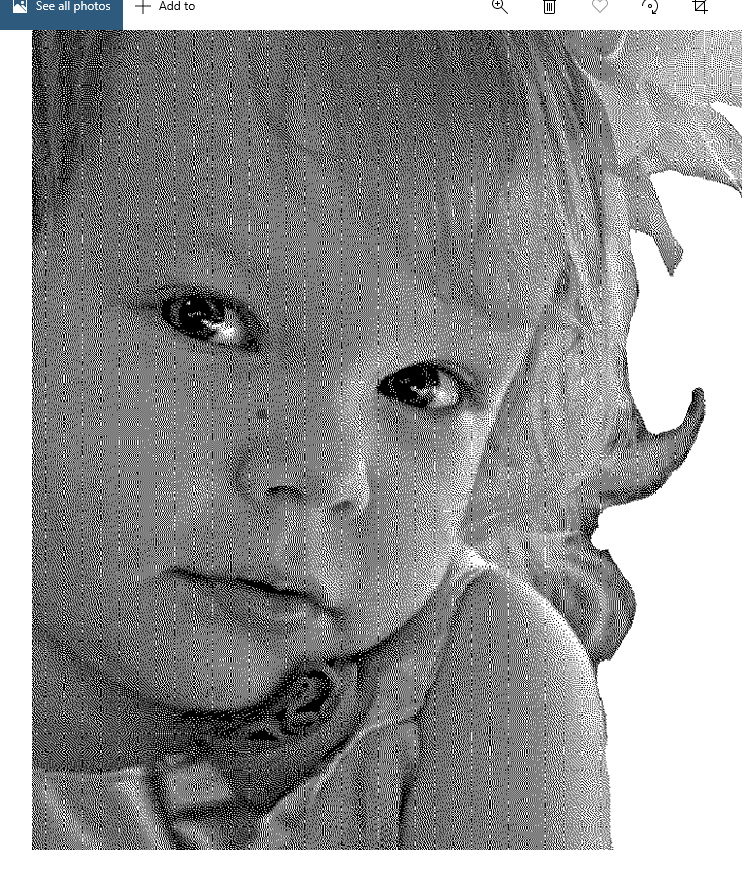
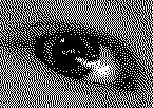
Click on the image here and you can really see the banding, and it shows up on the burned material.
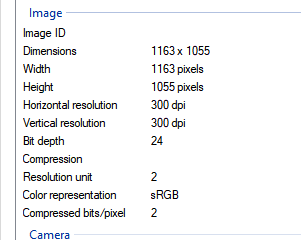
What’s the original pixel size of your image and image dimensions in Lightburn?. Depending on down-/up-scaling, compression, etc. you can get strange artifacts in an image.
What happens with other dithering types? There could be a weird combination of color/bw conversion and jpeg compression plus the dithering stepping on each other. Also, what are the output/screen dimensions (mm/inch) of the image?
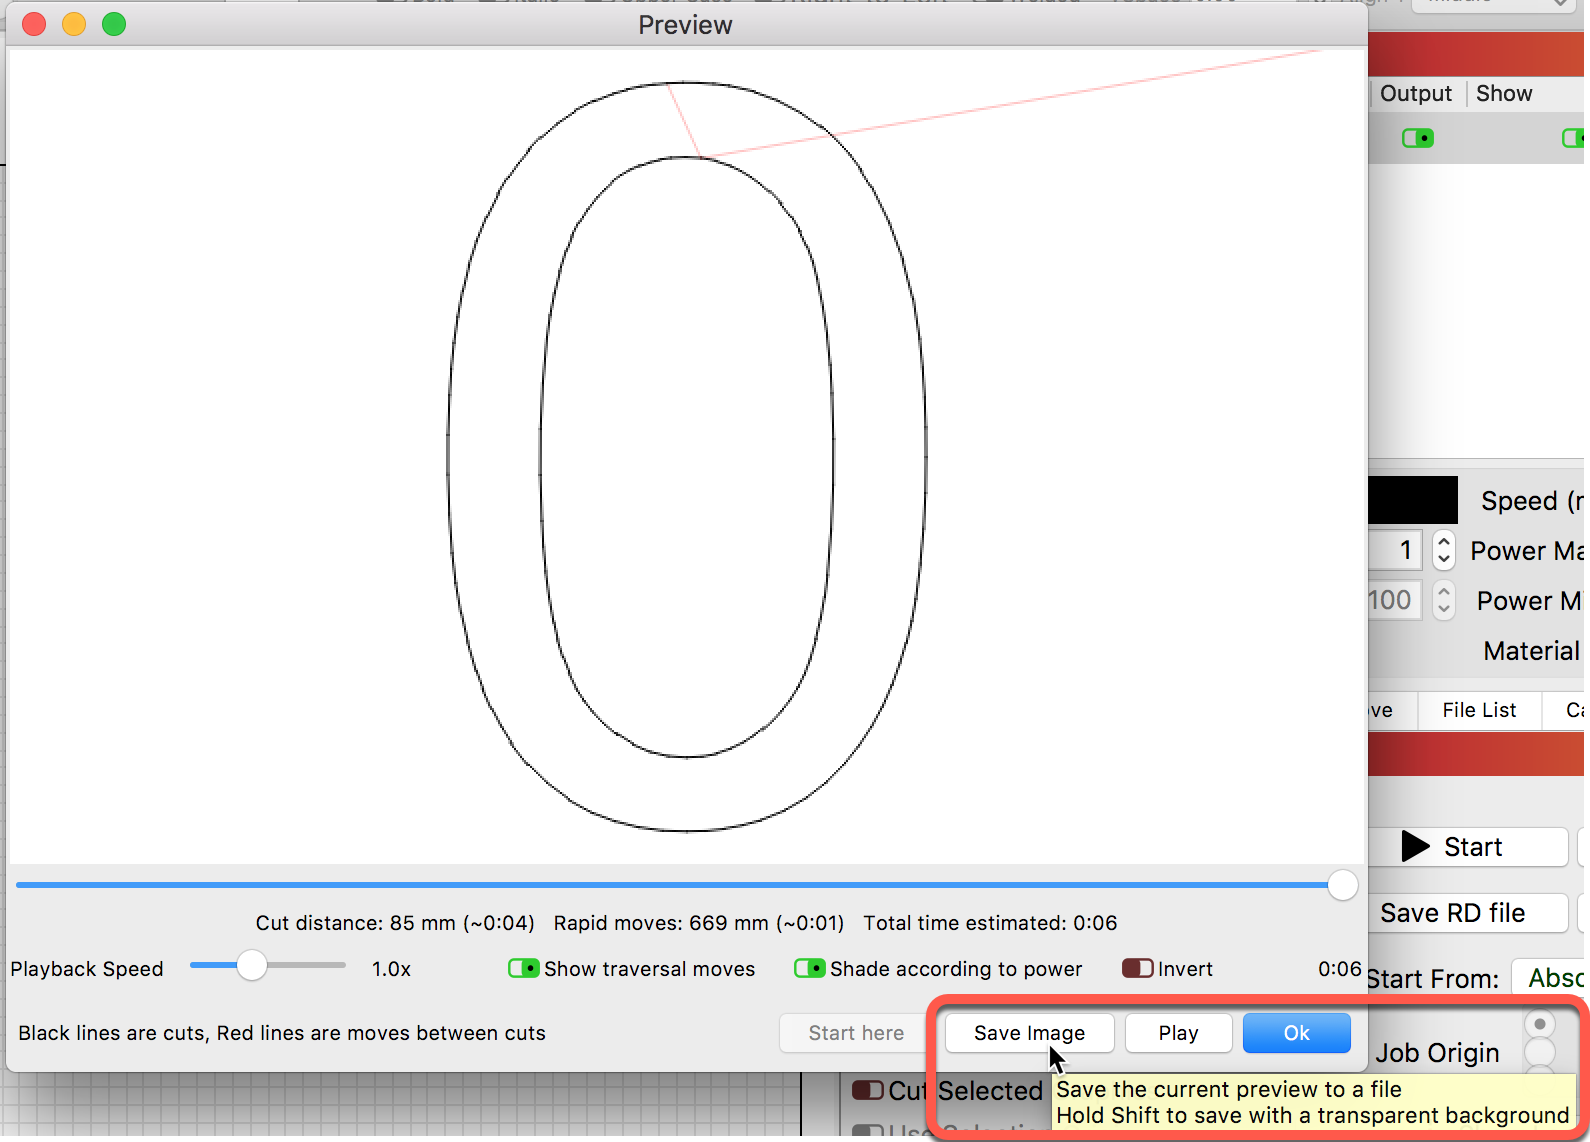
The image you’re showing there is not LightBurn’s preview, but Windows viewing an image. Was the image dithered outside of LightBurn, or did you get it into that viewer in some other way?
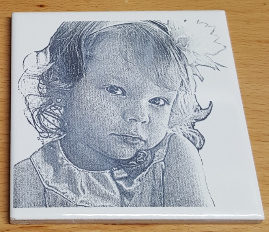
The artifacts shown there look to be just rescaling artifacts from not viewing the image at the correct size. Can you show a photo of the end result?
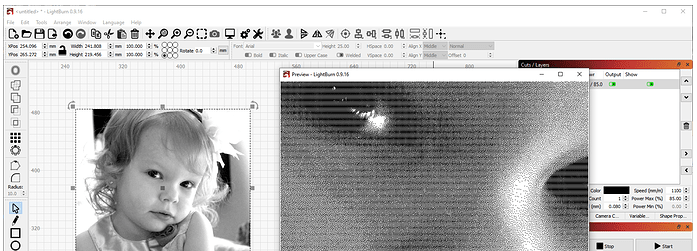
No the image was not was not dithered outside LightBurn. The image above is from LightBurn, I clicked the display button, Zoomed in on the display and then used a screen capture utility to capture the image from the LightBurn Display viewer. Had to have a way to save what I was seeing in LightBurn. I just happened to open it Windows View when I posted it here.
Here is the original image I took that from but not zoomed in but you can still see the banding in but not as profound in this image.
The image that you’re showing there, zoomed in, is absolutely dithered already.
Did you use some “magic script” or tool like “Imag-R” to process the image? If so, you dithered it, and will have to turn off LightBurn’s internal processing by setting the pass-through switch in the image settings.
It is not pre-processed. This image was taken on my Nikon D3000 camera in 2014.When I dragged the image into lightburn, set the settings for dpi and stucki and then click the display icon an zoomed in and out I got dithered image as show in my original post.
I’m sure its something I am doing wrong somewhere, but do not know what it is.
In any case I have moved on to other projects.
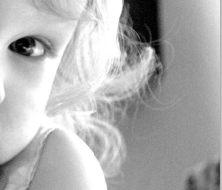
I’m sorry, but I don’t see how that’s possible. The image you showed in the last post has a background, and the image you showed initially clearly has it removed / masked off, in addition to being dithered:
These aren’t the same image, and the current release of LightBurn has no facility for masking, so it wouldn’t be possible to produce this in LightBurn.
This is showing dithered directly in Lightburn when you zoom in or at least it is simulating it. Guess I am not understanding what you are saying that the dither look cant be produced in lightburn.
We are not saying this. We are saying that this image has been adjusted outside LightBurn. This is why you saw these effects in your original post image.
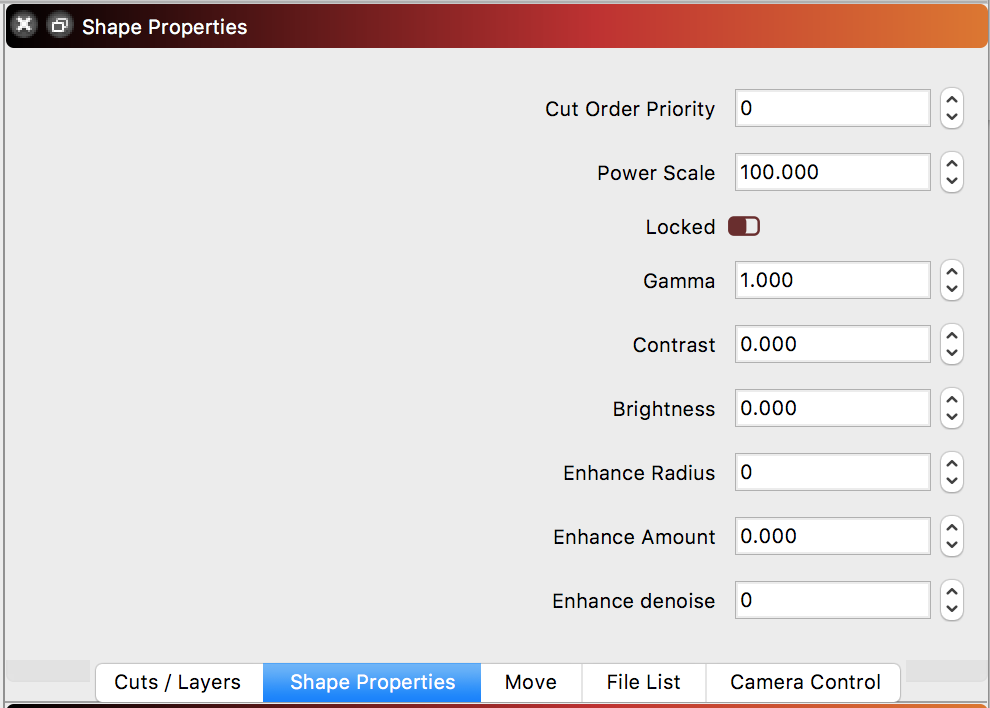
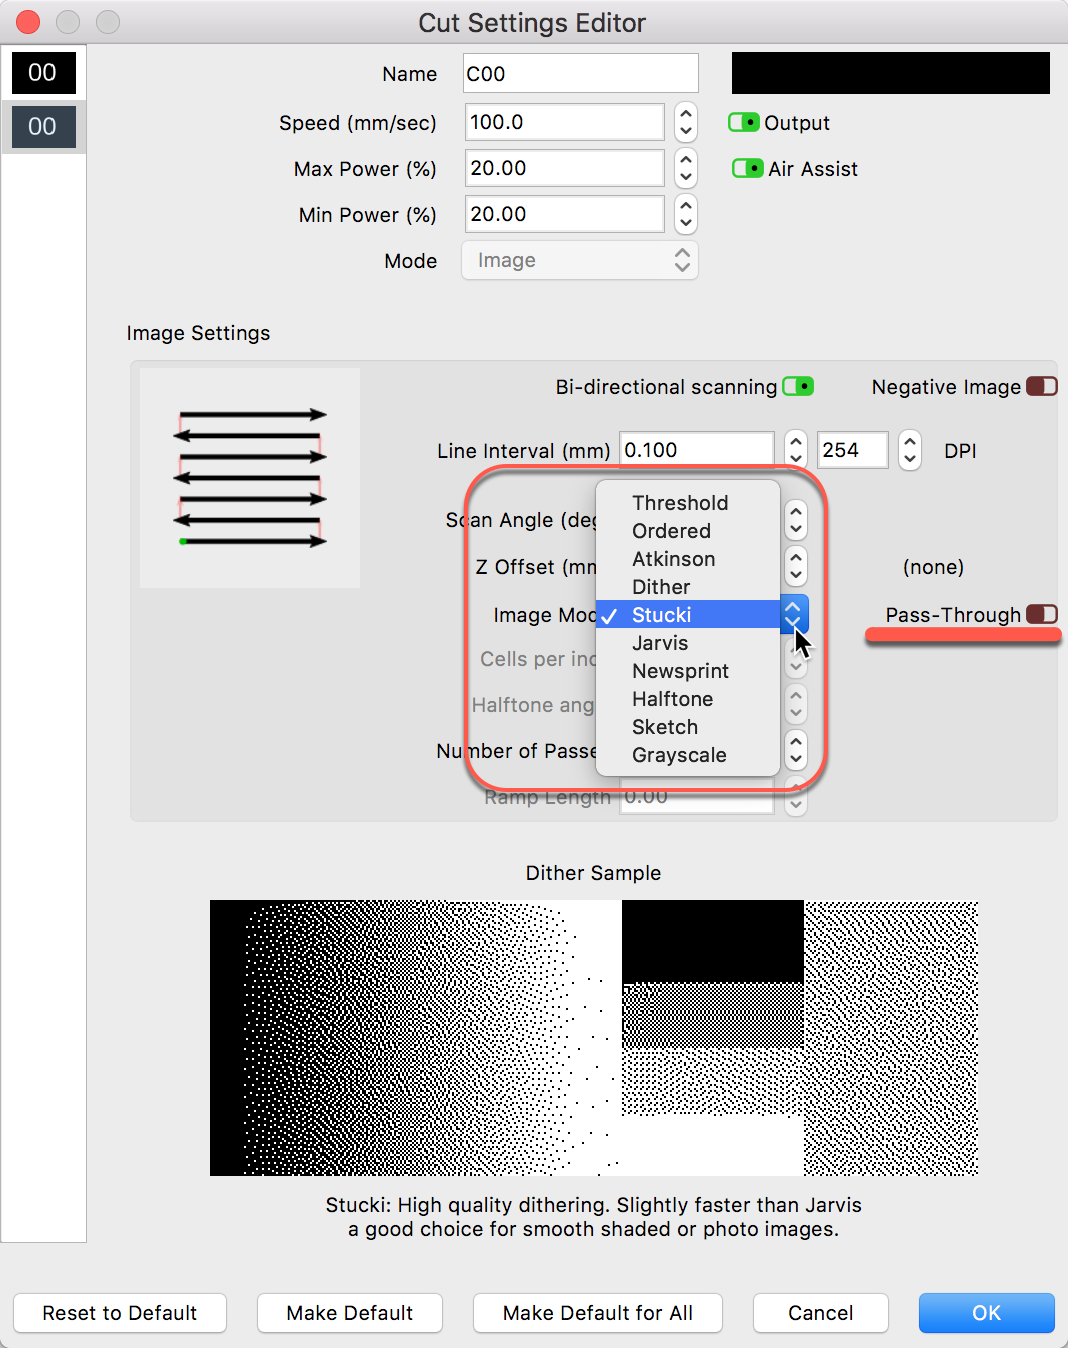
If you do modify an image outside LightBurn, you can pass it through LightBurn and we will not touch the image. We send it using the image as is. To do this you need to have ‘Pass-Through’ ticked ON (green) via the Layer settings.
If you want LightBurn to help process your image for laser output, Import the image without external modification and use the Image Shape Properties page to adjust image Gamma, Contrast, Brightness, and Enhancement to your liking. Double-click the Layer color in the Cuts/Layer tab to expose the ‘Cut Settings Editor’ where you have different ‘Image Modes’ to choose from.
The first image you posted was not dithered in LightBurn using these tools. That is what we are trying to explain.
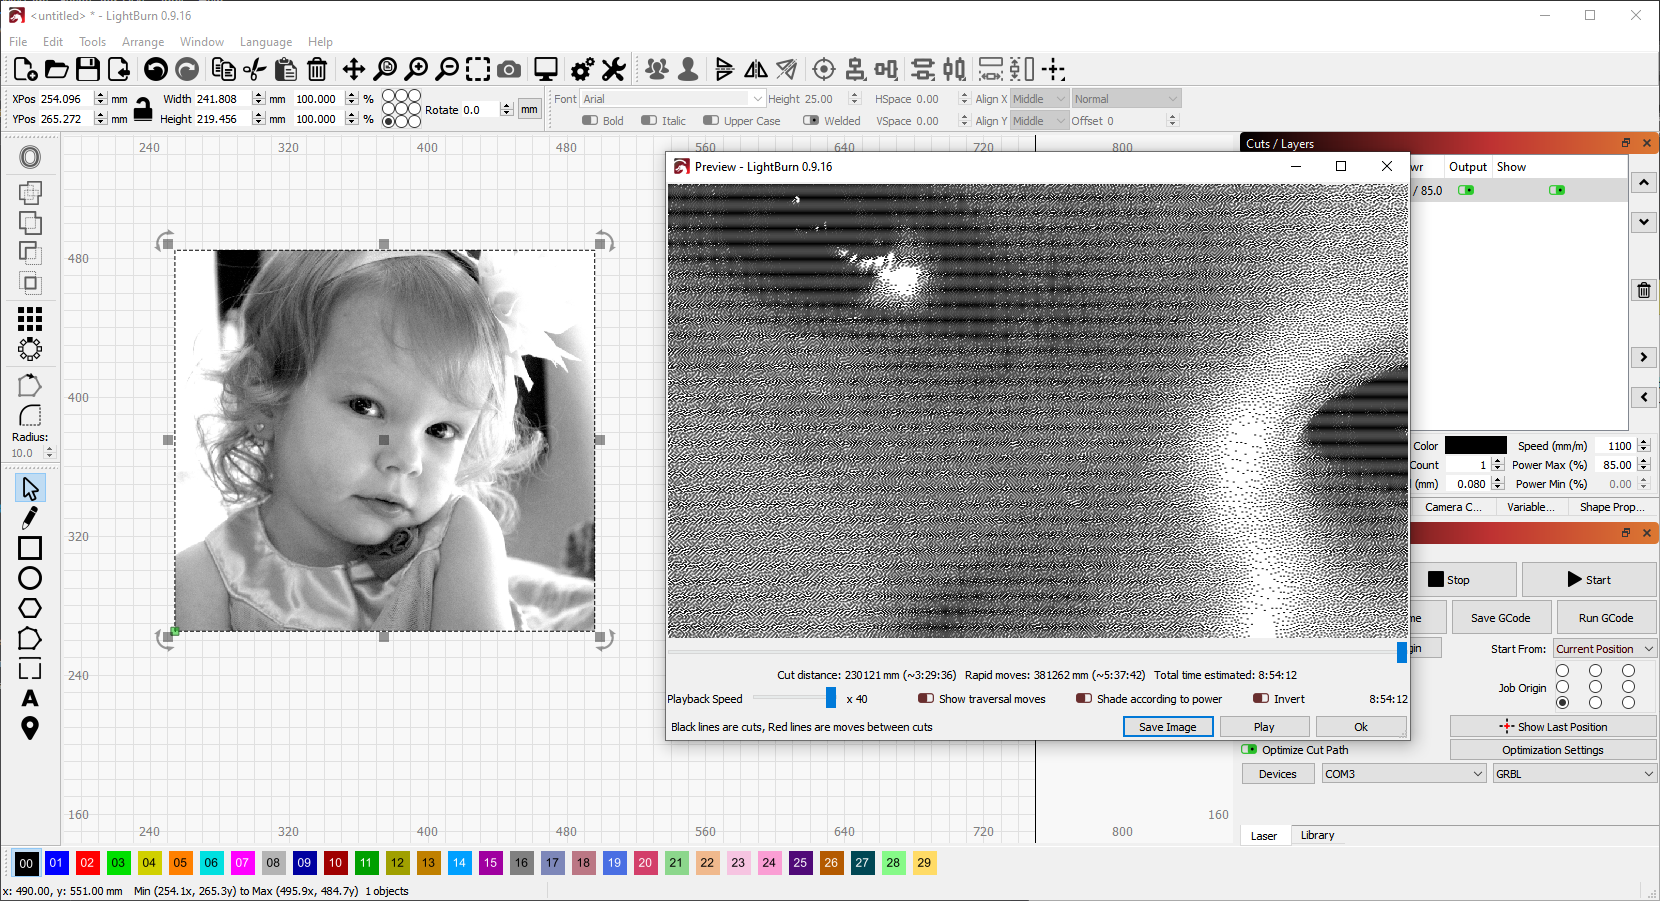
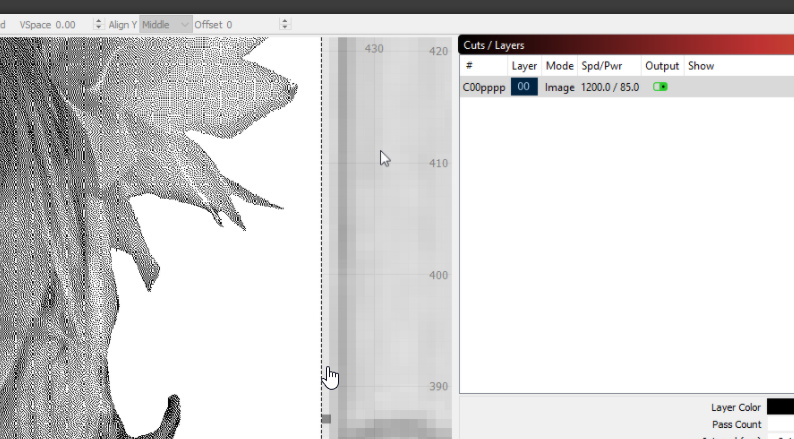
The hand-cursor (mine) is hovering over the dotted selection lines, and just above the side drag-handle, so it’s clearly the image in the edit window in LightBurn, not the preview as you showed in the other image. If you zoom into the preview you’ll see horizontal lines. If you zoom into the edit view, it’s small pixelated squares.
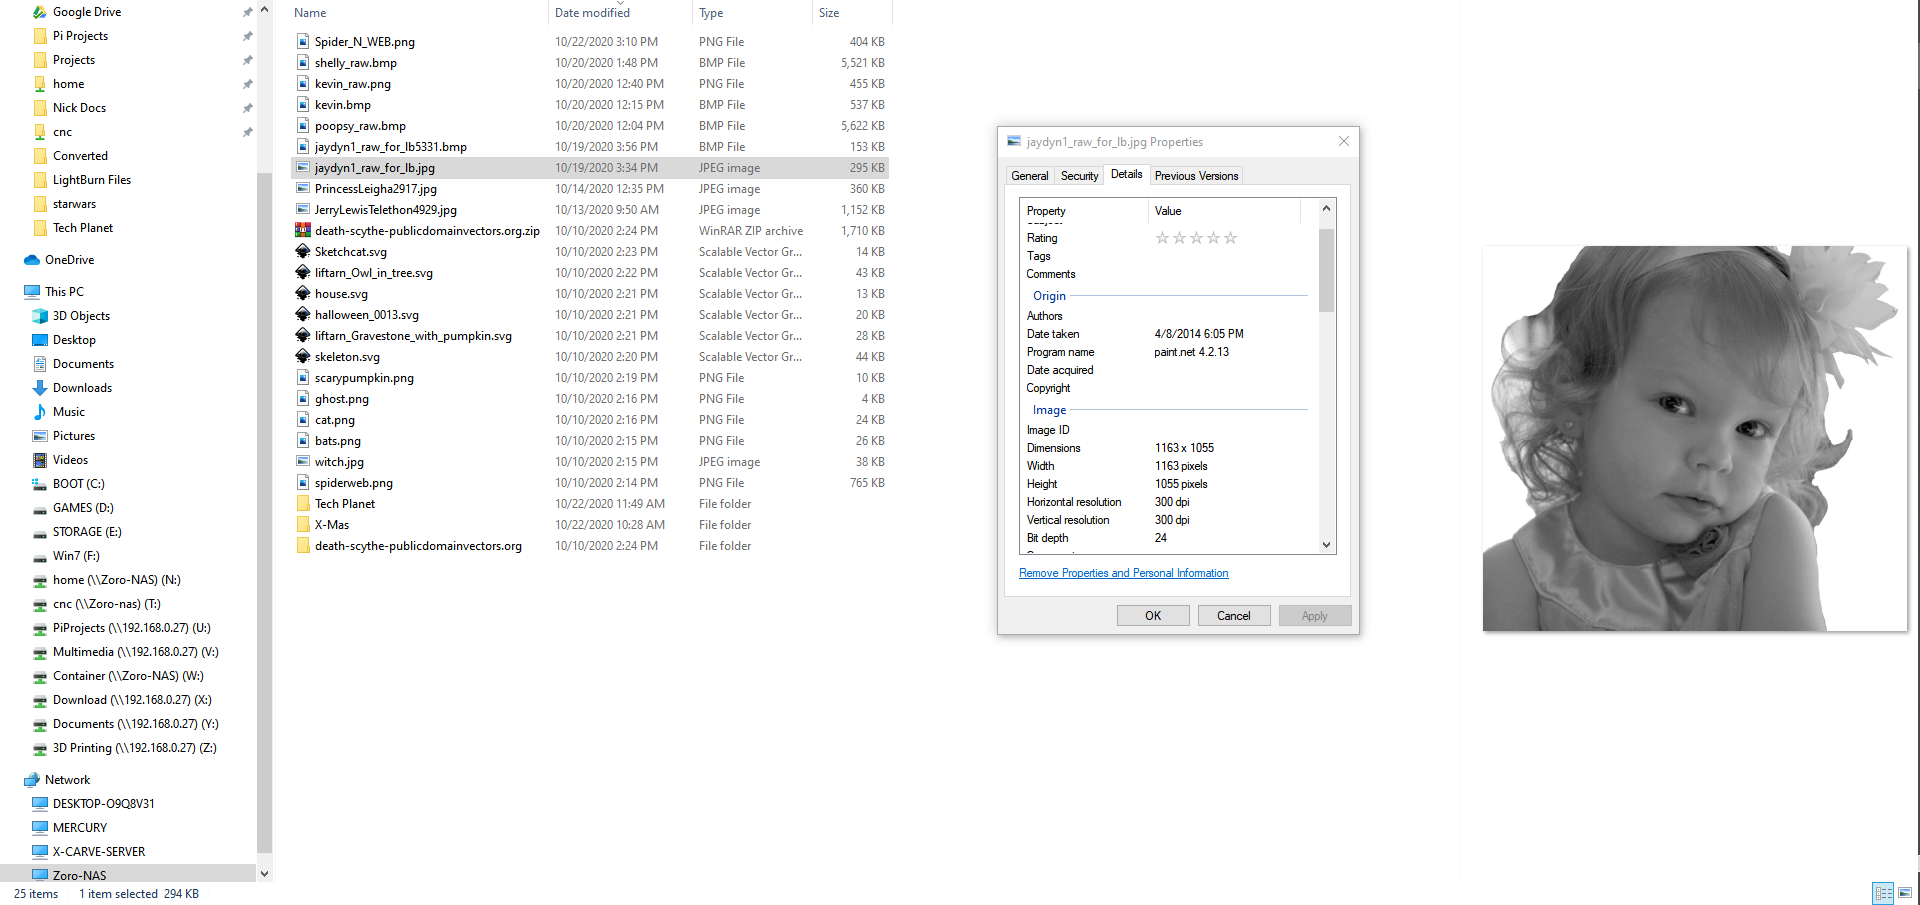
I understand all that. The goal was not to use any outside tools to modify the original image. I wanted to do all processing in lightburn, I even went as far as name the image so that I would know I was using an unprocessed image. The only thing that was done to the original image was I removed the background but no size or resolution was changed. Below is the image from my computer in explorer.
Yes the one I posted was not the correct one, but the only thing done was the background was removed. I posted a screenshot of the image and its details above. Now I am getting confused. I will retry it again, maybe I got the images messed up.
Sorry, maybe it is because it is Friday night for me, but now I am lost. What is the question? Every new picture posted appears to be different and I no longer know which picture you are working with and what you are trying to do, along with the results you have achieved, or not.
Can you please give your clearest and best description of the issue again, along with posting a single set of the resources you used (the correct image used when observing said issue and the LBRN file). We want to understand but are getting confusing responses and information. We are wanting to try and reproduce what you see and can not with what you have provided.