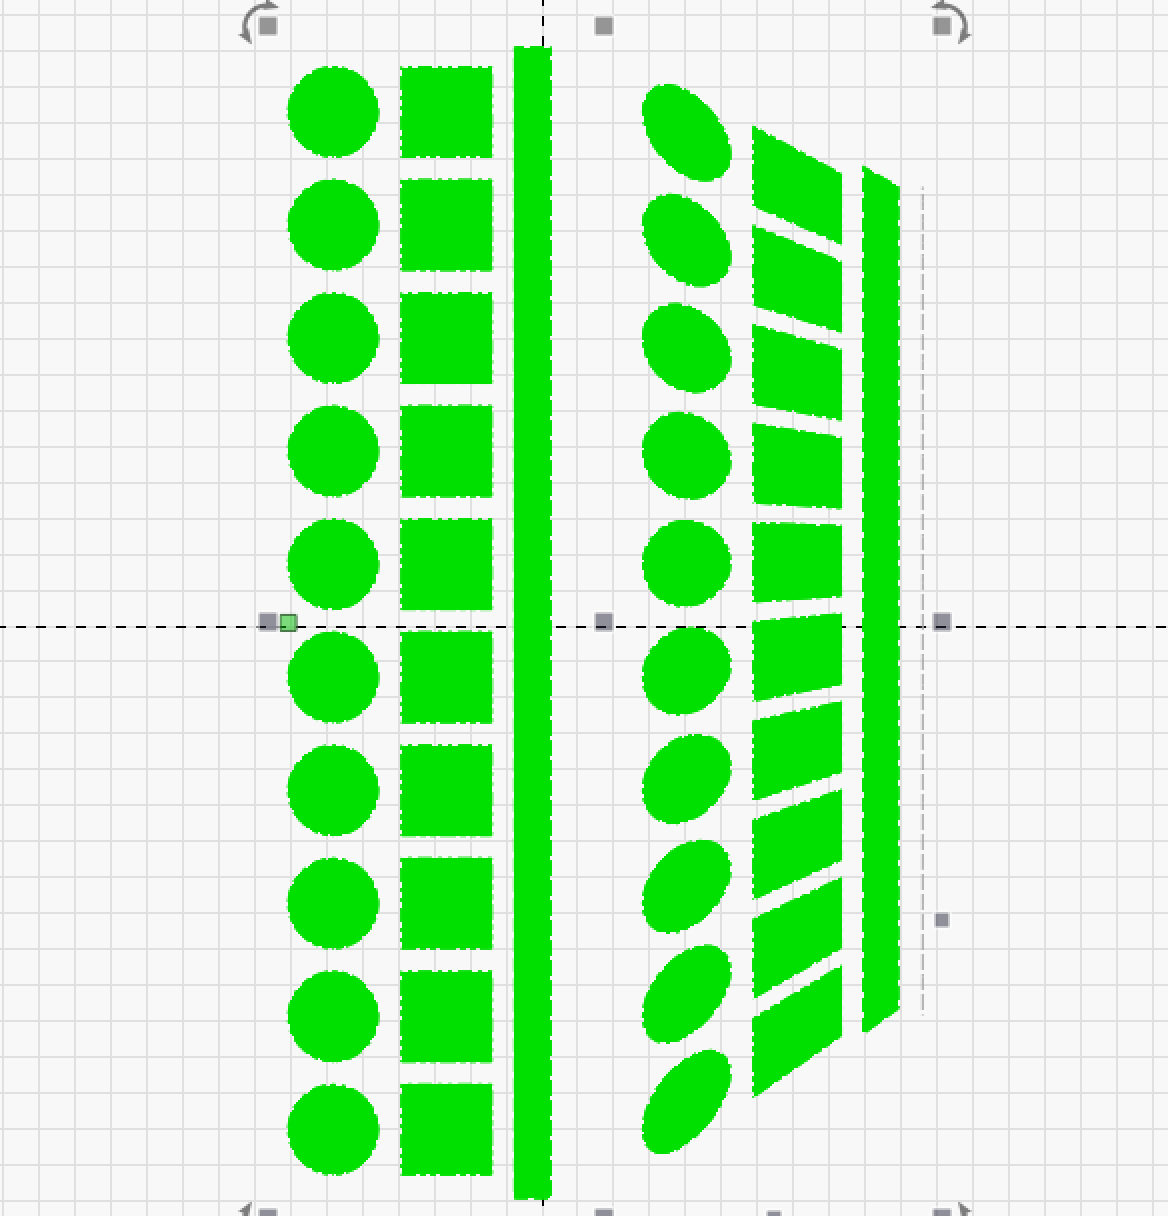
Hi all - trying the warp feature for the first time to see if I can make it work on a tapered tumbler. Is there any more detail about how to use it? I’m working with a step-down tumbler - 320mm on the top, 230 on the bottom. So I’m testing circles, squares and lines. Here’s how I set up the file, but when I run it - I’m not getting the results I was hoping for.
Hi Katie - I moved your post into it’s own thread so it can get the visibility it deserves
Could you attach a photo, or describe, how the results aren’t what you’re looking for? I presume you’re using a rotary axis on your laser, rather than the cylinder correction feature?
Correct - using a rotary. Was trying to use the warp feature to correct for the “shrinking” that happens on the bottom portion of the tumbler due to steps being correct for the top. Instead, I just get the output exactly like it is in the picture. I didn’t take a picture of the tumbler, but I can. I typically stretch the width of items that land on the “skinny” part of the tumbler to correct for this issue, but thought maybe the warp feature could help.
Well the warp feature is what several of us asked for and that’s what we got, i.e., a “Warp” feature.
Might look at this instructable:
His Rotary Calculations pdf only works for me in a web browser. I don’t have Adobe PDF reader so I can’t say whether if works there or not.
Almost every request/comments about the ability to warp an object mentioned the usage for tumblers.
What is really needed and I believe was expected was a Cylinder Correcton module for the CO2 and Diode just like the Galvos already have. I must admit, although glad to have the new warp feature, I was quite disappointed with not having the like-kind module in the latest release for the non-Galvo folks.
Yep, just following along with the logic not really suggesting it was the issue. I did a barrel couple weeks ago but only had about 2mm taper, tilted it up level came out great didn’t even think about it. It’s hard to picture your tumbler rotating level in my head, looking at your screen shot, shouldn’t the circles all the same shape, as ea one rotates to the same position under the laser as it is burned? I’m thinking the ones on the ends should have the same height to width as the one in the middle. Same with the squares.
As the tumbler rotates and the laser scans, if you want the perspective to be the same you would reduce the size of the lower shapes. Making my head hurt.
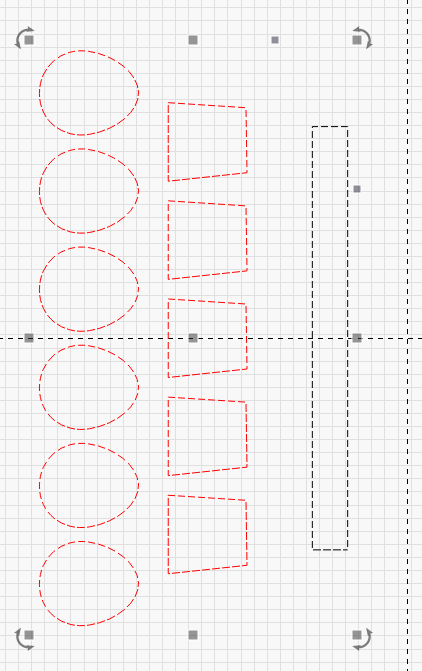
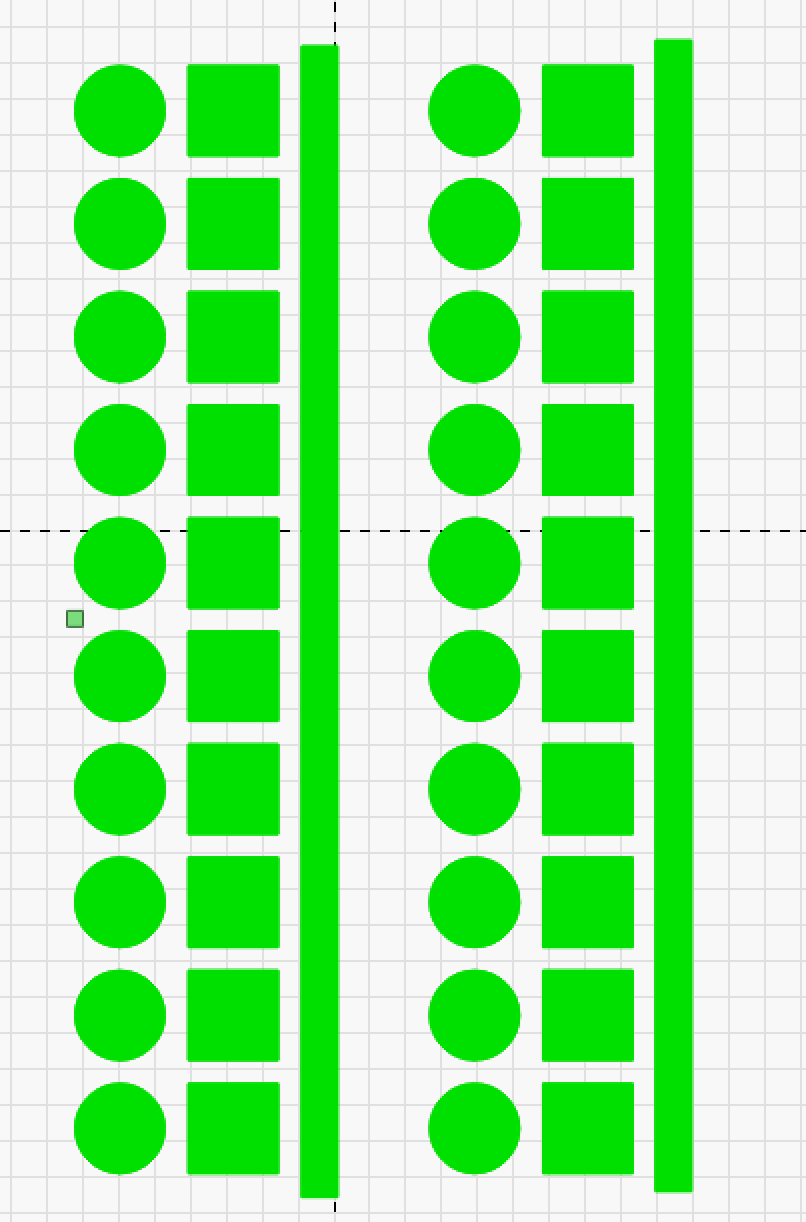
I exaggerated the shapes in this screenshot to make the case. Nut sure where you would end the continuous one, I would match the top circumference if you are trying to make the ends meet.
Or what if…stick with your original un-skewed, both the top and the bottom rotate 360 degrees, but the tumbler travels at a slower slower surface speed on the smaller end so the scans are closer together but still parallel. I’m going t do some experimenting one of these days.
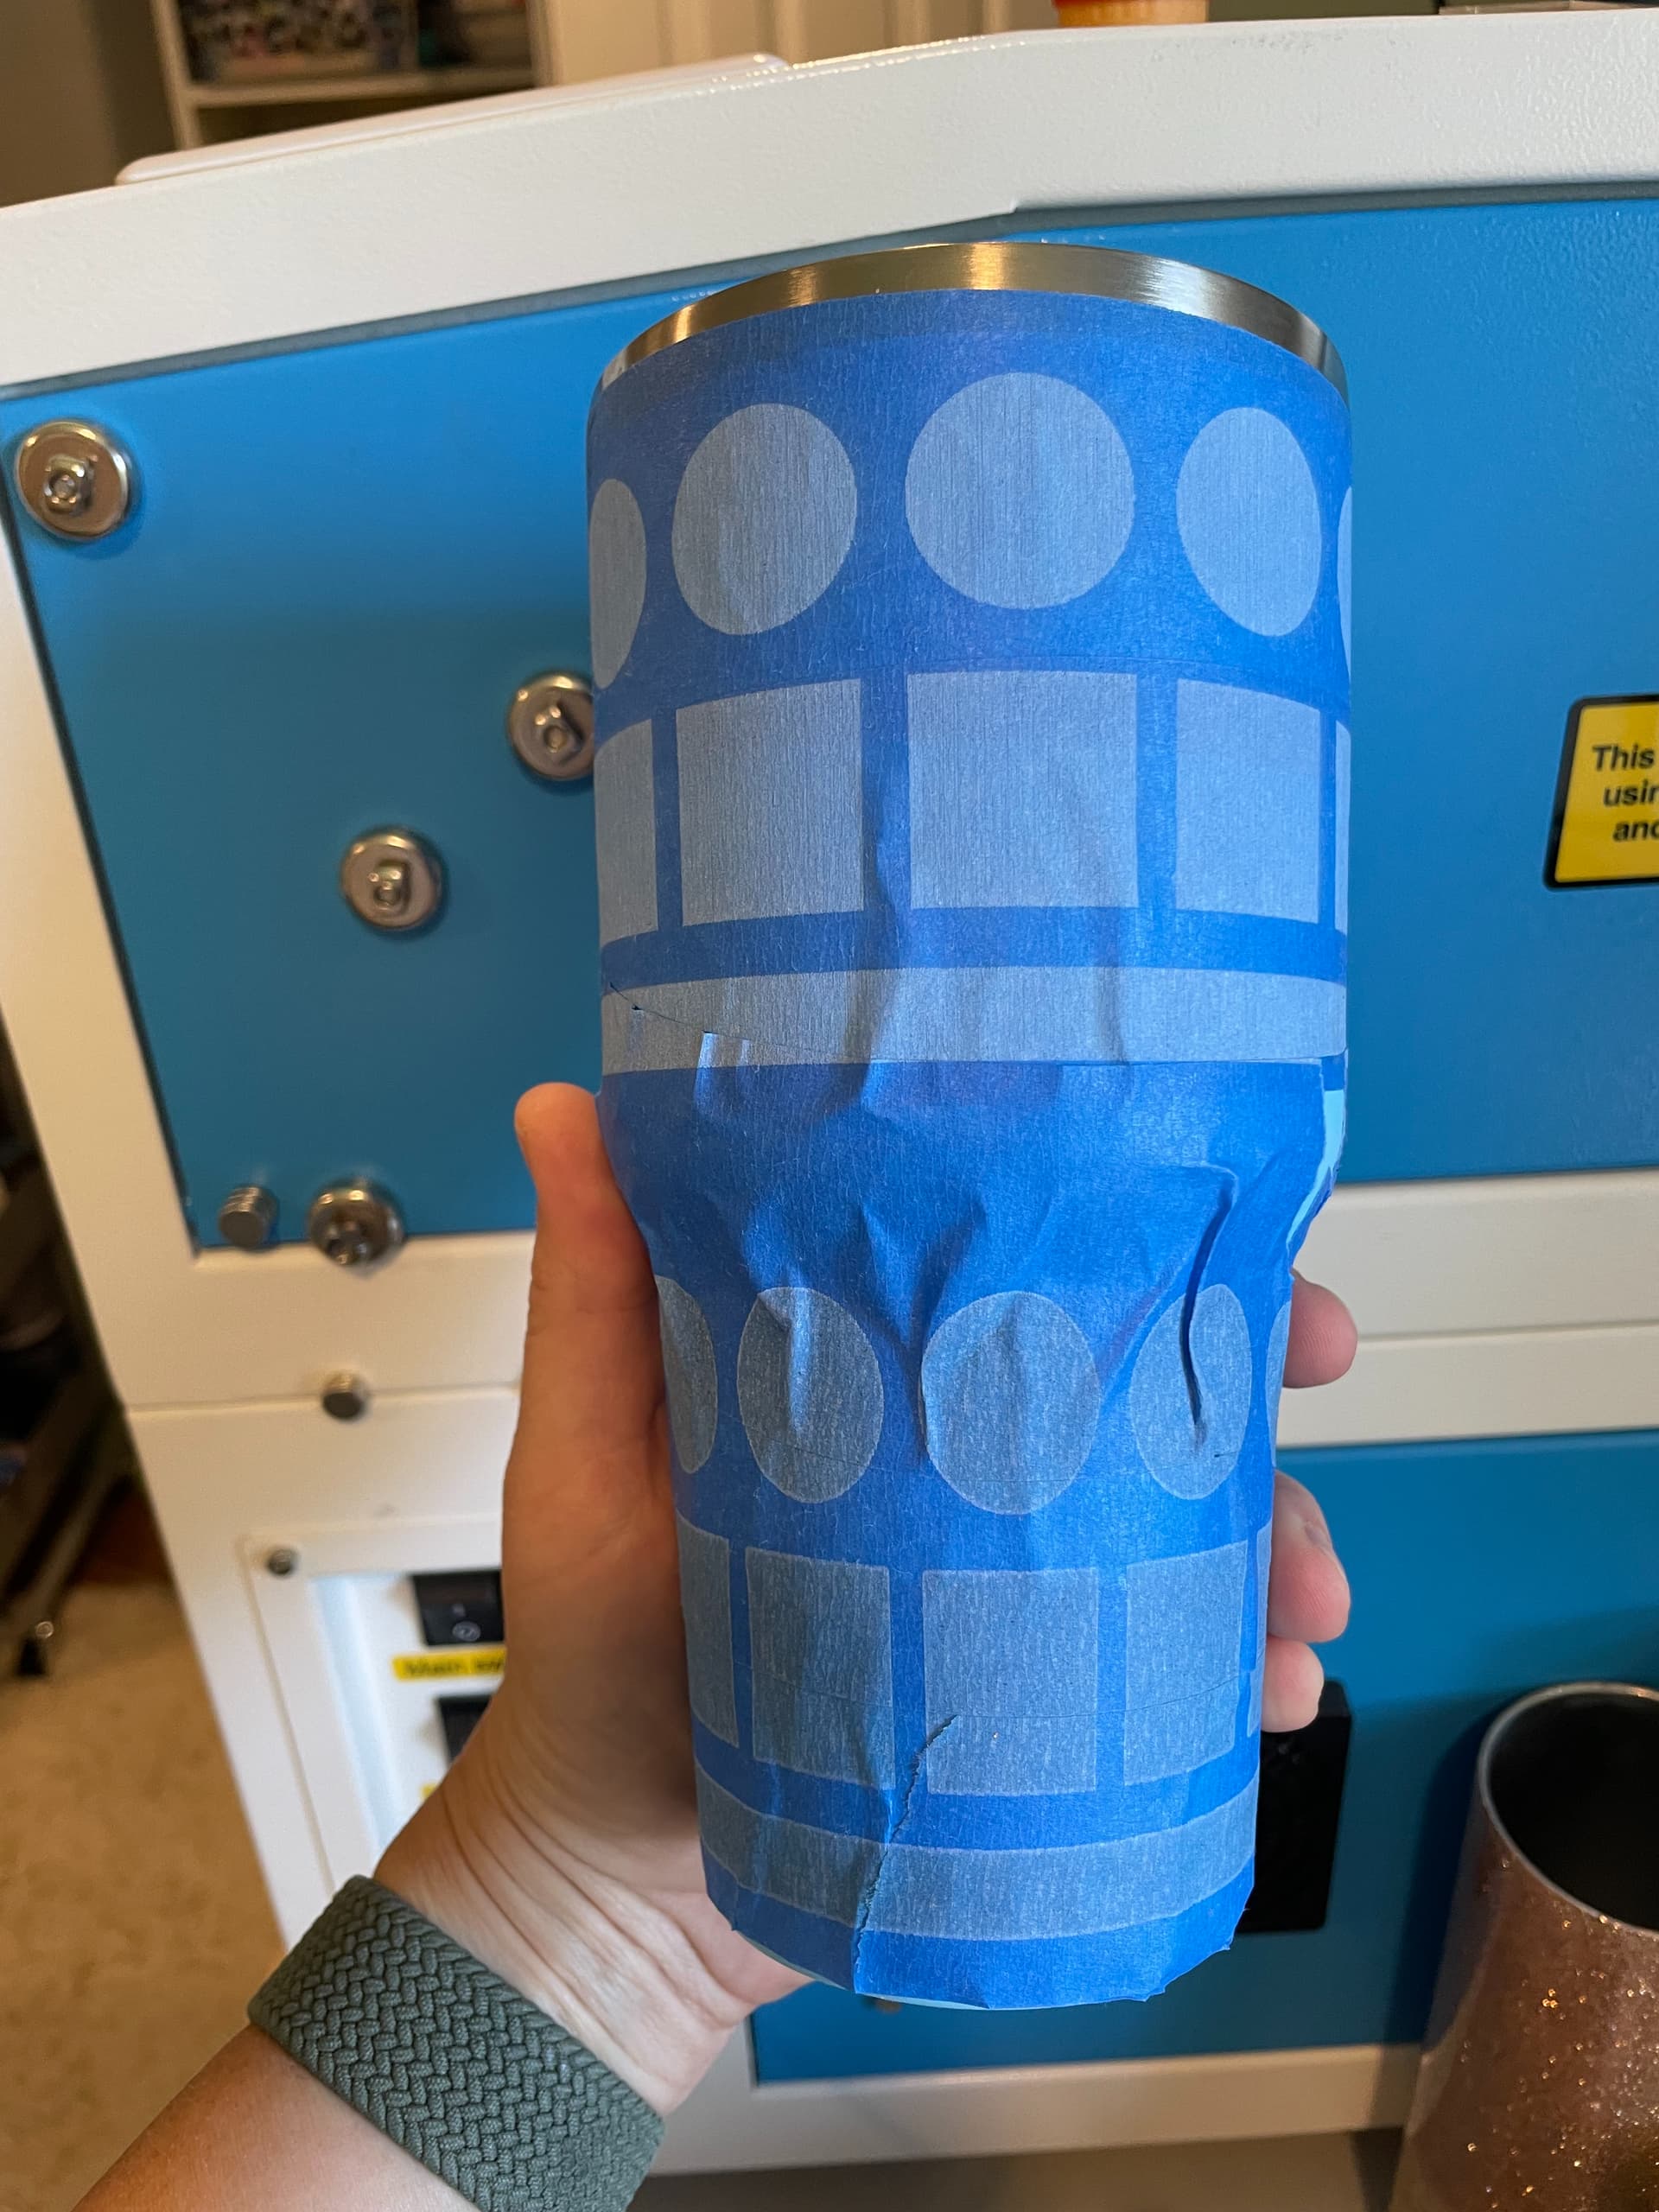
Right - my entire goal is to be able to explain how to make full wrap designs on tapers with some more details around the logic you need to apply as you think about it. I was able to get the look I wanted by making ovals and rectangles in lightburn that were about 28-30mm by 25 mm to look like the 25 mm squares and circles on the top. Then someone suggested the warp feature as a way to approach, and I thought, well, I should try that. I’m going to take some pictures of what I’ve done in a few minutes here and will share. Maybe you can help my brain not hurt as well!
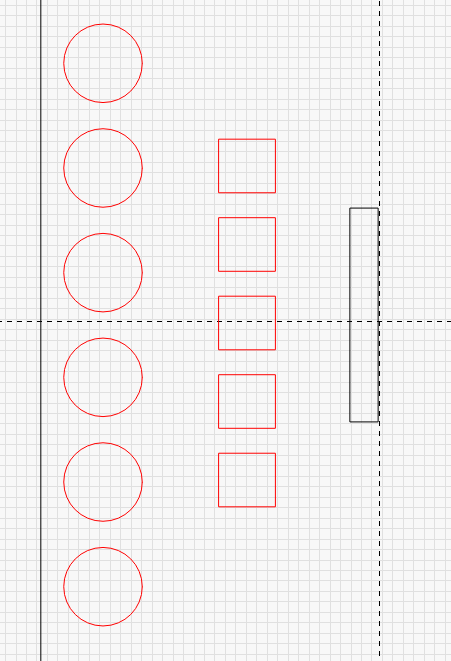
Ok - so this is the original file that I was using for my test. 25mm circles and 25mm squares resulting in ovals that are about 20mm wide x 25mm tall and about the same for the rectangles on the bottom portion of the cup. Those results were expected. My solution was to stretch the width of the circles/squares in the design to roughly 28mm and see if the proportions looked better. But then someone suggested warp. So, I tried warp adjusting the bottom portion of the cup design to taper, like the cup (counterintuitive to how I did the modifications to the design before). I dumped that painters tape, so I’ll run it again here in a few minutes and add that image.
The coffee cup is a lot easier then the instructables tumbler in your other image. Not much taper to deal with. Got the right idea with the ovals I think, maybe even use the 4 point warp and make the oval smaller on the bottom.
I’m slammed this week but am going to turn out a tapered test piece similar to the instructables image when I get back and run some tests. Just for fun.
It’s on our list to make cylinder correction work for gantry machines, we’ve just had other things getting in the way (the dev team is still very small). As the one who implemented it for galvo I don’t think it will be that hard, I just need to get the time to implement it.
Cylinder correction is not a rotary function, couldn’t use it to mark like the images above, it’s for a side of a curved object laying flat on the table, correct?
I’m pretty clear on how to manipulate the images for my rotary setup, just saw the warp feature mentioned as something to help with tapers on tumblers and figured I should test/ask how that could work as I didn’t see any documentation that explained how it could work. I don’t know anything about galvos
Not necessarily the laser, but whether it’s a chuck or a roller rotary. But neither way would you use the cylinder correction feature to 360 degree wrap a rotating workpiece, as far as my limited understanding. Maybe the new one will have some more options.
When I looked at the yeti all taped up in blue, and OP had said she set the top level, I assumed she was using a chuck rotary. Didn’t look like it would roll smoothly on a roller rotary.