H guys. I´m in laser world and in LB also. I use some GRBL and it´s very easy and intuitive to move the laser with buttons, see the area where the laser will work, etc.
I can´t find this in LB. Can you help me please? I saw some tutorials of Lightburn Software channel but i could´t find nothing.
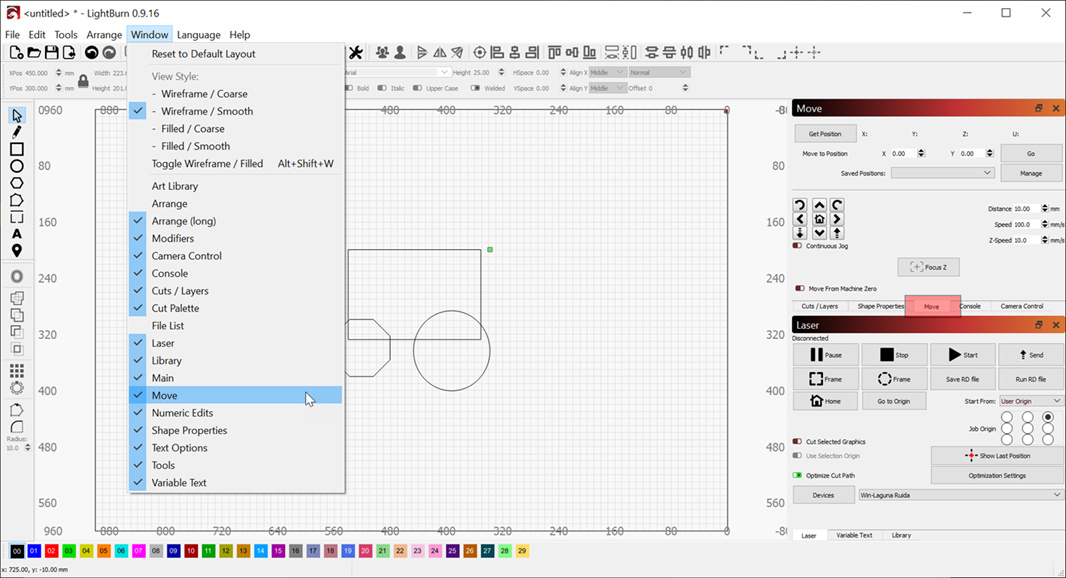
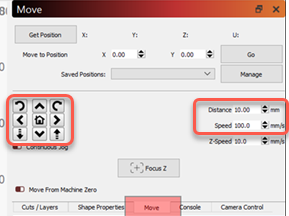
I saw this controls, but they don´t work when i click on them. Laser doesn´t move. It´s conected, it does the homing when i start, but the laser doesn´t move with these controls.
No w it´s moving. I close the program, opened GRBL, move the laser, close GRBL, opened LB and it´s moving.
I don´t understand what´s happening.
How can i see the area where the laser will work? Like a preview.
You can also click the ‘Frame’ button and LightBurn will trace a rectangle around the area that your design will be output to. It’s a good idea to understand how the different starting modes work too: Coordinates & Origin - LightBurn Software Documentation
This is what i needed Rick, Thank you very much.
I´m reading it all.
In GRBL theres an option (a blue light from the laser) that helps the user to see exactly where the laser will work. Much better than the Bounding Box here. Does lightbur has something similar?
We get asked about this a lot. So much so that we have a post covering this topic in our FAQ’s. Using the ‘Search’ tool found at the top-right of each page here on our forum can return items of interest that we may have covered already.
You´re helping me a lot Rick. Thank ypou very much.
Once i activate this 2 new controls, do i have to turn them off and quit the program again to use the laser to engrave?
When you flip the ‘Enable Laser Fire Button’ switch (make it green), you need to restart LightBurn for this to take effect.
If you no longer want to use the ‘Fire’ button (I don’t see why one would turn it back off, but you can), flip the ‘Enable Laser Fire Button’ switch off (make it red), restart LightBurn and that feature will be gone.
Perfect. So now i can use the blue light like GRBL and see the work area.
What power porcentaje do you think it´s the proper to work as an harmless light?
This is where I say, “Trial and Error” is your friend. I don’t have your system nor know what you are wanting to test (material, type of cut set for your layers and so on). Best I can offer is to have a good focus set, and set the power so you can see the beam spot but not mark the material. Start low and increase until you reach this goal.
Ok Rick. But, in this trial and error, can i click on fire first and the uping and downing the power percentaje? Or i need to click the fire button, see if it´s right, unclick it (turn it off), chance the percentaje, click it on again …
Hold down the SHIFT key and then click on ‘frame’ with your mouse. The laser will start at low power (adjustable) and you will see it ‘draw’ the work area.