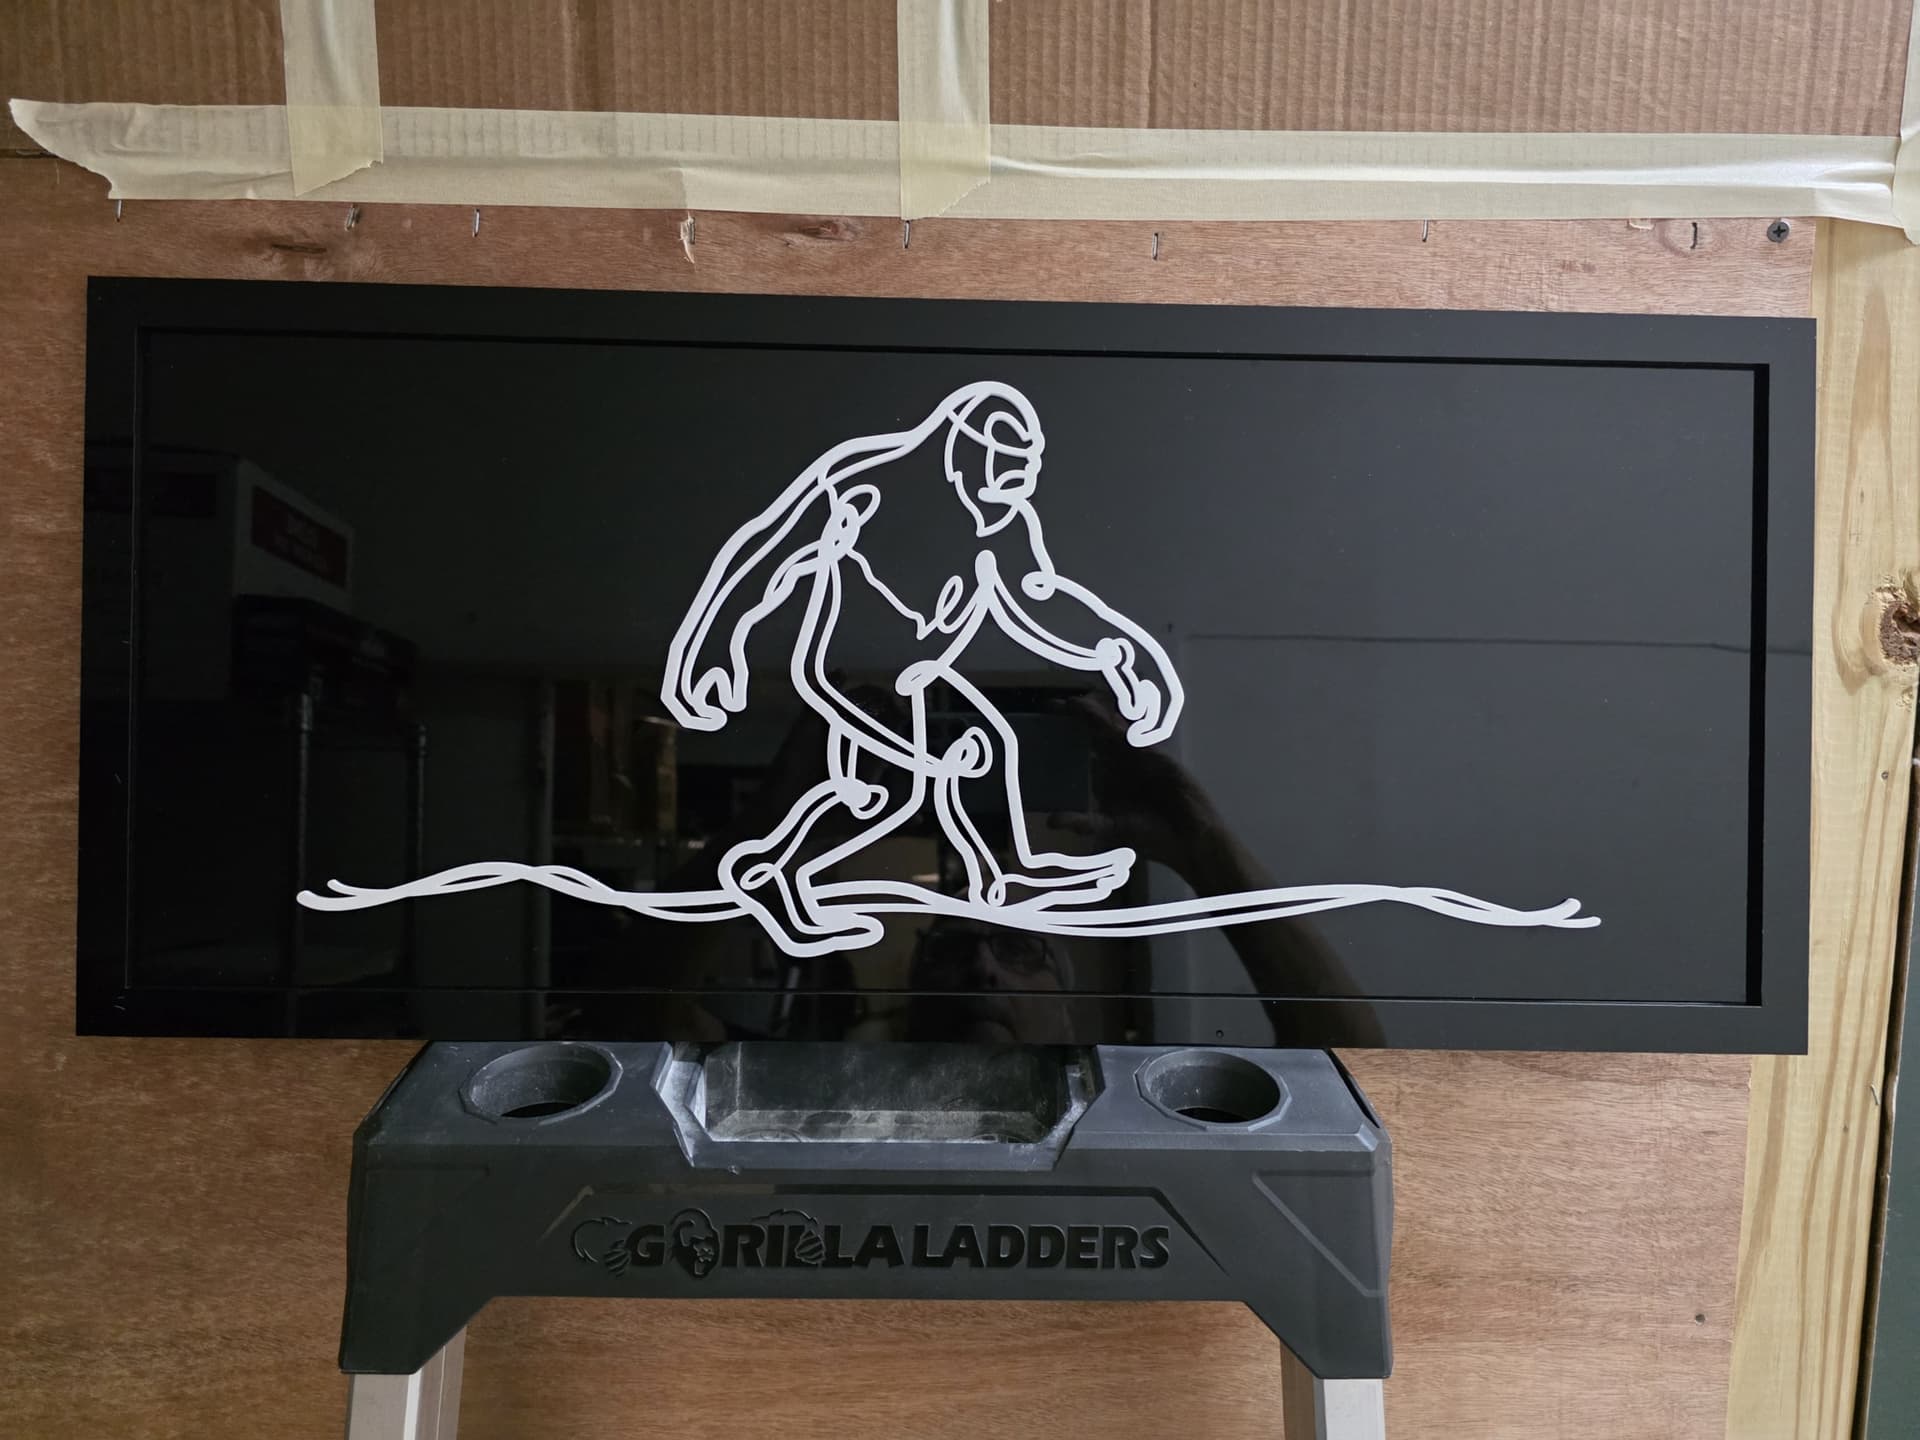
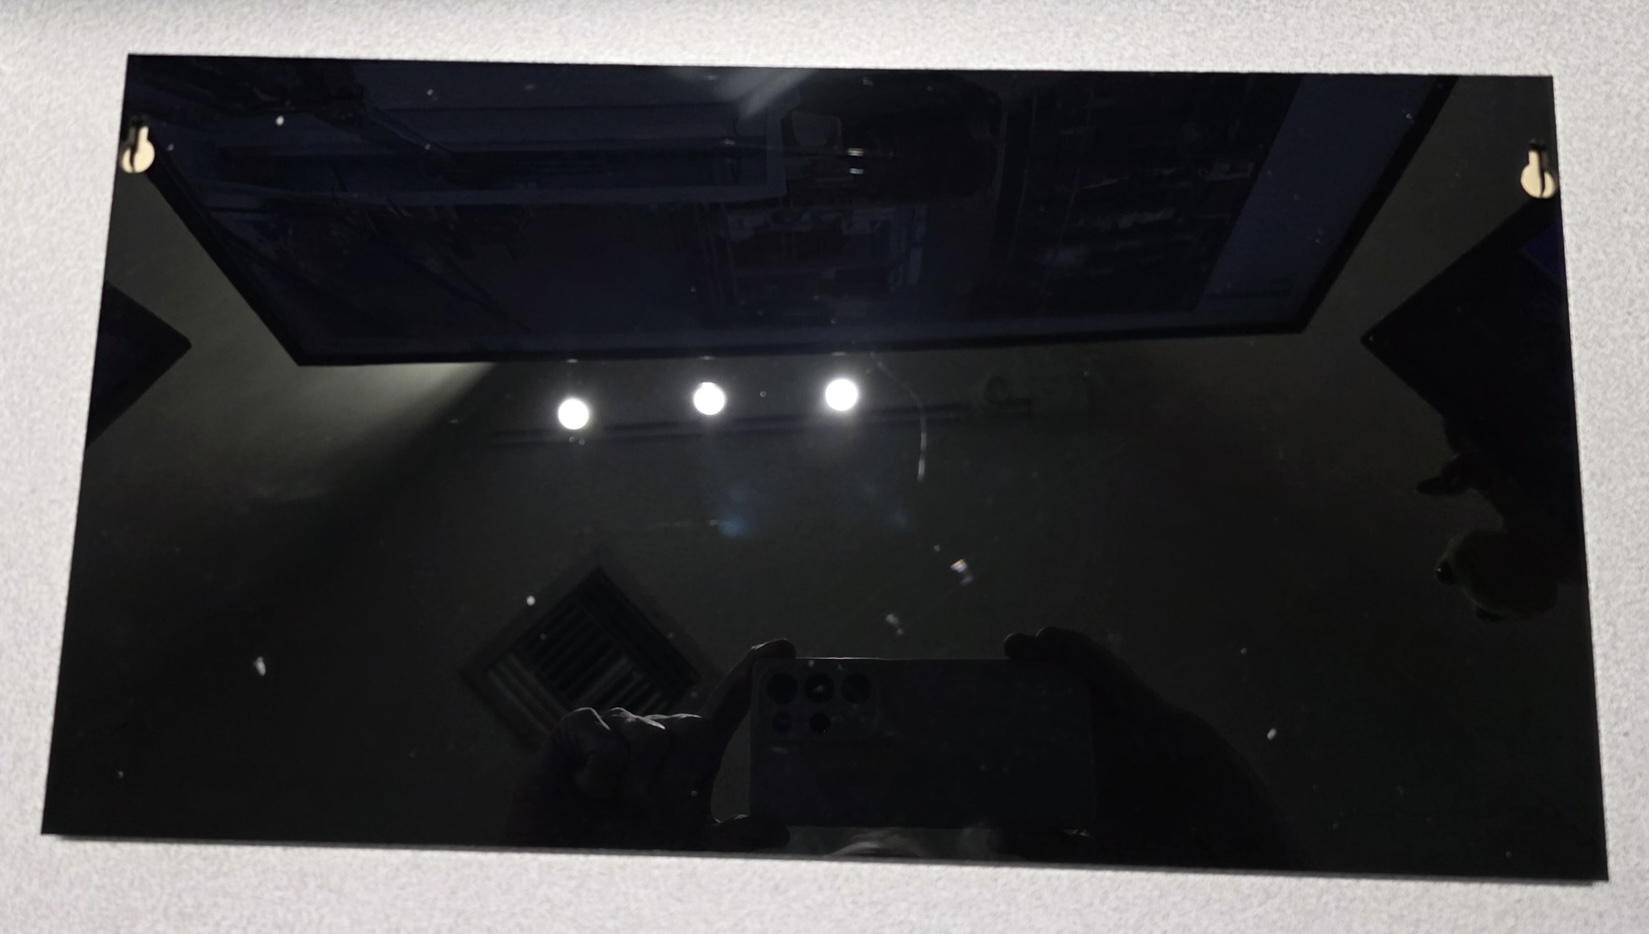
12" x 27" Black 3mm Acrylic White 3mm Acrylic Hanger Screw mounts on the back ![]()
The back still has the protective film as it looks dull>>>
(anyone seen this guy ??? )
12" x 27" Black 3mm Acrylic White 3mm Acrylic Hanger Screw mounts on the back ![]()
The back still has the protective film as it looks dull>>>
(anyone seen this guy ??? )
Absolutely! ![]()
You’ve given me a great start
and put me on the path to do more homework.
I may yet buy this UV printer; much appreciated and thanks!
My son has the UV A4 DTF printer uses the Epson X600 head
It has it’s quirks but was under $1700 and with extra parts and ink right at $2k…
Probably have run a 500+ prints and other than keeping the heads primed every day…
works pretty good…
but be ready to become a master technician, same as with your laser ![]()
as you can see I made an acrylic bottle holder for larger clear bottles on the right hand side
it came with Black small bottles…nope…too hard to ck inside levels..
Also the Water Pump went bad and had to be replace…again maintenance…
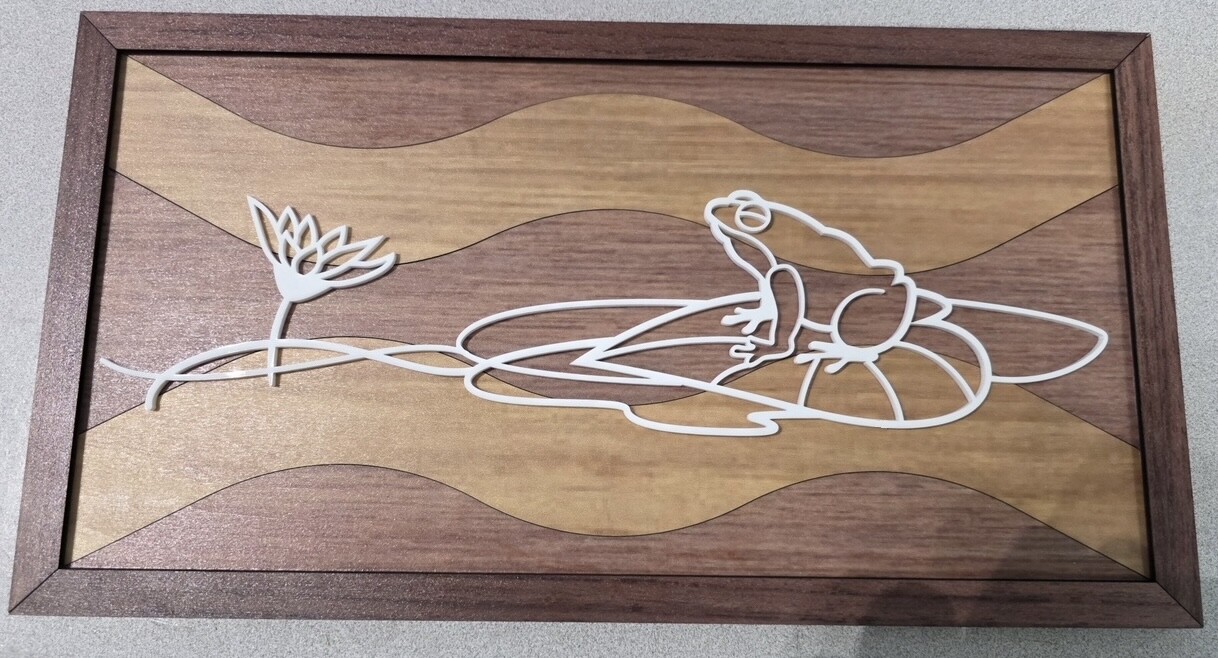
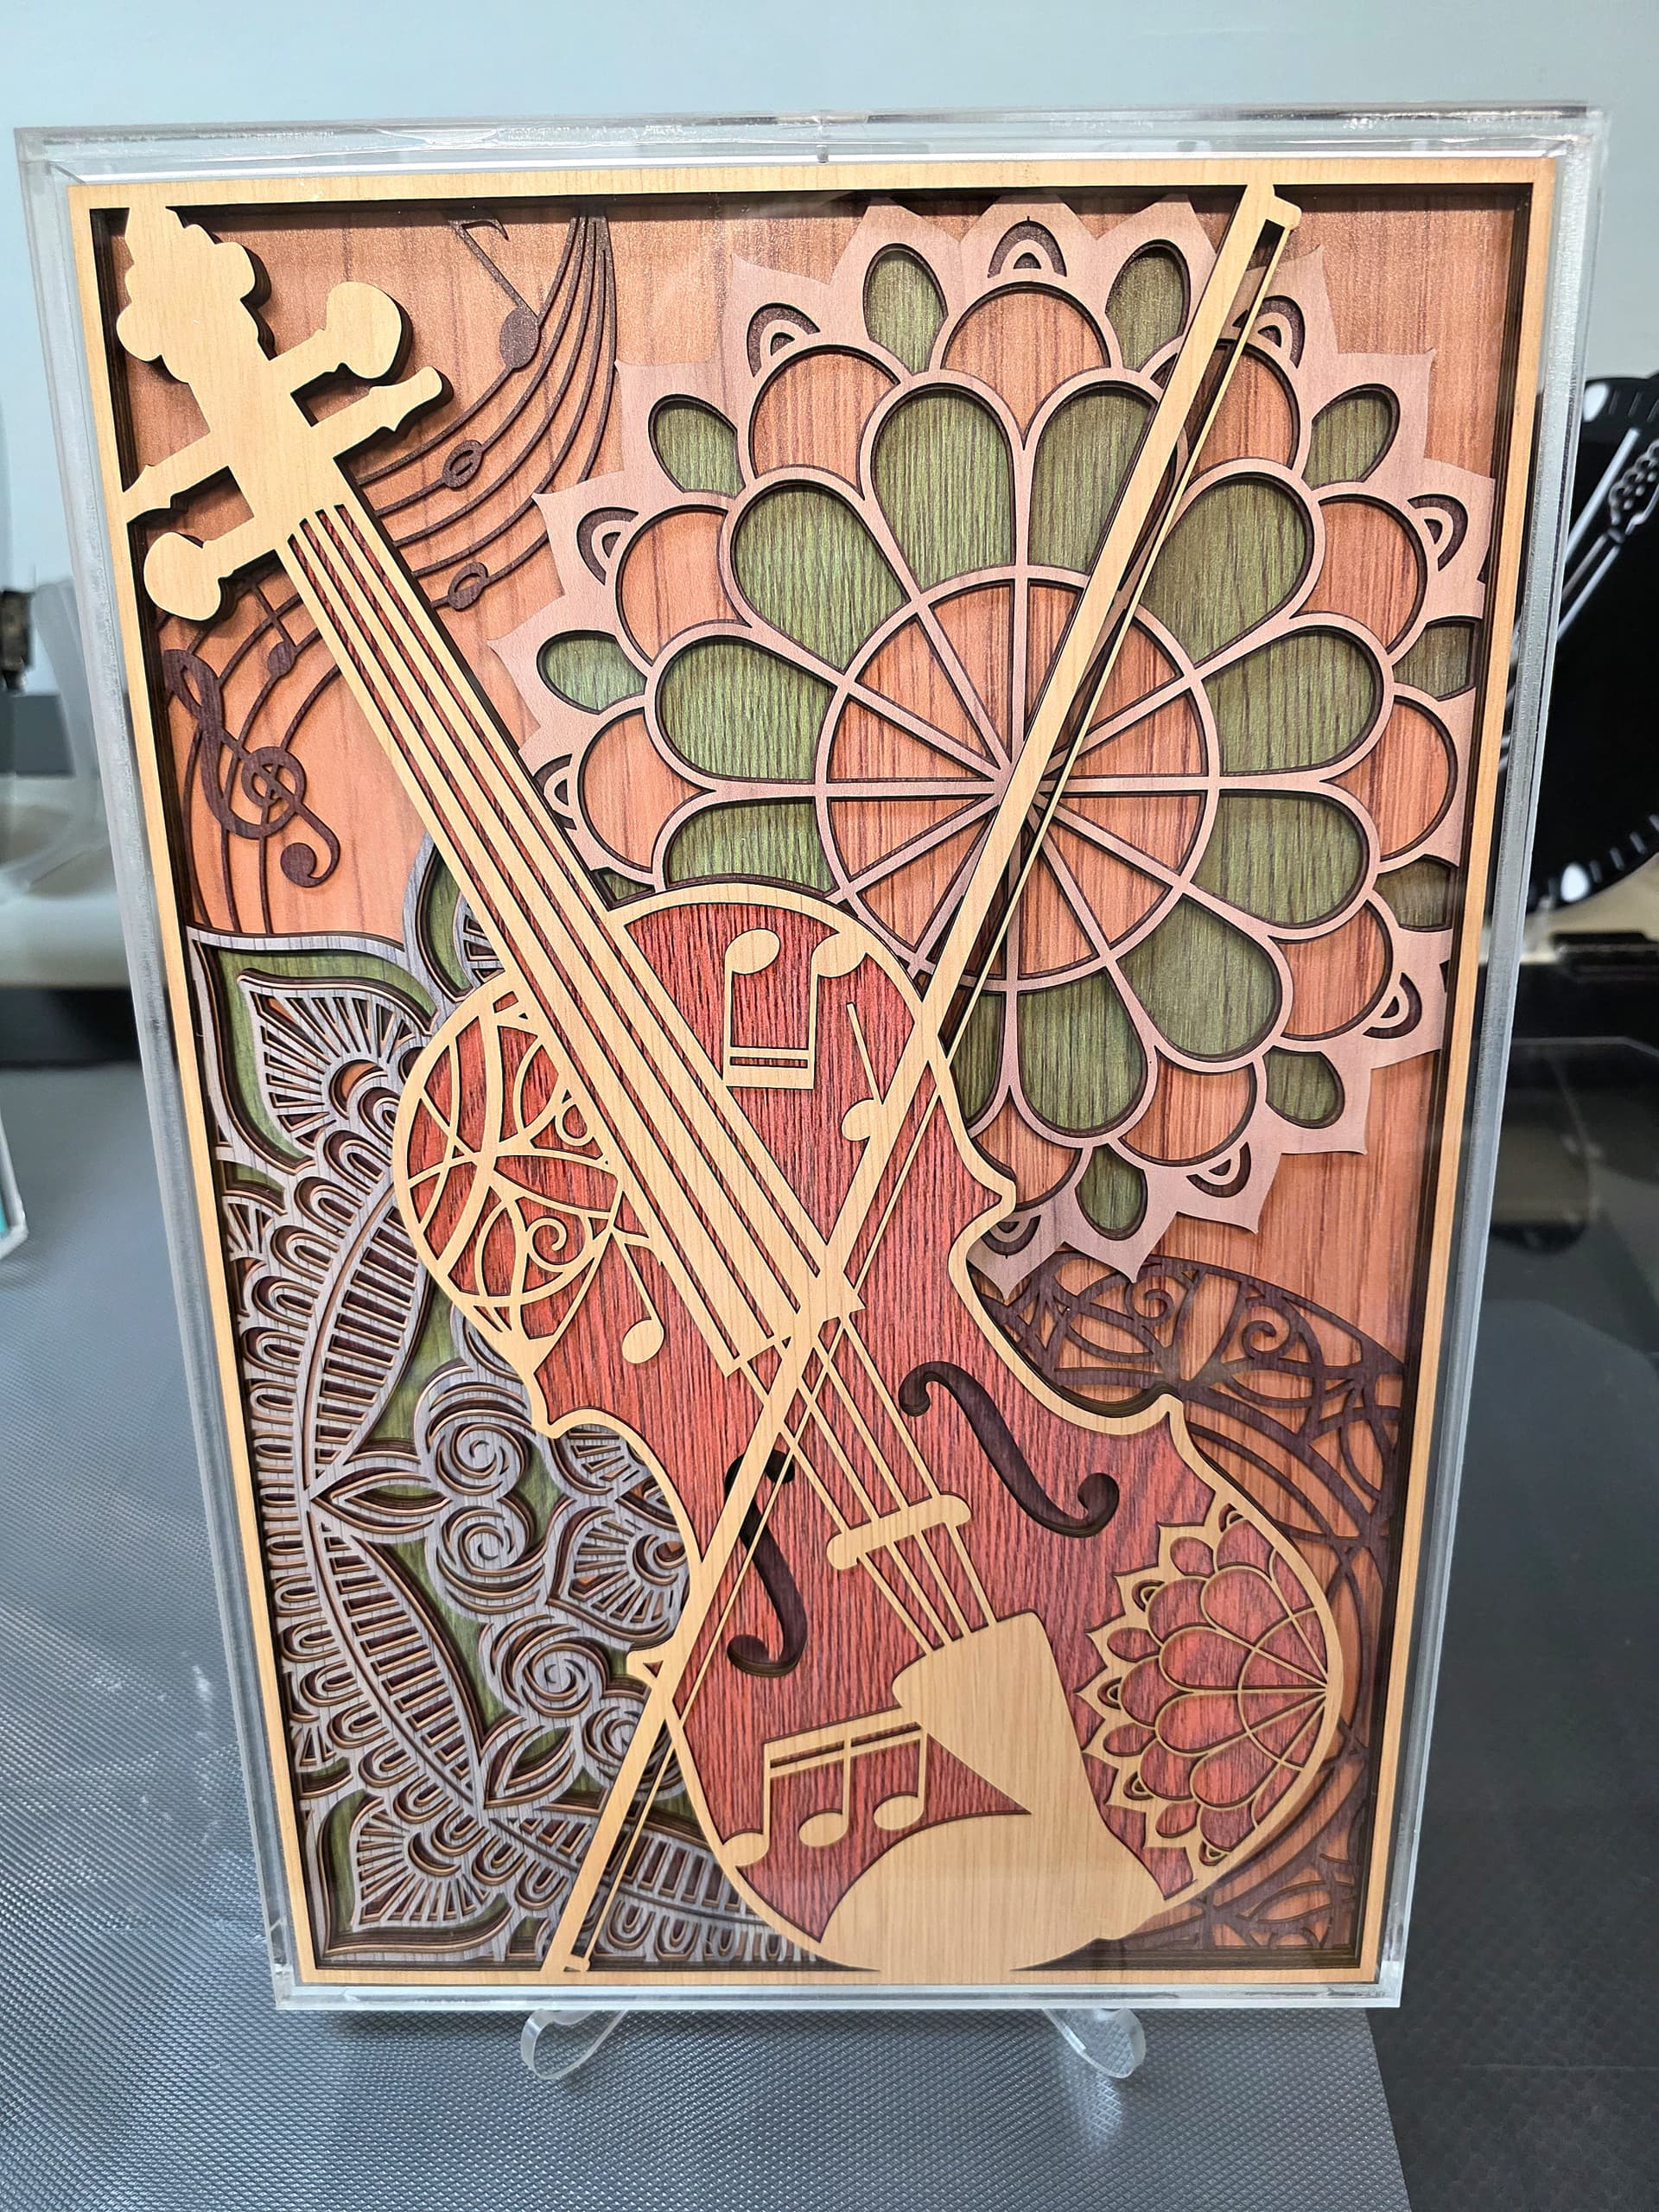
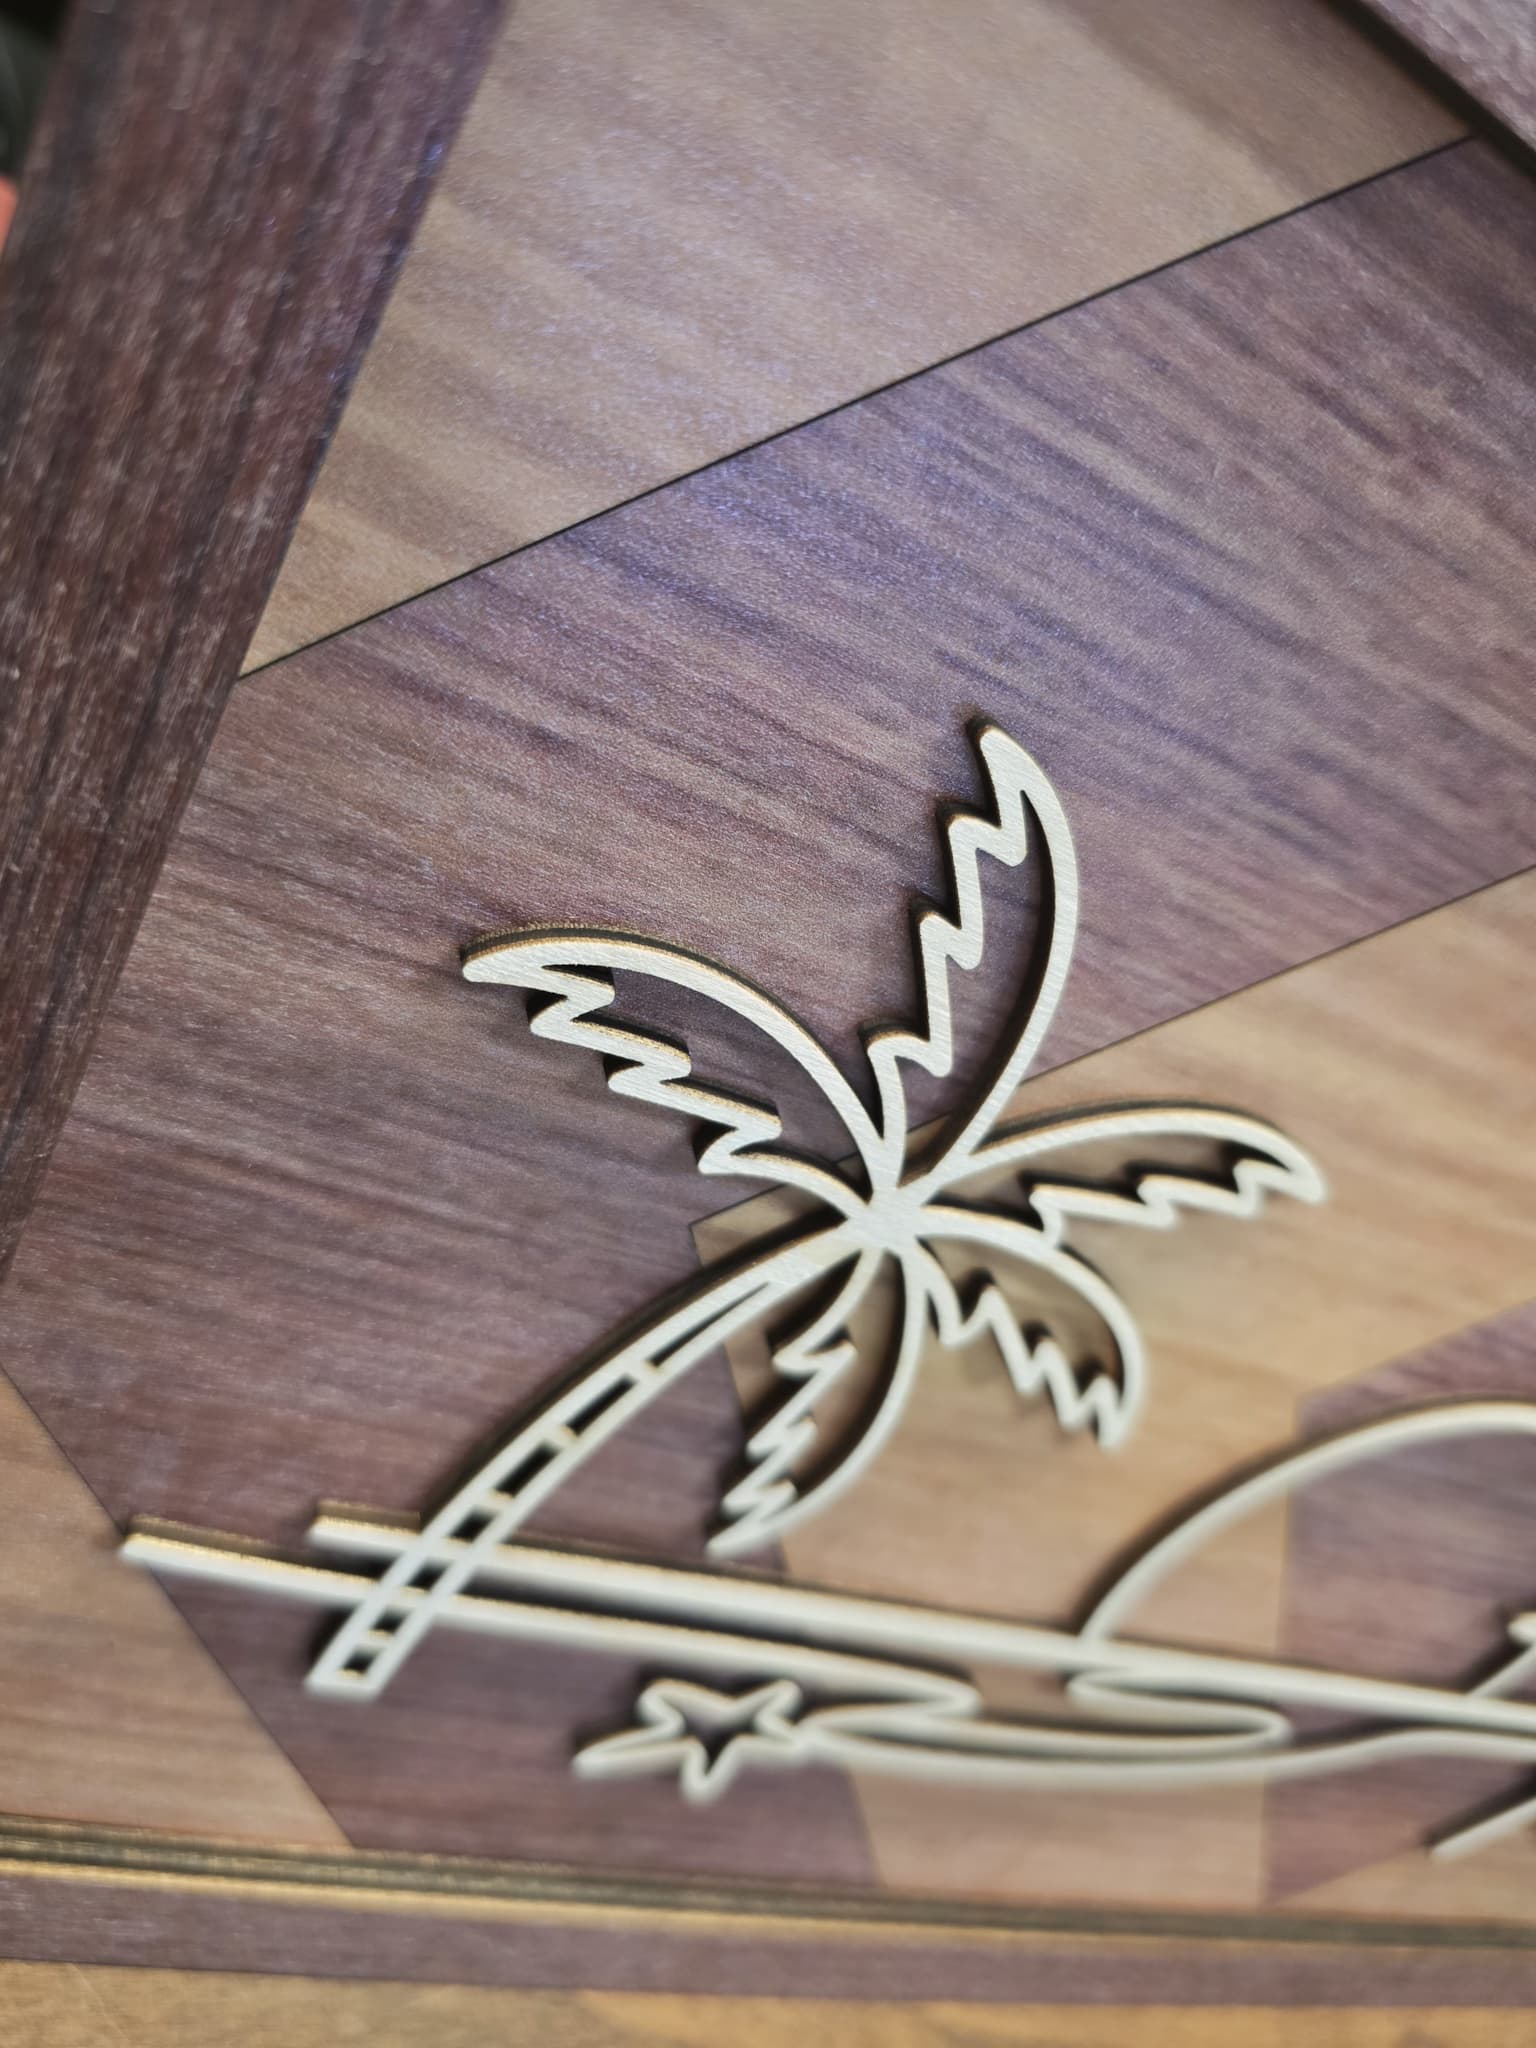
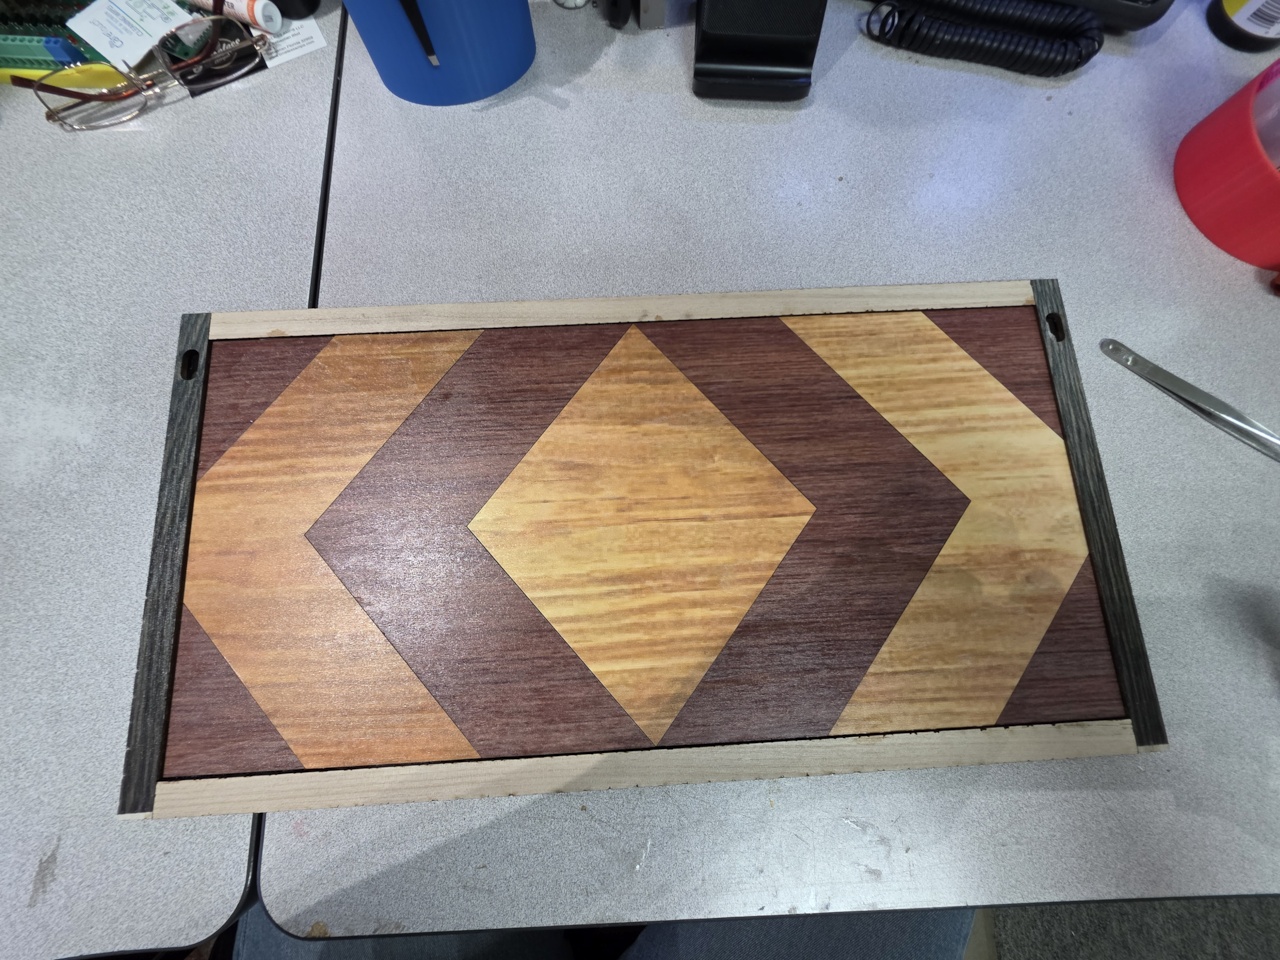
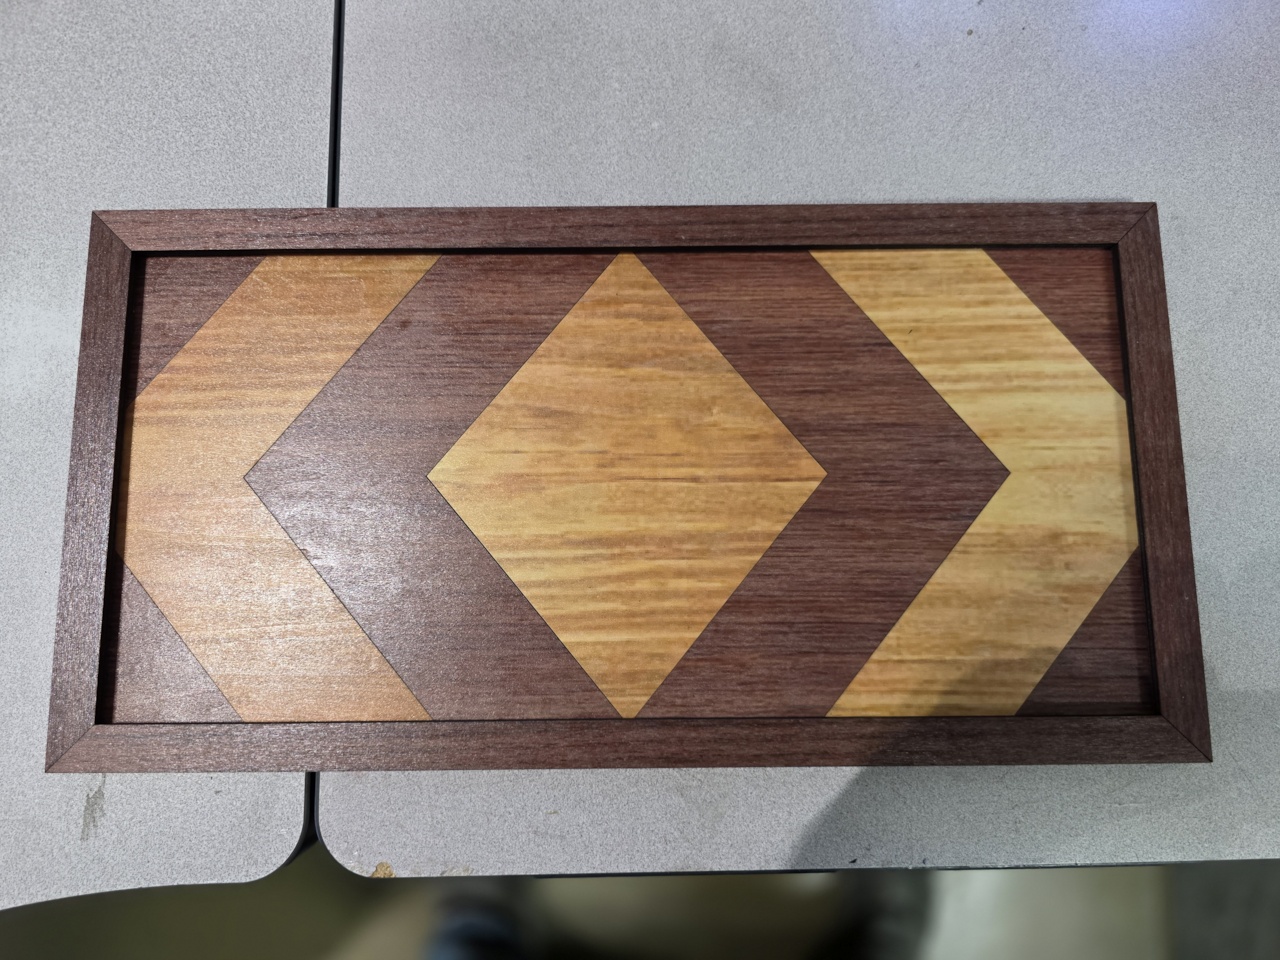
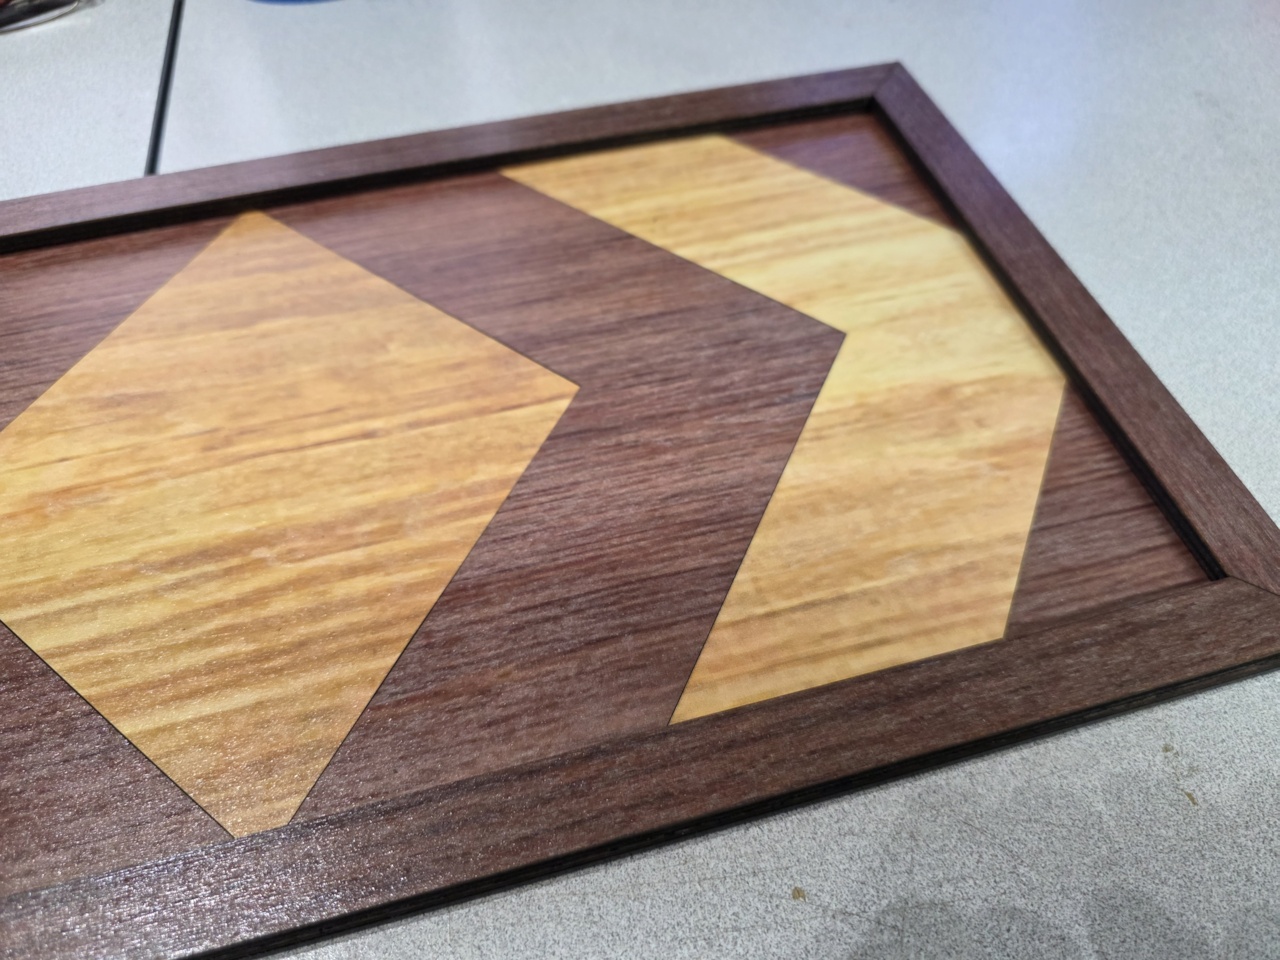
Todays effort;
8" x 14" Frame Design w/ Inlay wood pieces)
3mm Black acrylic backer for strength
(The corners have cutouts for wall hanging)
(an acrylic case is coming with plate stand for table use )
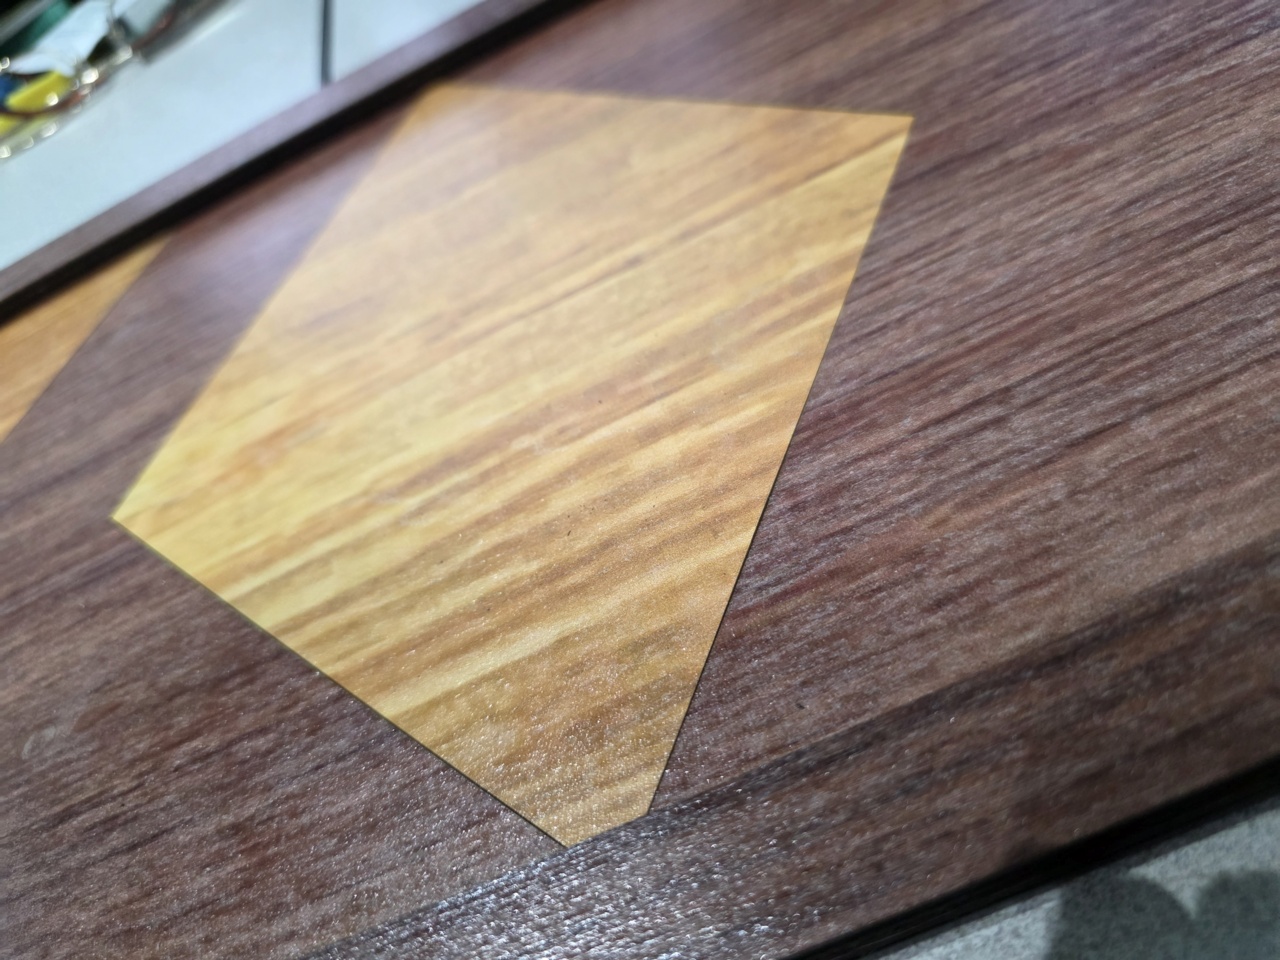
2mm Inlay wood cut patterns (UV Printed Wood Design )
3mm Middle spacer along all edges 13mm wide
( the inlay sits inside this boarder )
3mm Top Frame 45Deg corners 20mm Wide
( this allow a little extension over the inlay outline to make it look nice )
White Acrylic 3mm String Design, simple yet bold…
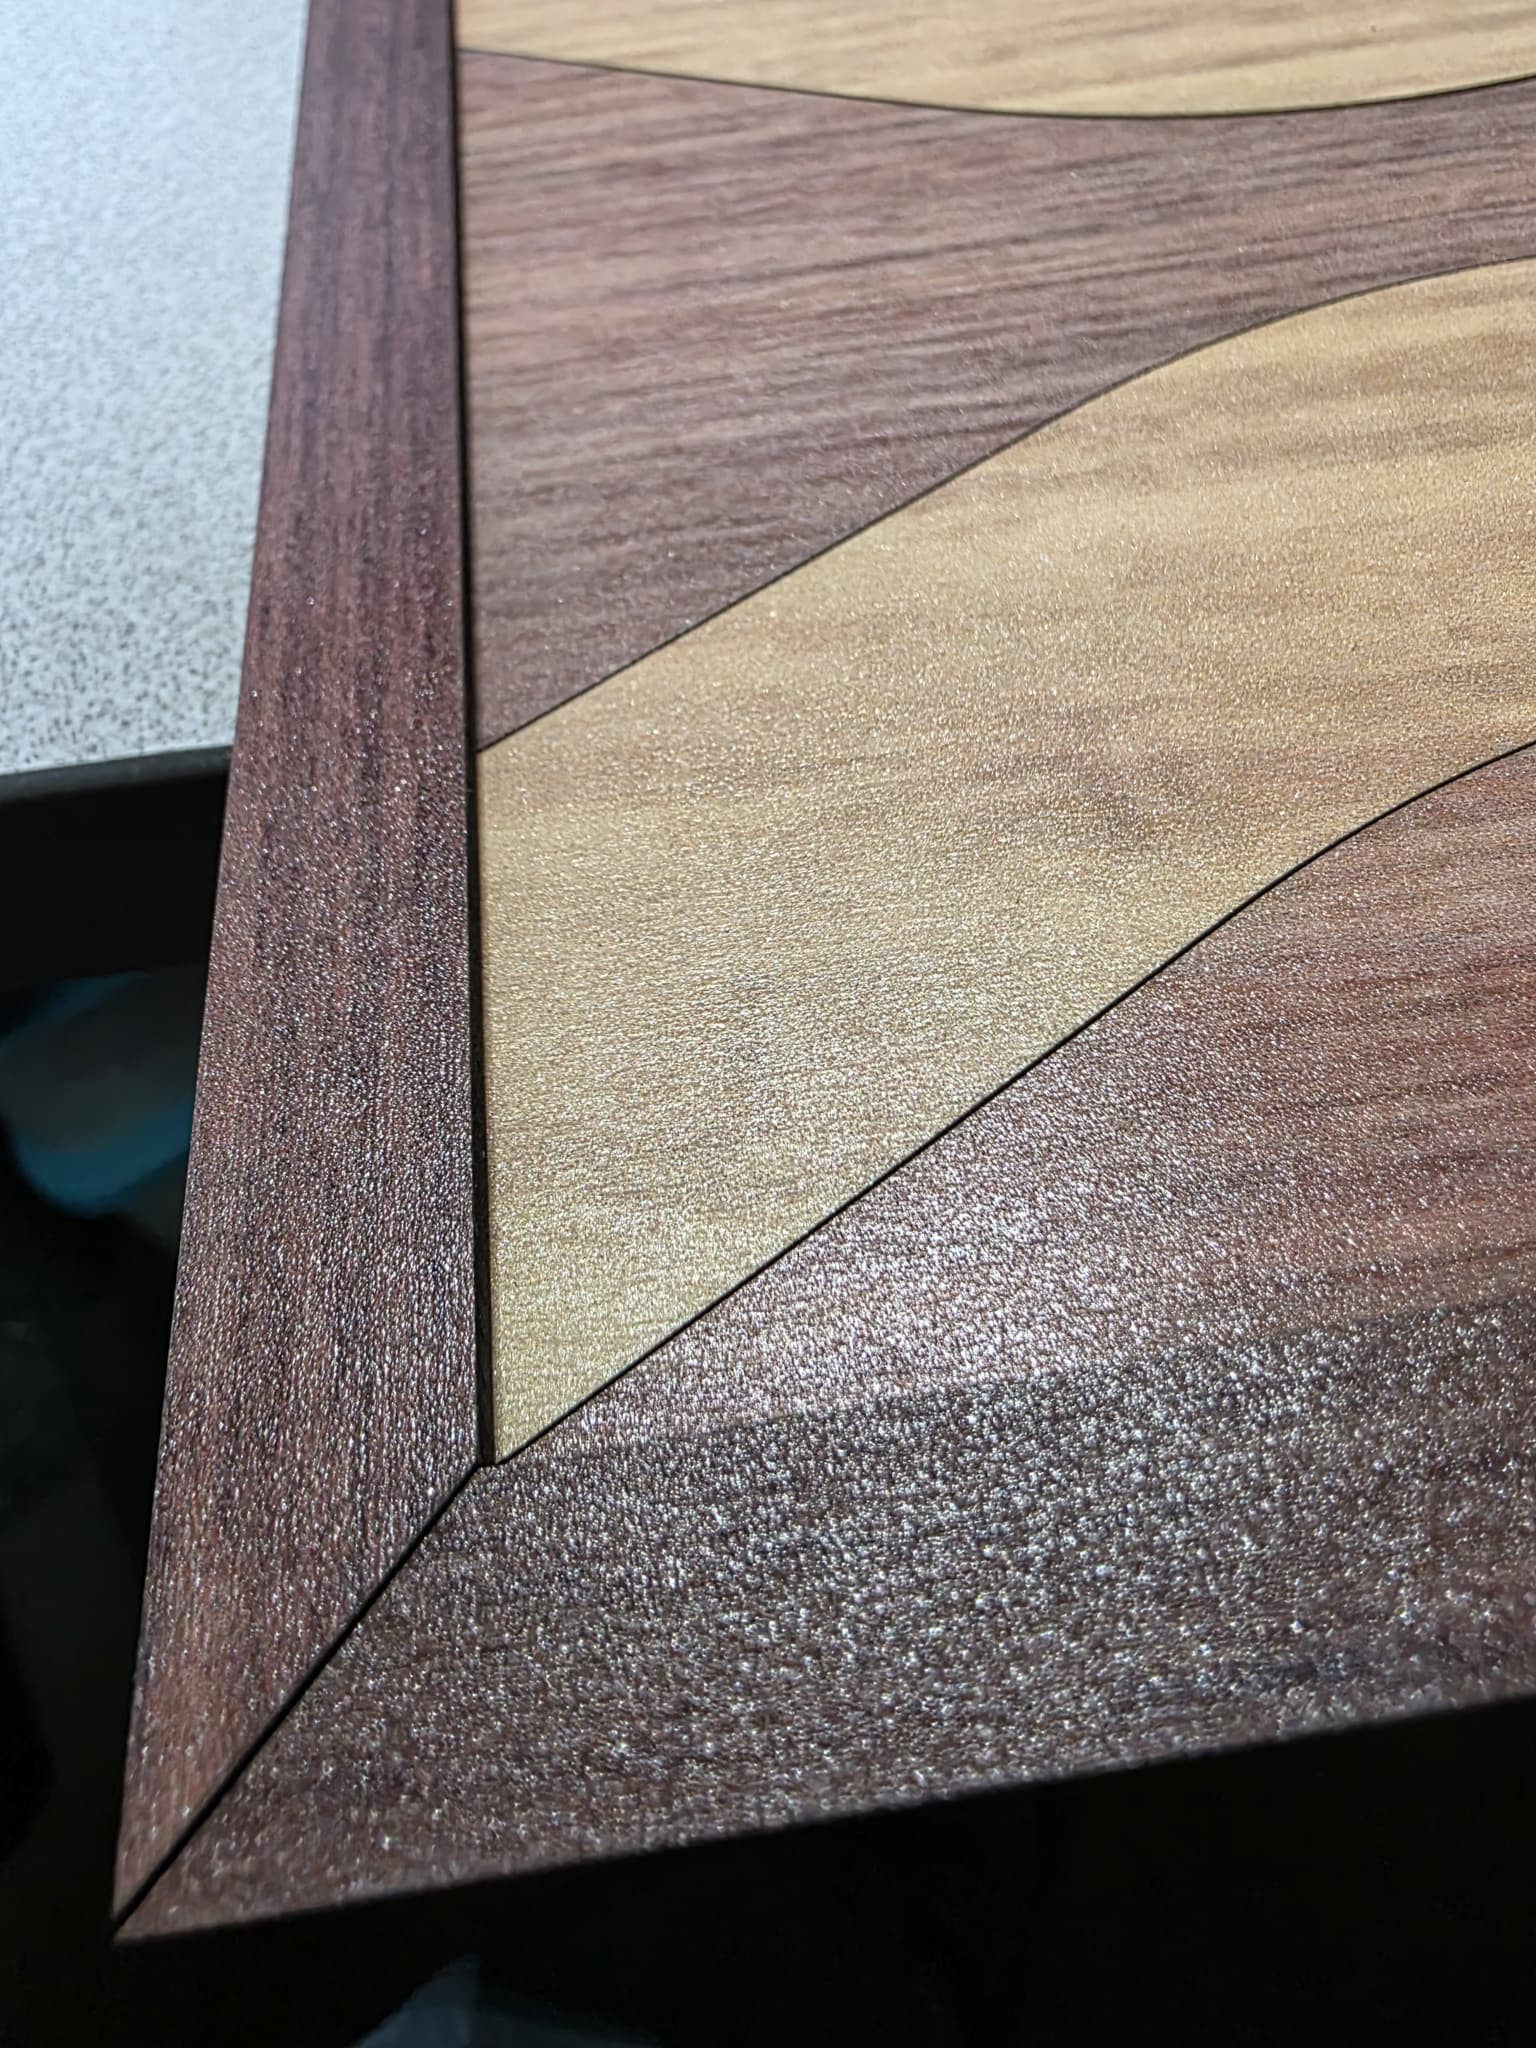
The acrylic backer is a pretty nice piece for the reverse side…Smart thinking..Quality all round.
Did you give it a dusting of lacquer before applying the white acrylic.
No the UV Printer puts the shine, a bit, on the wood as it,prints the pattern, ![]()
UV Paints are laquer based… most…
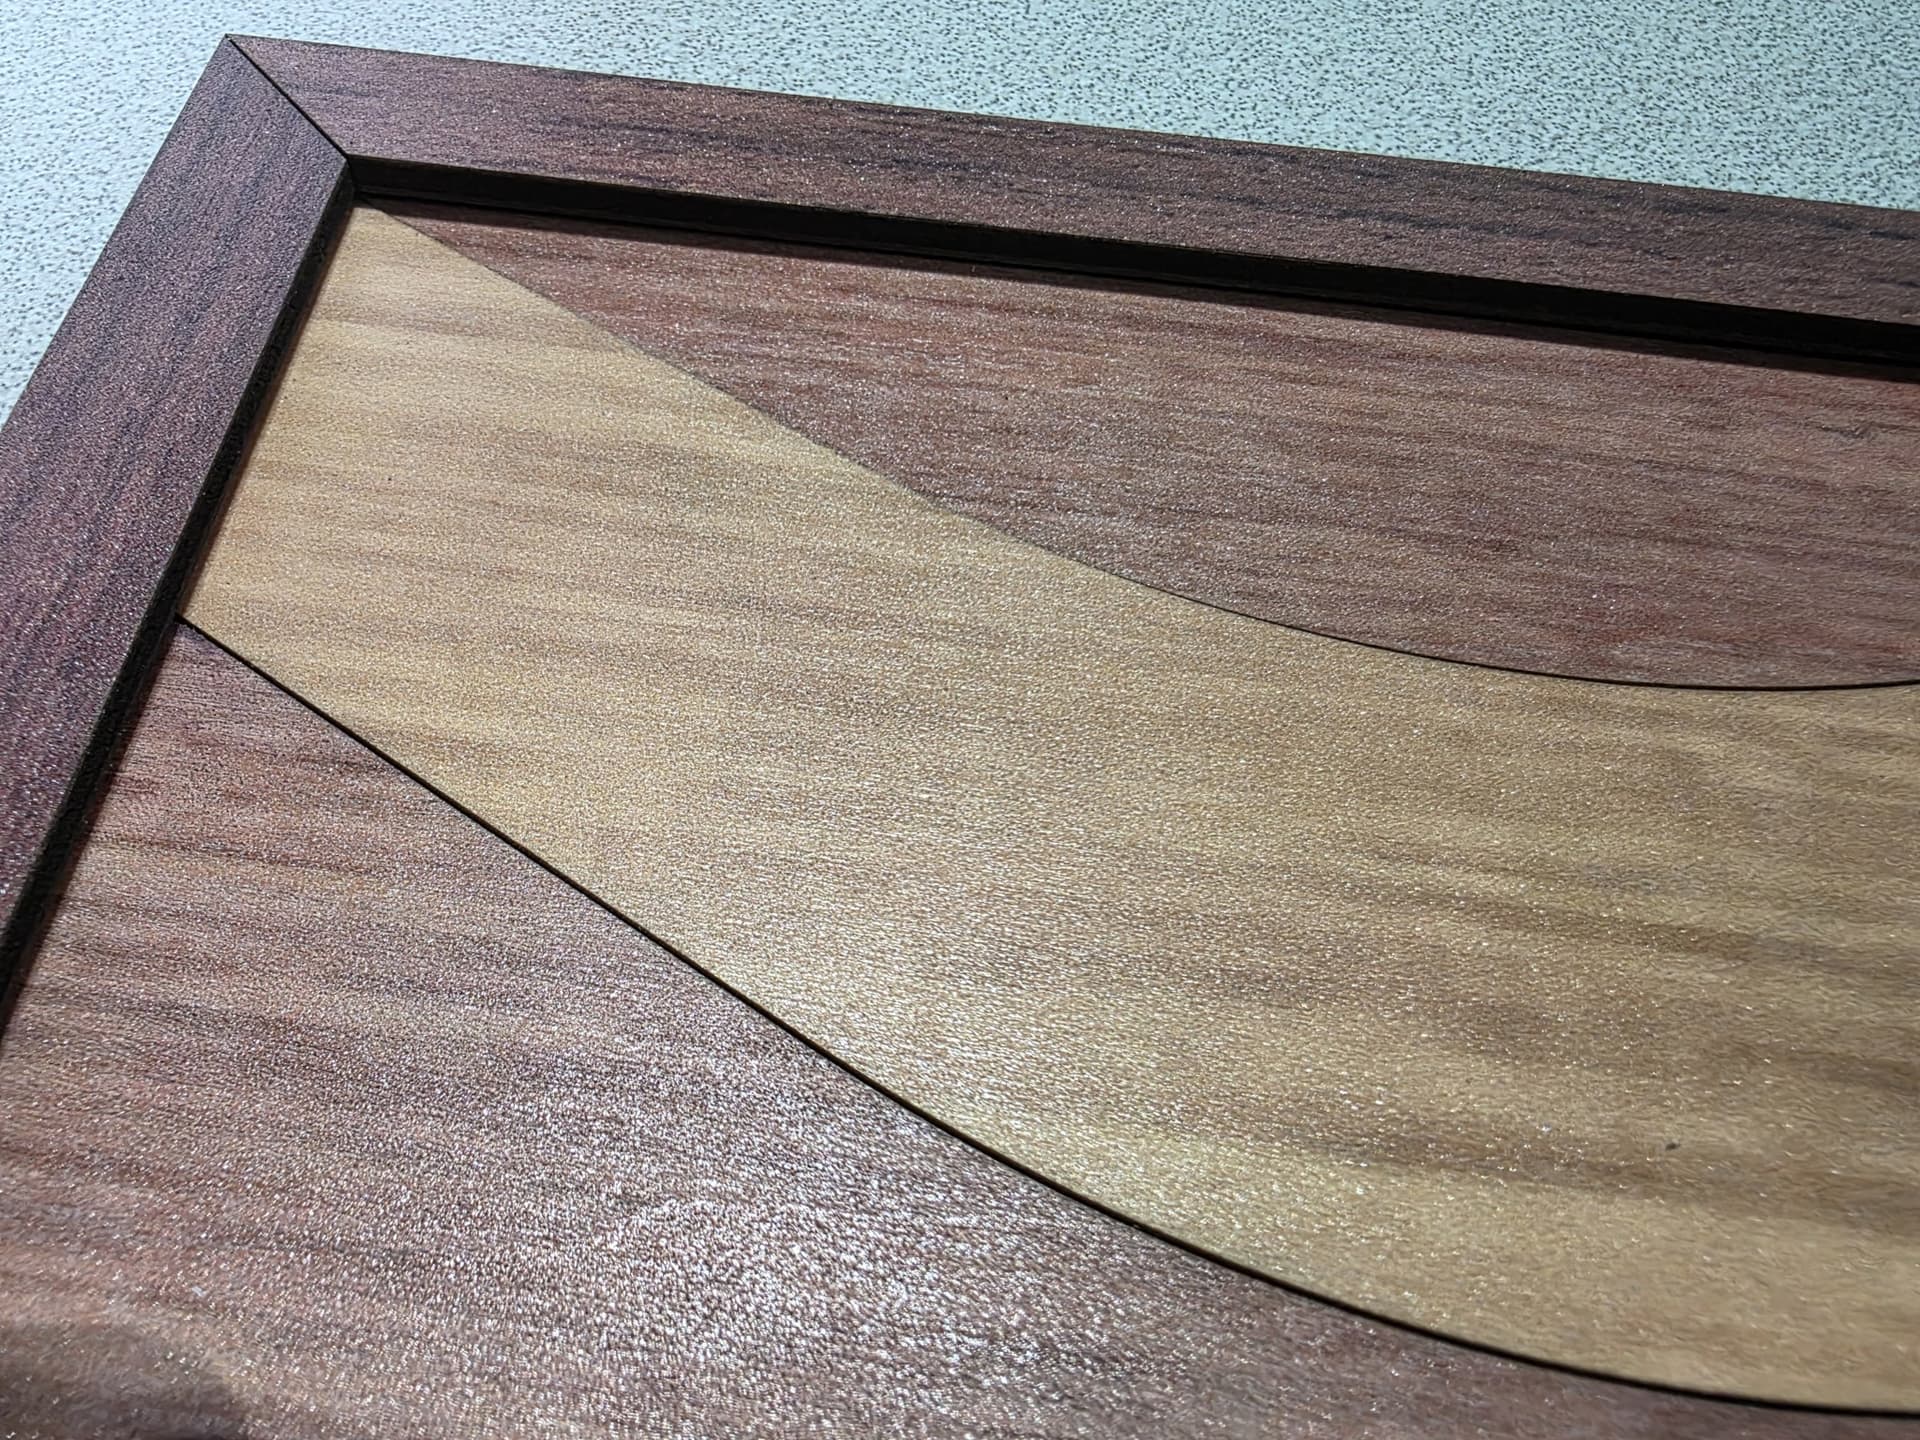
How do you do layer alignment? Eyeballometric guesstimation and gentle persuasion?
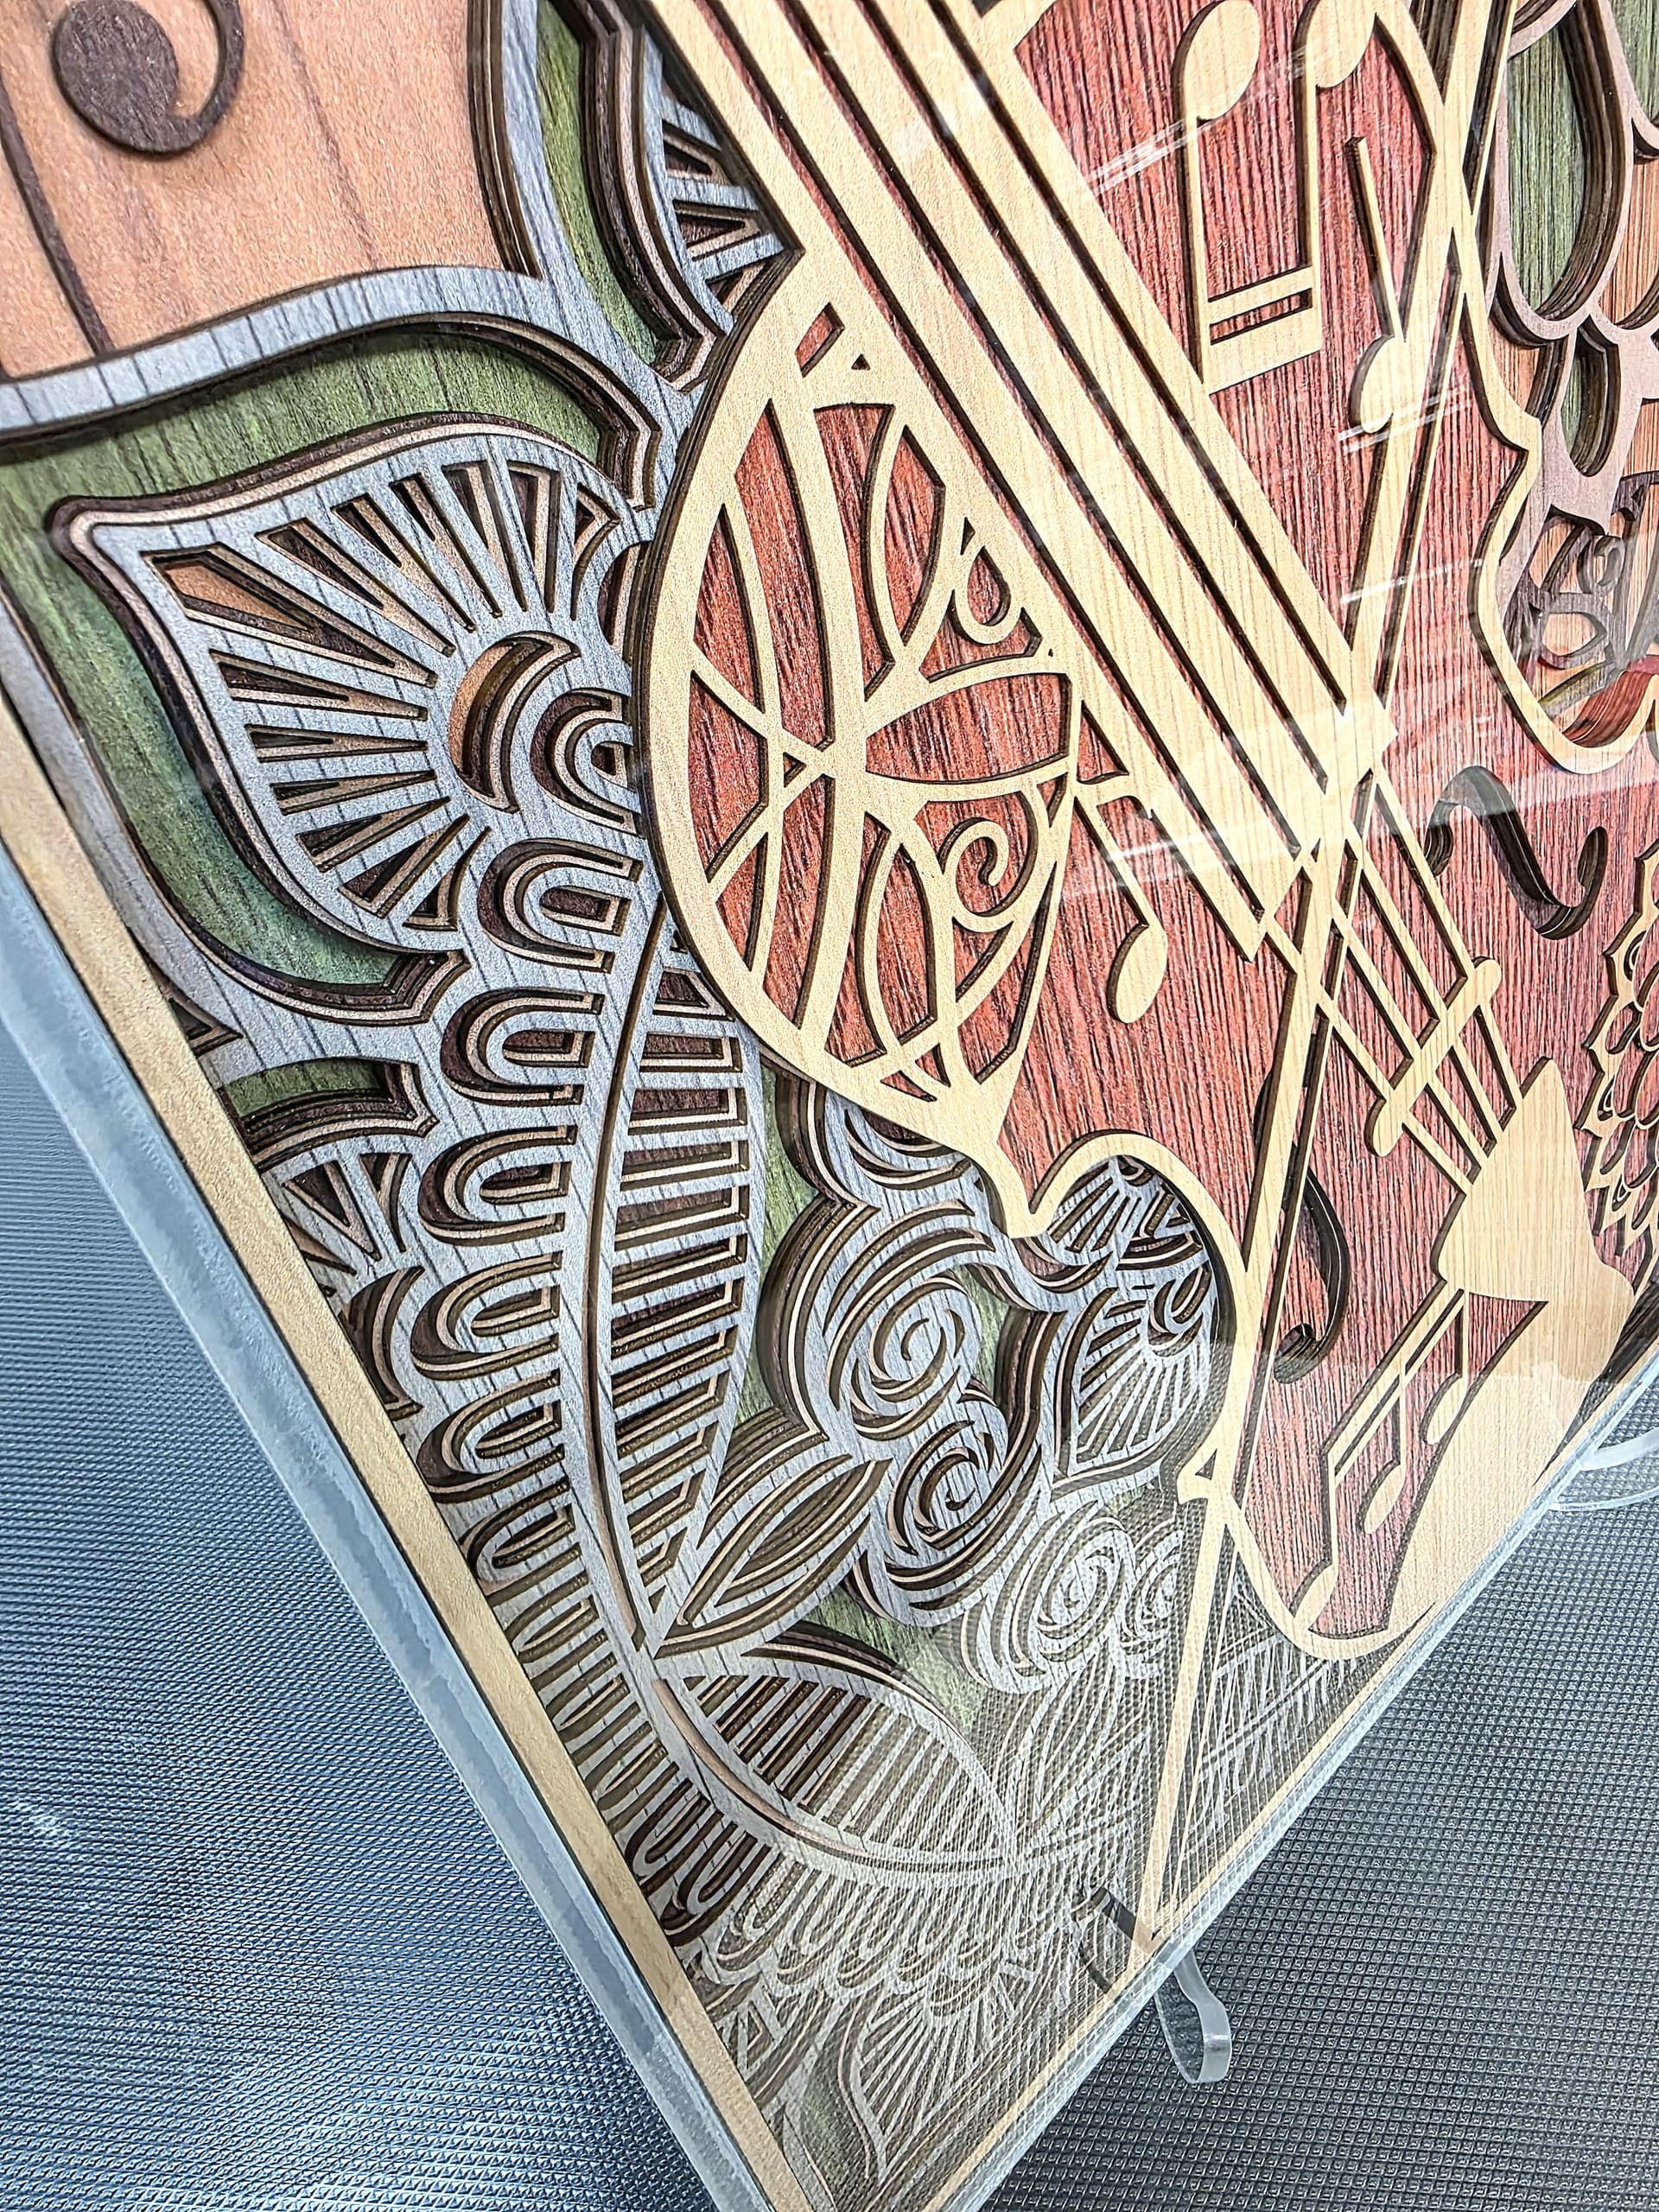
I’d need alignment pins to get it right, but some of those layers look way too much like filigree …
Great Question… ( but you always have them !! )
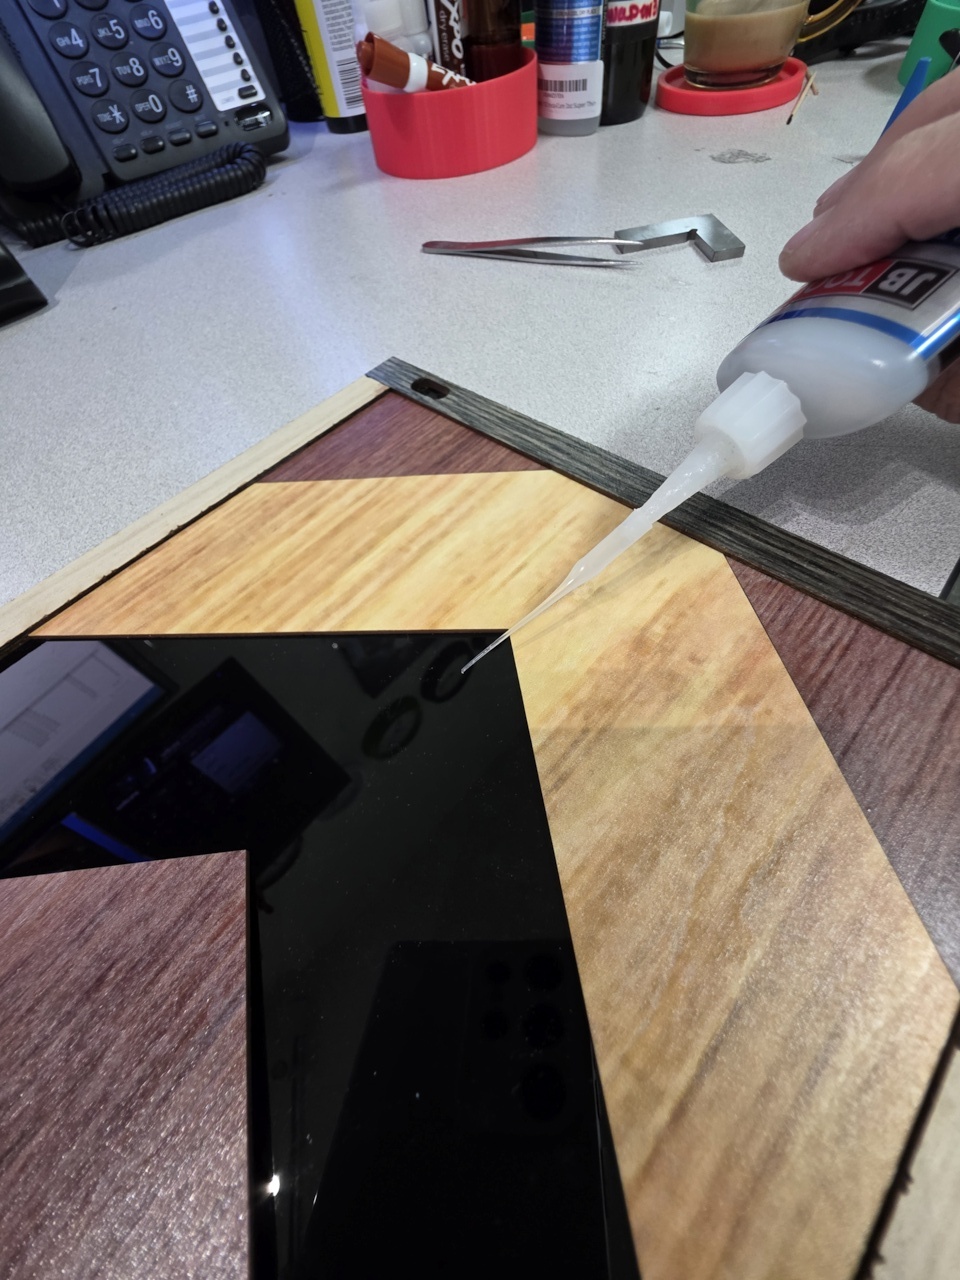
I lay the layers on a flat desk
then using a small angle guide I just bump them together, doing this on all sides
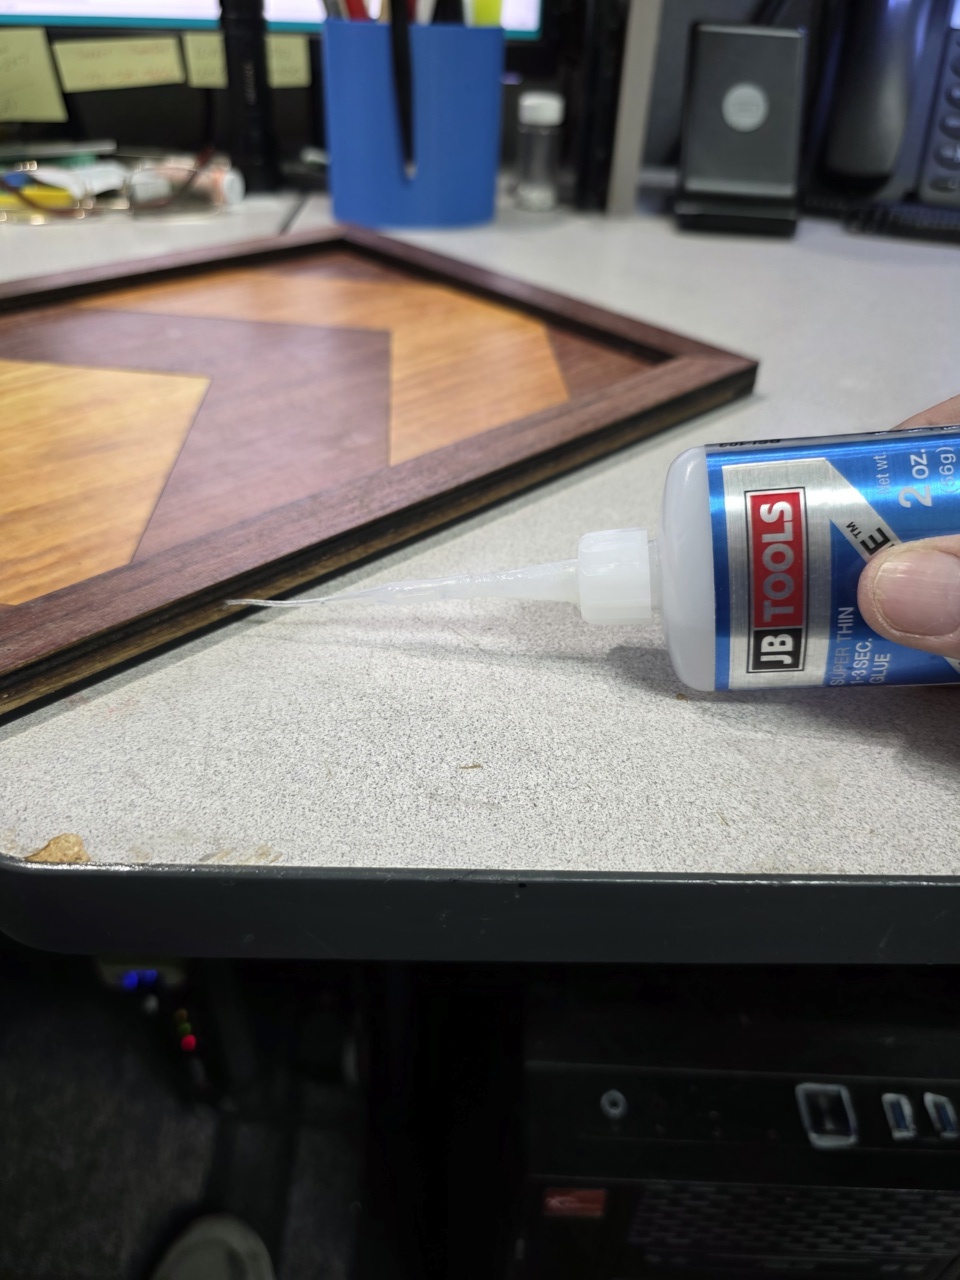
then wiping one side with superglue, holding it tight, them doing the opposite side
ensuring the other points are aligned…
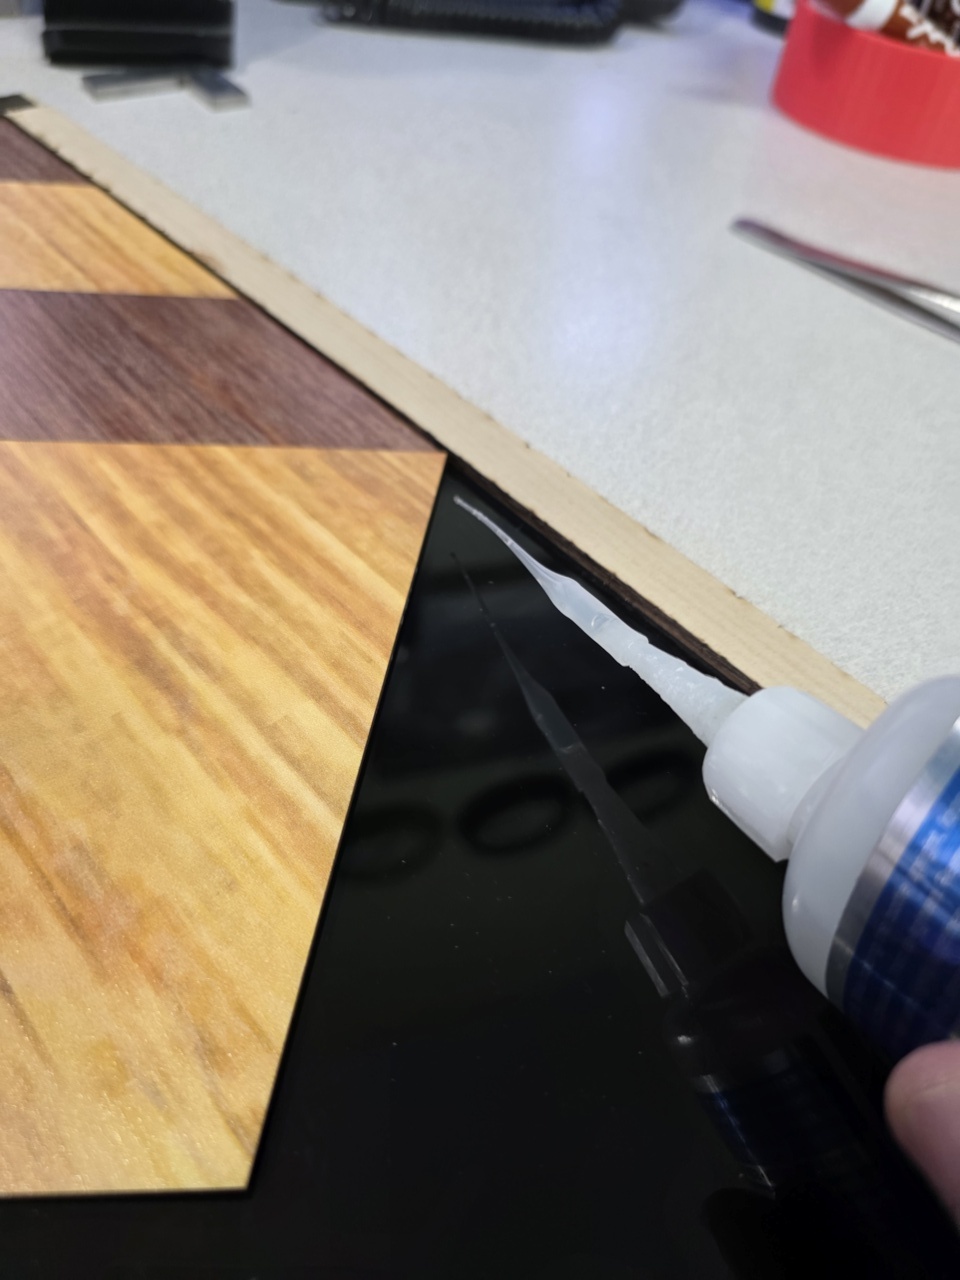
I then go around all the sides and long open areas and holding the layers tight
again wipe superglue (THIN) across the edges, it soaks in and seems to work well…
Nice cello Chuck.
These are inlays?
Can you describe how you do it, in simple terms. Include wood types if you don’t mind.
I hate seeing your great stuff, always makes my stuff look terrible. lol
No, it’s really great seeing this. Sometimes you don’t know what you can do without posts like this…
Thanks…
![]()
Jack Thanks for the kind words…
I will do a write up tomorrow, when I get back in the office ![]()
That would be nice for not only most of us, but new people trying to learn.
Everything is built on other great peoples shoulders, thanks for your shoulder.
![]()
The UV printer is really great for consistency and color choice, but there’s some real design skill input for the overall effect..well before the machinery kicks in.
As promised…while I wait on cutting frame pieces… Here are some thoughts…
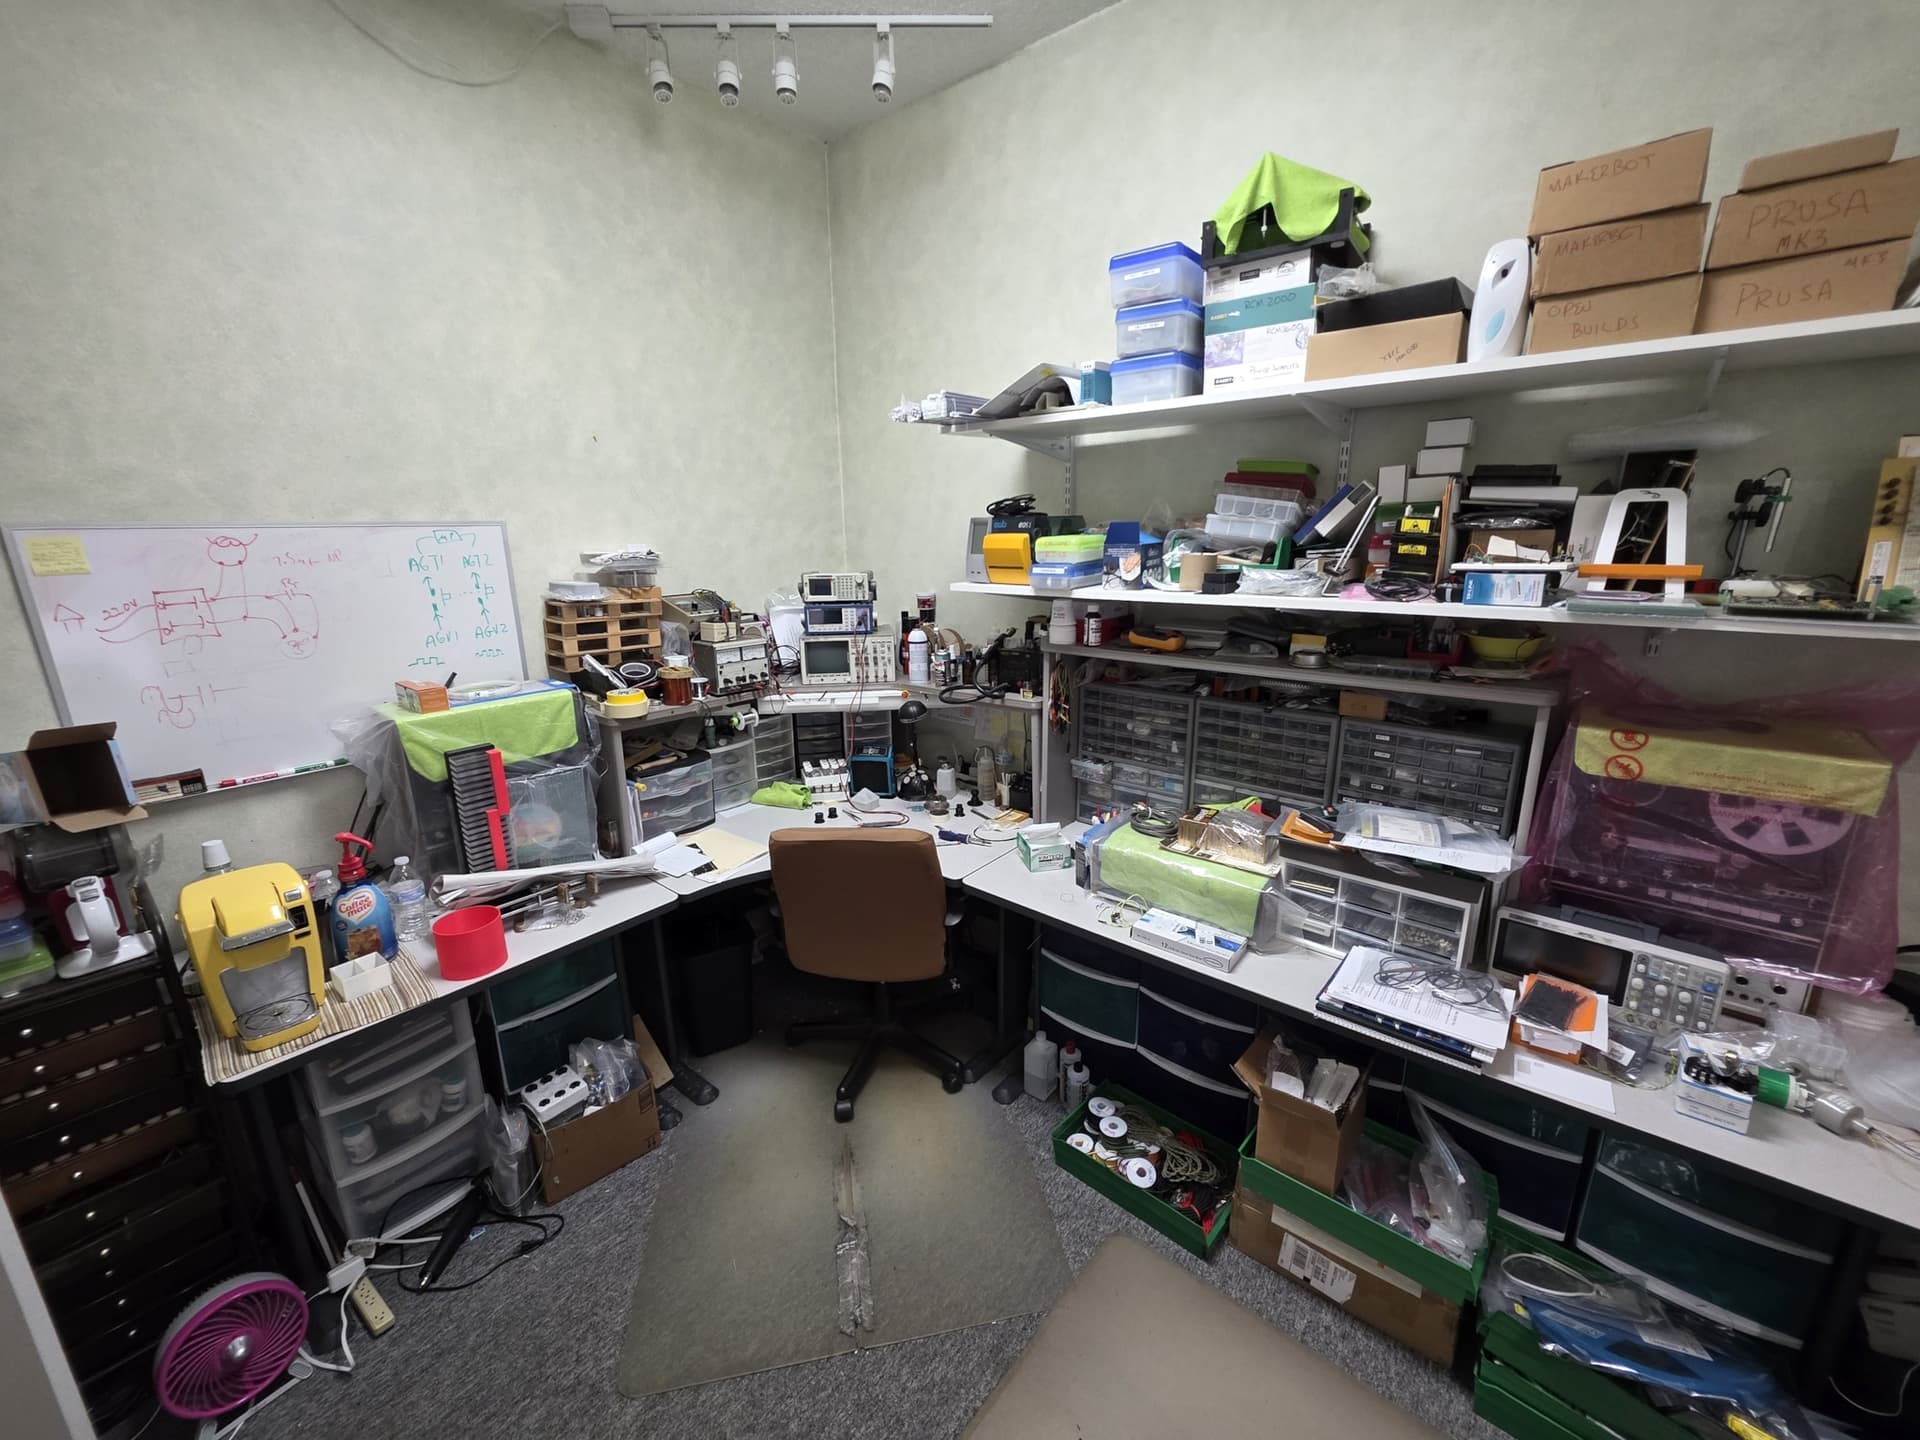
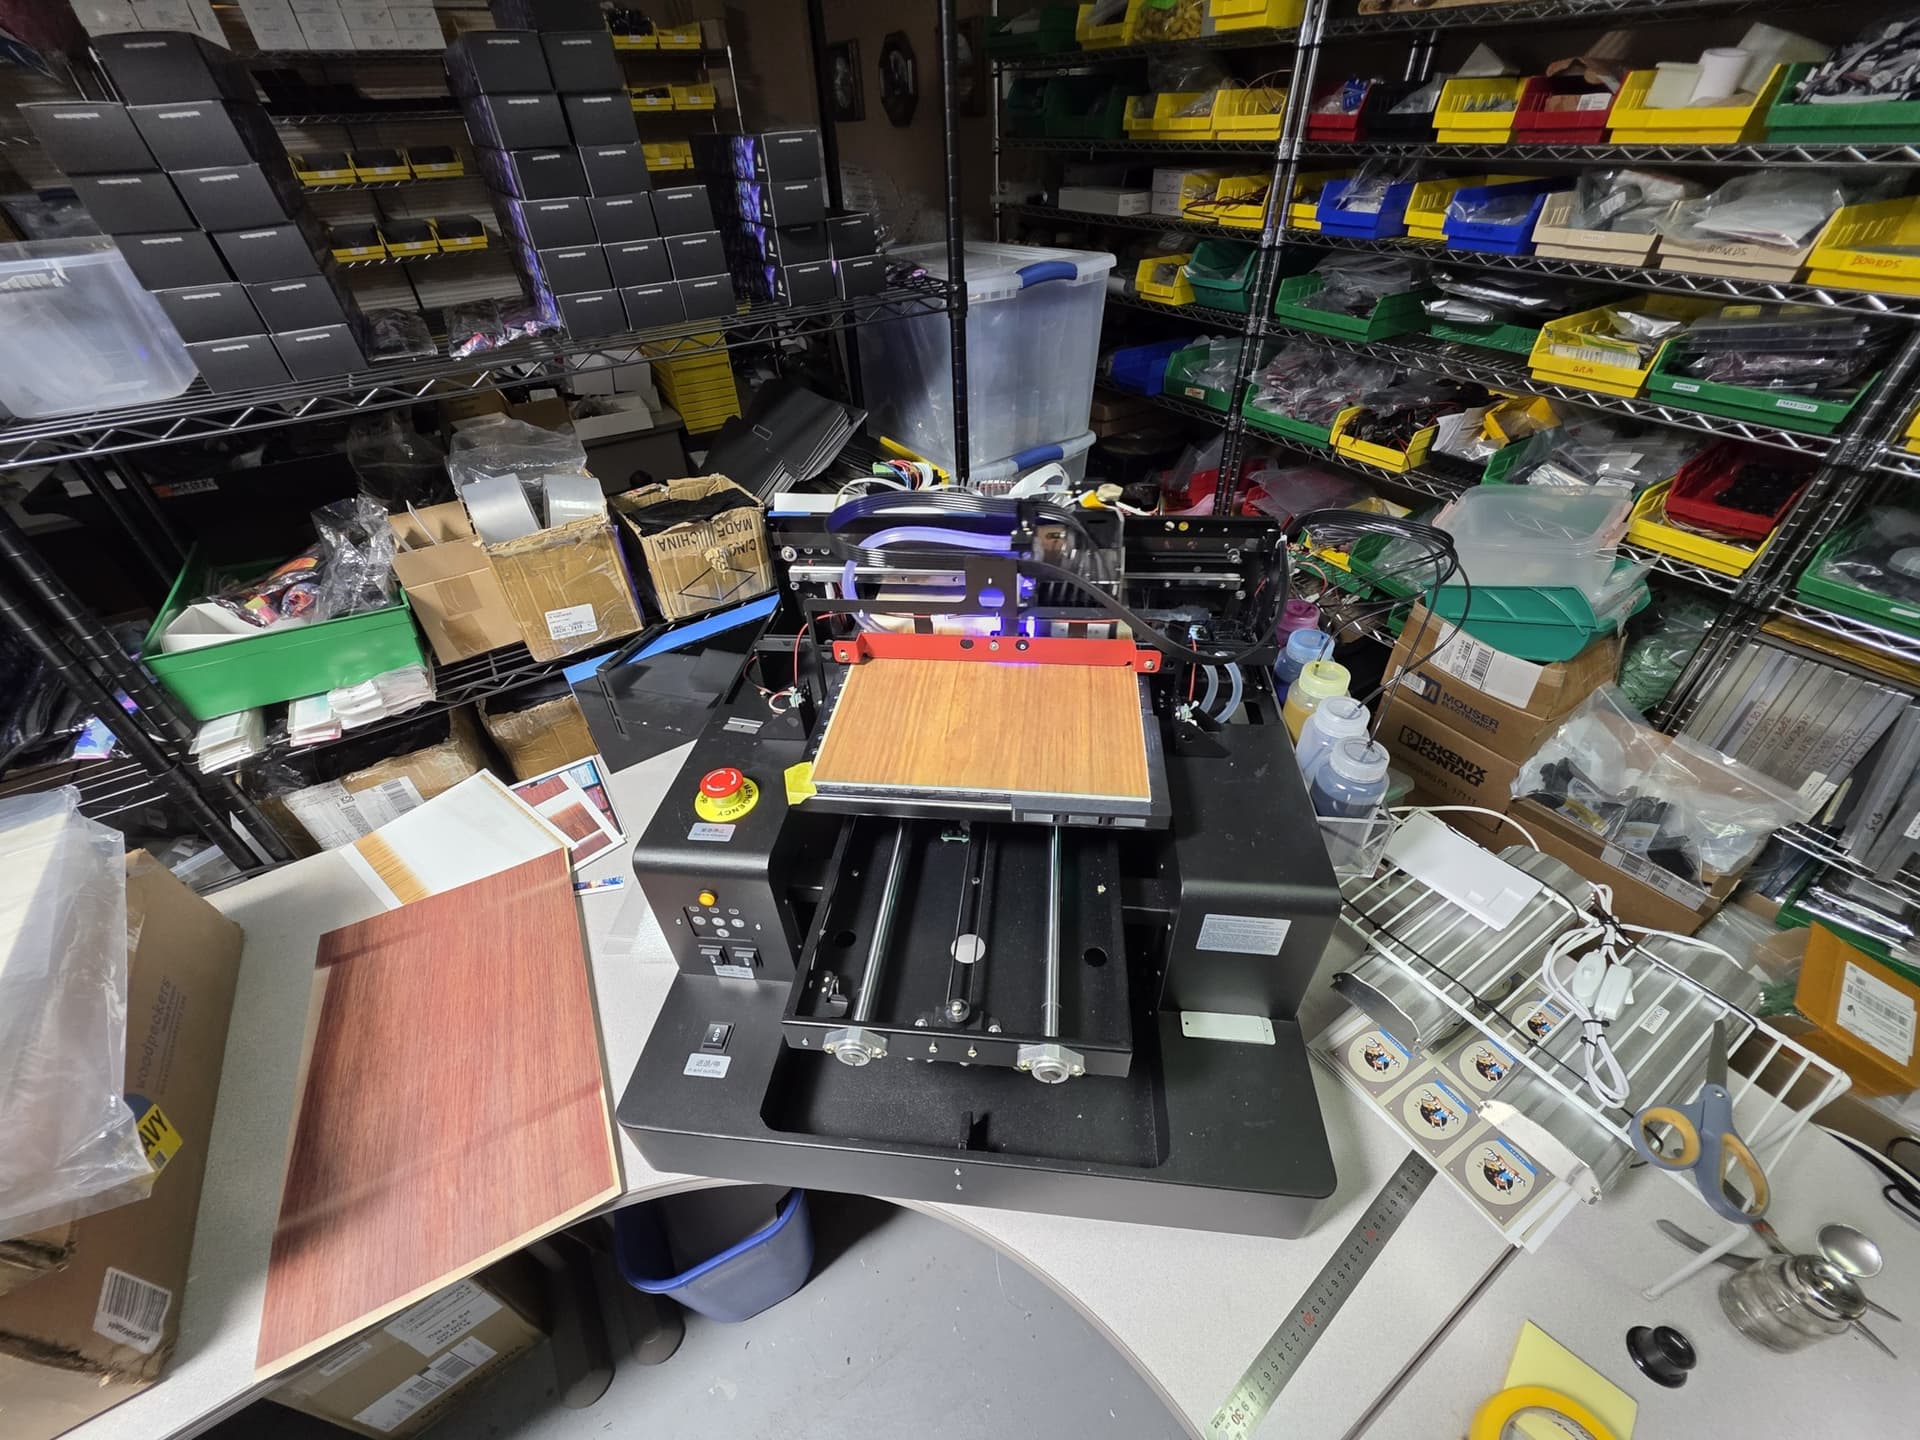
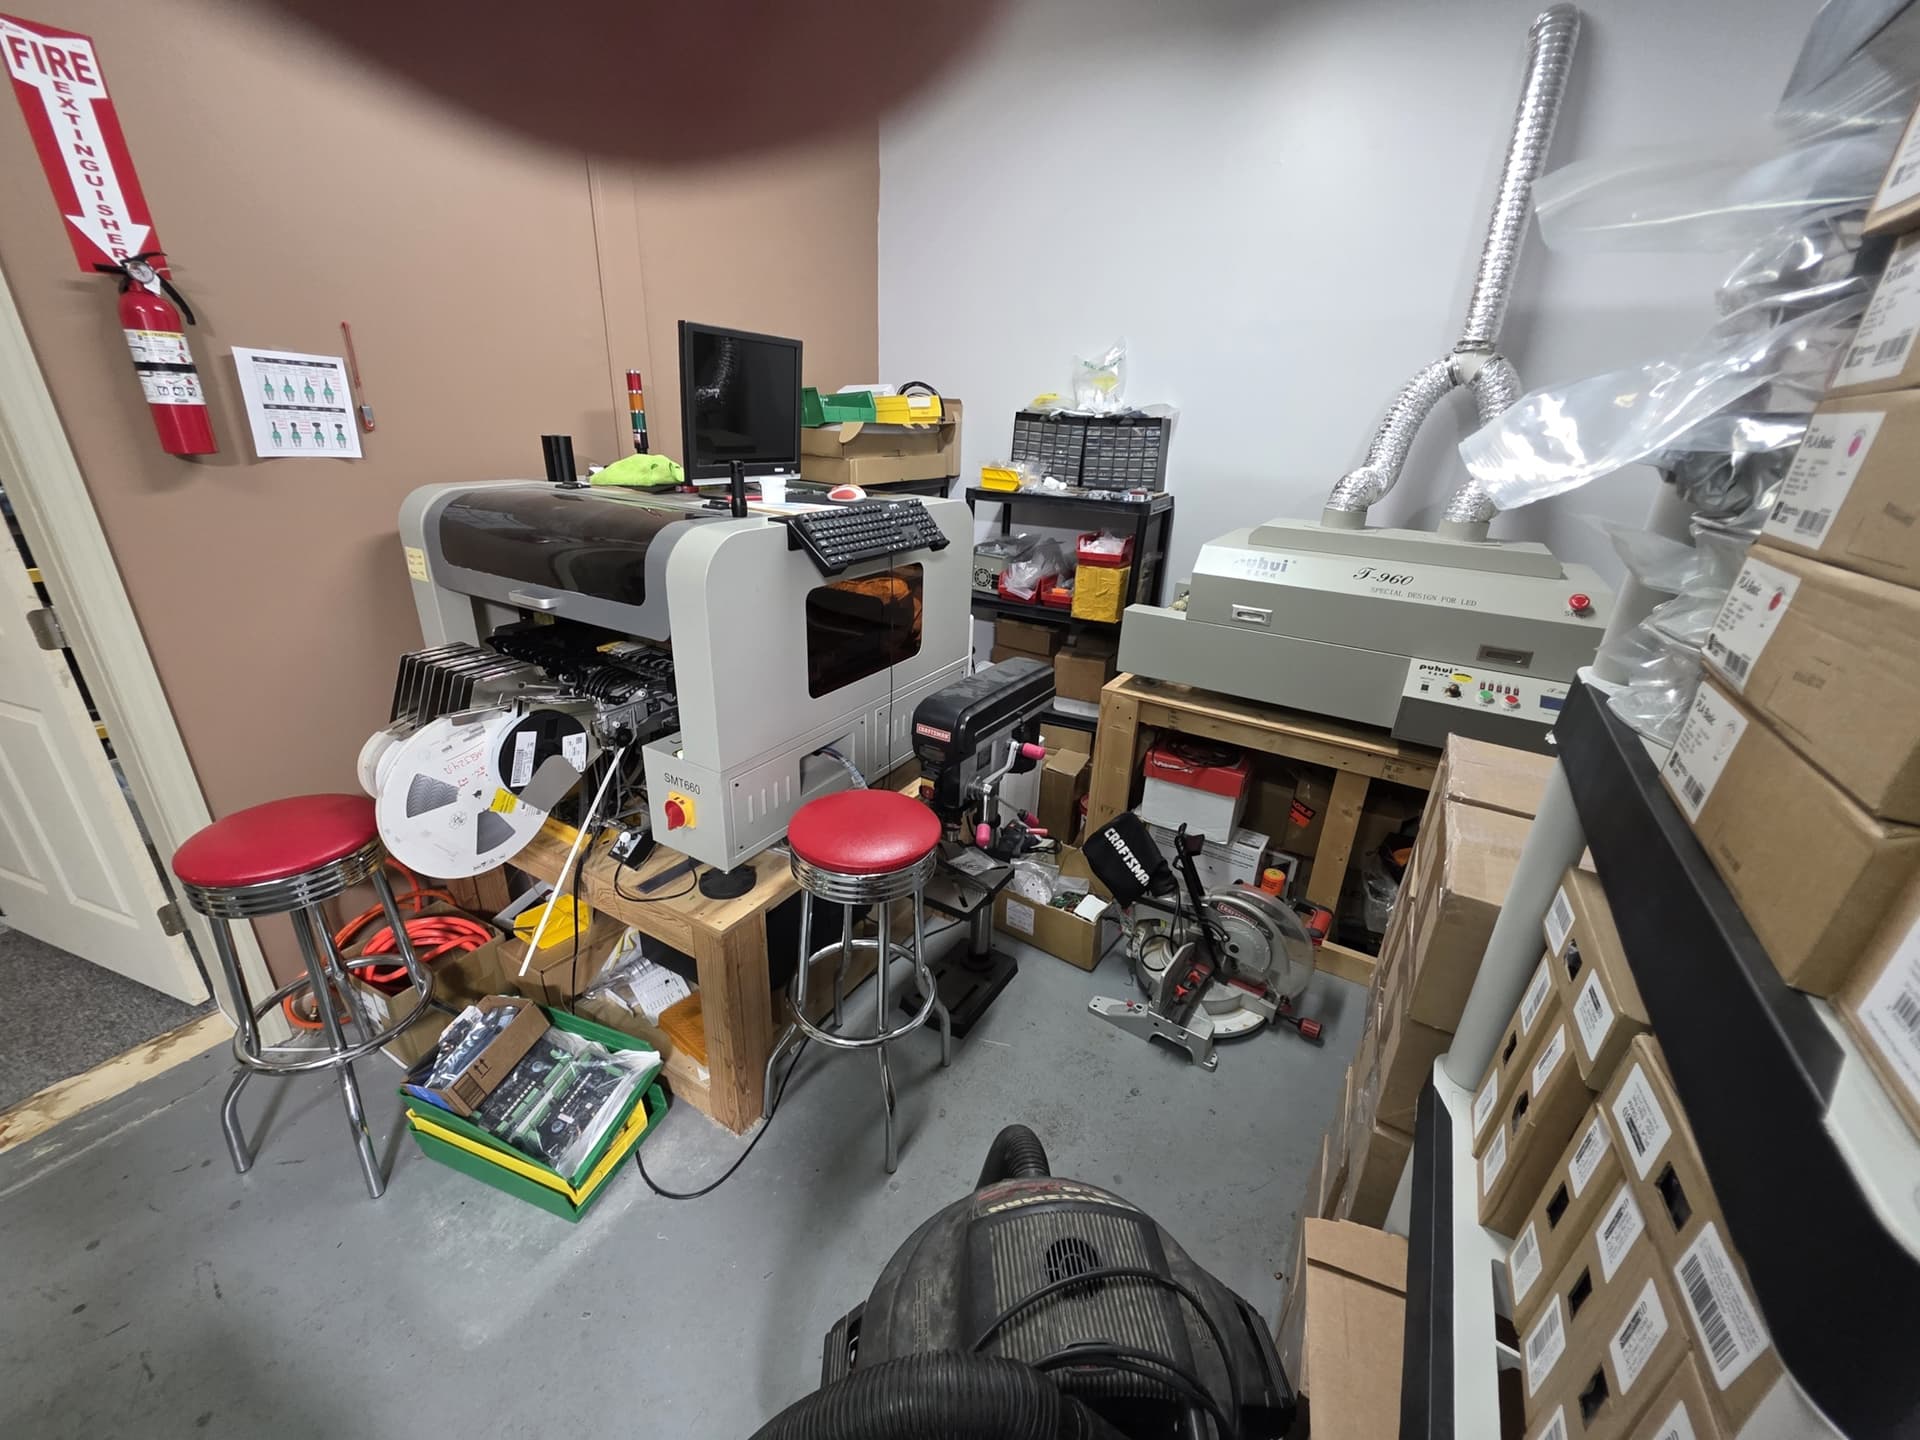
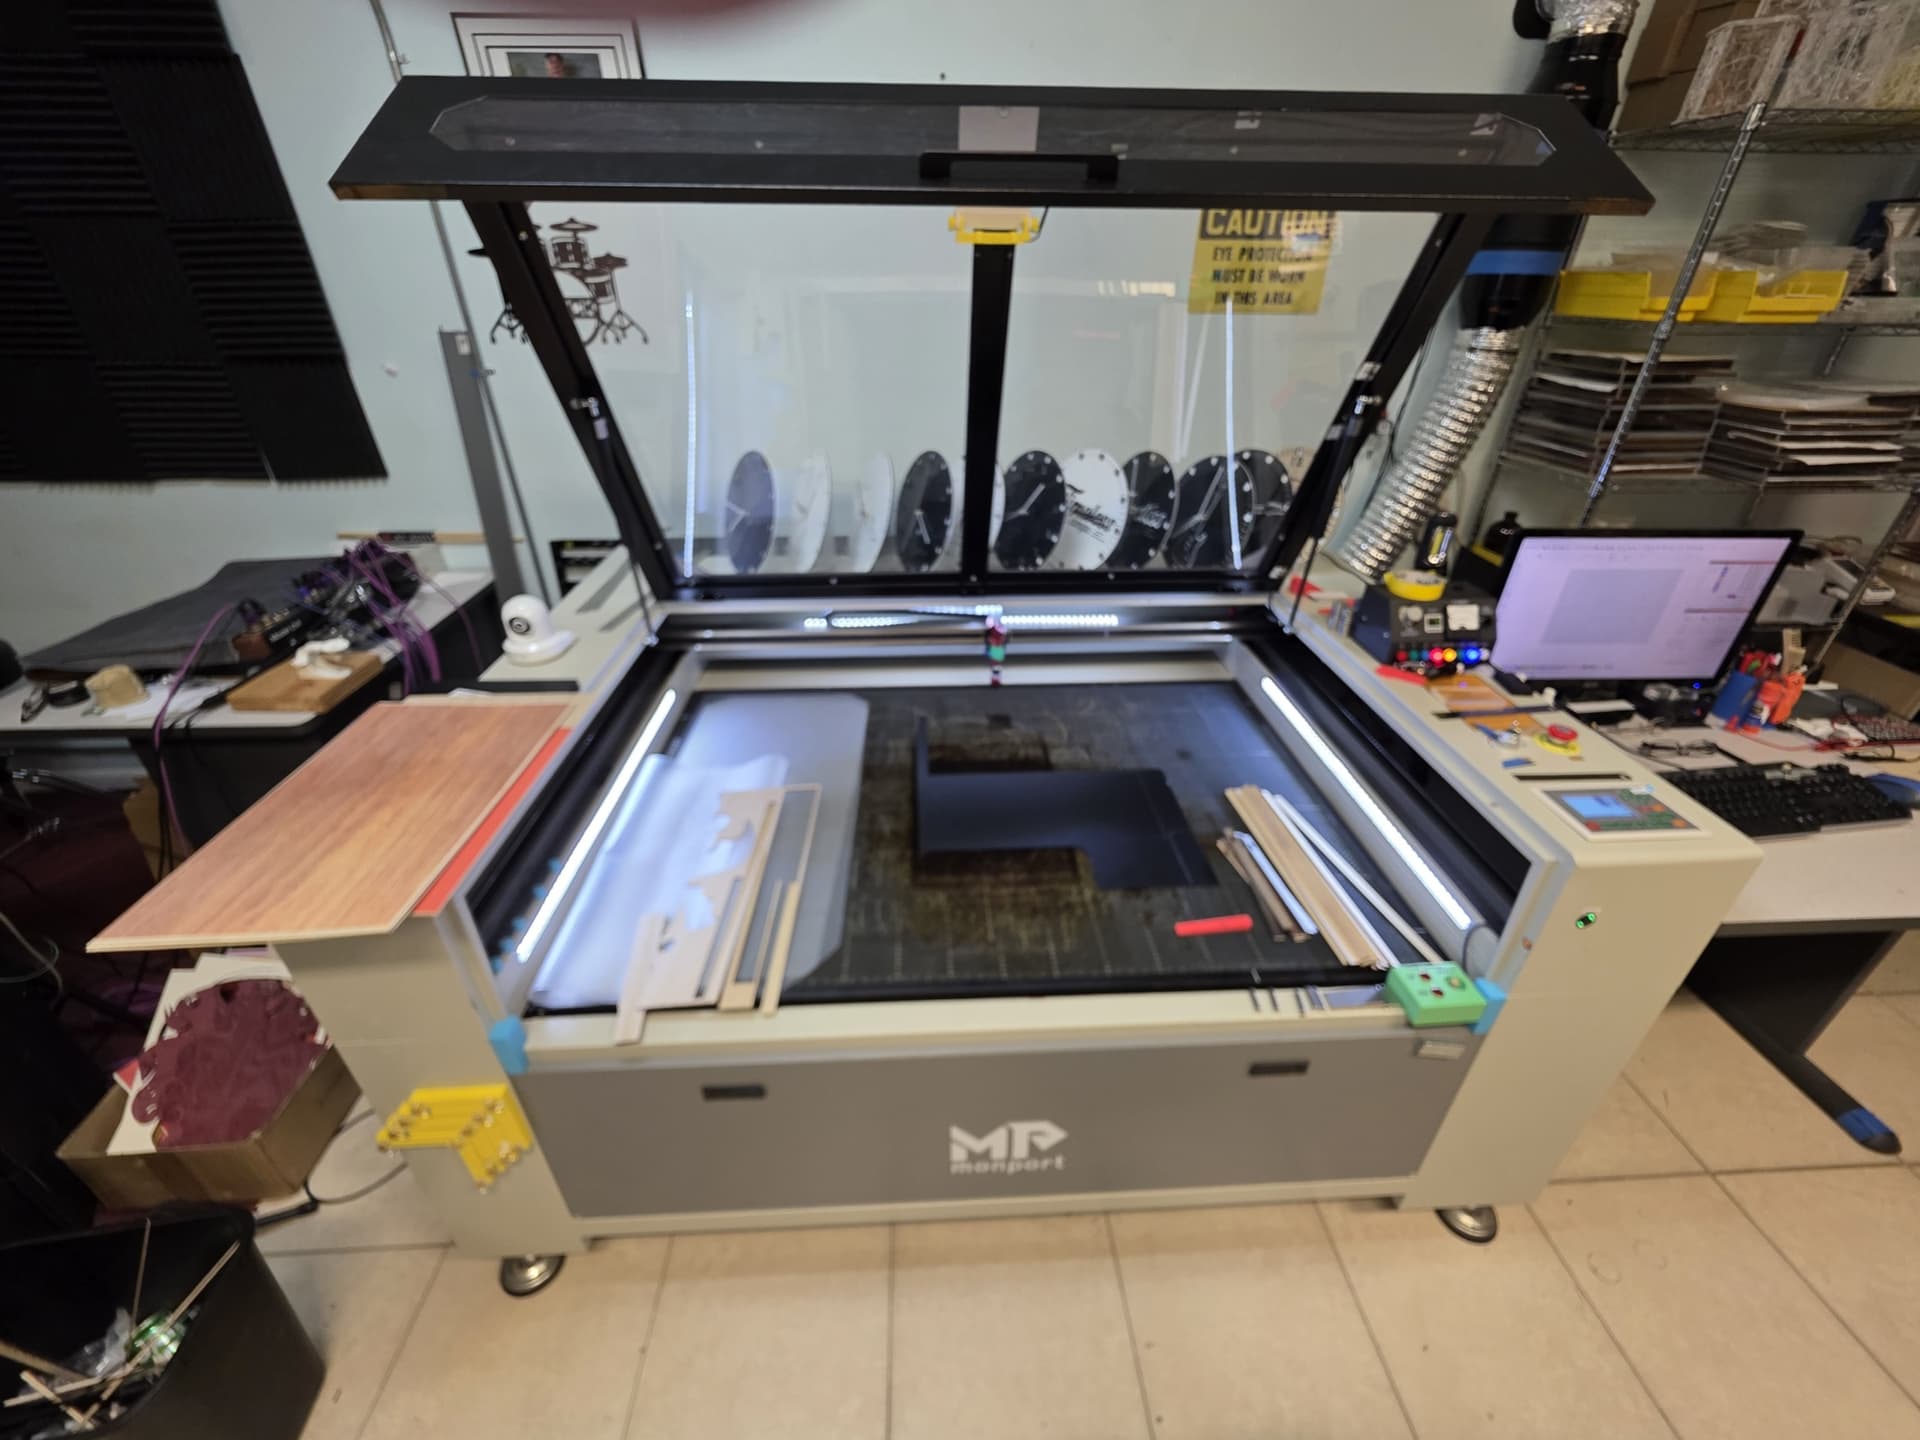
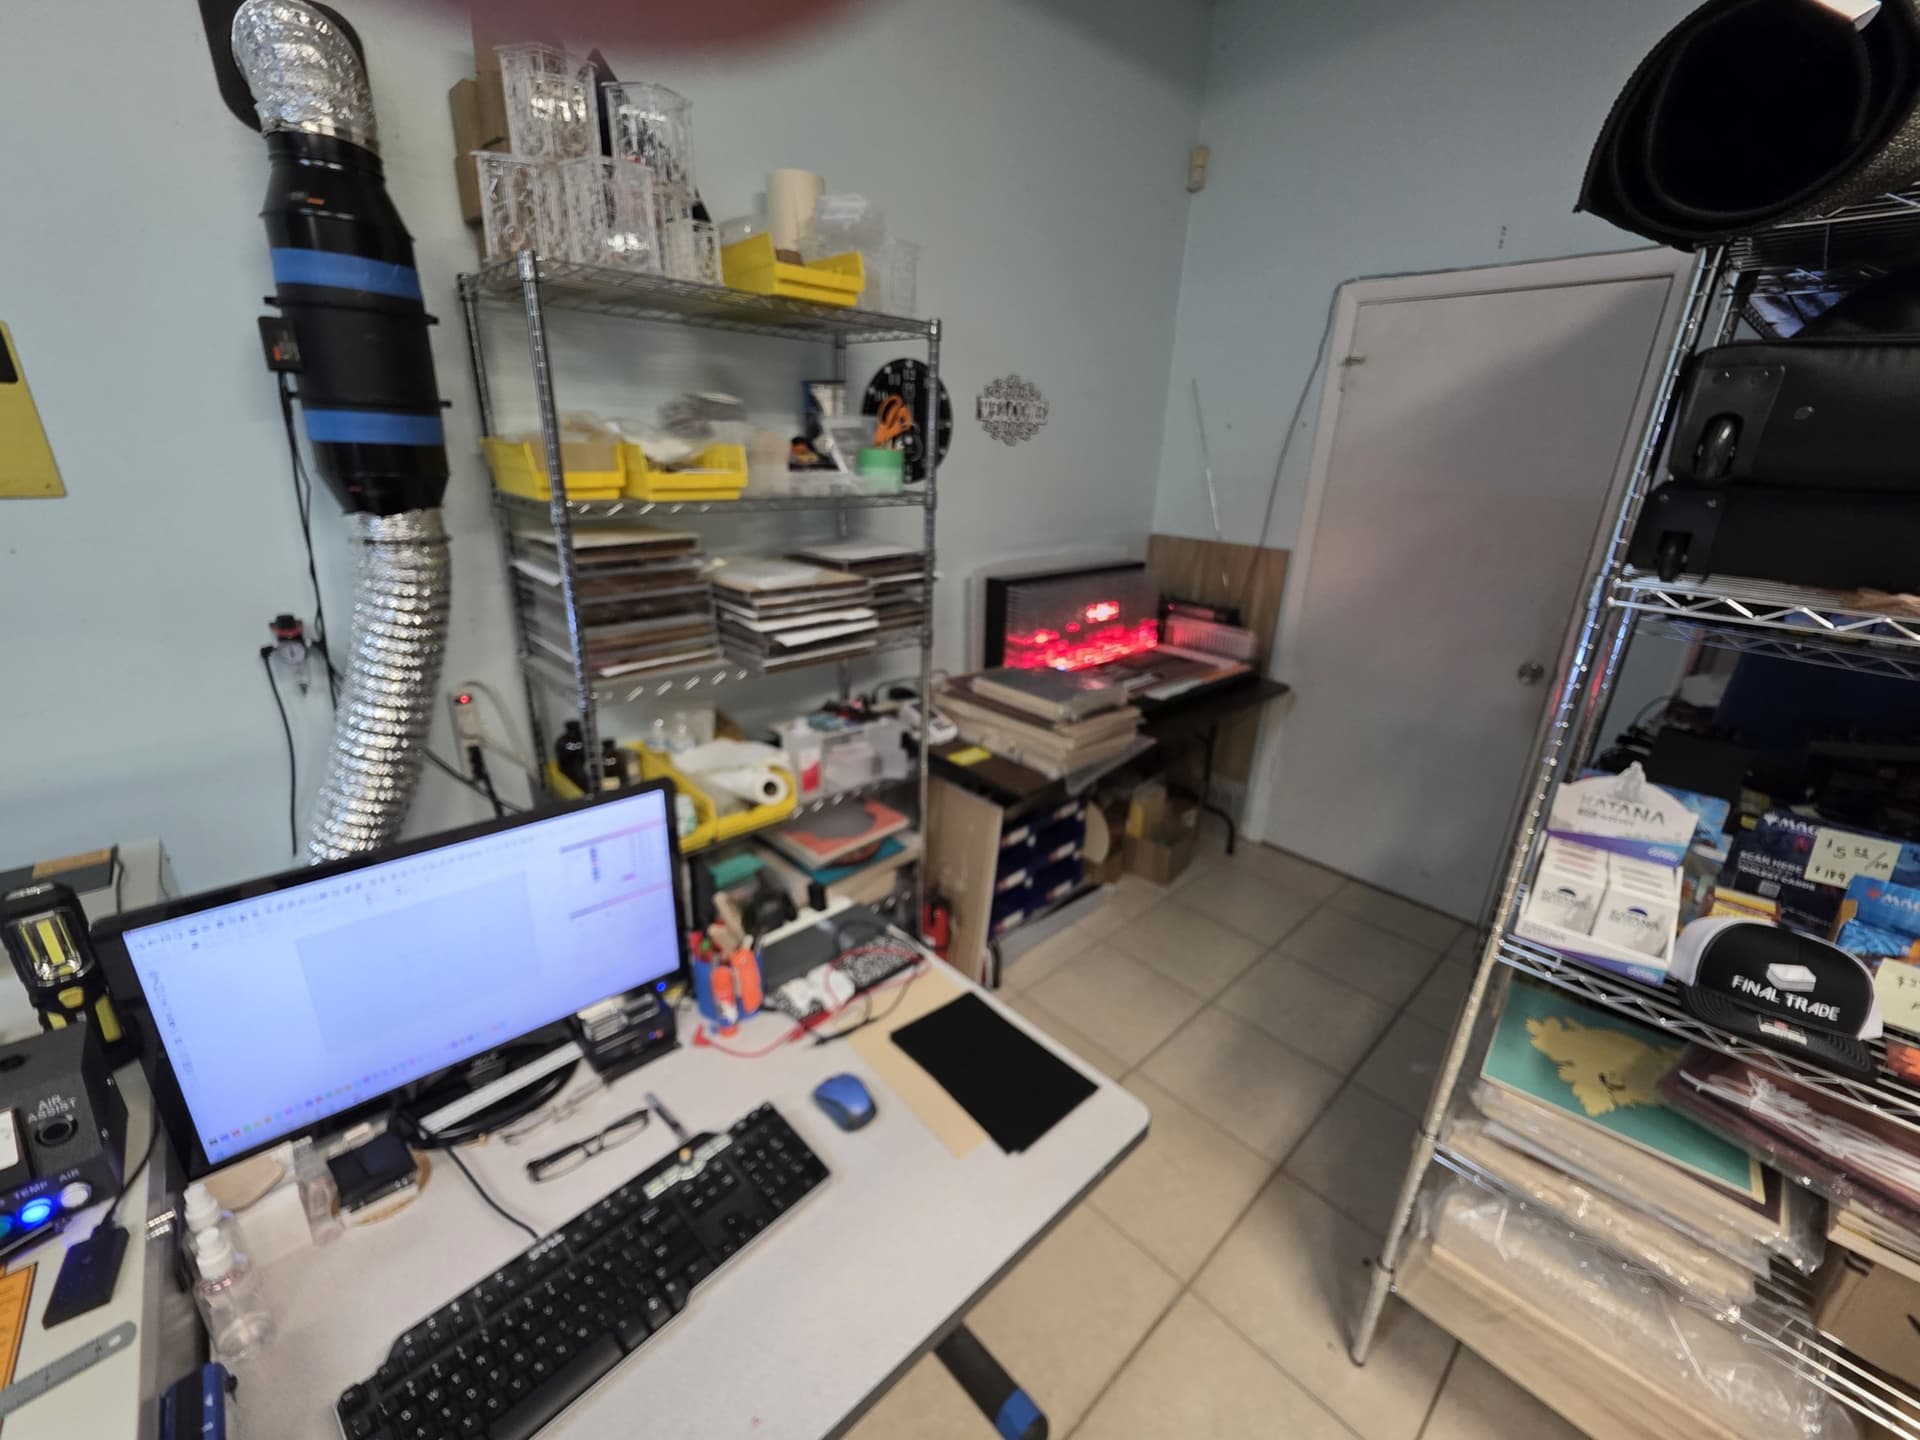
First I thought I’d share a little viewpoint of my office and business my son and I have…so a kinda short walk around the offices and spaces…just for fun !
MY OFFICE
3d PRINTERS, UV PRINTER
PICK N PLACE MACHINE / OVEN
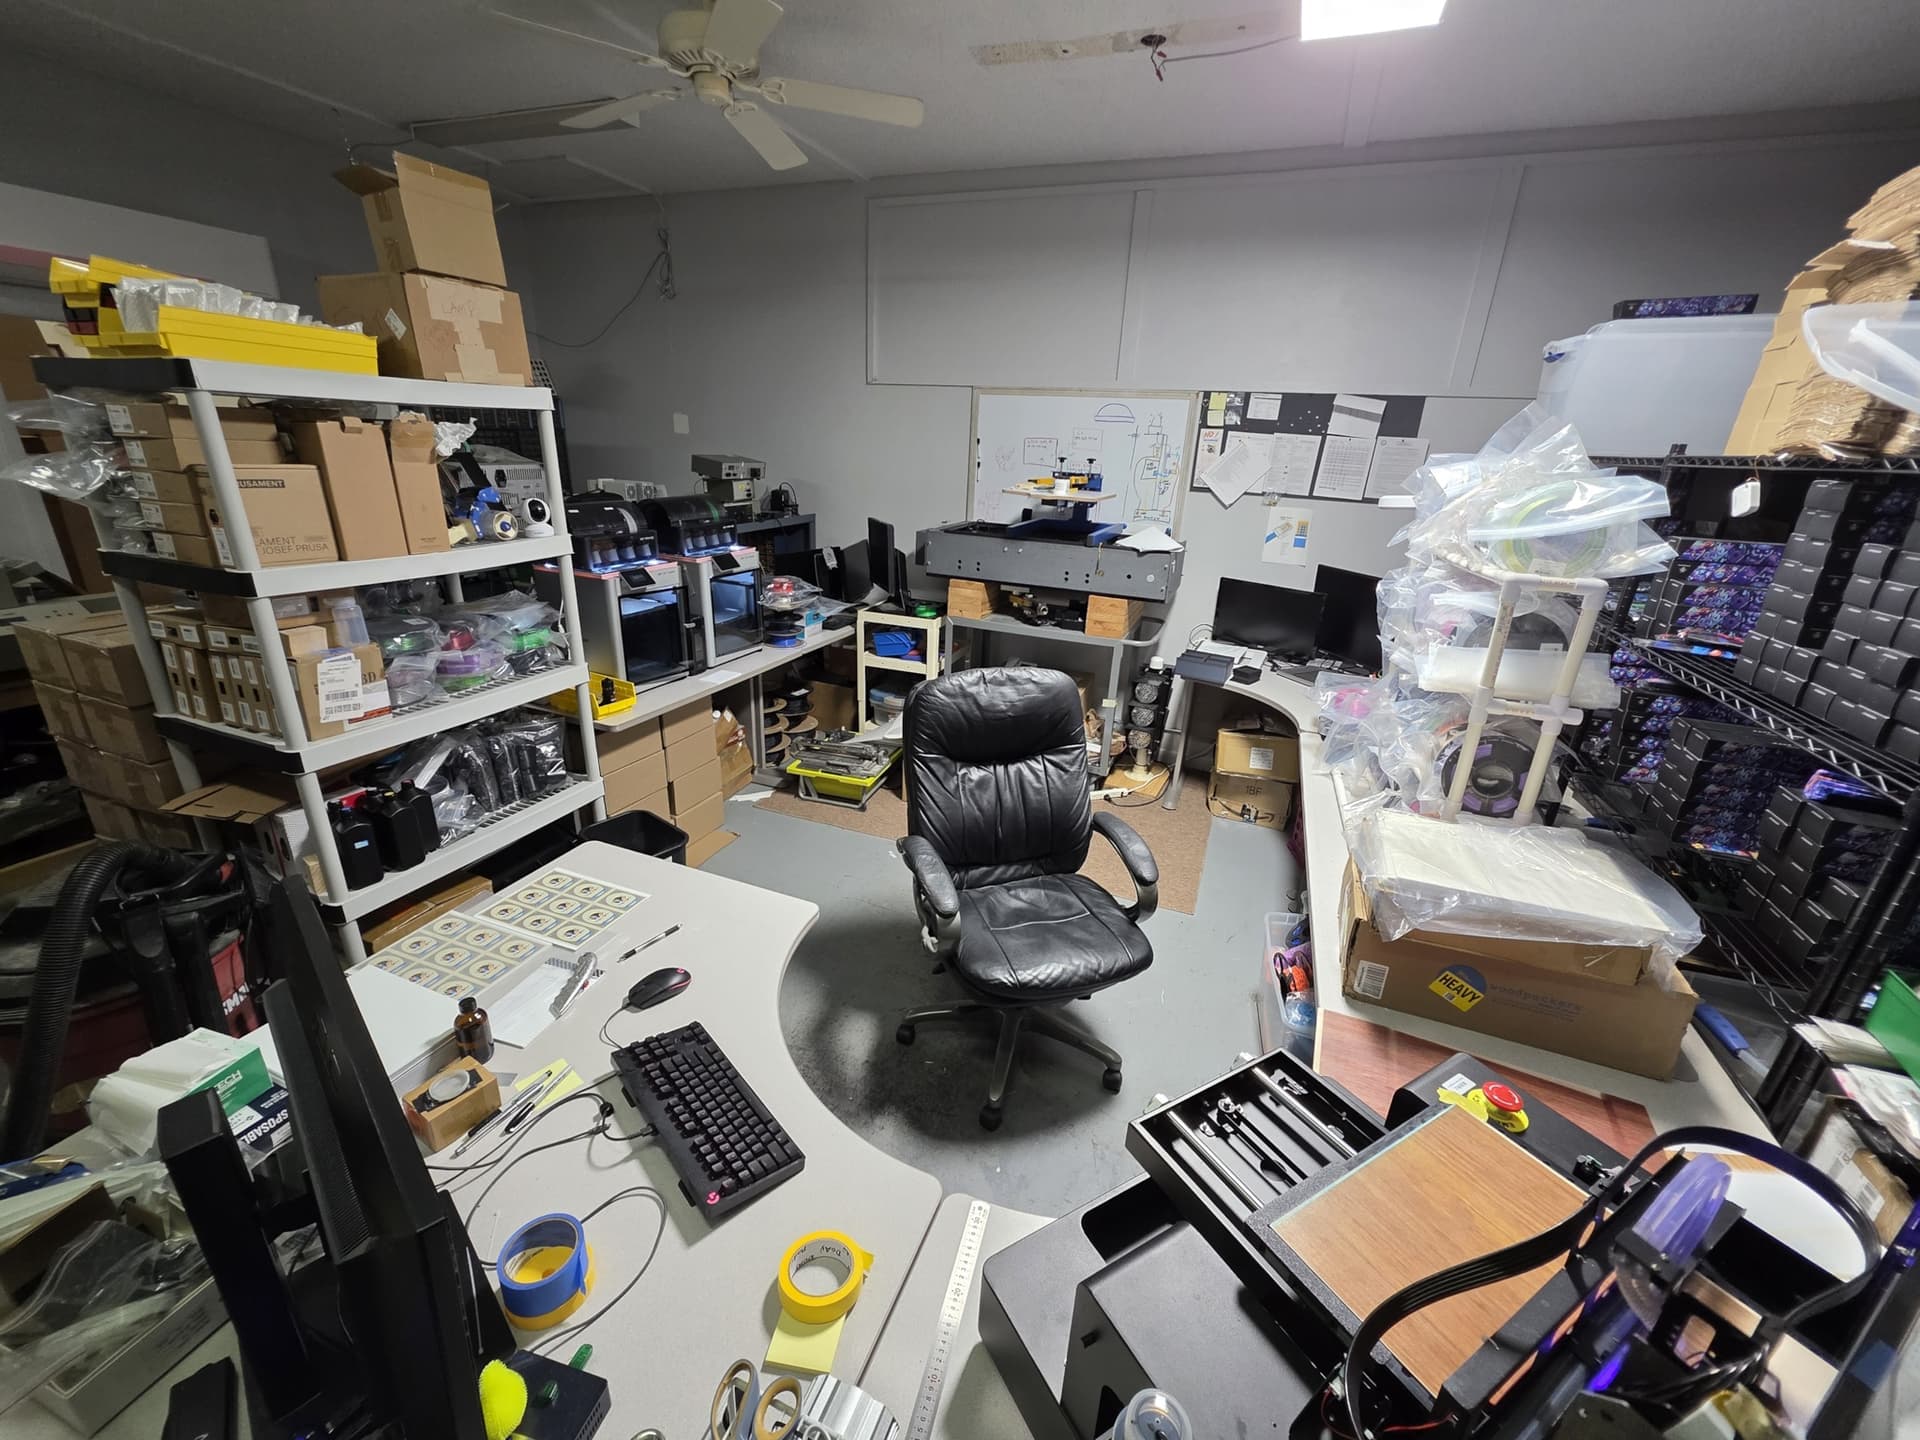
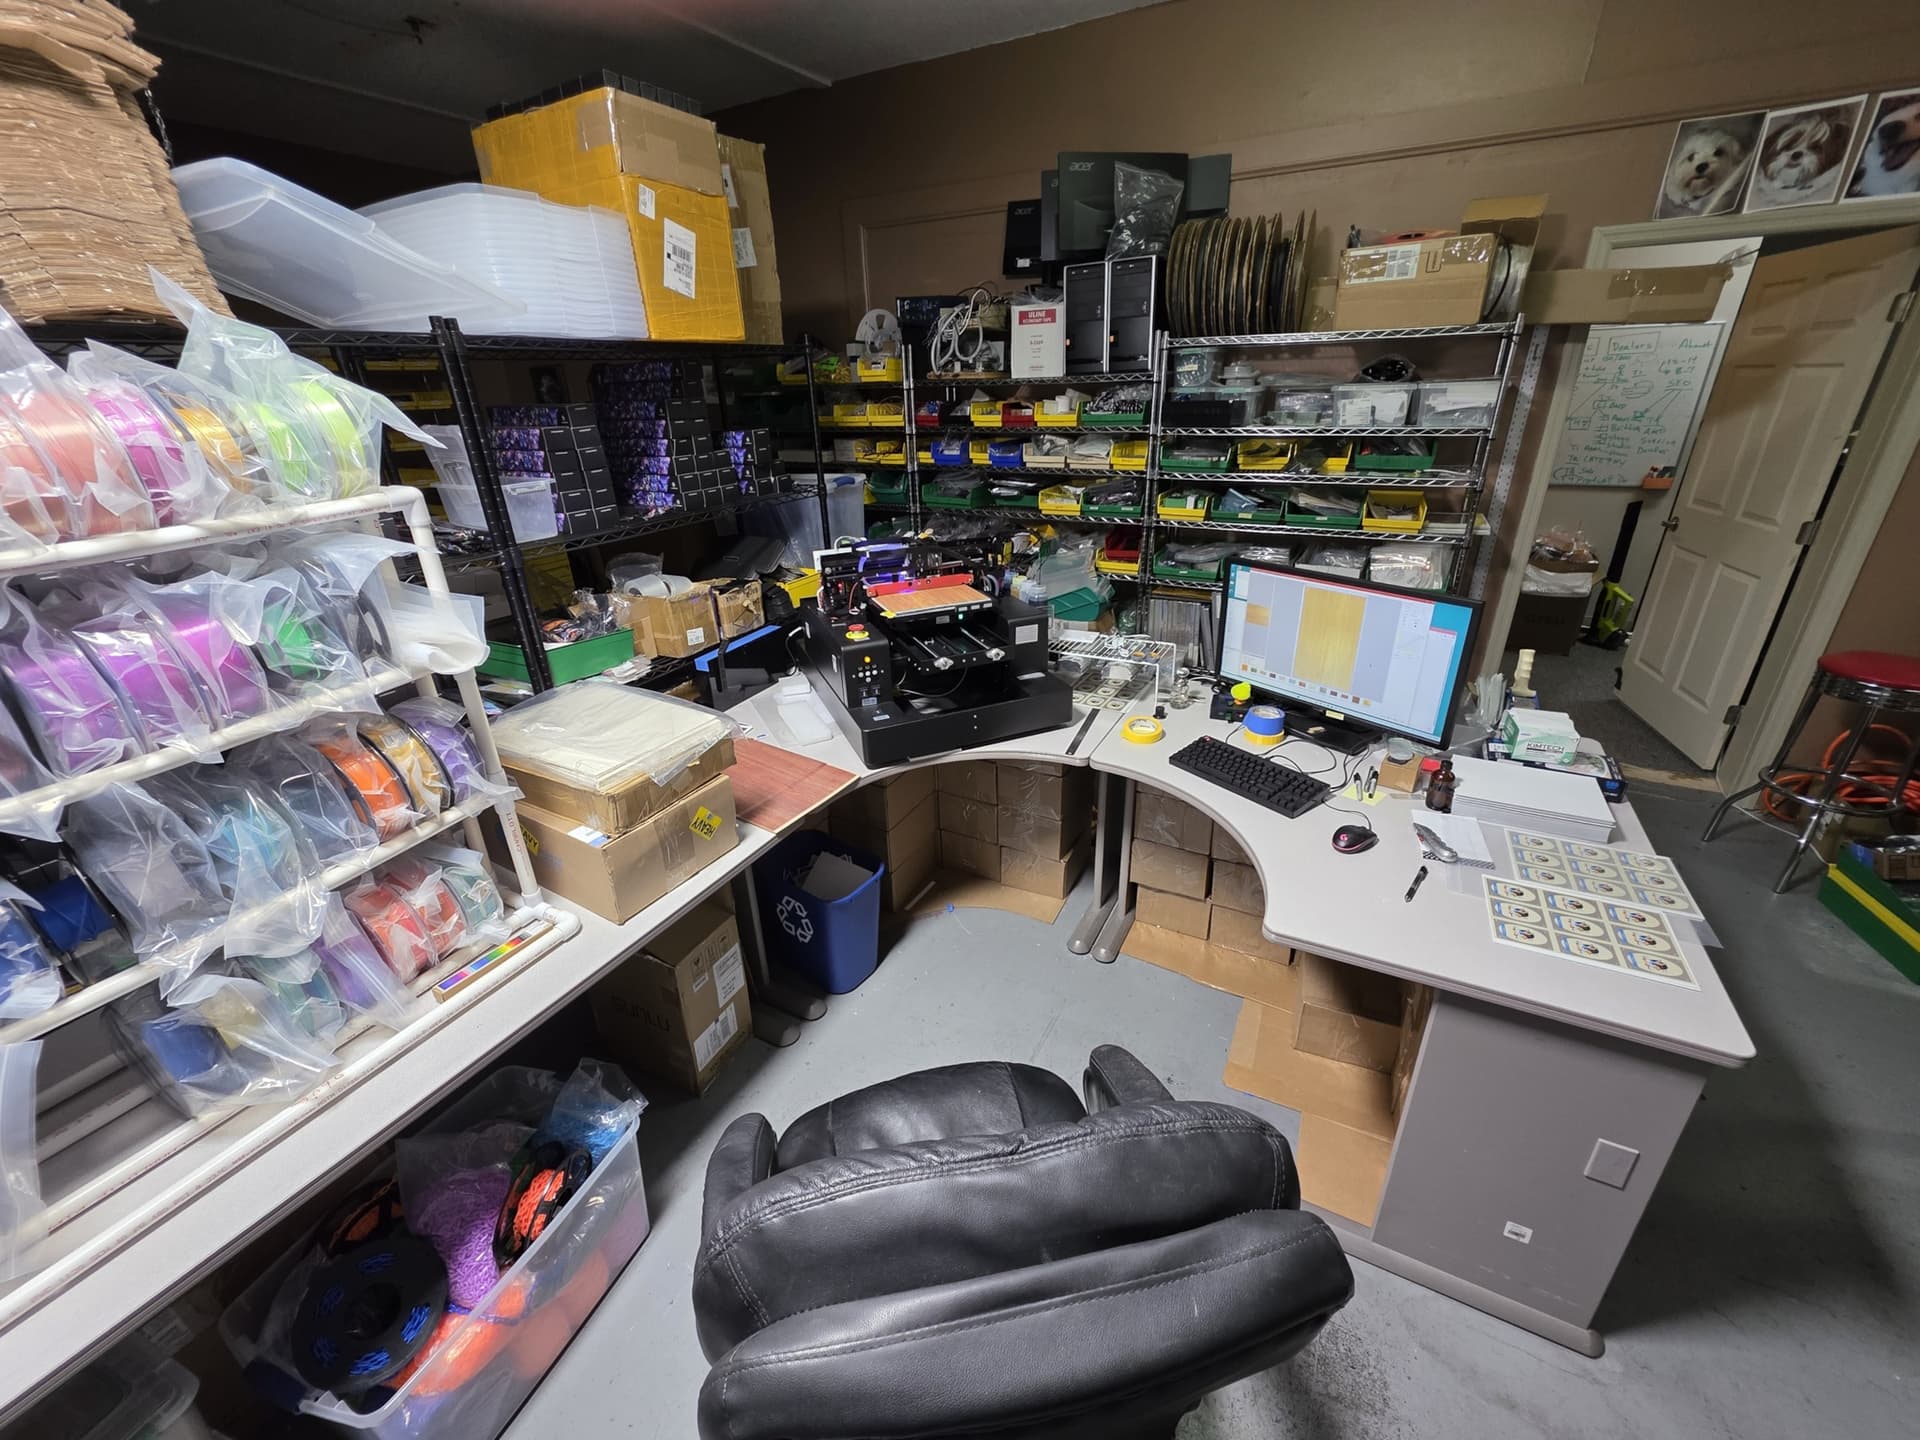
LOTS OF STUFF…
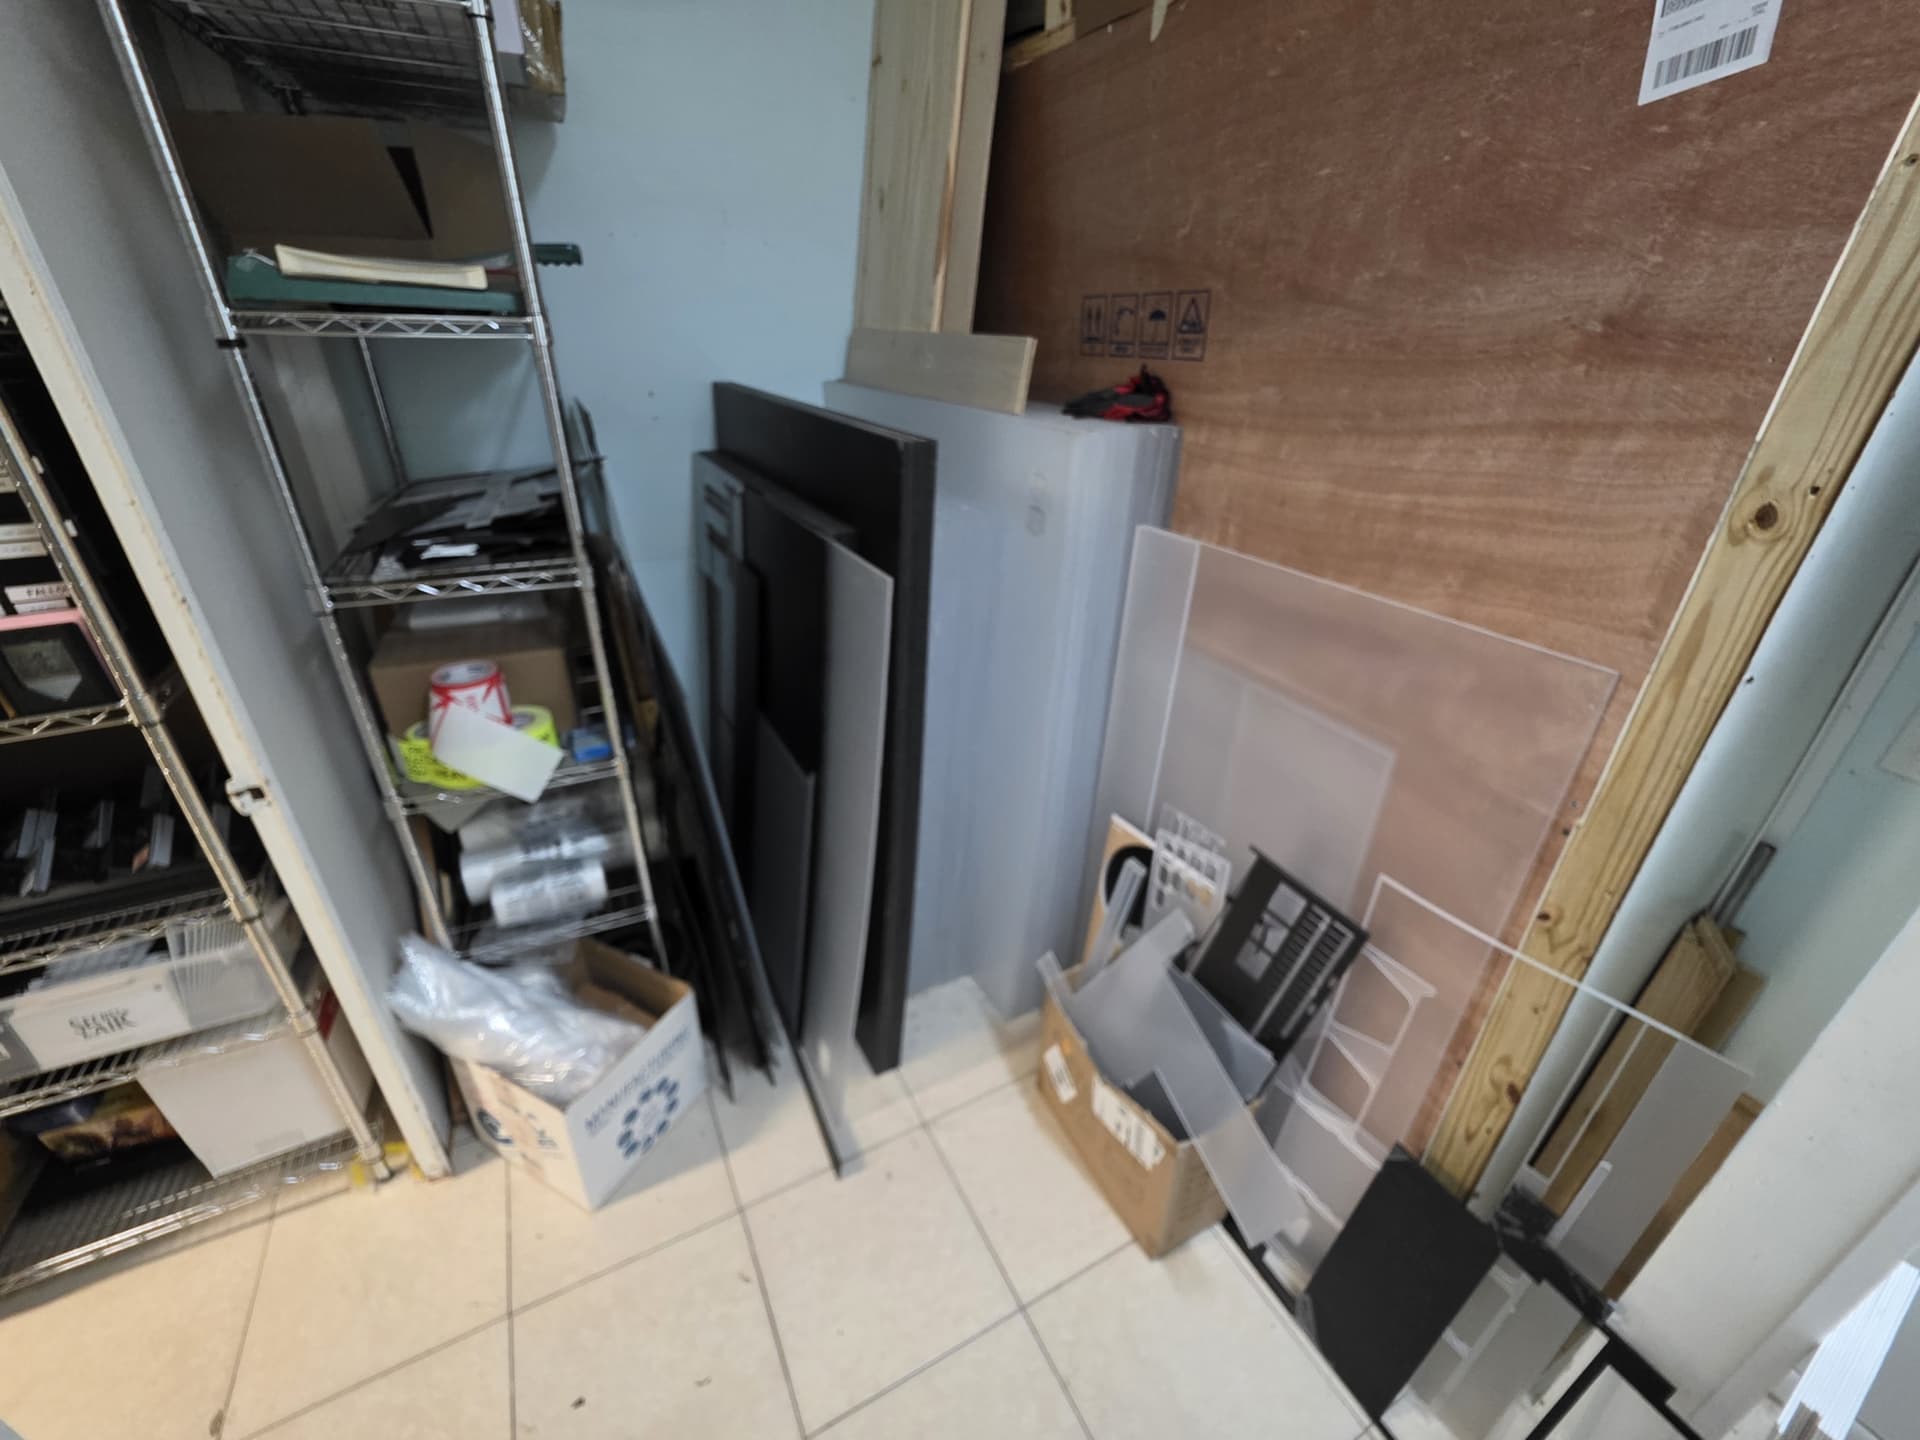
THIS AREA IS FOR THE 10,000LBS OF ACRYLIC COMING NEXT MONTH
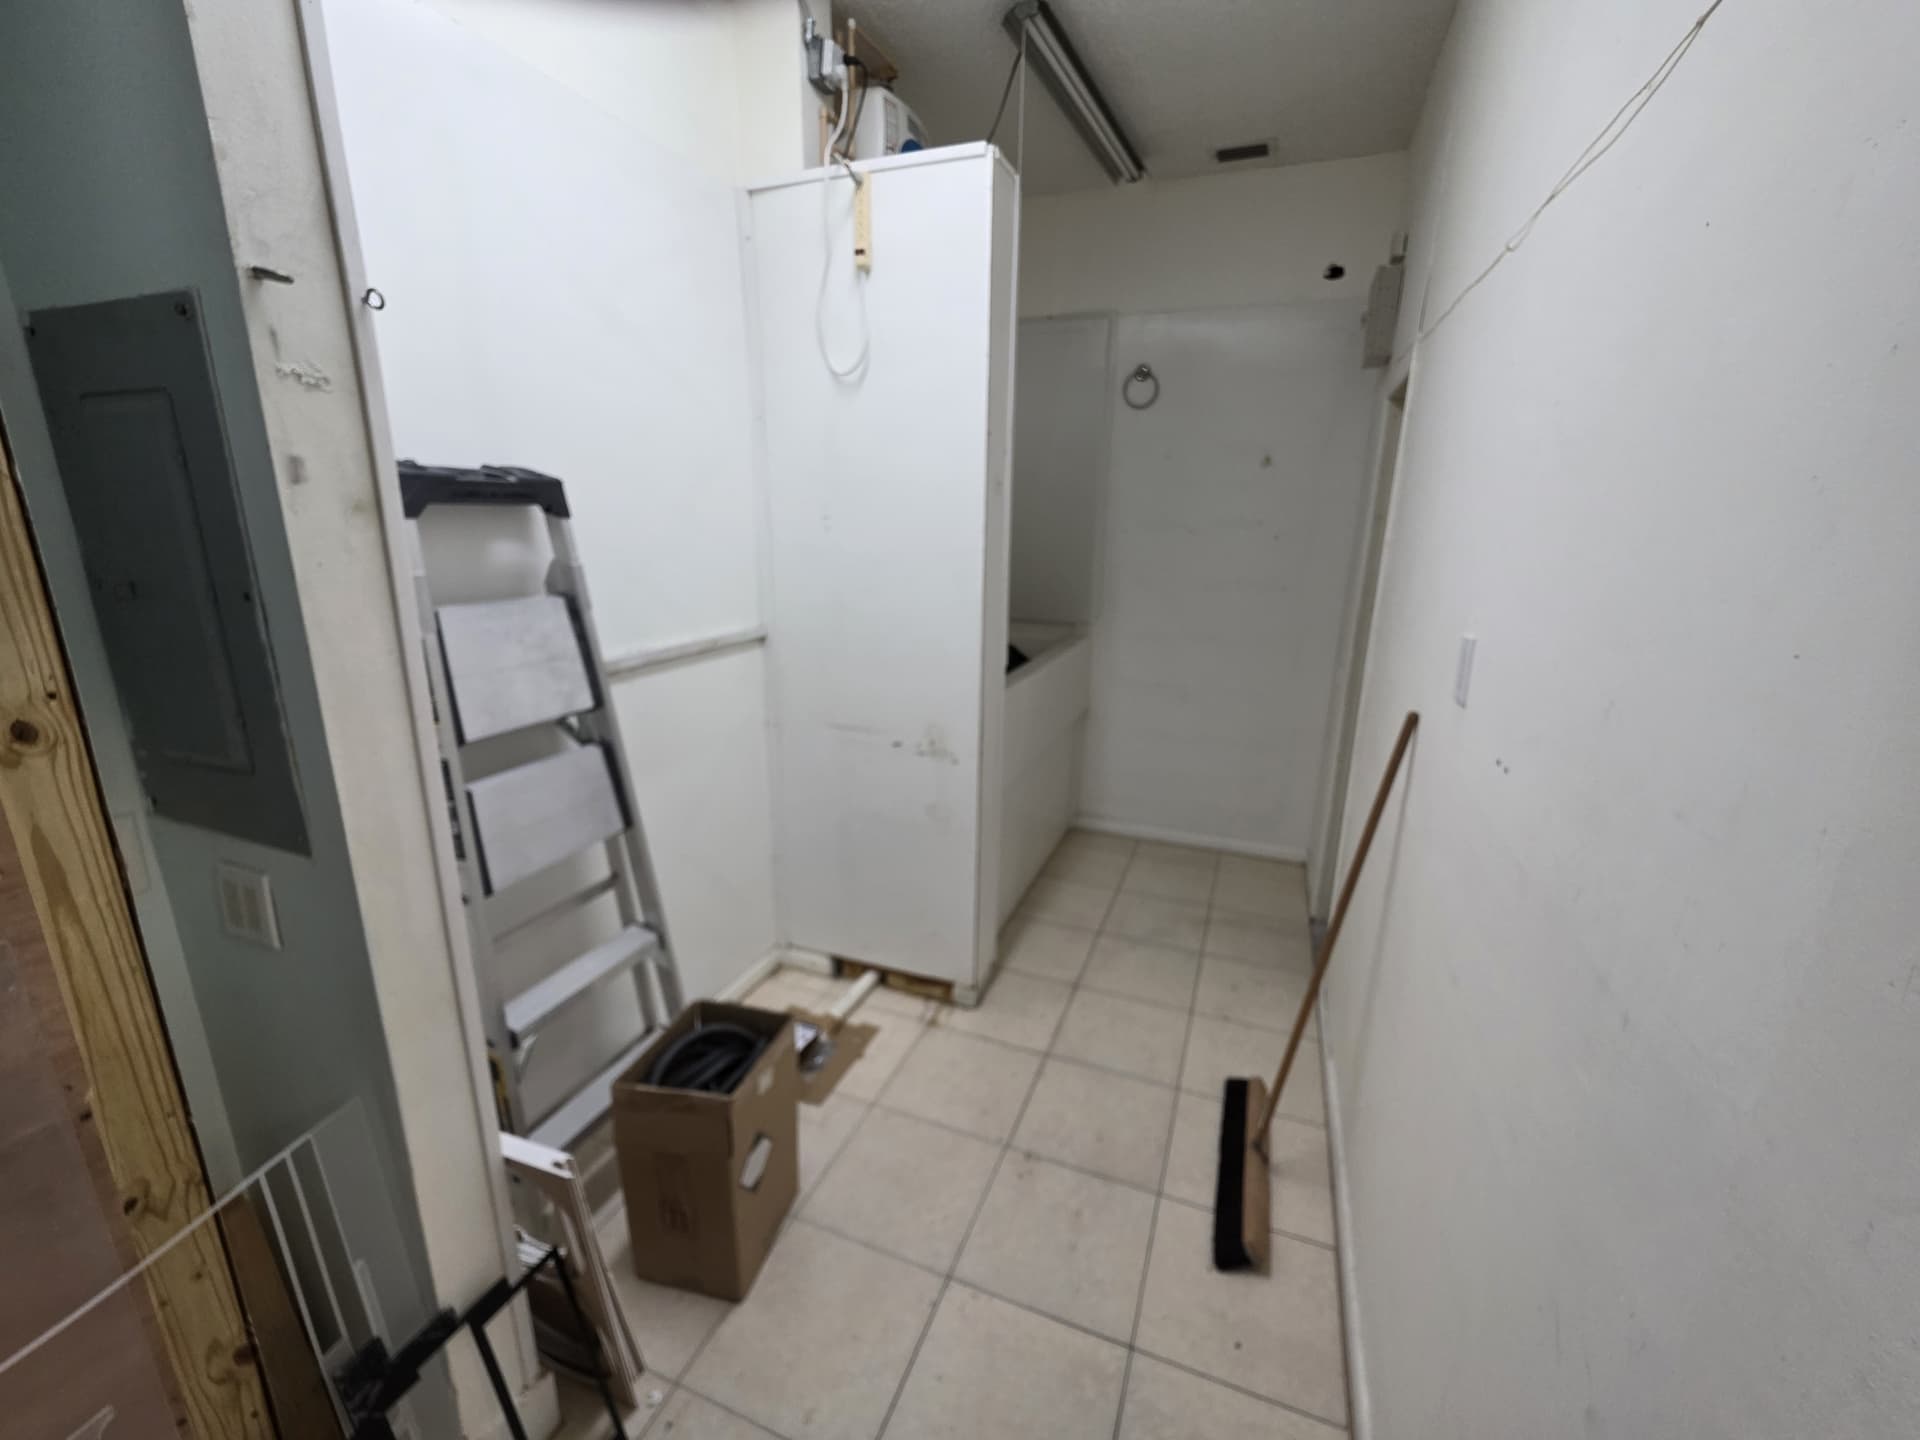
I HAVE A GUY COMING TO TEAR OUT THE TUB AND WALL AREA
( THIS SUITE USED TO BE A DOG GROOMER THAT RENTED FROM US )
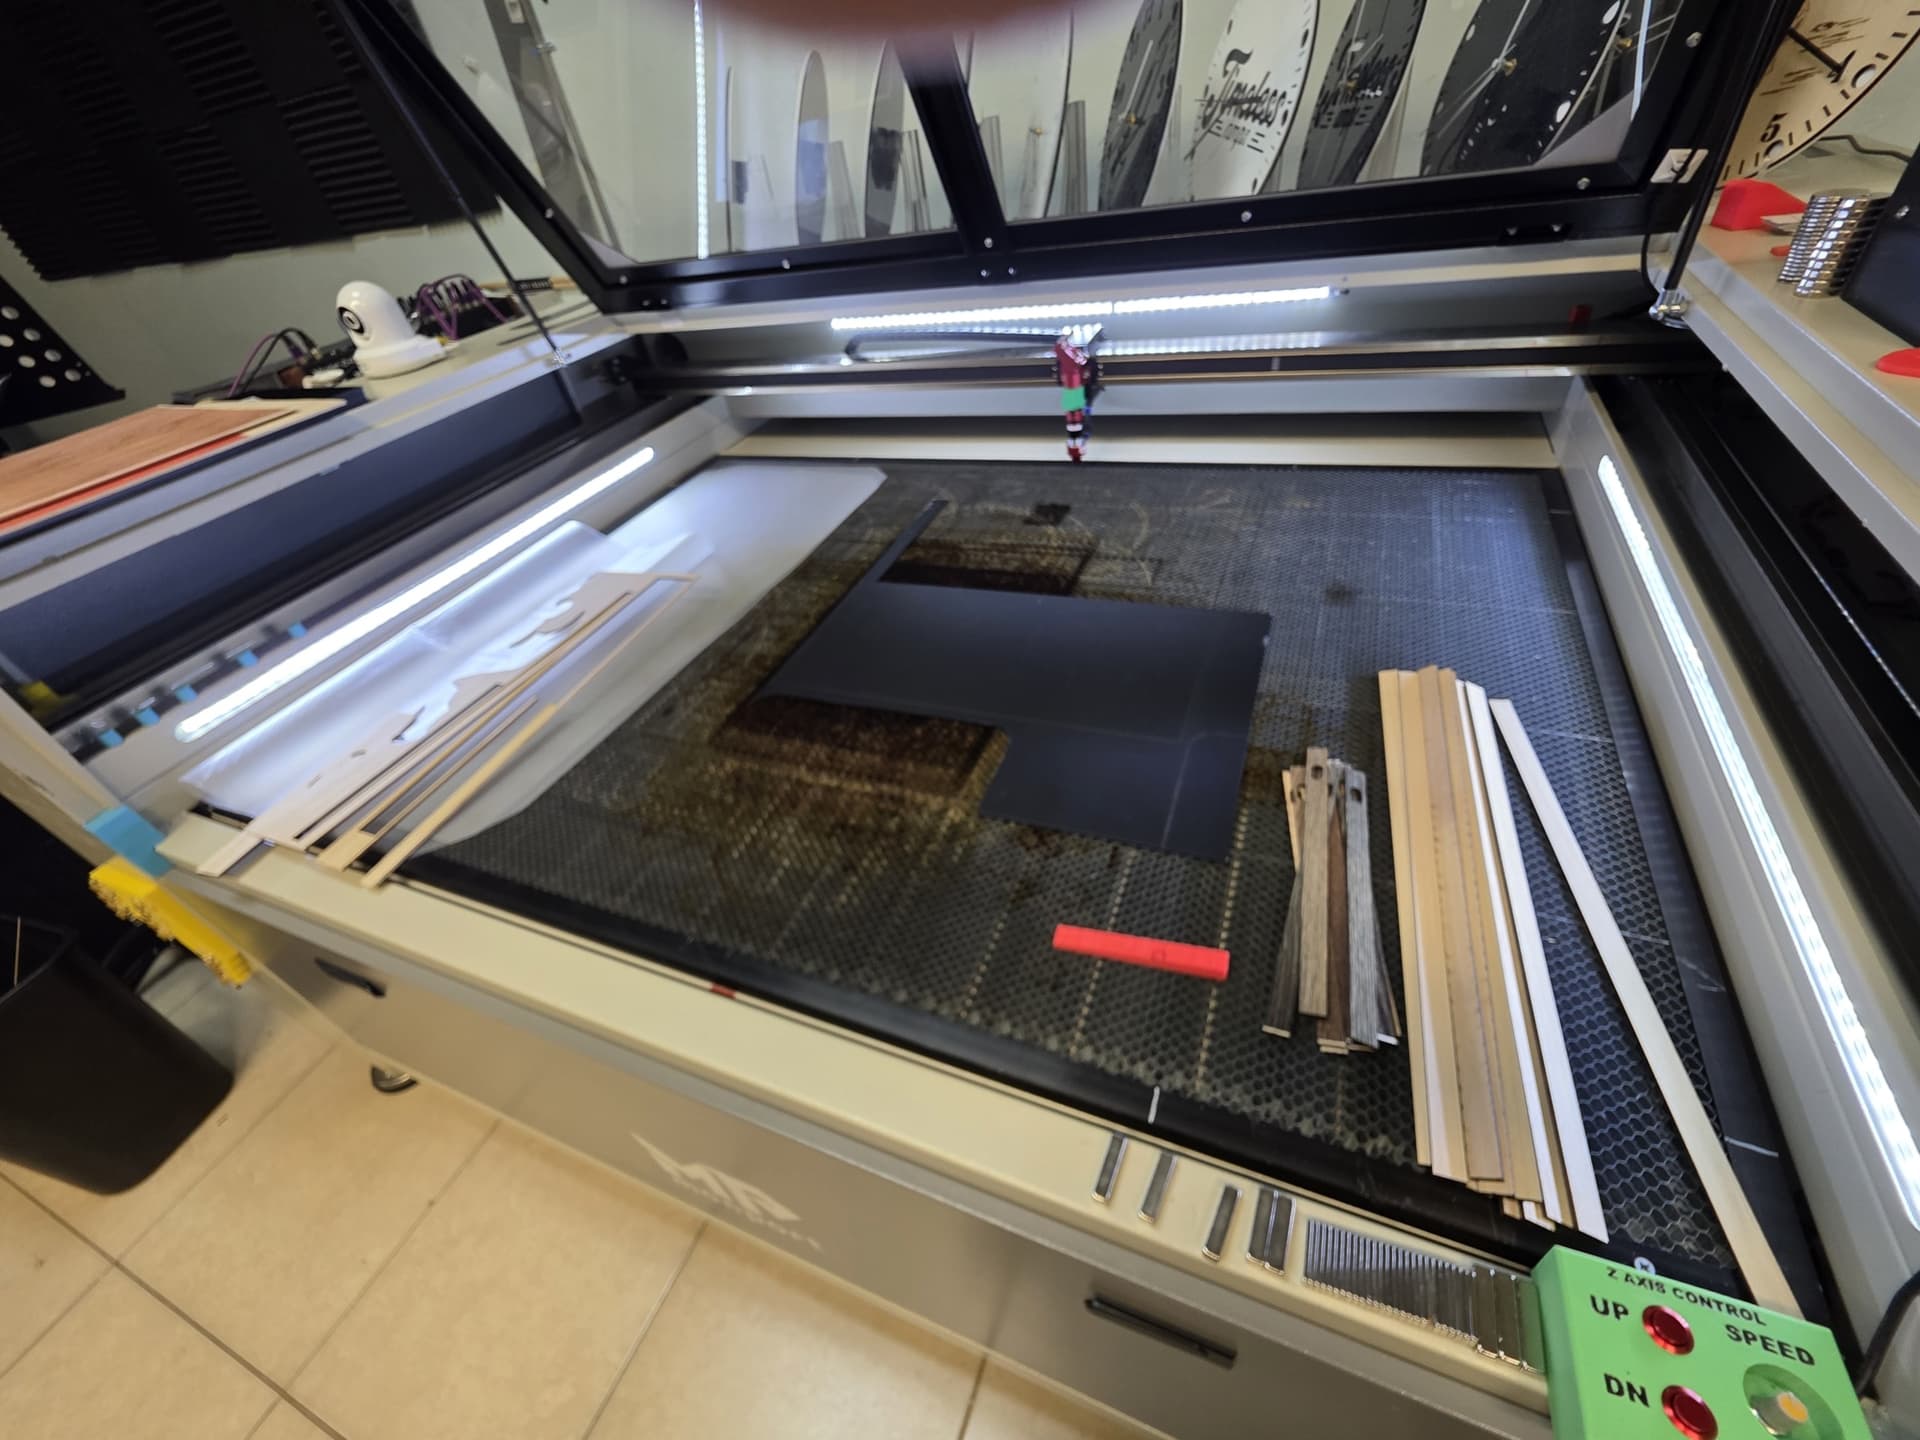
LASER MONPORT 130W AREA
OK… .
HOW TO : THAT I AM DOING ON THESE FRAME THINGYS…
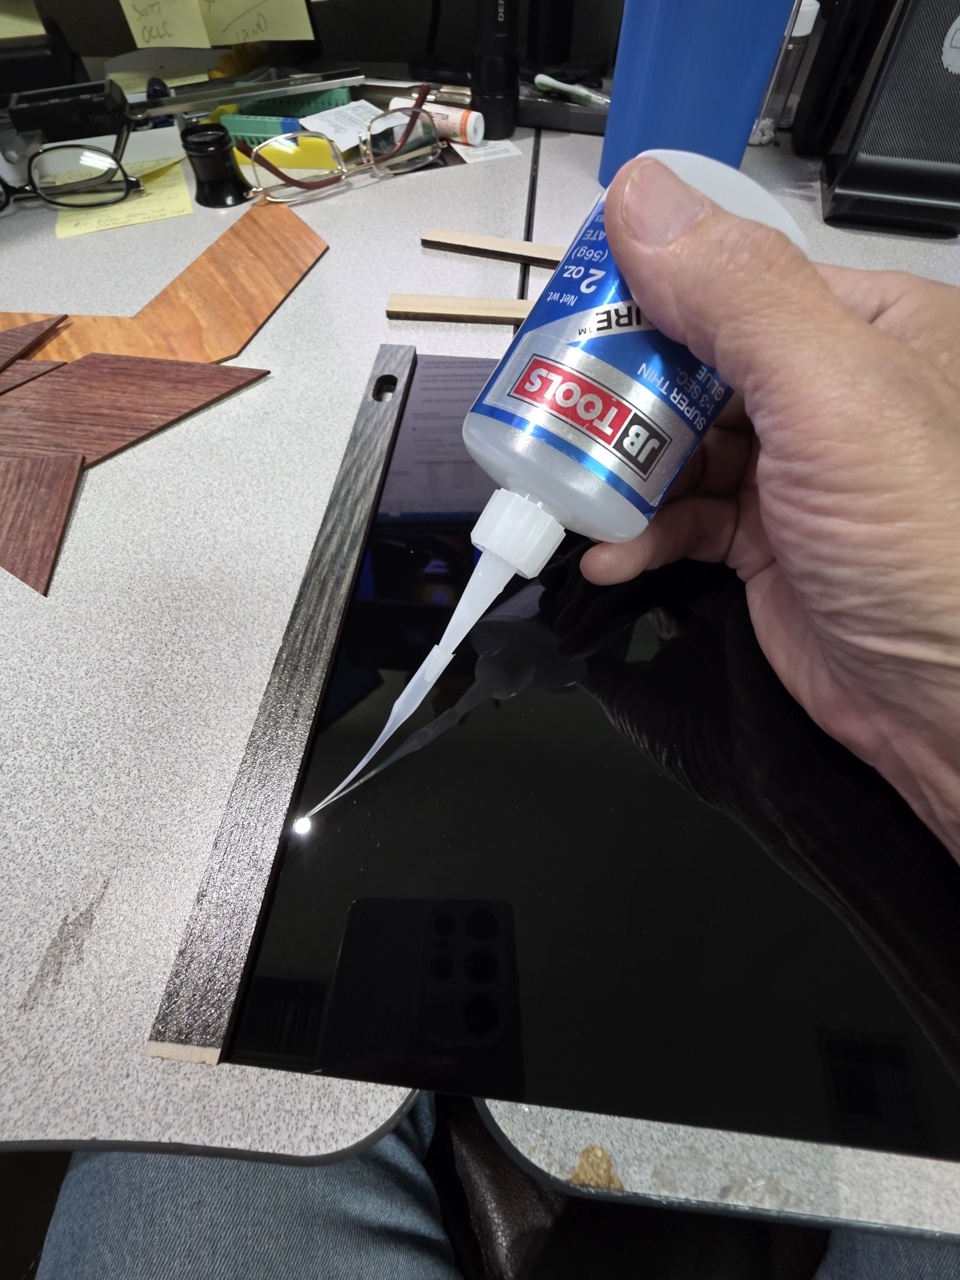
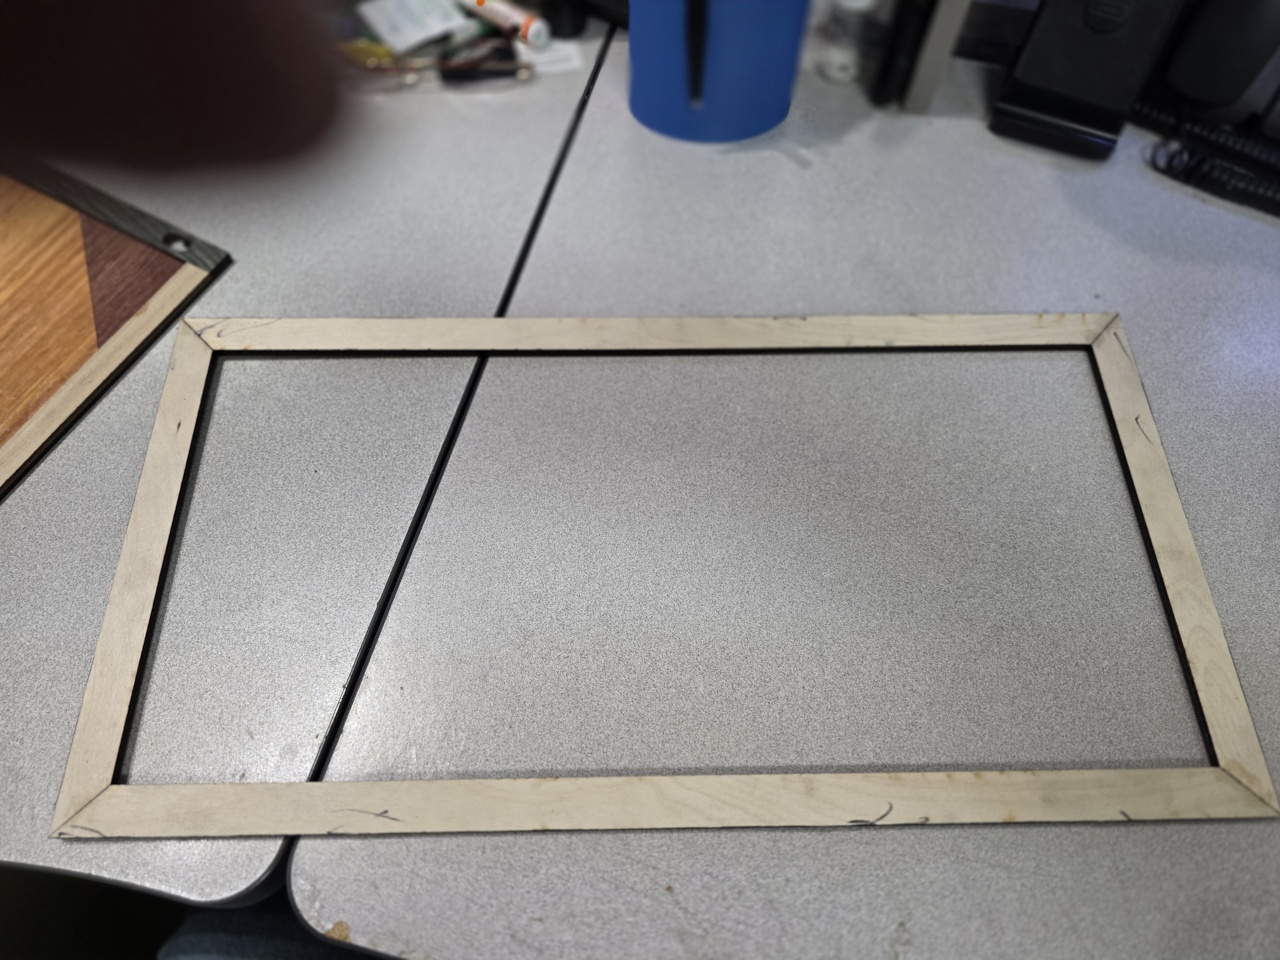
FIRST I cut all the parts
line up the inner space framing, this is just scrap wood and using THIN superglue
I just wipe the edges… it wicks in very well…
do all four pieces…
I make sure the inside area is ok with about 1mm to spare for the inlay woods..
I do a dry fit of the parts before I start the superglue, don’t get a second chance… ![]()
I tack the edges as I go, be sure you don’t mis-align the parts…
For the inner parts I put a small drop of glue before I drop it in
I hold down the edges and put a drop of glue to wick under the part hold it for a few seconds..
After all the parts are in, I go around the edges and drop a few points of glue if needed…
I also make sure all the internal edges are pushed down and use a drop of glue i they are sitting tall !
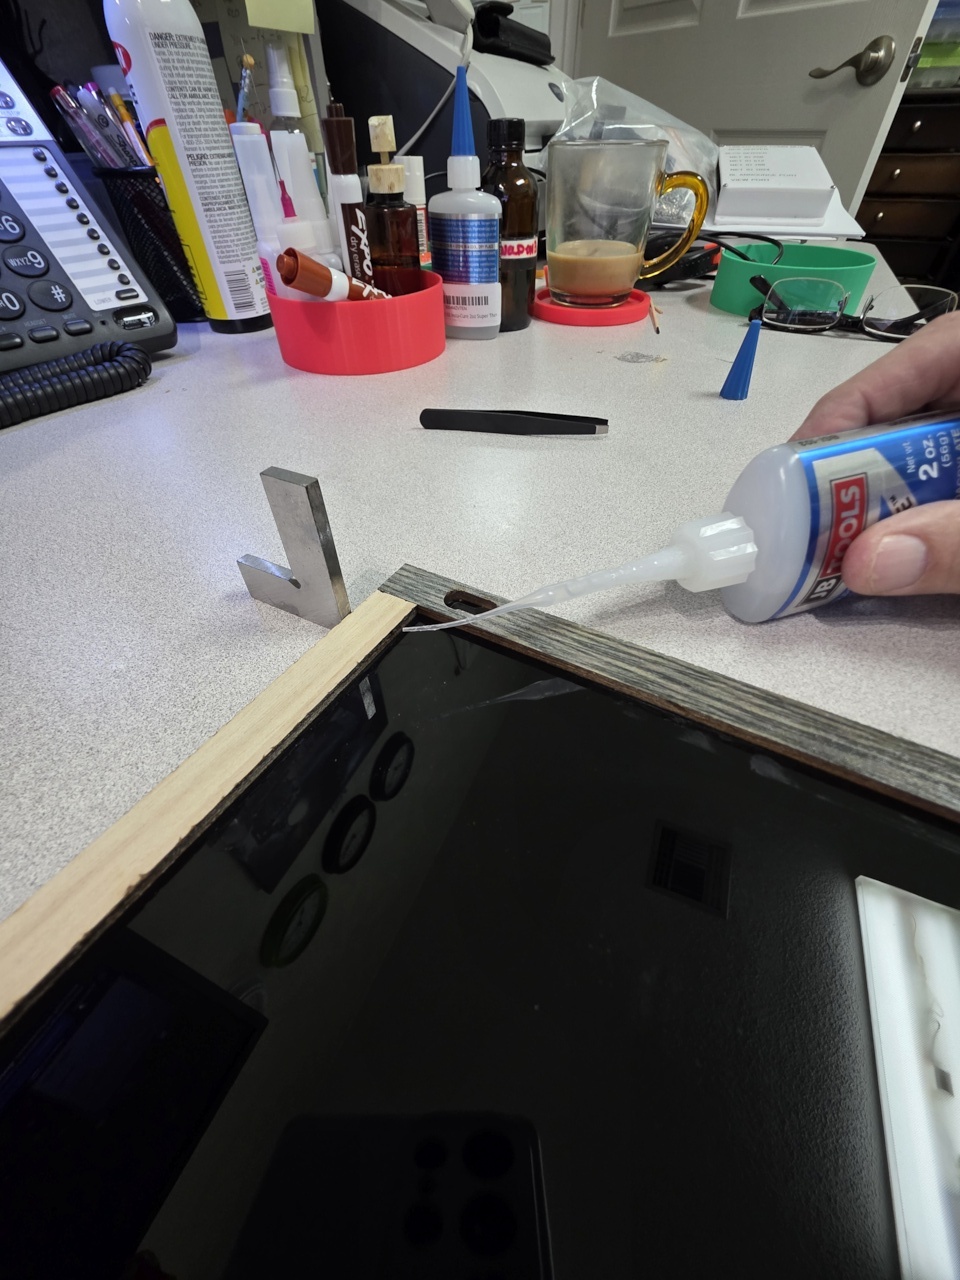
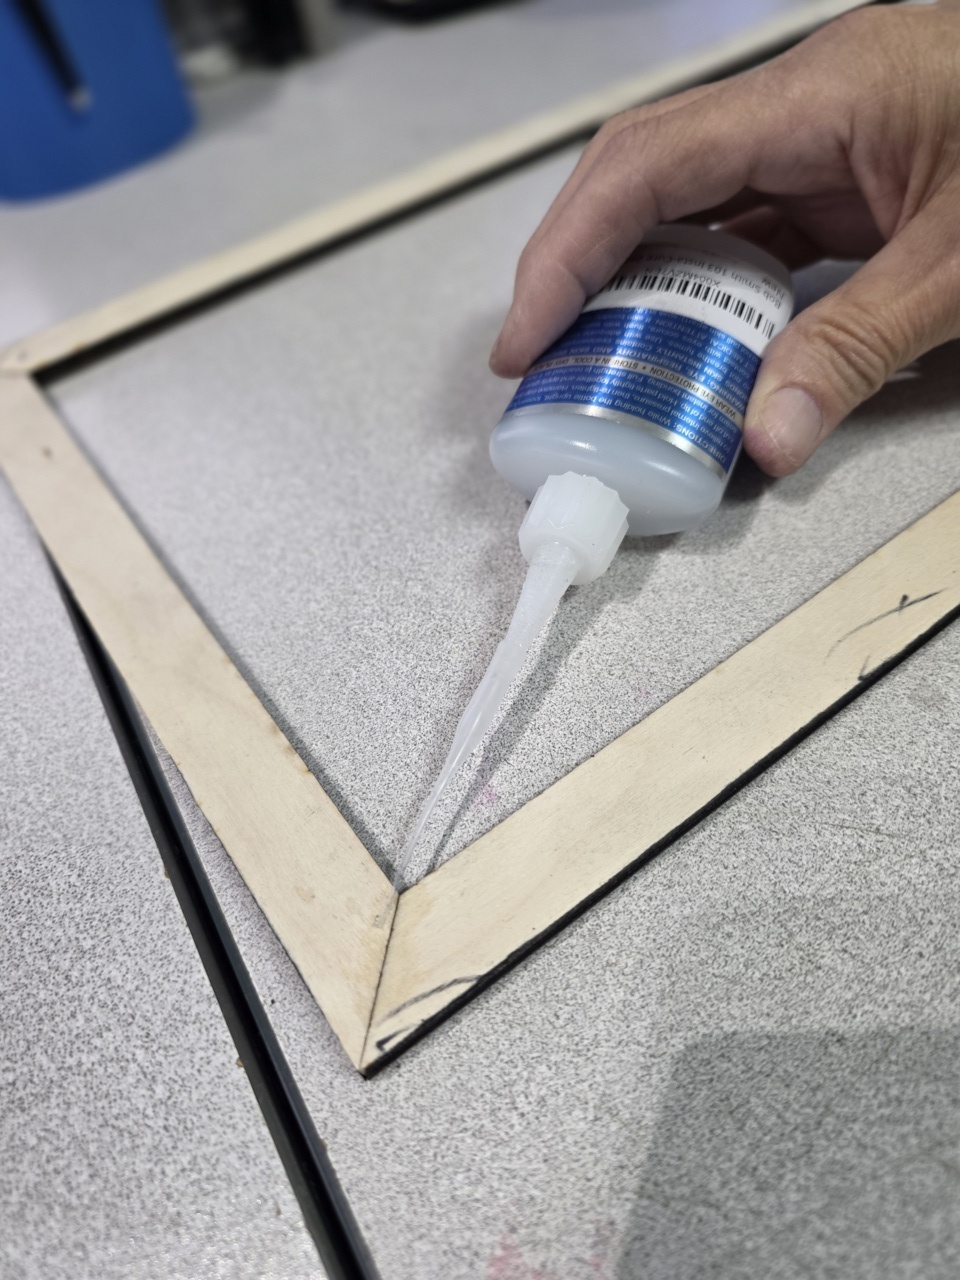
Time to Frame :
I put the frame together off to the side, since these are laser cut they are very square
putting them together, and even if the are off a bit pulling them together with a drop of glue keeps it square.
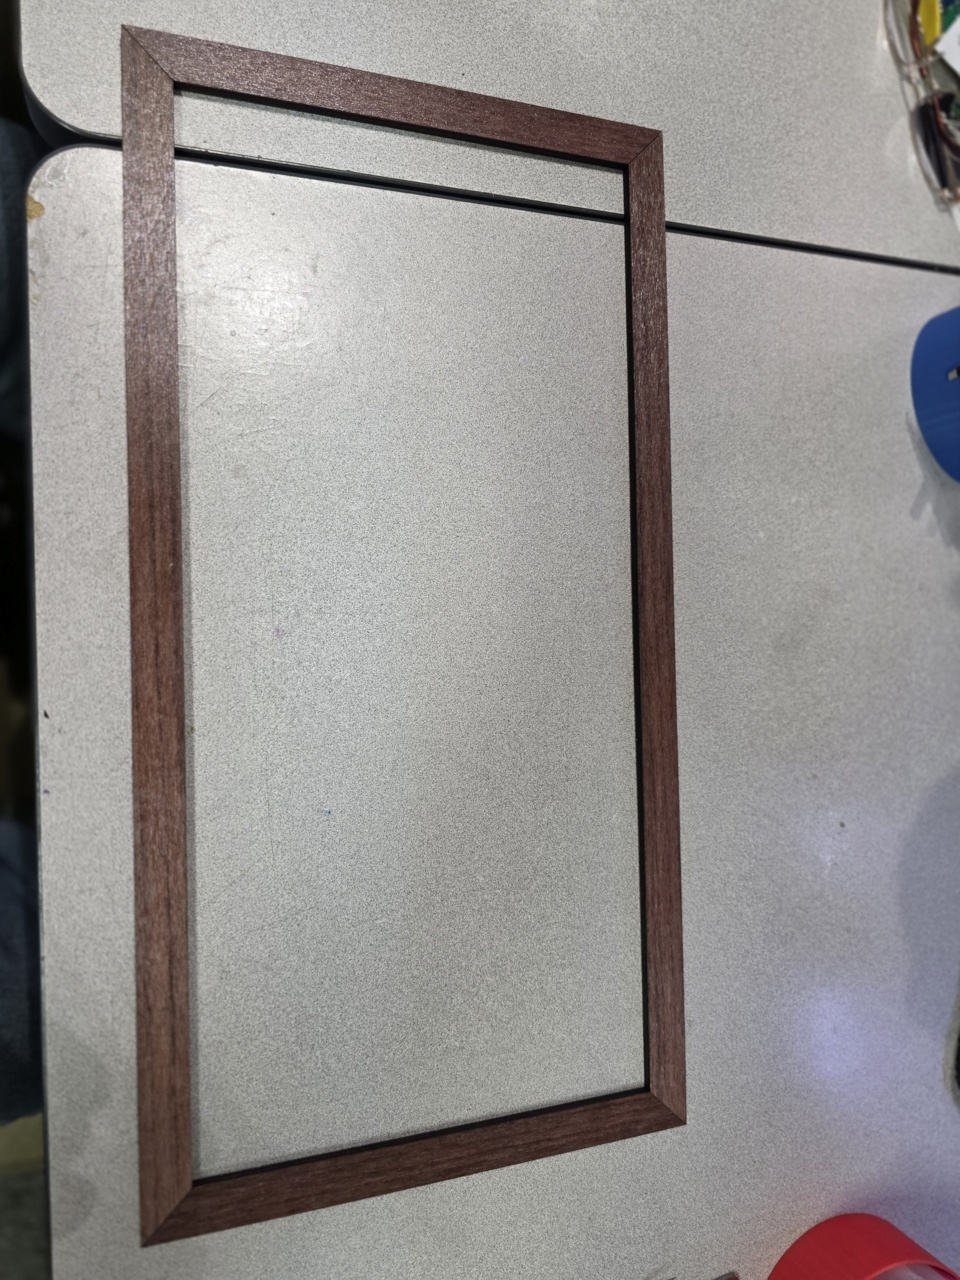
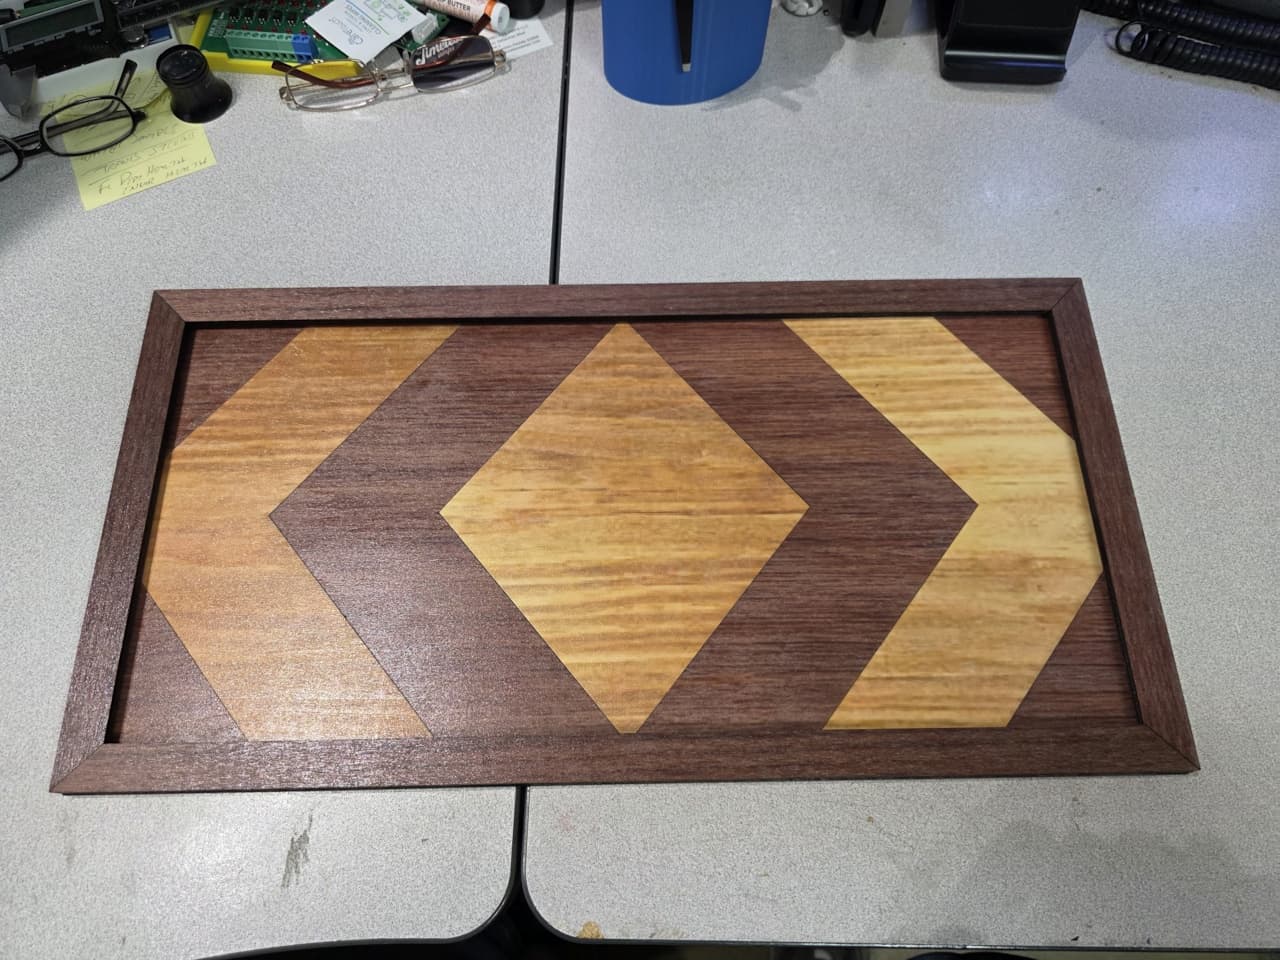
FINISHED
INSPECTED TO SEE IF ALL THE JOINTS LOOK OK…
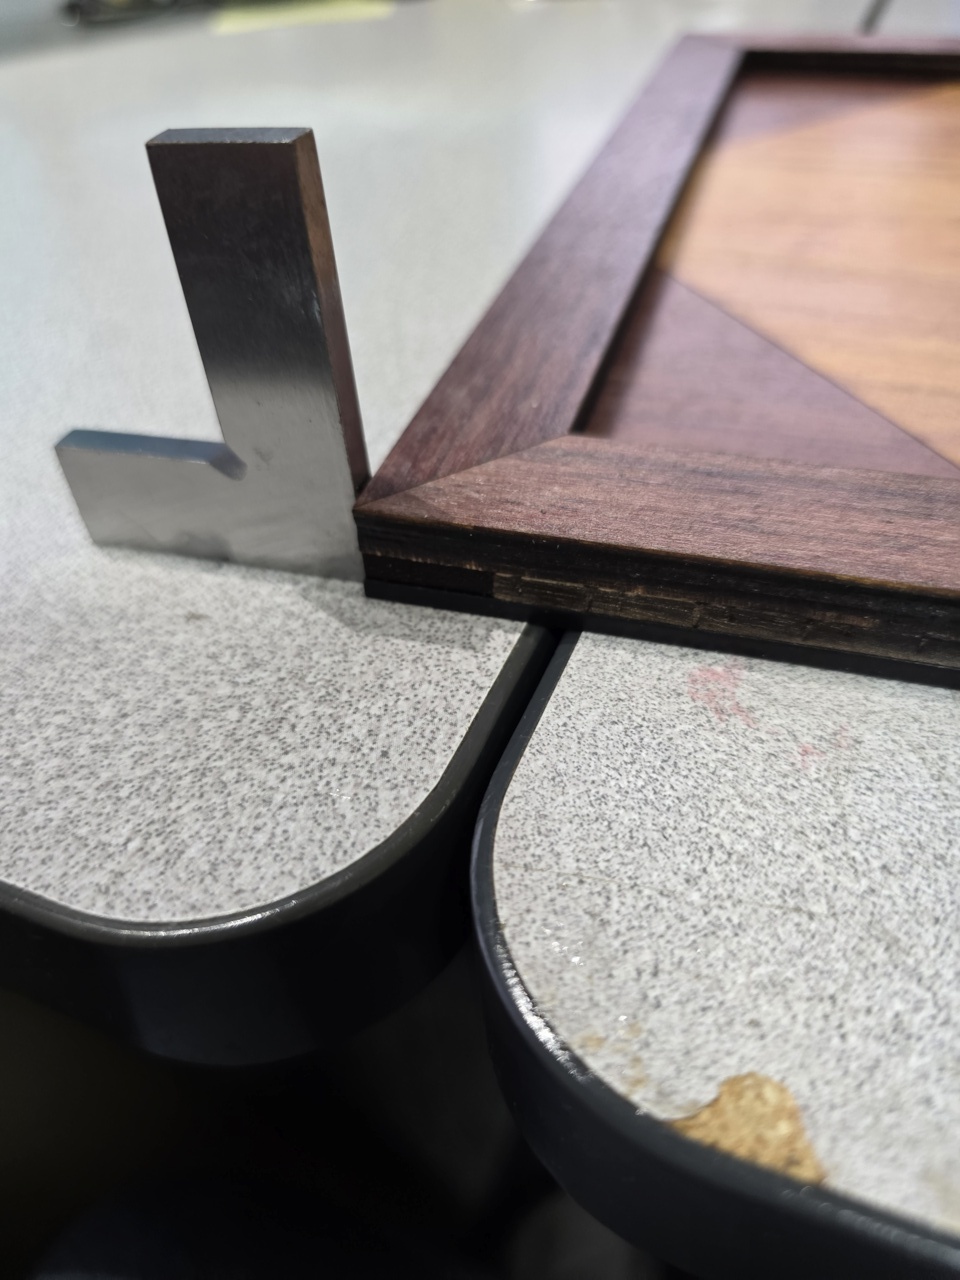
NOW JUST DO A DRY FIT ON THE FRAME TO SEE HOW IT LINES UP…HMMMM PERFECT !
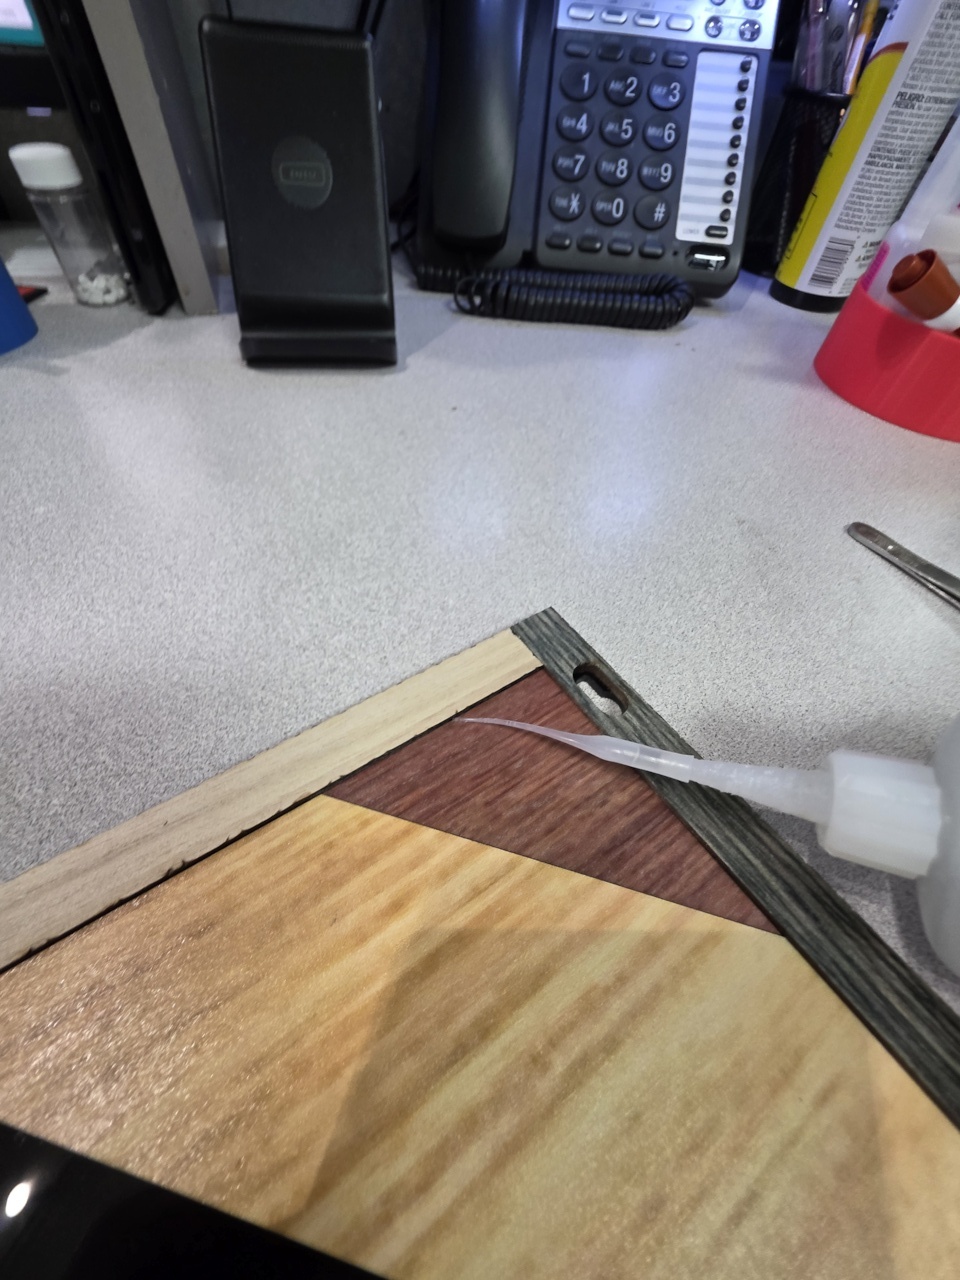
USE MY LITTLE ANGLE TO BUMP IT FLUSH ALL THE WAY AROUND
GIT IT A DROP OF GLUE ON THE JOINTS, IT WICKS IN VERY GOOD !!!
THE FINISHED UNIT… NOT BAD
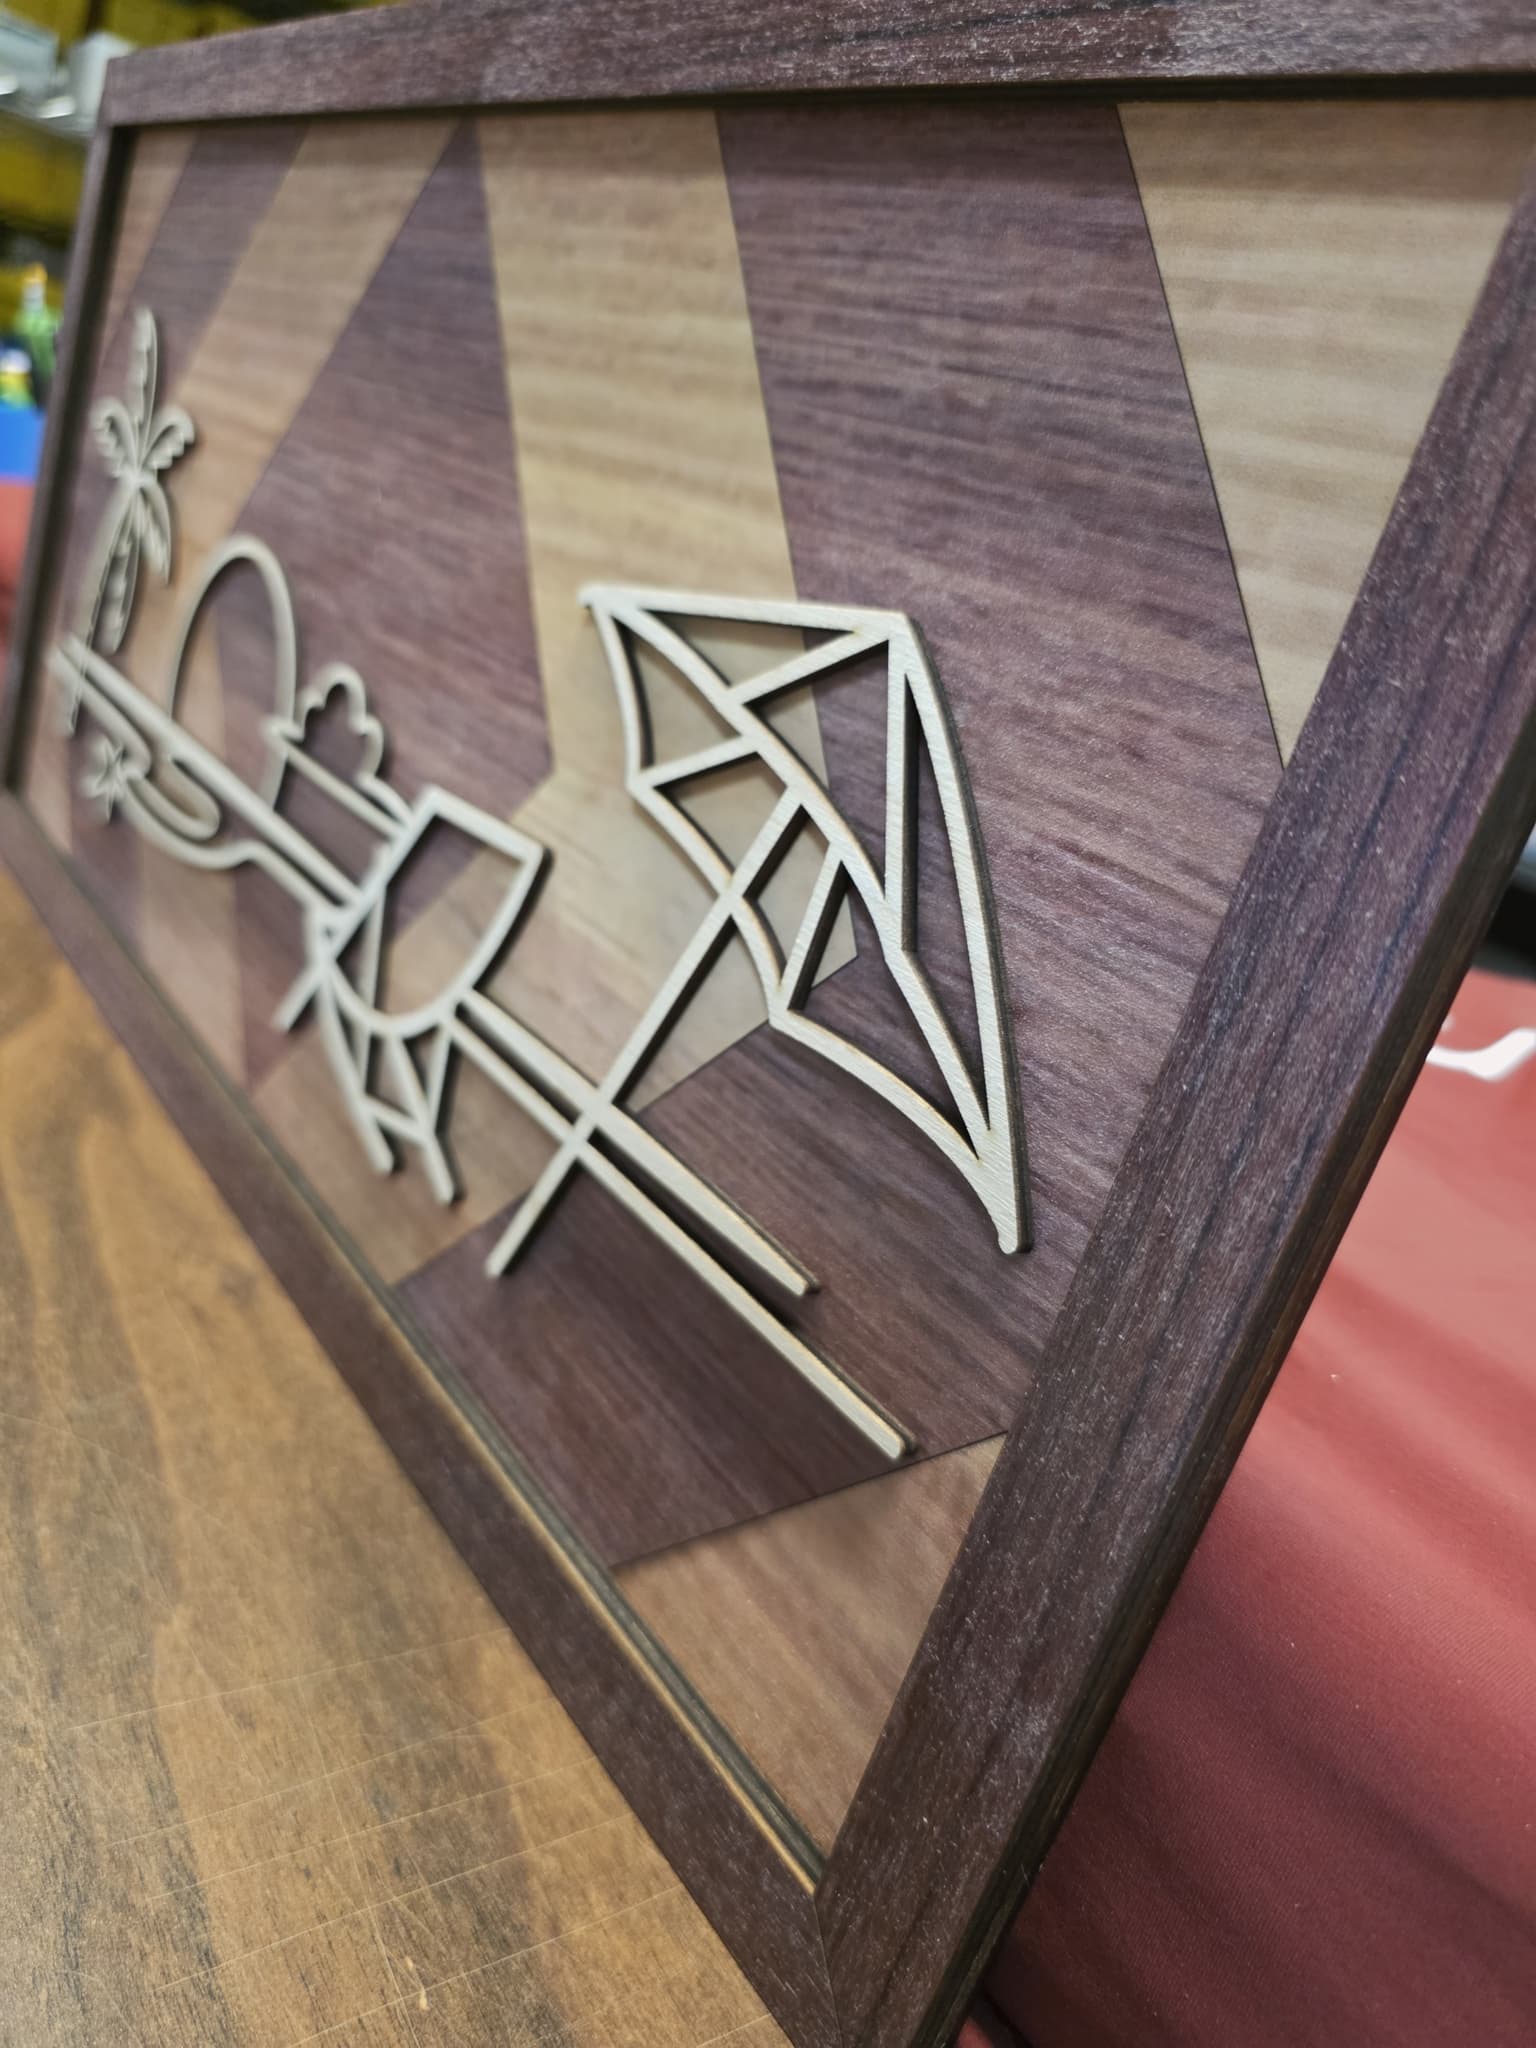
HERE IS A COUPLE OTHERS WITH DIFFERENT INLAY I DID THIS MORNING…
WELL… Hope this helps and give a bit of guidance, good or not, on how I do these…
let me know if I missed a step or you need some clarity ! ![]()
Chuck
Thanks so much for the time, photos and details…
I have to say, your shop looks rather intimidating to anyone that just starting out, nice to see …
![]()
Been d
You are welcome…
been doing design work for 50 yrs…so you accumulate !!! (not necessarily a good thing )
but fun none the less…
thanks
I just have one thing to say about your pictures… I am jealous. Totally GREEN with ENVY!