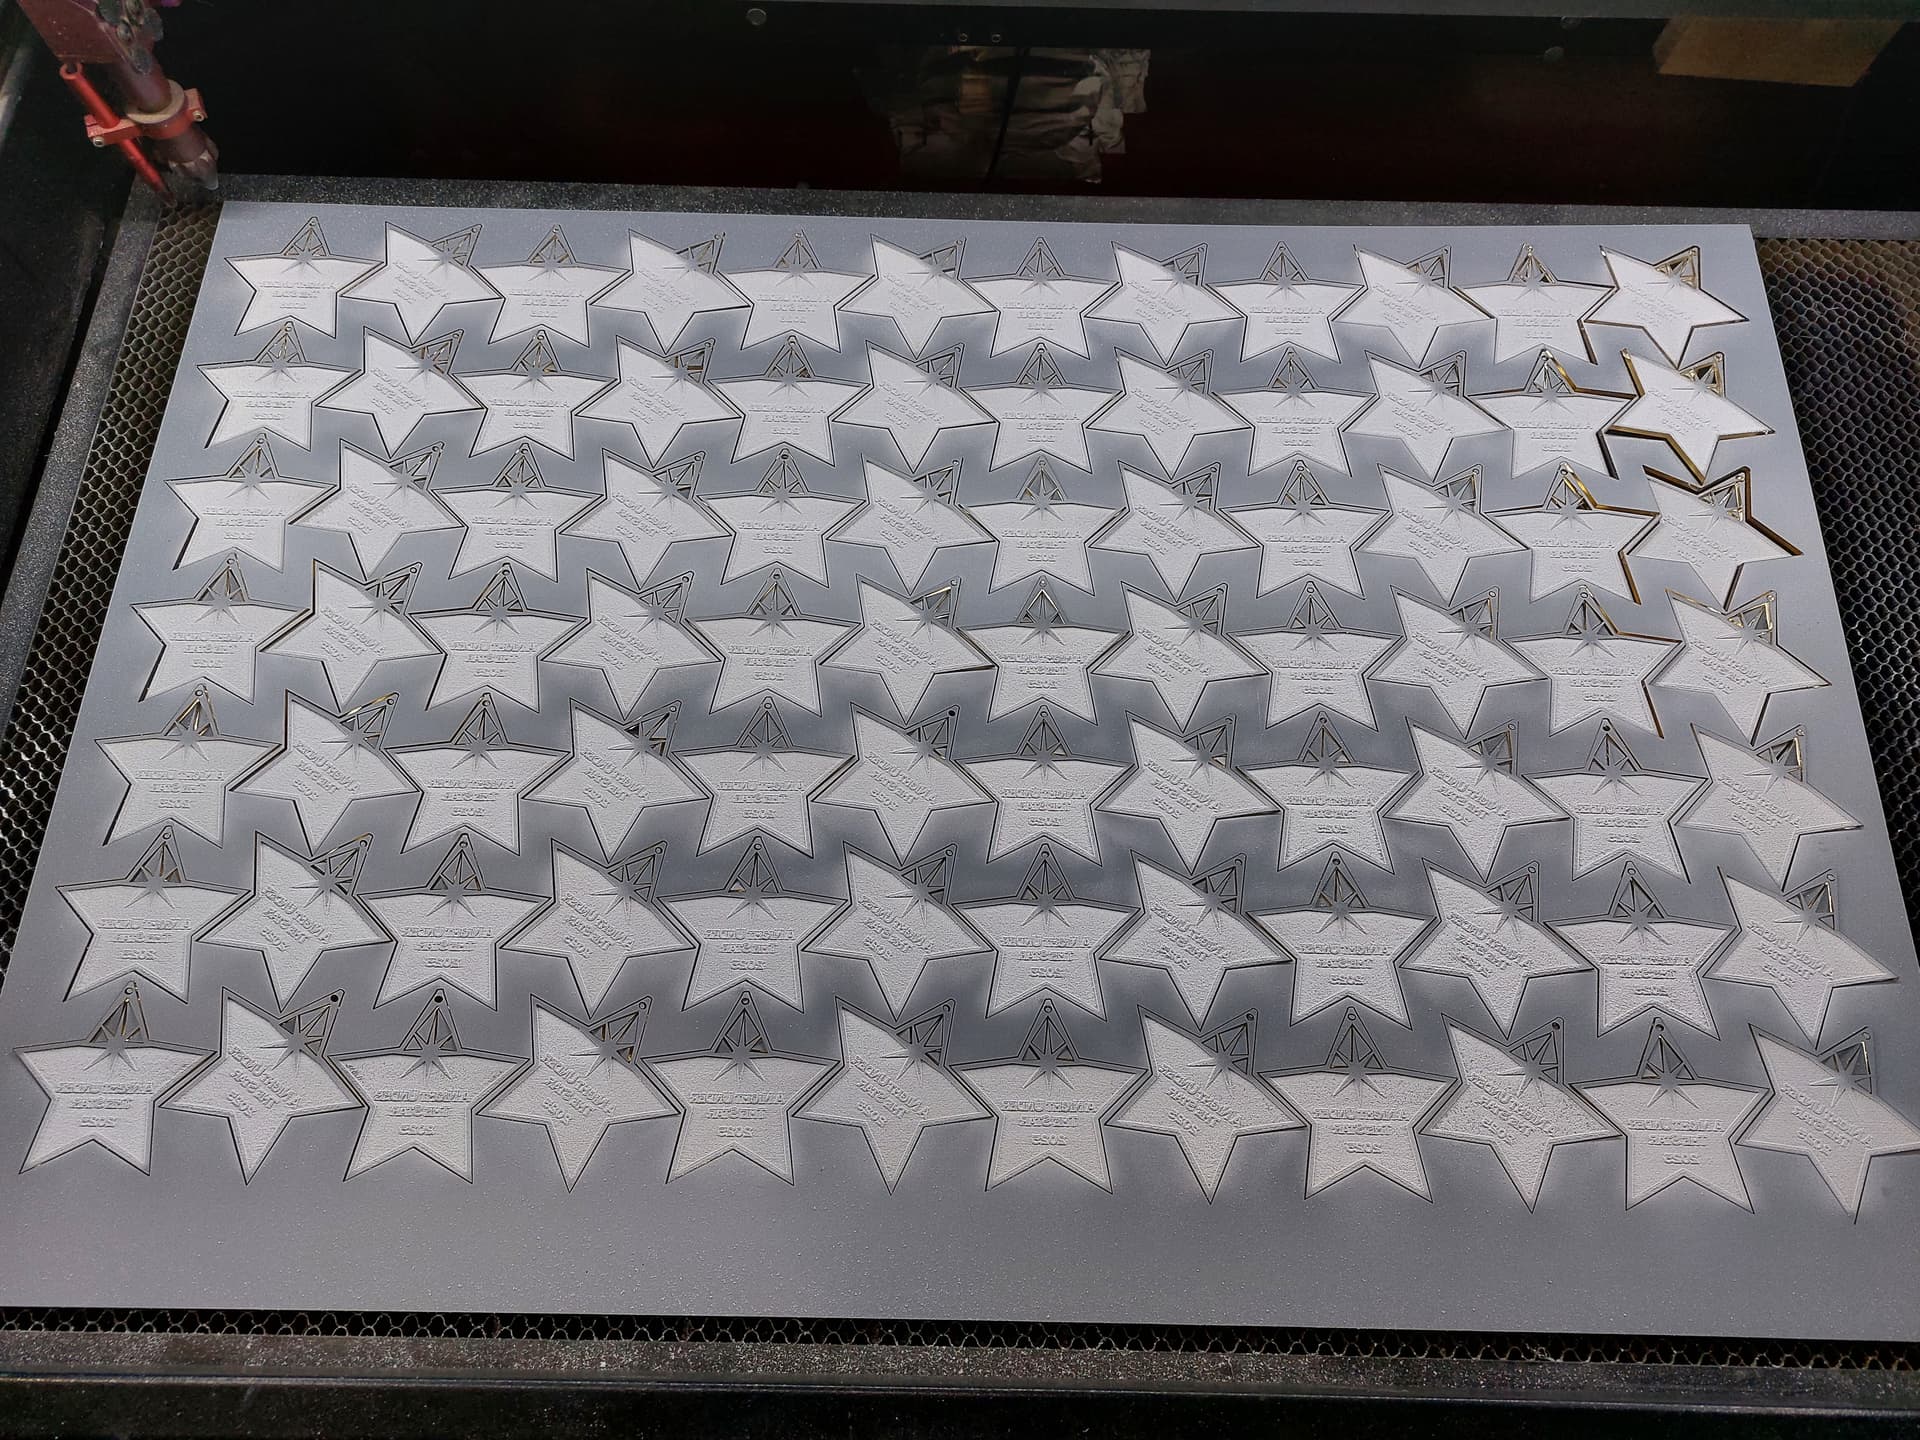
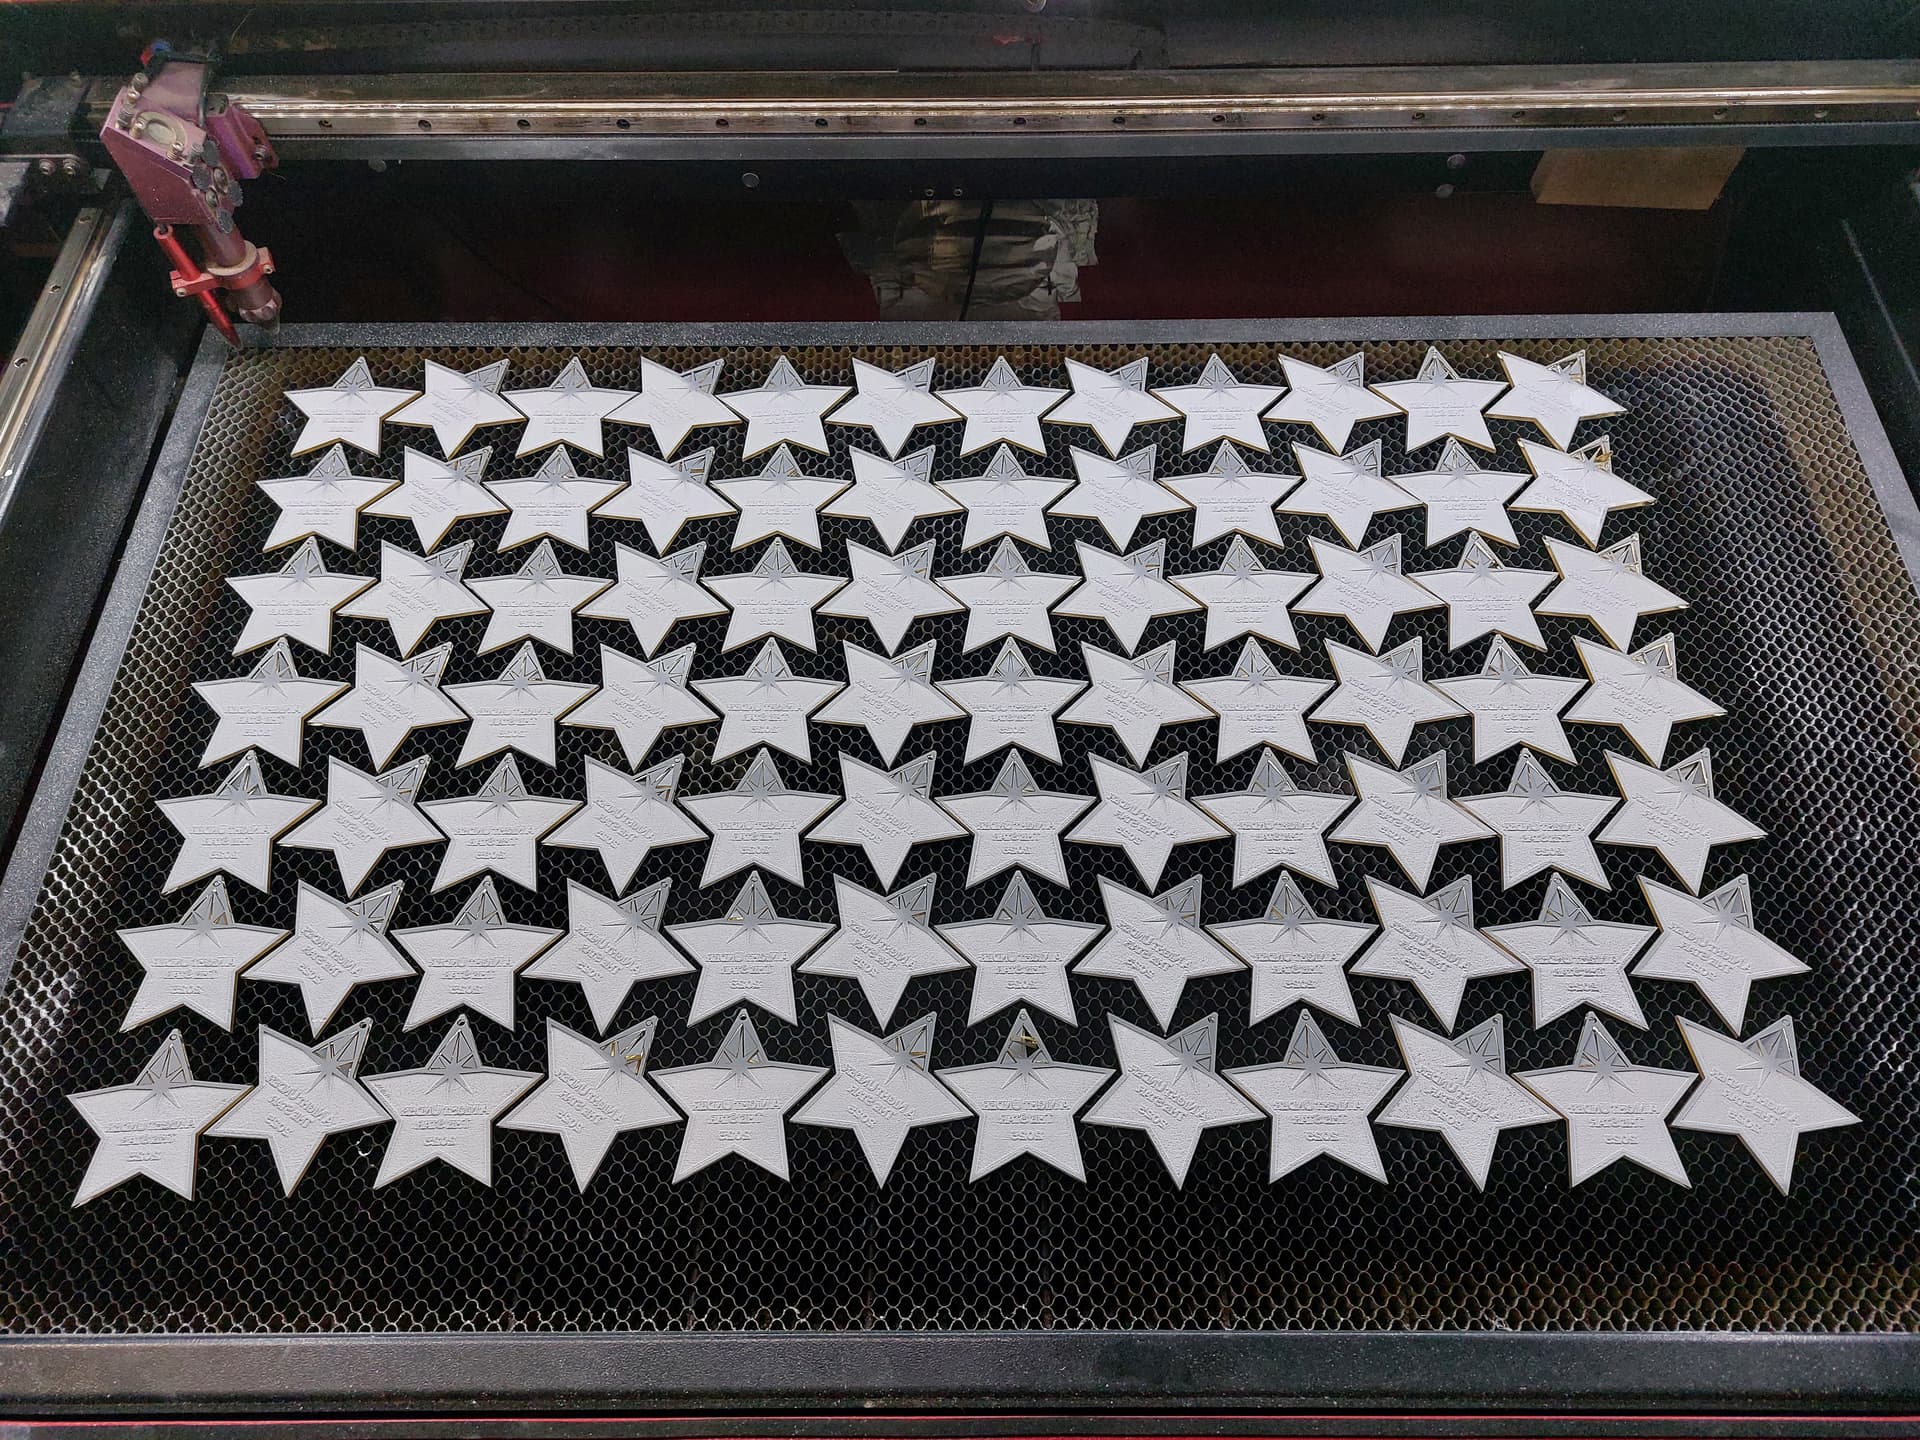
So much for sitting around after work. Just got an order for 1500 Christmas ornaments for the church I attend. At 5hrs17min a sheet of 82, it’s going to take a few days. 1/4 of the sheets of 3mm gold mirror are here, the others to be ordered Friday. Going to be a busy few weeks.
(edited to add…they only needed 750 last year, and ‘it’ll be tight’ this year. Growing a bit are we?)
(And before you ask, there’s no profit in this other than giving back to my church. They get charged materials costs only. My reward is waiting in heaven)

15 Likes
Those look great! Nice work!
It’s always nice to get big jobs like that with long cycle times. I have a reading chair next to my laser and noise cancelling headphones for that reason ![]()
4 Likes
What kind of material is that? Is it metal or acrylic. And what machine did you cut it with?
Brother, yer awesome!!! God bless!!!
2 Likes
(post deleted by author)
1 Like
(post deleted by author)
Since I read upwards of 125 books a year, this kinda ups my average. Kindle and silence, my kinda evening.
Thanks. I’ll give it a try. I have a 35/70 watt Diode laser but i usually use the 35 watt setting. Any suggestion for power and speed for cutting and engraving other than trial and error.
I run mine at 15@55% for cutting, and the ‘engraving’ is 275@17% currently. Tube has quite a few hours on it and a ‘fire’ in the compartment at one time, so it’s getting ‘old’.
I cut after I engrave so the air doesn’t move the pieces around. Thinking about 4-5psi, but it seems to change on it’s own, so don’t hold me to that one. The engrave settings, well, those are hit/miss on different designs. Lettering that is small needs slower with less power since it sometimes overcuts and shrinks the letters. This batch, the “A” at the beginning has a smaller leading leg then the other side of it. Too fast, that leg nearly disappears.
It’s a game we play called ‘yeah, that’s perfect…except for…’
1 Like
Thanks for the info. Ill give everything a try when i get my Mirror Sheets
I order some Gold Mirror Acrylic from Amazon but it says it has an adhesive back. Is this the wrong stuff.
Yeah, those are wall sticky mirrors. No adhesive cause you want get a clean image through it.
Every now and then this machine performs flawlessly. Certainly didn’t out of the box, but after almost 2 years of modifying to my standards, it ocassionally amazes me. Today was the second sheet of these, and every one stayed right where it was cut. Yeah, I’m pleased. Only 13XX left to go.
5 Likes
Thats pretty cool, great result so far.
I’d love to see your settings for the infill pattern portion. That’s a cleaver design.
Love the design! Any chance that you can provide the Lightburn file? I was looking for something to give to the family for xmas with their names.
I just received my sheet yesterday, I have a 60 watt Omtech. Hope it does not he job. I’m also curious about how it’s setup in lightburn. I would like to make them as a fundraiser for our church
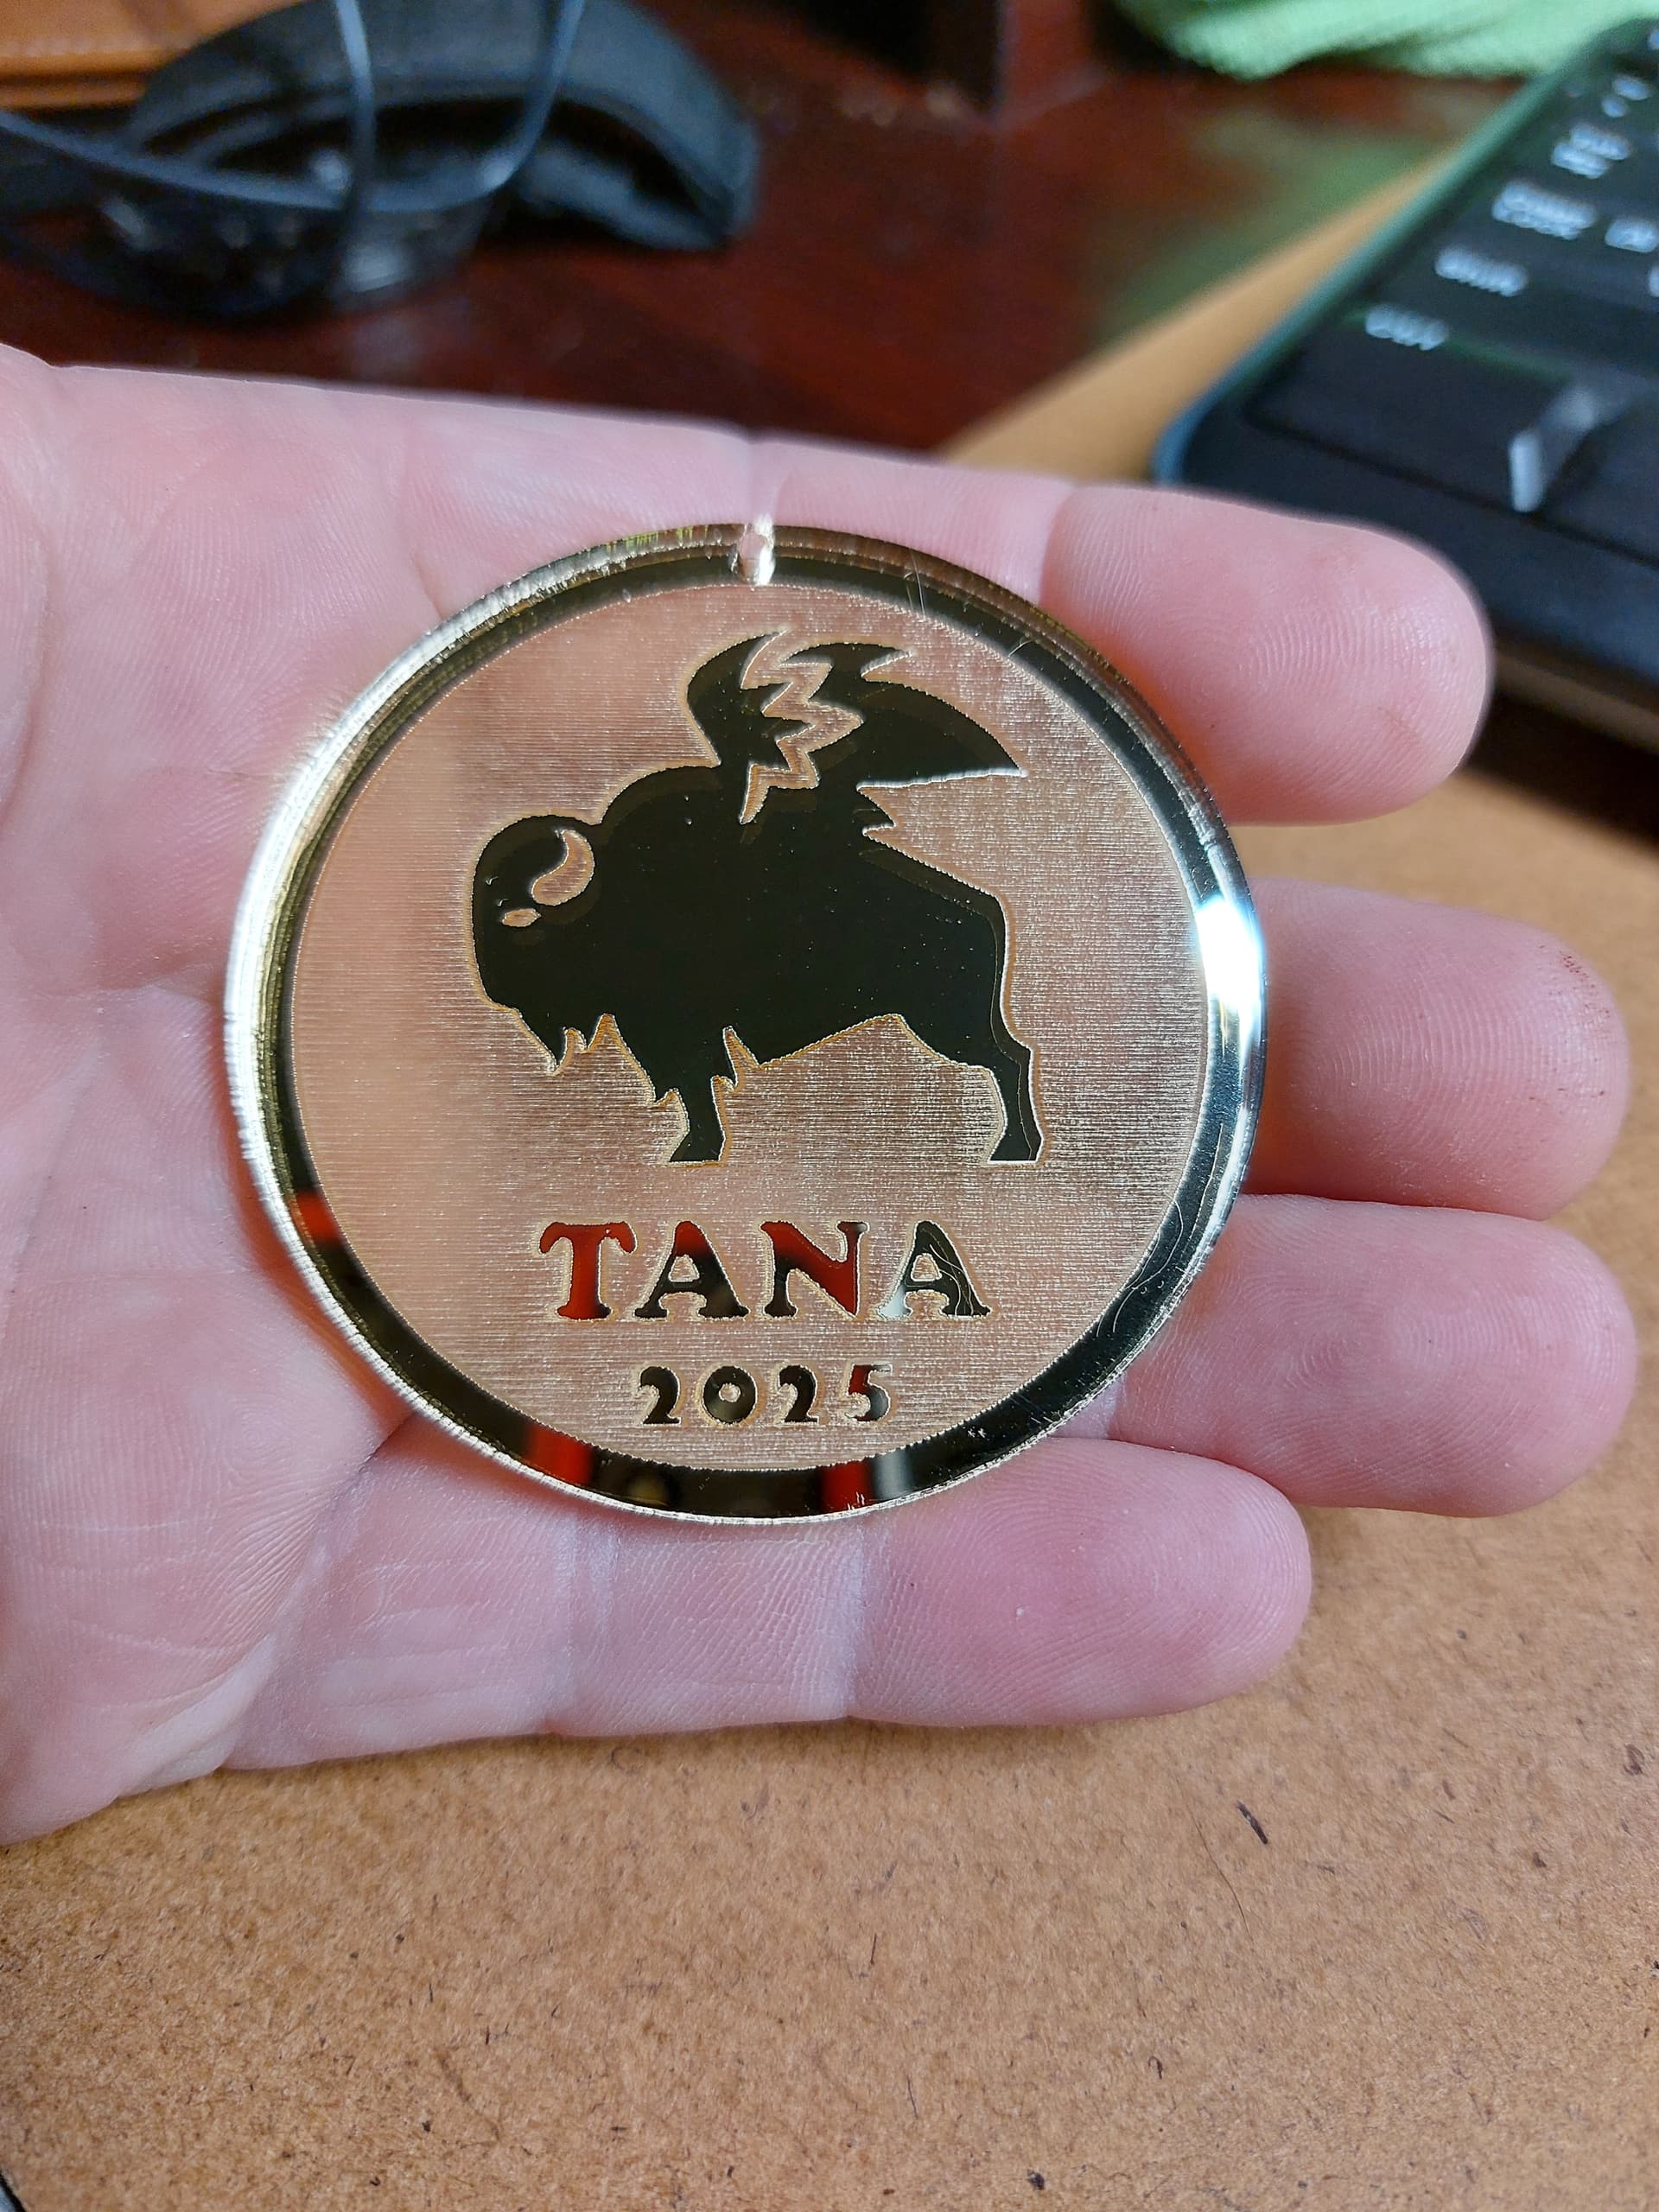
Attached. Local restaurant chain that treats me right every time. For the holiday’s they do a paper ornament for employees. I’m going to set them up a bit nicer this year. Same settings I use for the Christmas stuff, done for the 100W. You’ll have to adjust them for your machine, as well as the shape and contents. Oh, and fill before cut. With the air on, it can push some of the pieces out of position and blur a few things. Something I’m sure we’ve all learned over the years.
One thing that I’ve had to do is make the file differentiate between the fill areas and the line/cut areas. Sometimes adding in a duplicate shape over/under so you get both fill and cut along the same line. This version of the ornament is about as basic as you get.
Both attached. It’s too early, coffee hasn’t kicked in yet. Hope no one copied these before…fixed the line/fill that was swapped. 10:39EST 19 October 2025)
single.lbrn2 (74.5 KB)
single2.lbrn2 (124.5 KB)
1 Like
Thanks the file worked great
1 Like