Looks like another one-off from the dark depths of Shenzhen.
But, if anyone wants to flex their CAD-Fu, here’s something to start with.
Then you could print a few.
Looks like another one-off from the dark depths of Shenzhen.
But, if anyone wants to flex their CAD-Fu, here’s something to start with.
Then you could print a few.
My personal FDM would not resolve fine enough to be able reliably mate.
Getting access to SLA is a pain, but doable.
Big question is about pins. I guess that what you mean CAD-fu ![]() to change design for different pins.
to change design for different pins.
I just vandalize my original laser for the pigtail and crimp XH to it.
Where can I find the STL for the DLC32 with lcd?
Usual places: yeggi, thingiverse, … I’m not crazy about any of them, so I made my own.
I can share it, if you are interested. x3 separate parts.
That would be great. I found some on those sites but none as well fitting as yours.
All,
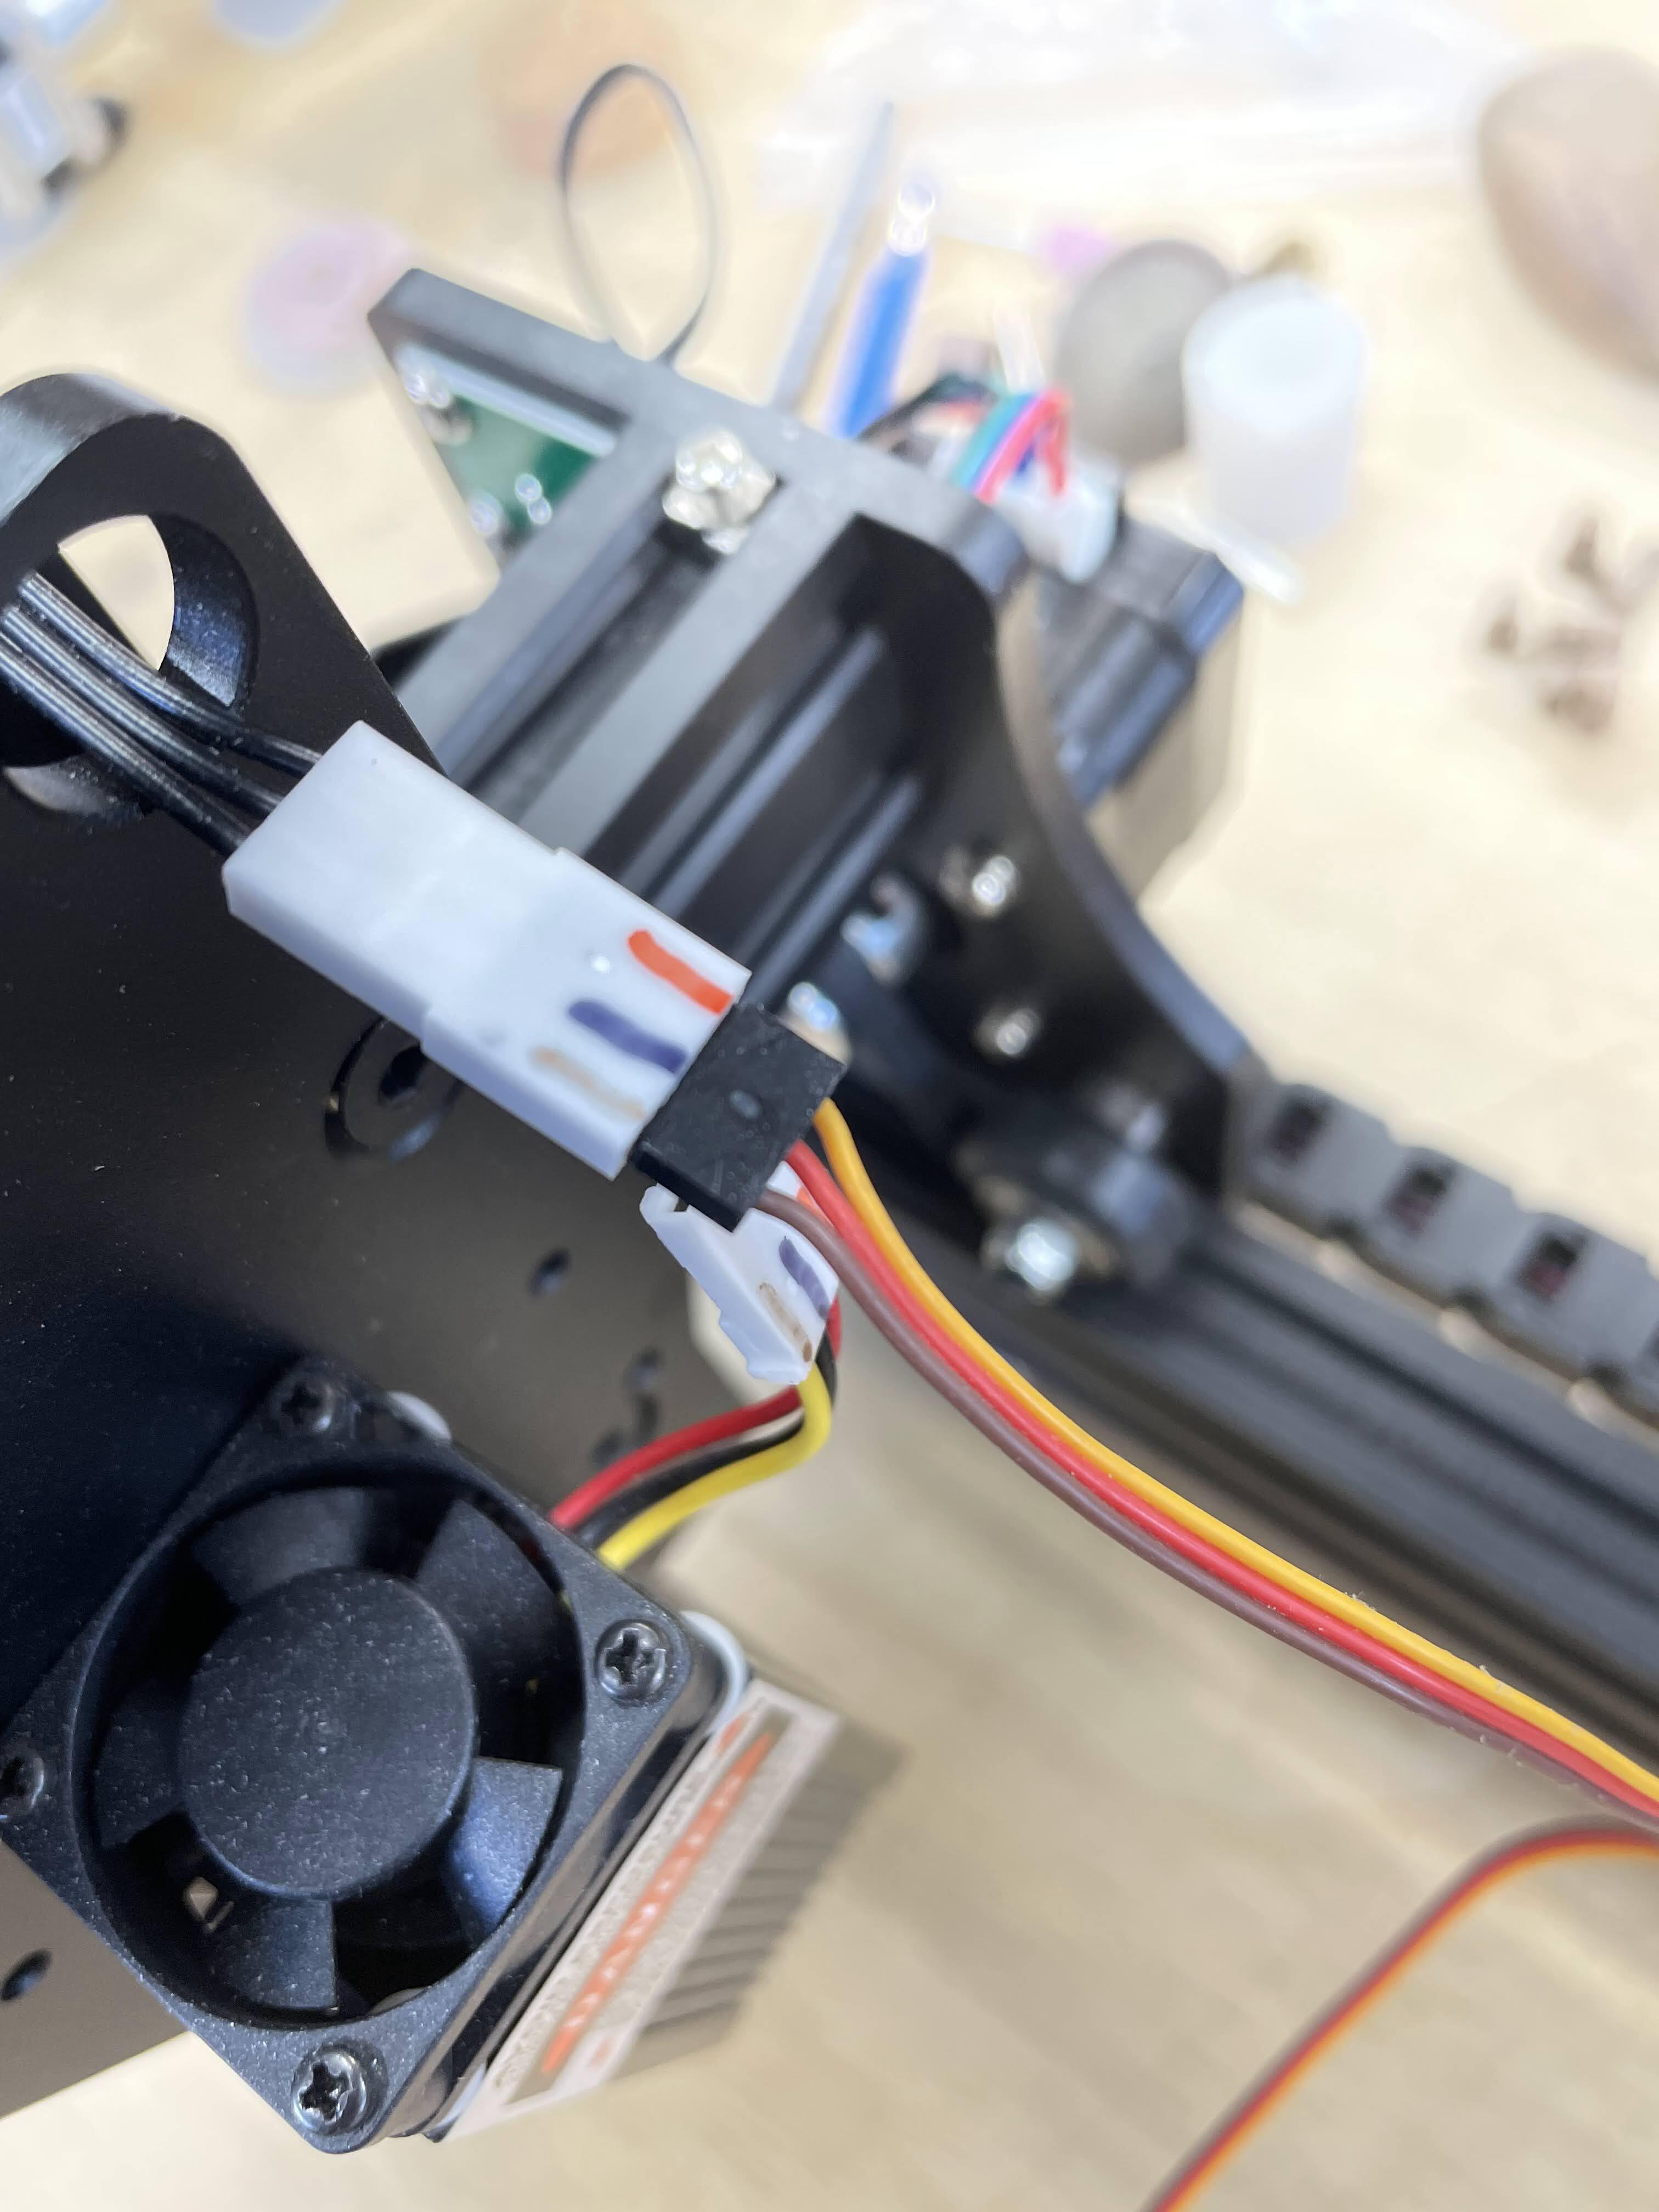
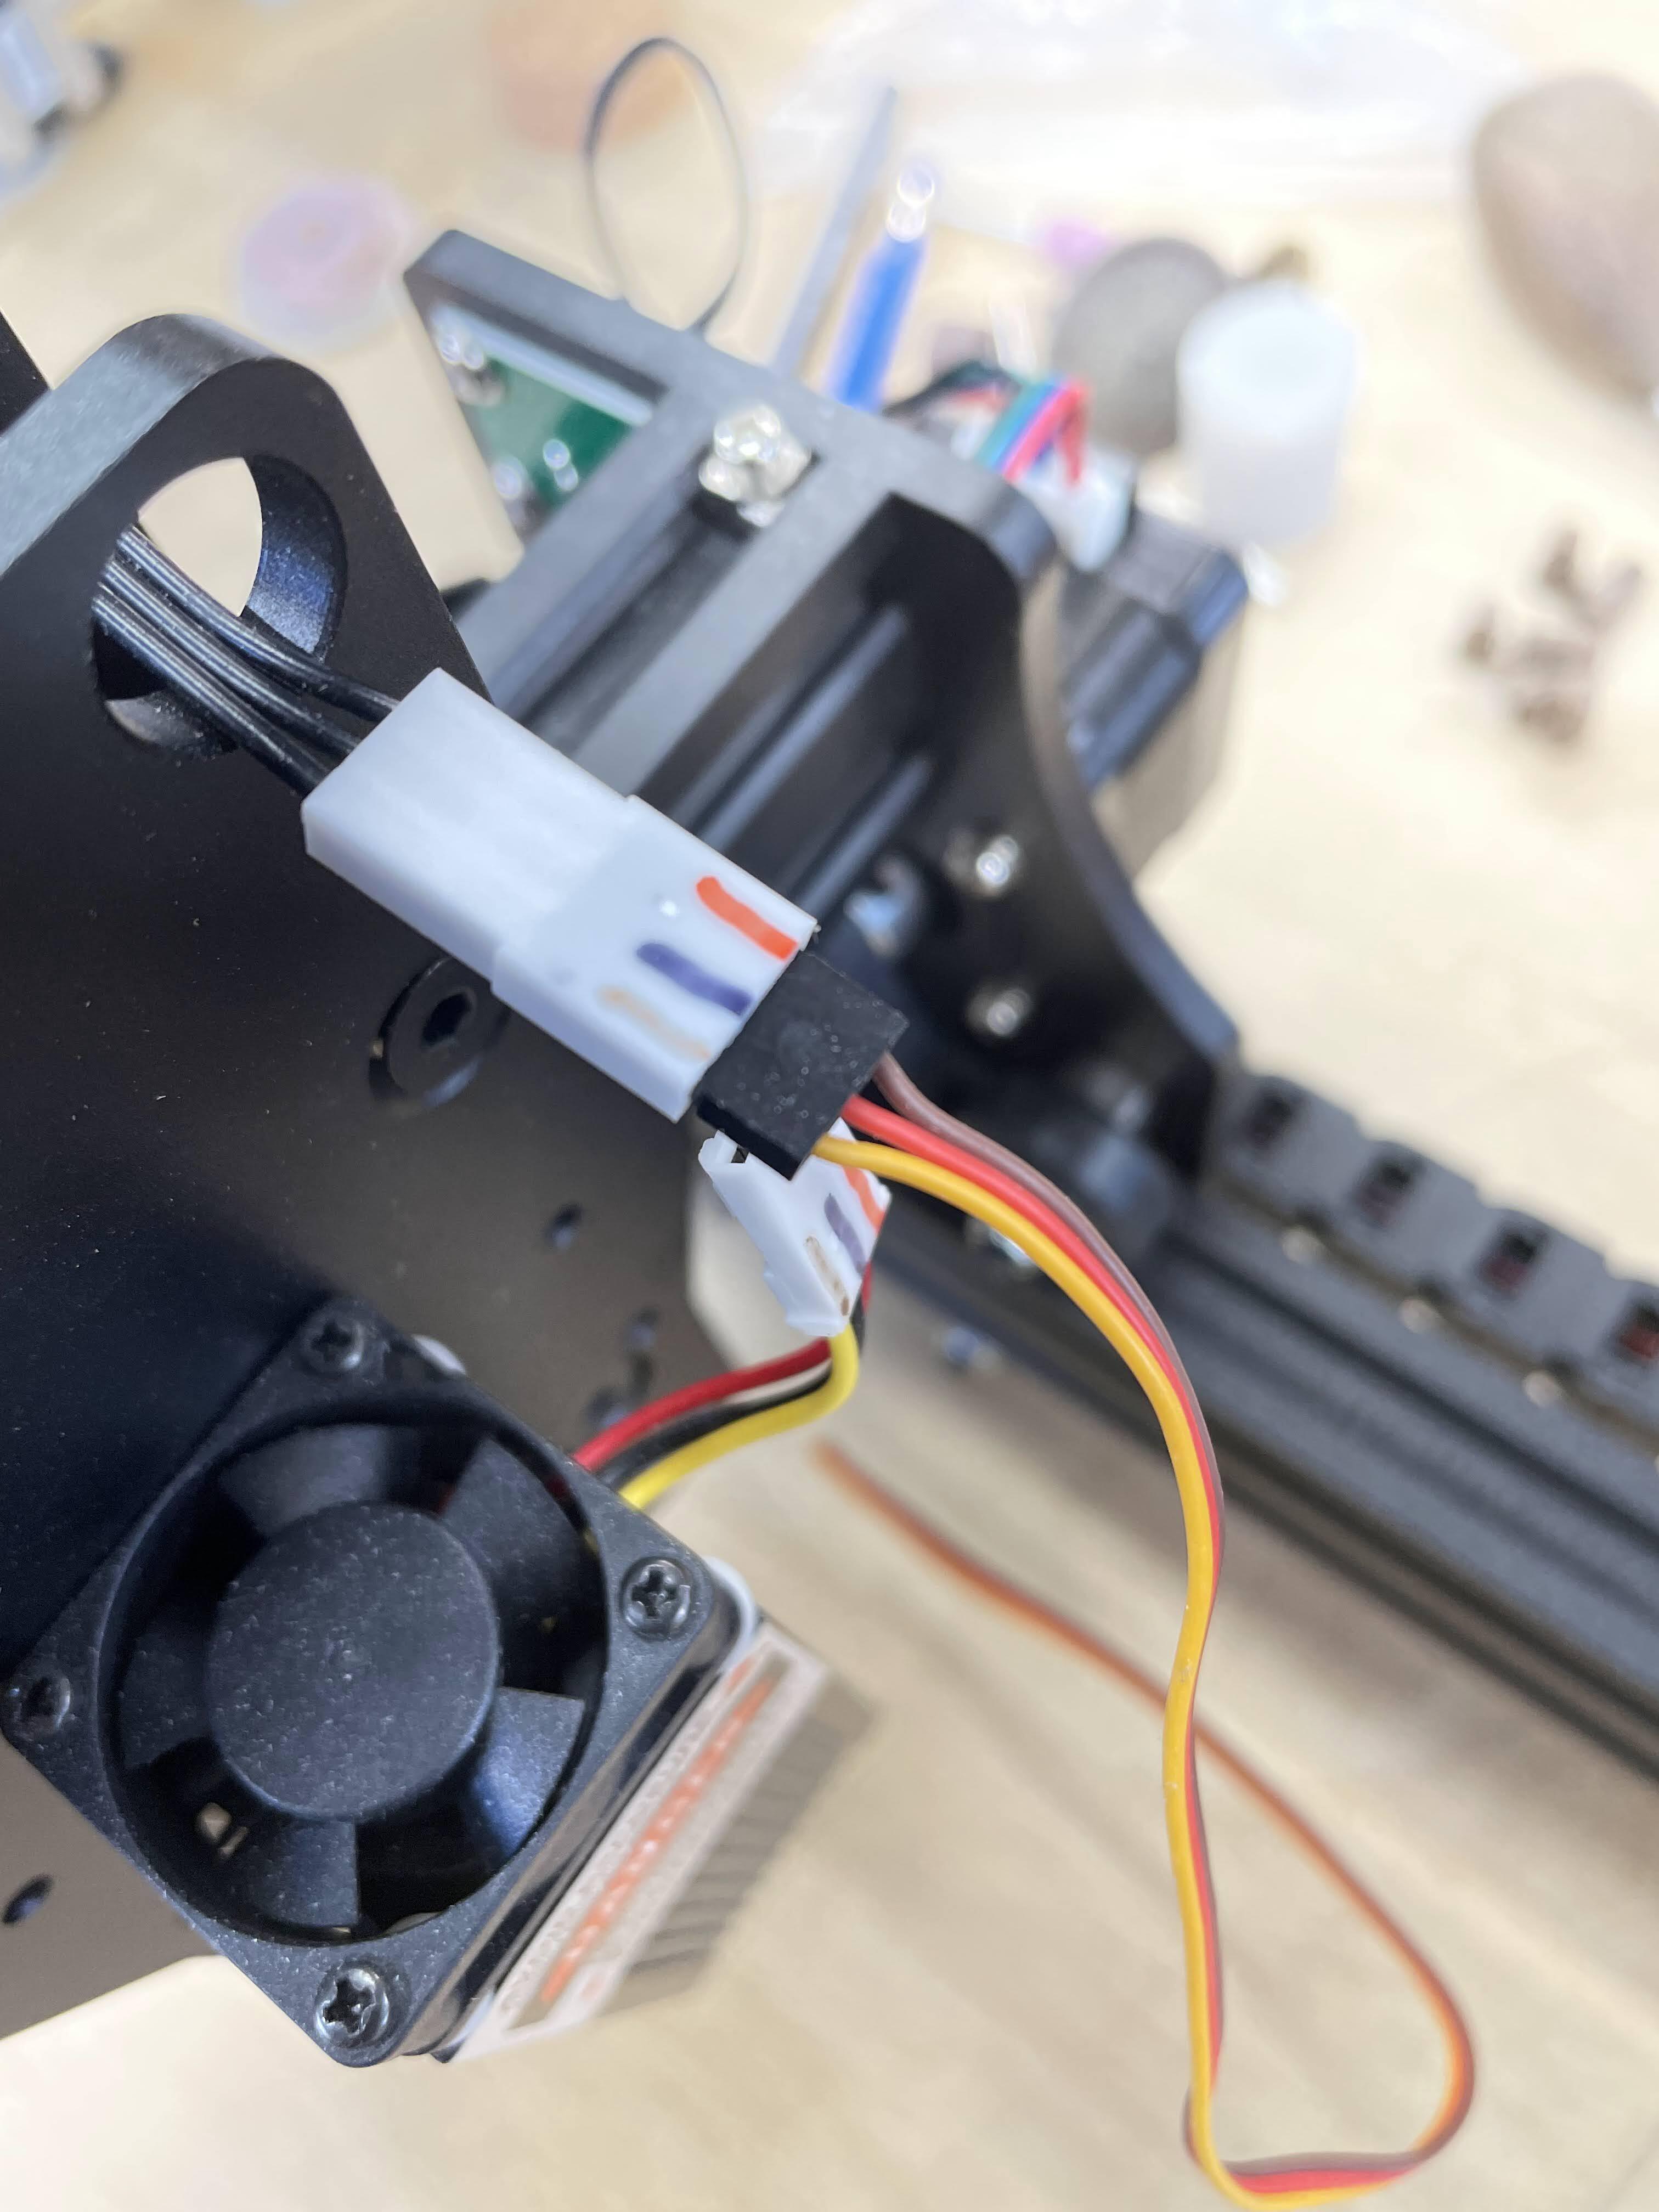
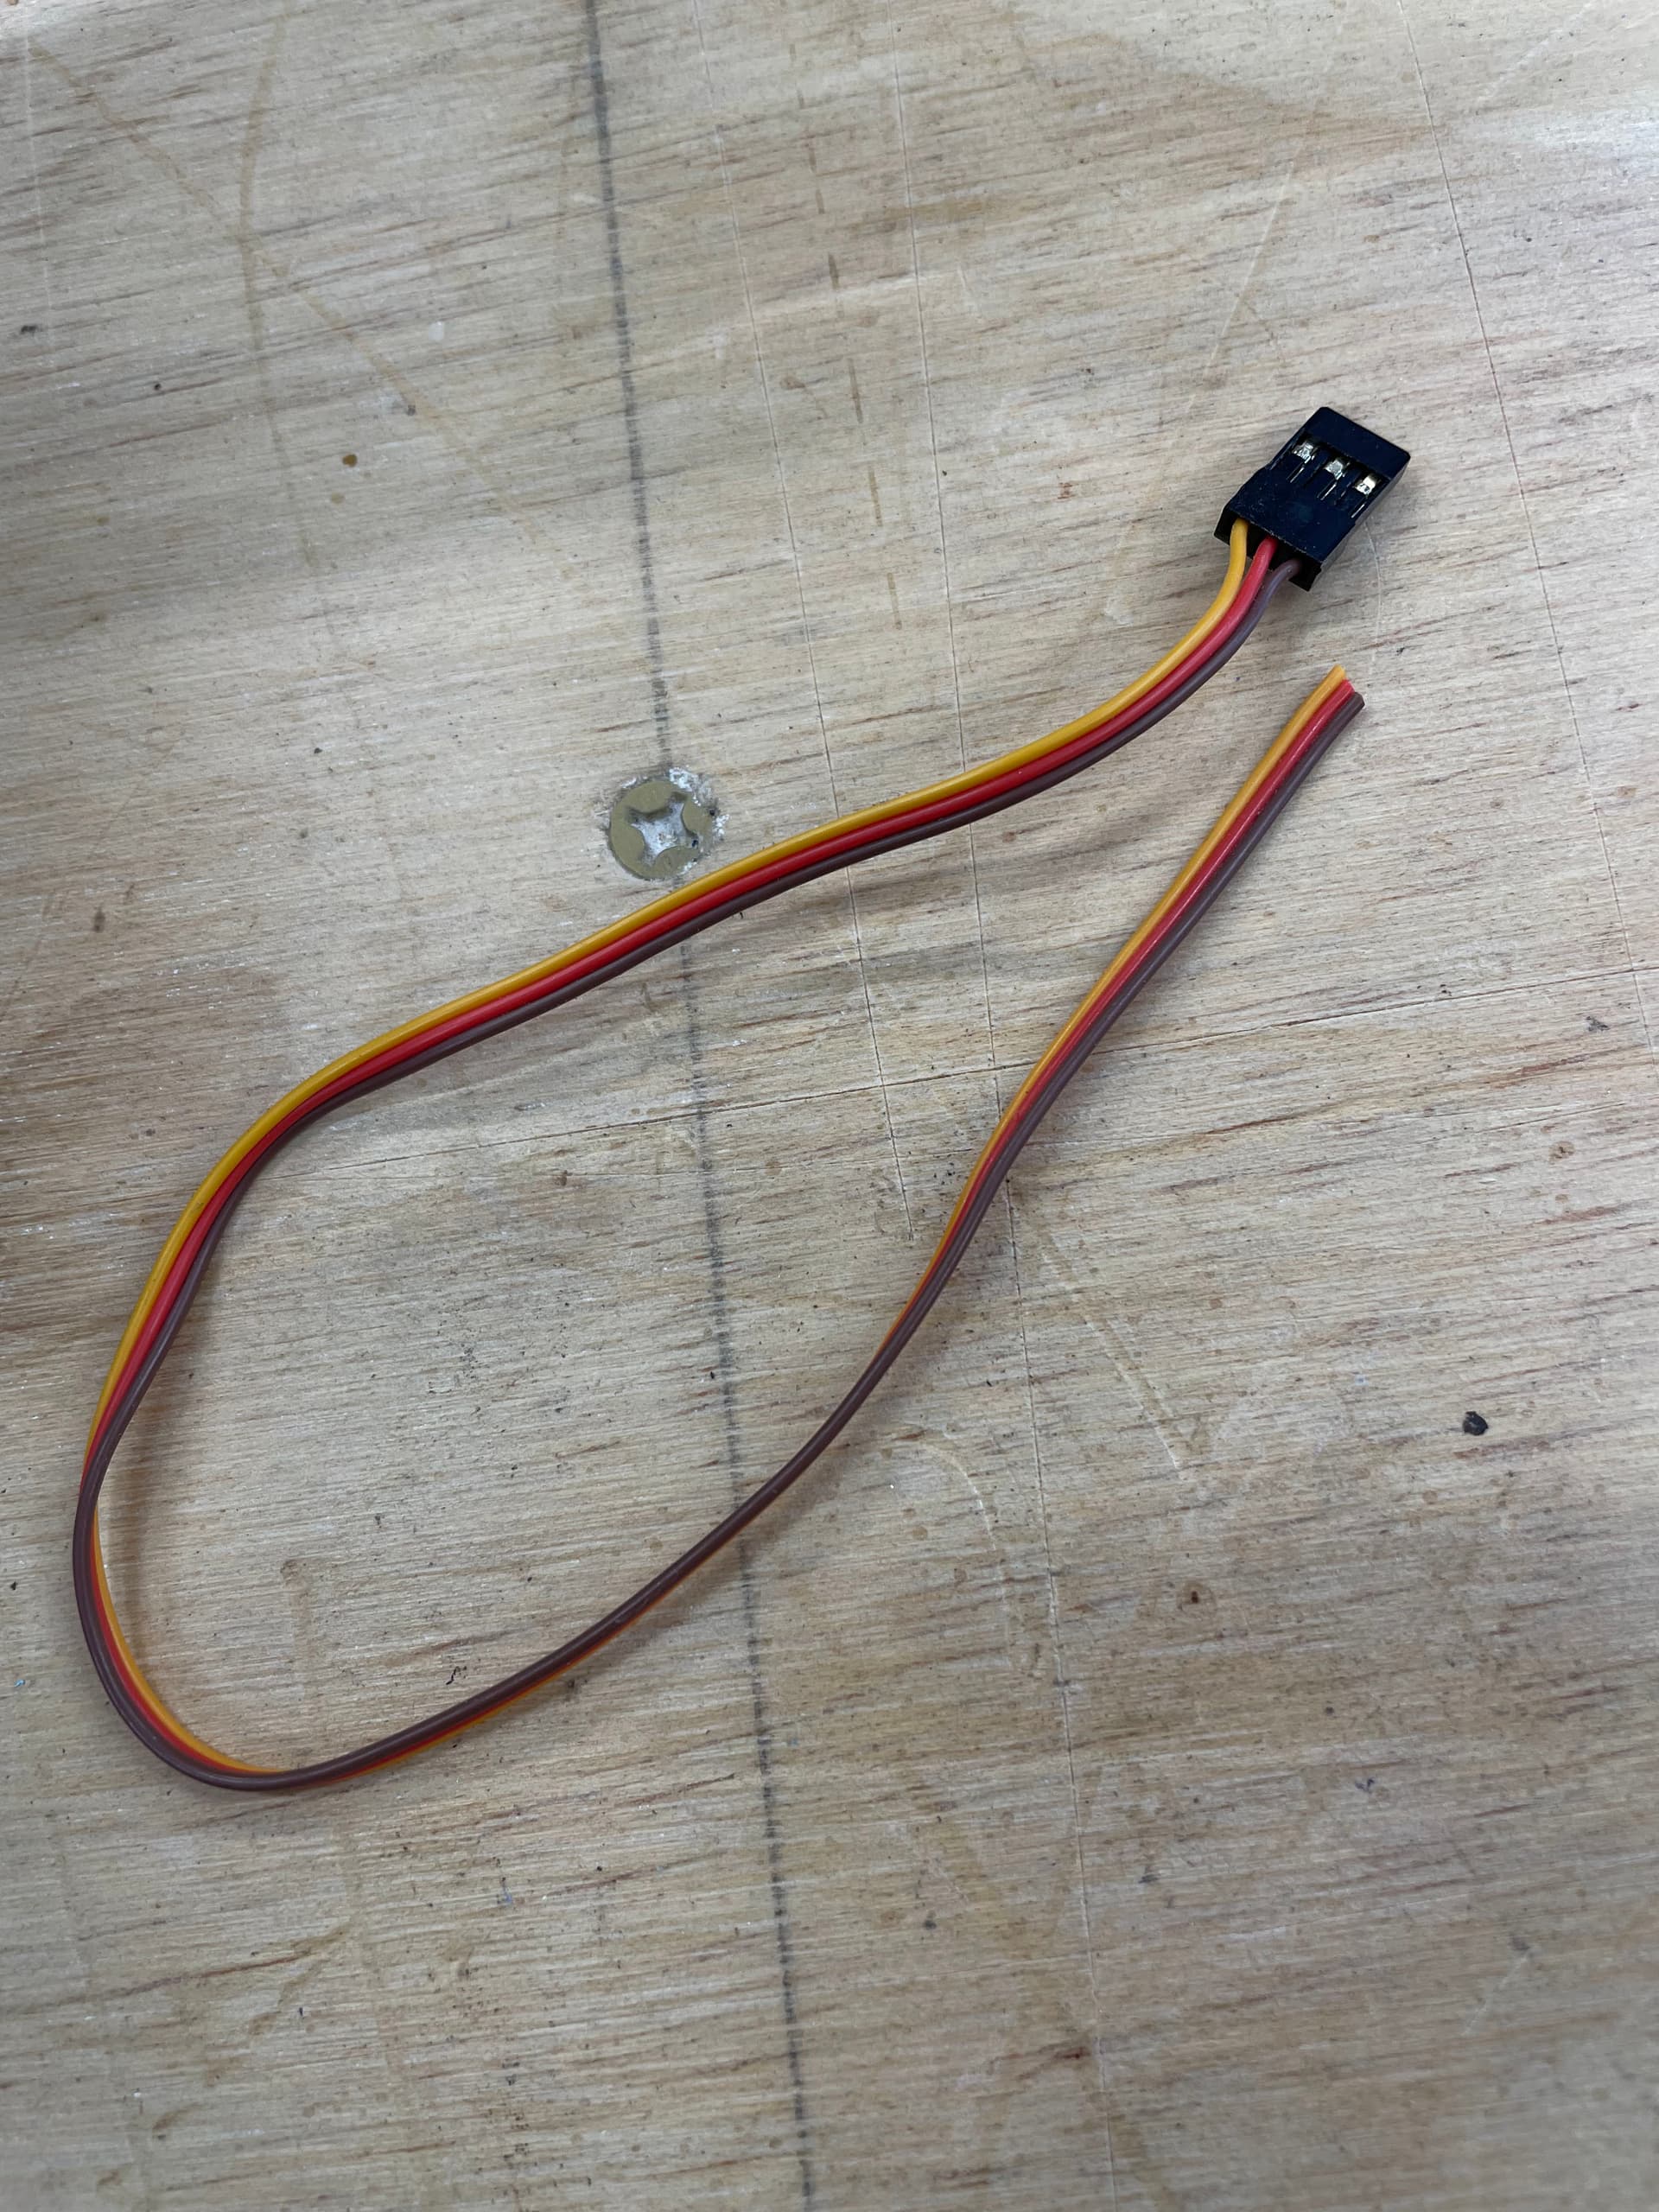
I have found a readily available connector that will fit the JL1 laser connector. It is found in most RC hobby shops and is an extension cable for a JR brand servo.
It easily fits the existing connector on the JL1, however it can fit TWO ways, so you need to pay attention when you plug it in. Pictures below:
Mike
This is the exact thing that gives Jan nightmares.
Especially that mashup of colors on the first image. ![]() (Just poking a little friendly fun! No ill intent.)
(Just poking a little friendly fun! No ill intent.)
This is “DuPont header”, available on Amazon and everywhere else.
Going that route: pretty mcuh any standard spacing connector (0.1"/2.54mm) can be forced to mate. As a fact I was able to mate this JST KCY to XH, with a bit of utility knife fiddling.
If no other option - I would at least build up some meat around it (smudge of epoxy or maybe 3d print it) and file it to proper key. Or just glue piece of plastic to it and file.
Colors on wiring bring another memory (pardon me please for deviation from main topic of this thread, but idea is remotely related): I was once tried to hard wire very nice, brand new (Bel) radar detector in German car. Lighter wire was conveniently accessible and had inline connector, which is very nice, black + bright orange (almost red) wires, No-brainer, right? Well, apparently in German convention black is not ground but same as US Electrical code where black wire is hot => death. OK, I guess two counties independently decided on hot wire convention, though in different applications, so there is a good reason for that, but that bright orange ground is still hunting me in my nightmares. WHY!!!
That radar detector expressed his disagreement with offered 12V polarity by puff of smoke and very noticeable smell. In addition it decided to reinforce its point by never turning itself ON again.
Pardon me for lyric detour. It is obviously better and safer to have properly keyed connectors.
Lasers have ground in the middle. But control signal can be and usually is low voltage logic signal and can be easily blown by 12V. Some lasers have control circuits that can survive such condition, but I would not count on that to always be true.
What where they thinking, they should have wired like RC where the Hot/V+ is in the middle and Gnd and Sig on each side. Can’t blow it up when plugged in wrong, key or no key.
should have run Lightburn with standard grbl…
![]()
WOW…IT WORKS…
Thank you Mike Bamberg.
Send me a PM and let me know how much I owe you.
Jan,
Can I guess that you got this cheap laser head running? If so - congrats!
What do you think?
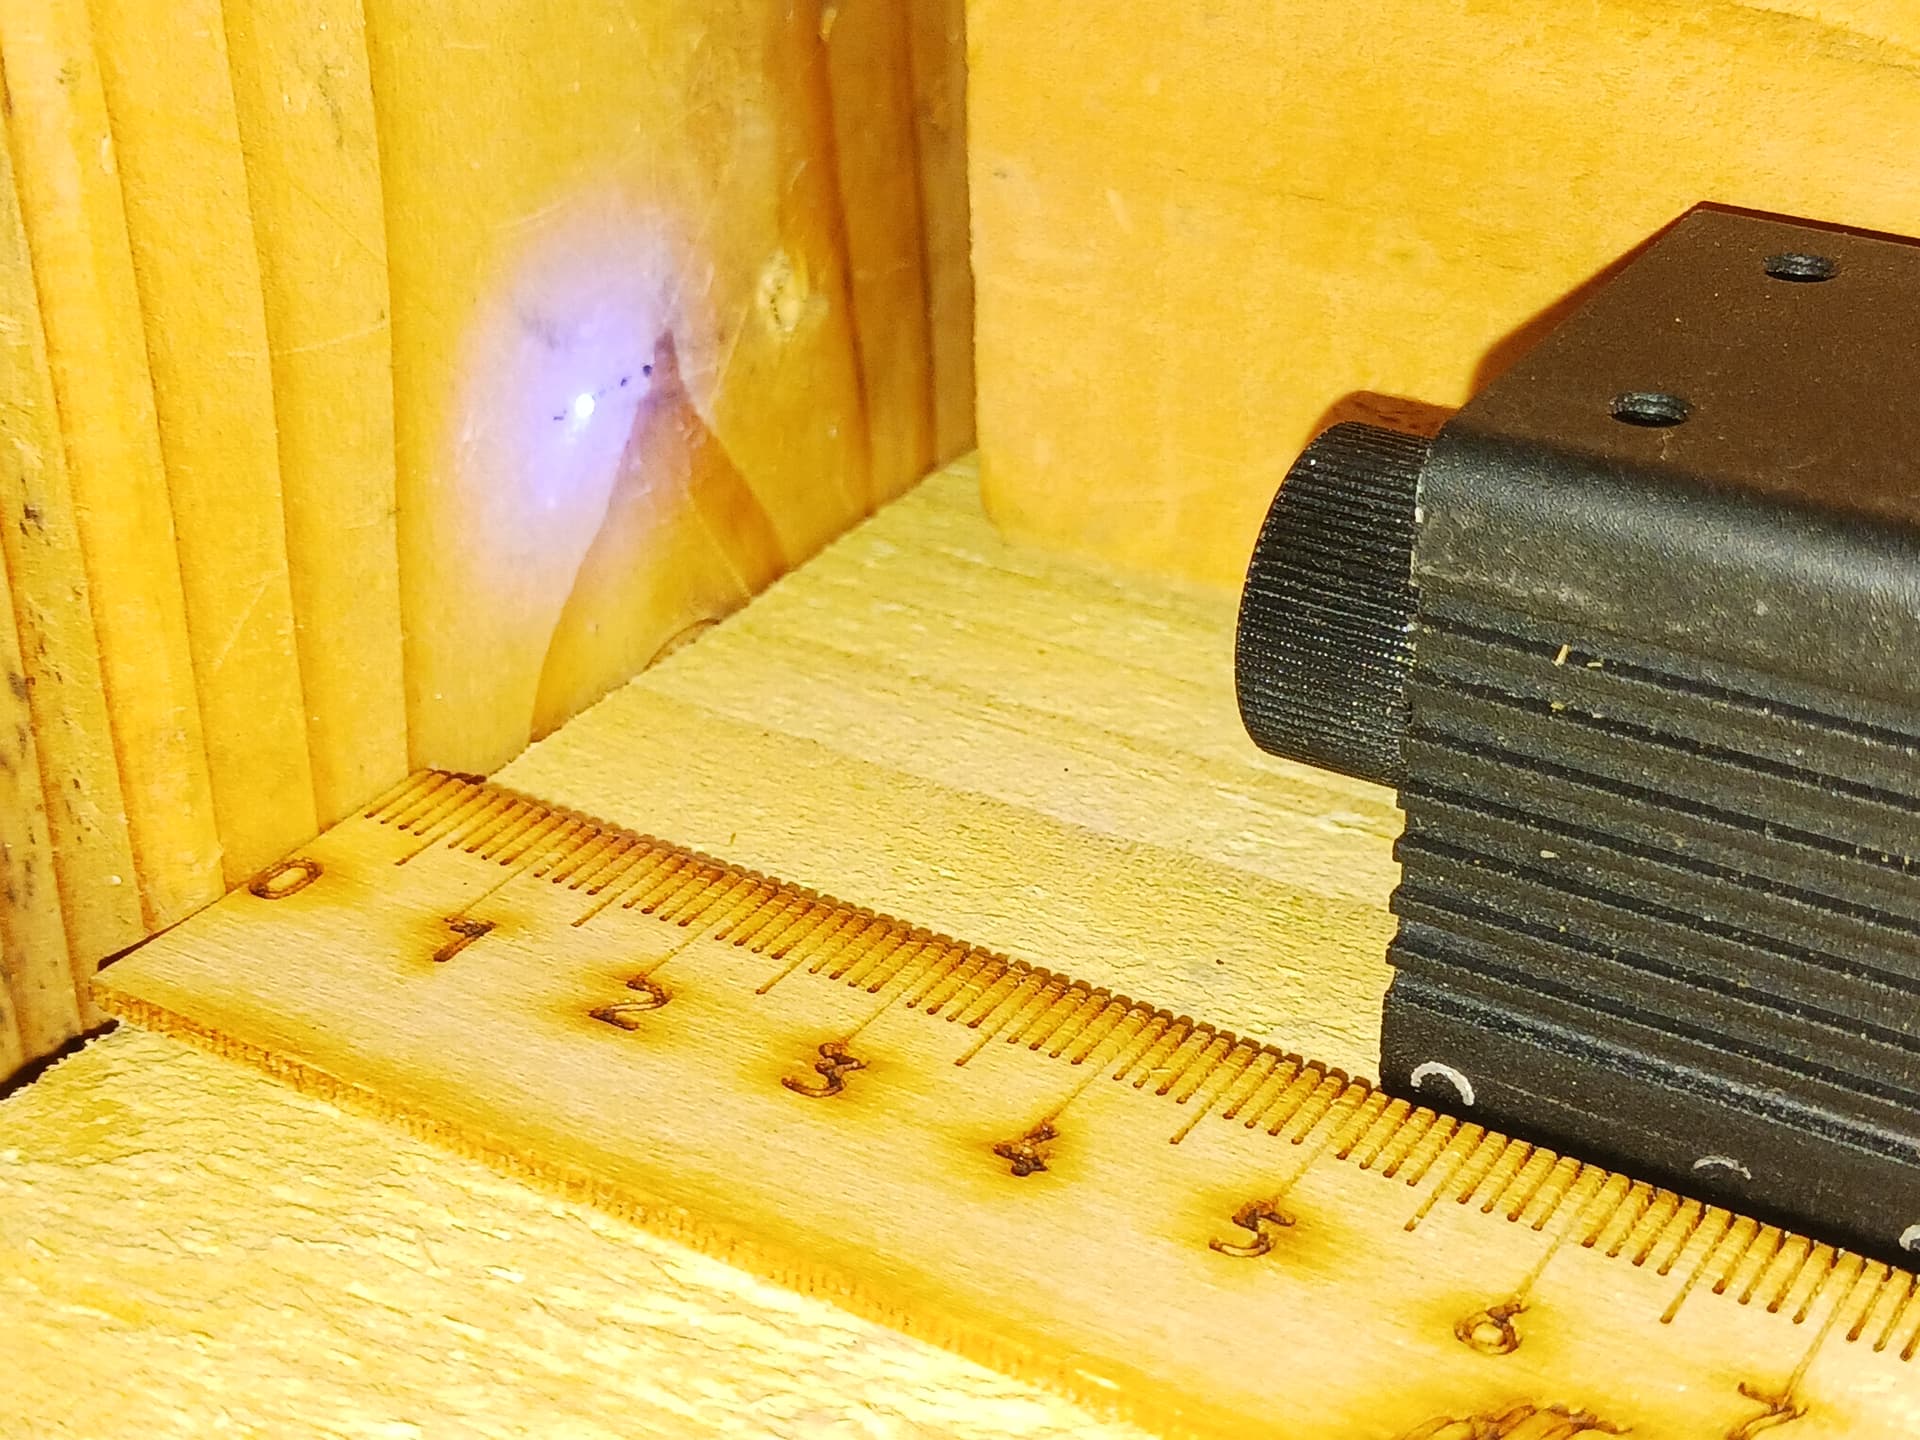
I have setup mine (exact model) for max distance allowed by mounting holes. It focuses perfectly (my 1mm font sample), staying farther from smoke and allows easier access for focusing. It works just as well if mounted at the lowest position, but missing listed above benefits.
There are some laser heads (lenses?) that cannot be focused at increased distances. For example my LaserTree 20/4W unusable beyond ~35mm, cannot get dot, looks more like a line, but reasonably sharp small dot at ~20-25mm, mounted at the bottom position.
Back in this post I showed a simple sliding Z-adjust that will work with the original laser module. I also easily accepts Neje’s metal sliide/clamp for their modules. The STLs are out on Printables… here.
I usually set a convenient focus distance for the module like 50mm (or whatever suits you) from bottom edge of the laser housing and leave it. I then cut/print a gauge block to set on a workpiece surface and lower the slide to touch the gauge block. Focus set!
David,
Vertical slide with reference block certainly makes life easier, when properly calibrated.
I’m considering it. At present time I do not have it and I’m still practicing fixed position laser and focusing with the lens, for each burn. A bit laborious but so far it works for me. I believe Jan still in the same situation. At least so far.
With my previous message I share my extremely limited experience with various lasers. What I found is that all are not equal. Some are very specific about optimal focal distance. Some on Ali are specific down to a few mm! From my photography experience I though I can focus for any distance. In reality, with lasers - not so. I’m still trying to understand WHY? Now with my collection of lasers I usually play a little, free hand distancing and focusing, then I mount the laser at specific distance. My point is that is it not enough to just pick the distance and focus to it. If laser is not fixed focus but screw-in lens, then optimal distance must be as specified (if there is a spec for it) or found empirically.
Then that vertical slide will be really handy!
Sal,
As you know I’m very “seat of the pants” about this sort of thing. I set the focus distance for my laser modules before mounting by sliding the module along a wooden guide and quickly zero in on current best focus… and then adjust the lens assembly from there to set in a convenient distance.
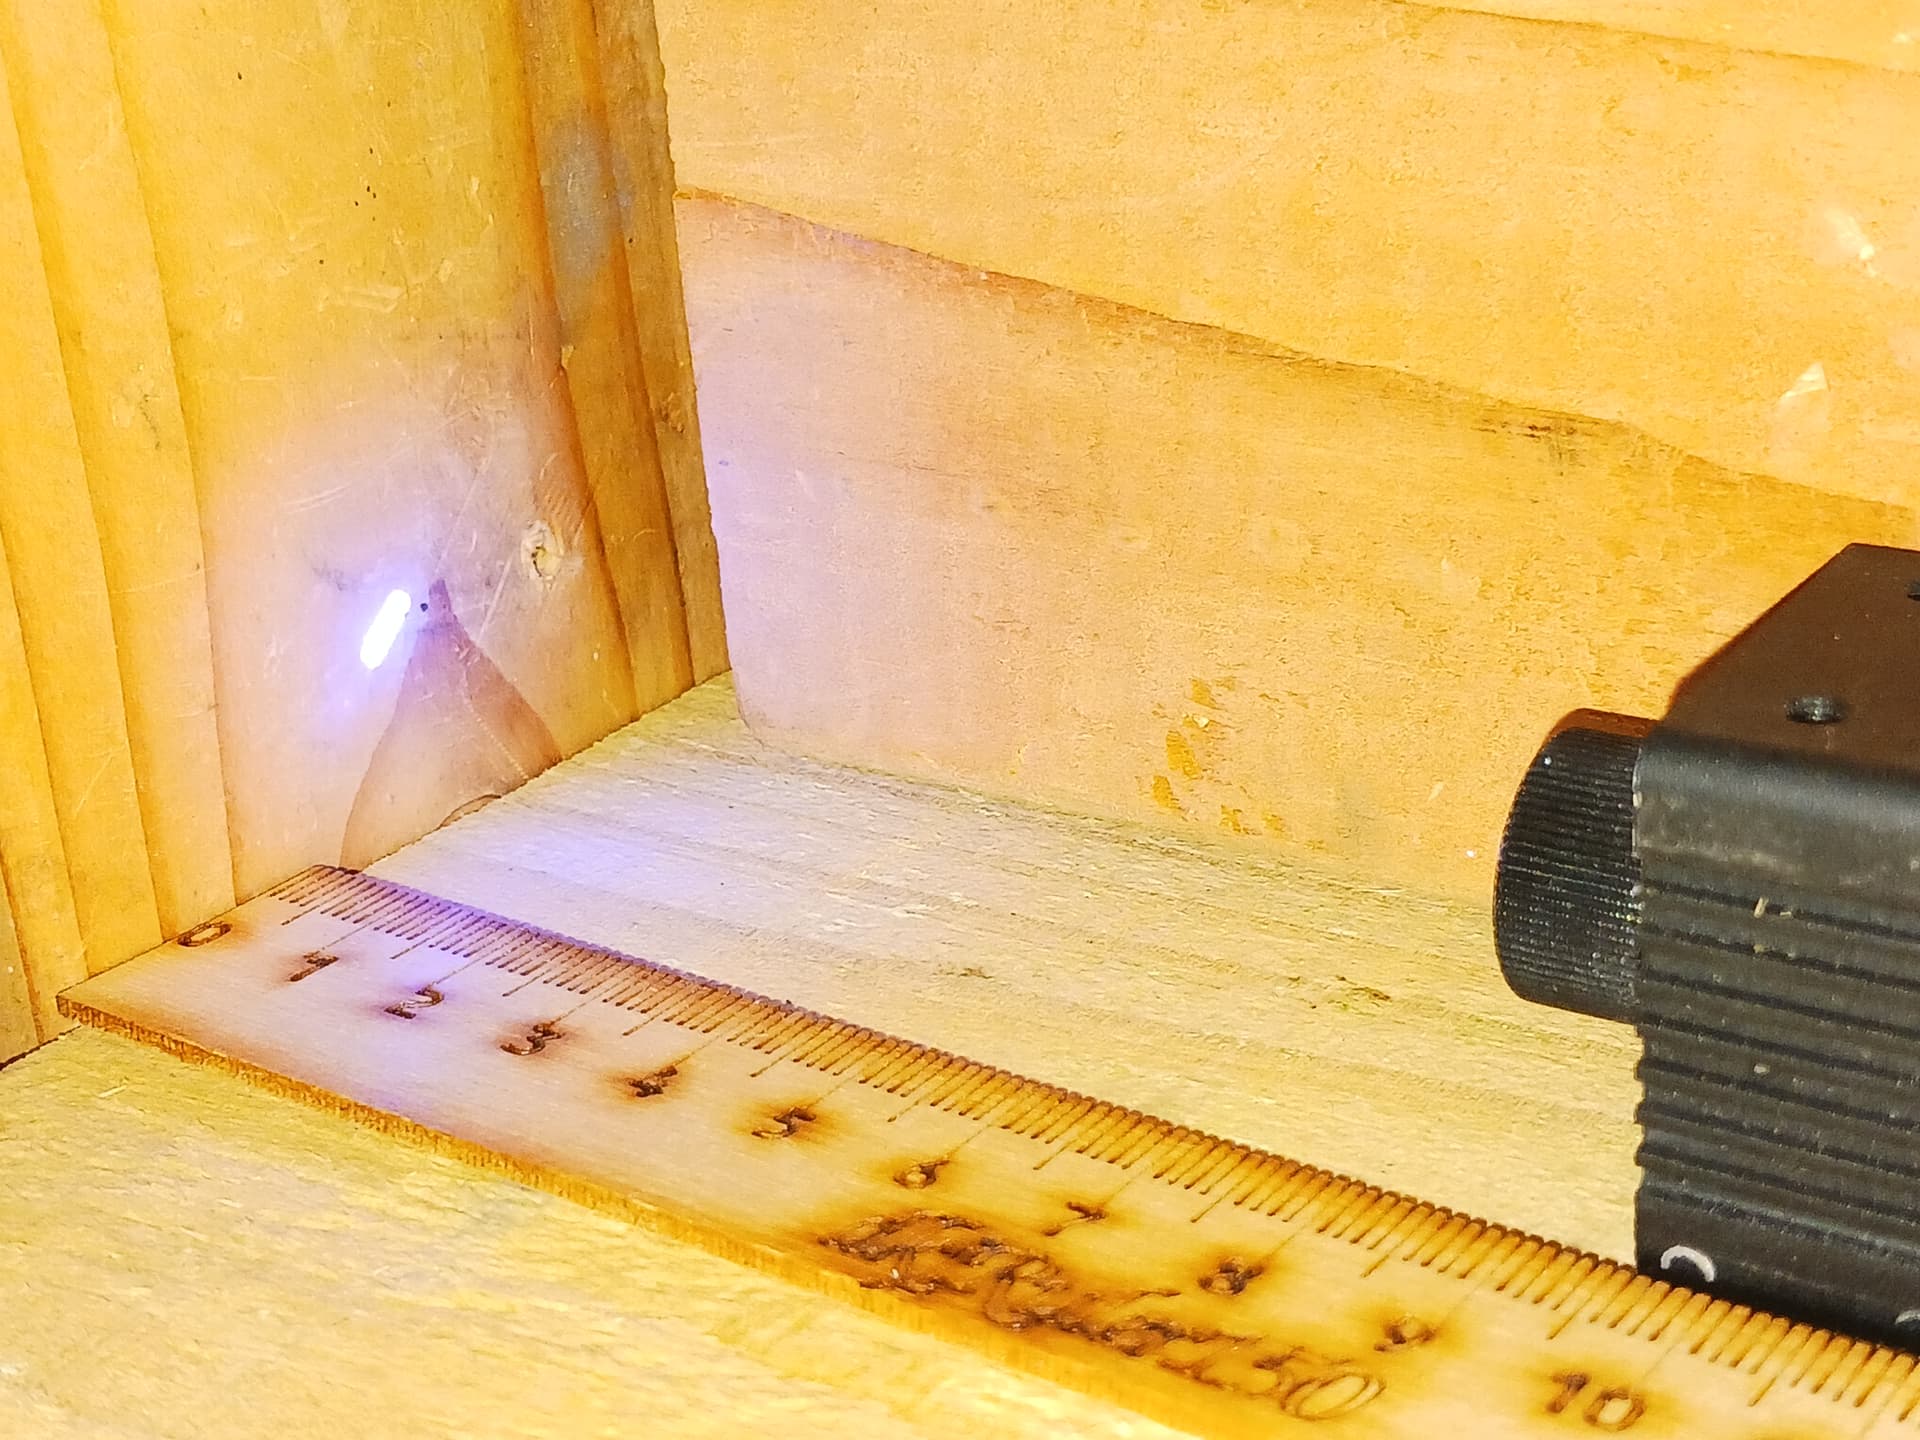
Too far…
too close…
about right…
I find that a mm or two on either side of “best focus” is usually “good enough” for most work I do. This allows easy determination of the spot shape and orientation as well.
– David
David,
Your images are excellent demonstration of what I was trying to explain. I see the same thing, with some of the lasers.
That $27 on sale laser head, unlike other lasers, is able to maintain tight spot for very wide range of distances.
I guess it would be nice to have some guide or procedure explained, on how to optimize the distance, and maybe to understand why there is a difference with different lasers and lenses.
How many lasers, different models, have you processed this way?
What are the differences? What optimal distance you end up with for each?
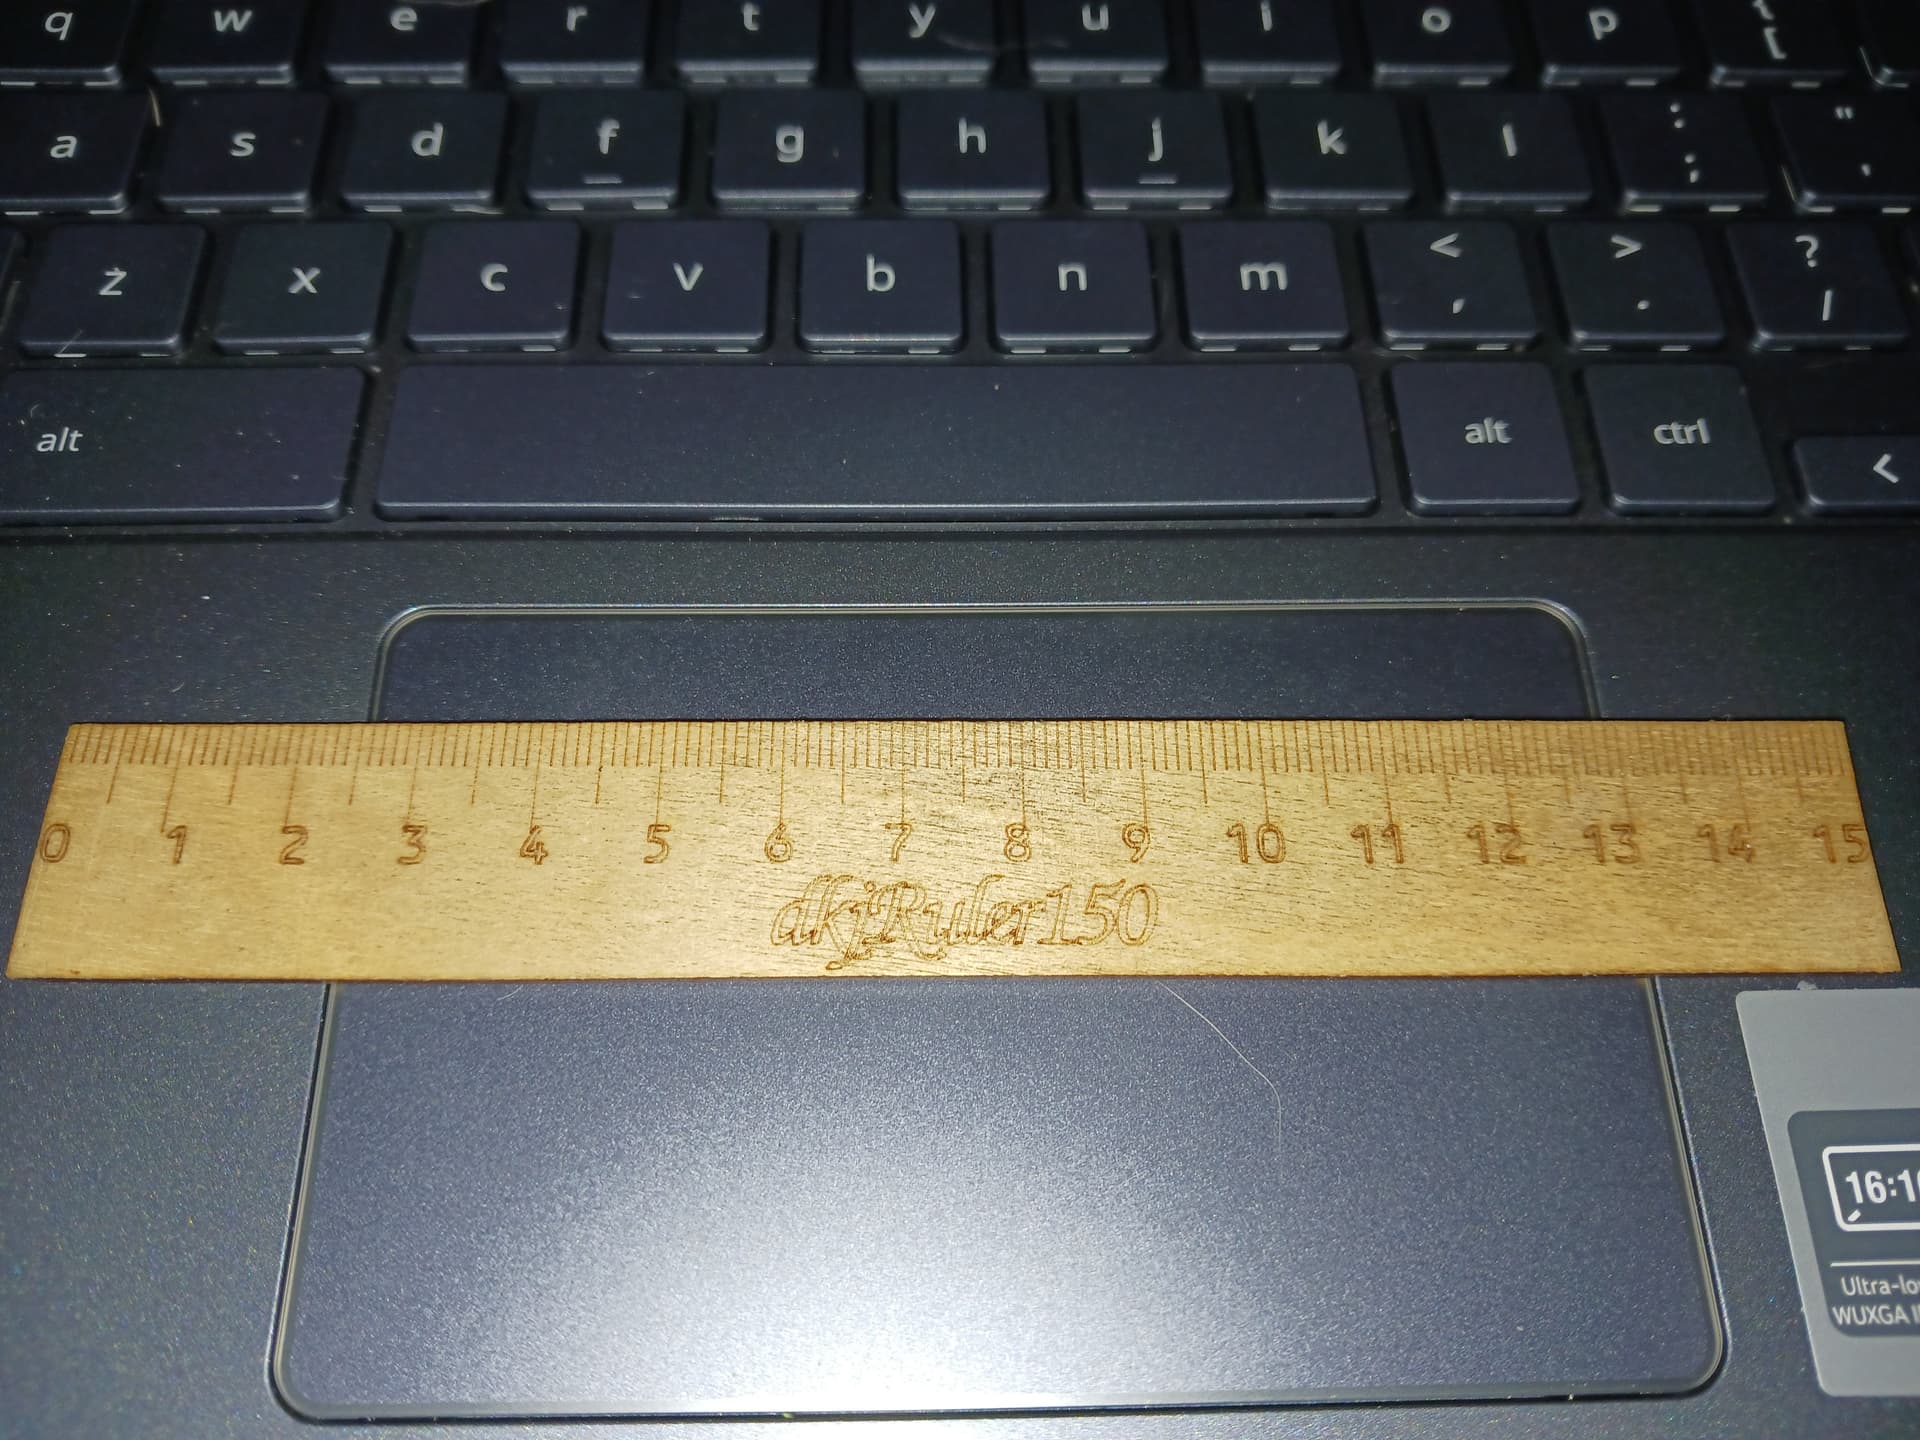
That ruler!!! it looks like one made with laser! Is it?
All,
Anybody though of making some kind of air assist for this one? If not exactly the nozzle over the lens, then maybe some kind of blower to push smoke and debris away from the lens? Something similar to work cooling in 3d printers?
I’ve heard some do, and I do the same, use free standing small DC fan to push some smoke away. Kind of works but not a robust solution.
Any thoughts?
My main concern: if it is not a coaxial nozzle then it may actually push smoke towards the lens. And this lens is not made to take any air pressure.
Maybe 3d printed coaxial nozzle with glass? Similar to CO2 head. What kind of glass it needed? Any suppliers/sources? I can imagine that glass for blue maybe different than for CO2 laser. Is it?
Any ideas?
You might get a kick out of these…


I used to build lots of CNC machines and always loved laser engraving/cutting rulers out of craft sticks to prove their accuracy. I calibrated my machines to create rulers that very closely matched a commercial metal ruler. This was also one of the few videos that I added a sound track… ![]()
One thing this video does show fairly well is the top half of the long “hour-glass” shape of the beam. The longer/taller the hourglass is, the longer the thinner area of “reasonable focus”. A short squatty hour-glass shape supposedly gives a sharper focus but lacks the range of “reasonable focus” that the longer has.
I have a dozen or so laser modules but usually only have a couple in use at any given time. All can be checked and adjusted this way. I like to use 50mm as the focus distance… insures a nice long “hourglass” shape and good range of “useful focus”. Also gives best performance with cutting operation… straighter sides, deeper cuts.
For this laser, I’m not using air-assist as I’m not trying to cut with it. I do, however, keep a small personal fan blowing across the worksurface to keep smoke from rising to foul the lens.
I have a Neje A40640 laser setup with my printed air assist that I use when I want to cut stuff.

yes, on my Ortur I experimented with using the cooling fan itself as a form of air assist to keep the lens clear of smoke. you can see one of the air flow capture plates with lower deflector in this video https://www.youtube.com/watch?v=50sbm5aCylU it worked ok but the airflow was not strong enough for heavy engraving.
My next thought was to attached a small 5V fan to the front of the laser instead of the larger 12V fan I often use to blow across the build area.
A better solution might be a centrifugal fan ducted to blow across the point of focus.