Excellent idea! I did something similar to my old OMTech MF1220-50. It was really a pain in the “you know what” to have to twist that knob, especially when I had to use the rotary. I believe I used the “U” axis control on the HMI panel to run the bed up and down (my memory is a little fuzzy as to whether I used the “Z” or “U” axis to control the stepper, I sold that laser a few years ago and my memory is not that great anymore). I used a NEMA 17 because a NEMA 23 wouldn’t fit. All in all, it worked great (I never did get around to installing the homing switch though). I’m going to bet it’s not your final MOD though.
I wish there were actually two different limit inputs so I could home AND focus. Then, of course, I’d need a focus-distance adjustment knob rather than changing the machine/Lightburn settings…
I thought about adding a focus switch to my current machine (an OMTech ZF2028-60). It has a pair of momentary on push buttons on the front panel, and that’s certainly better than a knob, but after reading through some posts on the subject I decided against it.
I meant the pen/stylus type that attaches to the nozzle rather than the bed homing. I just don’t like the price of that vs all it is being a plunger switch.
After alot of hours investigating and playing with a possible solution…’
I threw it all in the bin and went back to simple bed height adjust for focal point length… Don’t get me wrong, it was all intersting, but as many of the folks have already discovered, simple is sometimes the quickest and easy…
I did have to stop using the Ruida touch pad for Z axis adjustment tho…
The lens holder is a fixed distance from the gantry/chassis. As long as I keep the nozzle clear of the highest Z position, I don’t need to worry about crashing other than, already, by leaving something too tall on the bed.
By zero/offset to home I essentially have an absolute position sensor that I can layer adjust based on focal length and material thickness. Just thought about this combination and changing my mind from relative moves.
Yea this is a heart stopping activity, even at ‘turn on’ when the last position
is in the center or other end of the home position and the head ‘RUNS’ to that
position, having left a piece of material on the bed, as I always do…
My hand instictively jumps the the BIG RED STOP button…
But I am getting better…
For my last activity I manually move the head to the home position and then hit the Origin button before turning the machine OFF…
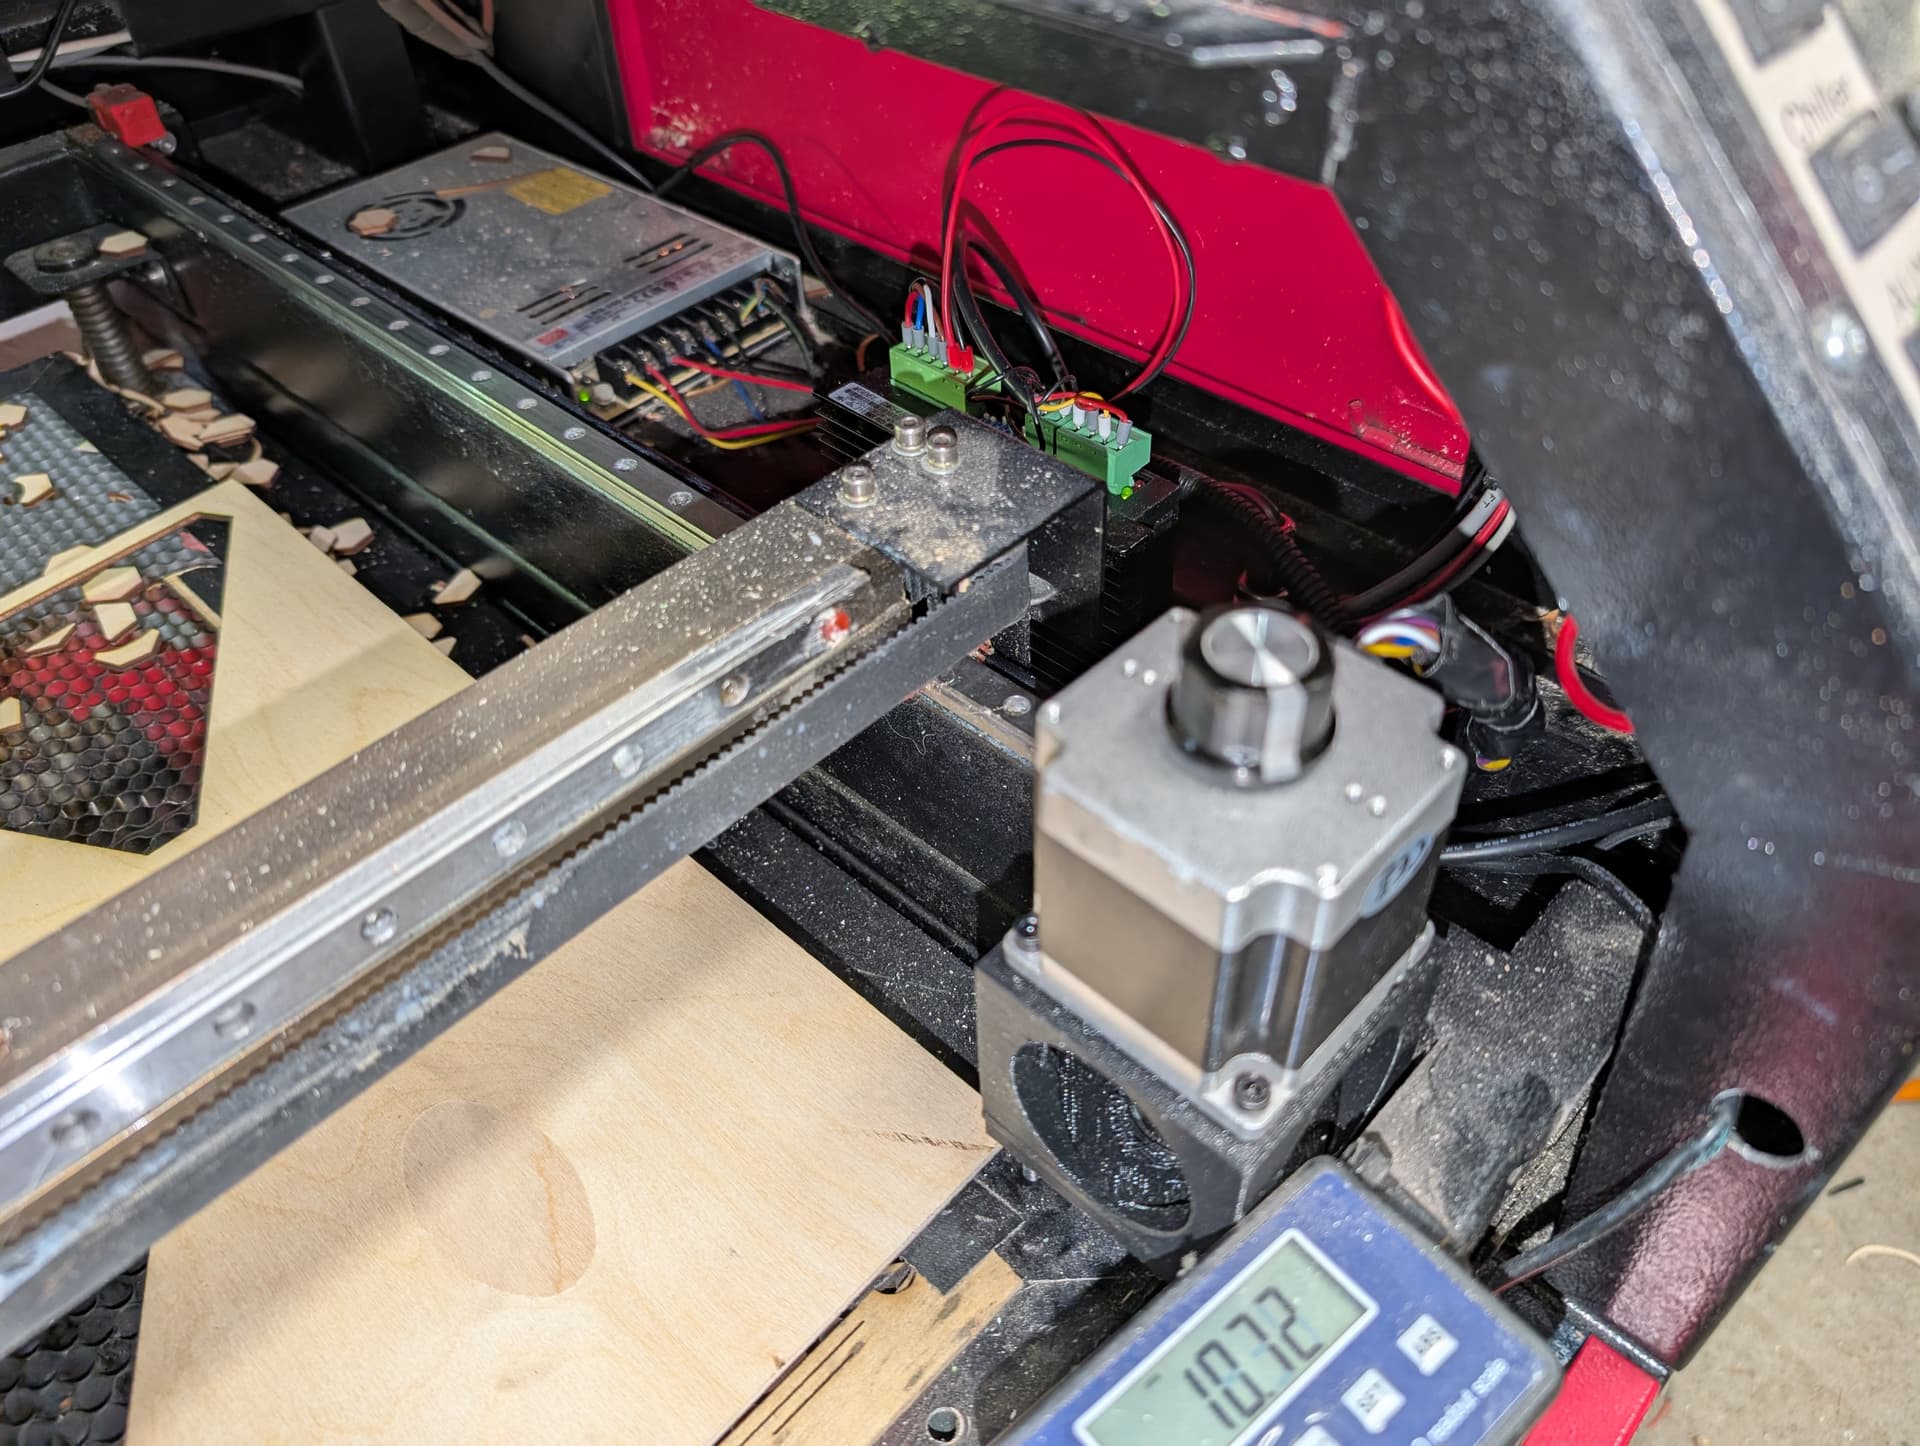
I have a bag full of prox switches. I needed to replace one, but it was cost effective to buy multiple.
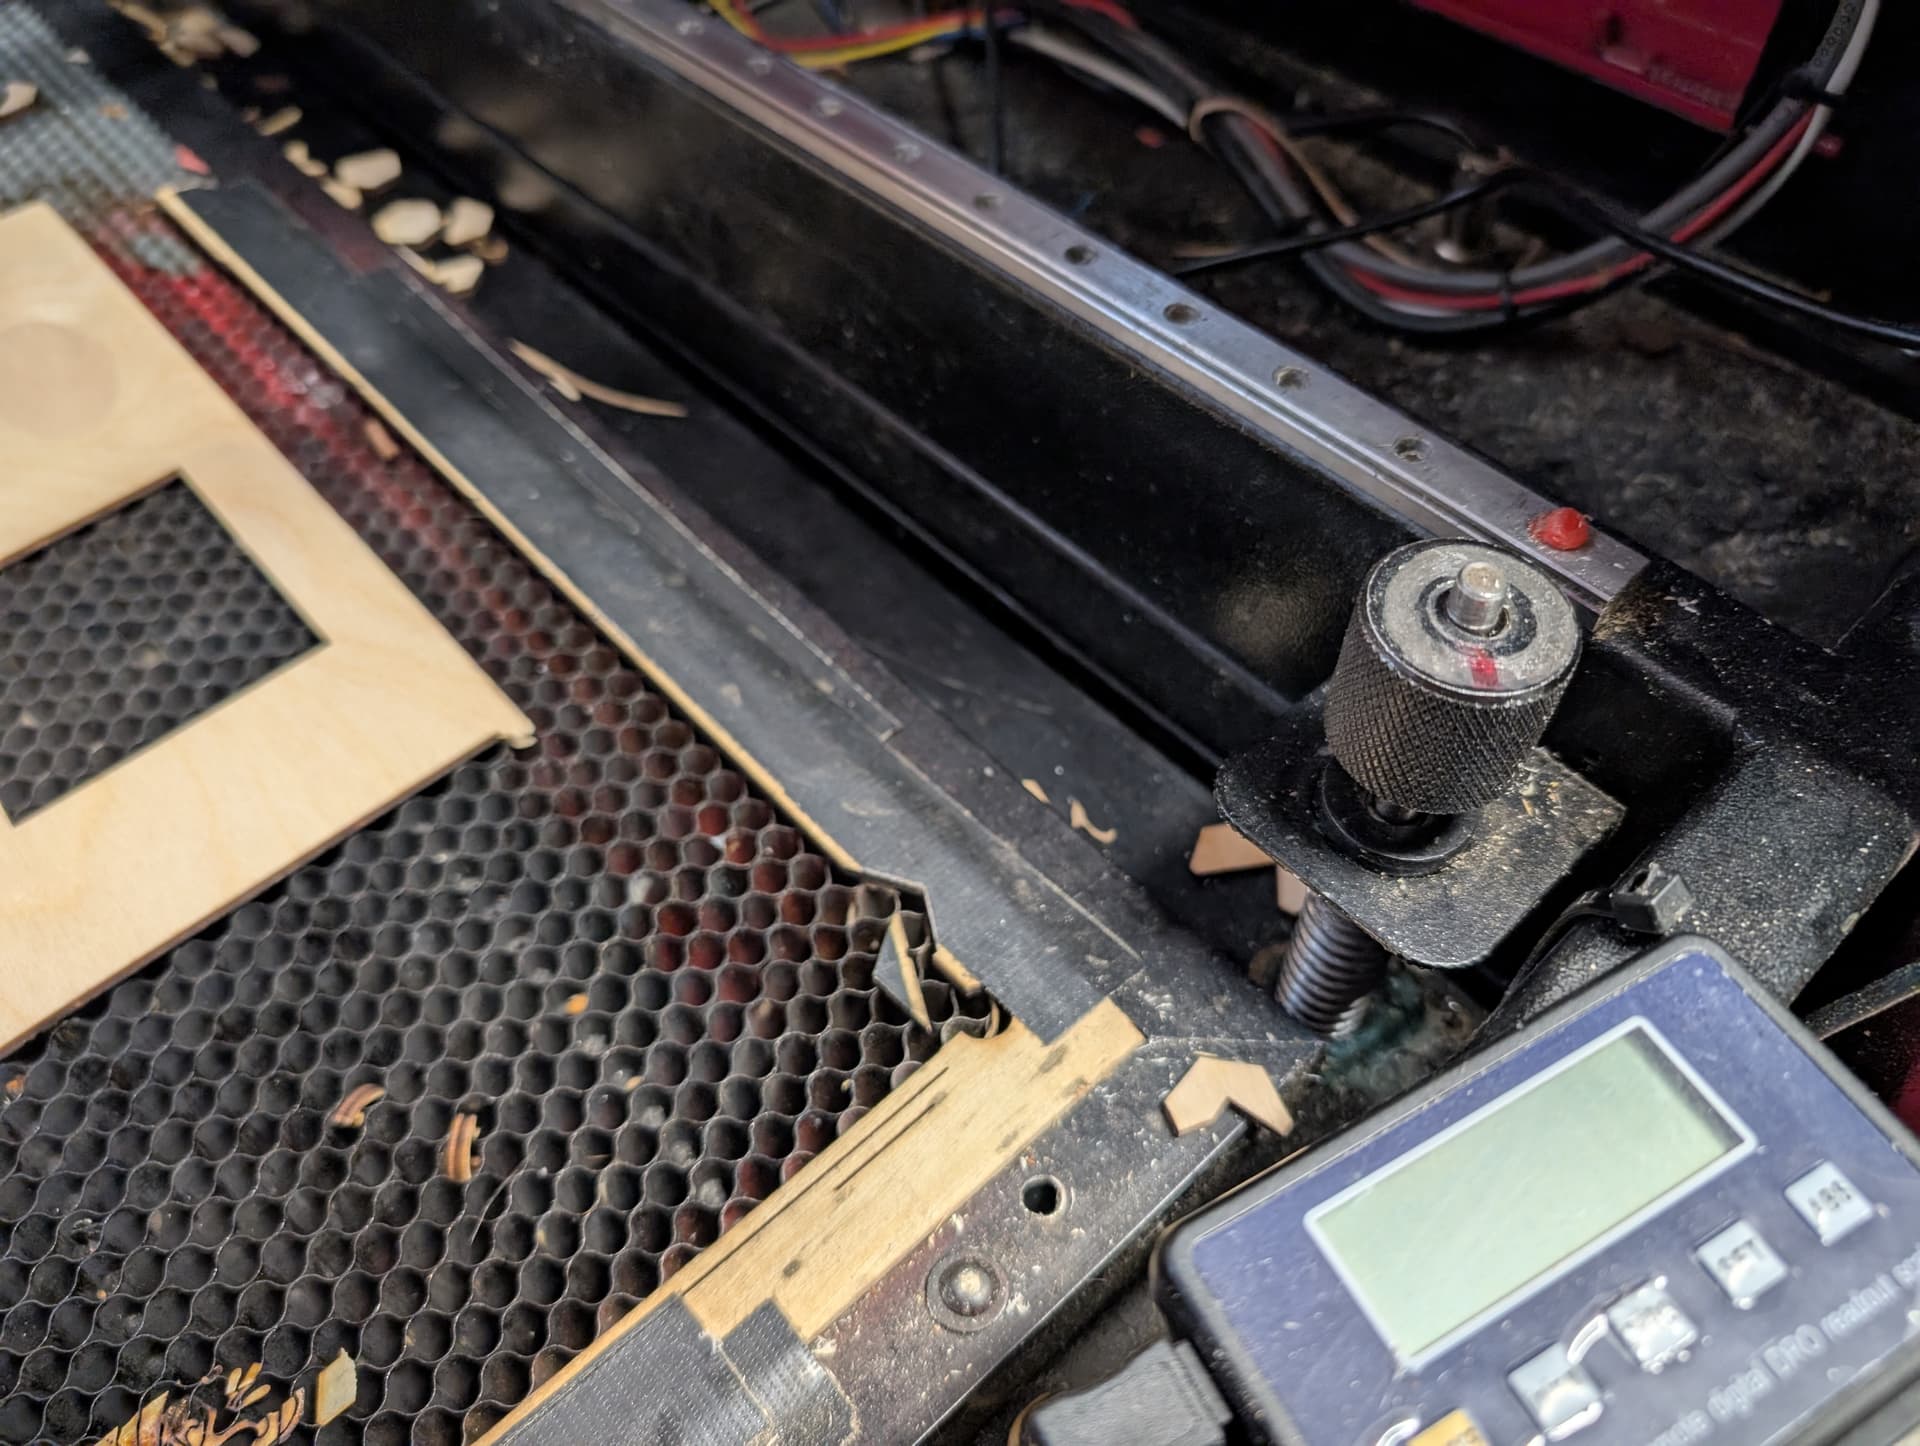
The way I have it mounted, the prox switch will actually physically block the bed getting too high. Steppers/drivers should give up first if the prox sensor fails and becomes a physical block. And, if the prox switch gets destroyed it’s easy enough to replace. Cheaper and less destructive than taking out the nozzle and mount as well.
Getting old is easy. It just happens.
Not leaving stuff on the bed is just muscle memory and habit from dealing with a bunch of industrial stuff.
Great job Rick…
I had considered doing this after I watched one of Russ’s Videos as he mounted a micro switch on his threaded z axis rod…
I am stuggling with the fail mode of the sensor… cripes, after anyone having a bed to nozzle crash… it is nerve racking… so do I use a Prox Sw and back it up with a mechanical micro switch ???
Hence I have not done anything… YET…
I will hook up the Zaxis back on the Ruida at some point and then the side prox switches will be added… I think it is a great way to set the z axis limit
Yours looks to be onthe inside, lots of room, I will have to find a solution similiar…
Thanks for the post… very good job…
Good design/quality/install. If something fails deal with the consequences.
What you could consider doing is a 2-stage design. Switch for homing/Z-limit. A separate switch a couple mm higher triggering the e-stop, foot switch, or door open input. Third one, if you want to go crazy, to cut the power…
I made a slight change to implementation. Same design. I set the Z-axis home to mechanical origin.
I’m going to build a 38/50/63mm focus offset block to change where the Z homes to. Part of it, to be figured out, is some kind of mechanism to default/reset back to the longest focal length to avoid head crash. Some kind of “you have to hold it in the not-63mm position” spring loaded to return.
“Variation 3” and part of what I noted to @Chuckphd .
Essentially a plunger switch right at the nozzle. Wired in parallel with the home/limit switch. Regardless of nozzle extension, focus offset, or material height, the limit will hit if the nozzle is too close to the surface.