
3 Likes
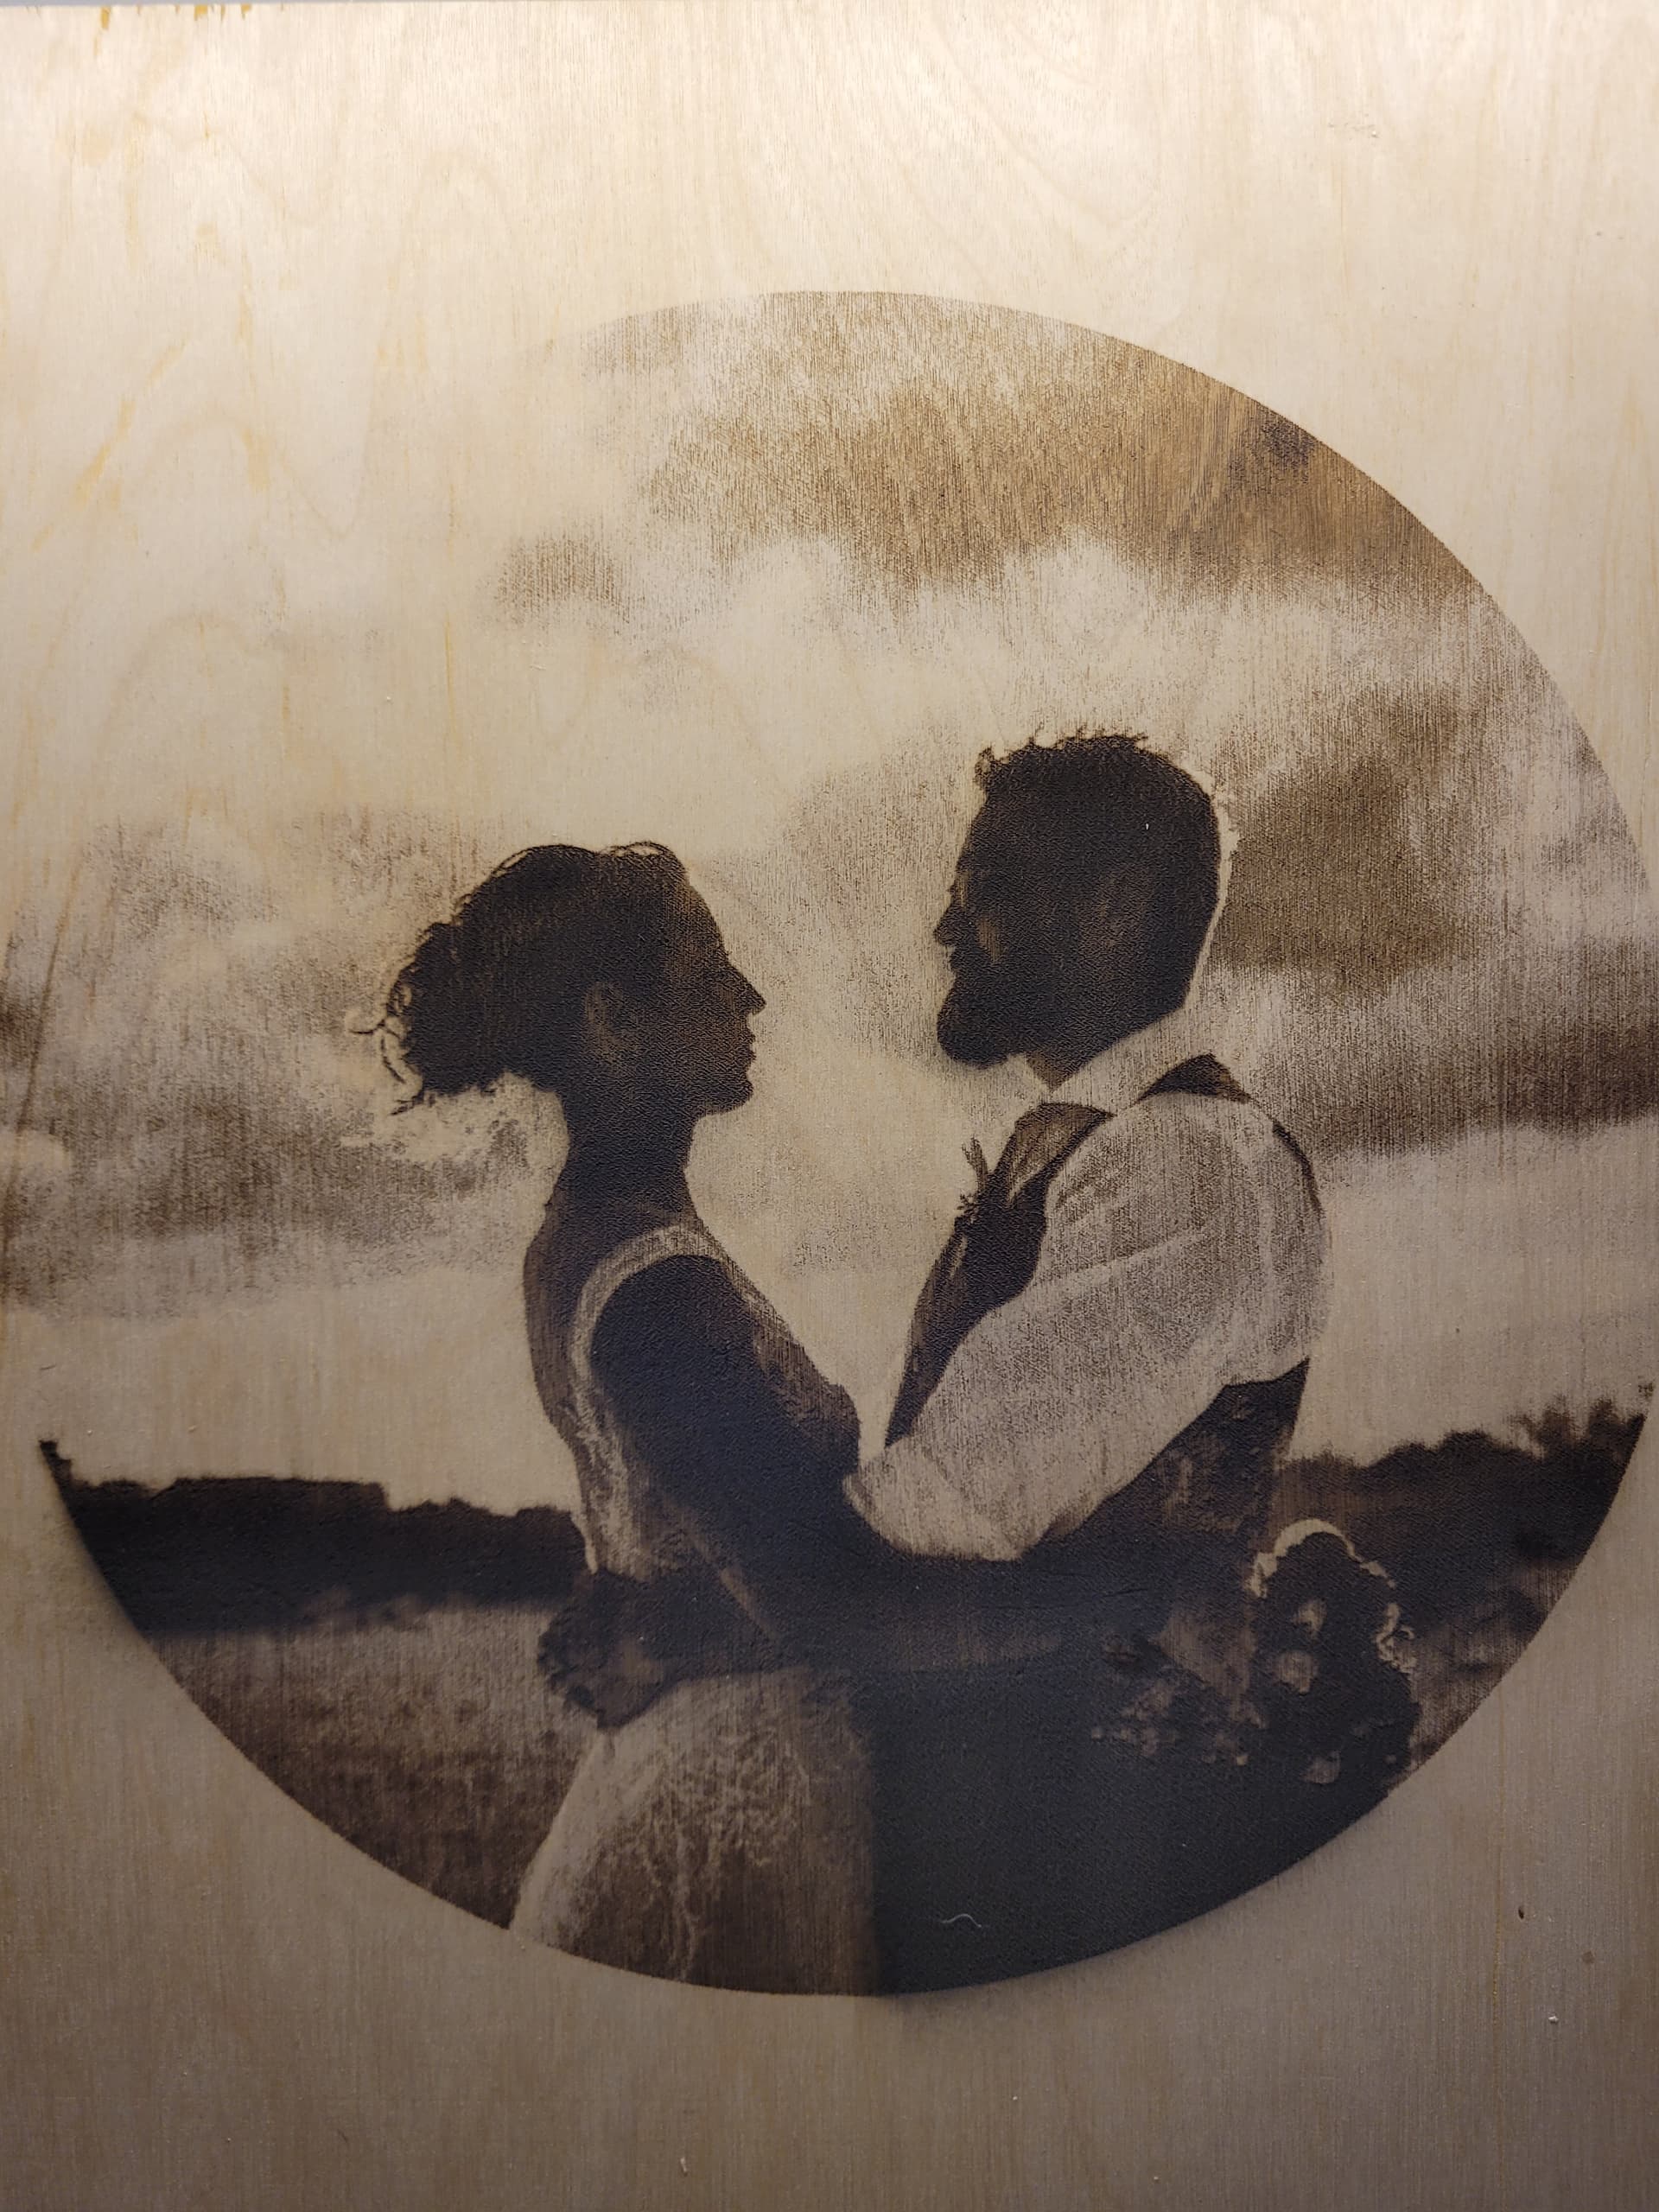
The original photo you see taken by the photographer is quite dark. I first lightened up the photo as best as I could, then dropped it into Lightburn to edit a bit further. I really tried to keep as much detail as possible (in her dress, the pleads in the shirt etc). I have only used a piece of 3/4" pine ply because it’s something I make as scrap/bi-product so in saying that this wouldn’t be a sellable piece as I’d change up my wood and do finishing touching such as a border.
Specs to this: 2000mmm/17.5 DPI 230 Gamma .750 Contrast 8 Brightness 4 in Jarvis
2 Likes
mm/s? Suspect it’s mm/m?
It’s difficult to do, especially with a dark image…
Thanks for the post…
![]()
Hi! Hahaha yes you are correct. Mm/m. Thank you for noticing that ![]()
But yeah these dark images are proving to be difficult and I thought it might of been easier with it being a professional photo due to high quality etc but its not!
Welcome to the site…
The problem is a photo has an infinite range of grays… A piece of wood has a very limited range of gray.
Sounds like you’ve tried adjust image…
I’ve had to resort to Gimp with some photos I’ve had to work with that had very dark/light areas that I wanted captured…
There is lots of experience with photo engraving here…
If you have not watched this video, it’s one of the best I’ve seen for explaining interval and I recommend it to anyone using a laser. For nothing else, it’s great with selecting a proper interval. Process is done on a fiber, but it works with any laser and any material.

These are done with a fiber, but he does excellent work… gives you a target of quality… it’s worth a peek ![]()
Have fun, again, thanks for posting including the fairy ![]()
![]()
1 Like
You’re most likely going to need to mask the darker portions and adjust their brightnest using something like GIMP, then go from there.
EDIT: or what Jack said… LOL
This is amazing. Thank you very much!