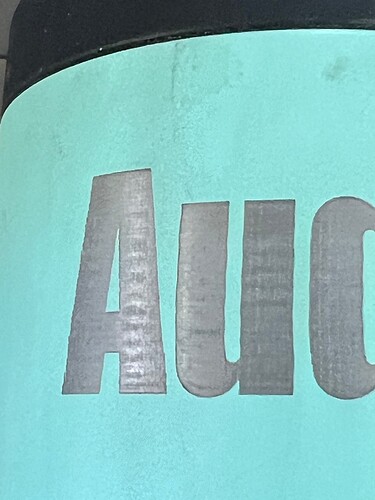
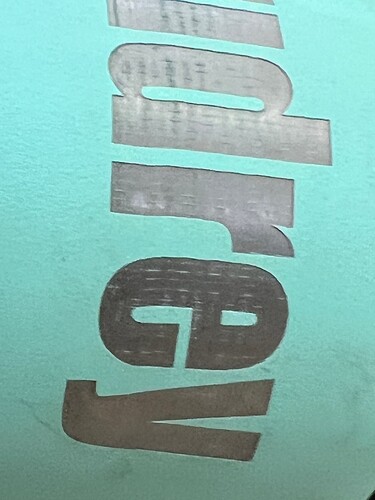
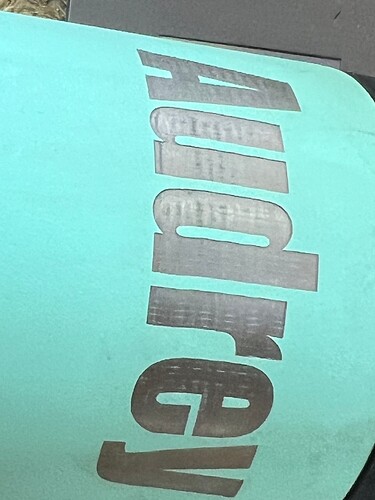
I have an Ortur LM3 with the 10W LU2-10A Laser Module. Can anyone give me some ballpark laser settings to engrave powder-coated tumblers? I have not had any luck getting a shinny metal finish like other people are.
I user 50% power and 2400-3000 mm/m
I also get better results with 90 scan than I do with 0 degree scan.
Stanley and Yeti takes much more power and slower engrave speed than the generic brand.
75% power and 2100 mm/m
Have you tried setting up a few material test grids? That’s the best way that I have found to dial in settings. Get yourself a sacrificial tumbler and test away!
In my playing around I seem to get the best result at 2286 @ 20% with 2 passes. Think I will try your settings and see what happens. It’s still not perfect but doesn’t shine up like other Ortur results. Right now I’m using LA and a magic eraser for cleaning.Will try to post some pictures tomorrow.
Going to try that also in the morning IF I have enough room on a tumbler to make one! ![]()
![]()
Focus length is important, too.
Did another test and the settings were 45% power at 90 min/in speed with one pass and the cross-hatch option. I tried another file and it came out fairly well. This one the “Y” came out good but the rest of the letters have lines. Could this because of the line interval setting?
Are you doing this without a rotary? The pictures make it look that way.
Yes, could be line interval.
Diode lasers work on Blue light - any blue tint in the tumbler paint will affect the results. Straight Royal Blue is a huge pain to engrave on a diode. Even turquoise color has enough blue to affect the results.
You will need to clean the surface of the tumbler after you engrave. A light solvent and a soft cloth will remove most of the artifacts in your letters.
There are often times line effects left over due to the heating process of the metal under the paint. Higher power and faster engrave help to reduce those marks, at least in my experience.
One pass at 50% power 3000mm/m
I am running these Ortur’s rotary with a chuck.
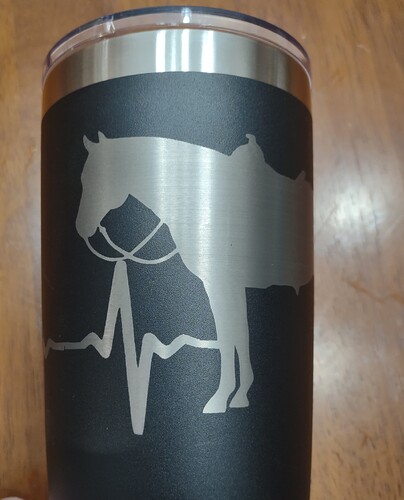
Okay, James, I will try your settings in the morning and hopefully get a good result. If nothing else it should get me really close. I take it you are not cross-hatch? If I can get a finish like the horse I would be jumping up and down and giving myself high five’s!!! ![]()
![]() Also I am using LA Awesome with a magic eraser for clean up.
Also I am using LA Awesome with a magic eraser for clean up.
No cross hatch. Single pass at 90 degree angle (it works best for me) and alcohol, goo-gone or brake cleaner sprayed in a rag to wipe off the ash. Do not over do the solvent, it can make you paint get gummy. Wash thoroughly with soapy water afterwards.
Ortur Laser Master Pro 2 with 10w upgrade.
And
Chuck rotary
Thanks, James. I had missed the 90* on my first read. It might be tomorrow before I can get out to my shop but I am excited about trying with the new settings. I have customers wanting their RTCI mugs done have you ever lasered that brand?
Duane
Is that the walmart generic? Then no. If I use 0 degree, I get uneven results, with banding/stripes in the metal. The 90 degree always gives me smooth and bright results. You can over-expose the tumbler and end up with a burned result.
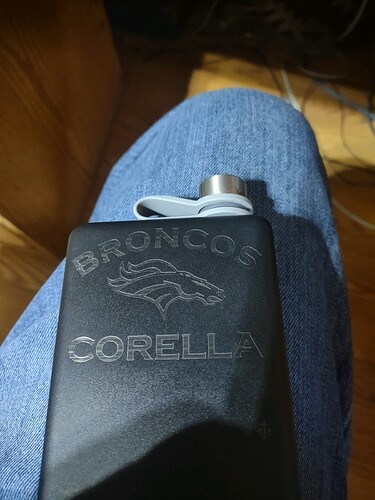
I think this flask was RTIC - and I burned it too long and too hot (not on the rotary). The customer was ok with it, as he wanted a low-profile non flashy flask.
Ok, I’ll back the power off some and see what I get. I do not believe they are a Walmart brand although you can buy them there. Could be wrong on the brand statement.
I way over cooked that flask. I suggest you try between 35-50% power. See how that goes, then adjust.
Thanks ![]()
![]() !!
!!
James, just wanted to let you know you are my new best friend!! i did a very quick and dirty burn and the result looked great, even without the cleaning. I am going to do a real run tomorrow and I’ll send a picture of the result. In my earlier post I said if I could get a burn like the horse I would be giving myself high fives? Well, I only have one arm so I guess I was only giving myself high 2.5’s today. ![]()
![]()
![]()
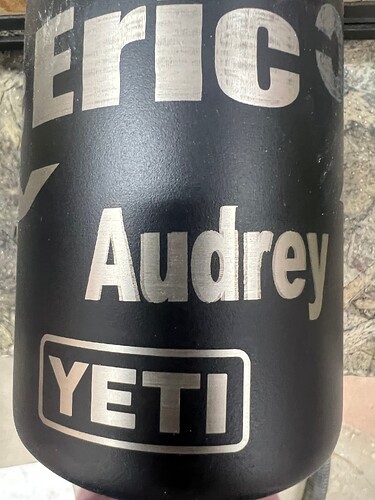
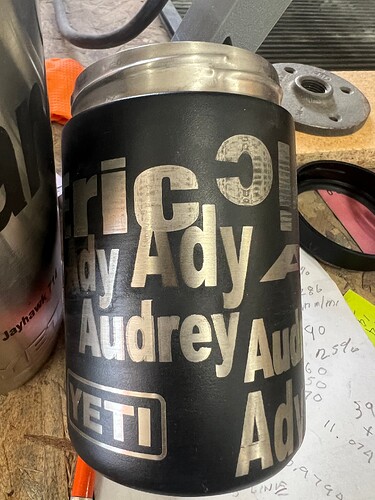
I did notice one problem and that is the smaller letters come out a little blurry. As in the name “Audrey” but the bigger letters like in the letters “Ady” came out good.
p.s. the lighting in my shop sucks for taking pictures.
Those issues we can work with. Now that you are getting a clean burn down to metal - the rest is just fine tuning.
For my rotary, I turn OVERCAN from 2% to about 8%. Make sure the chuck is gripping the tumbler tight enough to have zero slop. You may need to turn acceleration down or just slow the overall speed down a bit.
Are you using Flood Fill or Fill All Shapes at Once?
I suggest Fill All Shapes at Once for Rotary work.
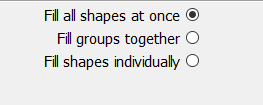
I am using Fill all shapes at once. Overscan is set around 4% so I’ll bump that up. Turn acceleration down? Can’t say I ever heard of that. Also, these burns were done at 50% @ 3000.
Did some checking. Are you taking about settings in the rotary setup for the Acceleration??
