I’ve had my Monport 60w for 4 weeks - an upgrade from my OLM2 Pro S2 diode laser. While working on a tile for a friend’s business, I used fill plus line sublayer for some text. For at least some letters, the line (outline) is not meeting up with the fill, leaving some gaps. I never saw this issue on the diode. Suggestions on how to address?
Without a photo it’s hard to say but it sounds like you might be dealing with PWM Rising Edge skewed engraving issue.
Take a look here:
Configuring A Ruida - LightBurn Software Documentation
Thank. It’s my first post here and I don’t see a way to post a photo. ![]()
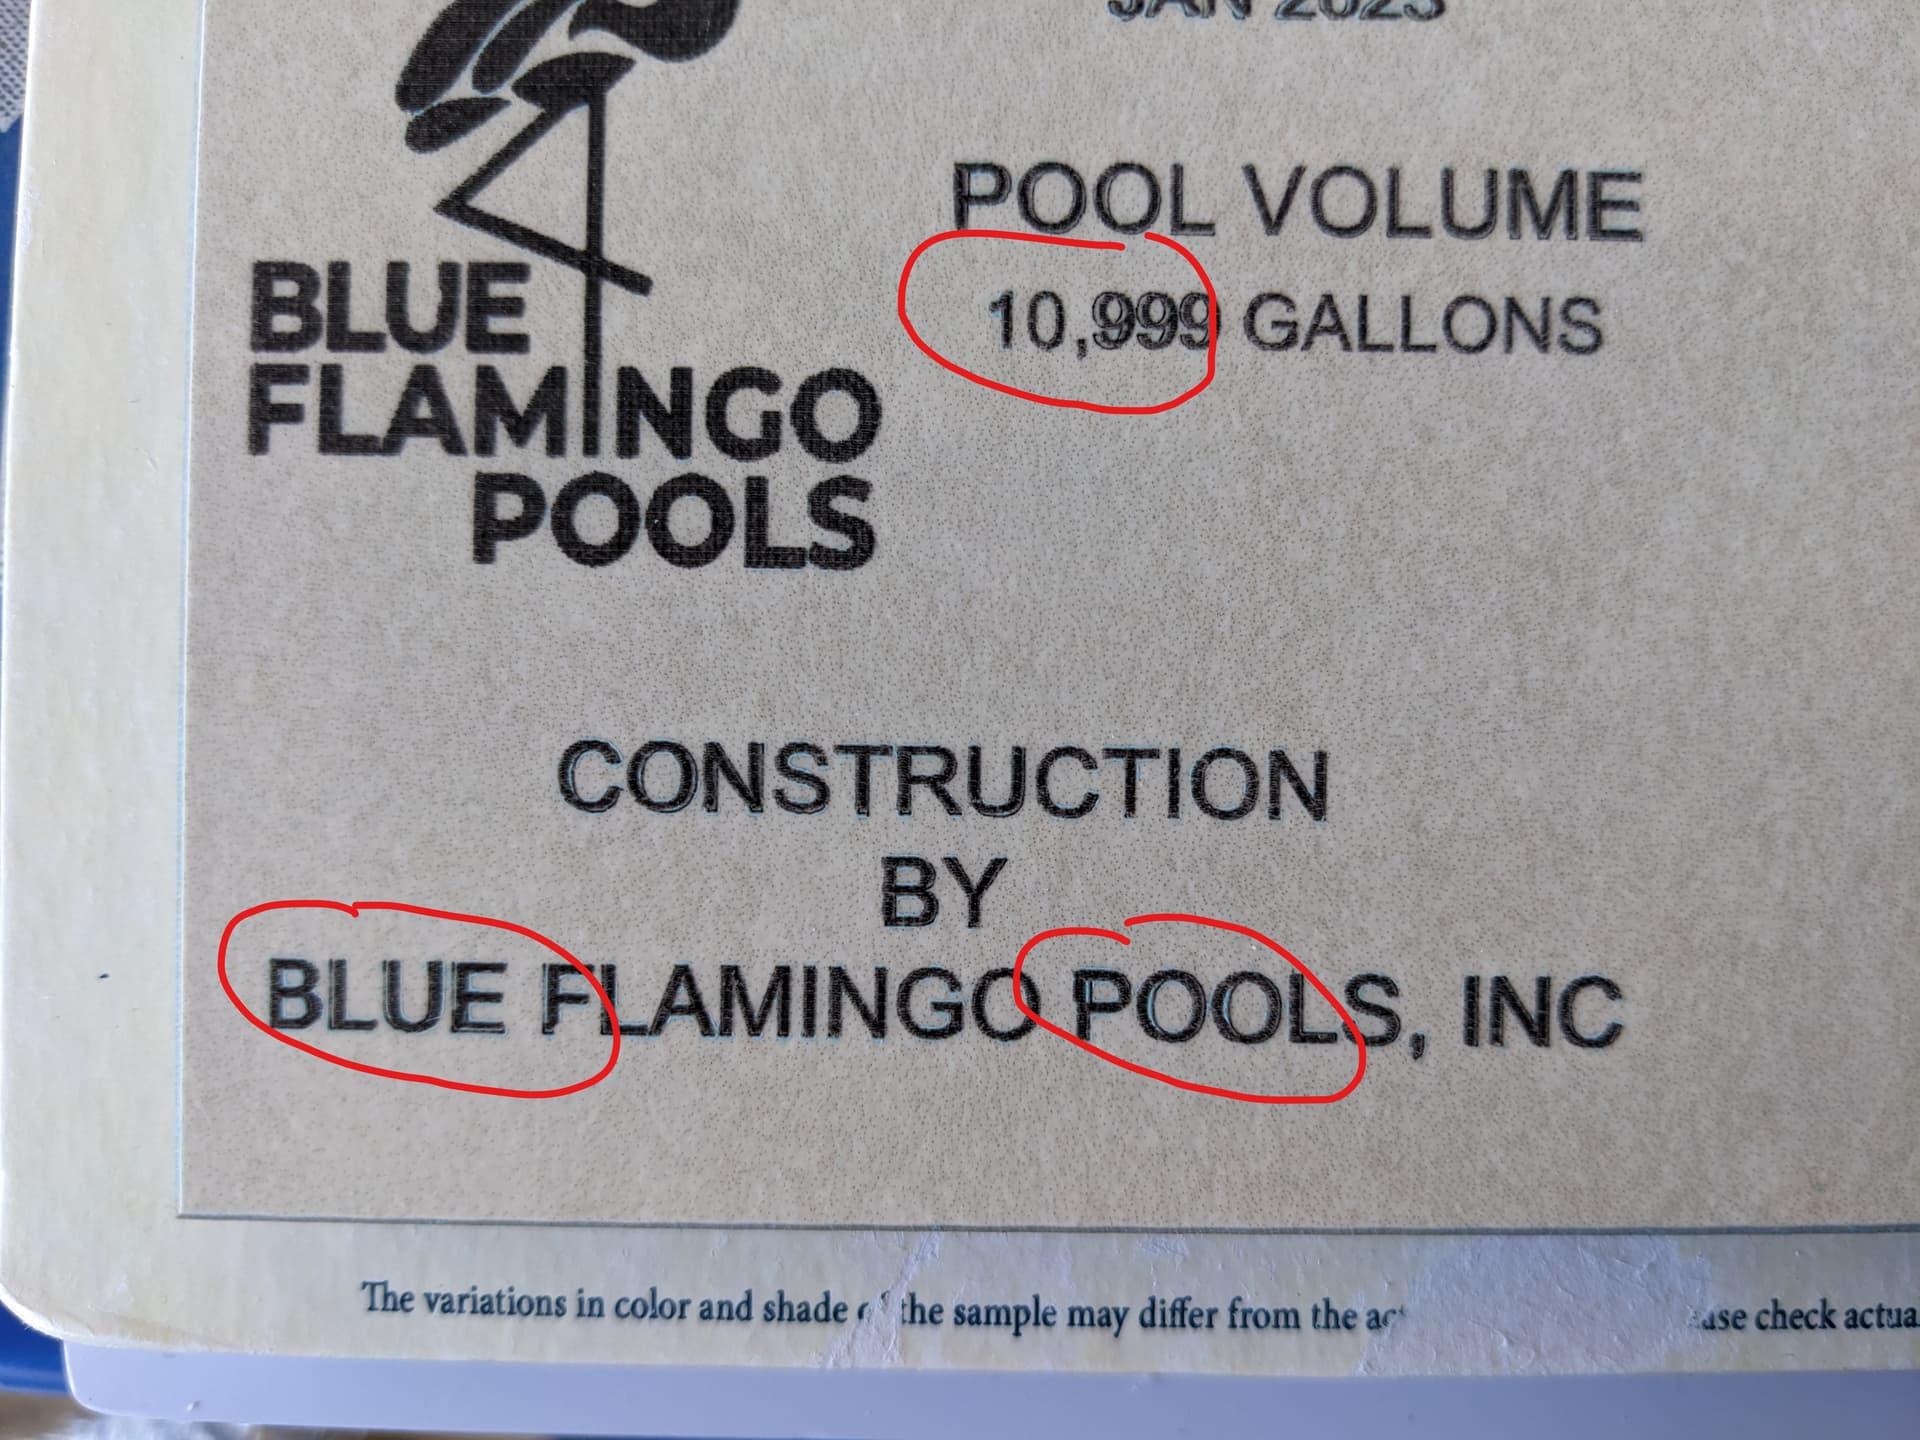
Nevermind… I just pasted it! Affected areas are circled. the flamingo logo is an image, ignore that.
You can drag and drop to the edit field or push the upload icon to get a file dialog to upload photos.
![]()
It looks like some hardware dependent slop.
What are your parameters for speed? how is your material attached to the bed?
Magnets secure the material. Speed was 30mm/sec (pretty slow). Further research shows others have had the issue, but I never saw anything that was a resolution. Some blame Lightburn, others blame the controller and others shrug their shoulders. Common theme seems to be just don’t use it.
Belts on machine are tight and I don’t seem to have any play in the head. Honeycomb is screwed to the z-axis frame.
Try running a job with a larger shape. Perhaps a tall rectangle. This should exaggerate any effect.
It may still be the rising edge issue.
Yeah, good thought - it may be due to scale (what I showed is smaller than what production would be as the piece has a test grid on it too).
I use “fill+line” (now multi-layer) a lot and primarily for text in soft materials, such as pine and poplar or leather. My machine is directly comparable to yours, only that it has a different label and is blue. To engrave text in soft wood, I use only a little power (between 13 and 18% in LightBurn) and speeds between 100 and 300mm/s, depending on the fill mode, (with less transport less speed). For line engraving after fill, I like to use 200-300mm/s. I have not observed the problem that you describe. If it’s LightBurn, it’s easy, the file is (usually) sent as a whole and rarely streamed. Save the file and run it again - the error should be present, same location and intensity.
If this is due to internal “communication” problems in the controller, you should be able to see the problem in all tasks you do with the machine, at least periodically.
You can produce a test file with the problem and send it up here, I would like to try or test it for you.
Thanks for the offer to test. Here is a link to the file used in Google Drive - you should have access with the link: https://drive.google.com/file/d/1rRDKALI2QQS5MipXai-LXIK8CUOFiV50/view?usp=share_link
Note that this is the full file, with a test grid in the upper right quadrant. I used this for testing NWT method on a variety of ceramic tiles. The grid was selected and burned and then a suitable power and speed was selected from the grid. I may have previously reported the speed as 30mm/sec, but this particular tile was done at 40mm/sec, 20% power (Monport 60w).
I’ve only had the machine a month. I did try a section of the text on a piece of cardboard with similar results (ghosted outline). Speed was the same, but I dropped power. The file originated from a test on a diode laser, which is obviously a different critter and runs much slower. I didn’t notice the issue on the diode laser, but the test was done at full size on a 6x6" tile. The issue might disappear at larger scale, I just haven’t tried it yet… and the client wants a different design.
Thank you for your assistance!
Steve
Depending on where you look the anomaly is on the opposite side…
I’d like to set the settings also.
![]()
I have downloaded your test file and “inspected” it and can’t see anything “wrong” in it.
It’s almost 12 at night here and I have to wait to test the file on my laser machine until tomorrow. I’ll get back to you when I’ve test-run this file.
Much appreciated!
Well, maybe. To me, it looks like the ‘line’ is shifted to the right and down with respect to the fill. However, I also see where it’s not consistent. Ignore any of the blue… that’s the paint from the NWT method that I didn’t get cleaned off.
Thanks for your input!!
I ran the same thing on my machine, but adjusted the speed/power to 500mm/s @ 15% using LBT100 spray on tile… Also changed the ‘line’ layer to 15%/9%, but it can’t attain that kind of speed in such a short distance.

I think what we see it the outline is not laying down properly… You can really see it here…

Excuse the lose belt, been meaning to fix that…
The offset is from the ‘line’ outline…
I’m not sure what’s causing it, the offset seems consistent but I didn’t try to make any changes other than a guesstimate speed/power.
I’m sure an aggravating factor is that the speed of 40mm/s probably can’t be attained in such a short distance… This should be seen in the burn itself not the path taken…
Interesting…
I think if you delete the ‘line’ that does the outline, it will look much better… I probably don’t see this as I don’t use anything like ‘fill + line.’
![]()
Thanks, Jack, for taking the time to try this out. You are definitely seeing the issue, albeit "worse’ than my example. The general consensus seems to be “don’t use that function”. I appreciate your assistance!
Steve
It was actually very interesting to do this test.
In that I have not worked with ceramic tiles, I will do the test with BB plywood. Even if they are different conditions, it will be able to give (me) an indication of what it is about.
I started by adjusting the power setting fairly well for my material and set the speed to 300mm/s. Normally I don’t want to drive 300mm/s over such a small distance, accelerating and braking again takes more time and 300mm/s itself is not achieved anyway.
But the starting point had to be close to your result, and it was.

Picture 1 shows the same symptoms as you describe and @jkwilborn also reaches.
Then I set the speed/power down 200 and 100mm/s and the result was also a little nicer, i.e. the symptoms became less visible, when engraving the entire project.
Because I don’t want to engrave the whole thing to find the right parameters, I chose to engrave only a text double line. But, to my great surprise, the “artifact”, the visible line after fill, disappeared!

Picture 3 (different speeds and power settings, fill and line)
After some tweaking I produced your file, divided into 4 steps, 3 parts text and once graphics. It almost doesn’t matter which speed I chose, the result was still nice.

The finished result can be seen in picture 4, for which I used 200mm/s, 13.5% max power and 8.5% min power. For the graphics I used 300mm/s (which unfortunately can also be clearly seen). The line spacing is 0.1 mm.
Why the result is so different when it is ungrouped and engraved individually - I have no idea
@sr1sws , would you like to try the procedure that I have described, with the adjusted power values for your material, it could be interesting.
2 Likes
Wow Bernd, I’m amazed and grateful at the effort you made in sleuthing this issue. Unfortunately, the material was a one-off, proof of concept for my friend/client. He liked the results, so I’m reasonable sure I’ll be making some of these for him and can re-test then. Until that time, I’d do some testing on alternate material - and I do have some white ceramic tile I can use. I don’t think the substrate/material would matter. When you say you ‘ungrouped and engraved individually’, did you literally mean you ungrouped the text, but it was on the same layer or did you put each section of text on an individual layer with the same power/speed parameters? Also, what fill option did you use? Flood, fill all shapes at once, fill groups together, or fill shapes individually?
I am delighted you took the time and effort to help me out! Thank you so much!
Steve
I apologize that I was not clear enough in the description, probably because I am so surprised by the result.
I used the same fill parameters as in the file, however with 0.1mm line spacing.
By ungrouped I mean, 3 “blocks of text”, not each letter. Everything is in the same layer, but with the mouse I mark the text segments individually and engrave them. Finally, get the graphics engraved.
I know that it is not suitable for production to press start 4 times ![]() but it is also only a troubleshooting process.
but it is also only a troubleshooting process.
I am hoping that someone will come forward and point out that I have overlooked one thing or the other, or come up with a reasonable and logical explanation why a “subproduct” of the whole file does not have the mentioned symptoms. Although the same parameters are used.
Thank you! “Production” of these probably won’t be more than one or two at a time. I’ll do some playing around. Your results are definitely odd as is the entire issue. I wonder if “line + fill” would make a difference (reversing the order of operation)? Experiments to follow!