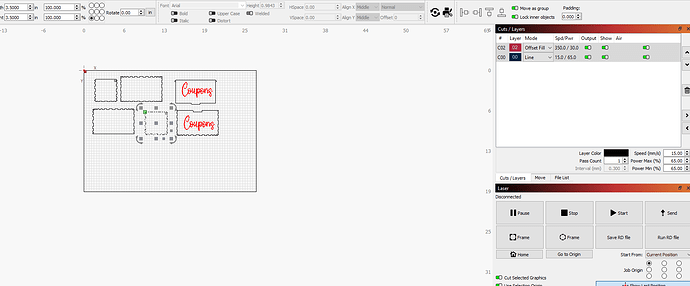
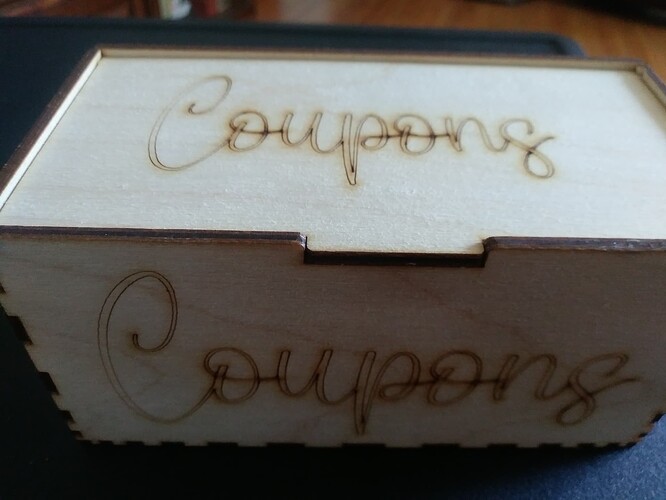
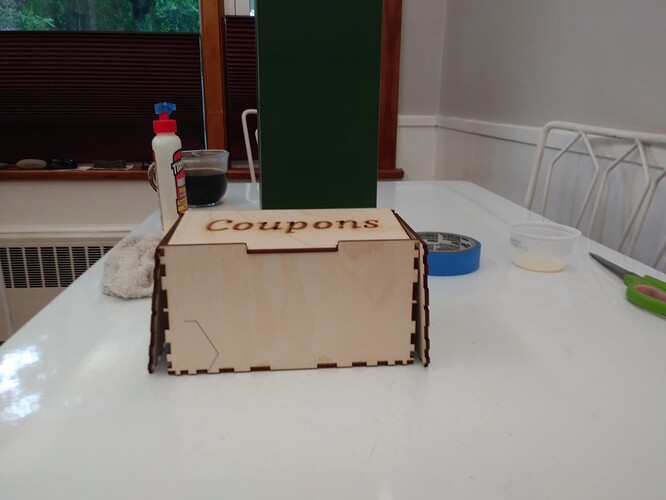
After doing some researching and testing, my tabs are still just a tiny bit too tight.
Very good to know. Thanks to maker & poster.
I use a quick and dirty way to determine the kerf setting. Make a new job with as an example a 50mm x 50mm box. Cut out the box and measure with calipers. If the size is off I adjust the Kerf setting by trial and error and then recut the box until the size is correct. I know the video show’s doing a lot of math and measuring both x and y dimensions but i found this easier. There is also a feature in lightburn where you can adjust the size of slots and tabs. Look under Tools > Adjust Slots.
OMG, I made three boxes; two the lid would not fit the opening; my “go to” baby brother shavee the openings a bit and they fit.
The third one I adjusted the size, the lid fit perfectly…BUT the tabs were too tight and I had to pound them in. I forgot to take a picture of it.
Sooooo, I asked baby brother to adjust tabs and send me file. Seven pm this is what I cut. Nine pm; I must be doing something stupid, go to bed.
Three am; try assembling again. I must be doing something stupid go to bed.
8:45 am text picture to baby brother.
His response " forgot to adjust the sides".
Two things I did not know… baby brother knew how to make a mistake and offset fill setting was new to me.
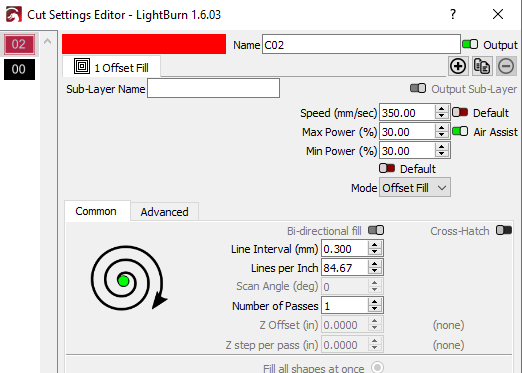
well Lucie, offset fill must have something to do with another project, in your fine box it cannot be used. The uneven spacing/distribution of your finger joints makes me wonder, is that on purpose?
Im still fighting with slots and tabs. Had it nailed on my old Atomstack A40 Pro machine. But seems i need to relearn the process on my new A70 Pro. My kerf setting seems to be correct but still having issues with having pieces fit together. Part of the issue is the inconsistency in the thickness of Baltic Birch plywood i am purchasing. Supposedly it was 3mm but measuring it is all over the place from 2.49 and up.
Try this one. I have used this one before so i know it fits well. Use 0.007 Kerf
HInged Lid Box .250 inch.lbrn2 (17.0 KB)
I have also often experienced that my 3mm (4, 5, … mm) Plywood is all other but not necessarily 3mm, so I always start using my Caliber to find out the thickness of the current material. (This also applies to acrylic which can also vary a lot).
Then I cut 2 test pieces with the original Kerf Setting to control and if needed, I correct my kerf.
With my CO2 laser, I typically use 0.075mm in Kerf setting for a tight fit.
![]()
File wont open because Cimplex font is not loaded.
Here’s the ones i use for 3mm and 6mm material
How do you change each side to a different kerf on the same object?
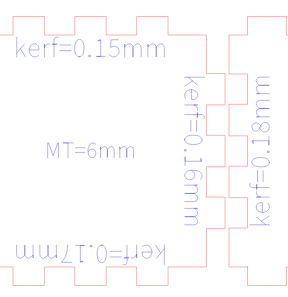
Can’t do this that I know of with a closed object…
![]()
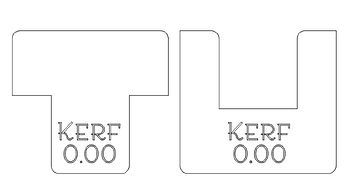
You dont change anything. Its already adjusted in the sample. Load the job and set cuts for 0 Kerf. After you cut the two pieces, test them by fitting sides that have the same kerf value to each other. You are looking for a snug fit that stays in place. Once you find a good fit use that kerf for your real job
That is a metric kerf tester for Cuttle’s Open Box with Finger Joints.
Nope, not on purpose. Just me making mountains out of molehills.
Now that so much has been written about kerf…, has it solved your problem? If not, we could start all over again together.
You can also do this test to find a kerf value:
https://boxes.hackerspace-bamberg.de/BurnTest?language=en
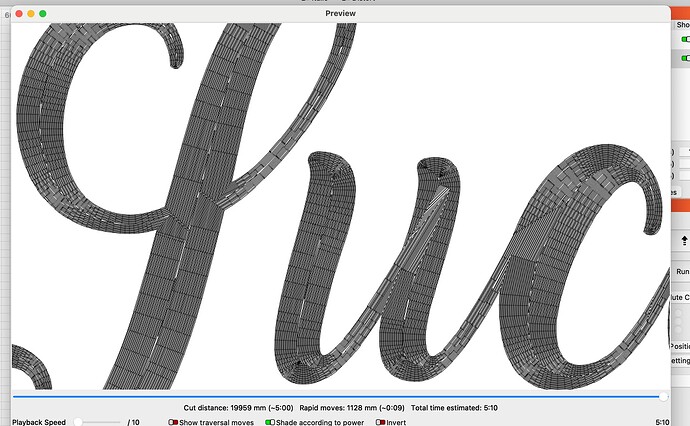
I was curious as to what Offset Fill was so I did the text in Offset Fill. It kind of put the letters in a trench? I don’t know if I can get a close up of the results.
In my opinion, Offset Fill is suitable for simpler, larger objects where it is not important that Fill is completely even and “close”. Sometimes the surface image can look like the surface of 3D printed items. Offset Fill has the fact that small spaces can be visible where form changes meet.
So interesting how it lays down the patterns within each area. Like farmland from a great height. I chooses blocks then curves and so on. Wondering how and why it selects one over the other…mostly Im wondering can this be controlled and utilised.
