This is a follow-up to a discussion occurring in a separate topic around Ruida’s Dot mode and how that might be used to get a different type of cutting effect. The question was if this technique could be used to attain a similar effect using diode lasers and g-code.
I’ve done an inital proof-of-concept demonstrating the necessary code and the mechanics involved in doing this. What’s left is to test this with additional materials and settings to see if this provides any real world advantages.
I invite you to experiment with this and publish your findings to see if there’s any real value in doing this.
Link to the original discussion on this:
I’ve created a g-code stream that is designed to cut a 10mm square using this technique. It is setup with “current position” and expecting to be aimed at the center of the material before starting the burn. Right now the way it works is it takes 0.05 mm steps between burning a single dot for 0.1 seconds. It does this all the way around the square.
Change speed (F) and power (S) by modifying line 8: M3 F100 S80
Change dwell time in seconds by modifying all occurrences of: P0.1 with new time
example: G1 G4 P0.2
If you want to change motion increment it’s probably just easiest to change all occurrences of .05 to the new increment size although this will change the overall square dimensions. Else change the step size and the number of occurrences accordingly.
Please take a look and share your findings if you try this out.
Yeah. The current settings will be way too low to cut 3mm plywood.
I think the way to tune it is to use the fire button and time how long it takes to pierce the material at a specific power level. Then use that power and time to change the code.
I got the code just to the point where it worked reliably and predictably with the “dot” method. The method successfully cut through a sheet of printer paper at the settings in the sample code. I wanted to keep the numbers safely low in case people just ran it without adjustment.
I haven’t had a chance to test this on any more substantial material.
i think is a good method, i will try this week end cause when i’m back home from work i have no much time, and this is a job that has to take his time to be well done…
So does the GRBL command interpreter automatically fire the laser after a move code (e.g. G1) using the value in $0 = 10 (Step pulse time, microseconds) stored in GRBL firmware?
I don’t think G81 is directly available in GRBL. So it’s the responsibility of the parser (or in this case me) to convert G81 to smaller operations. I’d be happy to be wrong about this.
I also explored using variables for this program to make it easier to edit but apparently GRBL doesn’t support variables or any sub-program capability.
I’ve done som experiments with your gcode changing power to 90% (S900) and changing also the dwell time starting from P0.2 to P0.5 to try cut a 3mm plywood. Got no luck
I’m able tu cut 3mm ply at 200 mm/min speed and 90% power in 5 passes with my 7.5W module.
I will do some other try with this DOT method
Okay. Interesting. I haven’t been able to test on wood as yet.
If you’re already at 90% power then maybe just keep ticking up the dwell time until you can get it to just barely pierce through. I found that I was able to get super subtle differences in cut quality and very precise control of the cut using variations of dwell and power.
I’ve done some experimentation with foam and have found I can get a noticeable improvement in kerf size and cut quality. I’ve never been able to dial-in to that level of precision before.
just tell me one thing, i though that dwell time expressed in P was milliseconds and S was seconds and i found on Marlin site an example like this " G4 P500 ; Dwell for 1/2 second" but you wrote on your gcode P0.1 telling was a second… can you clarify this?
This threw me off as well. Actually, I thought X was seconds and P was milliseconds. Apparently this is not standardized and only discovered this experimentally. After looking it up I guess GRBL uses LinuxCNC convention of P in seconds. G Codes (linuxcnc.org)
So P0.1 is 0.1 seconds, at least for GRBL. I should make that clear in the notes if I haven’t already.
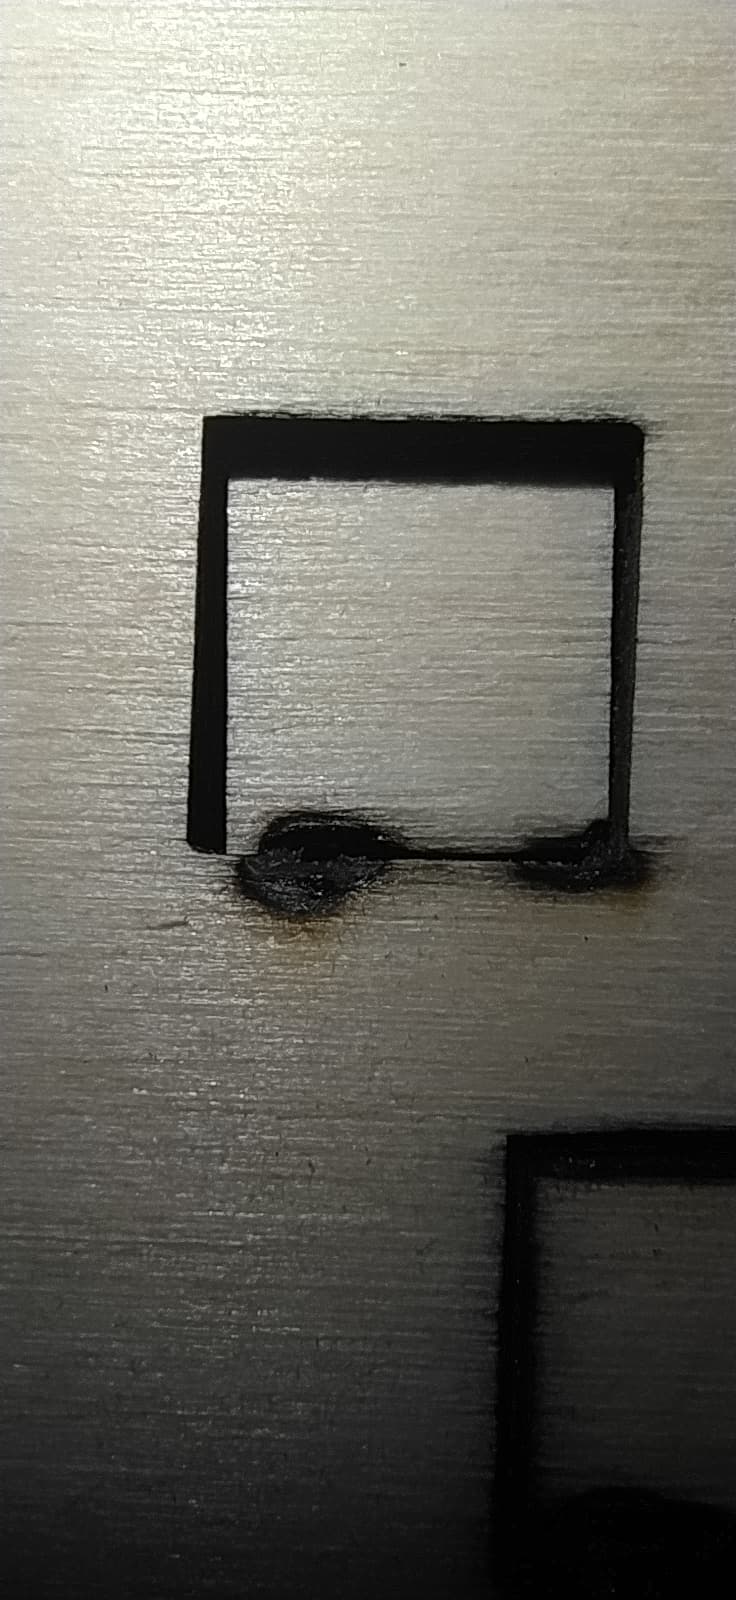
I cutted 3mm plywood in dot Mode with this parameter in your file:
Speed 500mm/min power 90% and P0.7
But there is a little issue that i don’t understand.
In the pict you can see that in the first line it seems to go slower and it burns too much
Is it possible that you didn’t change all the G4 values the same amount? Definitely looks odd how sides 2-4 are so clean but side 1 is not.
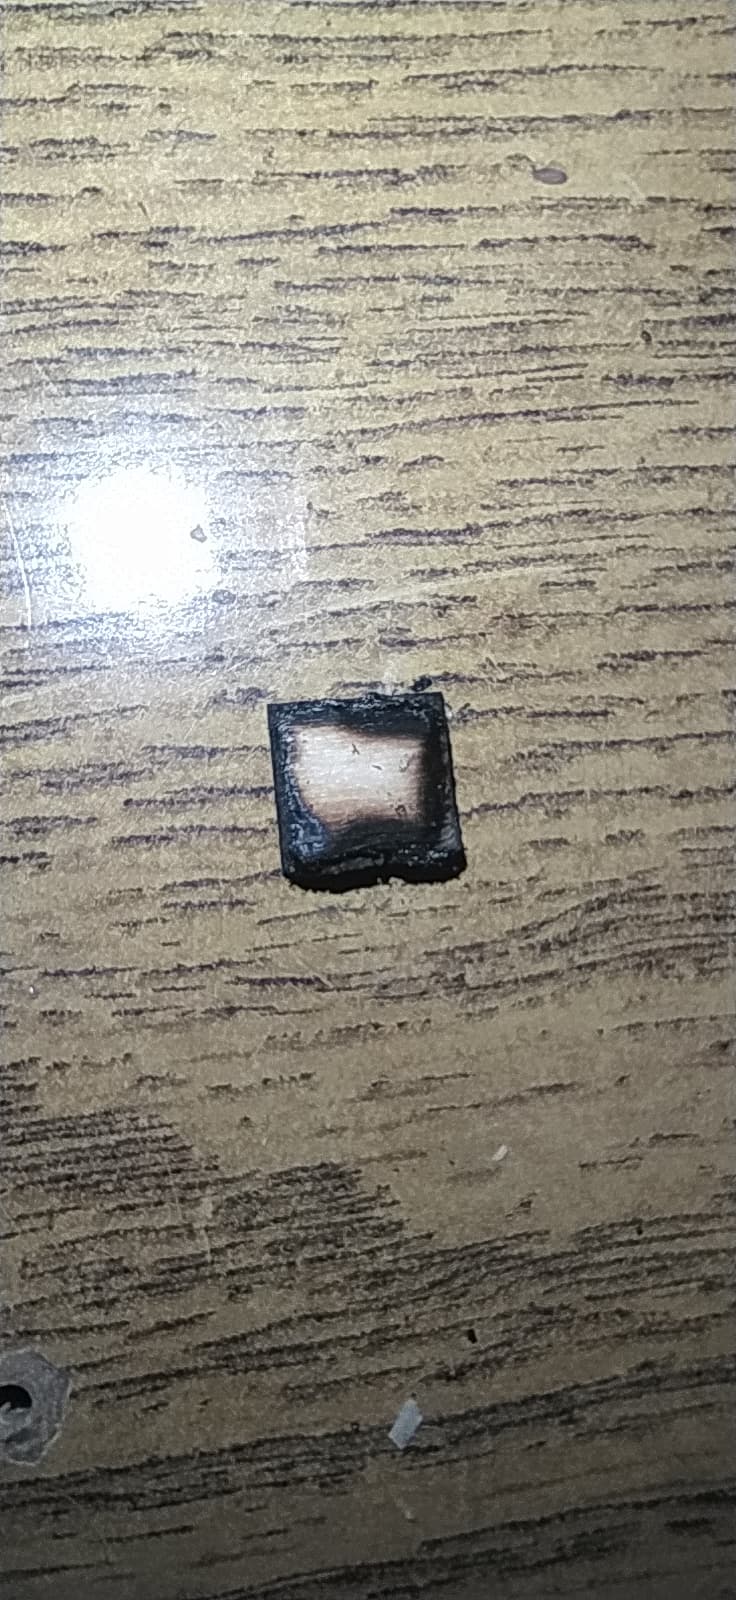
The didn’t expect the back to look like that based on the top. Quite a bit of charring Did you get a lot of flames? Are you using air assist?
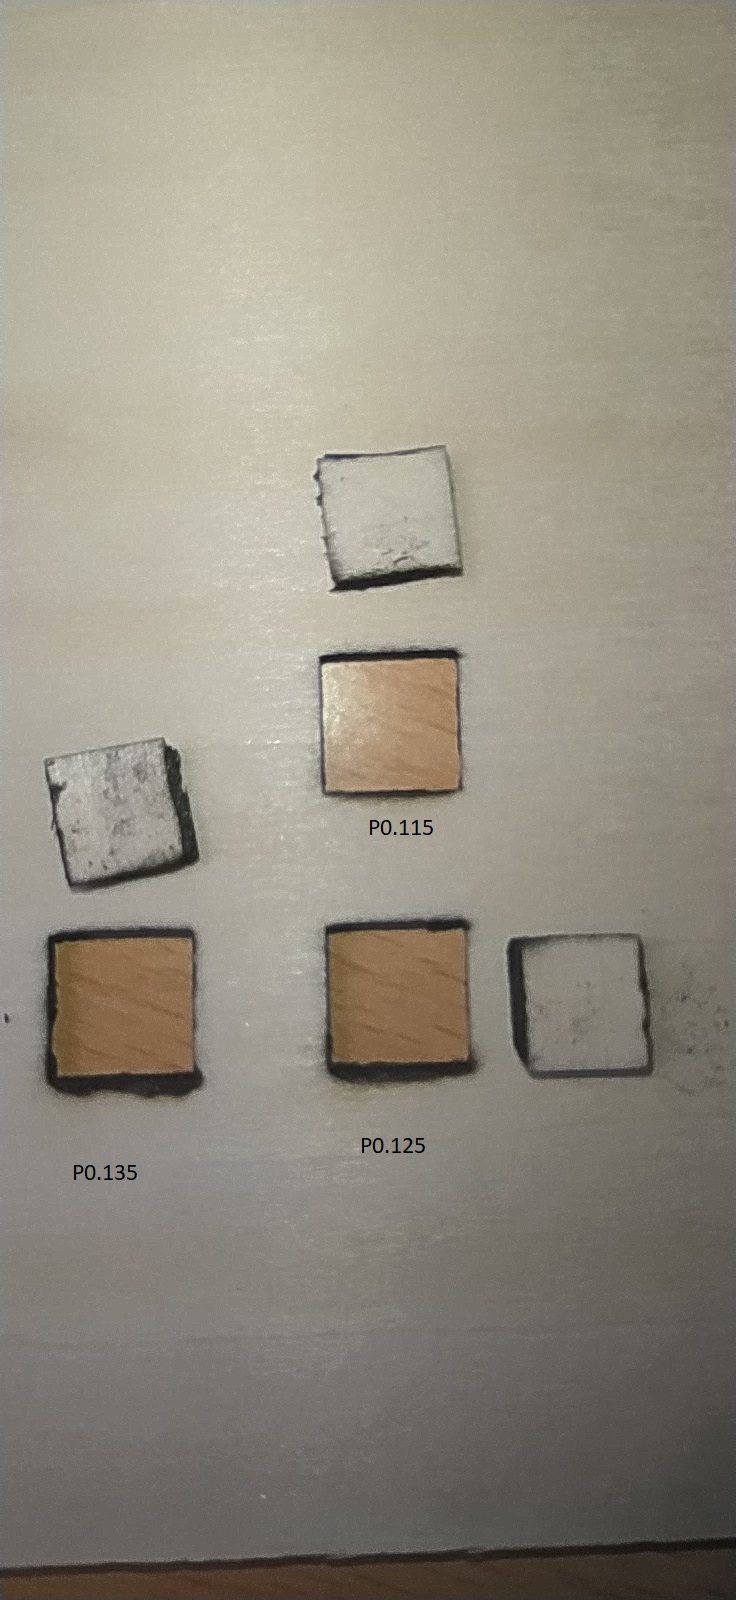
Seems like P0.7 is too long. You said earlier that P0.6 didn’t cut through. Try to find the closest time value between P0.6 and P0.7 where you can just barely cut through cleanly. I was able to do this with foam up to P0.0xx precision and quality kept improving as I got to the minimum value.