Just go for it.
Remember.
Those who have the most toys wins.
You can’t take it with you, so you might as well have some fun while you mind is still intact.


Just go for it.
Remember.
Those who have the most toys wins.
You can’t take it with you, so you might as well have some fun while you mind is still intact.
Hmm, took the plunge on a variable speed angle grinder and two sets of diamond pads for working the slate this morning…more toys than playtime.
I’ve got some info gathering to do on the IRcam or full spectrum, I think I’ll watch the market and get a full frame that’s already been converted…later in the year or early next, when I have a better handle on using a camera.
Haha, I stand corrected!
Interesting thing
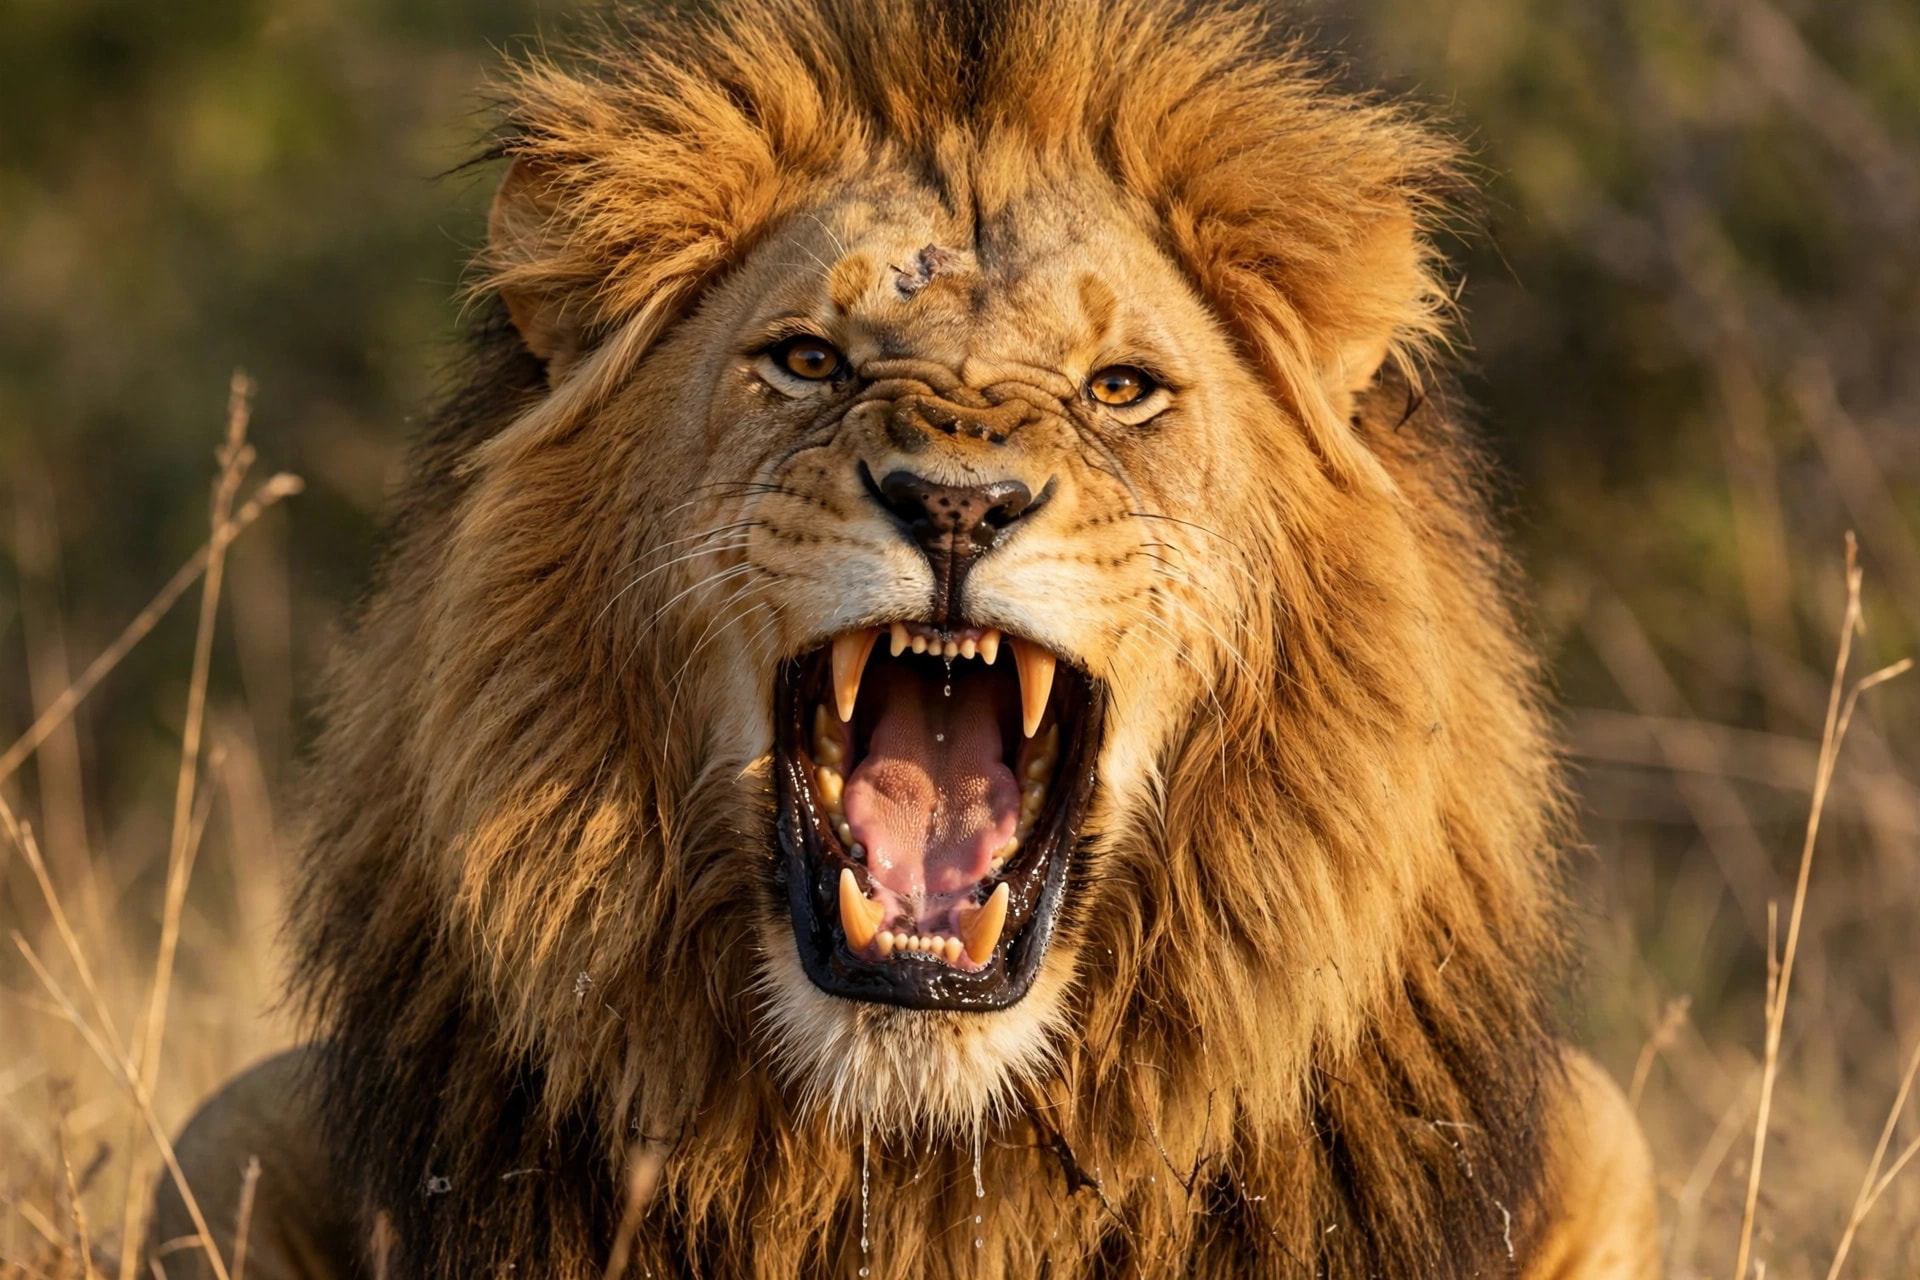
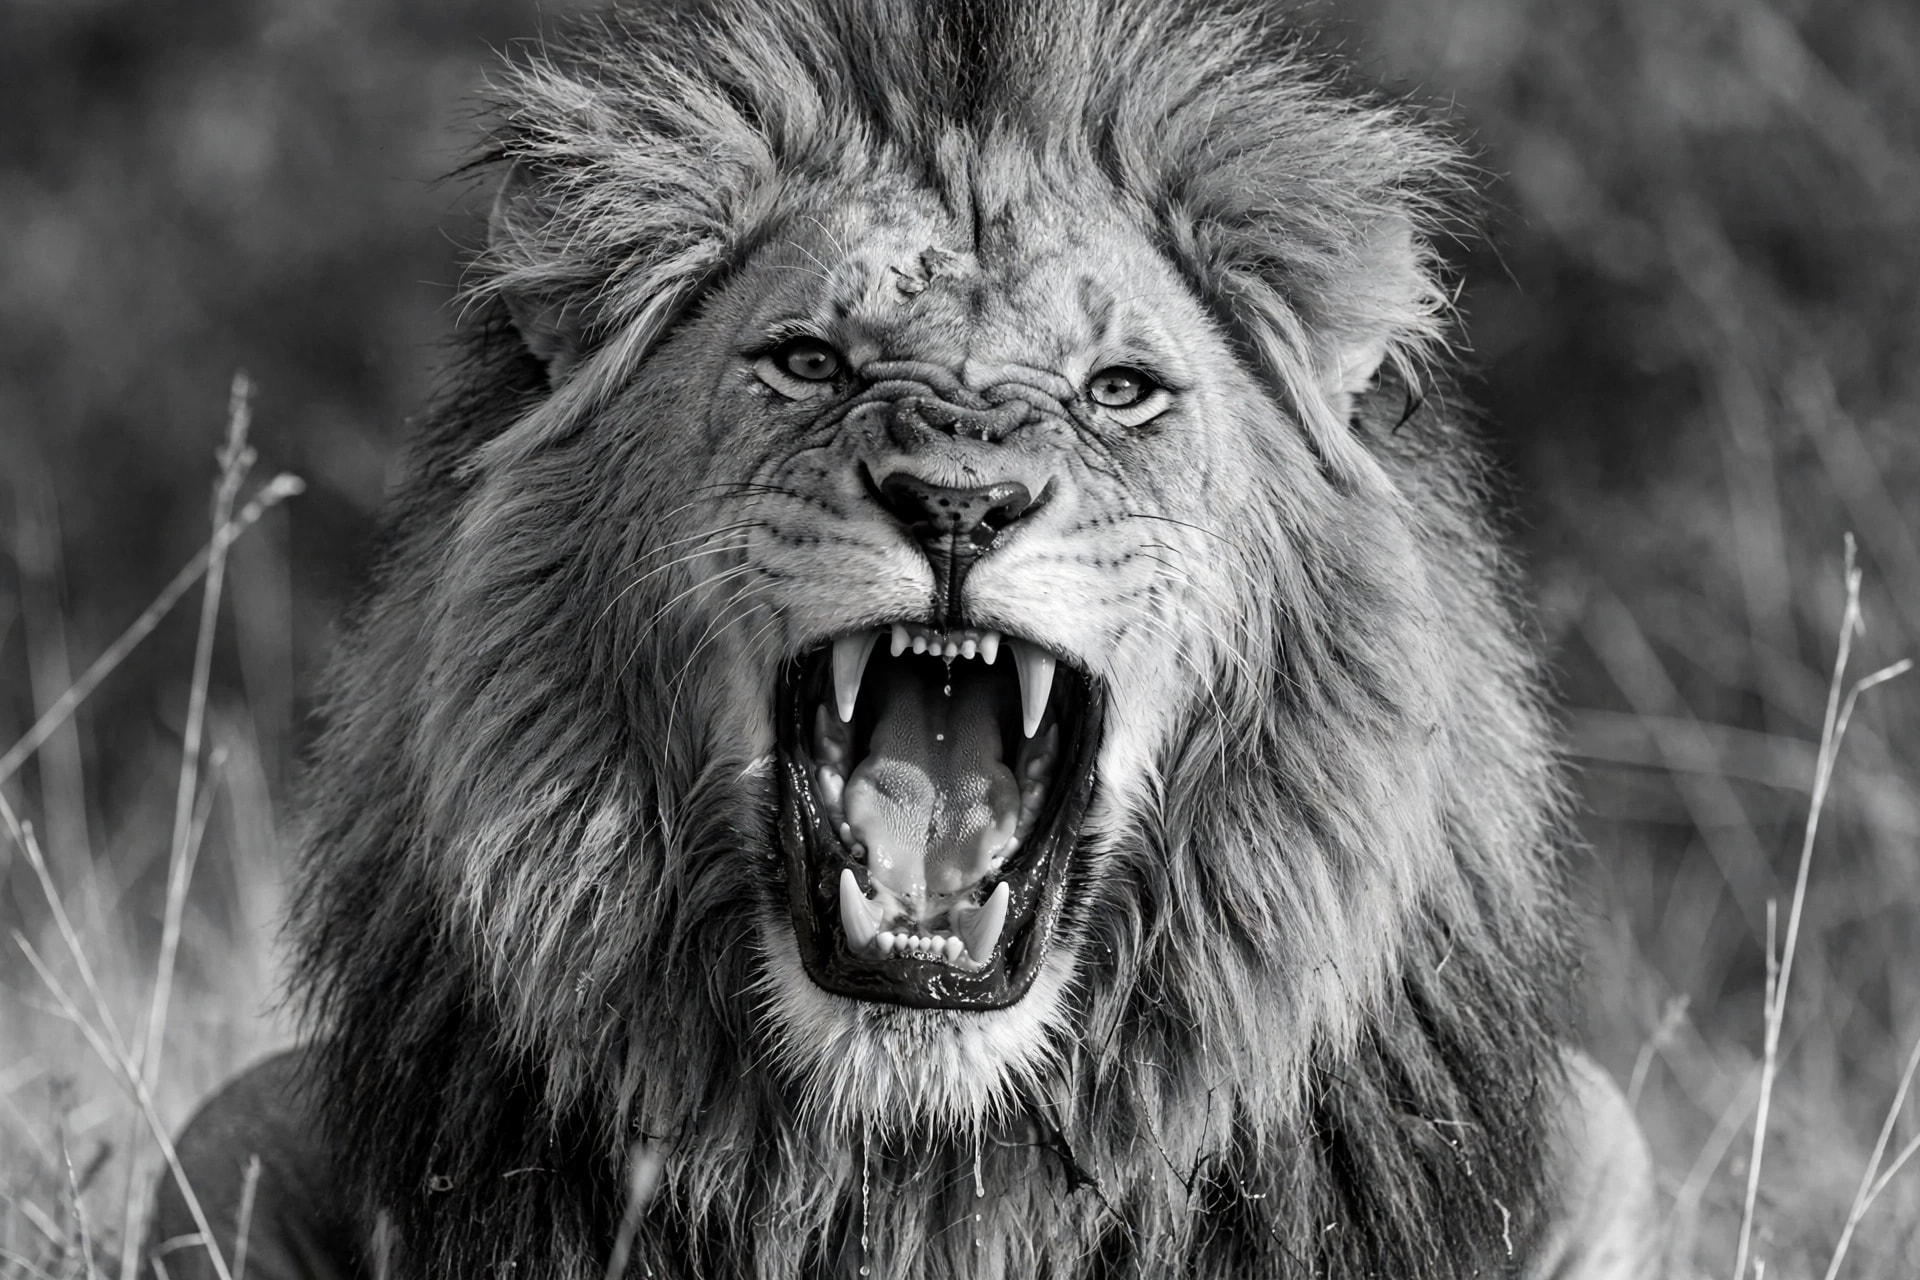
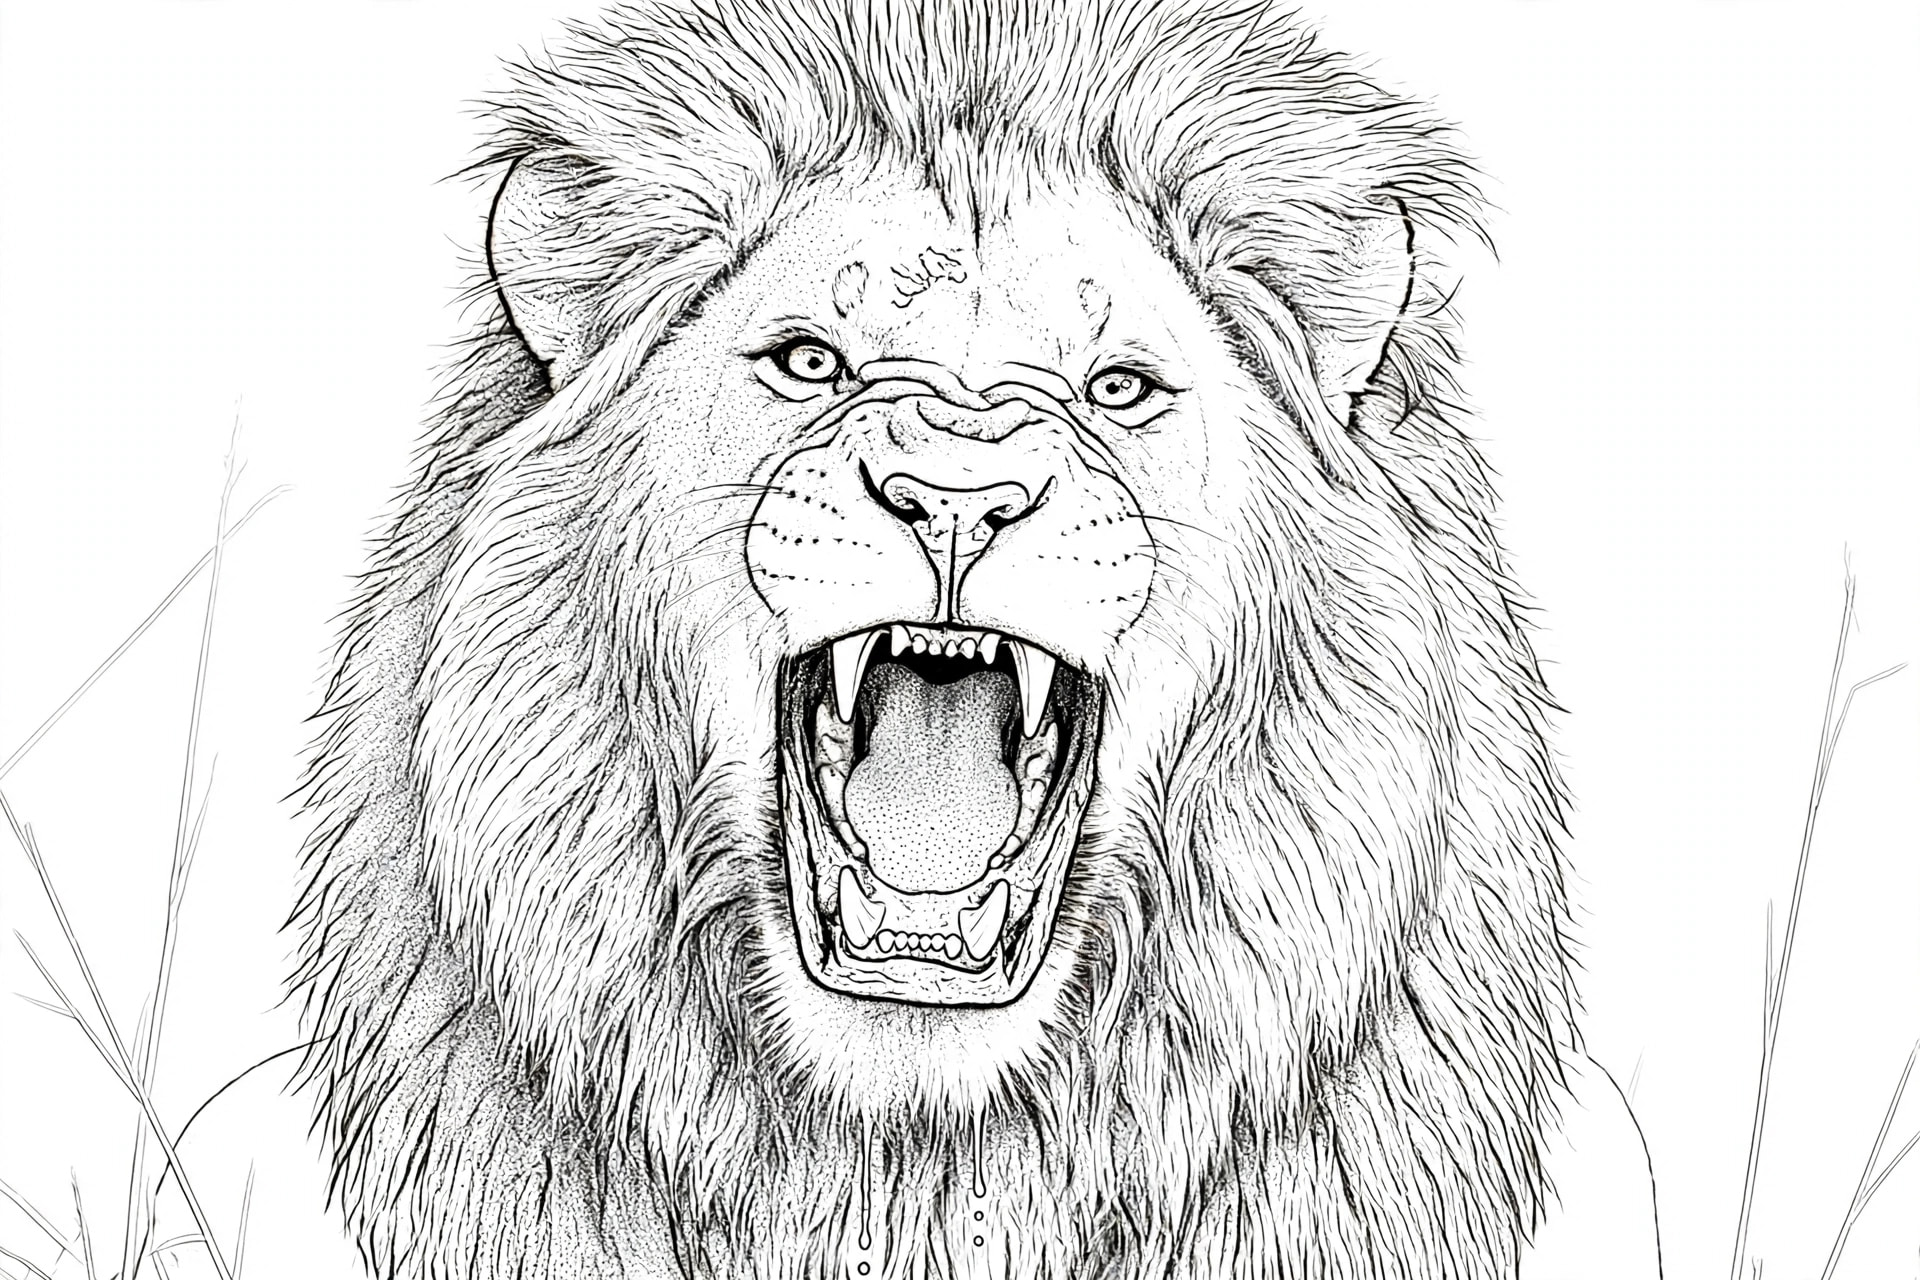
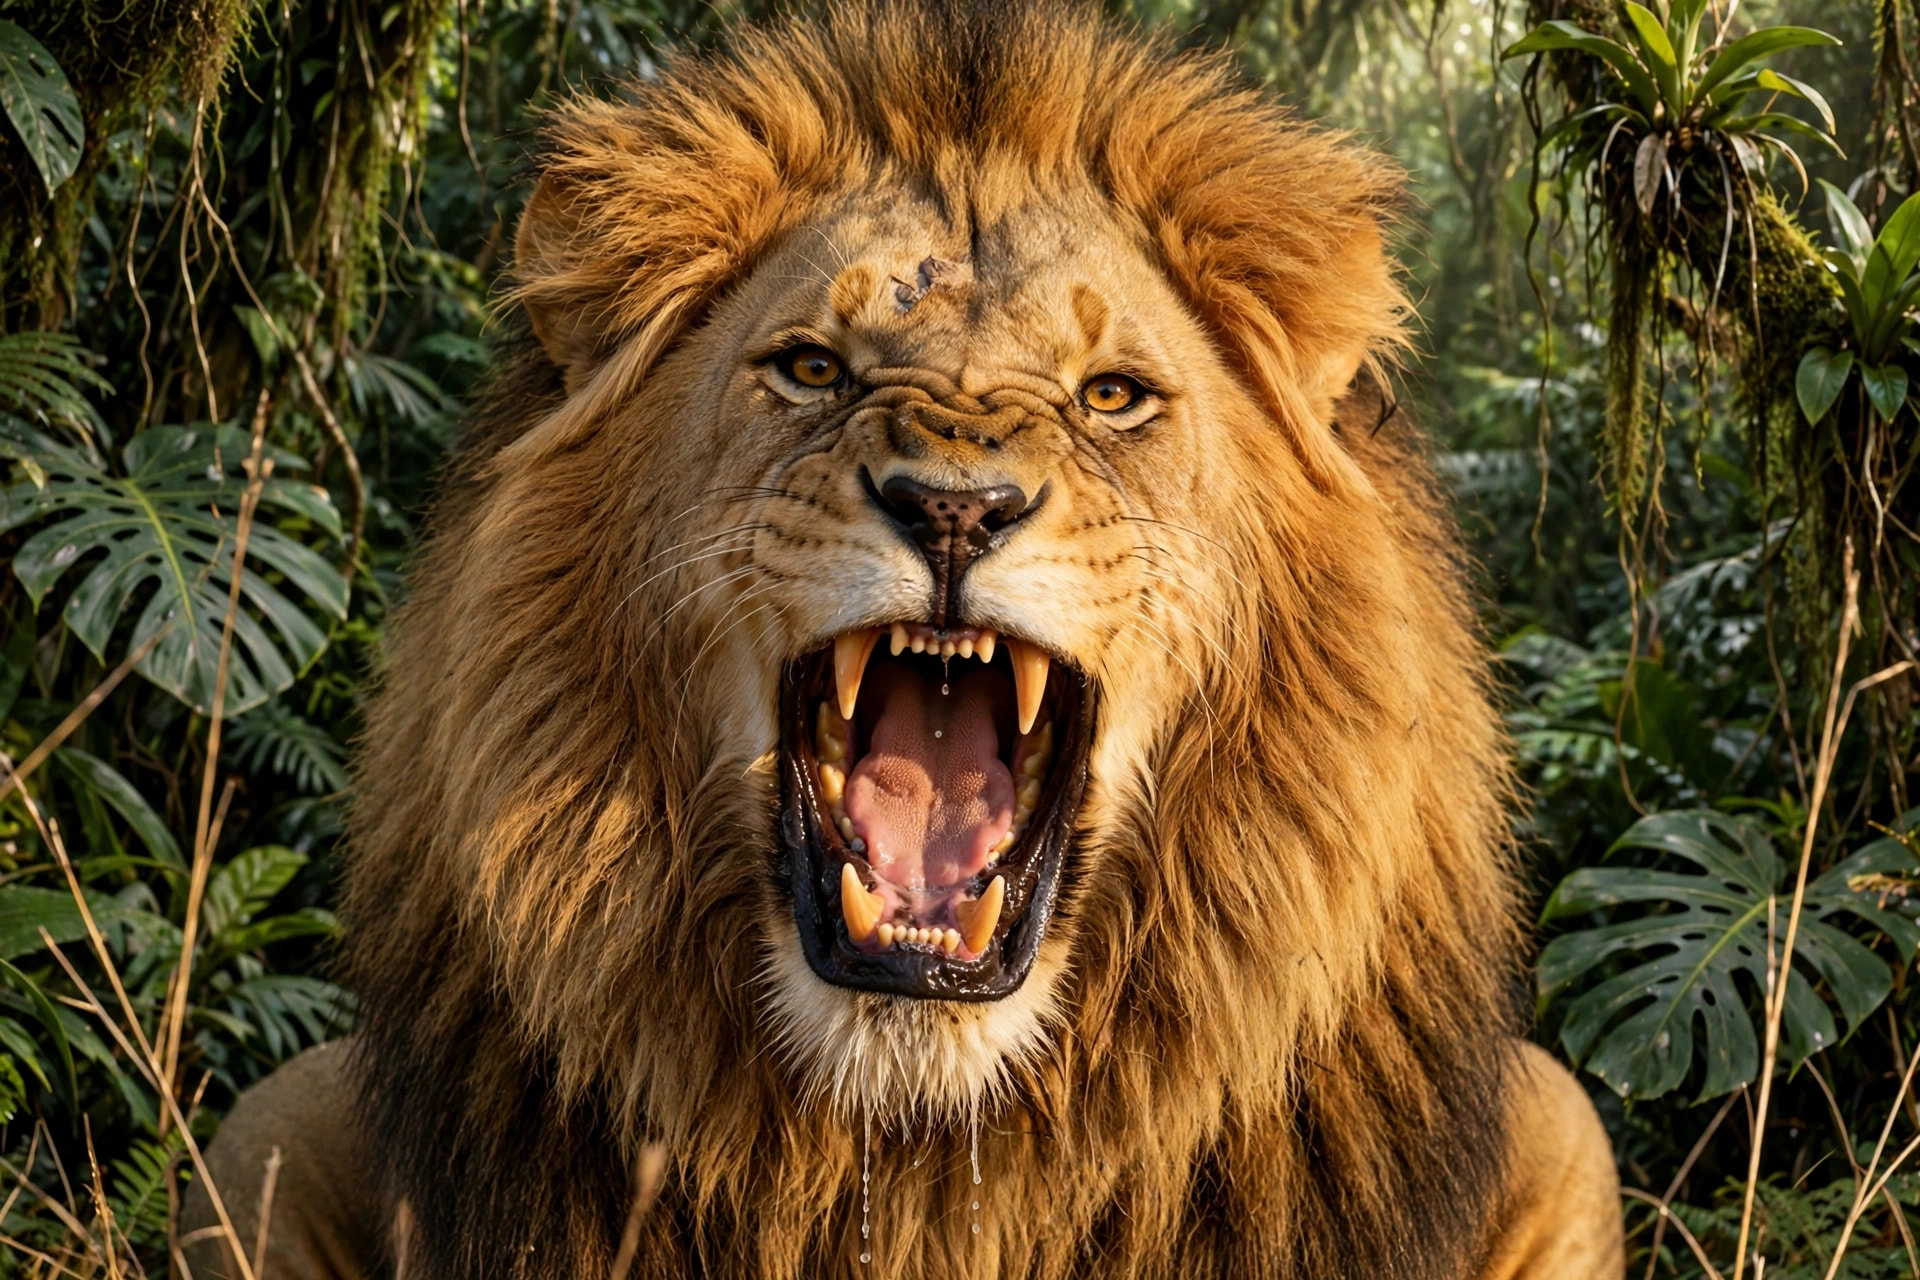
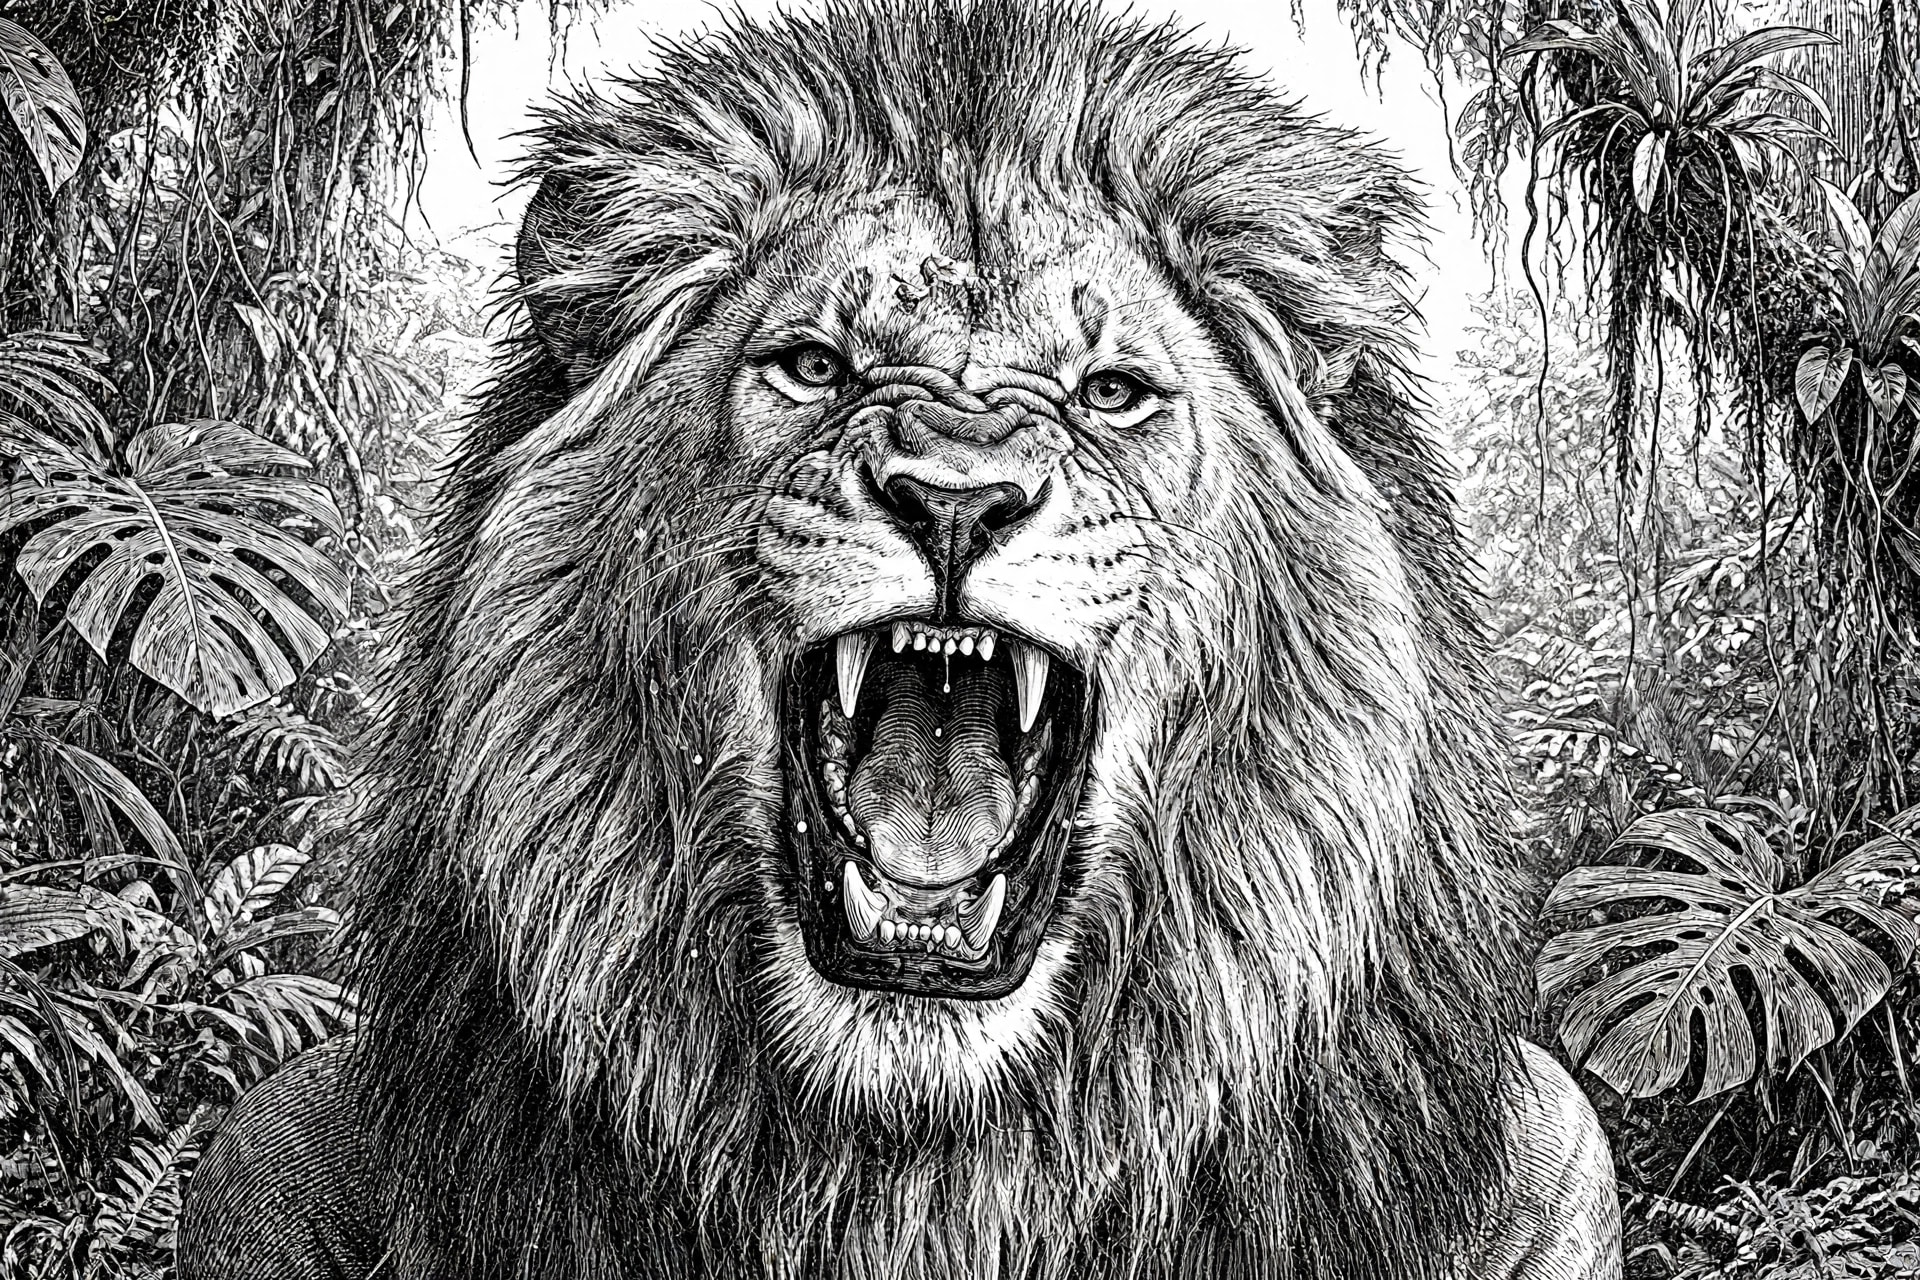
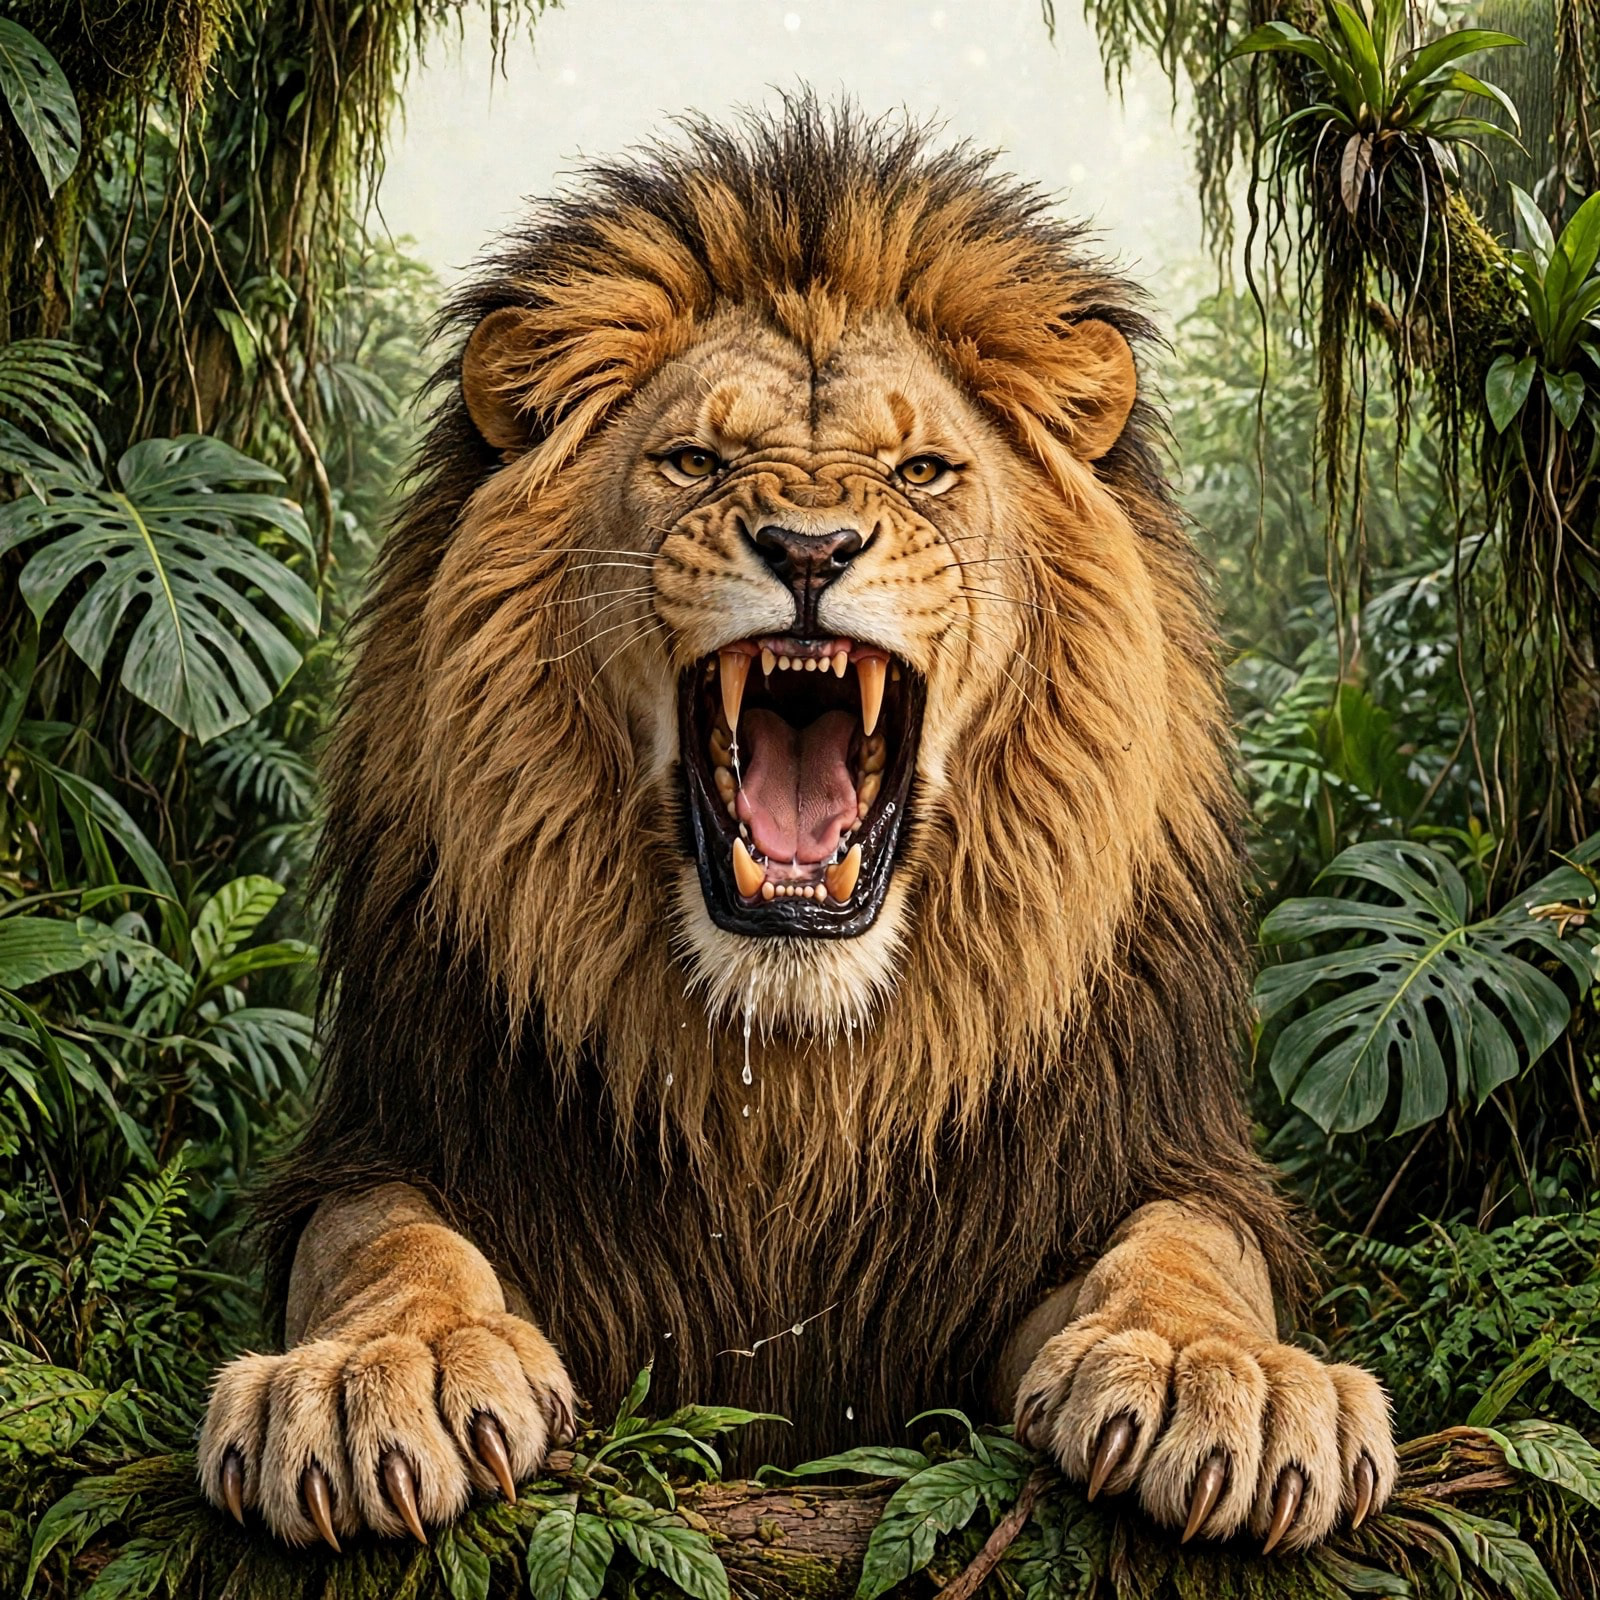
I asked meta to create a male African lion.
Then run my script.
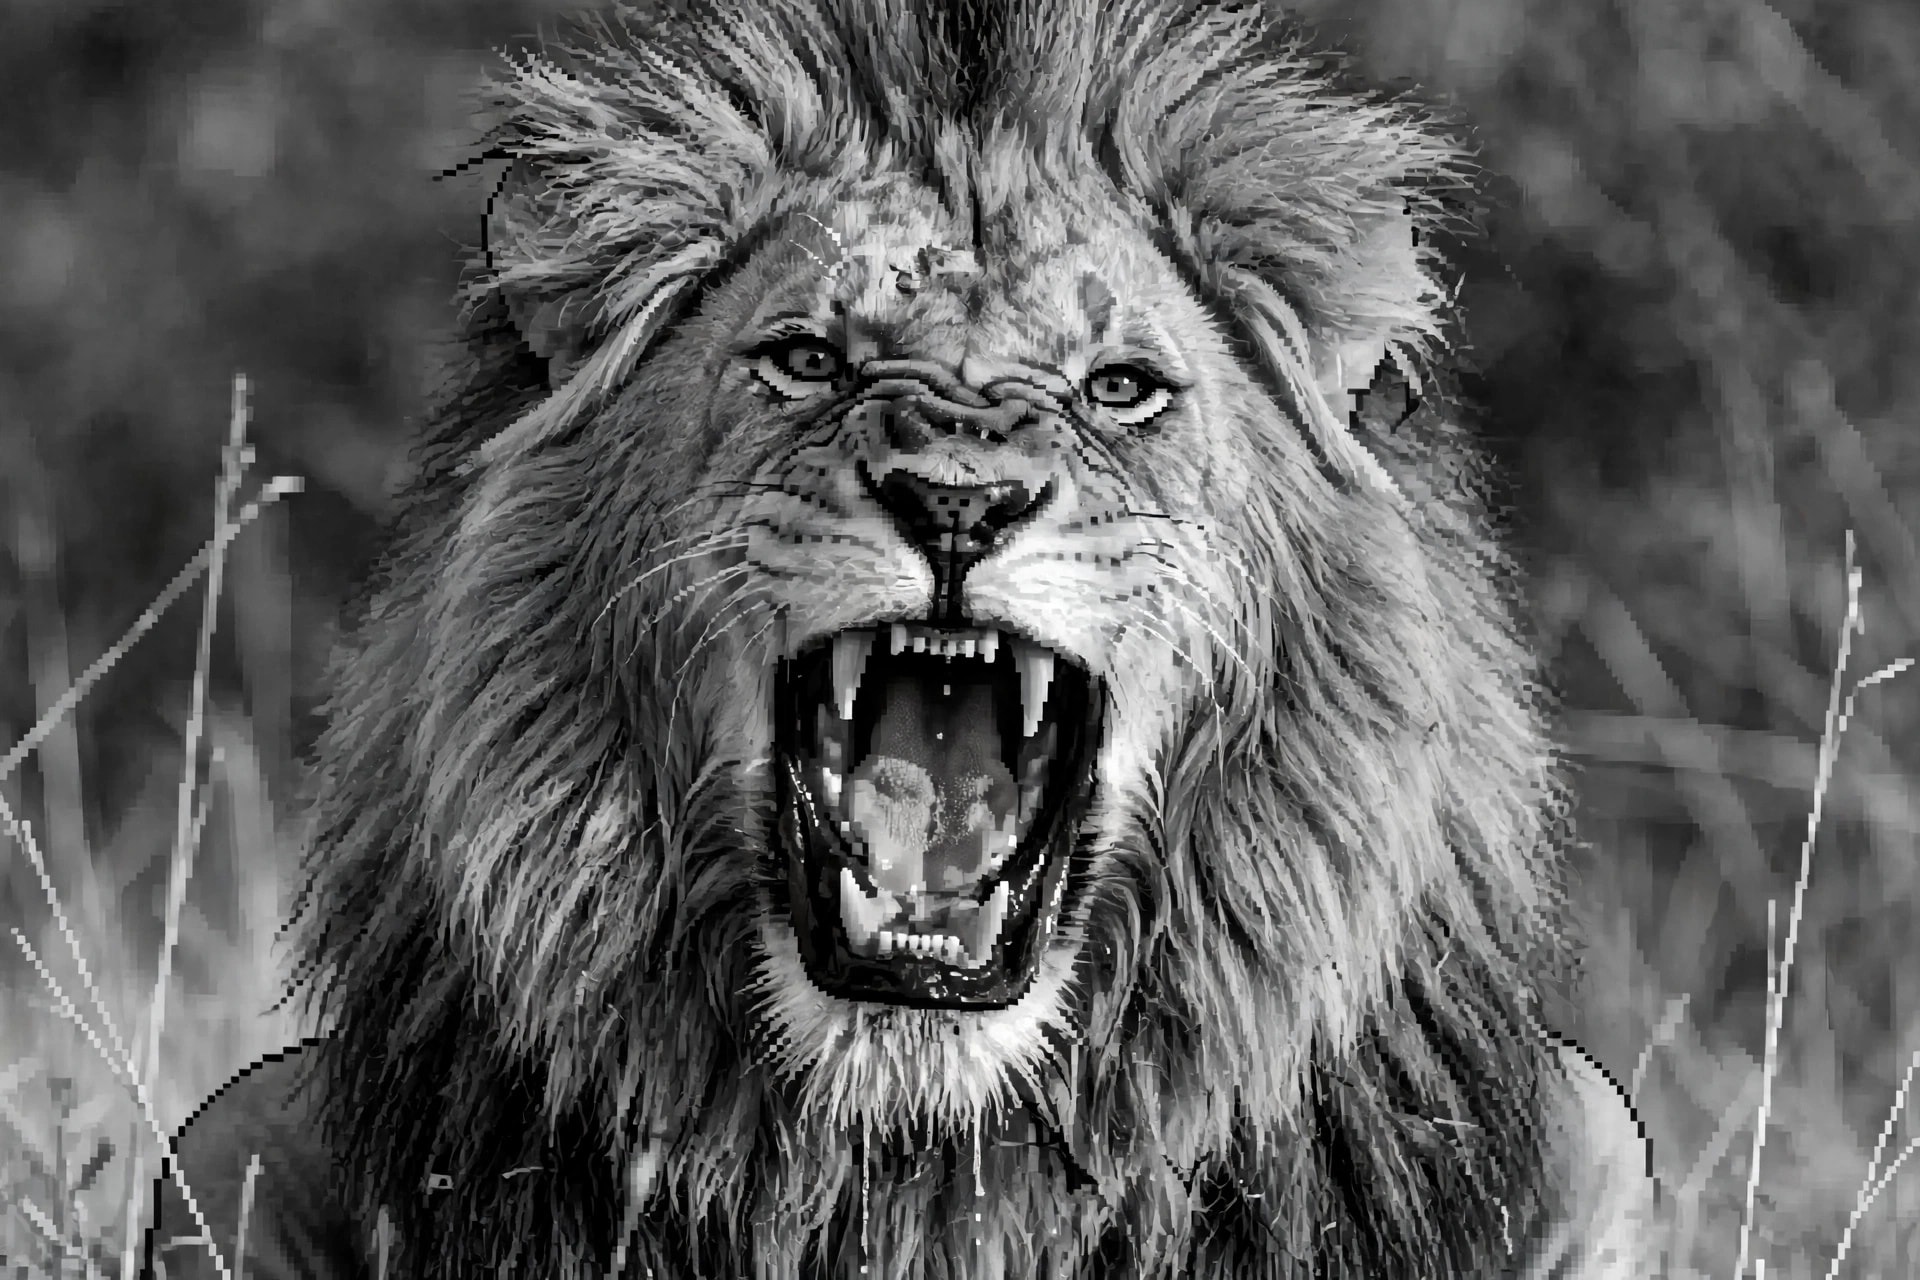
Then convert the lion to 8 bit grayscale
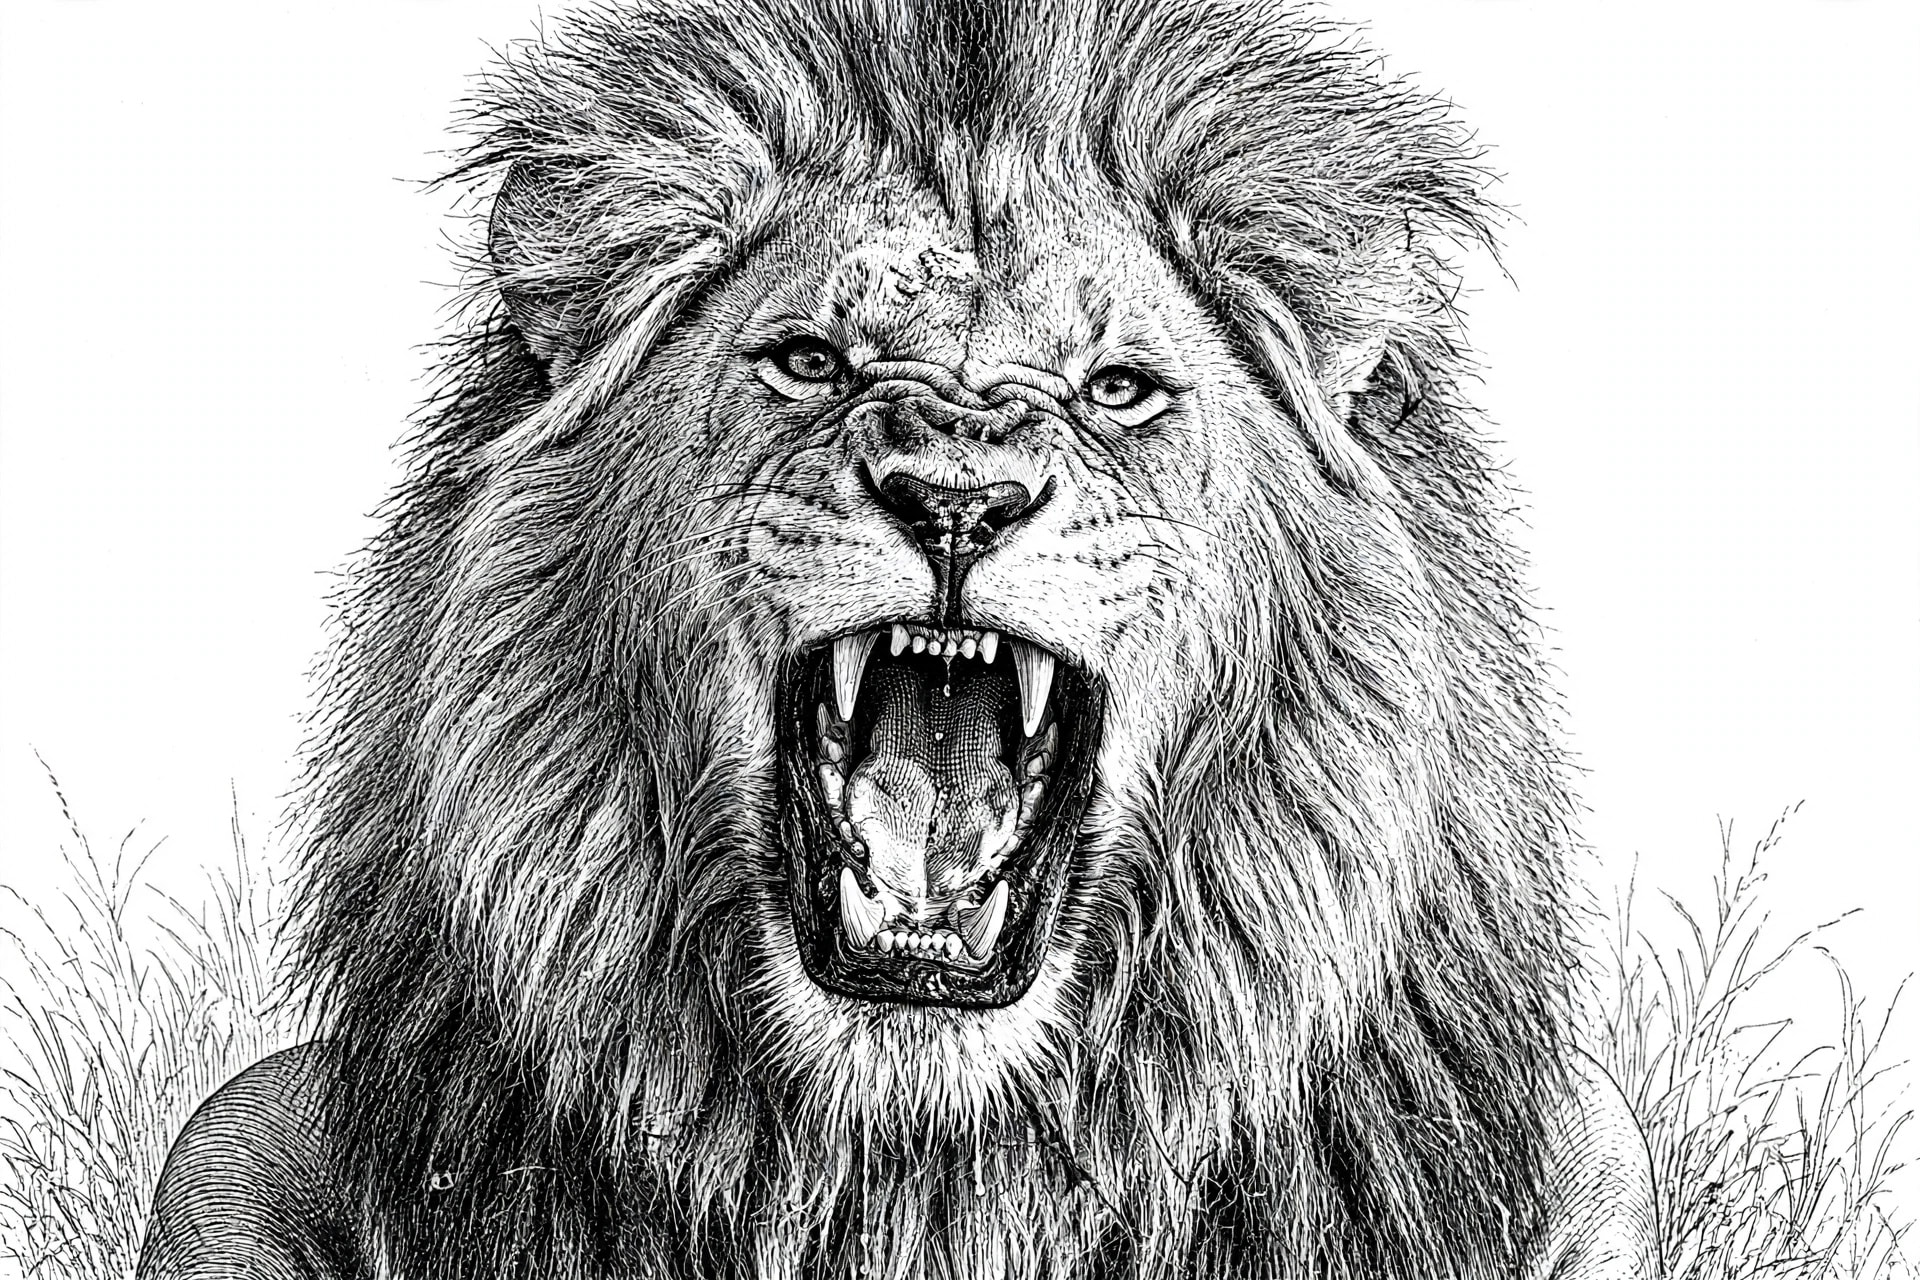
Really pixelated.then the same script
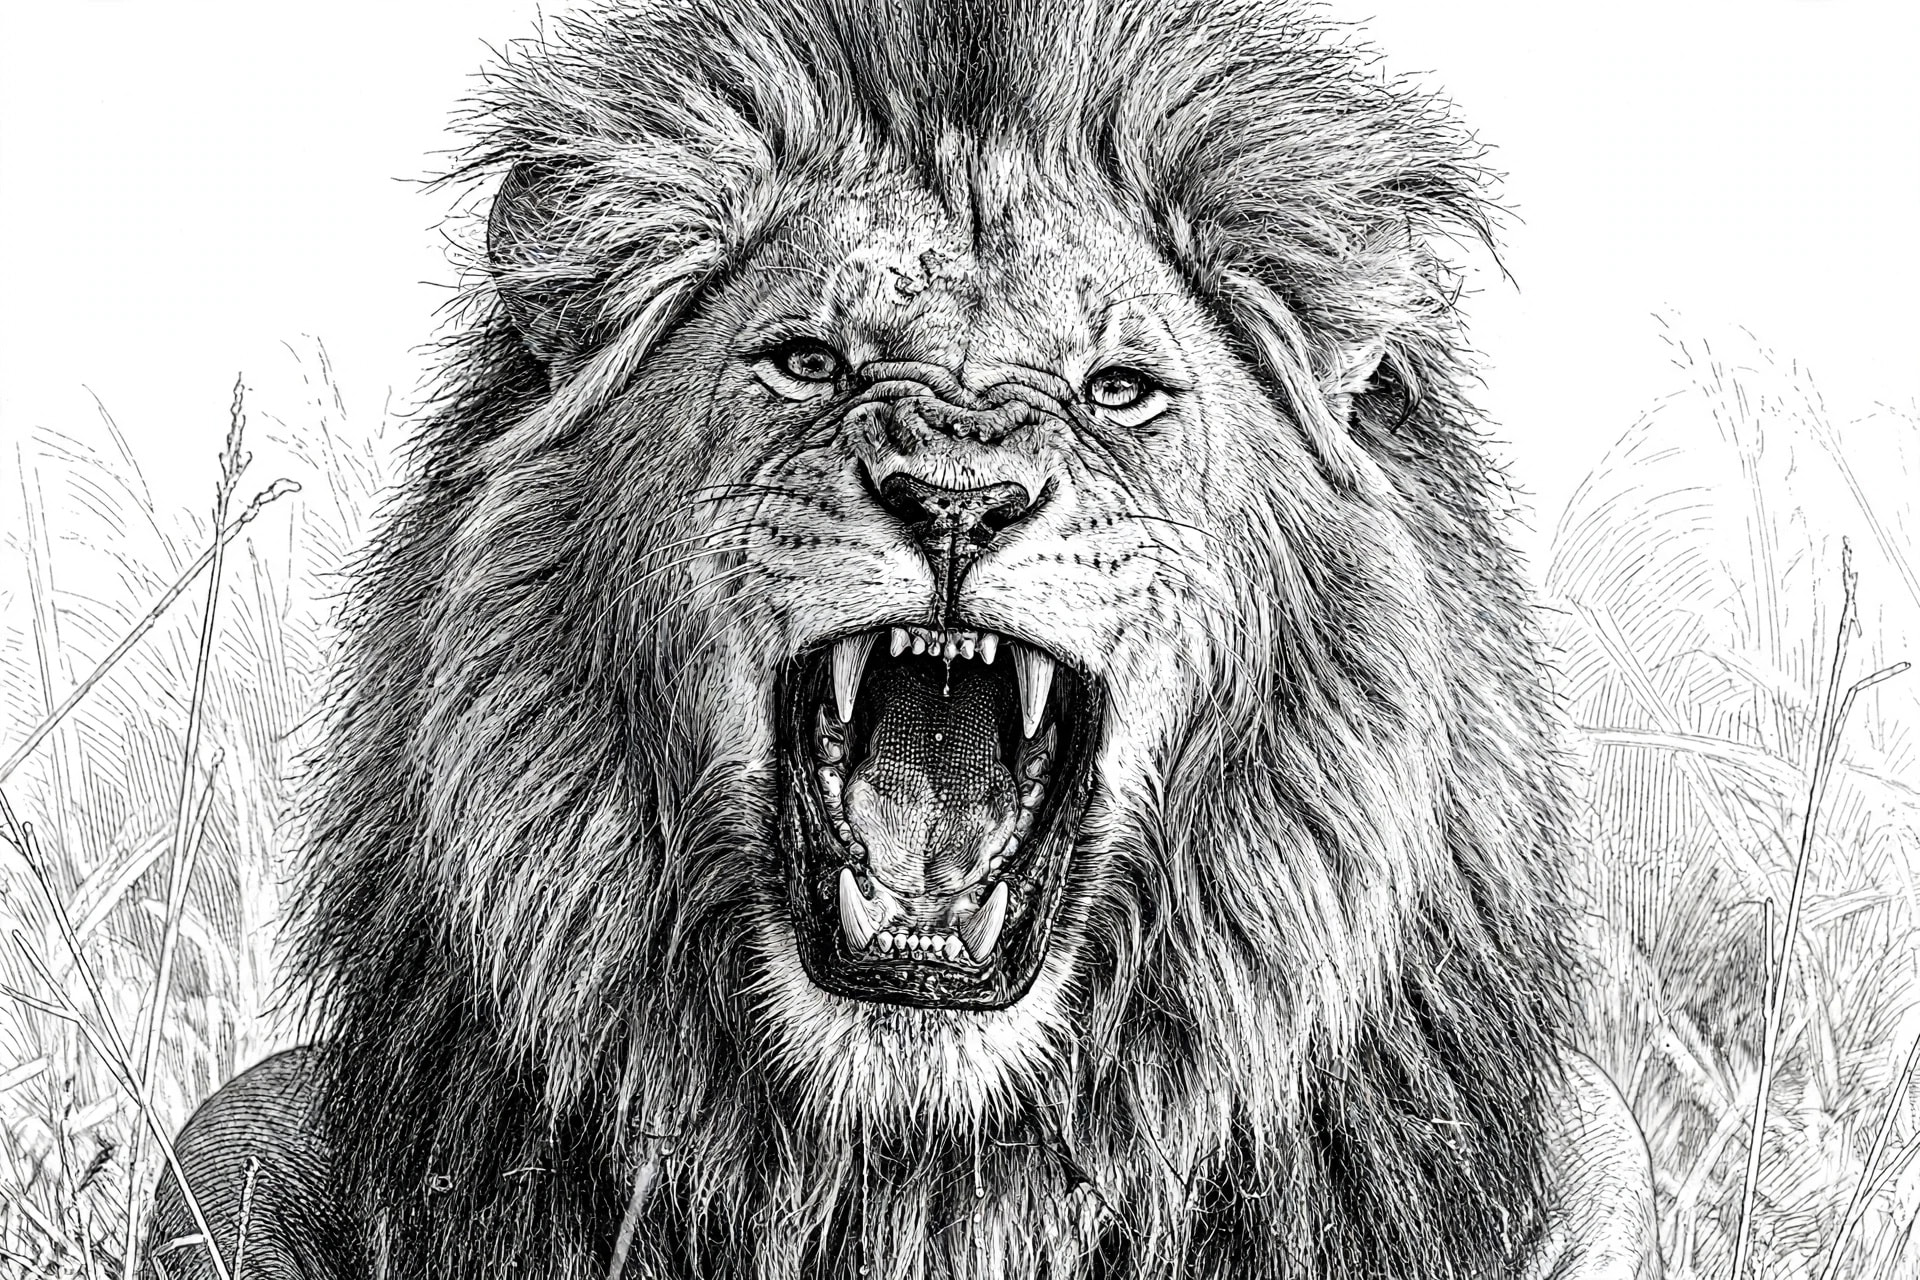
This is actually the most accurate version look around the grasses, and around his muzzle.
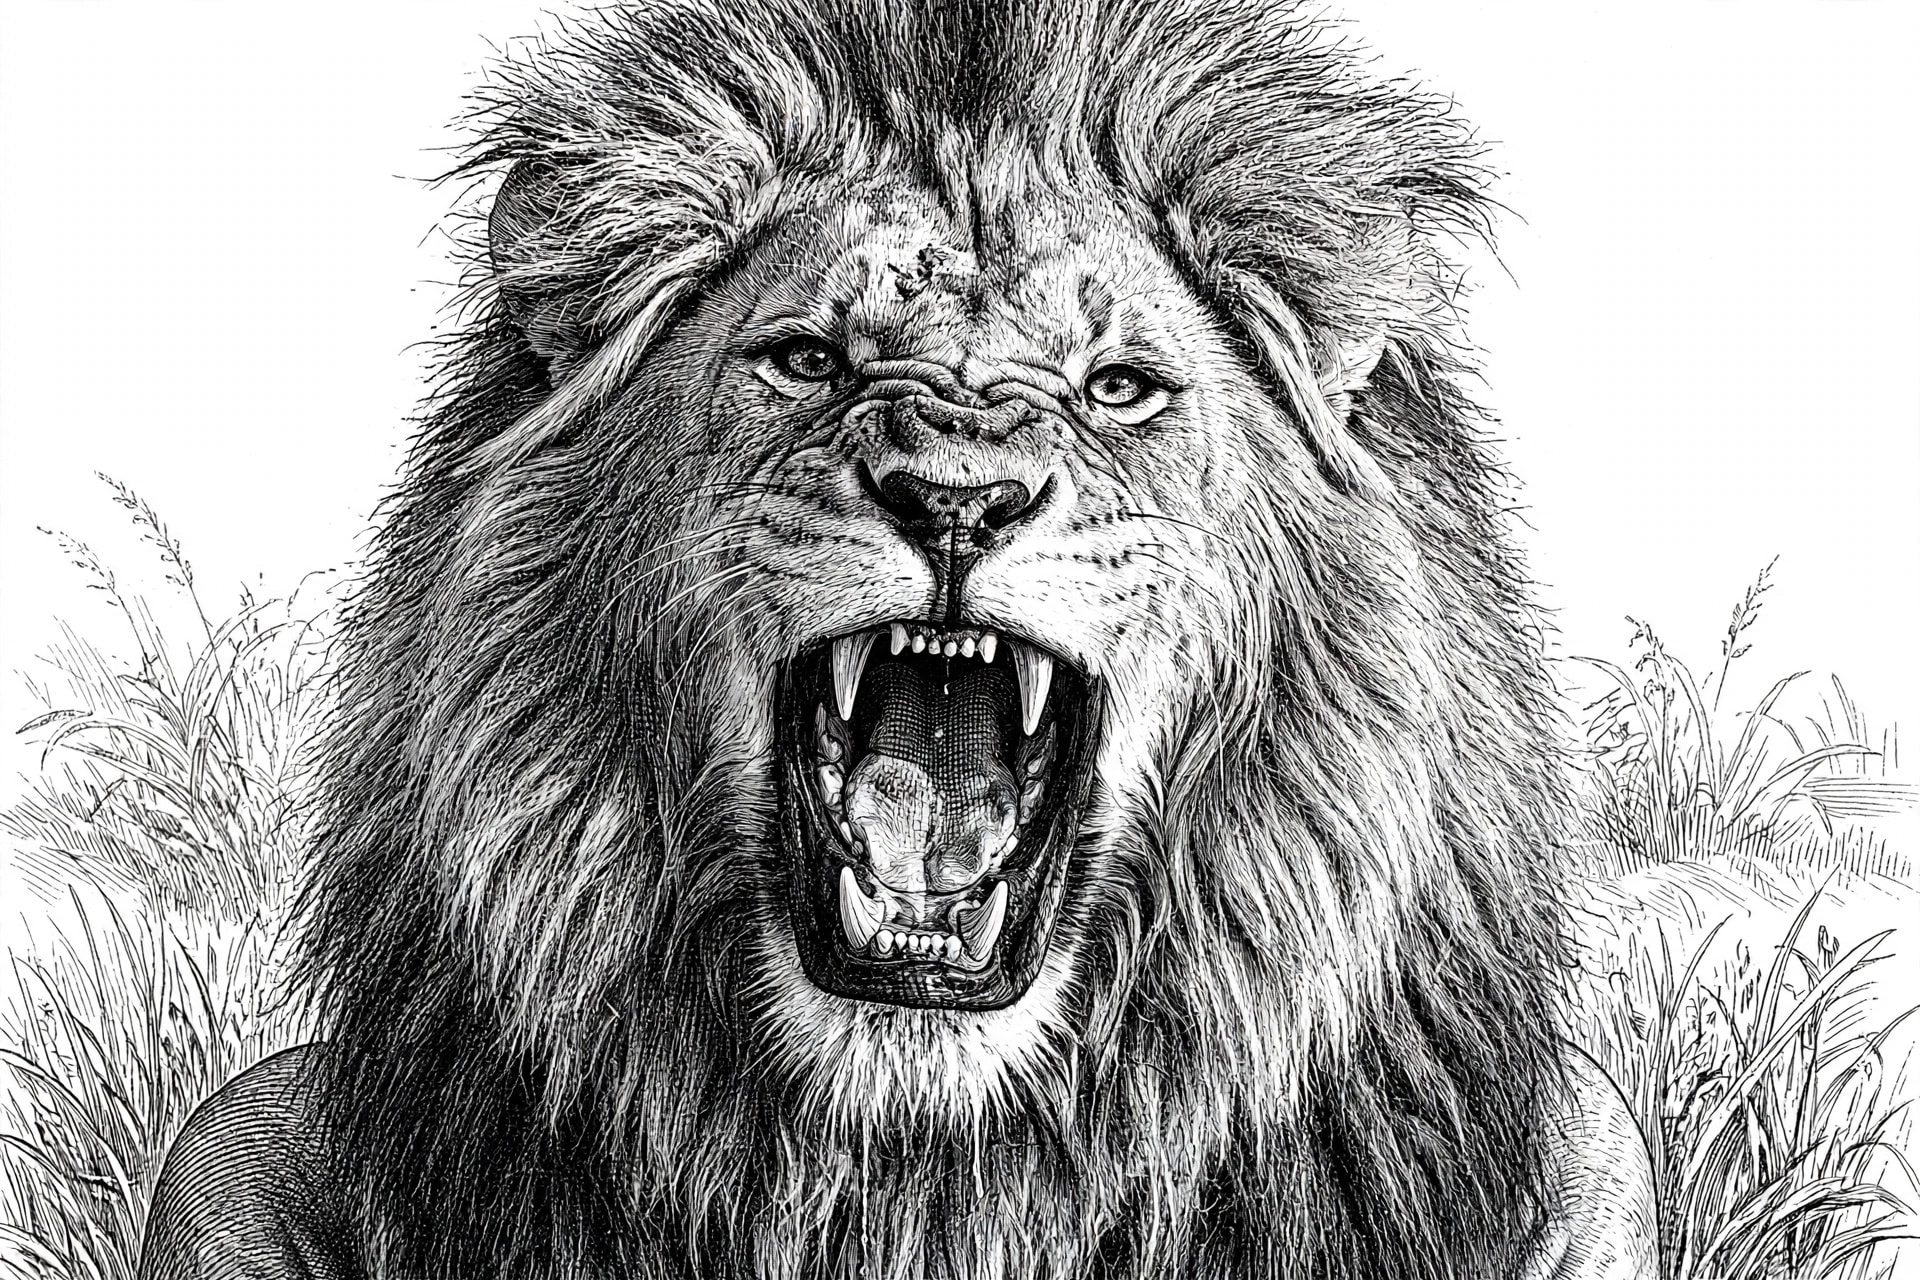
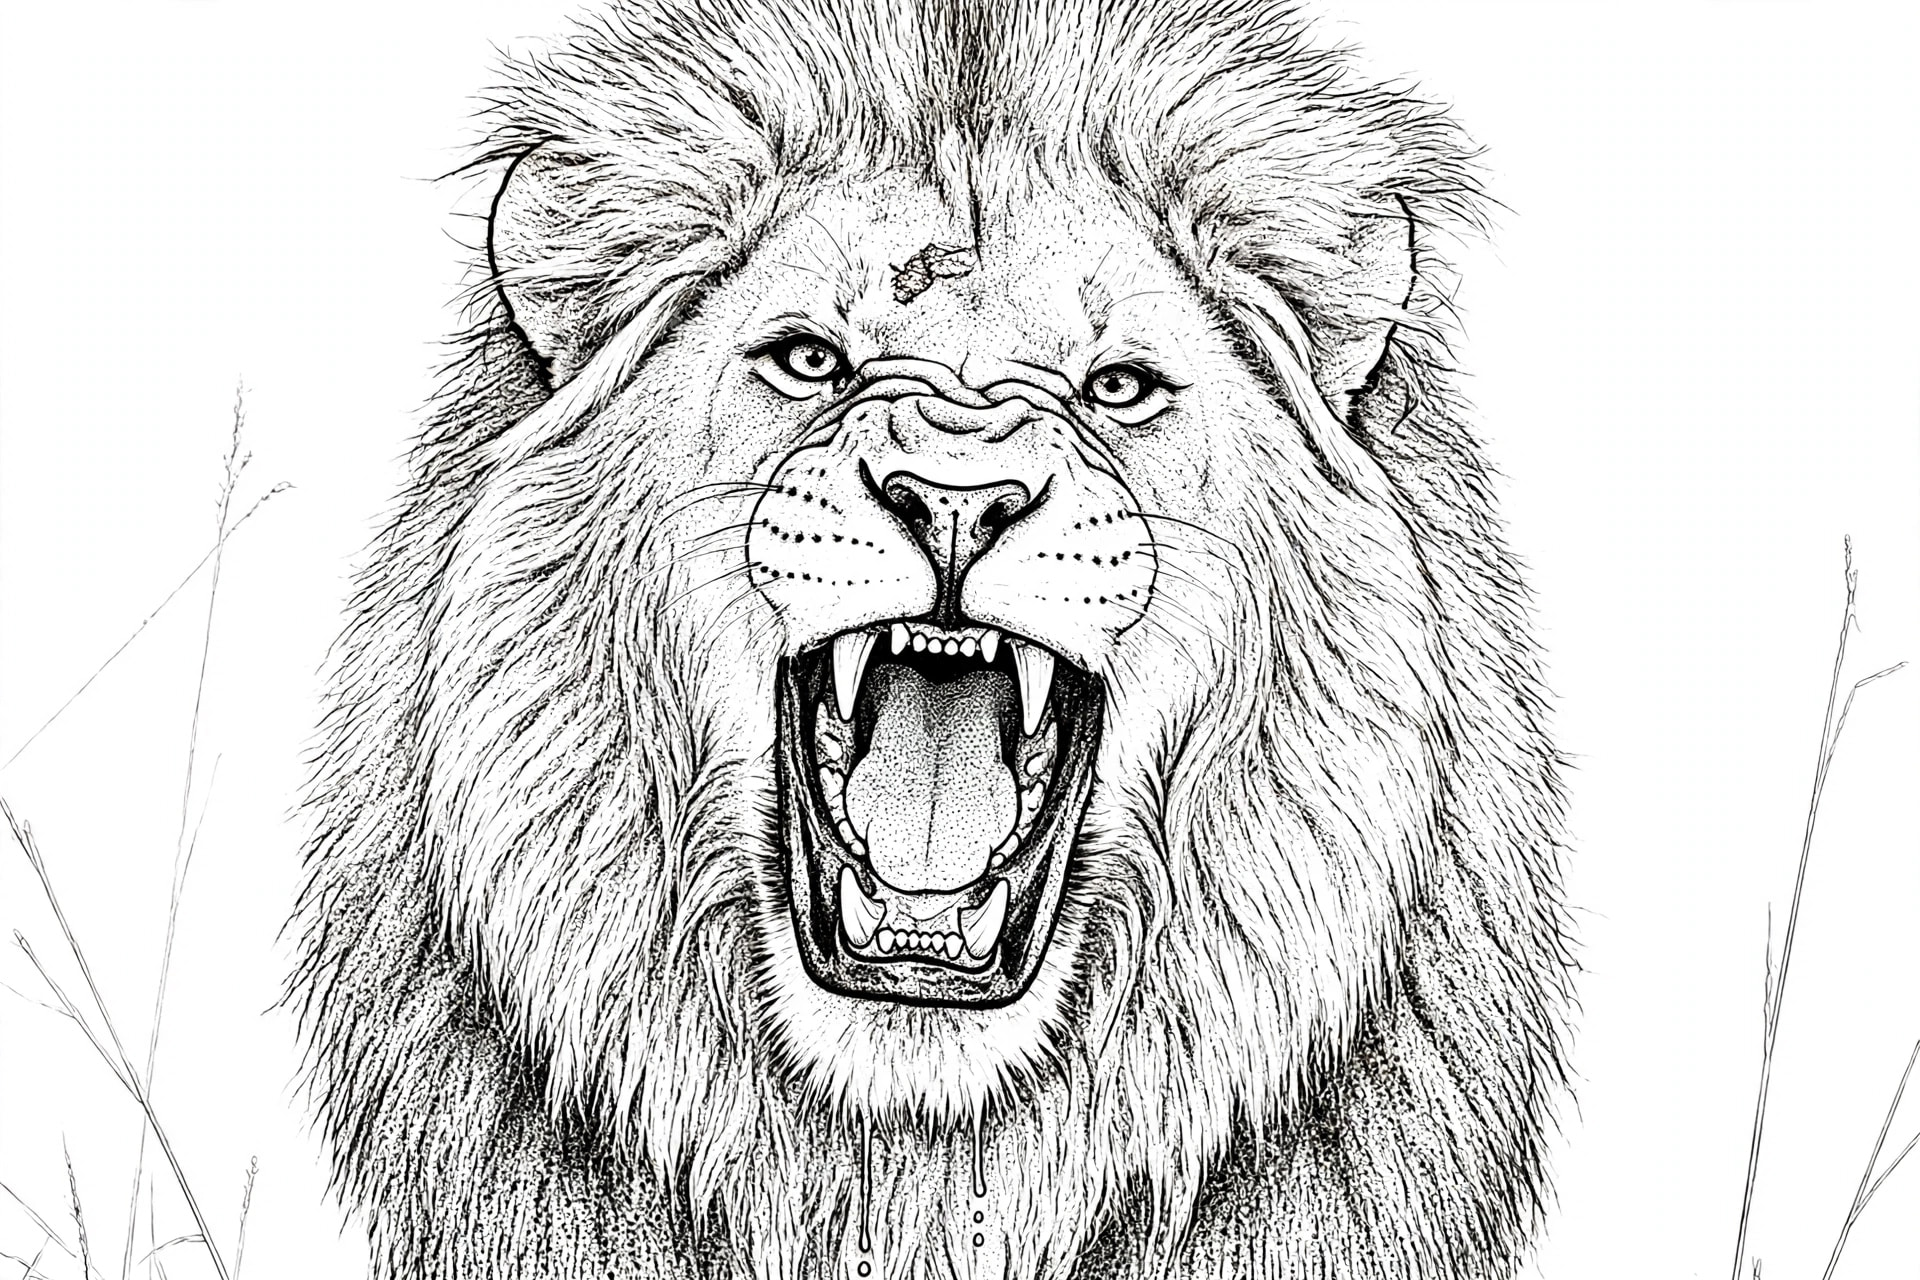
I also did just a regular grayscale conversion smoother grays.
Then run same script.
Script used for above images
In your highest resolution black and white grayscale image with Medium-contrast suitable for laser engraving. rendered with. crisp balanced composition, suitable for CNC laser I engraving, wood engraving, or metal engraving, high detail where needed but optimized for engraving.
They all look good, but the 8bit pixelated version gives the most accurate rendition.
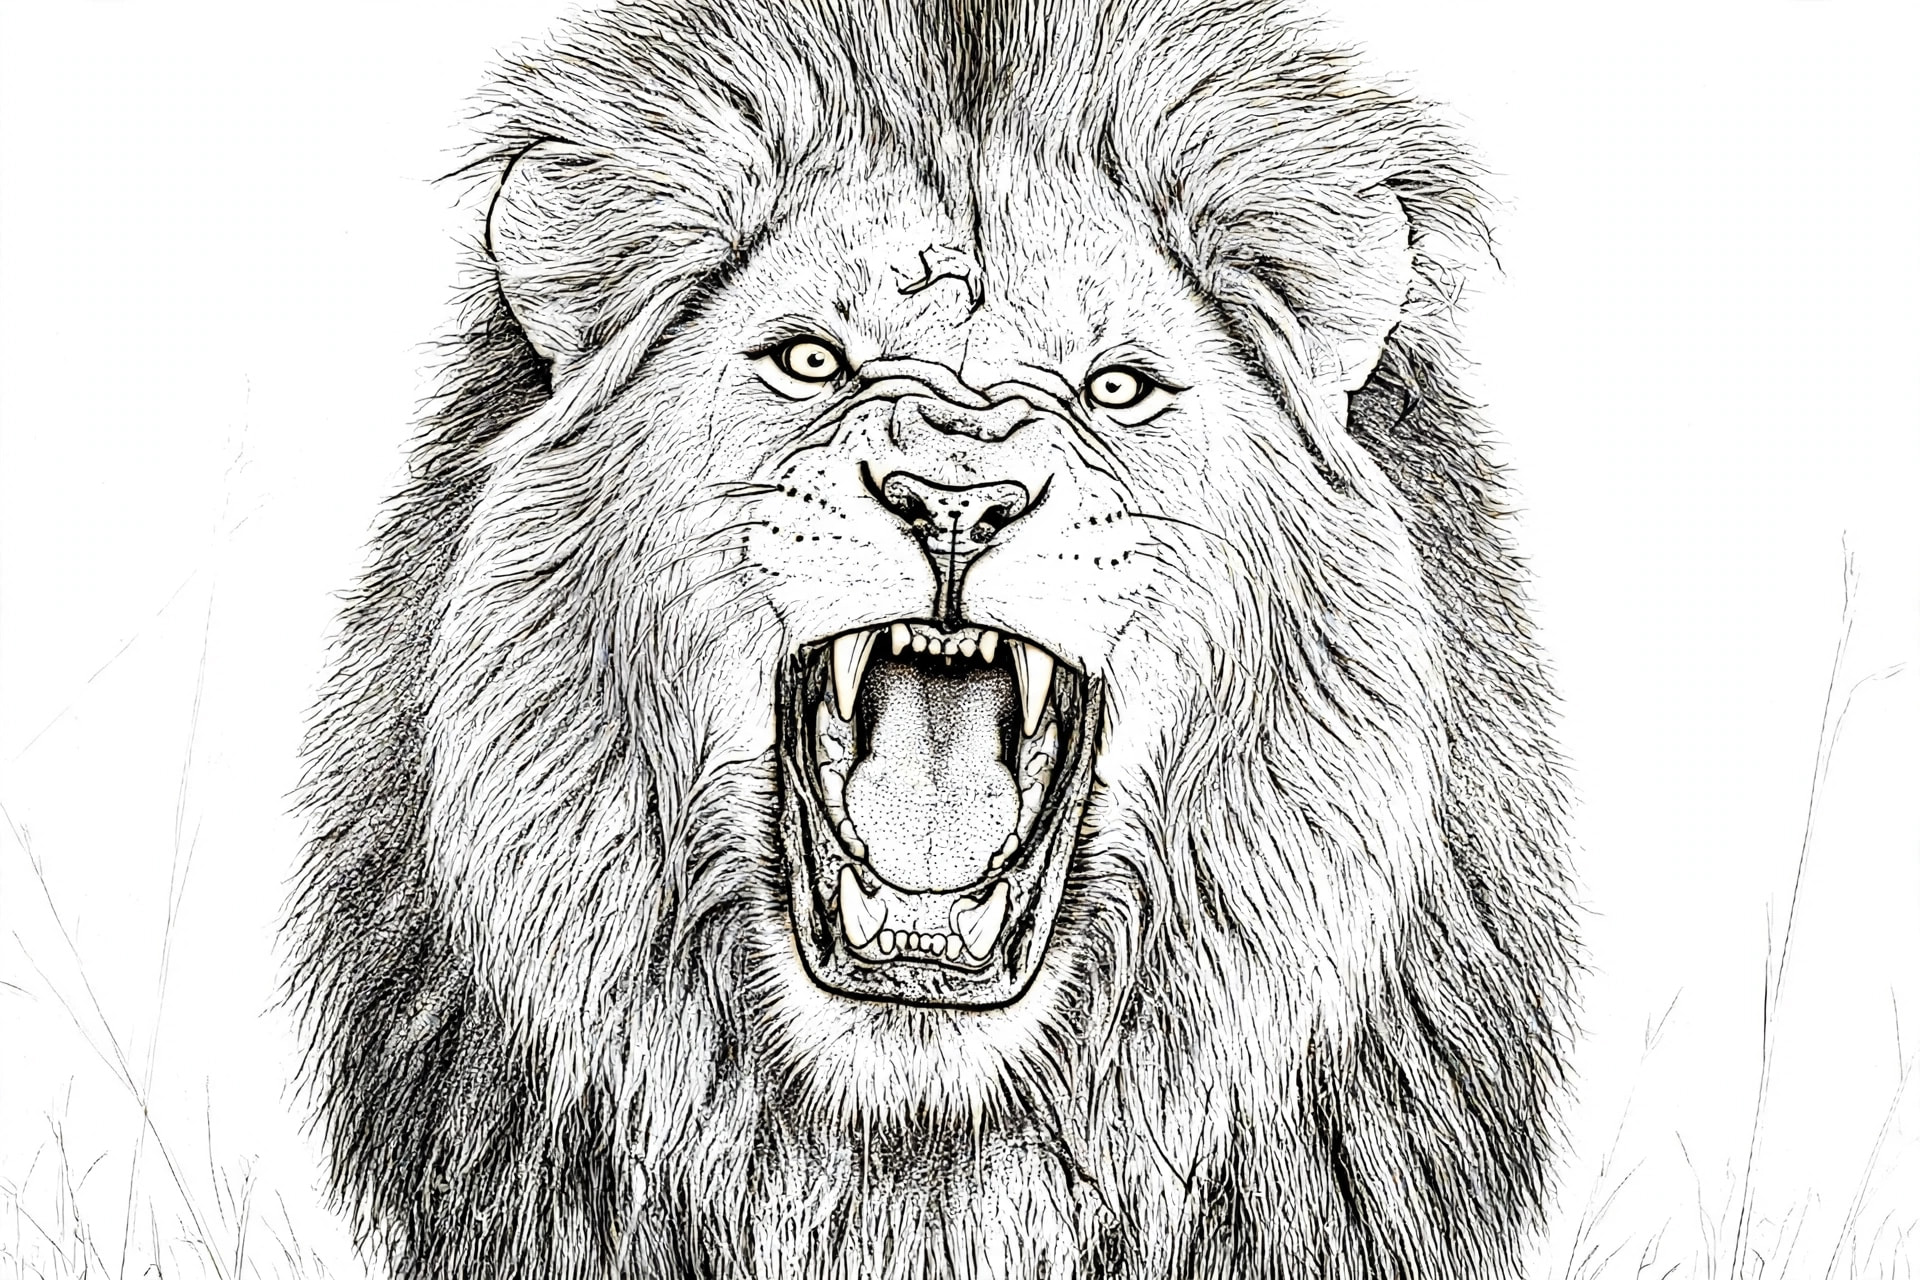
I didn’t do any image manipulation other than changing to grayscale and 8bit on the middle image.
I would have thought the higher resolution and the smoother the grayscale would get better results, but apparently not. Another lesson learned.now
Original
8bit
From higres grayscale
script used on the 3 images above
Grayscale script
A refined, clean line-art composition based on the image, optimized for an intermediate-level woodburning pattern. The entire scene is presented in crisp, clear black lines of varying weights on a pure white background. The many dense hatching lines from the image are replaced by a deliberate guide for tonal work: a hierarchy of very fine, stippled dots and gradient shading guide patterns to indicate depth, with distinct grain lines but less overall clutter. The background, especially is significantly simplified and thinned out, reducing overall visual noise to create better separation between foreground and background. All items are present and clear, but rendered with a focus on form and shading guides rather than dense line clutter.
conclusion 8bit conversion first the apply scripts seem to work best.
I am struggling with this last posting.
This is a given for greyscale because it is near impossible to reproduce 256 distinct shades from white to black with a laser. Any higher bit count is a wasted effort. Feeding 8-bit into your algorithm makes sense for the same reason, as well as reducing detailed clutter in the image and likely improve processing time.
I went back and scrolled thru all the postings and did not see a link to your “script”. Is it proprietary, free, or pay-as-you-go? I like what it does to images and refuse to show any respect for A.I.
The color original is all Ai. The depth of fixed is a result from asking for a closeup. How you phrase things will get you different results (note the differences between the lions with the 2 different scripts)
It is amazing what Ai can generate. All the images in this post are Ai generated, with the exception of my originals of the California greenhouse, my backyard, Cardinal, Lincoln, and FDR.
There is no way I would ever get that close to a lion.
I can’t tell you what bit depth on any image other than the 8bit which I asked to convert.
There are a couple that blow my mind. The grumpy partials were Ai converted from a really low res line art image of grumpy and dopey together, then other instructions to get to the end result. Then the modification to grumpy clause.
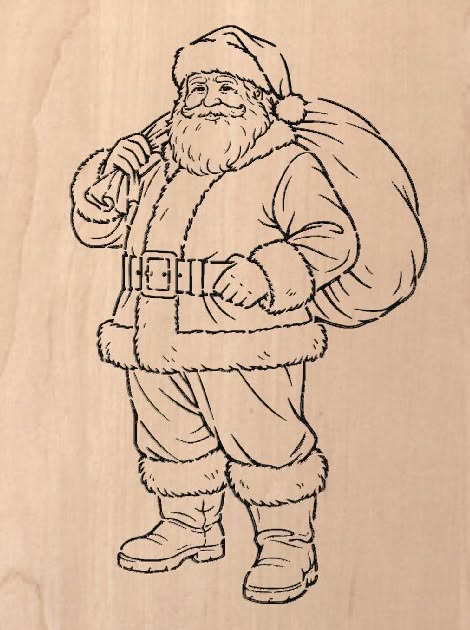
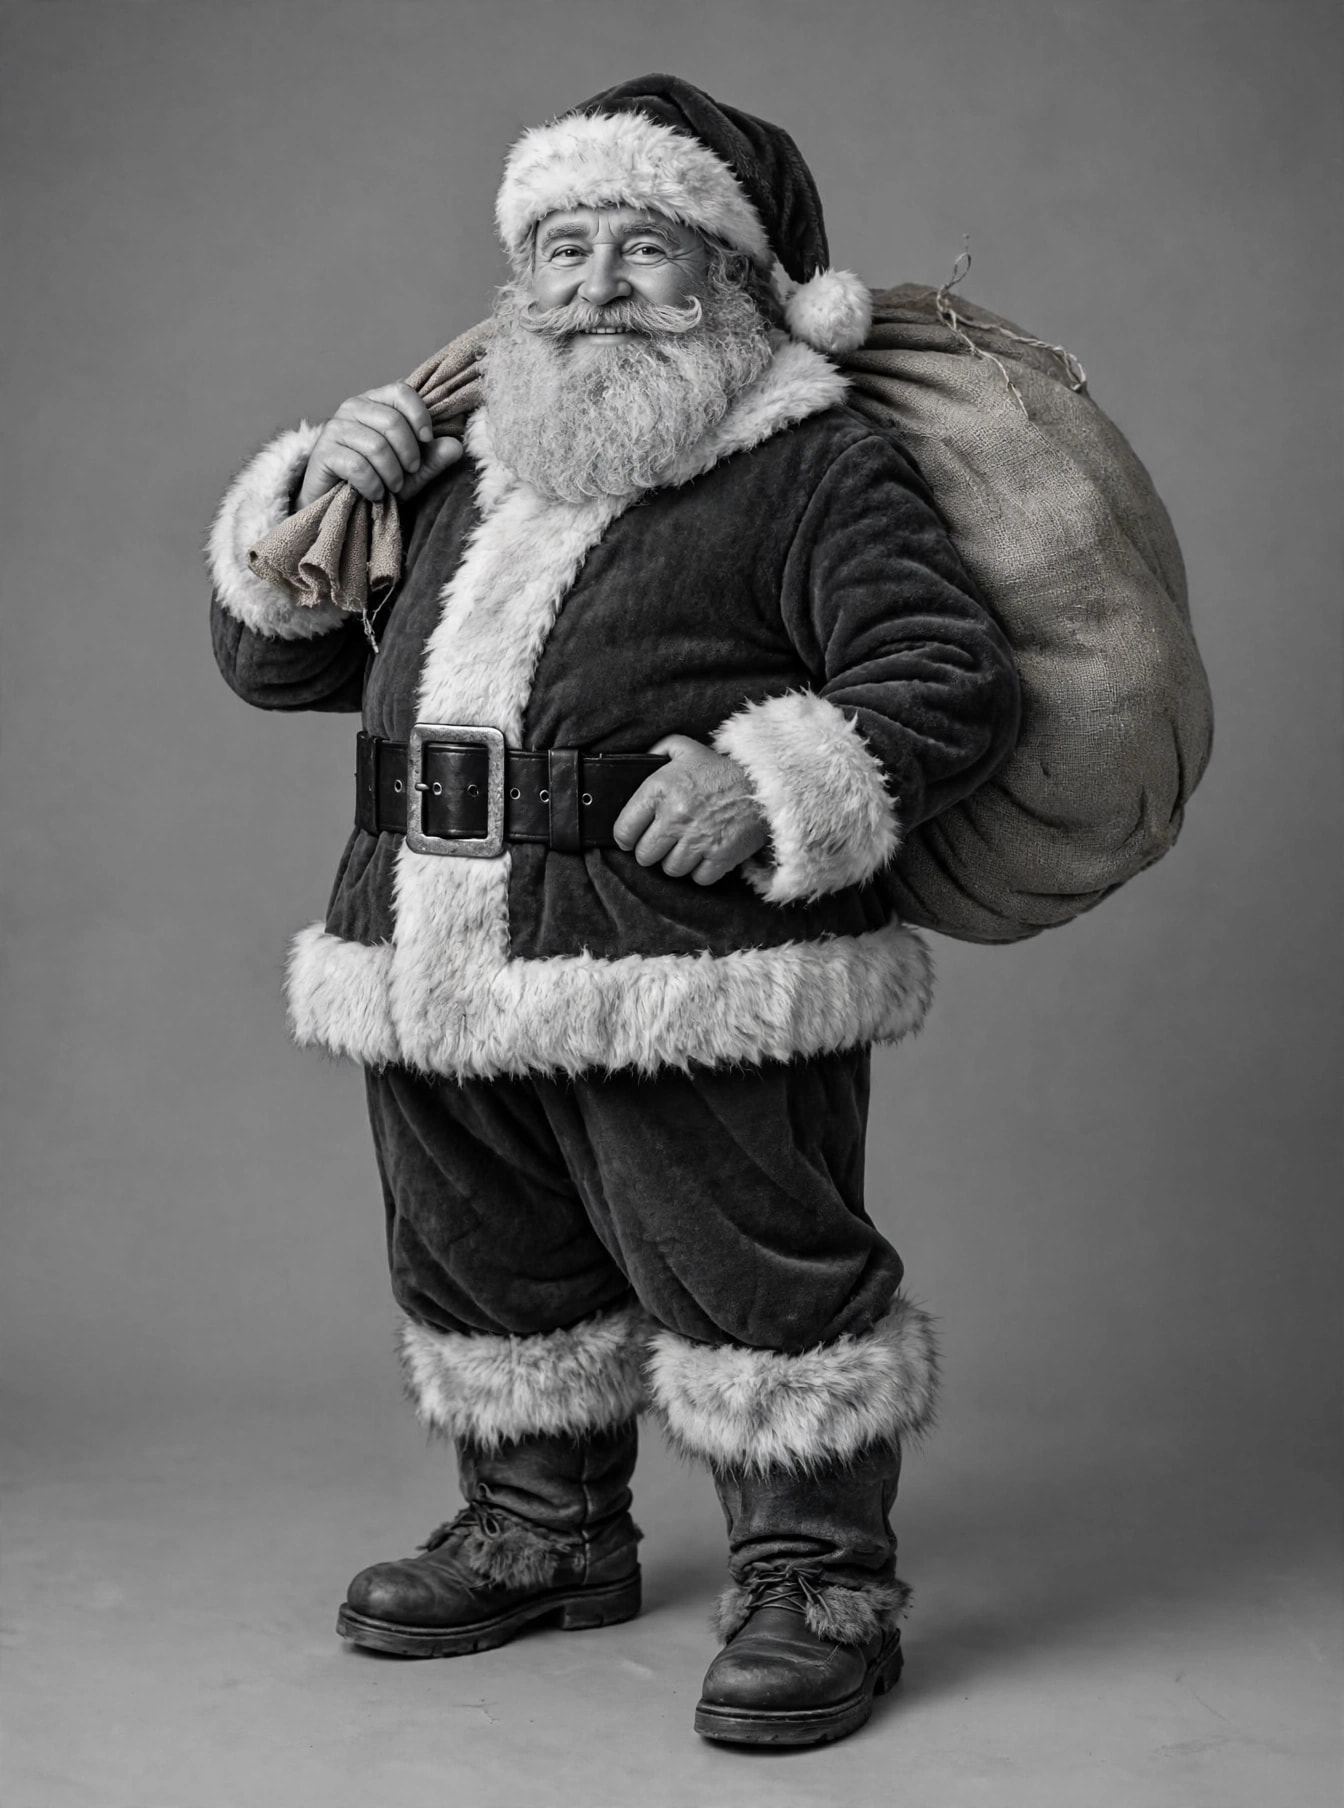
The other is Santa clause line art converted to grayscale and and then color Christmas card
I didn’t post the grayscale image of Santa that was created from that simple line drawing. I just said create a grayscale image from this image.
The Memorial is total Ai from the start. Pete and I went back and forth to get to the last image.
The 2 military ships were never in together. The ships are totally Ai.
The trick with Ai is to know what and how to ask what you want it to do.
As for the scripts. They are there for people to use as a starting point, and experiment. The were actually created by Ai when I got by accident a result that I liked and asked Ai what I need to ask to create that result. Then I tweaked it from there.
Anymore you can never believe any picture or video, because it has become too easy to create fakes.
It is interesting to see what the process does. Ai goes out and searches the net for images if it can find them, the extrapolates from that to create a 2d rendering, and adds color if necessary.
My trip down this rabbit hole all started with a friend of mine bought a barn find of a 1931 Auburn Business Coupe, there are only 21 known to exist. I wondered if Ai could create an image of it. I got back a full color profile image of it, and went from there. I then use my laser to engrave some of these images.
Any other questions or comments are always welcome. Keep this thread alive.
I have 28 years of graphics and print background, and 15 years of computer programming. I retired 21 years ago and I an 79.
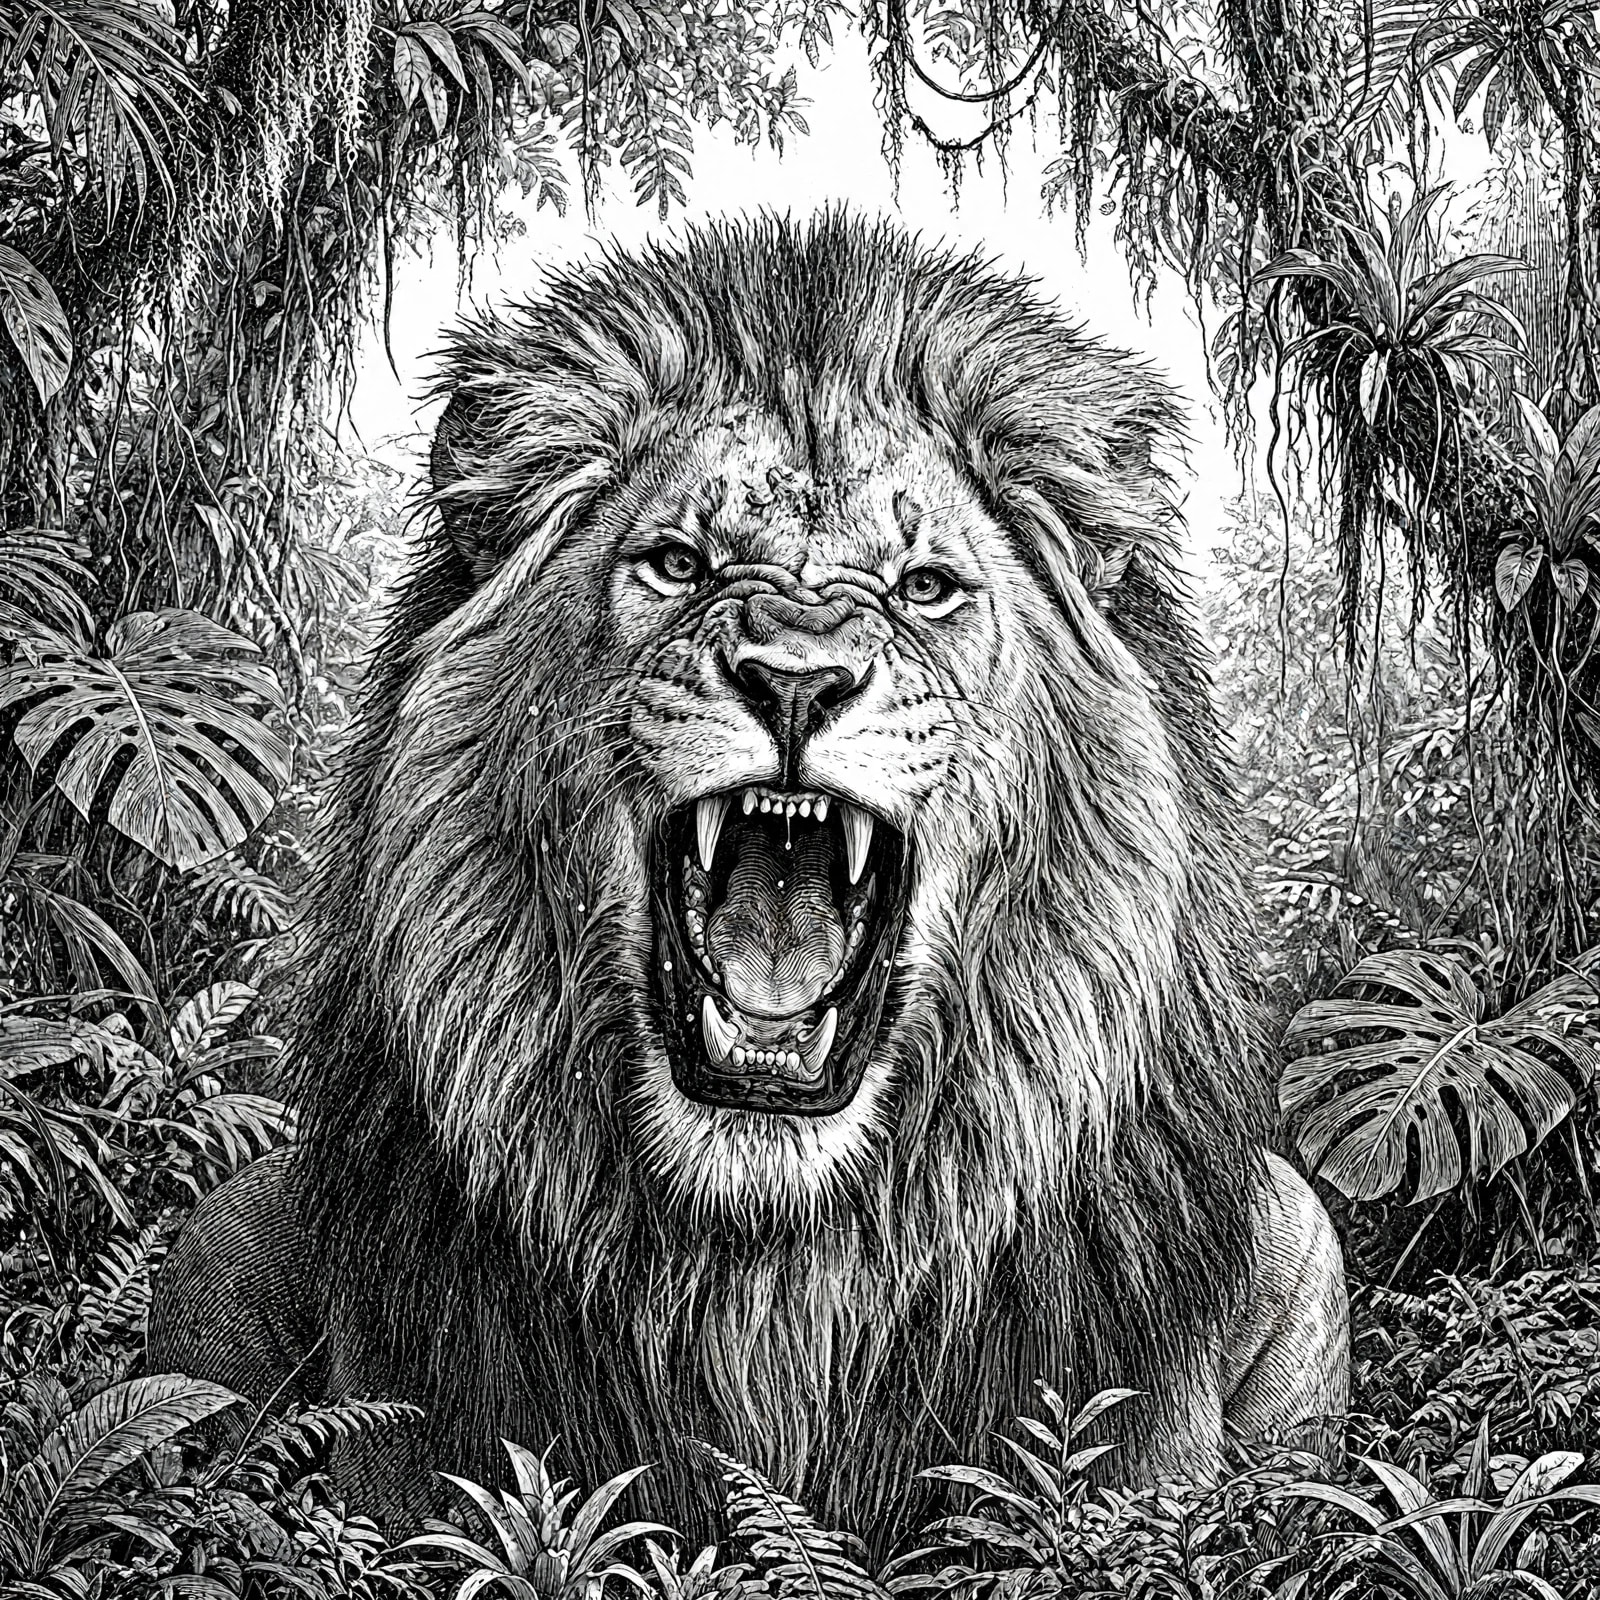
You mentioned the blurred background of the lion. I told it to add a jungle setting behind the lion.
How about this.
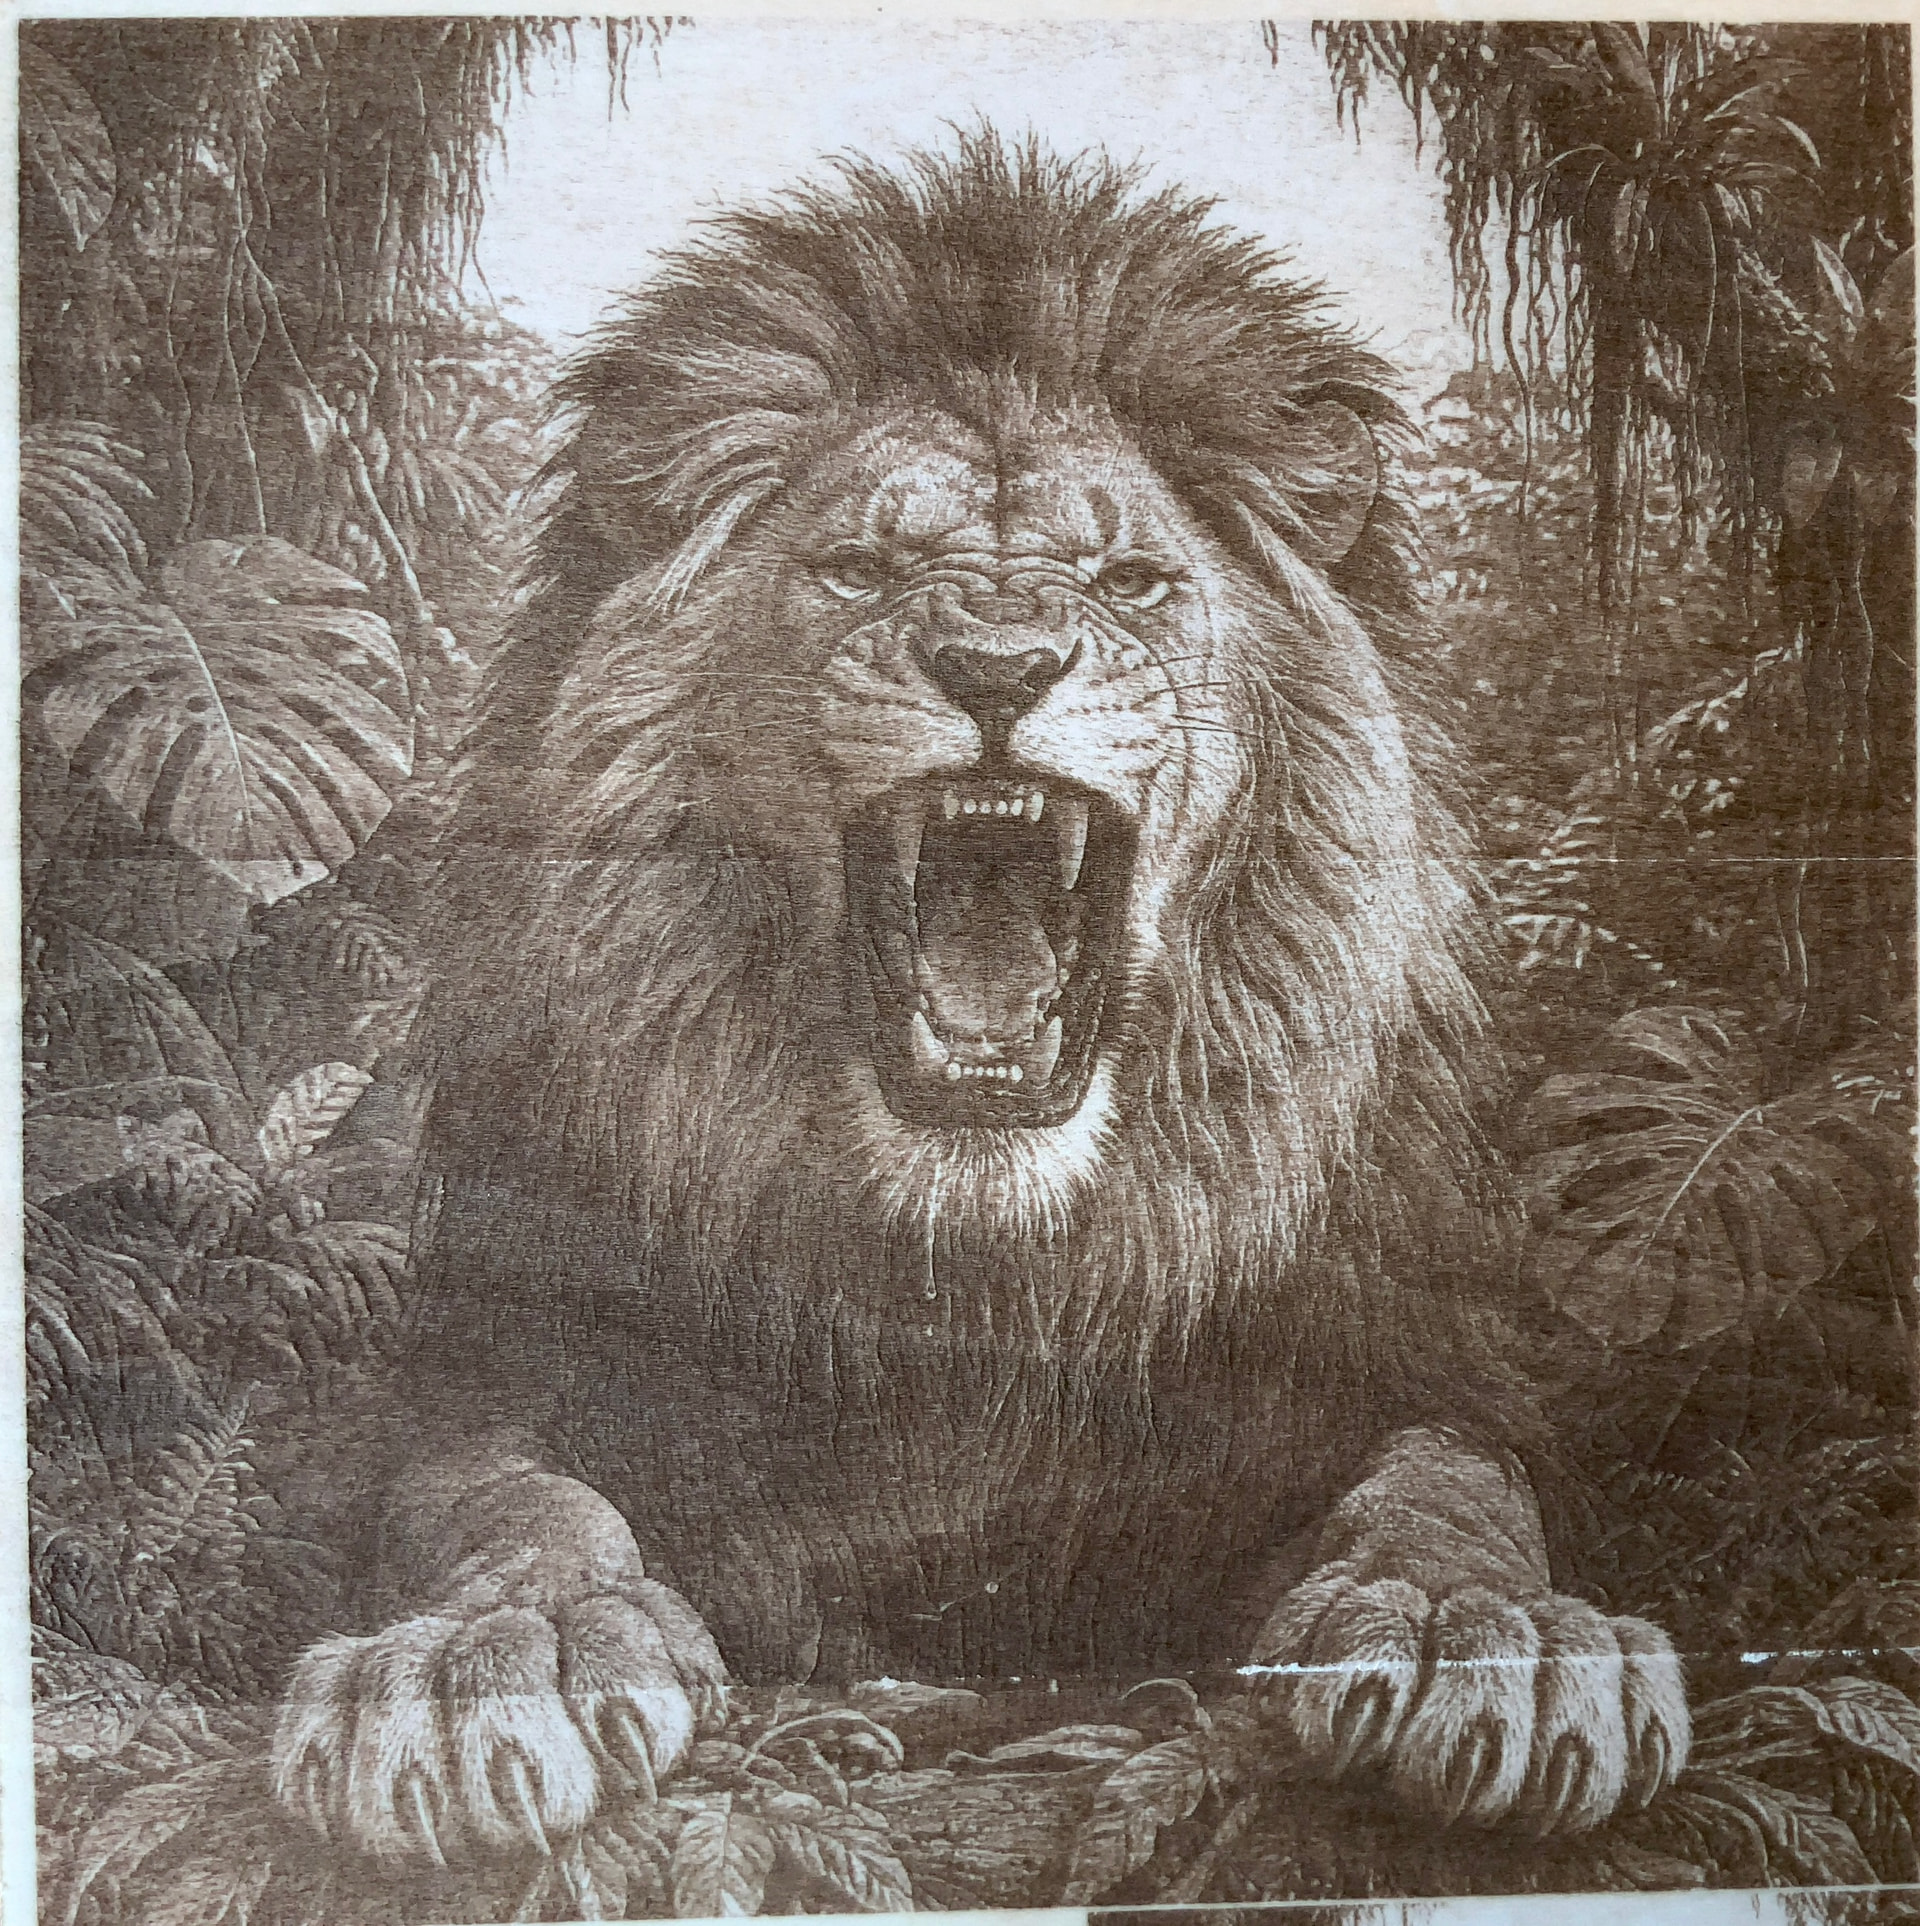
This script created this.
Create A highly detailed, high-contrast black and white Vintage Engraving / Etching style illustration of this image. Use crisp ink line art, vintage woodcut aesthetics, and clean hatching/cross-hatching for shading. Grayscale, no color, clean white background, sharp vector-like paths, optimized for laser engraving." Yes it took some artistic license in creating it. Some of the detail changes, i don’t have much control ver this. I might be able to, but I like what it did.
I asked it to extend the top and bottom to make is square. Not is can be engraved on a tile or slate, etc. it did narrow the lions head a little, but if no one had set the original they wouldn’t know.
I might have been able to tell it to create the jungle background and the place the lions head into that, but it think the would make for a lot of trial and error to make it look right. This is like trying to do photoshop version 1 but using words only, lots of limitations.
You could stretch it out and then crop the sides back to a square image. That would be the easiest.
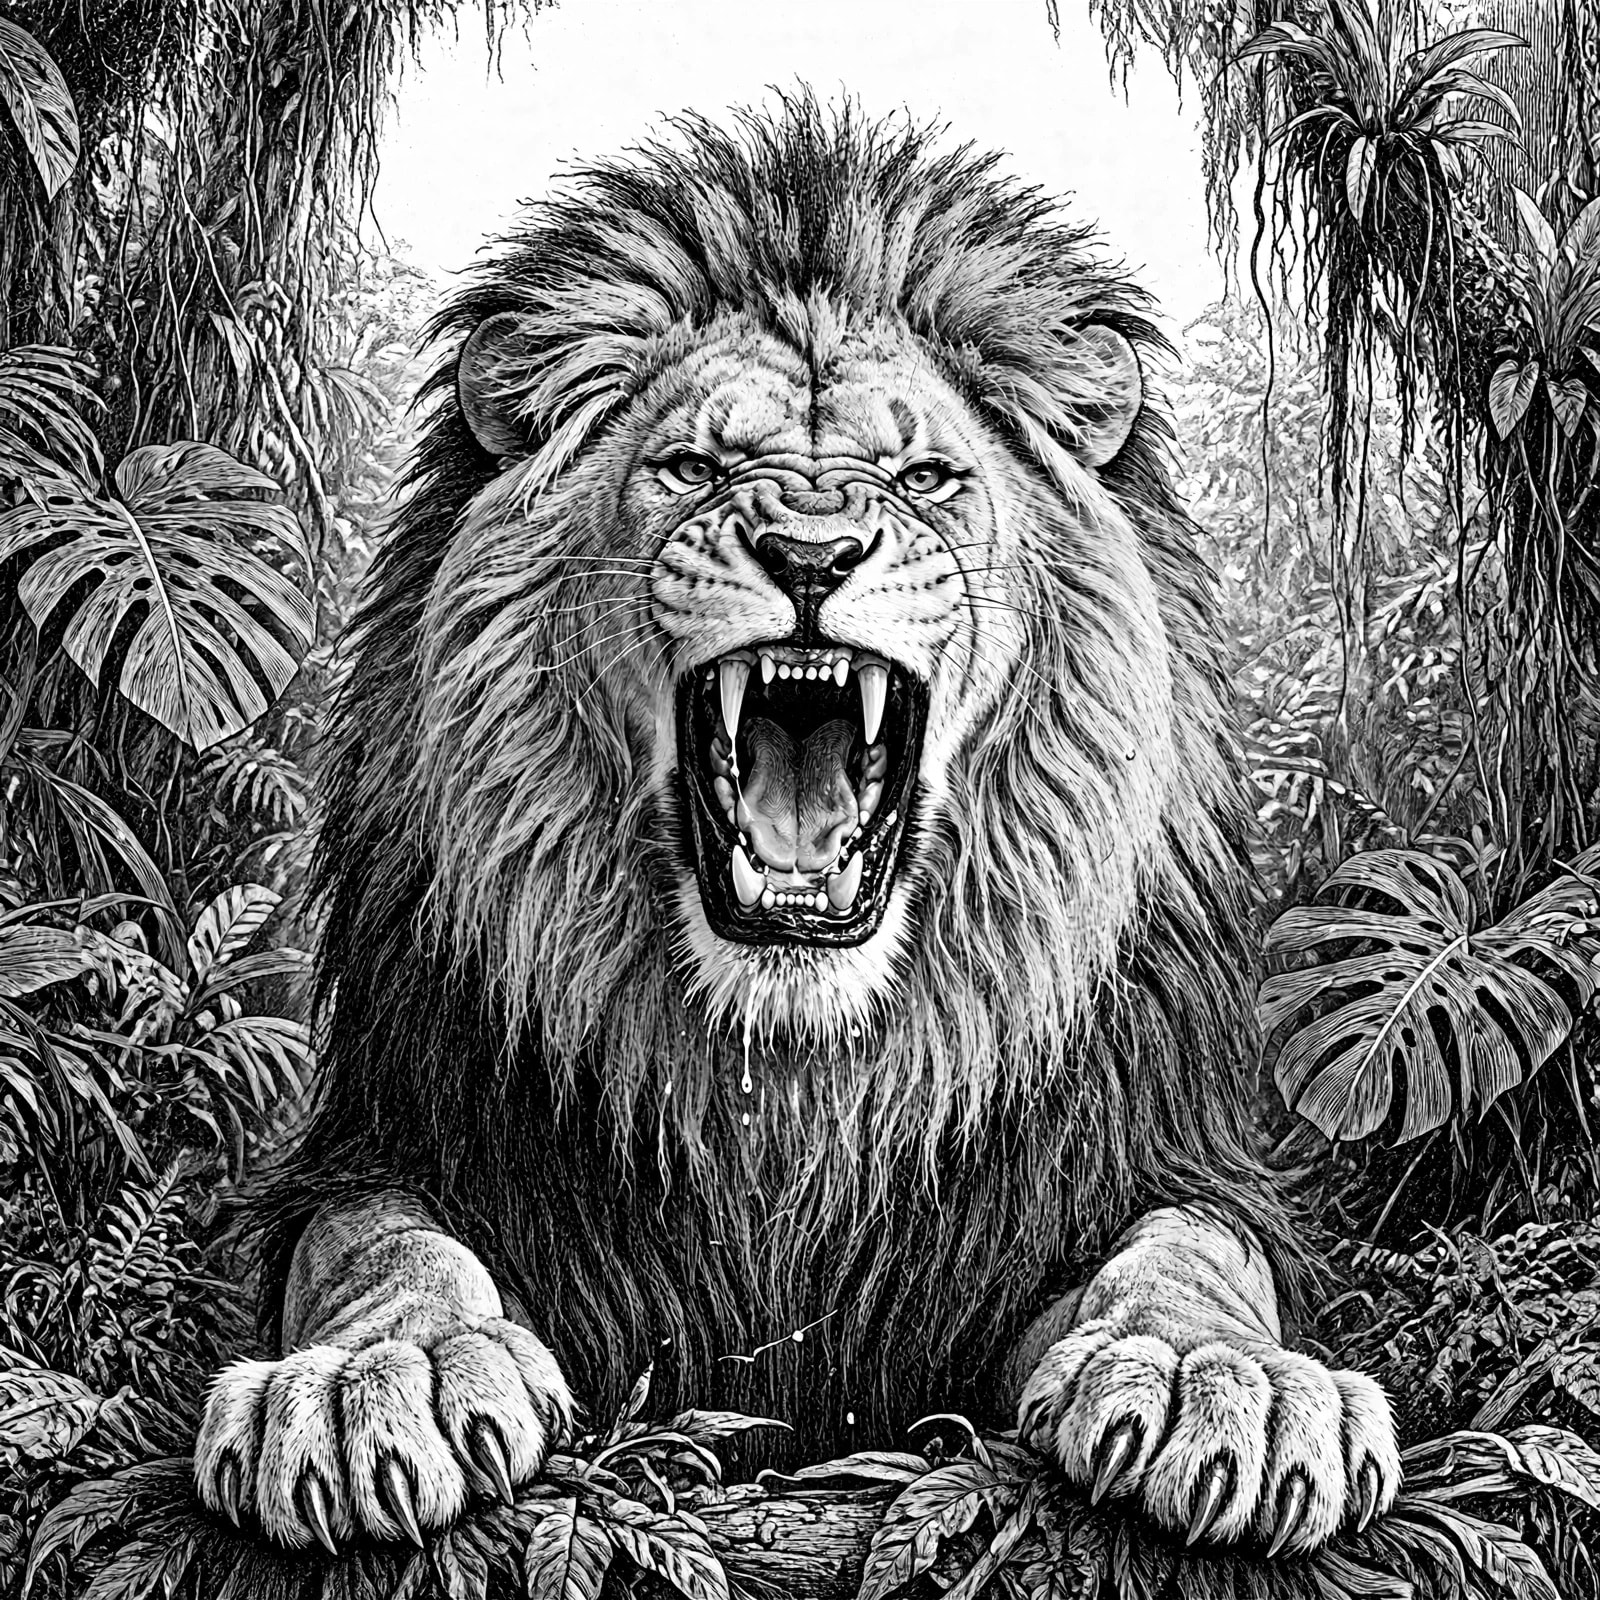
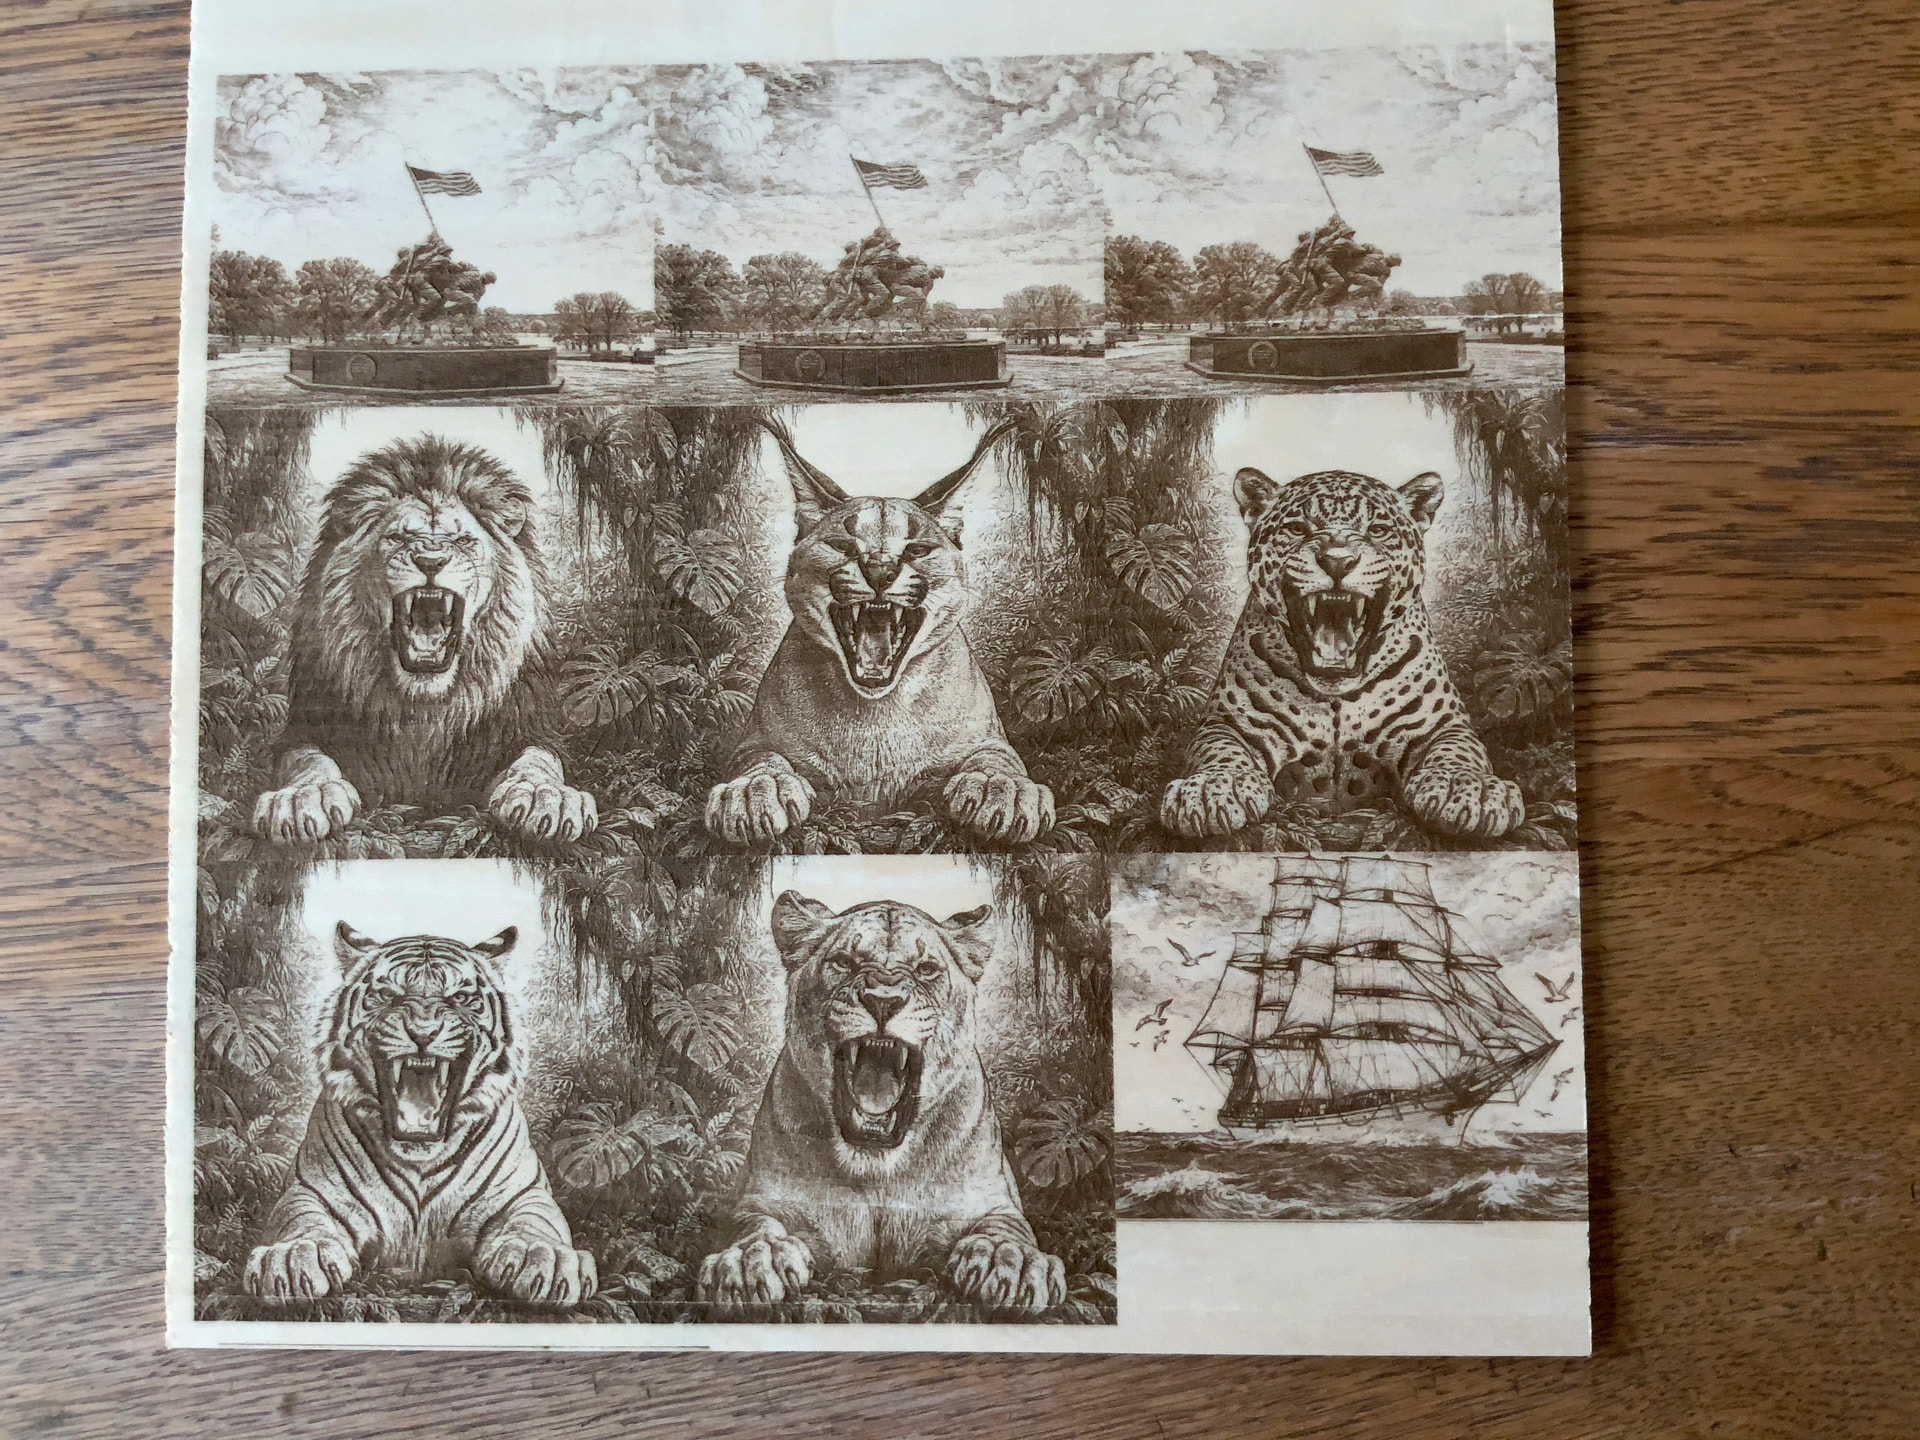
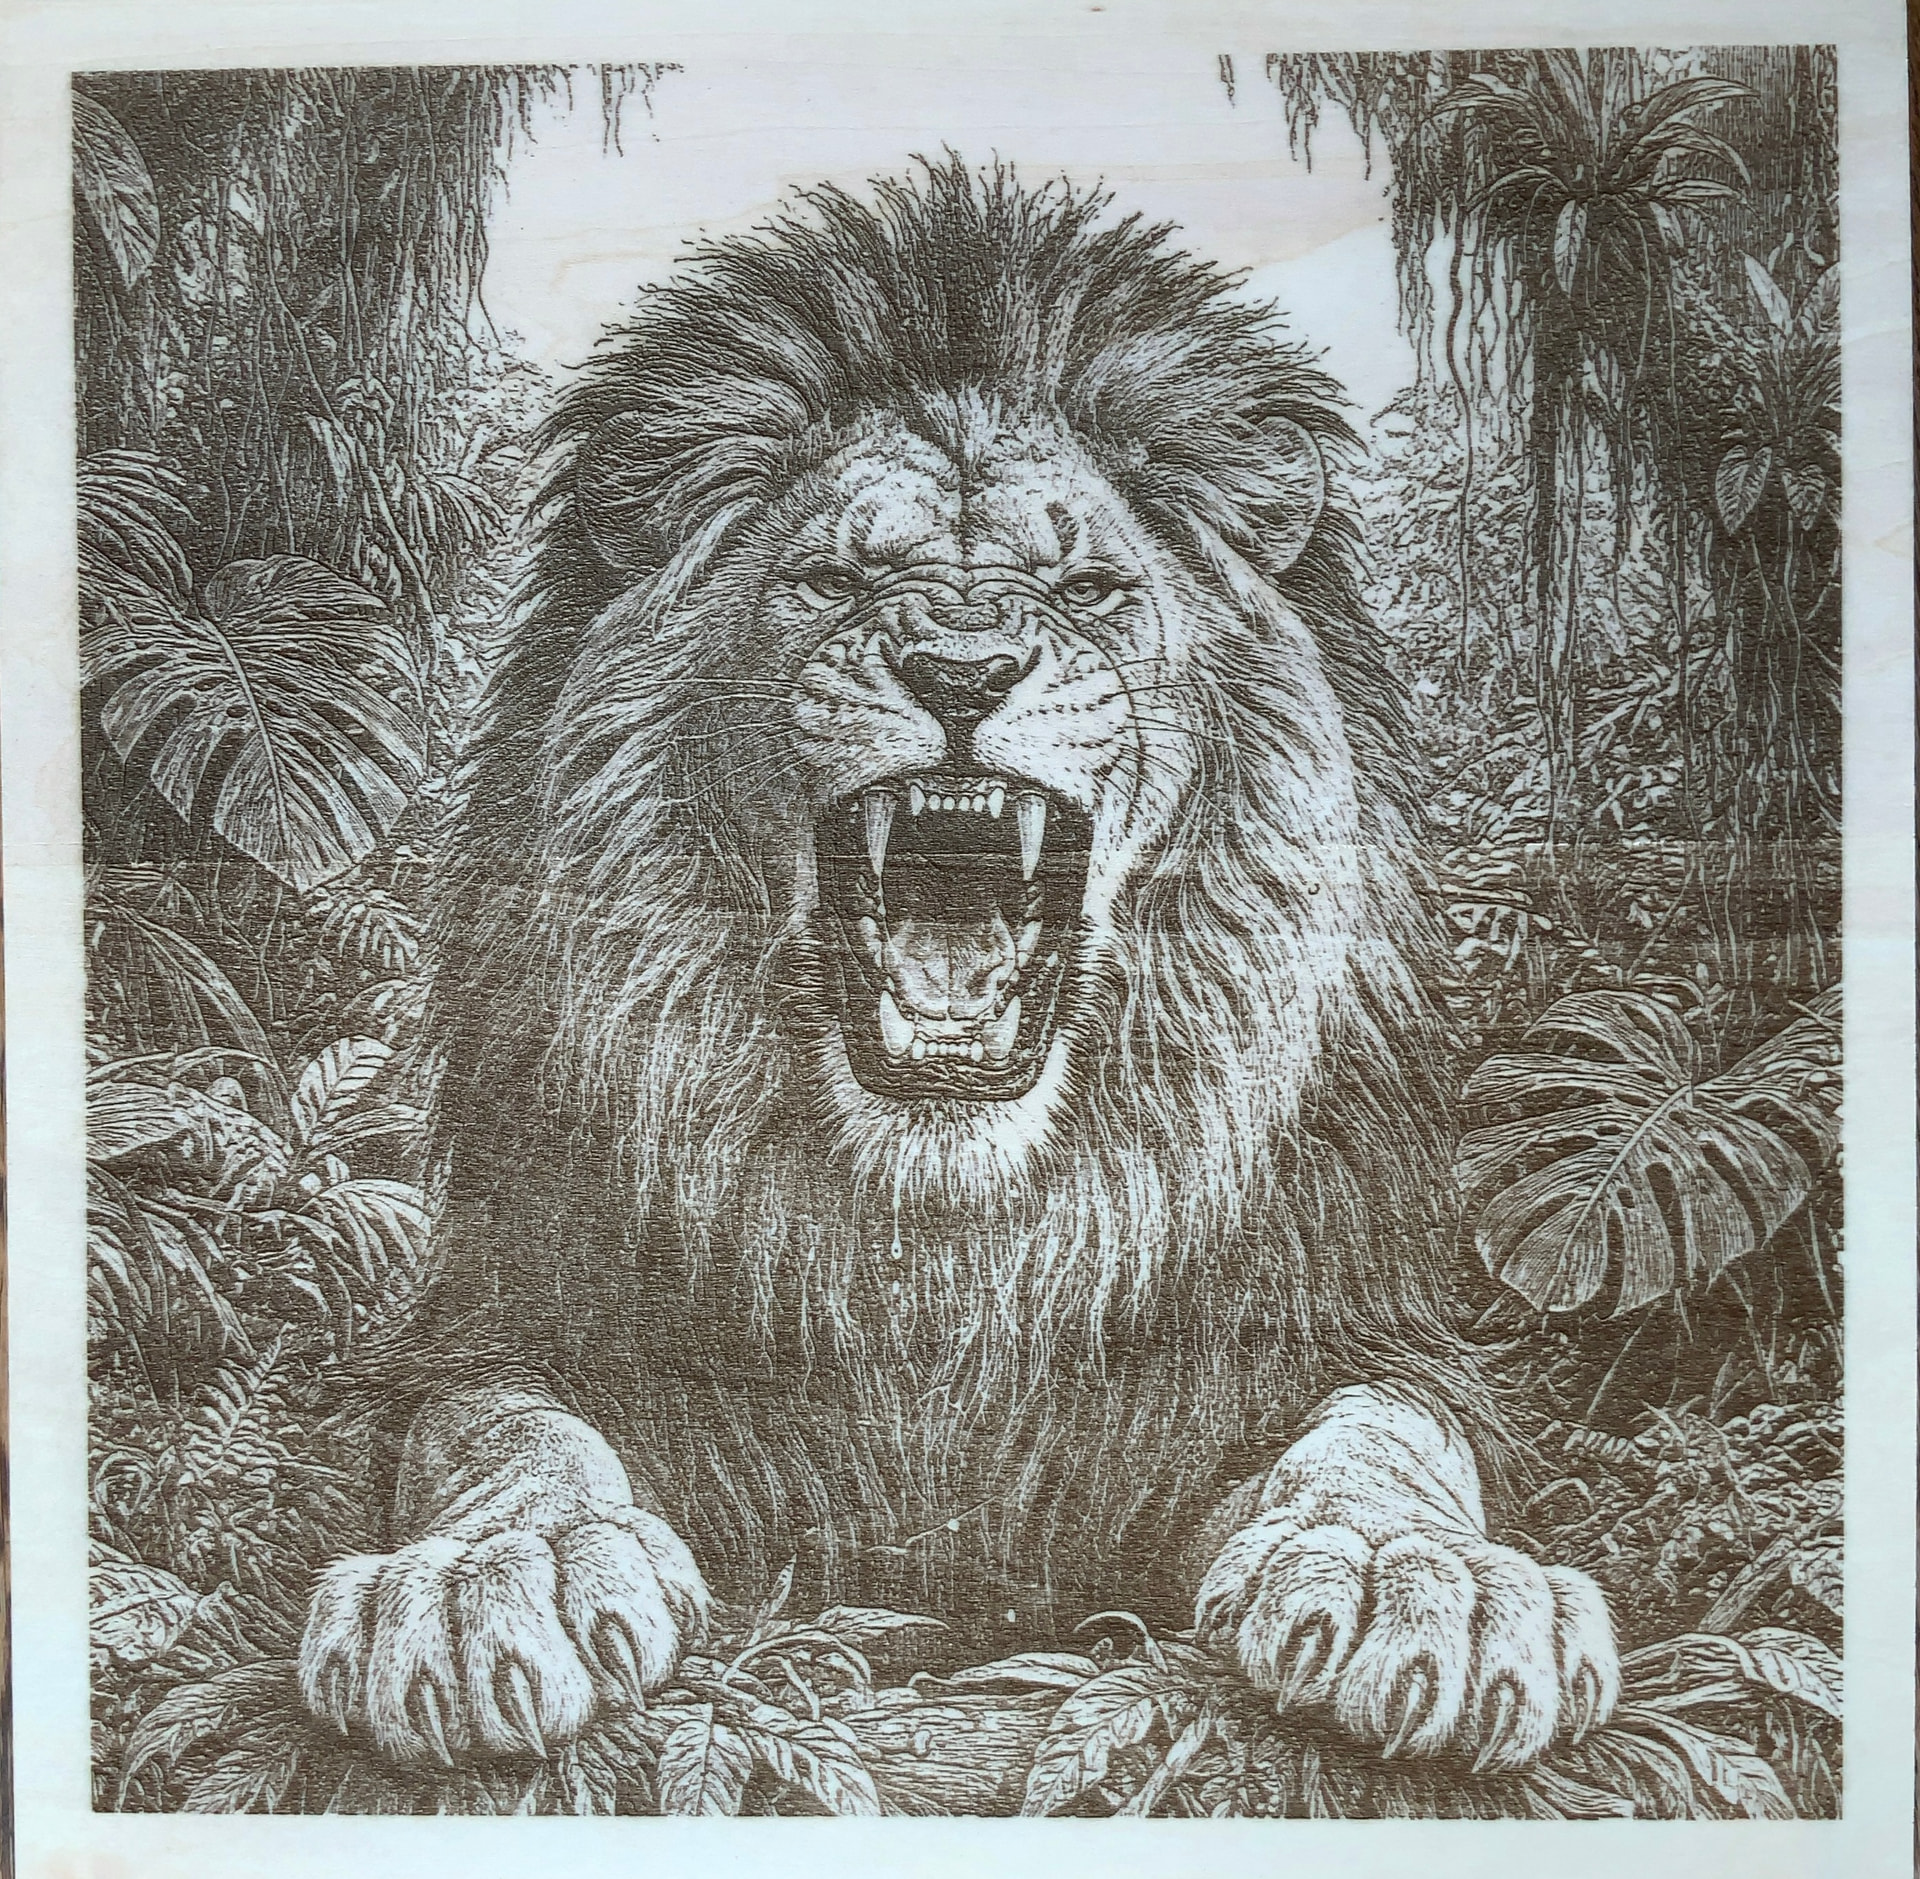
Things evolved I now have a matching set of 5 African cats in a square format here is one of them. All have the same foliage. They are 8bit .png
I am pretty sure A.I. searvhes the internet for the closest match to your request. But no matter.
100% accurate!
100% accurate again!
Absolutely! Although I do not have the initiave to drill into this process, I totally appreciate you and others sharing your findings. Never know when it might come in handy, right?
Ai does search the internet for images, but it will never find specifically what you are looking for.
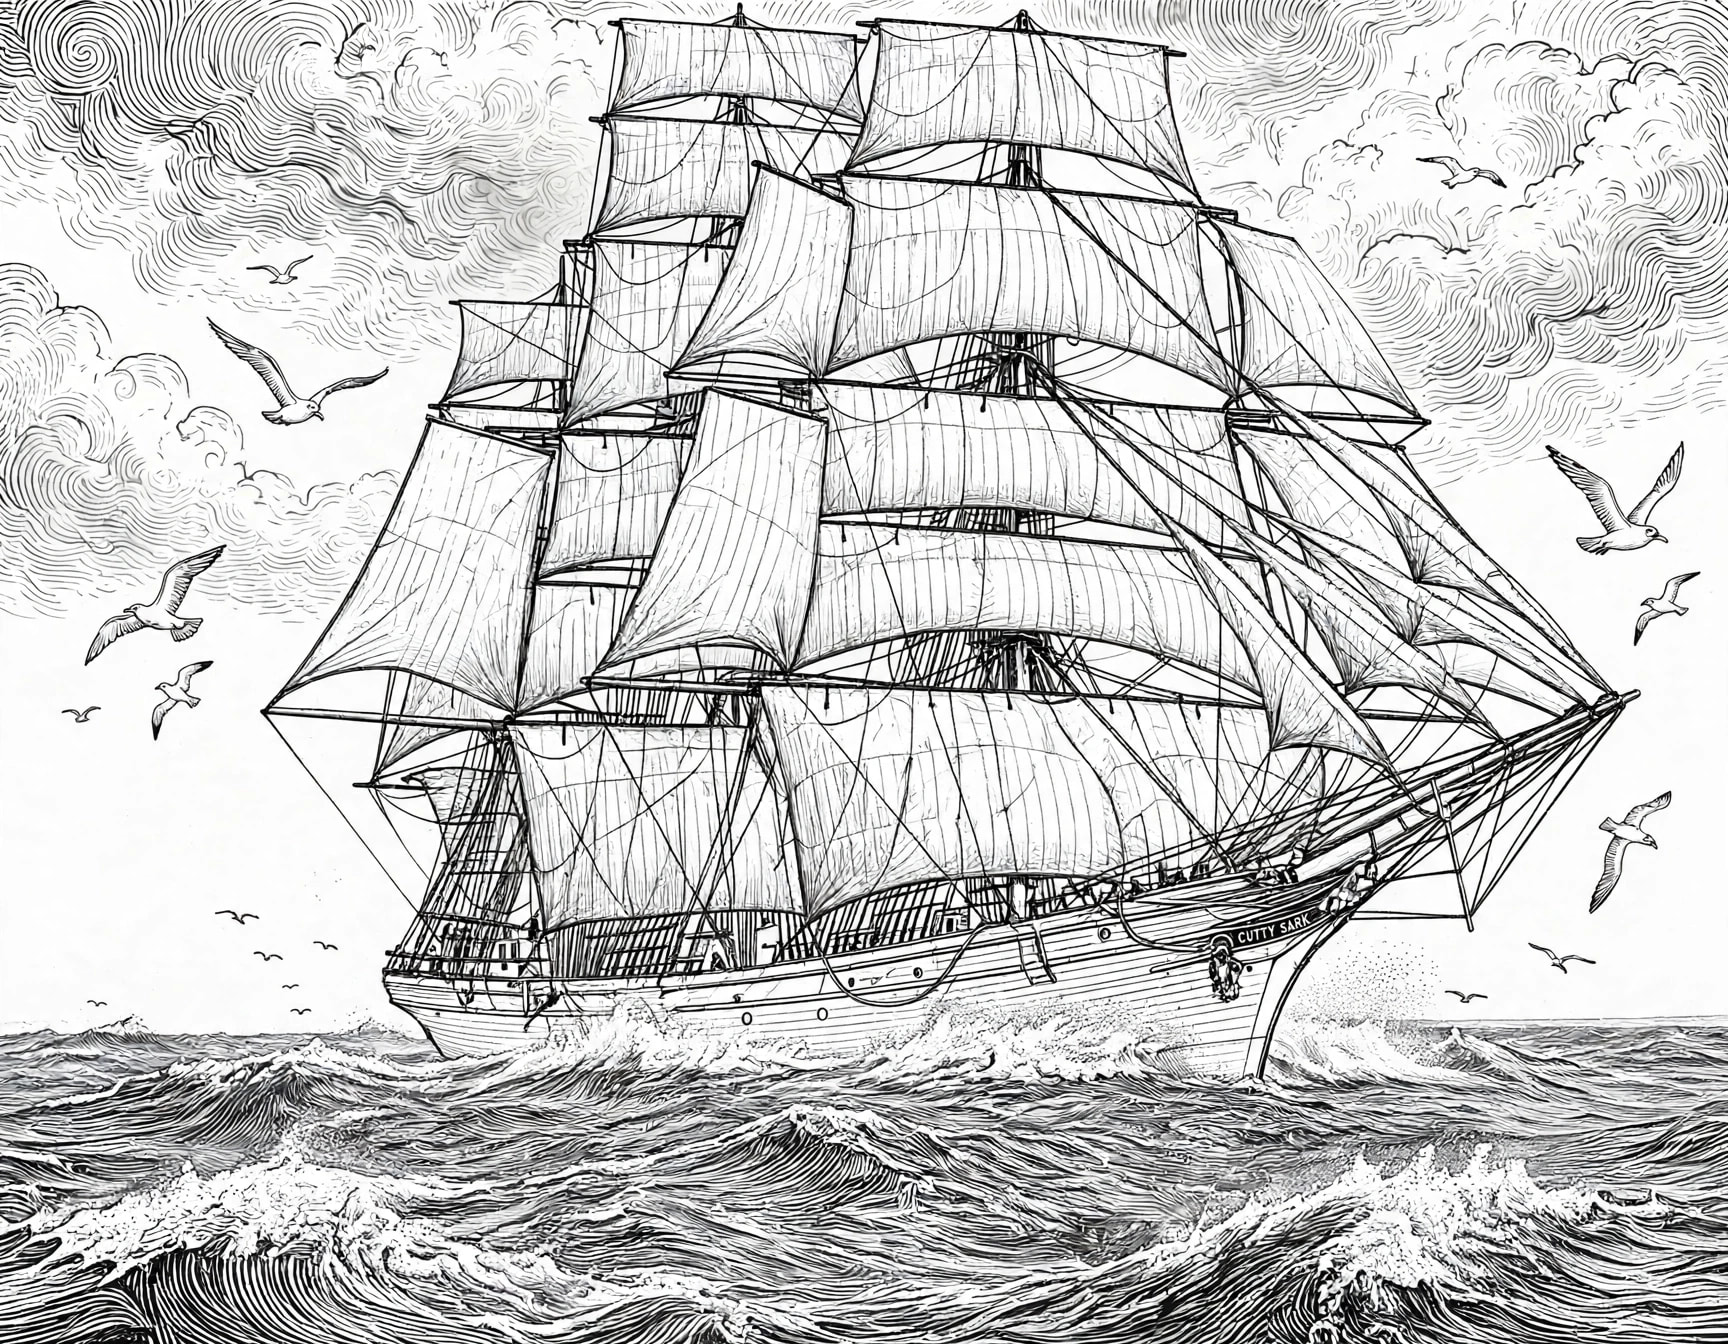
Just like the 2 ships. There are images of each ship out there, but there aren’t 2 images that are heading in the same direction in that perspective along with waves.
Ai uses the images it does find and tries to create an image as accurately as possible.
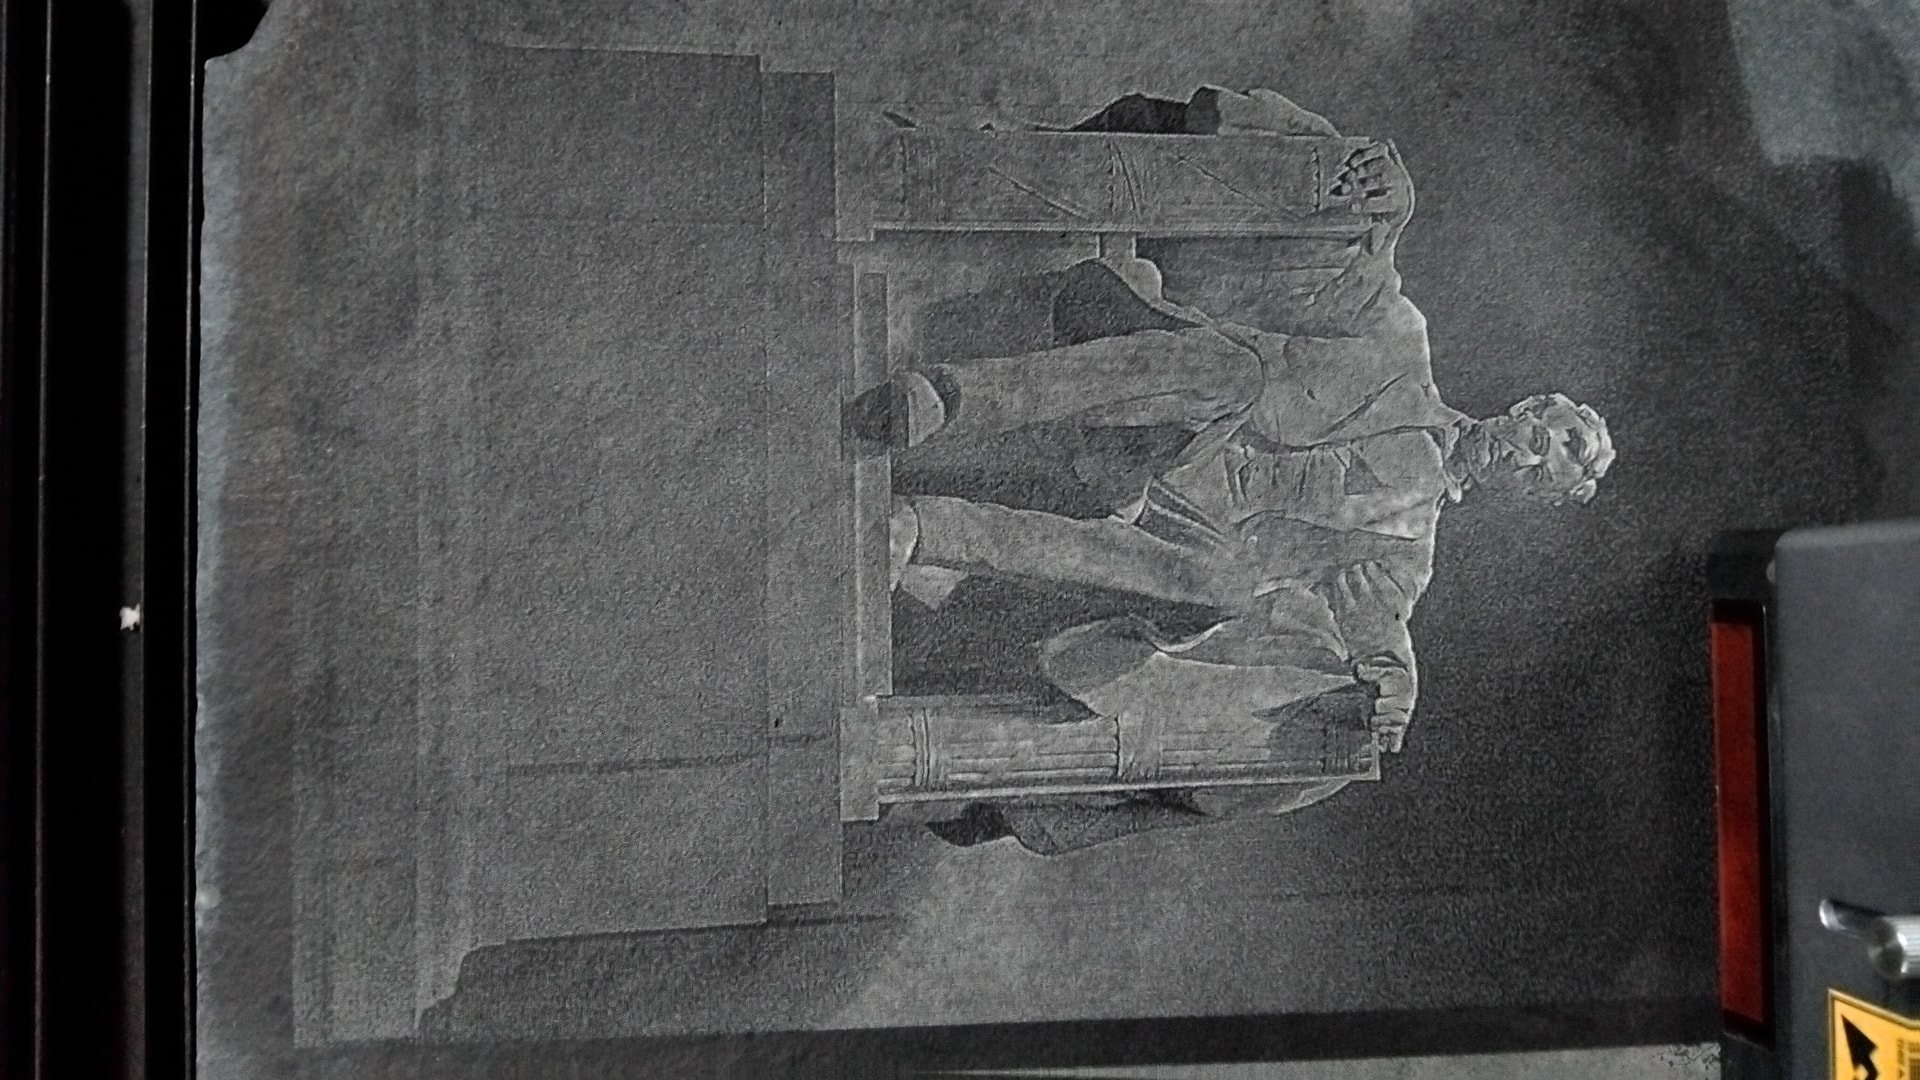
Take the monument. I am sure that it did find a real image, because I found several, but they were all protected images, so it filled in the data from elsewhere. In some cases (this drove me nuts) it decides to make modifications when you don’t want them. I kept getting a different plinth, although they were cool but not accurate. Ai even made one of the soldiers that was facing away look in the opposite direction.
Very frustrating at times, but interesting.
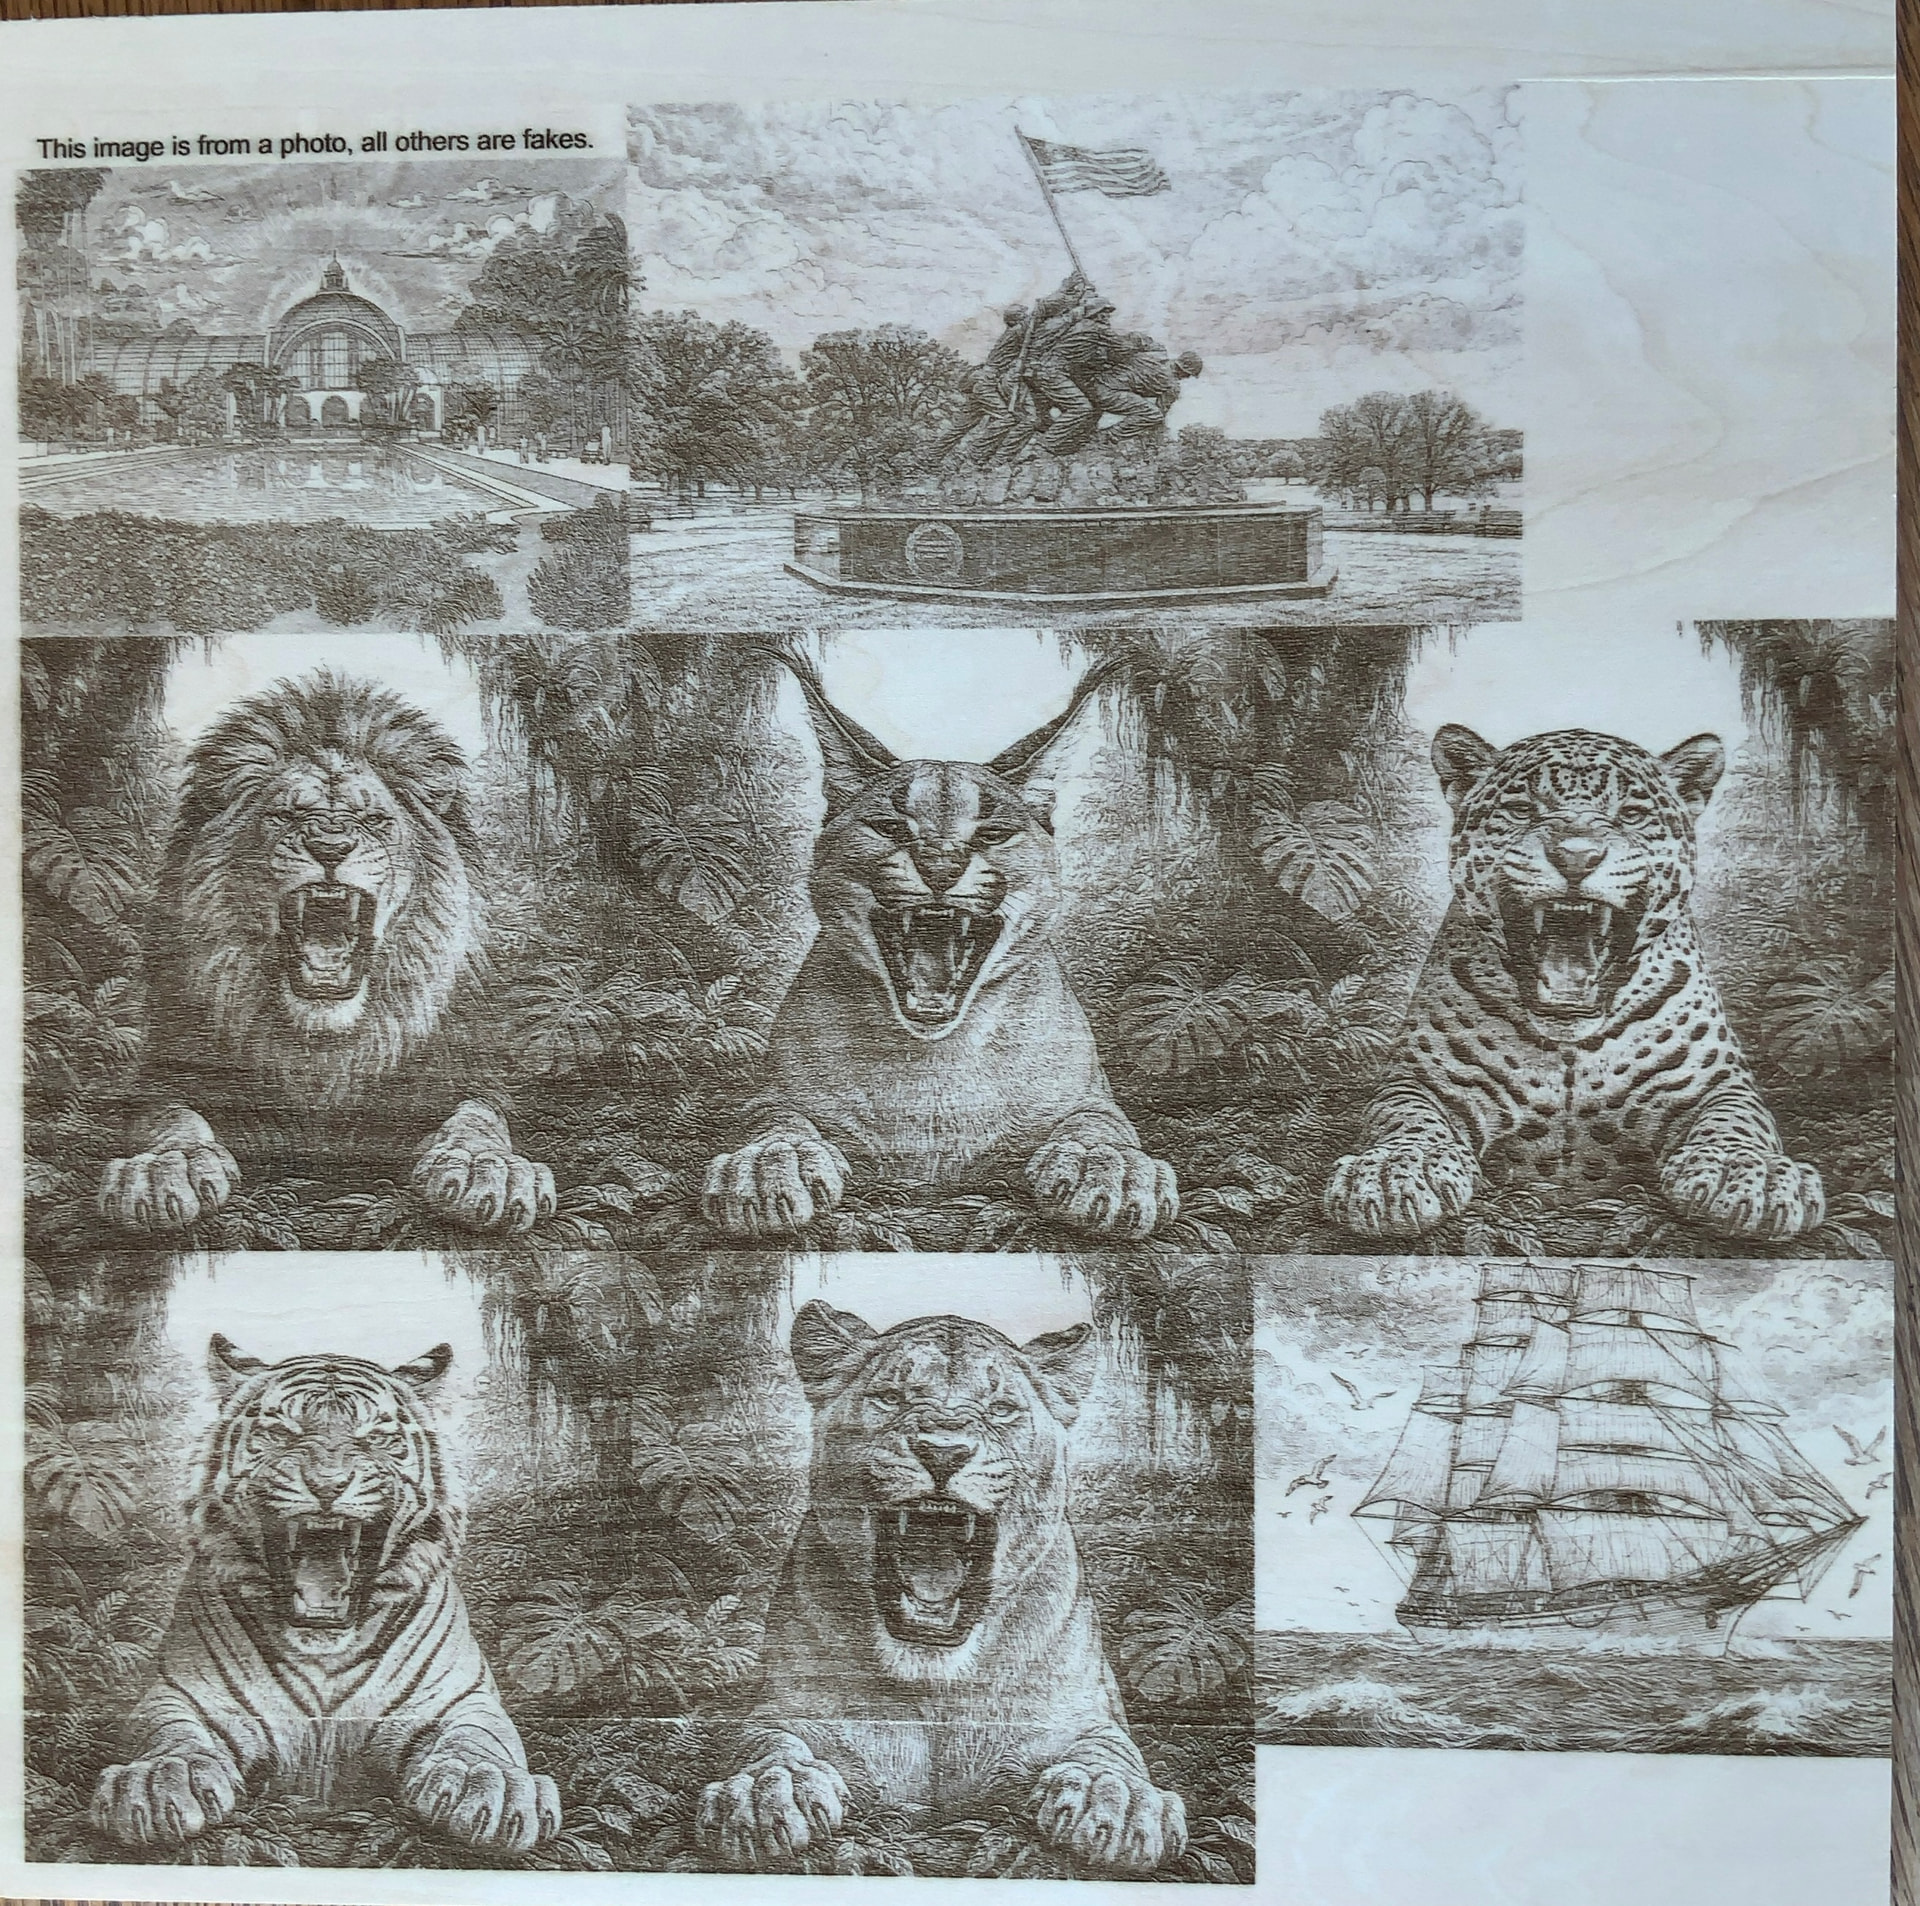
I’m in the process of burning a board with 3 versions of image adjustments of the memorial, q1 of the Cuttysark, and 5 different African Cats. The cats are a set. I’m anxious to try one on slate.
I’ve got some slate cleaning off out in the rain, it’s not top quality..best I could get but the polishing pads and fittings arrived Friday and the multispeed angle grinder gets here Tuesday from Austria so I’ll see if I can improve on those surfaces.
Firstly, I think there is a difference between Ai and Photo, there’s a smooth plastic finish to the ai…if it’s stared at long enough. That is in no way meant to say its not top quality…its just not real. I probably fall for it a dozen times a day watching media…but its all about distraction. I also love the idea of typed/verbal language commands. I can’t learn from an instruction manual as well as I can from ai and the twists and turns on the journey always leads somewhere creative..but usually not where I set out to get to!
Have not yet tried it for images but as I’ve been deep in the camera and image software world for a few days..I see its very much in both.
The 8bit thing. I am under the impression that bit depth is only relevant during processing. Keep the image in high bit depth until export to lightburn to maintain higher detail and greater finesse during manipulation.
The last script instructions were pretty well followed by the ai.
The pixelation of the lion has me puzzled, only resolution changes I thought would do that.
I agree that there is a difference better image quality Ai vs. photo. Sorry to say, I think that will change. CGI in the movies and even games has changed a lot over the years.
I also don’t understand the pixelization with the lion generating the most accurate conversion, unless edge sharpness has something to do with it. Ai may see a smooth transition in tone change where the pixelated image has a definite change.
Like you said Ai wording, whether it is in a conversation or instructions to create images, it’s going to take you down a rabbit hole. The trick is to know when to get out. I’ve been there too many times.
You mentioned letting slate wash off in the rain. Do you live near a slat deposit, and if so have you found any good fossils?
I will be posting a 12” square test board with all Ai images. My new cat image set 3 different power settings of the last monument image I posted, and a fine detailed image of the Cuttysark. I’ll get around to that later today.
They are Brazilian slate roof tiles and coming out of a builders supplier. Not much love for the creative process there!
I heard that Welsh slate may be superior and there is a slate quarry on the south coast…premium prices and a full day there and back due to country roads…beautiful coastal drive past skellig island (star wars location)..on a good day.
I was spoiled by the first slate I got as it was a sample from main supplier, given to retailer who gave it to me. Great Polish and quality but to get those supplied would mean turning out work that’s worth the price…I’ll practice on the ordinary and try to make it pay before spending any more. There were also some nice 300mm x 200mm x 5mm I got donated that are a handy picture size, but cannot track down a supplier. Also might switch back to 5mm ply for practice as I haven’t burned .much in weeks, it’s all image study and window shopping.
As you mention the ship, would that image trace well enough to perhaps create some quick layers and try out some interesting cross-hatch etc.
Here is the ship image, it has some really fine detail, and it did well burning it as a 4” image on Baltic birch ply. I’ll post images of some tests I did yesterday when I am more awake. Is is 4:30 a.m. currently.
Here are a couple of tests. All have been reduced to fit on a 12” square of basswood ply.
I didn’t do any adjustments on the ship, and that turned out pretty good.
I didn’t do any 3 different adjustment settings on the monuments. I think that the middle one is best and at that size needs mor sharpening.All the cats used one of my standard preset adjustments. They turned out pretty good, but I need to come up with a different set for the large lion, not enough detail (see lion image above.
,
I hate the backside of the ply, because it made up of scrap pieces butted together.
working on new settings. ill be posting new tests when I get them done.
Here is the exact same files, but I changed the adjust image settings. A lot more detail. The memorial looks a lot better. The ship looks better as well, A lot more finer line detail.
I had to recreate this color image from the image where I added the foliage to incorporate the lower body and top of his head.the Color lion has the feeling of 1950 color postcart. Definitely not photo realistic, but cool.
I had an idea, and decided to take the color image with no script modifications into LB and let it make the grayscale image. Then I applied my new set of adjustments to the images. So these are basically what you would get from a digital camera, and LB doing all the work.
Even more detail. This surprised me a lot.
I want to try the monument and ship later.
Stay tuned.
The Abe photo didn’t work so good, I tried it twice but the grainyness of the photo which I think is great..in image terms, was hard to play with in laser terms. It would probably have to be artistically worked on for lasering to the point it wouldn’t represent the photo at all. Although, in the right light, from an appropriate angle it looks good…in its own way.
The backyard shot was done in Stucki and maybe more Gamma would have helped.
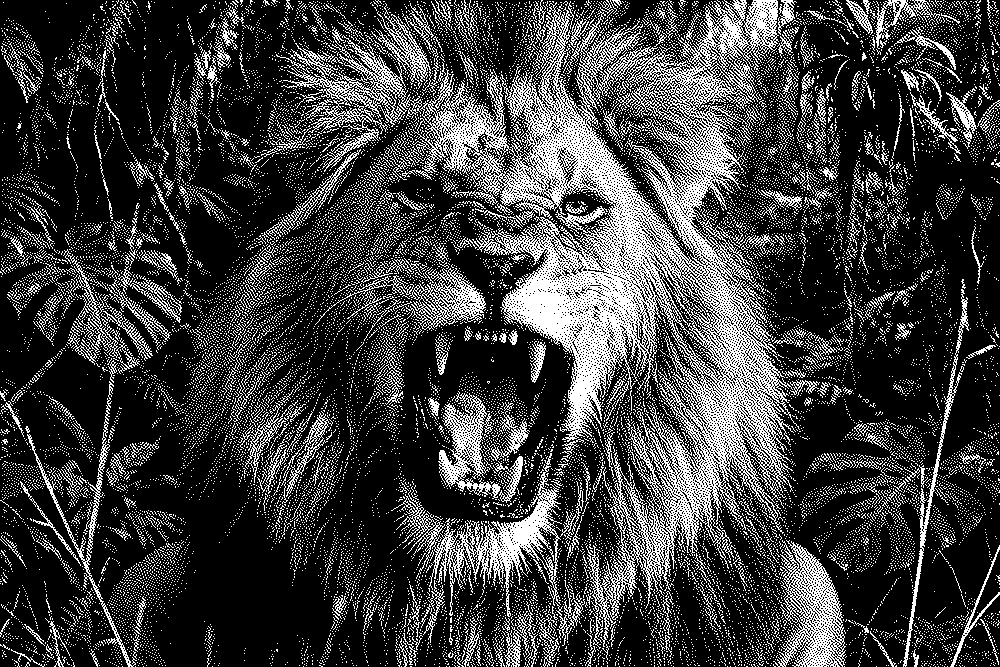
for what it’s worth I just put the original lion into the LA Hobby Guys image processor. I chose Wood and Atkinson
That’s quite different, did you input a particular sharpness or contrast.
No
I am impressed with how both those images turned out. Imaging on slate is really tricky. Everything I have been doing is for basswood. I only have slate coasters to test on, so images are way too small and fine lines disappear.
I agree with you that of all the dithering choices Atkinson give you the best highlights, but the shadows plug up.
The goal with these tests it to see what kink of results you get when choosing grayscale. The advantages of grayscale at least on wood is that you get variable power, and by using the right adjustments and the right power settings you can get almost photo realistic quality on wood. I don’t know about other media.
All the images above this last go round I have had Ai do image manipulation see lion images above this last test. The last one is just a color from Ai and brought into LB where I applied my settings, and then output it as a grayscale.
I tried dithering (all methods) and didn’t like the results.
Dithering is great, but you sacrifice either in the highlight’s or shadows. I imagine if you play around with adjustments you can get a pretty good image, but not the range you can get with grayscale. Every image has its own properties which dictate what is the best method to use.
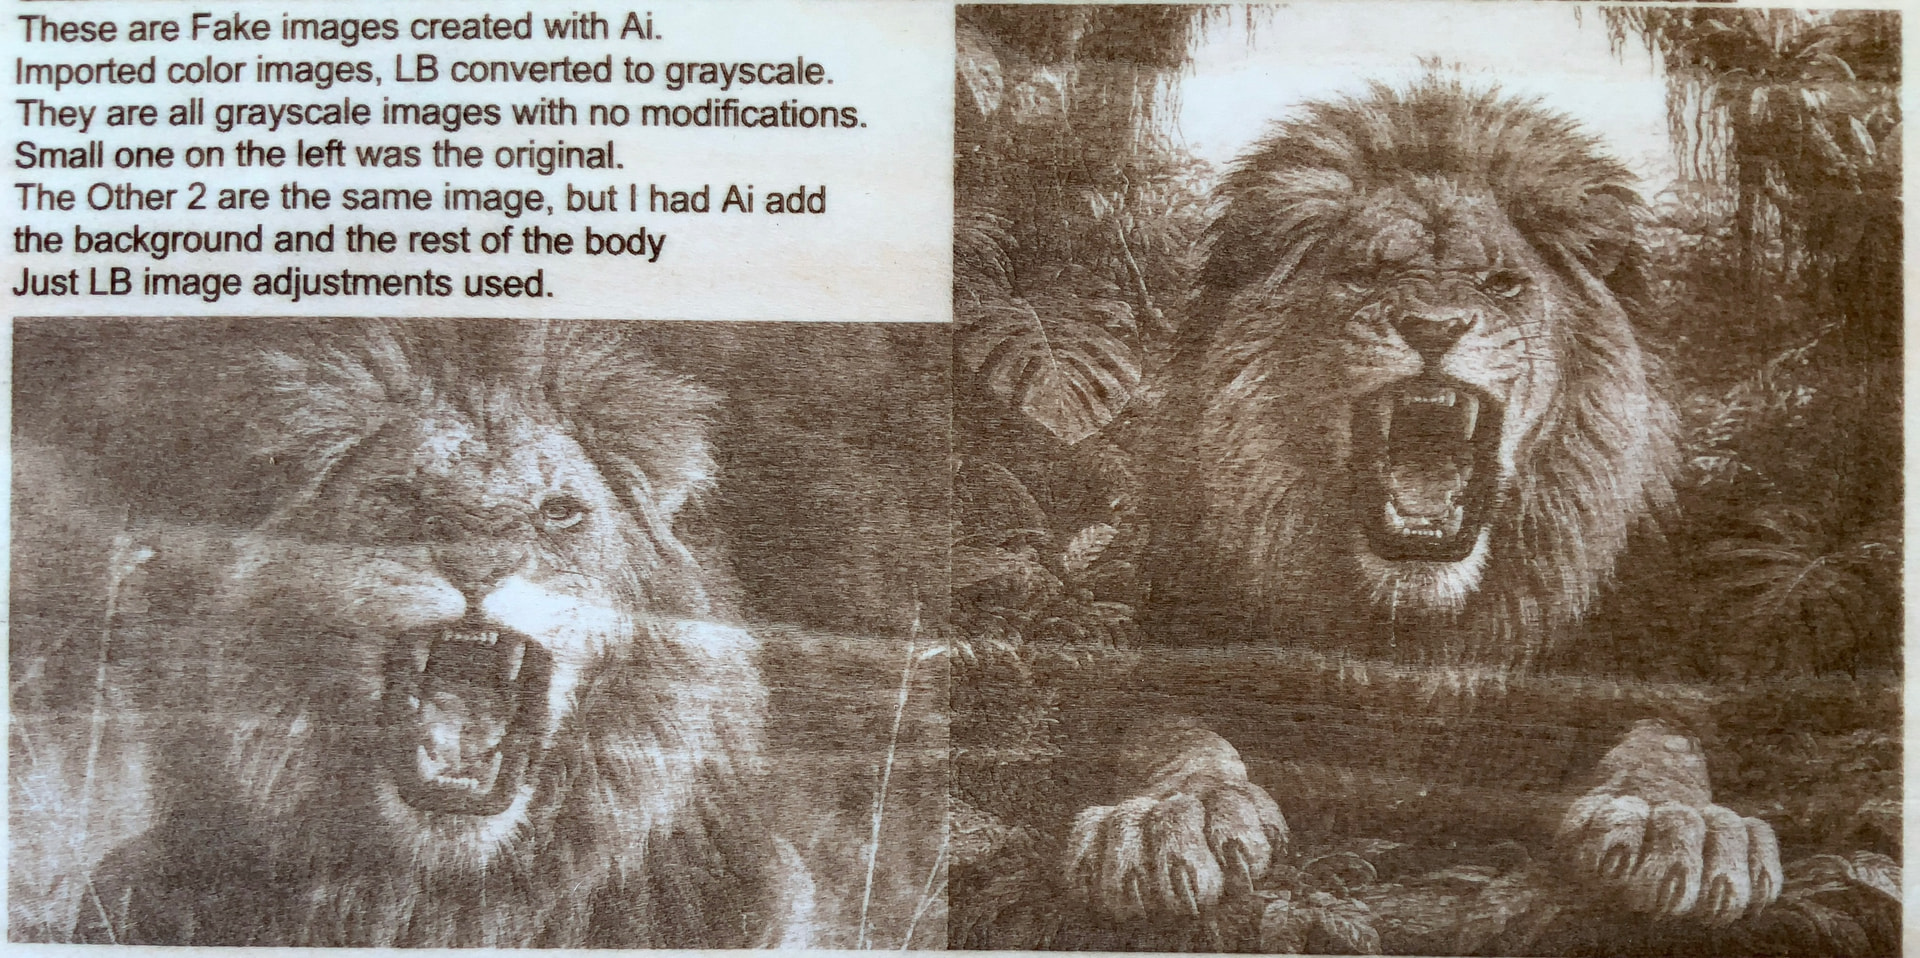
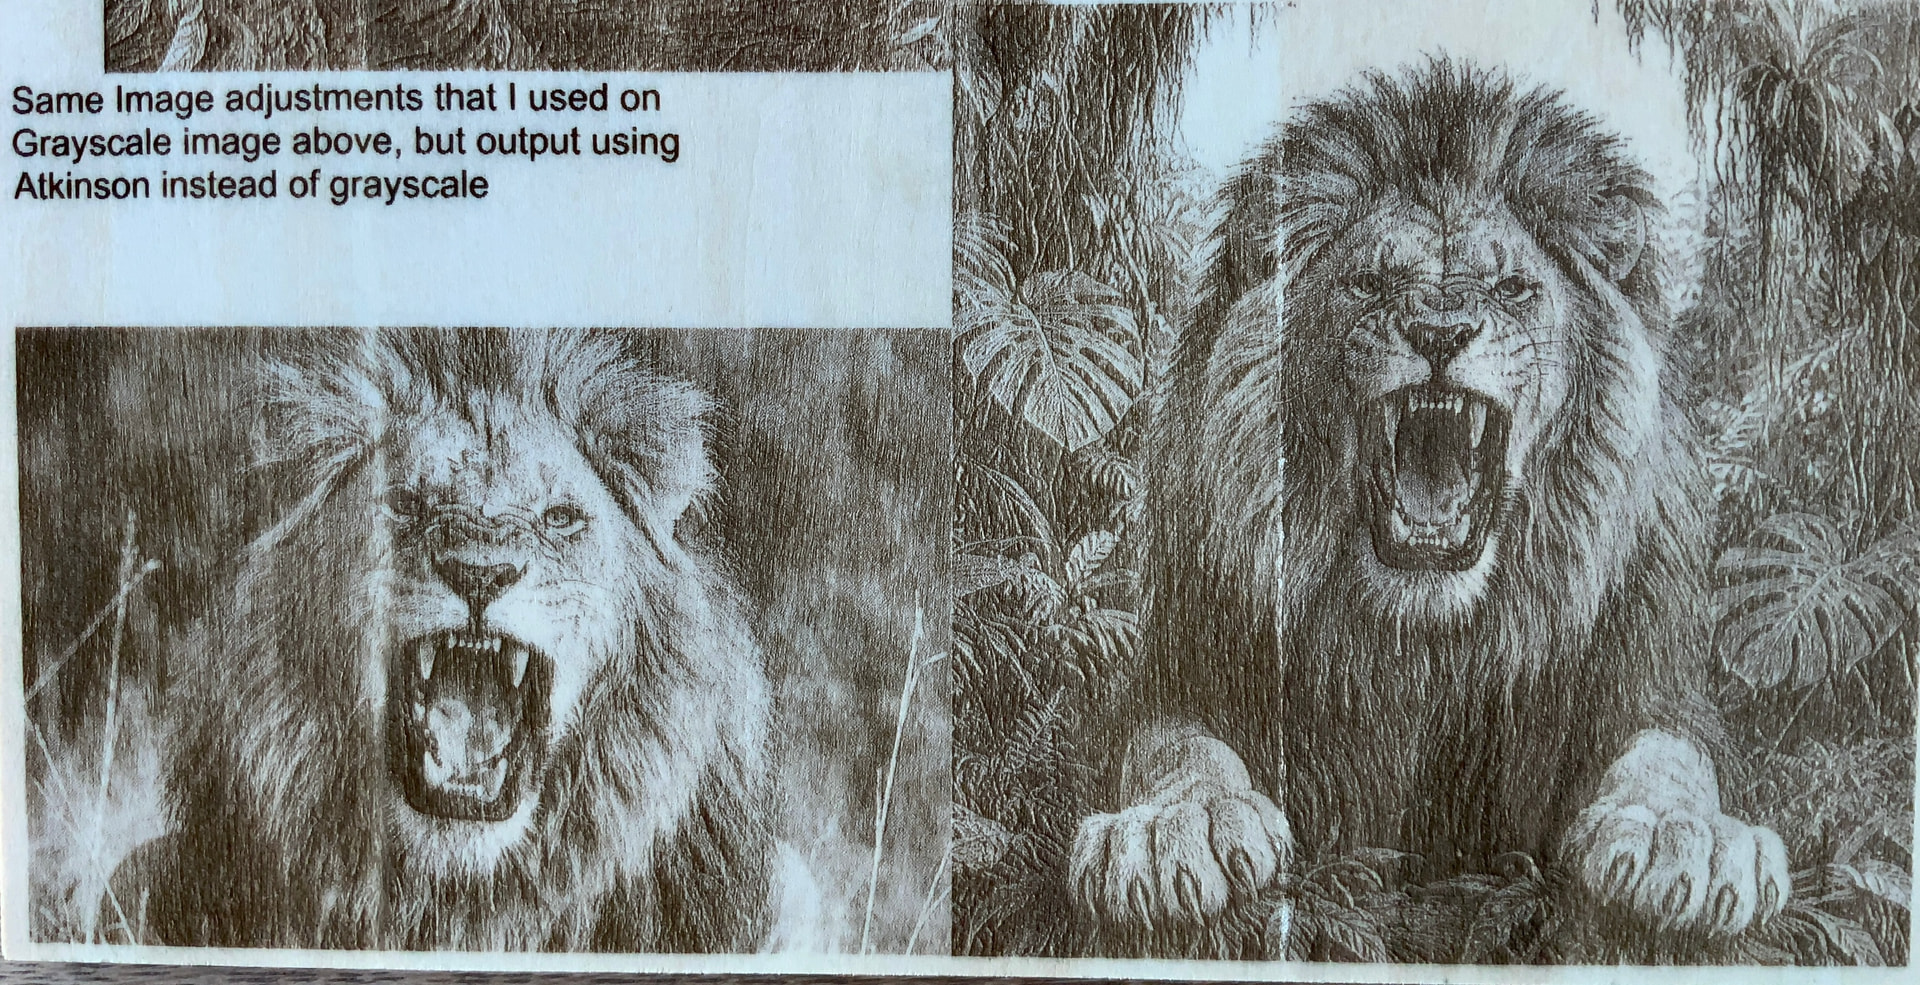
The side by side image the large lion is 4”, the big image is the same settings, but is 7” not 11”
This are my grayscale images of the 2 smaller lions.
This is the same 2 images using the exact same settings and power as above, but changed to Atkinson.
Interesting what my iPad camera does with the lighting from the ambient light and flash.
So you be the judge. The grayscale image looks more lick a photograph, and the Atkinson looks more like it is from a computer. Although the lower image is brighter.like I said it all depends on what you are trying to achieve.
Please excuse the crappy scrap of plywood I used.