Imagine you have an image loaded that you’d like to engrave, then cut out:
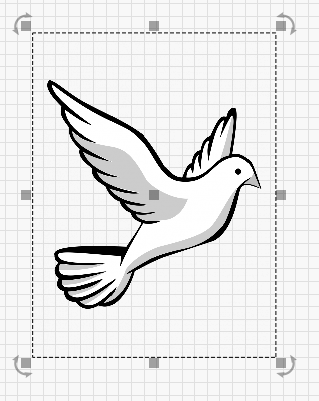
With the image selected, go to Tools > Trace Image (or press Alt+T):
Adjust the threshold and other controls until you see the edge you want shown in purple:

Click Ok to keep the trace, and make sure ‘Delete image after trace’ is not enabled since you want to keep the image for engraving.
Now you’ll have a vector copy of the image sitting directly over the original. Turn off the ‘Show’ button on the image to make the next part easier:
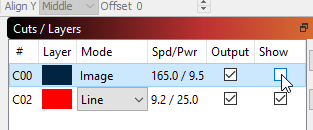
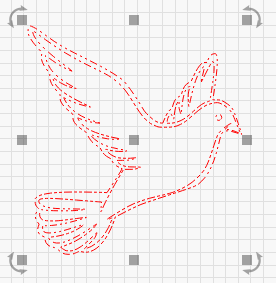
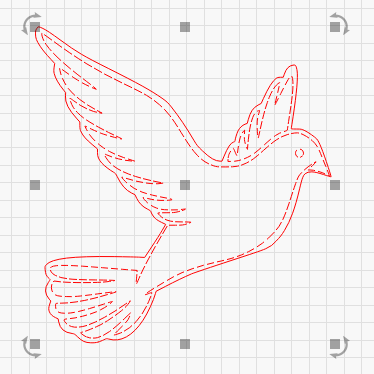
Select the vectors, then click the red palette entry to make the vector copy red (and easier to see):
Un-group them (Ctrl+U or click here: 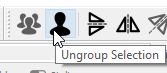 )
)
While holding the Ctrl key (Command on Mac) click the outer line to de-select it, leaving all the inner lines still selected, like this:
Press the Delete key, or click Edit > Delete to remove the inner parts of the trace:
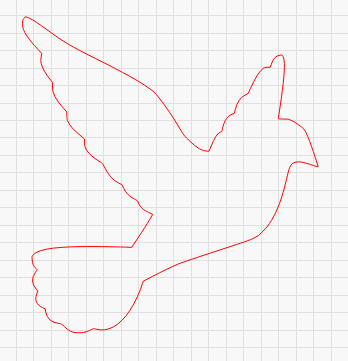
Turn the ‘Show’ setting back on for the image layer:

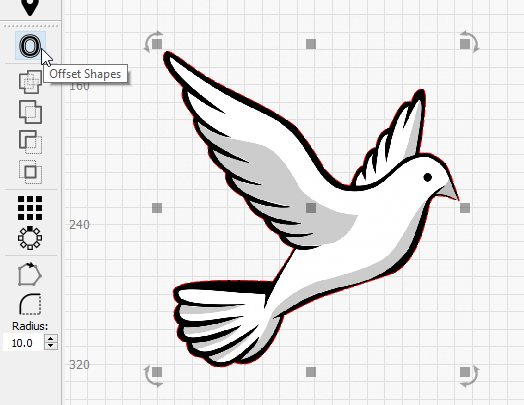
You can see the red trace line perfectly matches the outer shape. If you want a little space between them, select the red vector, then click the ‘Offset Shapes’ tool:
Set the offset to Outward, set the distance as desired, and enable ‘Delete original objects’ to remove the original trace outline when you click ‘Ok’.
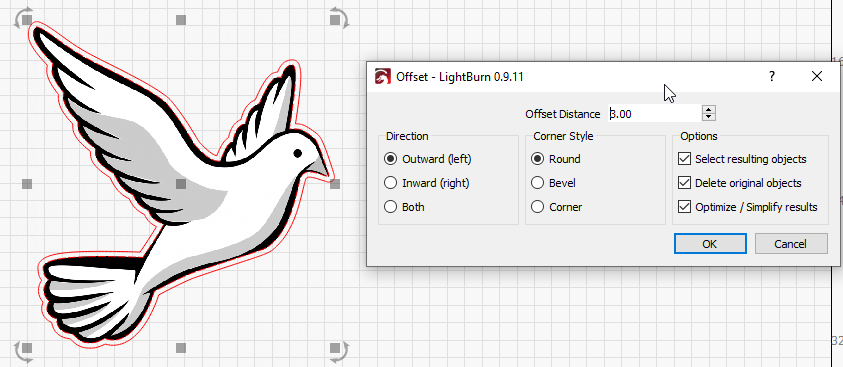
The final result, with only the single resulting offset line: