Hello, I bough a file from Etsy to cut out for a project my wife is working on. Since I basically want only the outside of the image cut, I do not want the parts inside the palm of the hand to be cut. I cannot figure out how to stop that from happening. I have the file in multiple formats of dxf, svg, jpg, png, and eps. Ideally I would like the option to cut the outline and then perhaps engrave the palm part to show that detail. I did find a [tutorial] of how to cur an outline, but I cannot seem to make it work. Not even sure where to start, so I am hoping to get some advice. (How do I cut out around the outline of an image?)
As far as I know, you can’t really mark areas " not to cut " , you just don’t include them in a layer for cutting… I hope someone will correct me if I’m wrong about that.
I’m new here and may not have the best answer, but what I think you need to do edit the file in an editor program like Paint and remove the palm detail.
When you trace that image in LightBurn you will have your outline for cutting.
You will need a separate image that has the palm detail, to create a 2nd layer for engraving.
Thank you both. I think @RalphU appears to have the easiest solution. Thank you! Is there a way to set up the project using that method so that only the palm fingers are filled? I think this way it will trace the whole thing won’t it then if I cut I will have more or less double lines along the outside the distance of the offset?
I’m pretty sure there is no way to do that except to separate your cut and fill jobs in layers.
Ok. And I think to separate it, I need to figure out some editing in another type of software, correct? If so, any suggestions on simple software to do that.
Are you running Windows?
No, I am running a MacBook
I believe you can select the new outside line and then press a new layer, and set that one to the Line setting to cut, and your previous layer you can set to lower power so that it only etches the line instead of cutting through. This is in LightBurn alone.
That sounds like it should work up to a point, but I think some of the palm detail shows up in the " outside " and would get cut also. "
If not, should be OK…
The hitch in the works is the fact that the outline is one continuous line that does not overlap. if the area on the right side of the palm was connected I think it would be easier, but it shows up as one vector (I think that is the term) because of that. If I can connect the little piece it might make cause it to become two vectors.
Does MacBook have image editing software with an eraser tool?
Yes! It didn’t click with your comment before, but did the second time you hit me on the head  I used the built in Mac Photos editing app to draw a little line and connect that section of the palm. I then used the link for the tutorial I posted in my original question to outline then separate the vectors. I worked like a charm. Thank you so much to those who contributed. I learned several ways to beat this problem which I can use on future challenges.
LightBurn provides vector editing tools that allow you to do the same, unless I am missing what you are wanting to accomplish. Please show the result you are after and we might be able to provide a LightBurn workflow to achieve this goal.
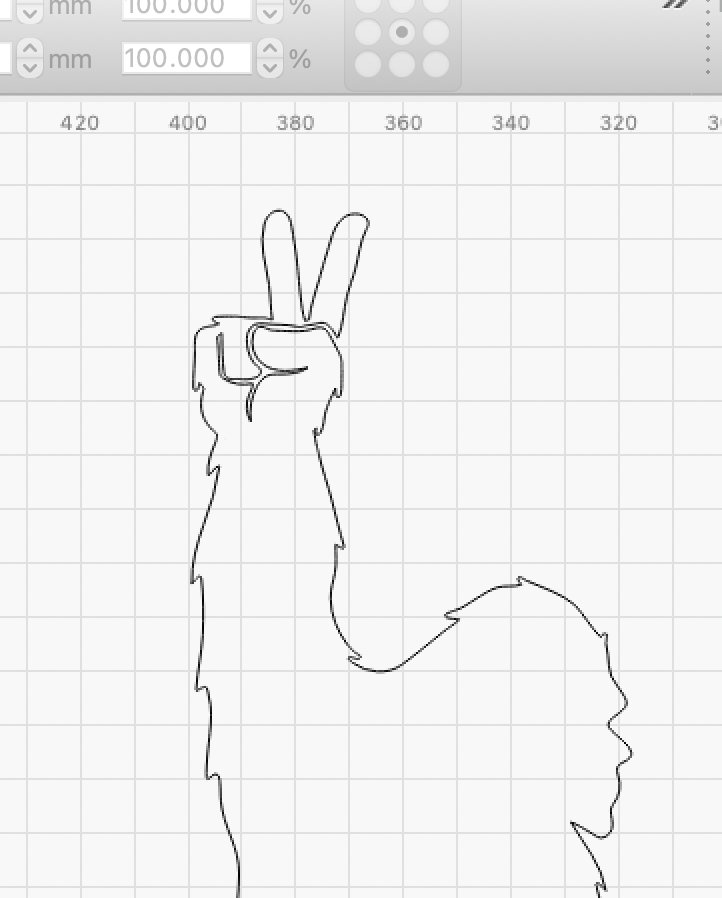
Sure thing. I am trying to connect the outside of the right side of the hand so that the outline is complete without cutting the thumb part out. Second order is to have the option off doing a lighter cut/engrave of the fingers. The first pic is the before and the second pic is the after that I did in Mac Photos first then outlined in Lightburn. If I have the ability to do it on Lightburn that would be great. The edited file for this was a jpg, but I have a dxf and svg of the outline. I do not know how to edit to draw a line in either one of those formats though.


You can use the ‘Edit Nodes’ to edit this path, but I am not understand why? Here is what I get when I apply a 1mm Offset outline. No editing required to get this result.
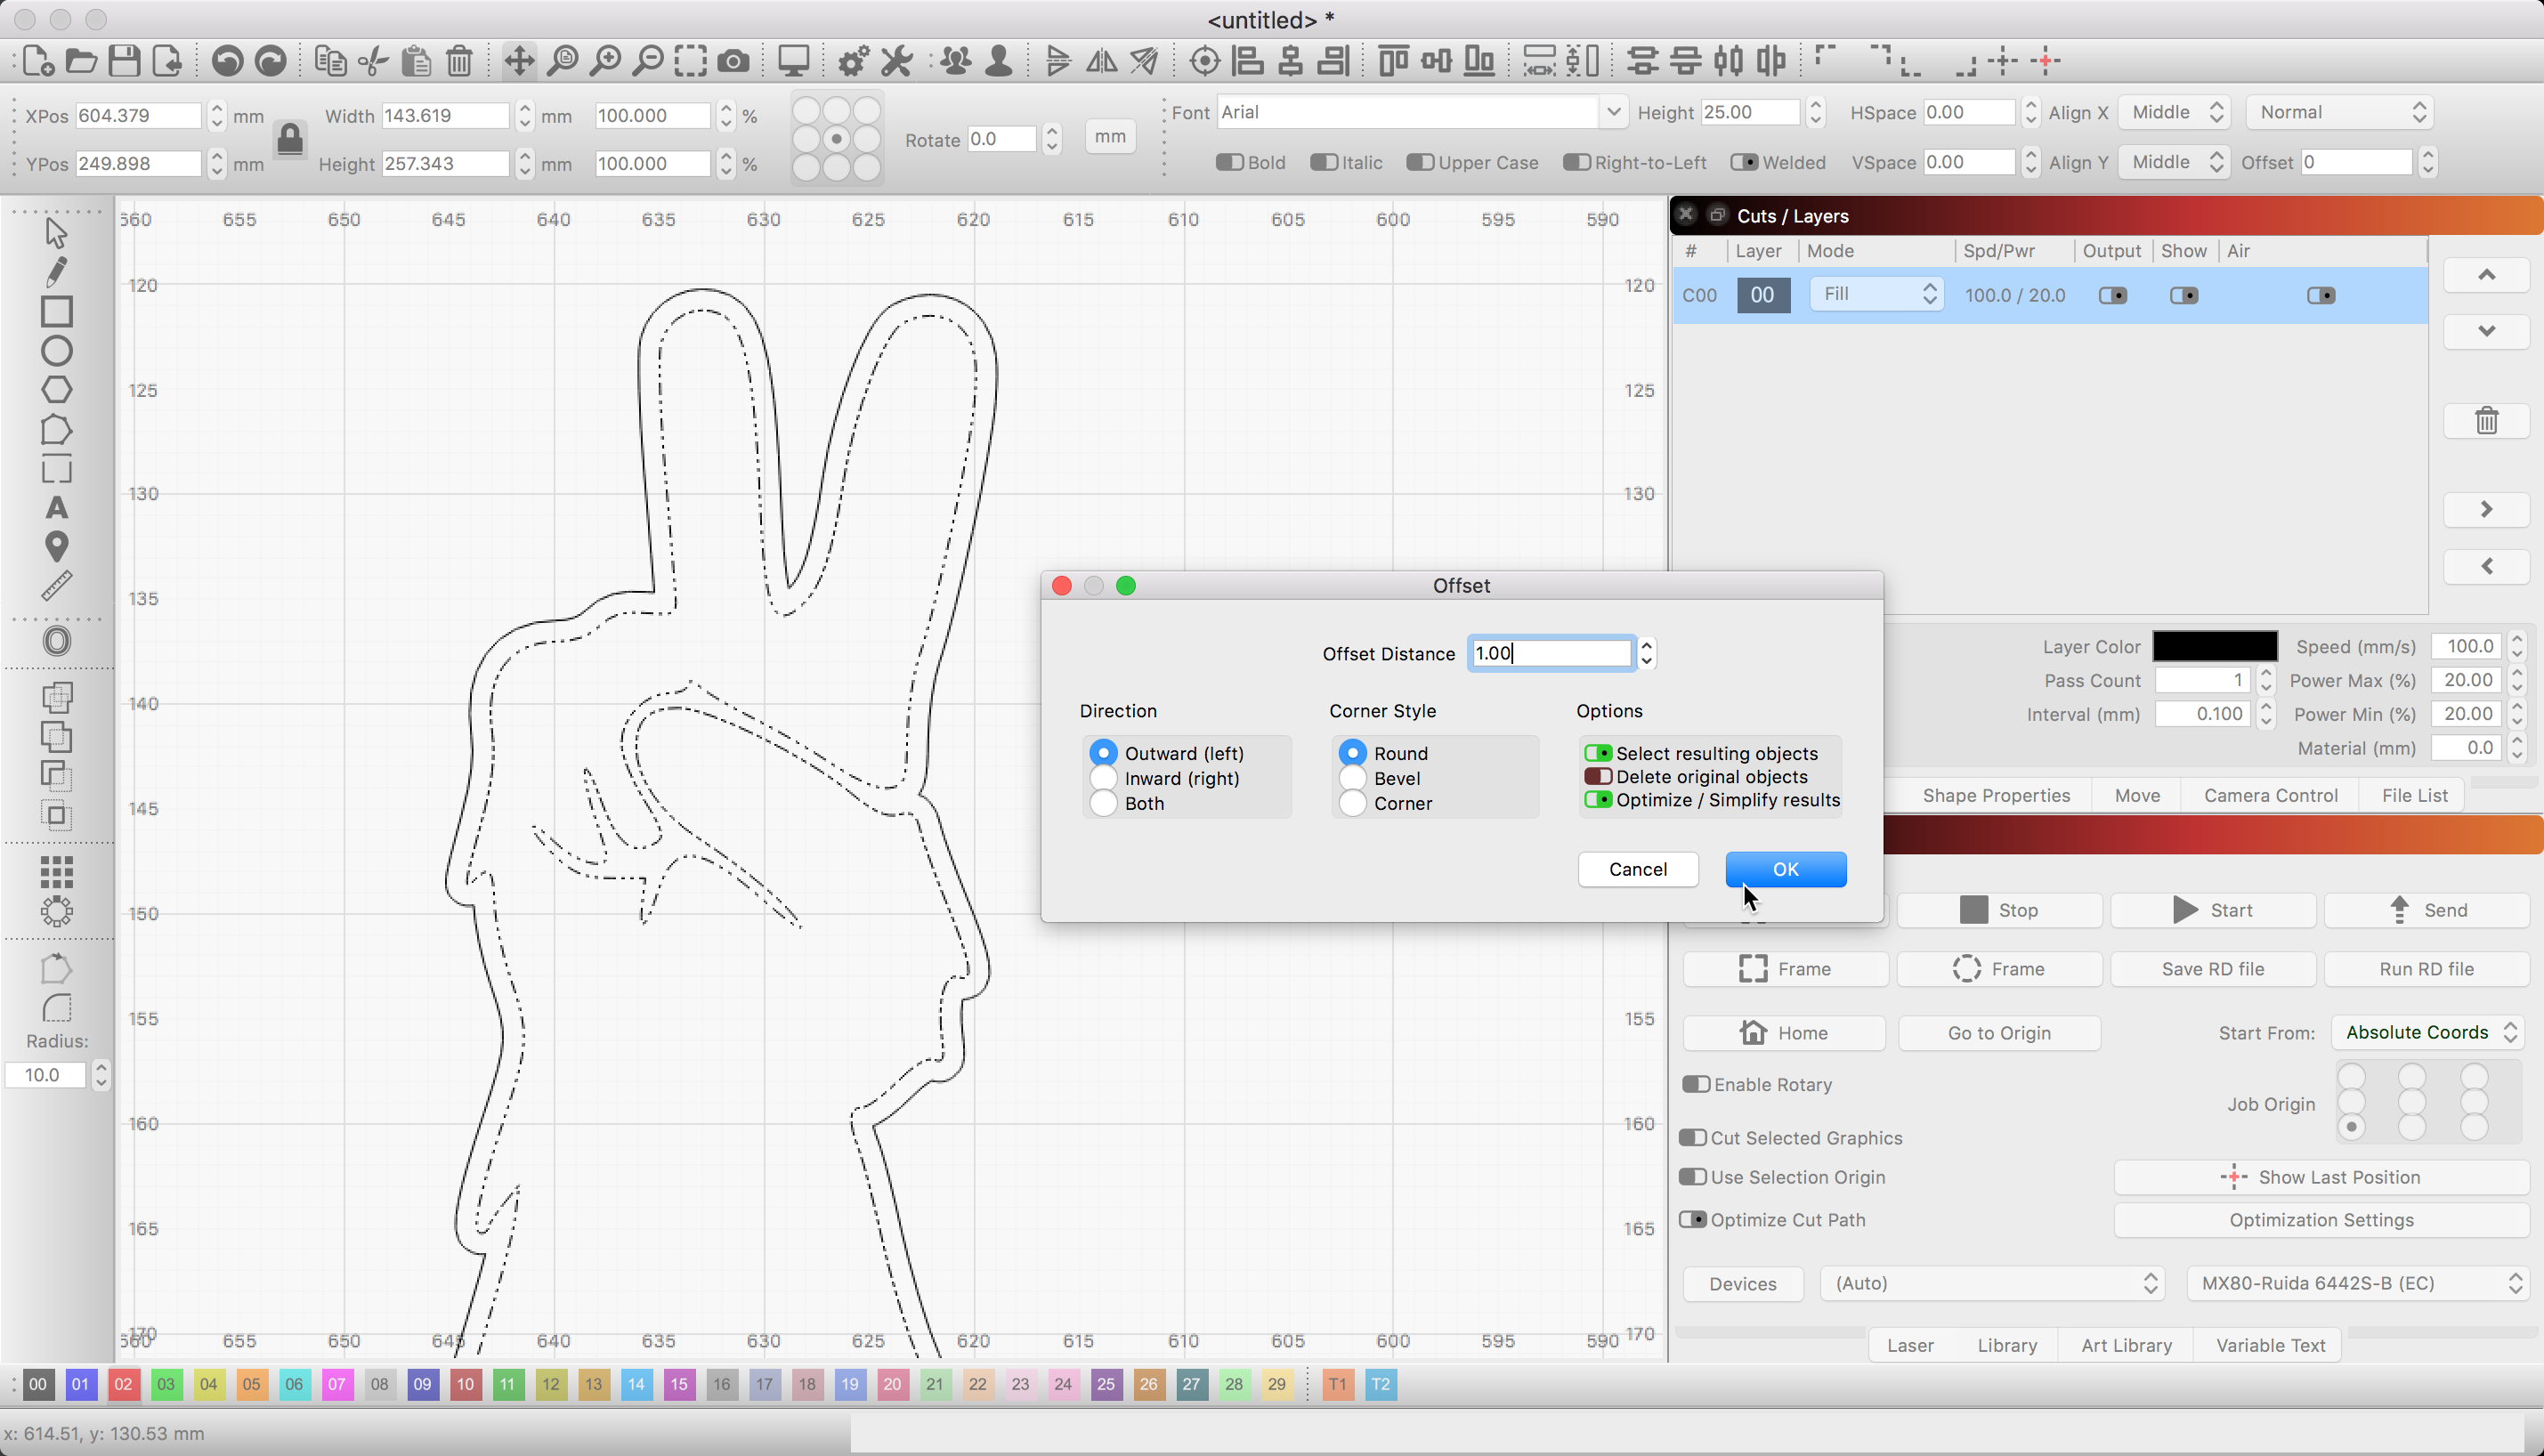

To provide some detail about editing this shape, you can select the inner shape, ungroup and then enter ‘Edit Nodes’ mode to adjust a vector path - add nodes, delete, join, extend, and/or trim a path, even change the state of node(s) (smooth, corner, smooth curve to line, etc.) from there to create the shape you are after. Node Editing - LightBurn Software Documentation
Thank you for that. I will try the edit nodes function a bit more this evening. I tried earlier, but that option was greyed out. I’ll follow that link you provided and see how it goes.
The issue I was thinking with the offset if I wanted to add the thumb detail would be that I would have to engrave the whole outline 1mm in from the edge and I’m not sure if that would look odd or not. It might look pretty good because it would add some more detail the outer cut misses.
Was the shape Ungrouped? Dot-dot-dash signifies the object is grouped.
No, it was not ungrouped. I had pushed the button but it did not seem to do anything before. This time the nodes were editable. I will check out the link and see where it takes me.
I have just taken a screenshot of the area I want from an image then loaded the screenshot to lightburn.
I can then manipulate that.
Hope this is clear if not let me know and I will try to clarify more.