I have an oval ring to be engraved for an inlay. In orer to save time I will remove the material inside with a mill after. But to have the correct external shape, I want to engrave a ring (2-4mm wide).
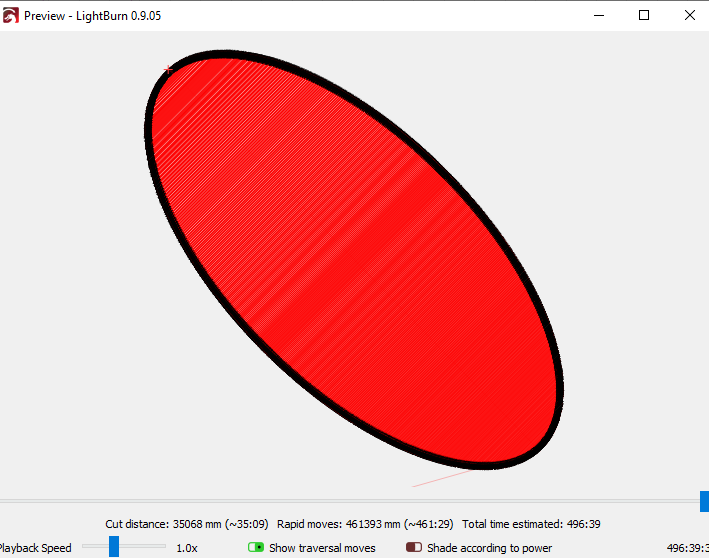
My oval ring is 45° looking downward. Even if I change the scan angle in the cut parameters, as I have one shape, it wants to scan it on “both” sides at the same time. This means most of the time spent is in travel. Engraving time ~35min and travel 460min!
Any help to optimize this engraving would be appreciated
If you have a GRBL controller, enable ‘Flood Fill’ for that layer and it will take care of it. If you have a DSP controller, the flood fill option is not available because it produces motion paths that confuse them, so I’m working on fixing it.
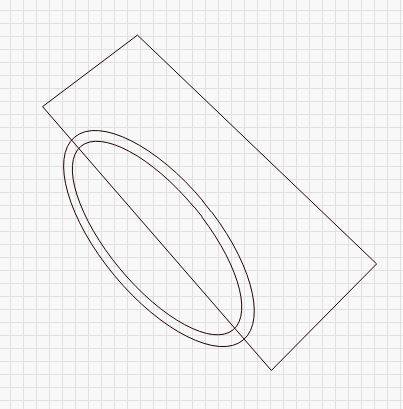
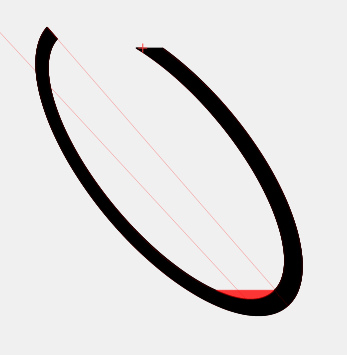
A good solution that works for both is to split the shape manually using the boolean tools. First, group the inner and outer curve of your oval so it’s one object. Then draw a shape that splits your oval down the center, and surrounds one side, using the pen tool, like this:
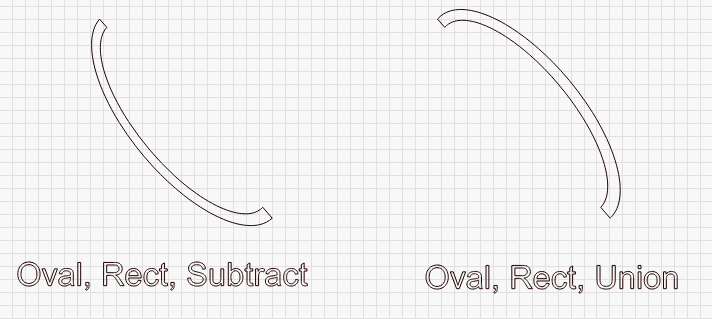
Select both shapes and duplicate them (Ctrl-D) so you have two copies of each. Then, select one of the ovals and one of the rectangles and click the boolean subtract button to remove the area of the rectangle from the oval.
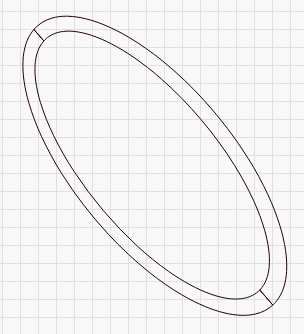
Then select the remaining oval and the remaining rectangle, and click the boolean union, which keeps the area that overlaps. I did these two steps side by side so you can see the result, but you would just do them in place: