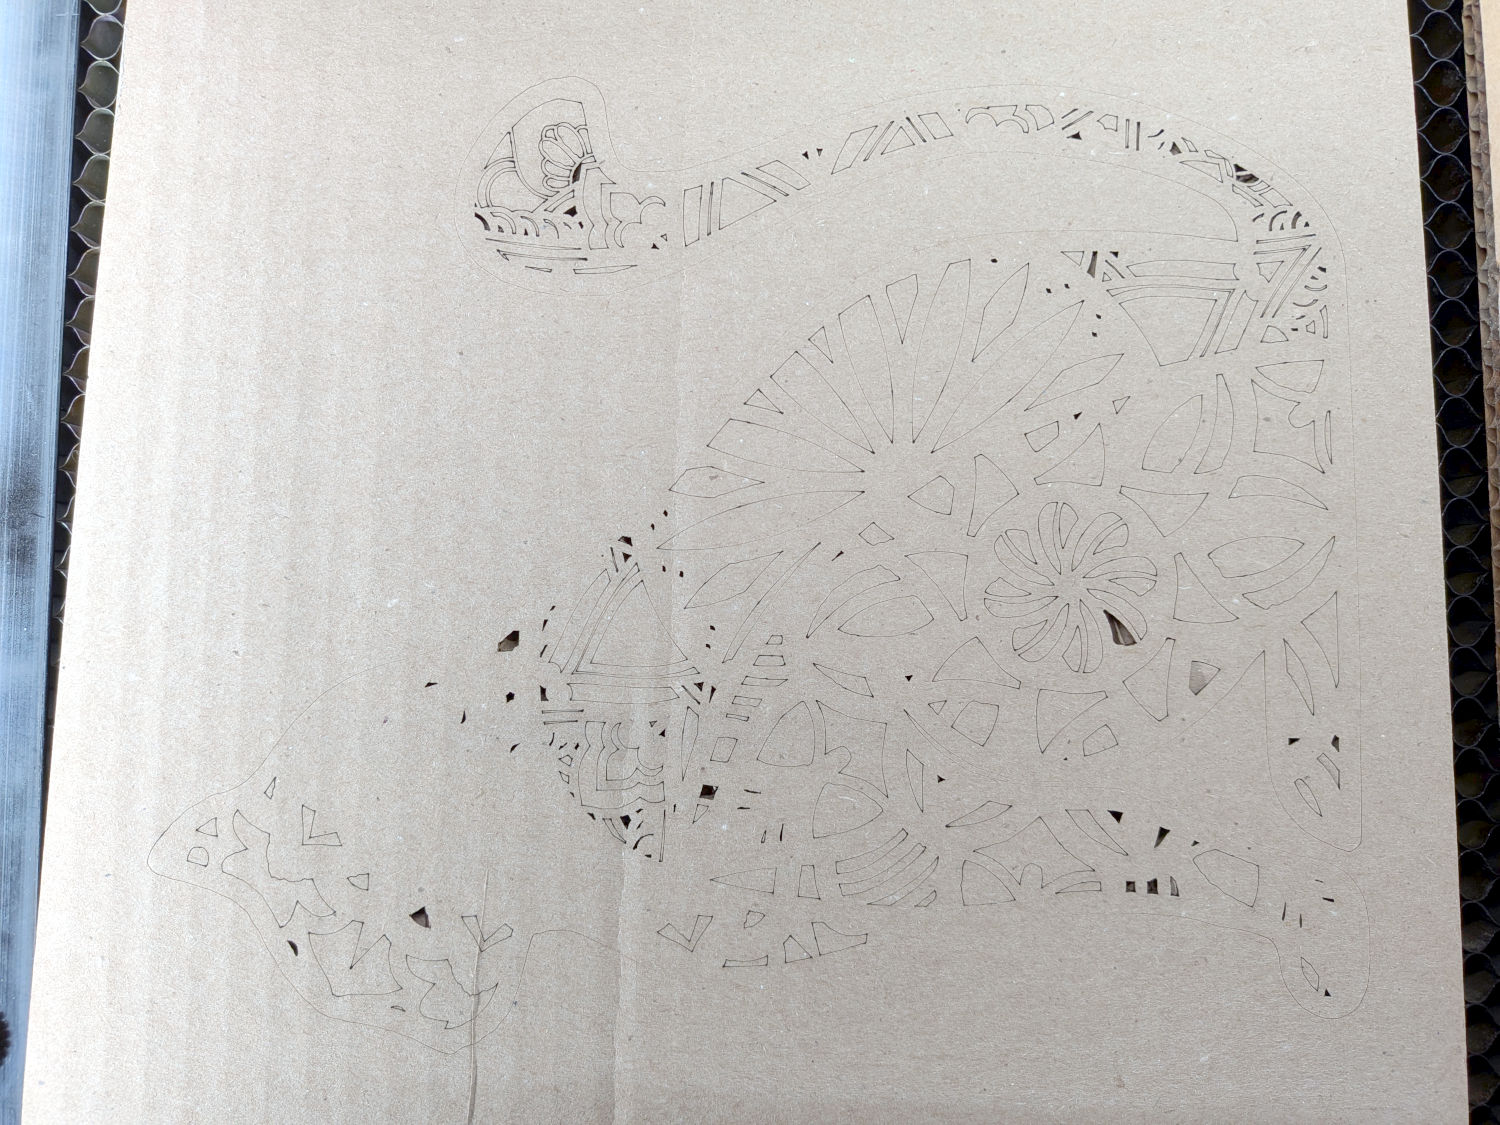
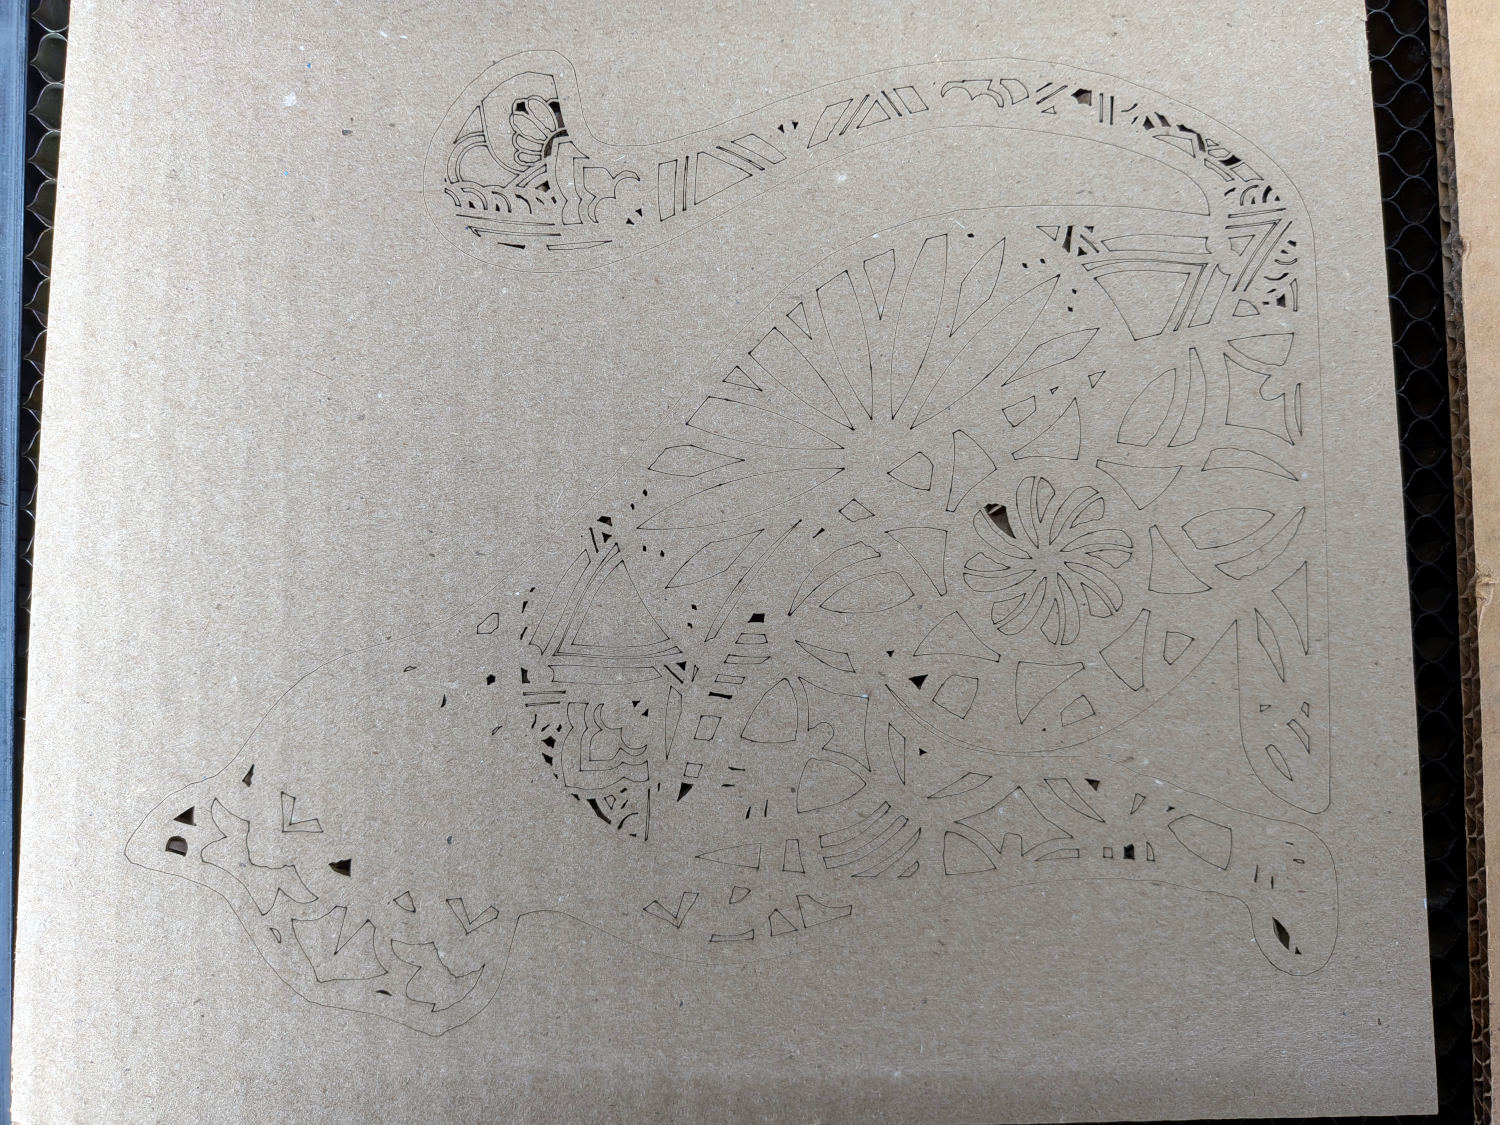
I haven’t been on for a while after I had a tube go on me and couldn’t face replacing it. I had a lot going on and it was like the final straw! I replaced it this week and fired it up. I cleaned the rubber belts and lightly oiled the metal runners as I have always done. I made several test cuts and engravings and all appeared to be great but today on a real job I’ve had a nightmare. I wanted to cut a multi-layered cat picture. All the same size 230mm square but with different parts removed from each individual layer. The material was 3.5mm ply and cutting it from an 80w co2 Oculus from the UK.
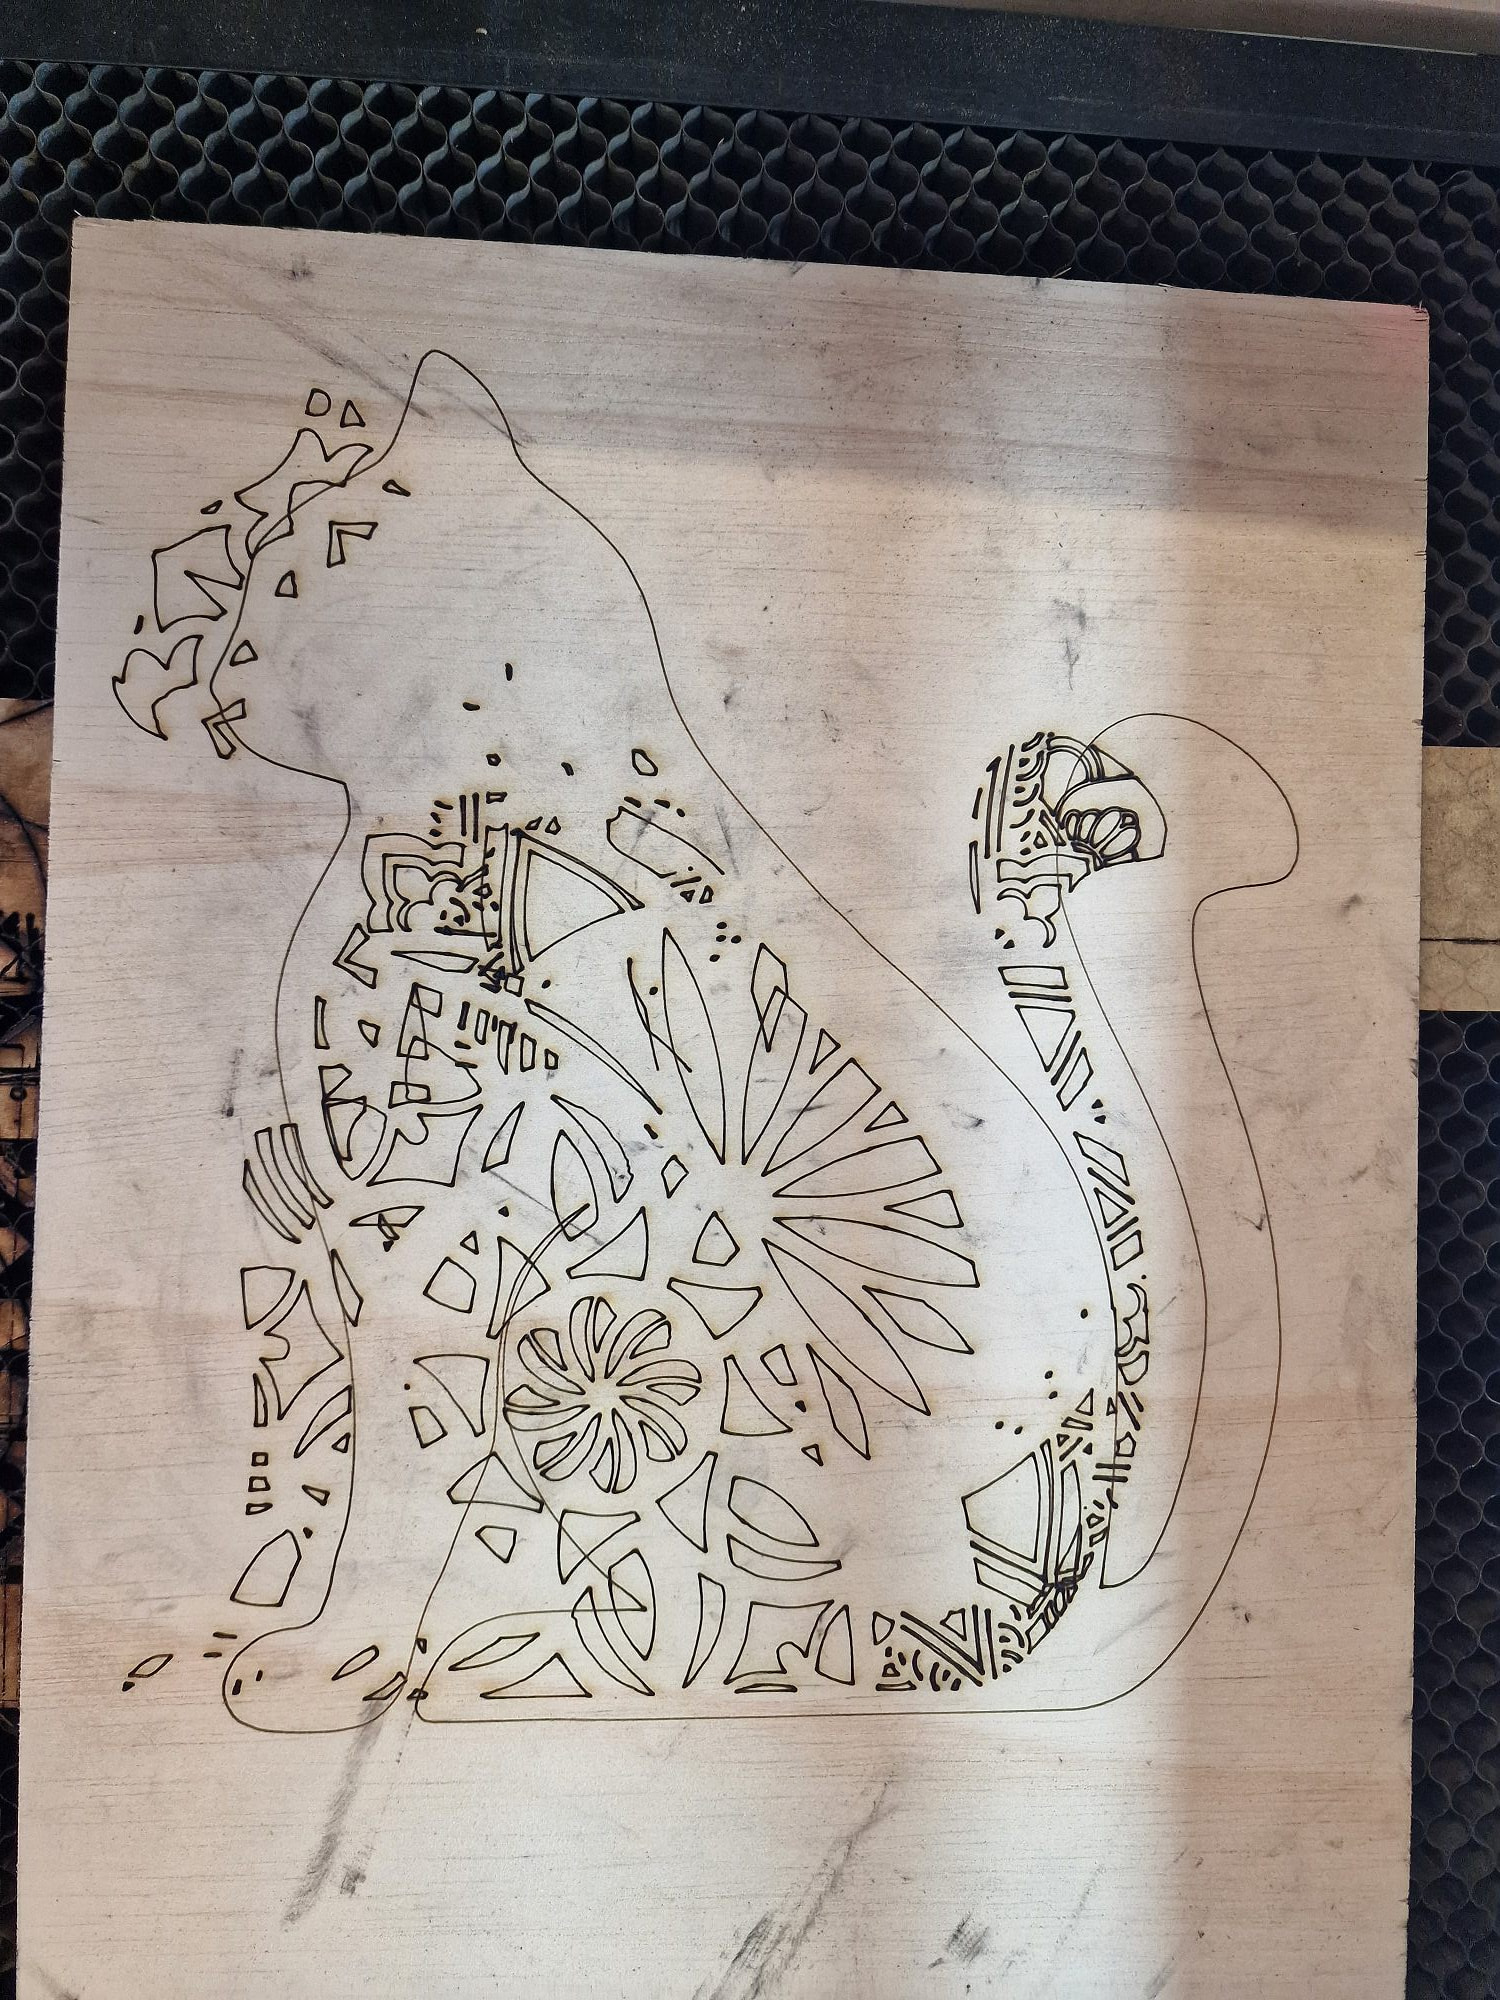
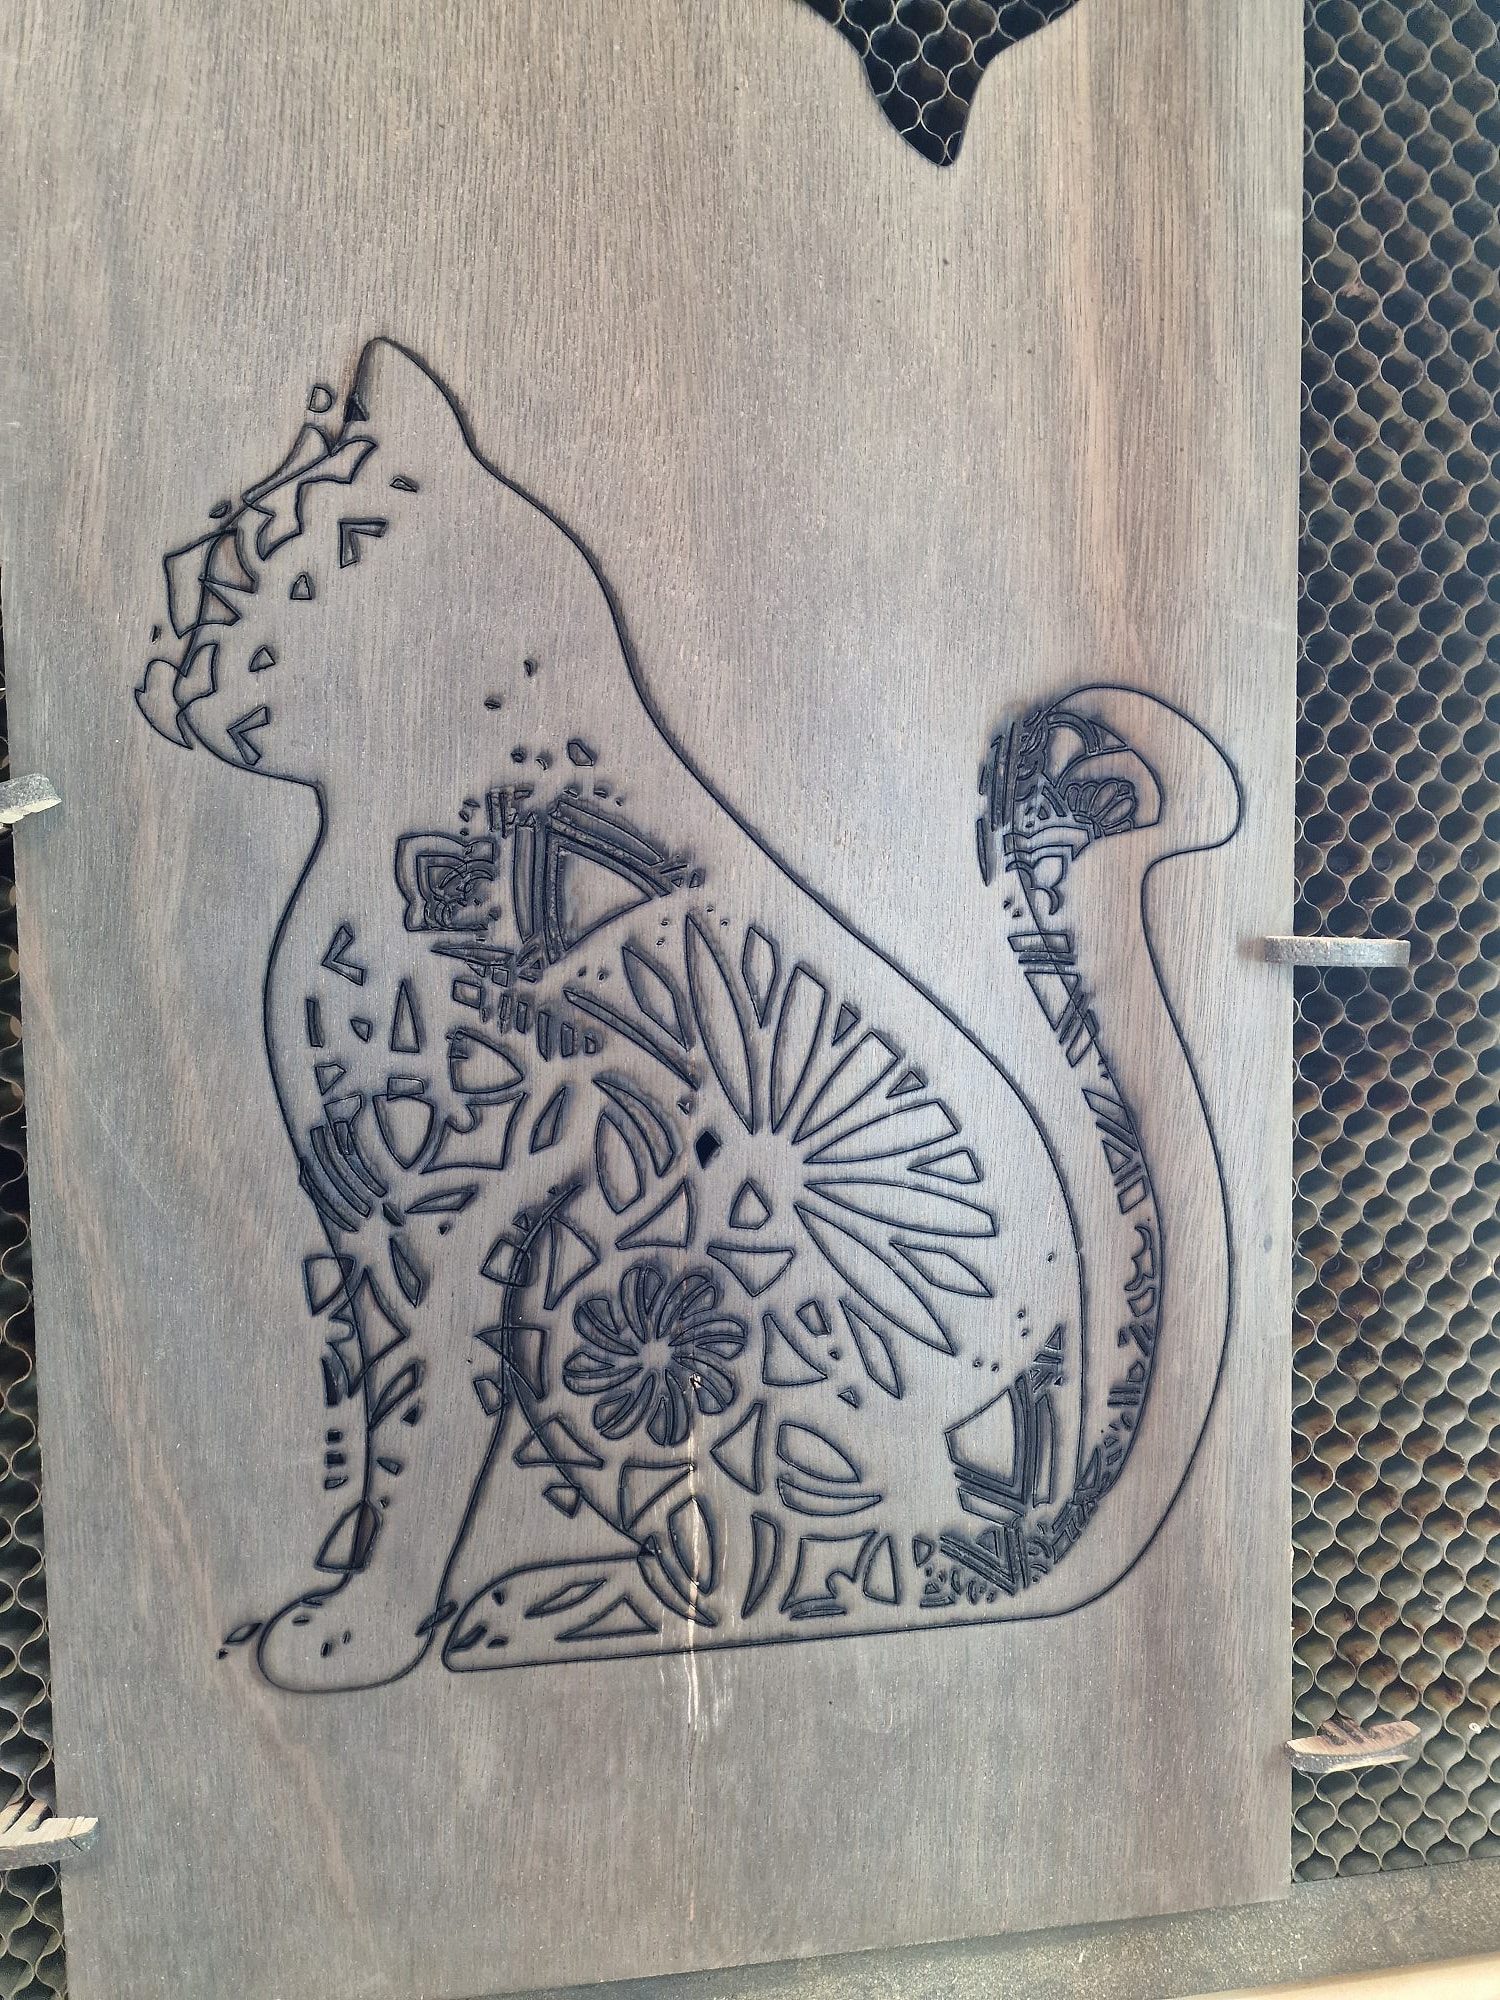
The LightBurn file was setup to remove the small inner parts first then cut-out the outline. Each layer is about a 15 minute cut. However, I noticed that after a few minutes the Y axis appeared to have moved back from the front of the machine bed or lost it’s real position so by the time it cut the outline it was about 10mm from where it should have been cut from. The Outline shape looked correct and not skewed, just in the wrong position but all part of the same graphic.
The machine appeared to home correctly and the belts appear to be tight enough. I tested the calibration and it was bang on 200mm was 200mm in both directions. I tried burning it via Start and via Send with a similar result but they didn’t appear to be exact. As in the drift wasn’t replicated but still not like the design so the issue is persistent.
I lowered any acceleration speeds on the machine to 600 from 900 in case the machine was being driven too aggressively but surely I would have seen this years ago?
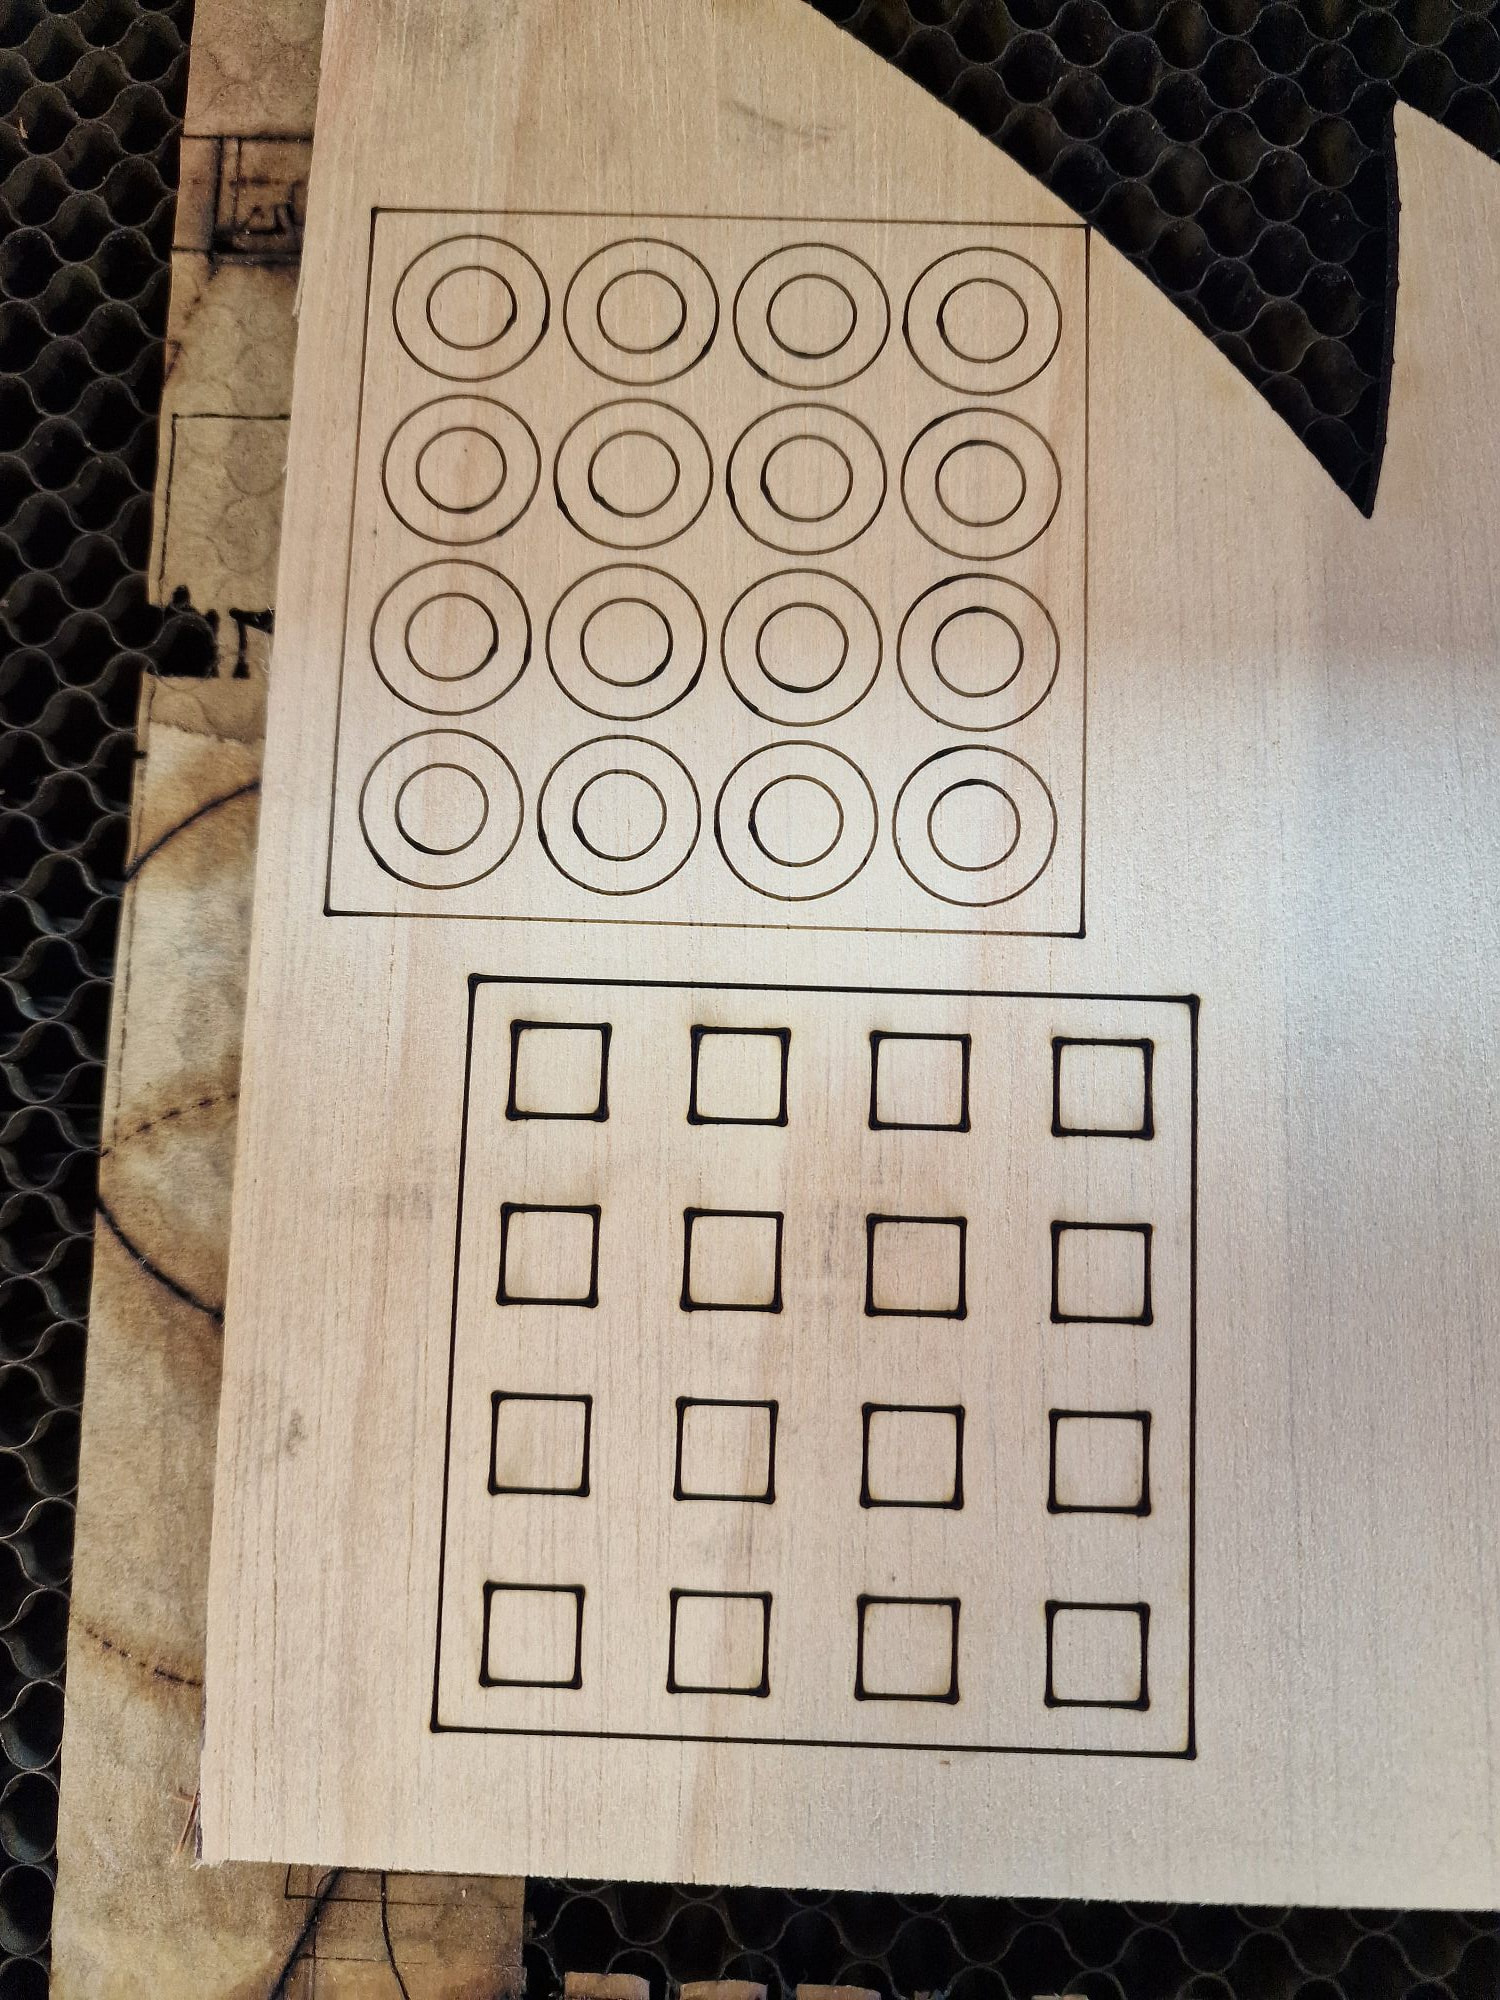
I did some test burns at about 100 x 100 with circles and squares and outlines and they were perfect.
I tried several different layers of the cat design and I noticed that the positional issue showed up about halfway through the burn. I was cutting at 6mm at 75% power so very slow and controlled.
I am at a loss as to what to check to find the issue. I’ve spent 4 hours messing with bits to not really have any great success at finding out the cause.
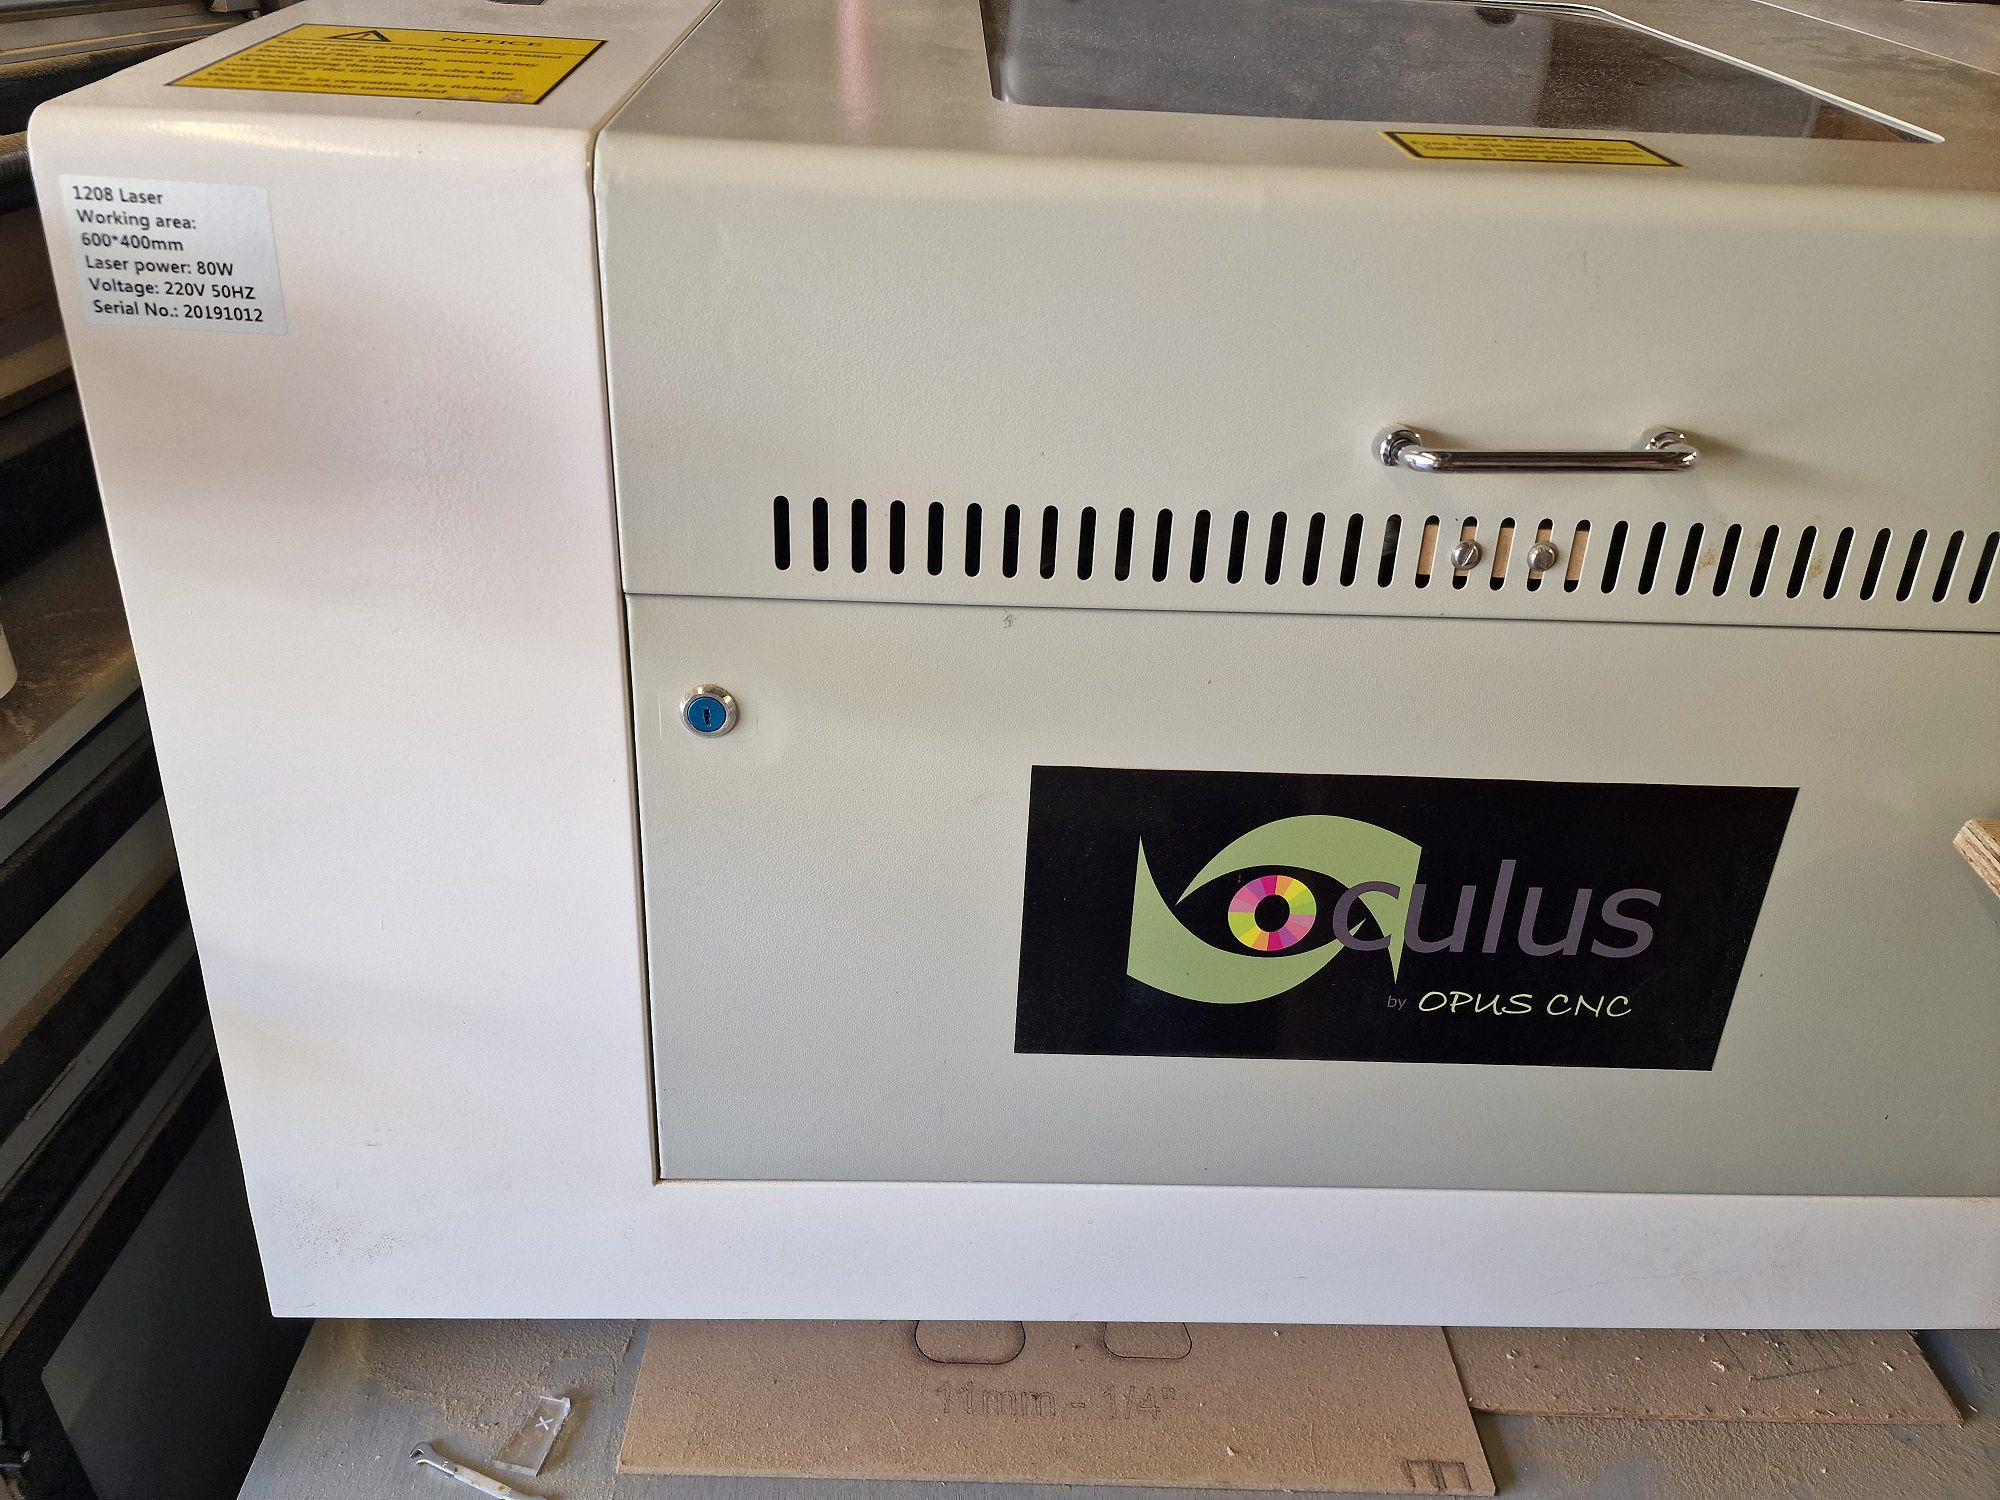
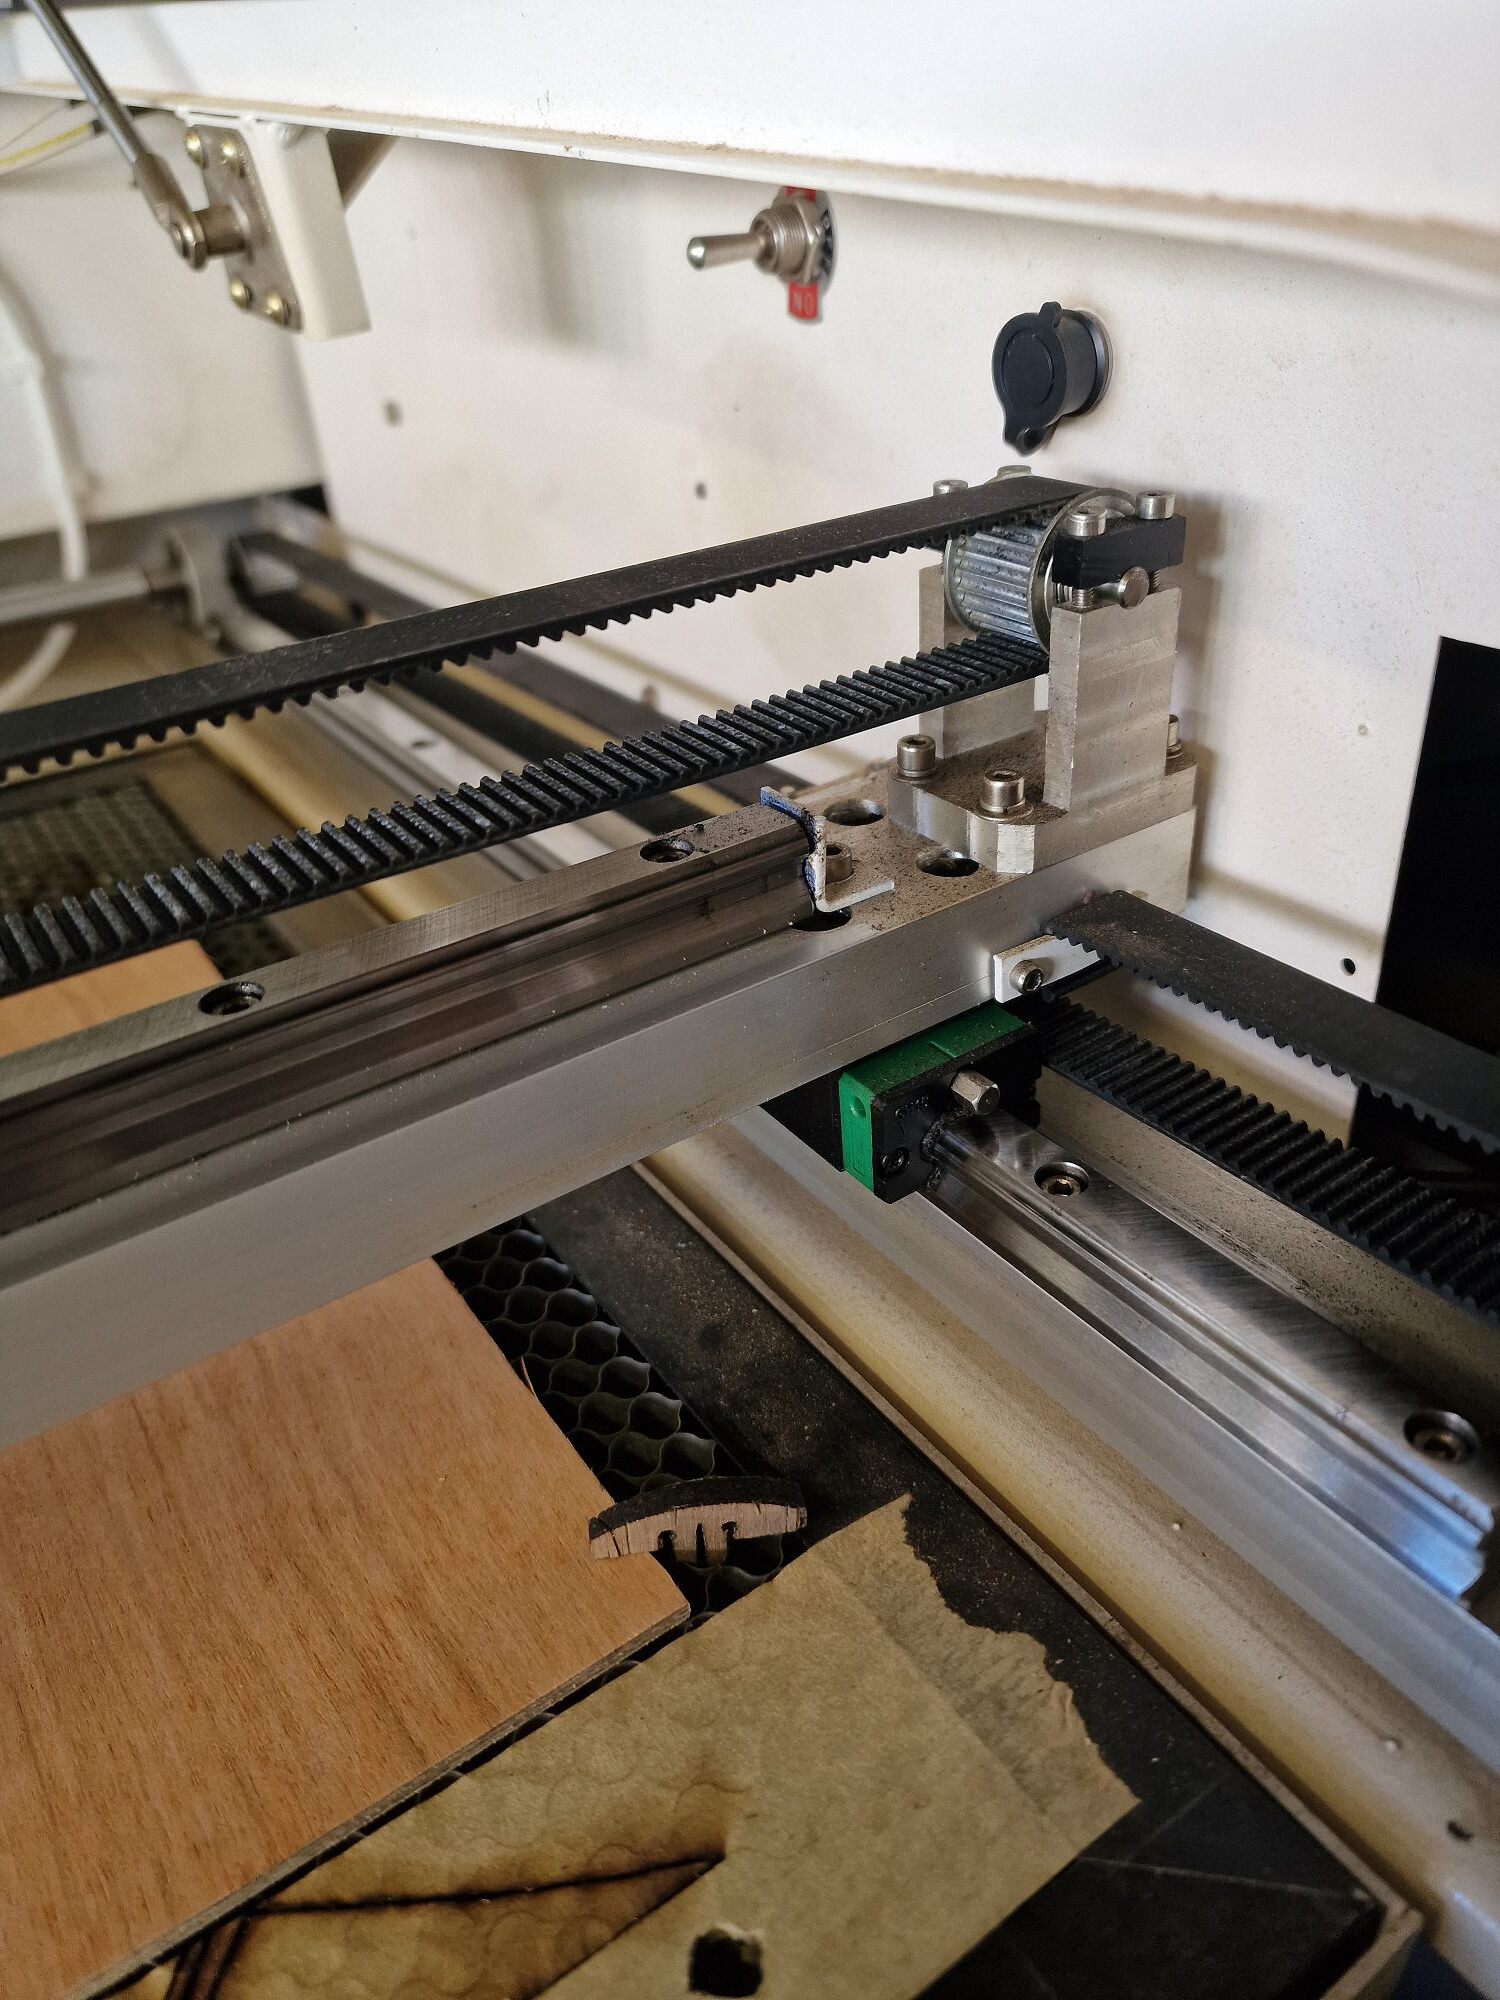
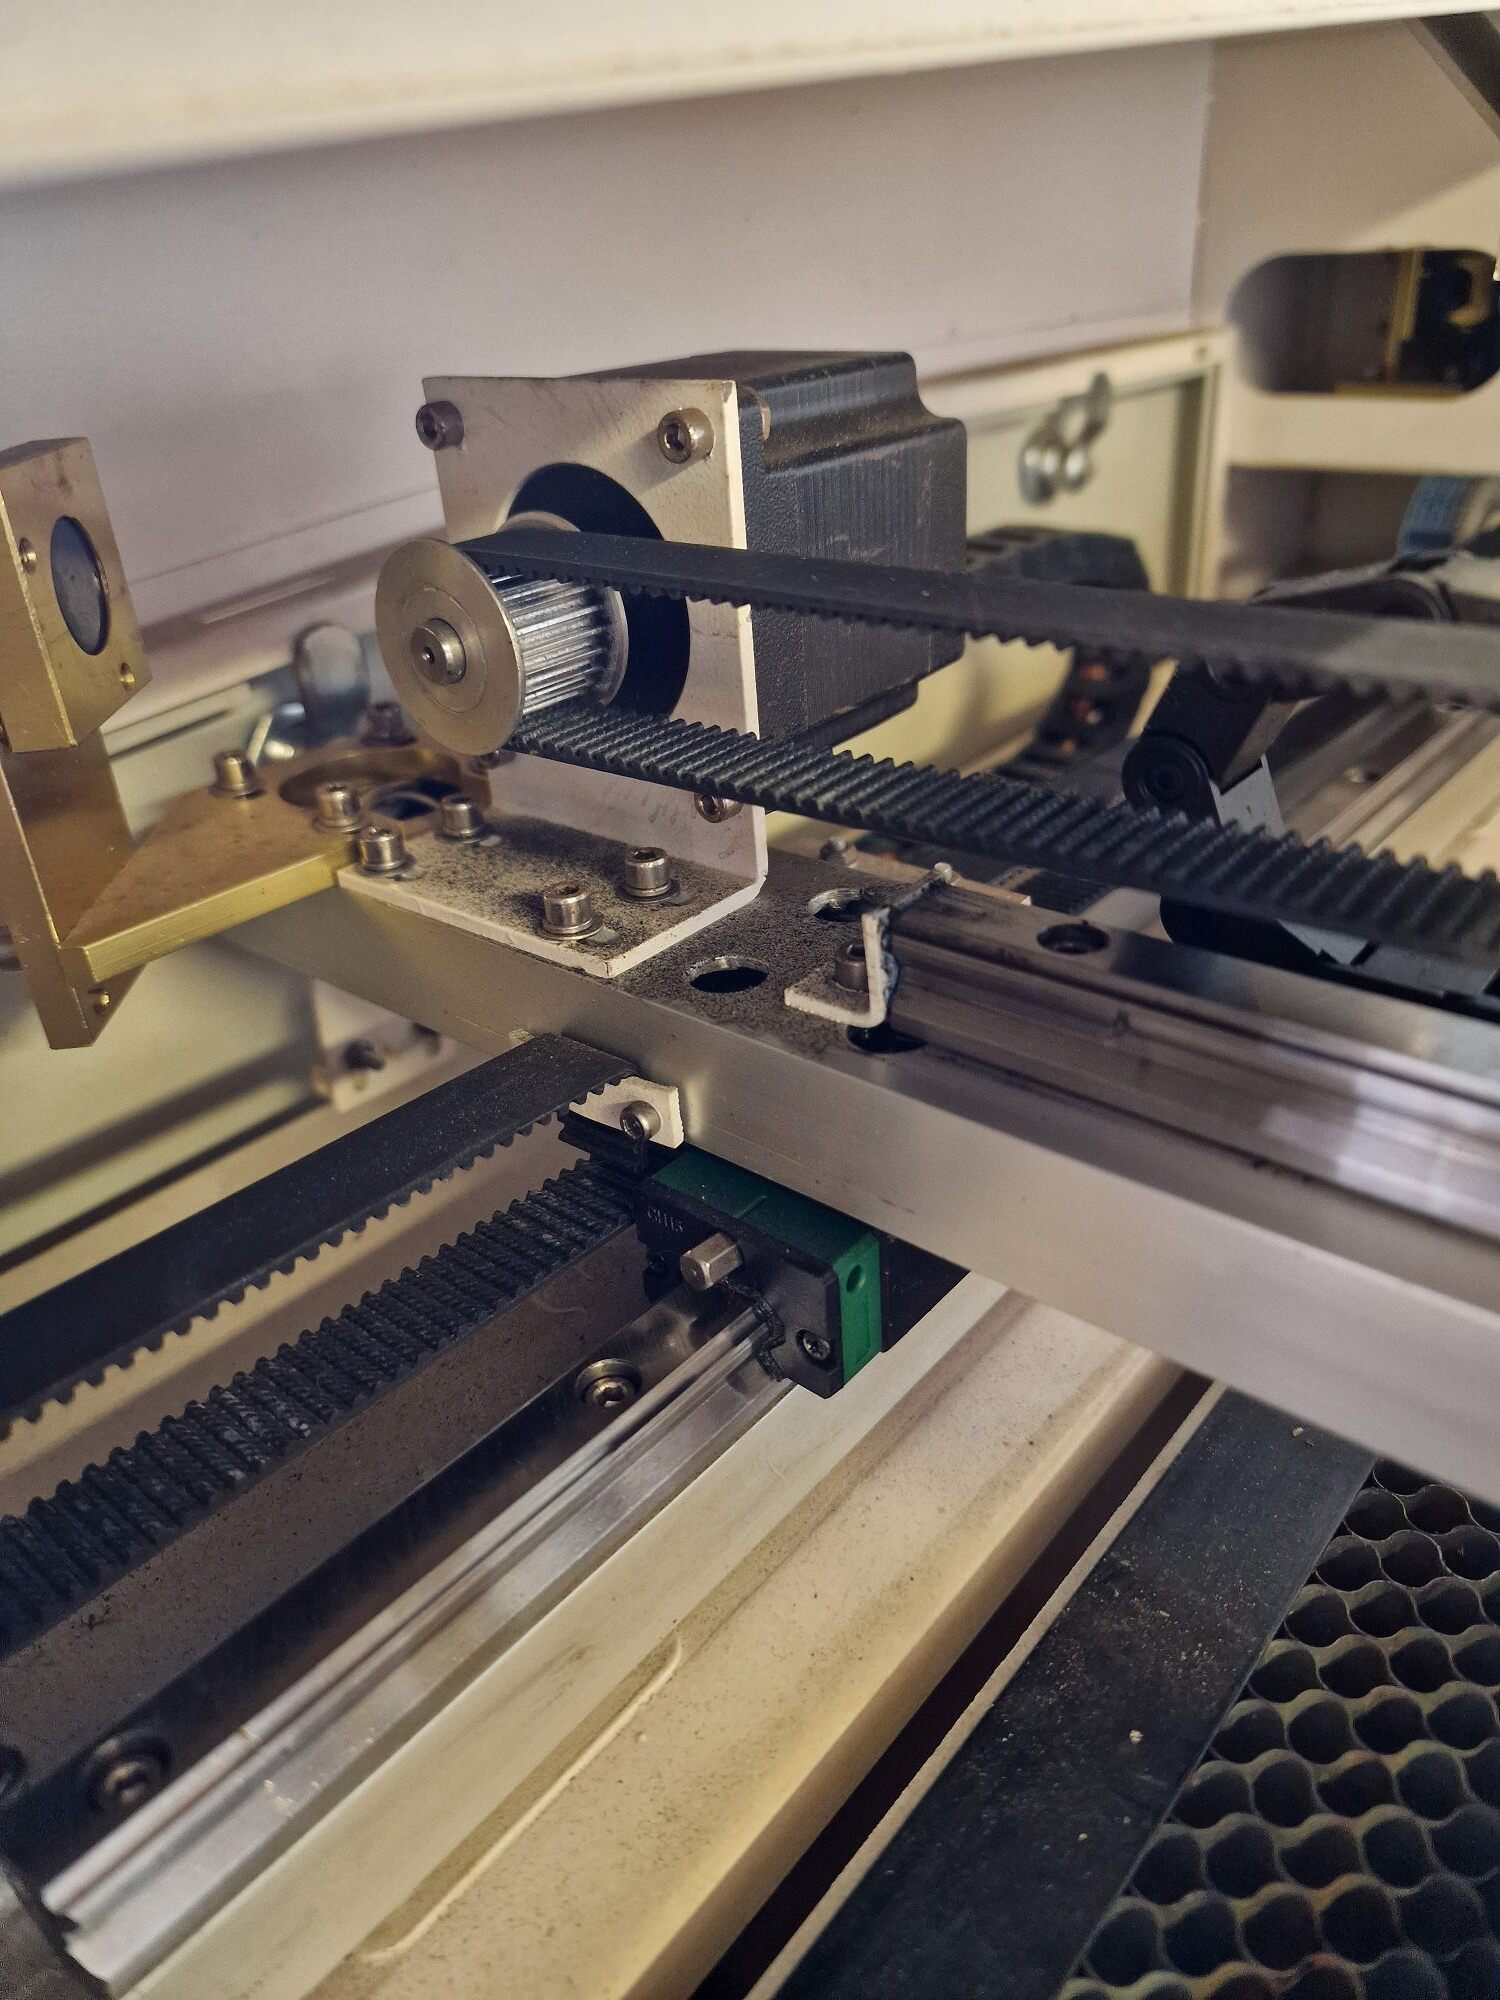
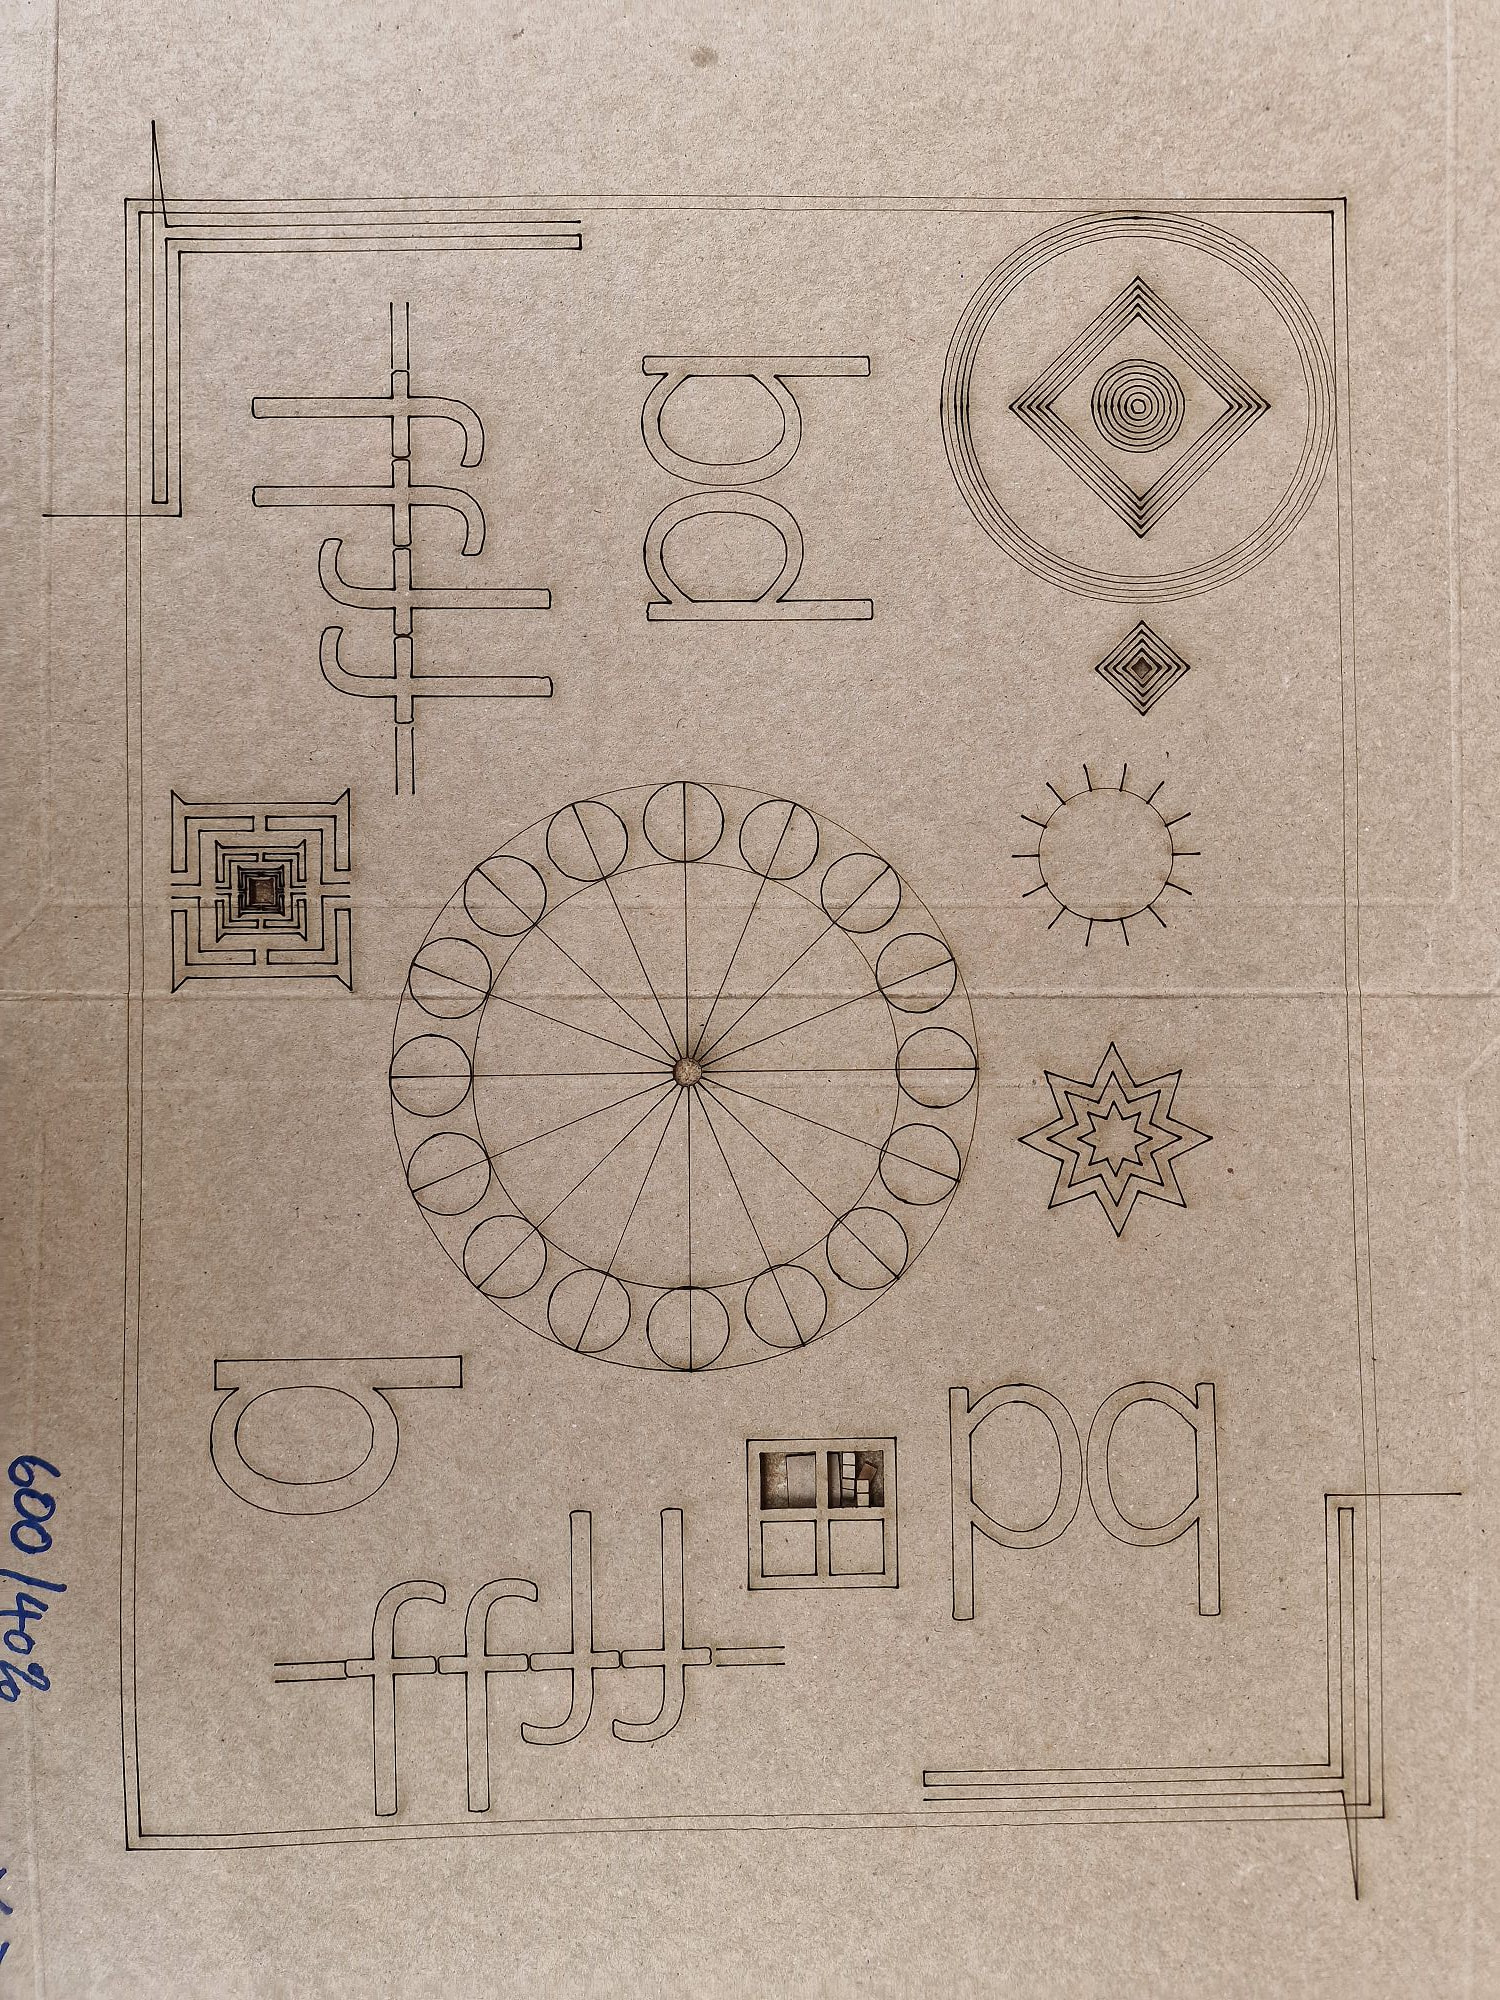
I have uploaded a few photos so you can see the issue and what my machine looks like.
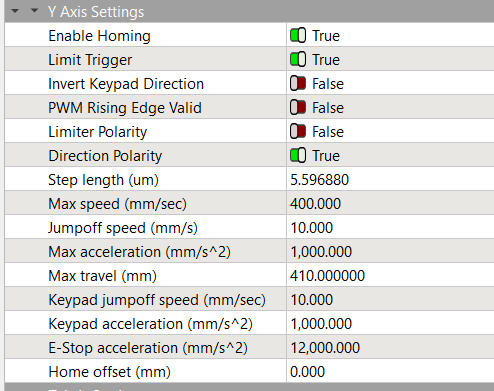
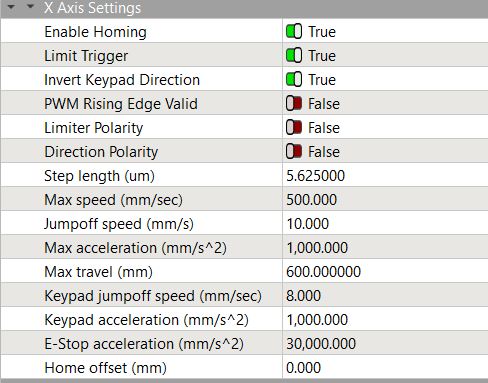
This may be another example of the Ruida PWM Rising Edge Valid configuration gotcha. It’s entirely possible for this problem to arrive from the factory / seller and lie in wait until the machine sees exactly the right sequence of commands.
A previous discussion lays out what to do:
TL;DR: For most machines, both the X and Y axis PWM Rising Edge Valid switches should be False, so if they’re either True or different, that’s a clue.
Those settings did improve the cut but it is still drifting. It cuts to a certain point in the graphic then always cuts over itself and then it seems to be out by 5mm everytime.
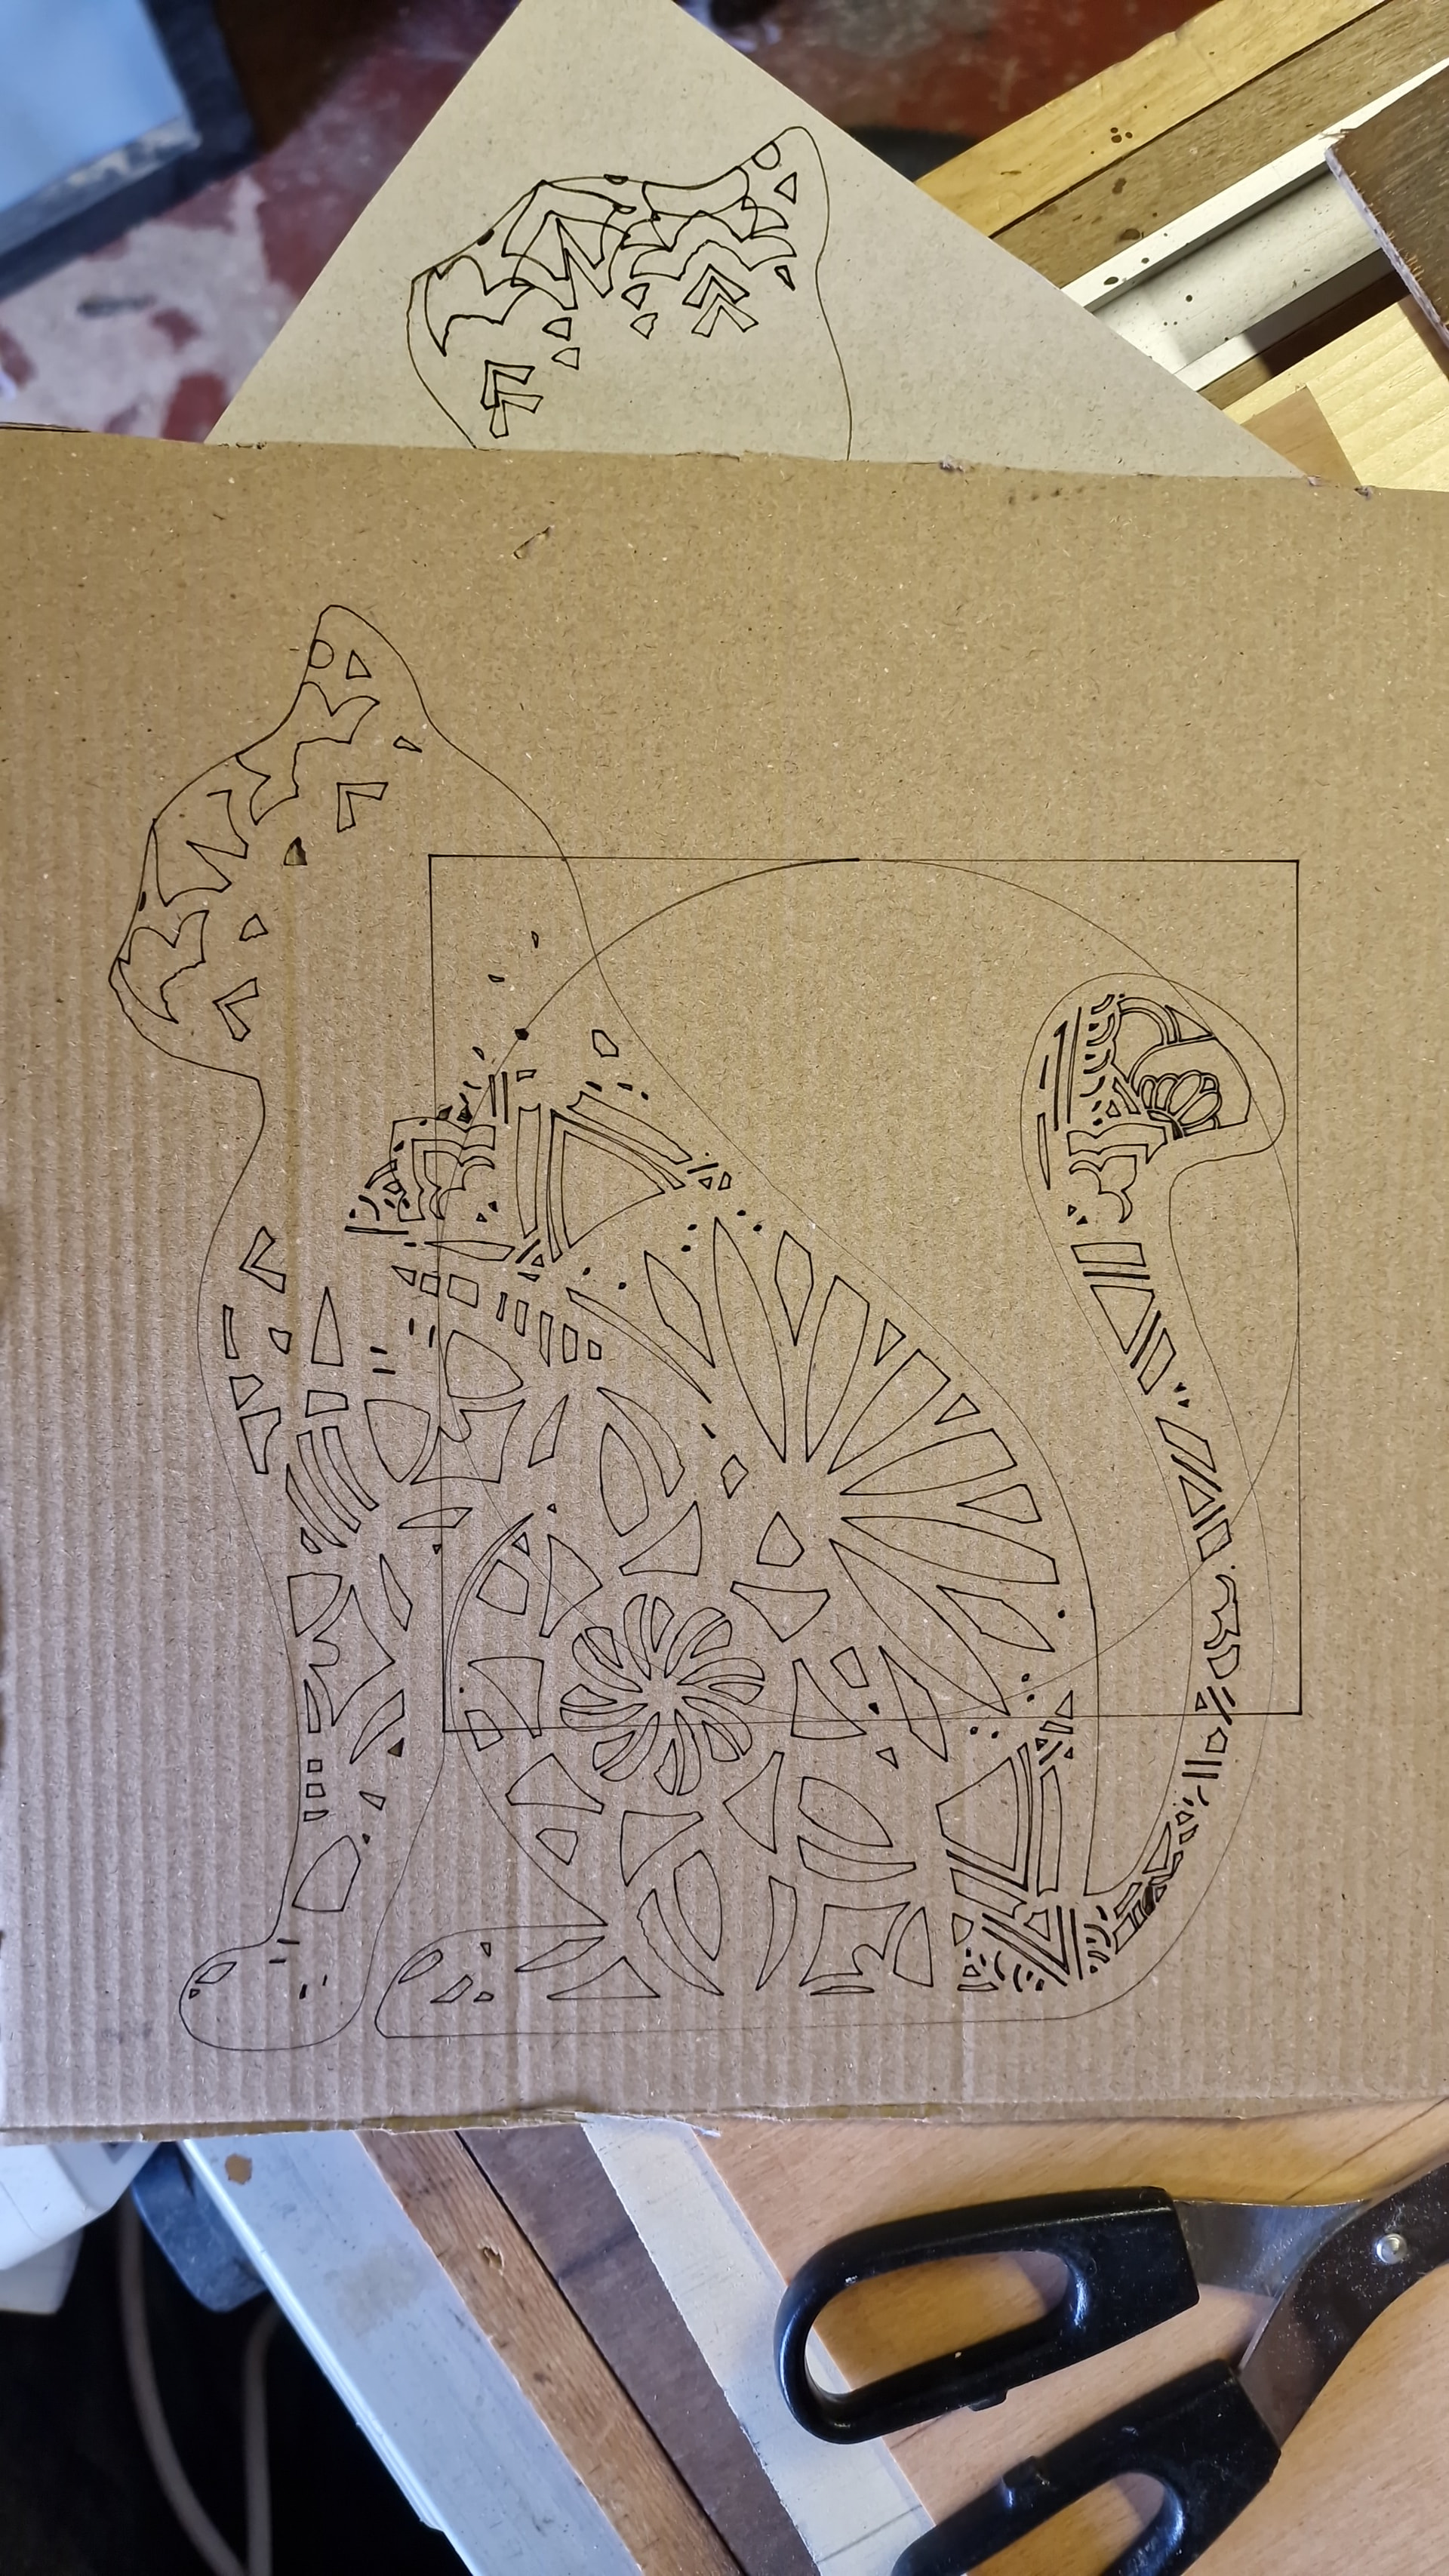
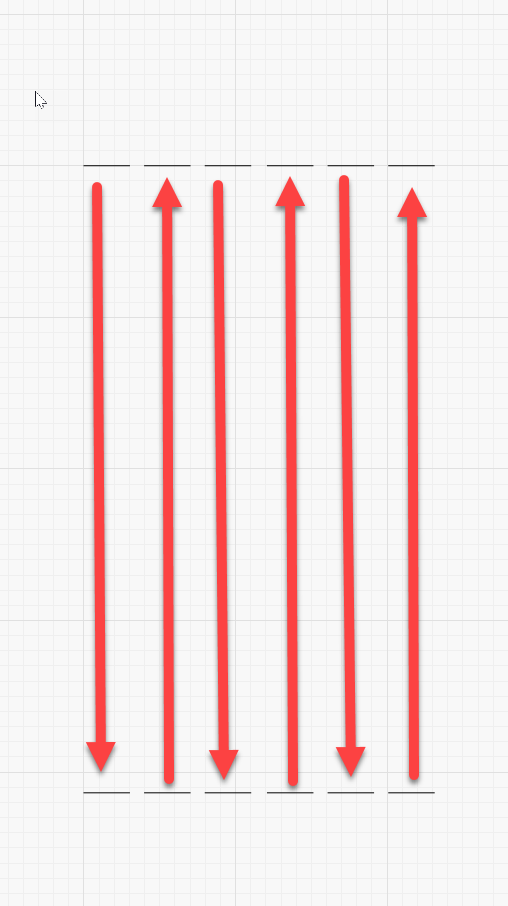
Scale it uniformly to fill the platform and run it as fast as the machine will go in Line layer mode with Enable optimizations turned Off and power set to mark a sheet of cardboard. Any differences from the design will be informative; a crisp photo will let us look over your shoulder.
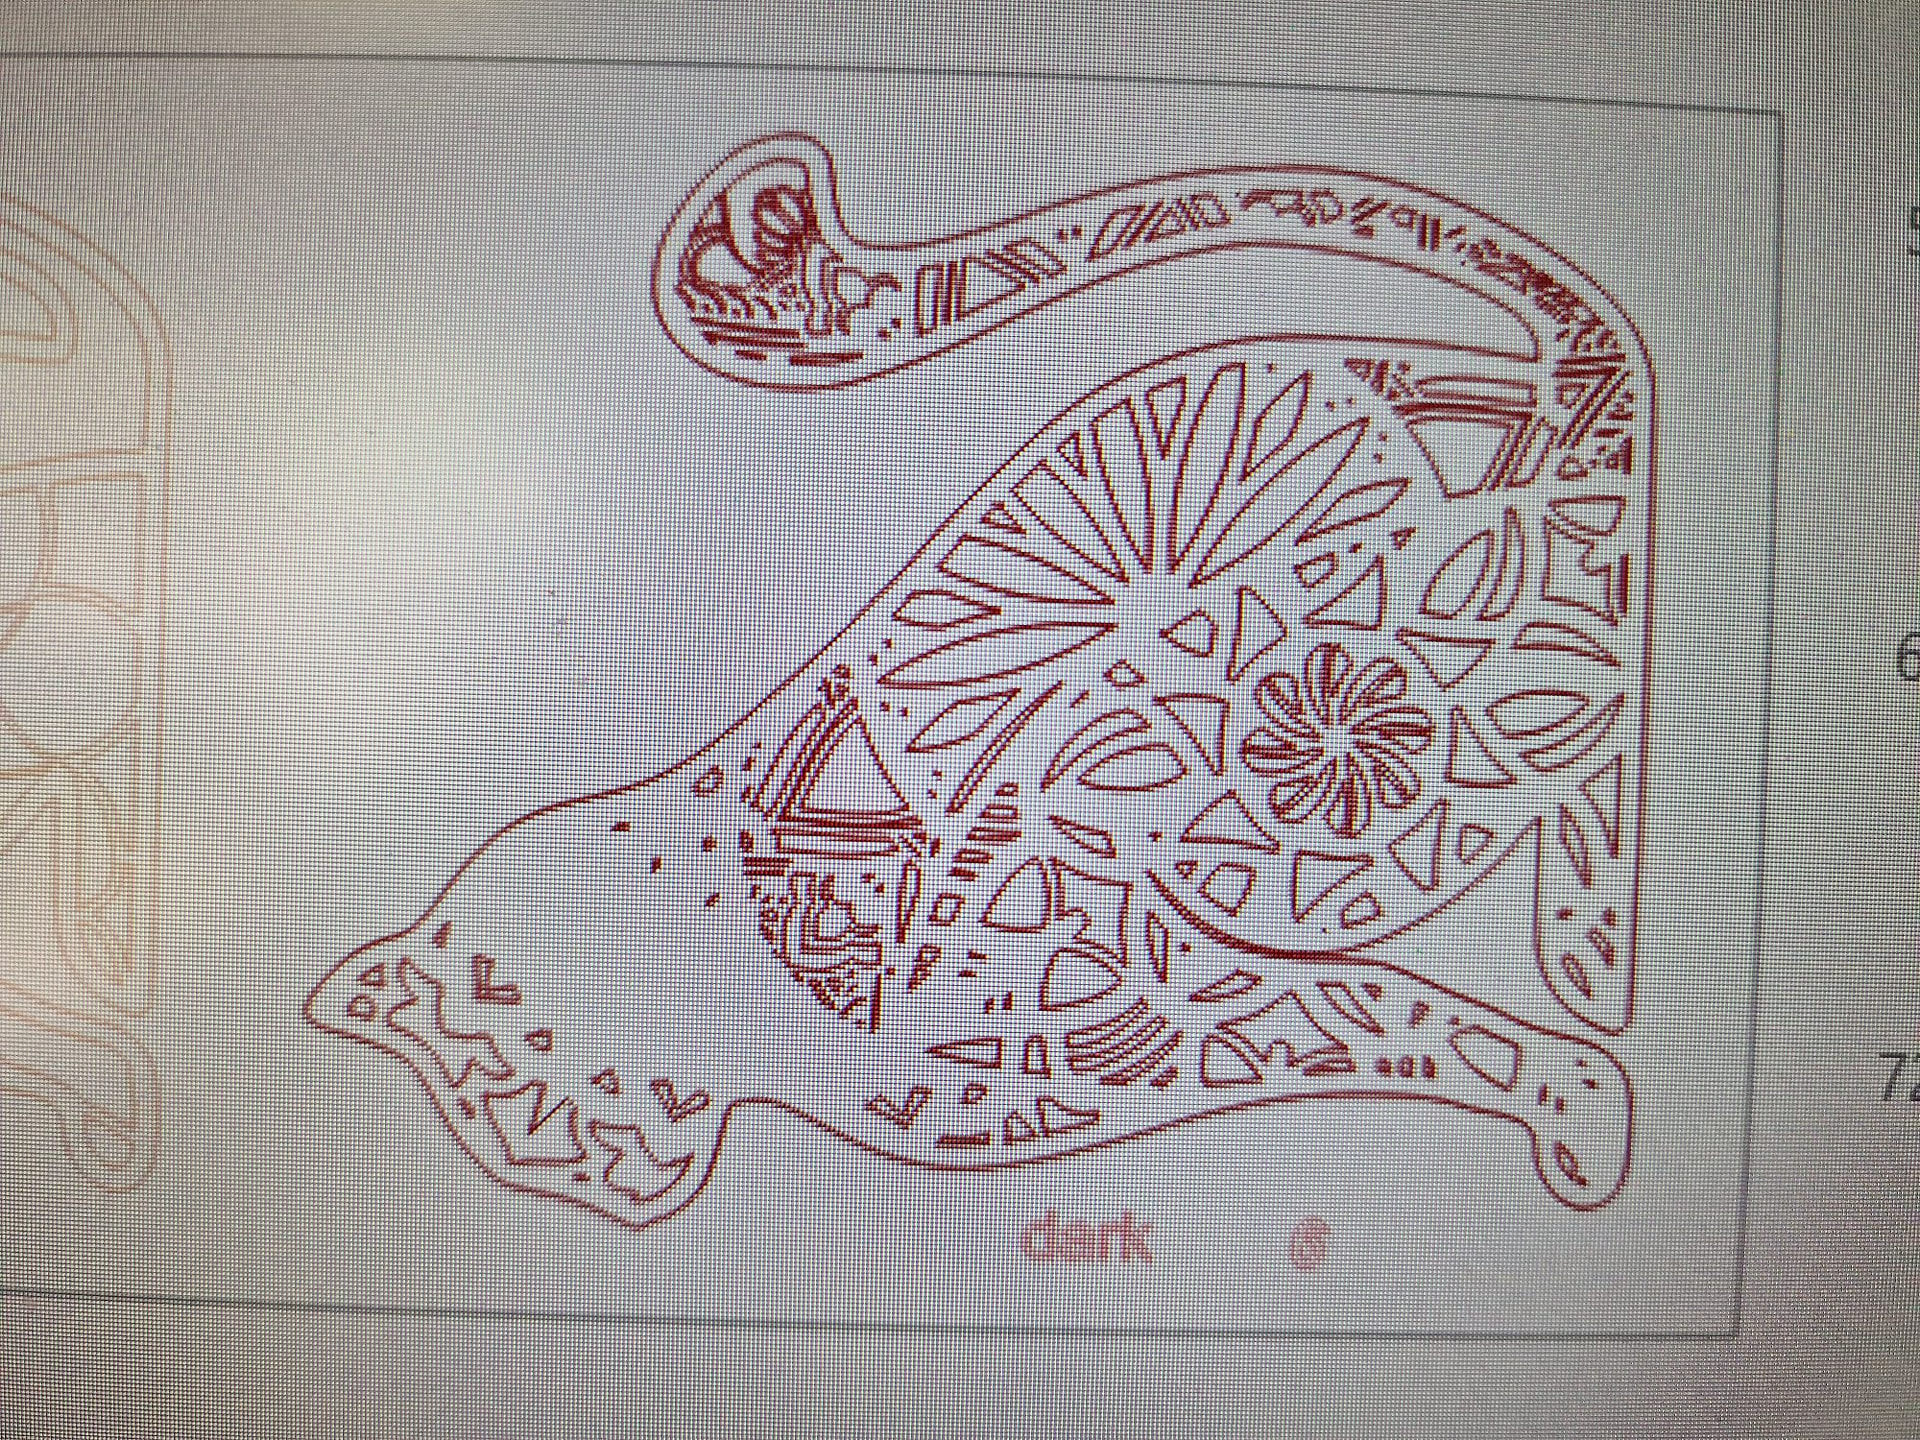
Although you’ve shown the cat sitting upright, the screenshot shows it face-down and you mention “the Y axis appeared to have … lost it’s real position”, so I assume the cut orientation is face-down and the photos of the X axis belt aren’t relevant.
If that’s the case, recheck the Y axis belt tension on both sides, as well as inspecting the belts for missing / worn teeth. The tensioners on my machine are barely reachable with grim determination, but make sure all the screws are properly snugged and locked.
Your machine likely has a single Y axis motor with either a double shaft or a pulley on a jackshaft across the back. Check the setscrews in all the pulleys & couplers are tight on their shaft flats; you should loosen the screws and tighten them while wiggling the shaft back & forth to properly seat them.
If the shaft doesn’t have a flat, that could be the problem right there: a loose screw can produce nearly a full turn of slop before it jams against the scar in the other direction.
Should all that check out, upload screenshots of the X and Y axis parts of the Machine Settings so the hive mInd can ponder them.
I made sure everything accessible was tight. I did not find anything of concern.
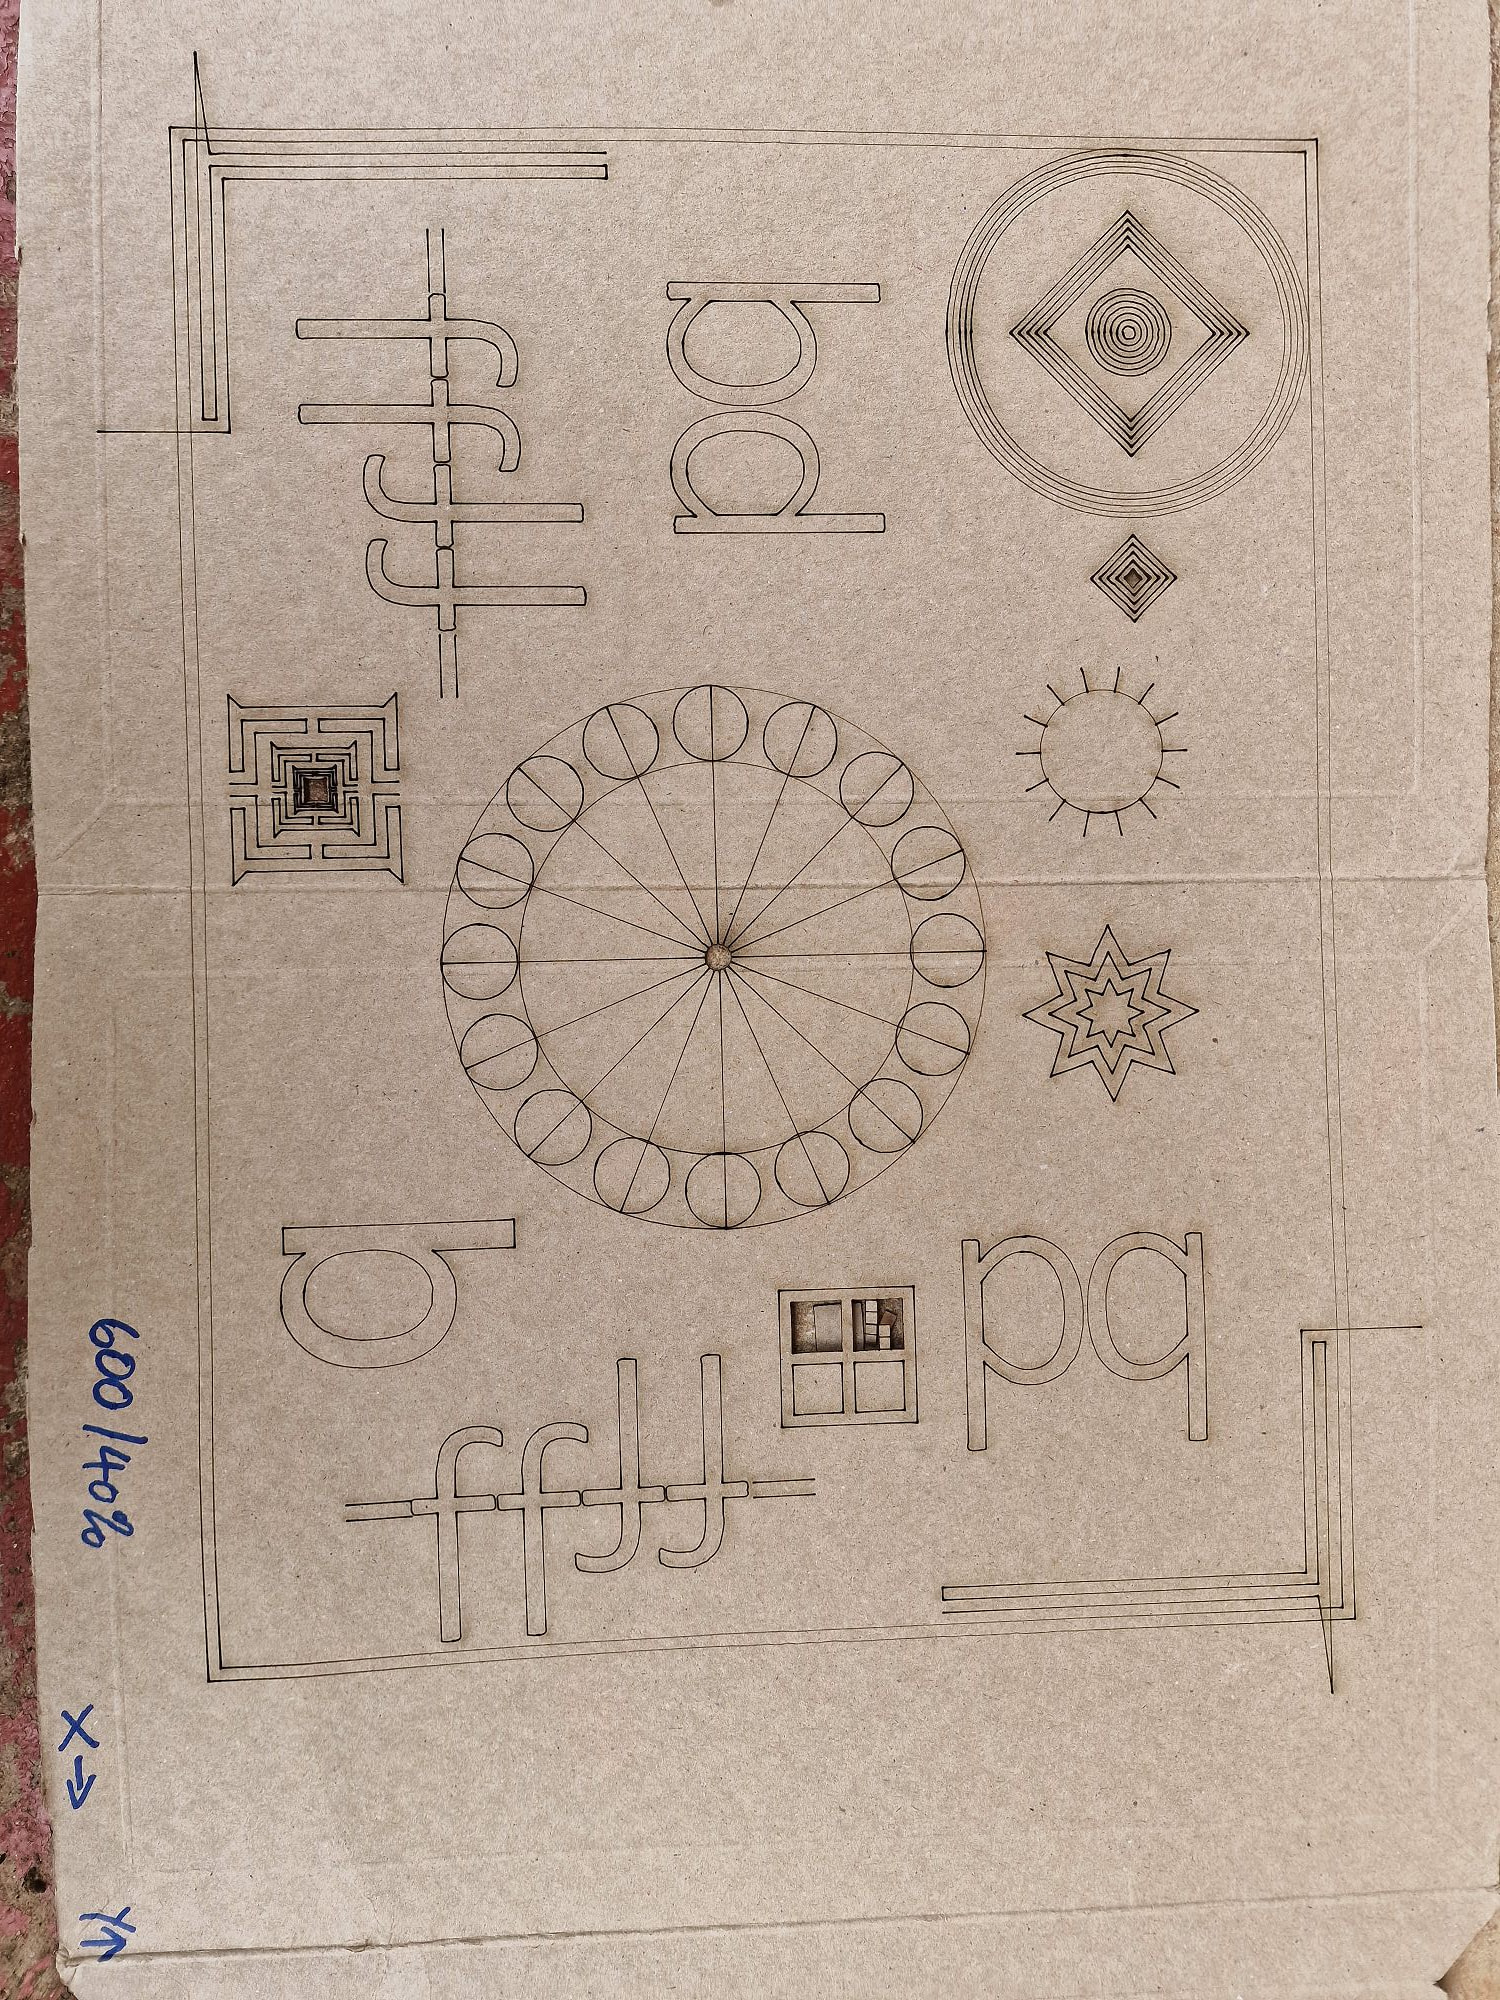
I made the graphic about 400 in the X as that was roughly the size of material I had to use.
I set the speed to 600 and power to 40 and optimisation off. It was a little too much power but it still worked.
Overall, I think the burn went well…what do you think? How that works without drift I don’t get it.
I have calibrated the device and 200mm measures 200mm!
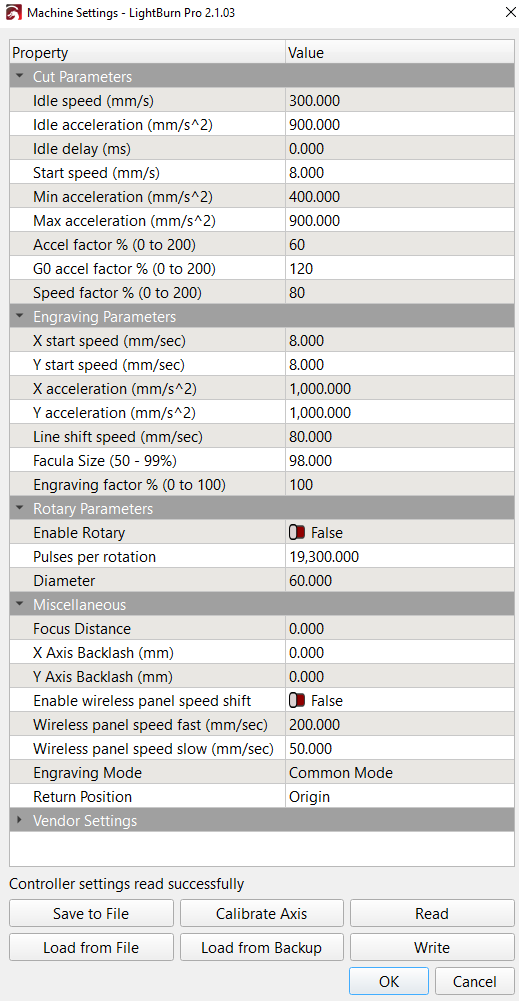
I have enclosed the LightBurn machine settings and x and y vendor settings for you to look at.
You were correct in the direction of the Cat. It was burned face looking towards the front of the machine. I have tried cutting via USB and Network with the same results.
When you check on the machine, ensure there are not a lot of files stored on the Ruida. Sometimes the Ruida seems to go brain dead if there are too many file using up memory.
Just a thought as there is nothing that tells you it’s full.
Nothing seems unusual and the test pattern looks fine, which rules out a whole bunch of typical problems.
The X and Y Max acceleration values seem low, but you mentioned you had reduced them without affecting the problem. If the machine seems lethargic, crank them back up to whatever they were before; for lack of anything smarter, 3000 to 5000 mm/s² should be in the right ballpark.
Don’t restore the settings from an automatic backup, because you want to keep the new PWM Rising Edge settings.
In the Machine Settings → Cut Parameters, I changed the various Acceleration values to 1500 mm/s² and the various Factor values to 100%, without making any visible difference. In the Engraving Parameters section, I changed the X and Y Acceleration values to about half of the Max acceleration values you just (re)set in Axis Settings.
Other than making the machine a bit peppier, none of those changes should make any visible difference. As always, use cardboard while testing!
With all the mechanics out of the way, back to the original problem …
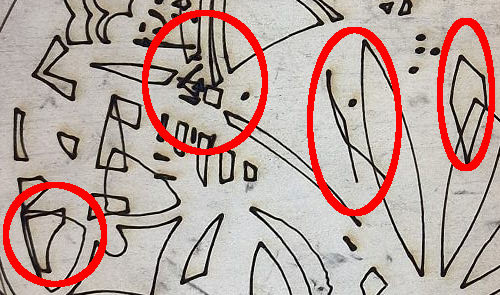
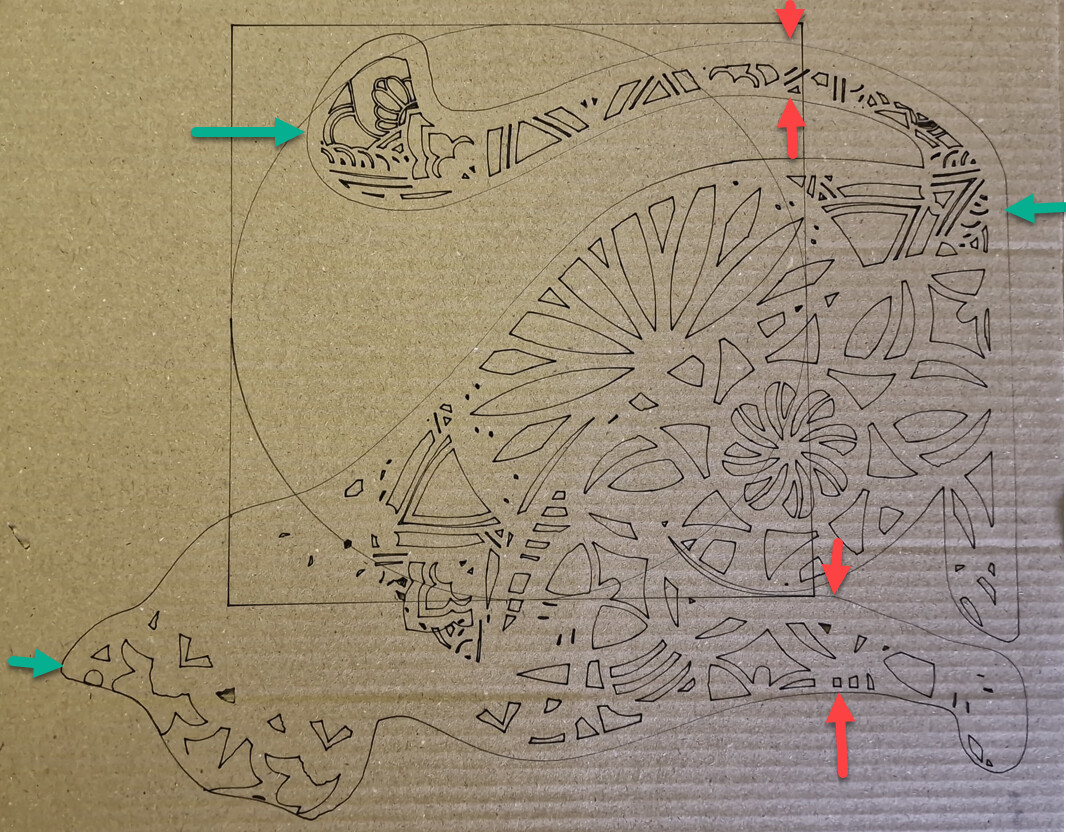
The two pictures of engravings show different offsets between the inner bits and the outline, with the lighter engraving having a much larger offset. In addition, some of the inner bits seem distorted and overlaid:
If you are using the Ruida’s USB port, the problem is almost certainly USB communications jank. The fix is to use the Ruida’s Ethernet port, although you can try a better USB cable.
Hi Ed, I swapped over to ethernet to try it yesterday but the problem was the same. I’ll have a play with the speeds tomorrow. Would you be willing to cut the cat to see what result you get?
I just meant that the Y axis is showing the displacement. What can sometimes happen is that the Y-axis tries to move somewhere rapidly for an “idle” transition move and something happens like a driver error or something physical slowing or jamming the movement, which causes the steps to be “lost”.
Are you certain the IP address for the Ruida isn’t also being used by another device? A direct cable connection will eliminate that possibility, but if the Ruida is hitched to your LAN then horrible things can happen when the router gives another device the same IP address.
There’s nothing obviously wrong with the layout / design.
By and large: no trouble found.
Which eliminates data transmission problems.
Which leaves “I made sure everything accessible was tight” suggesting a mechanical problem remains in an inacessible place.
The good part of this: you have a dependable testcase that fails every time, which means you’ll know when a change makes a difference.
So get primal with that thing: crawl around in the back, find the Y axis motor with all its pulleys & shafts, wiggle the shafts, loosen & tighten all the setscrews, and leave no part untouched.