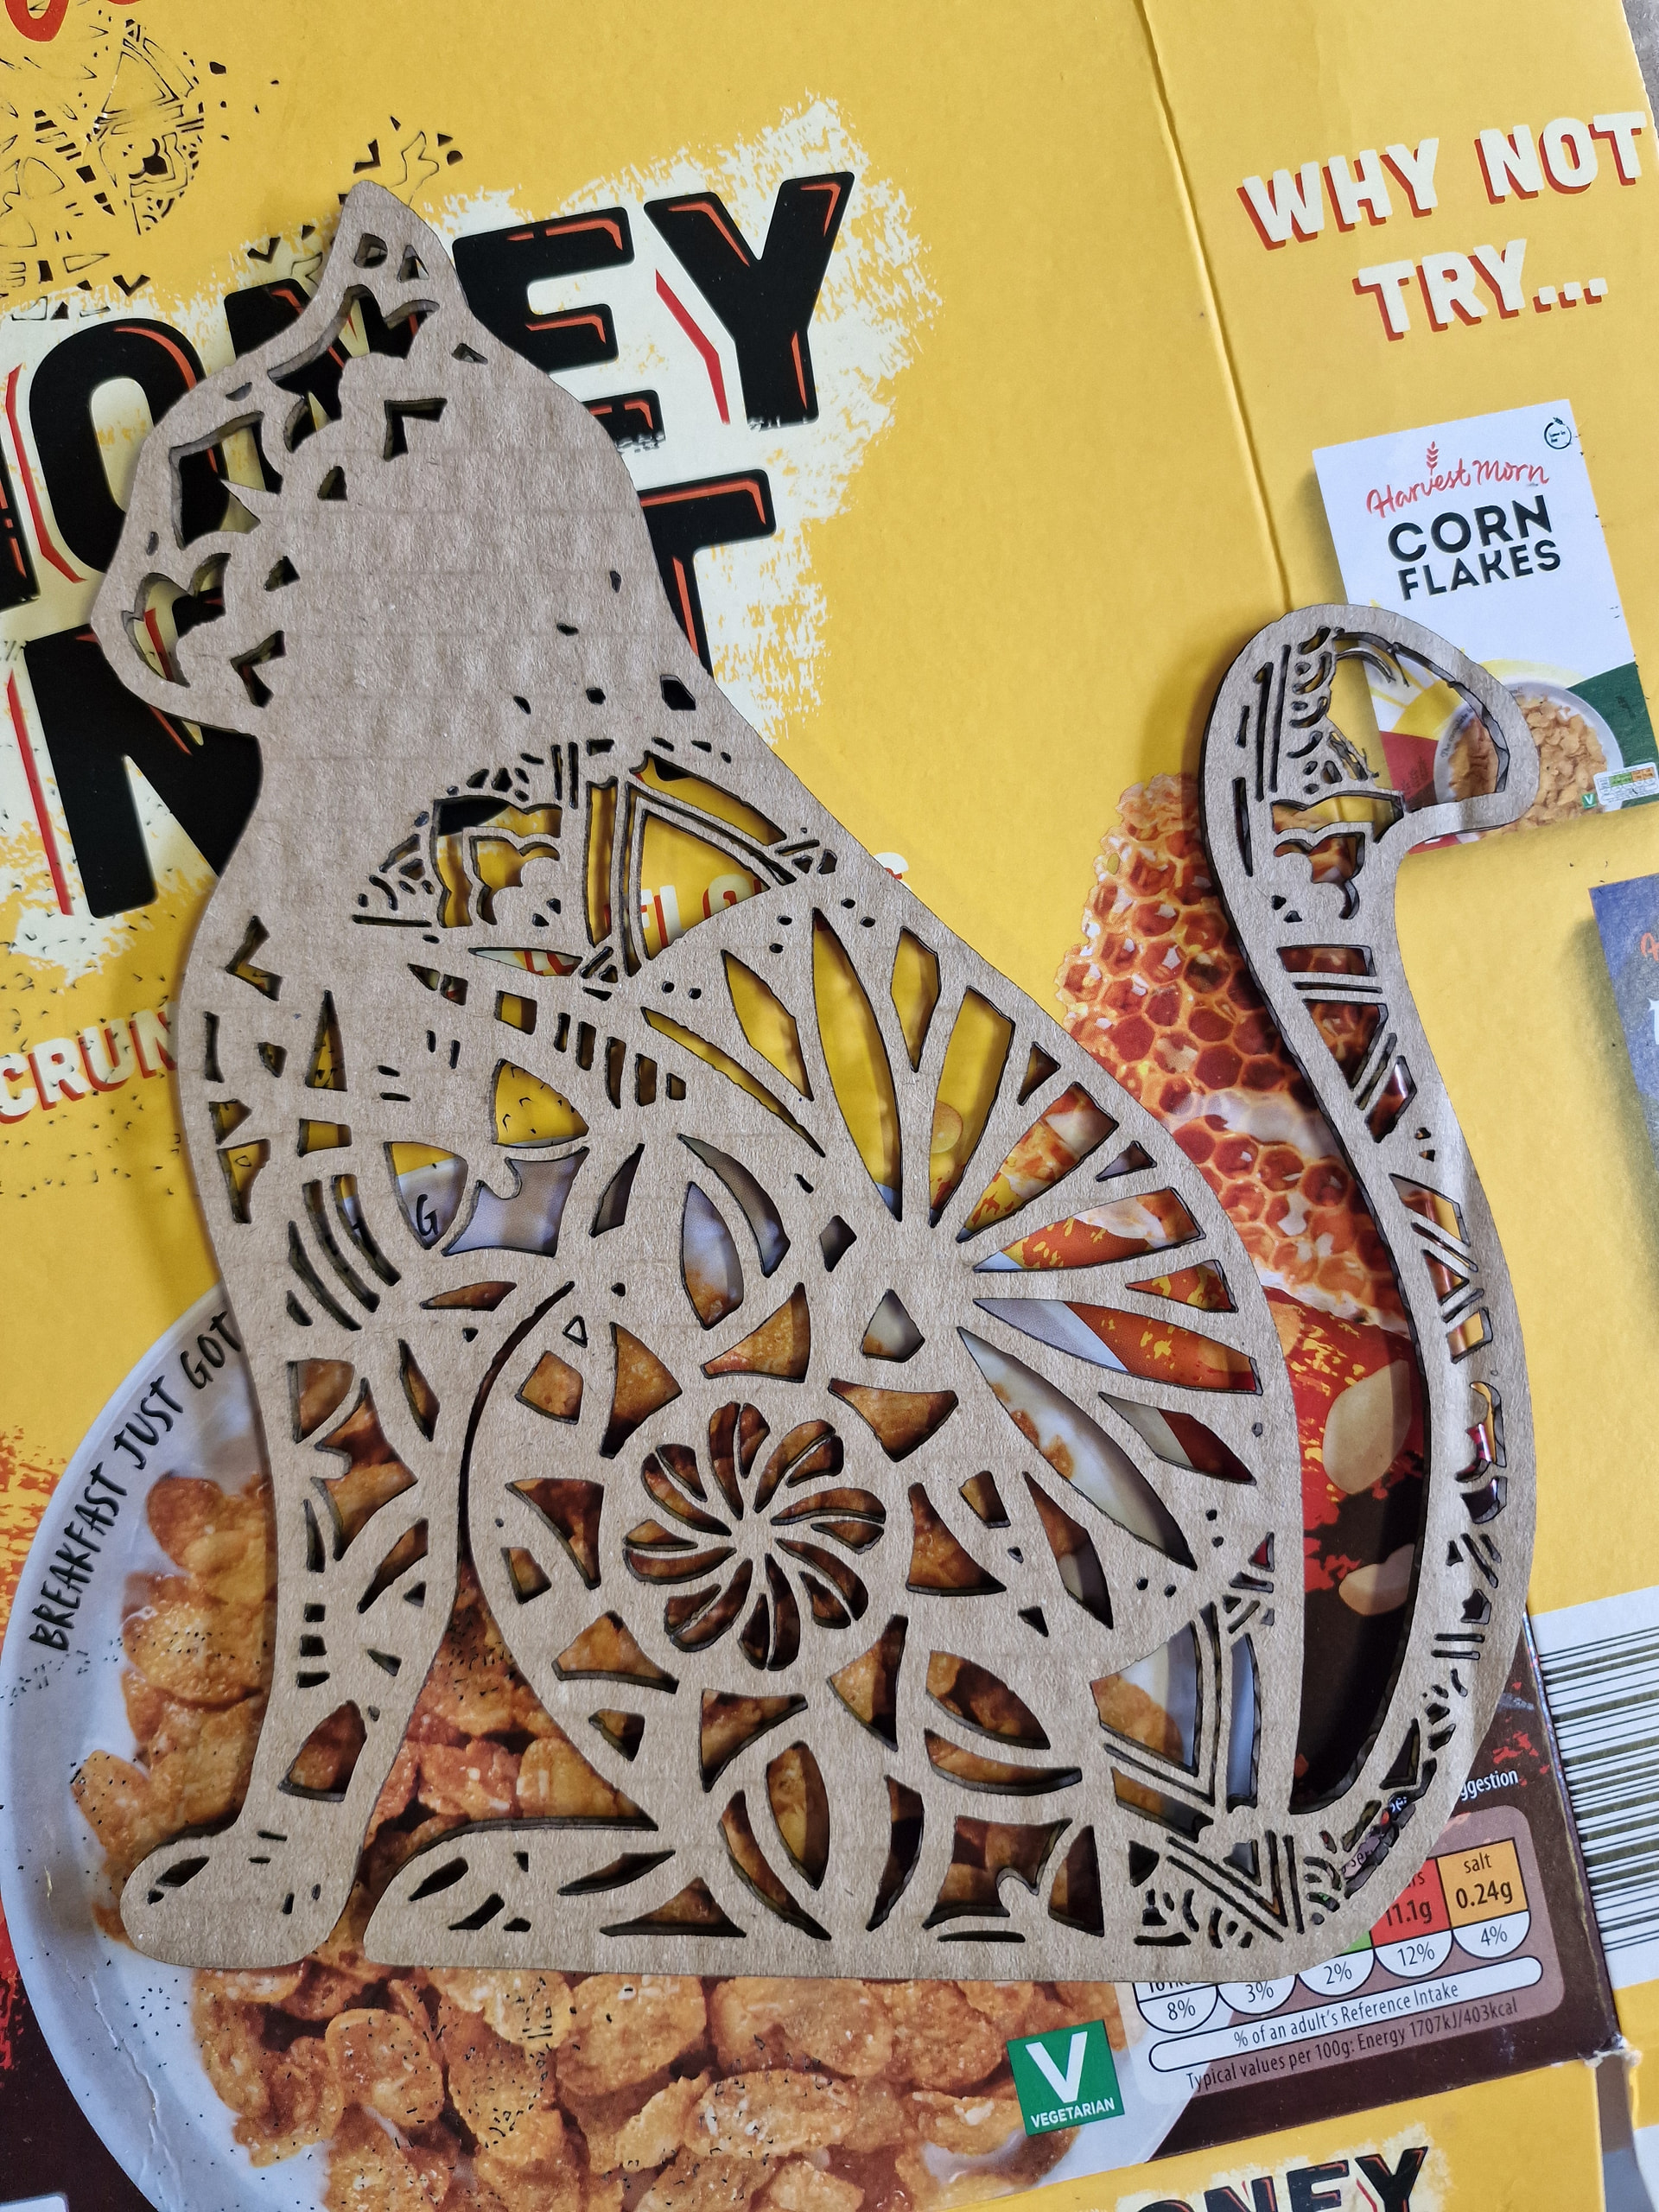
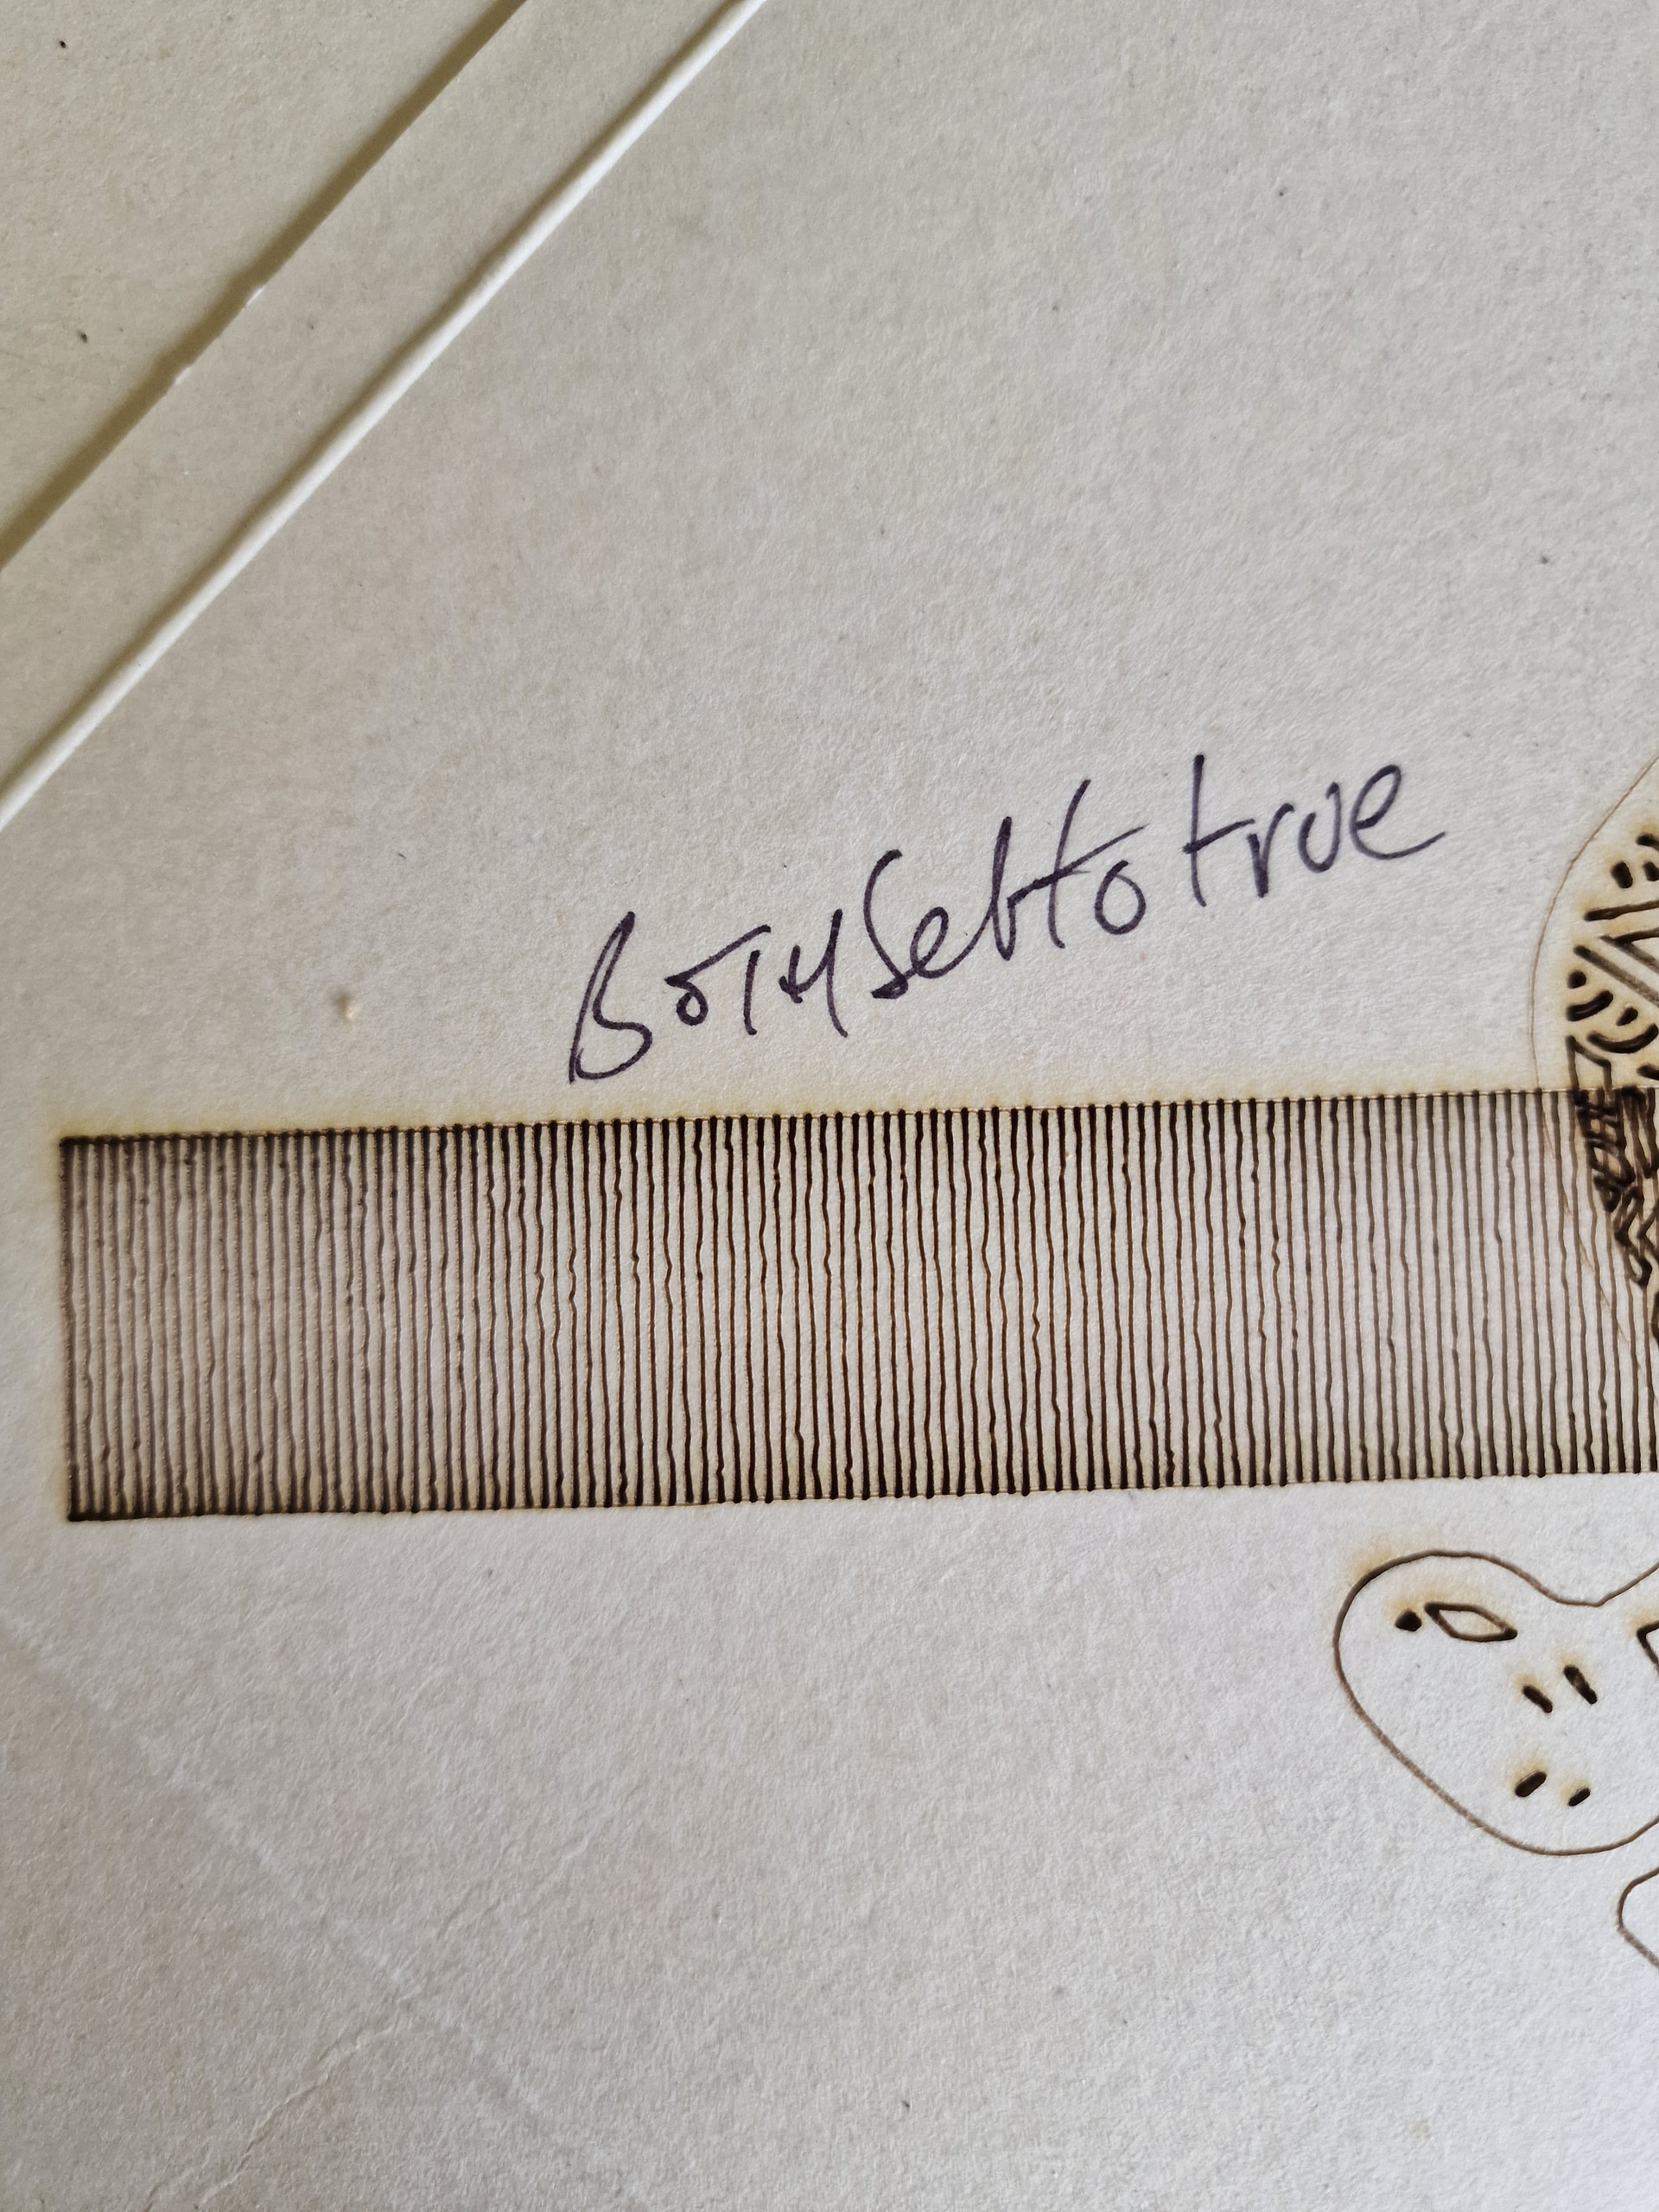
Ed,
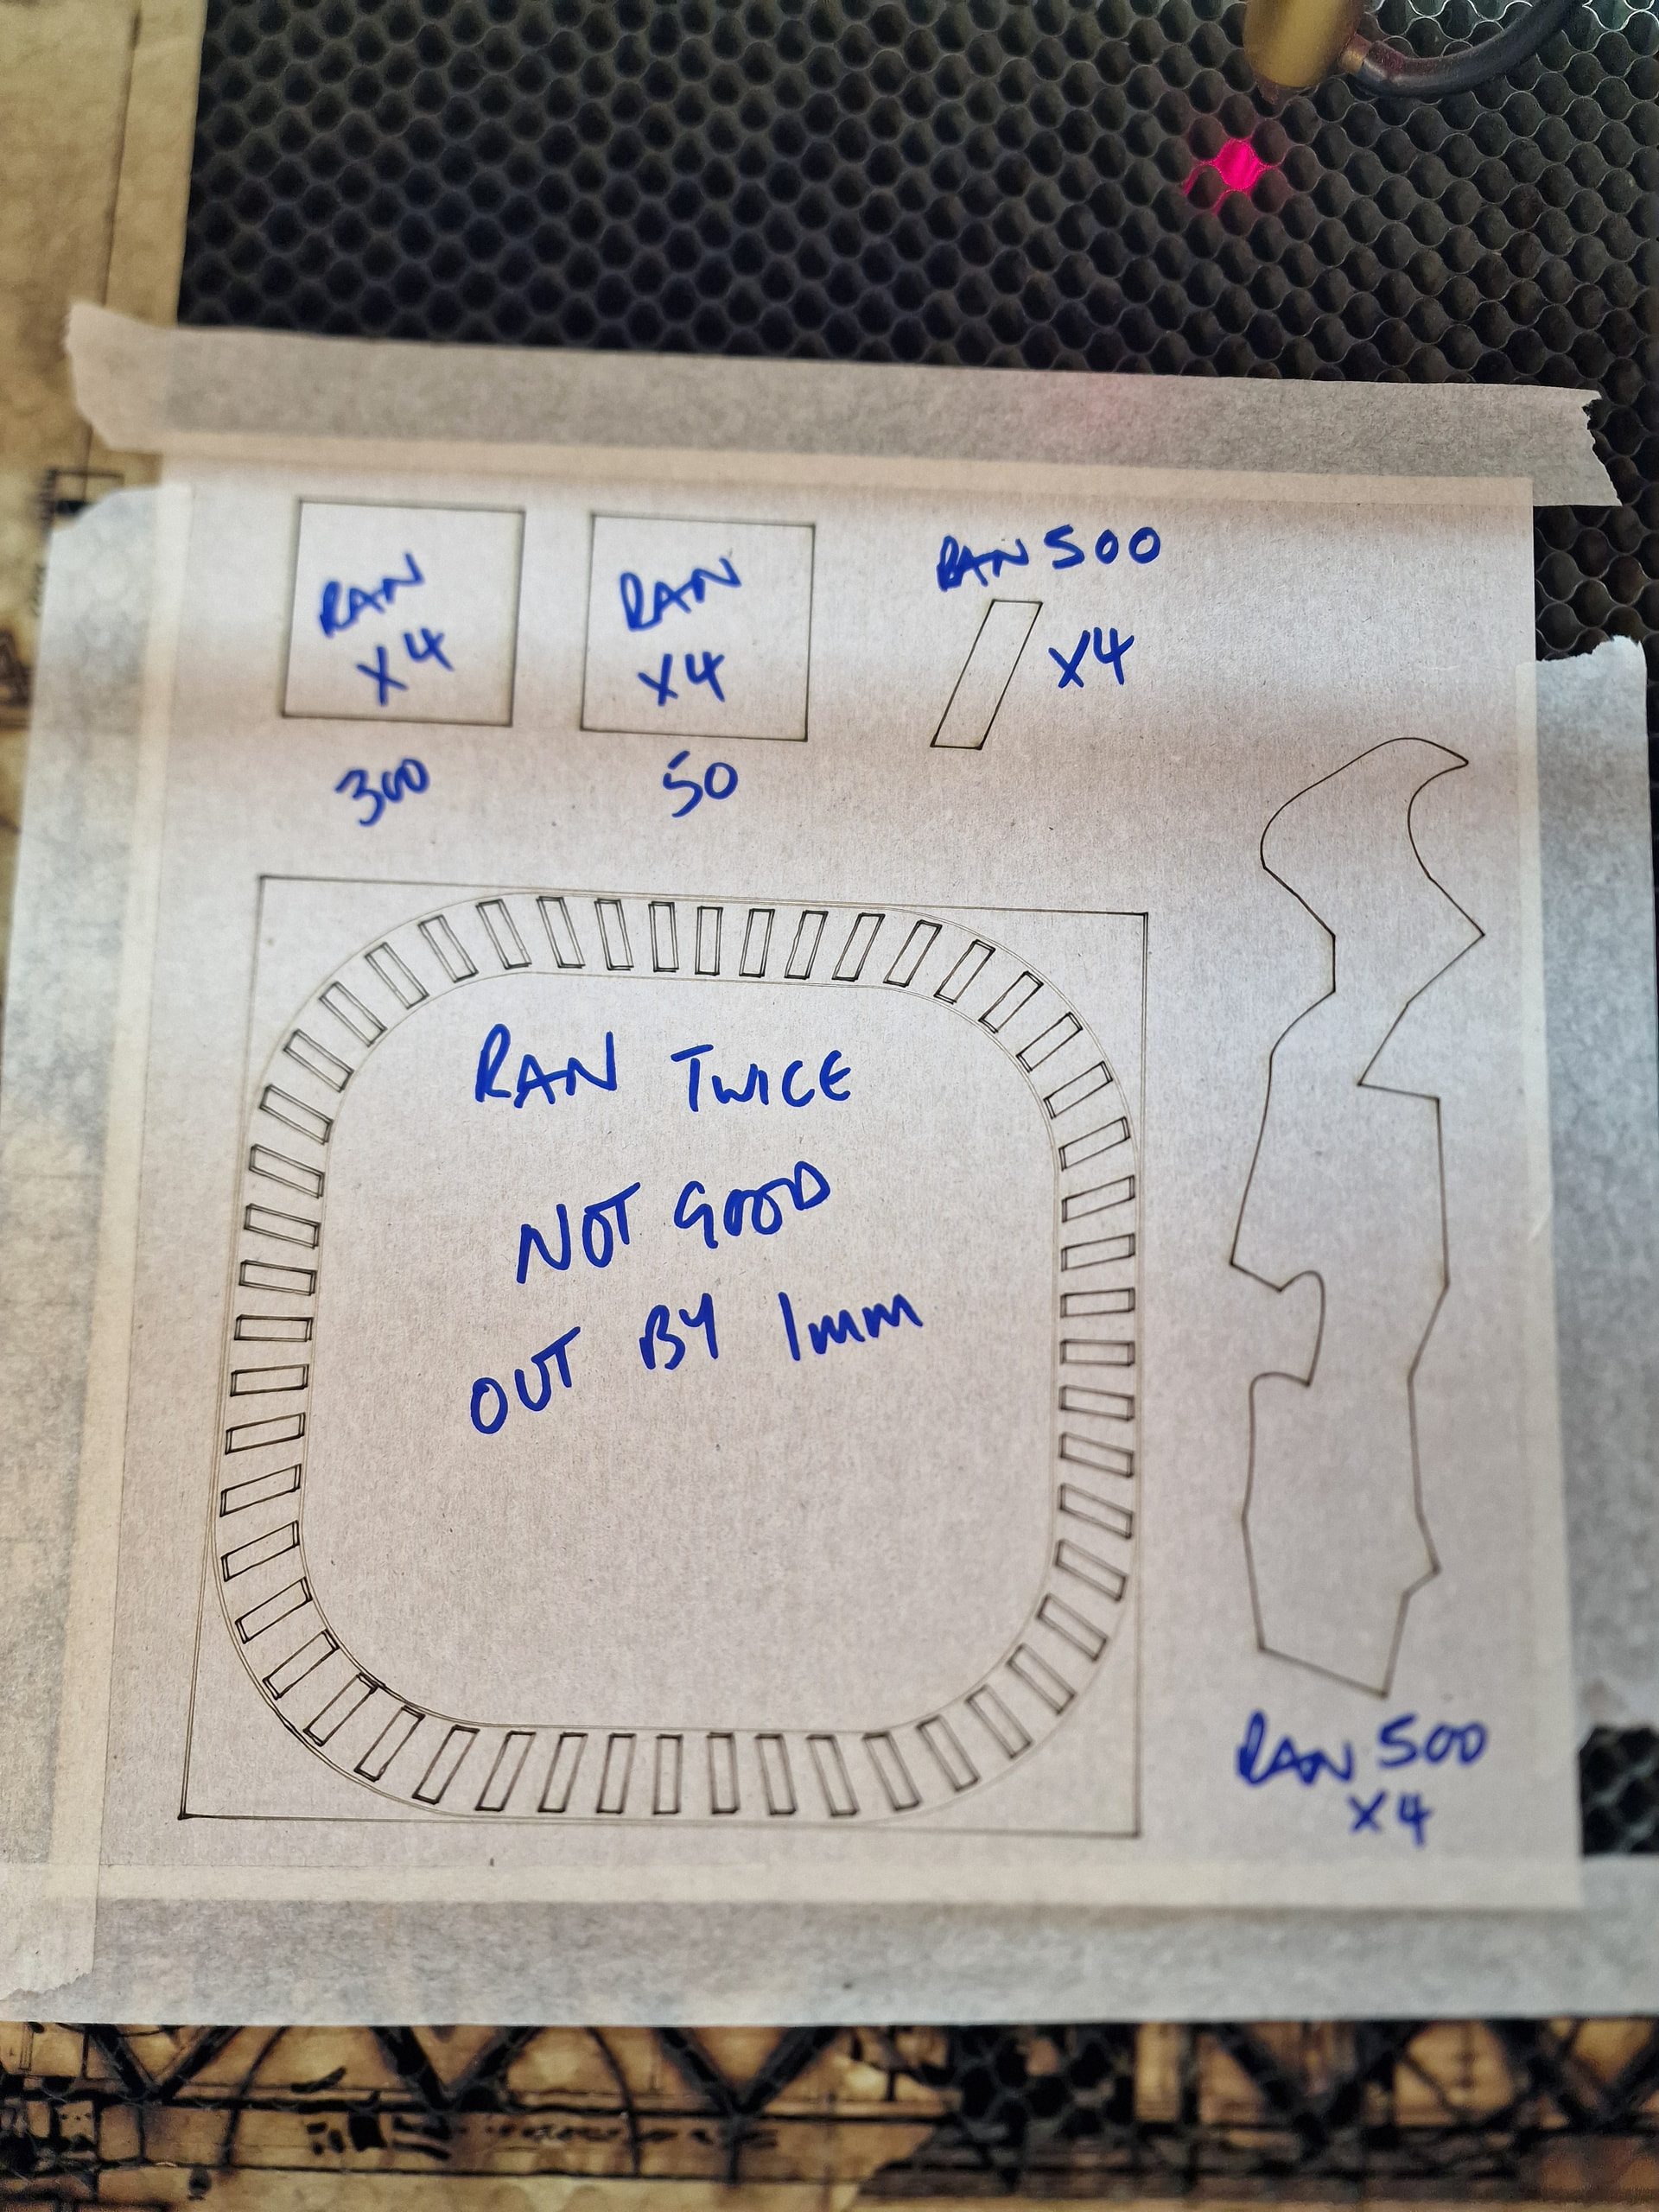
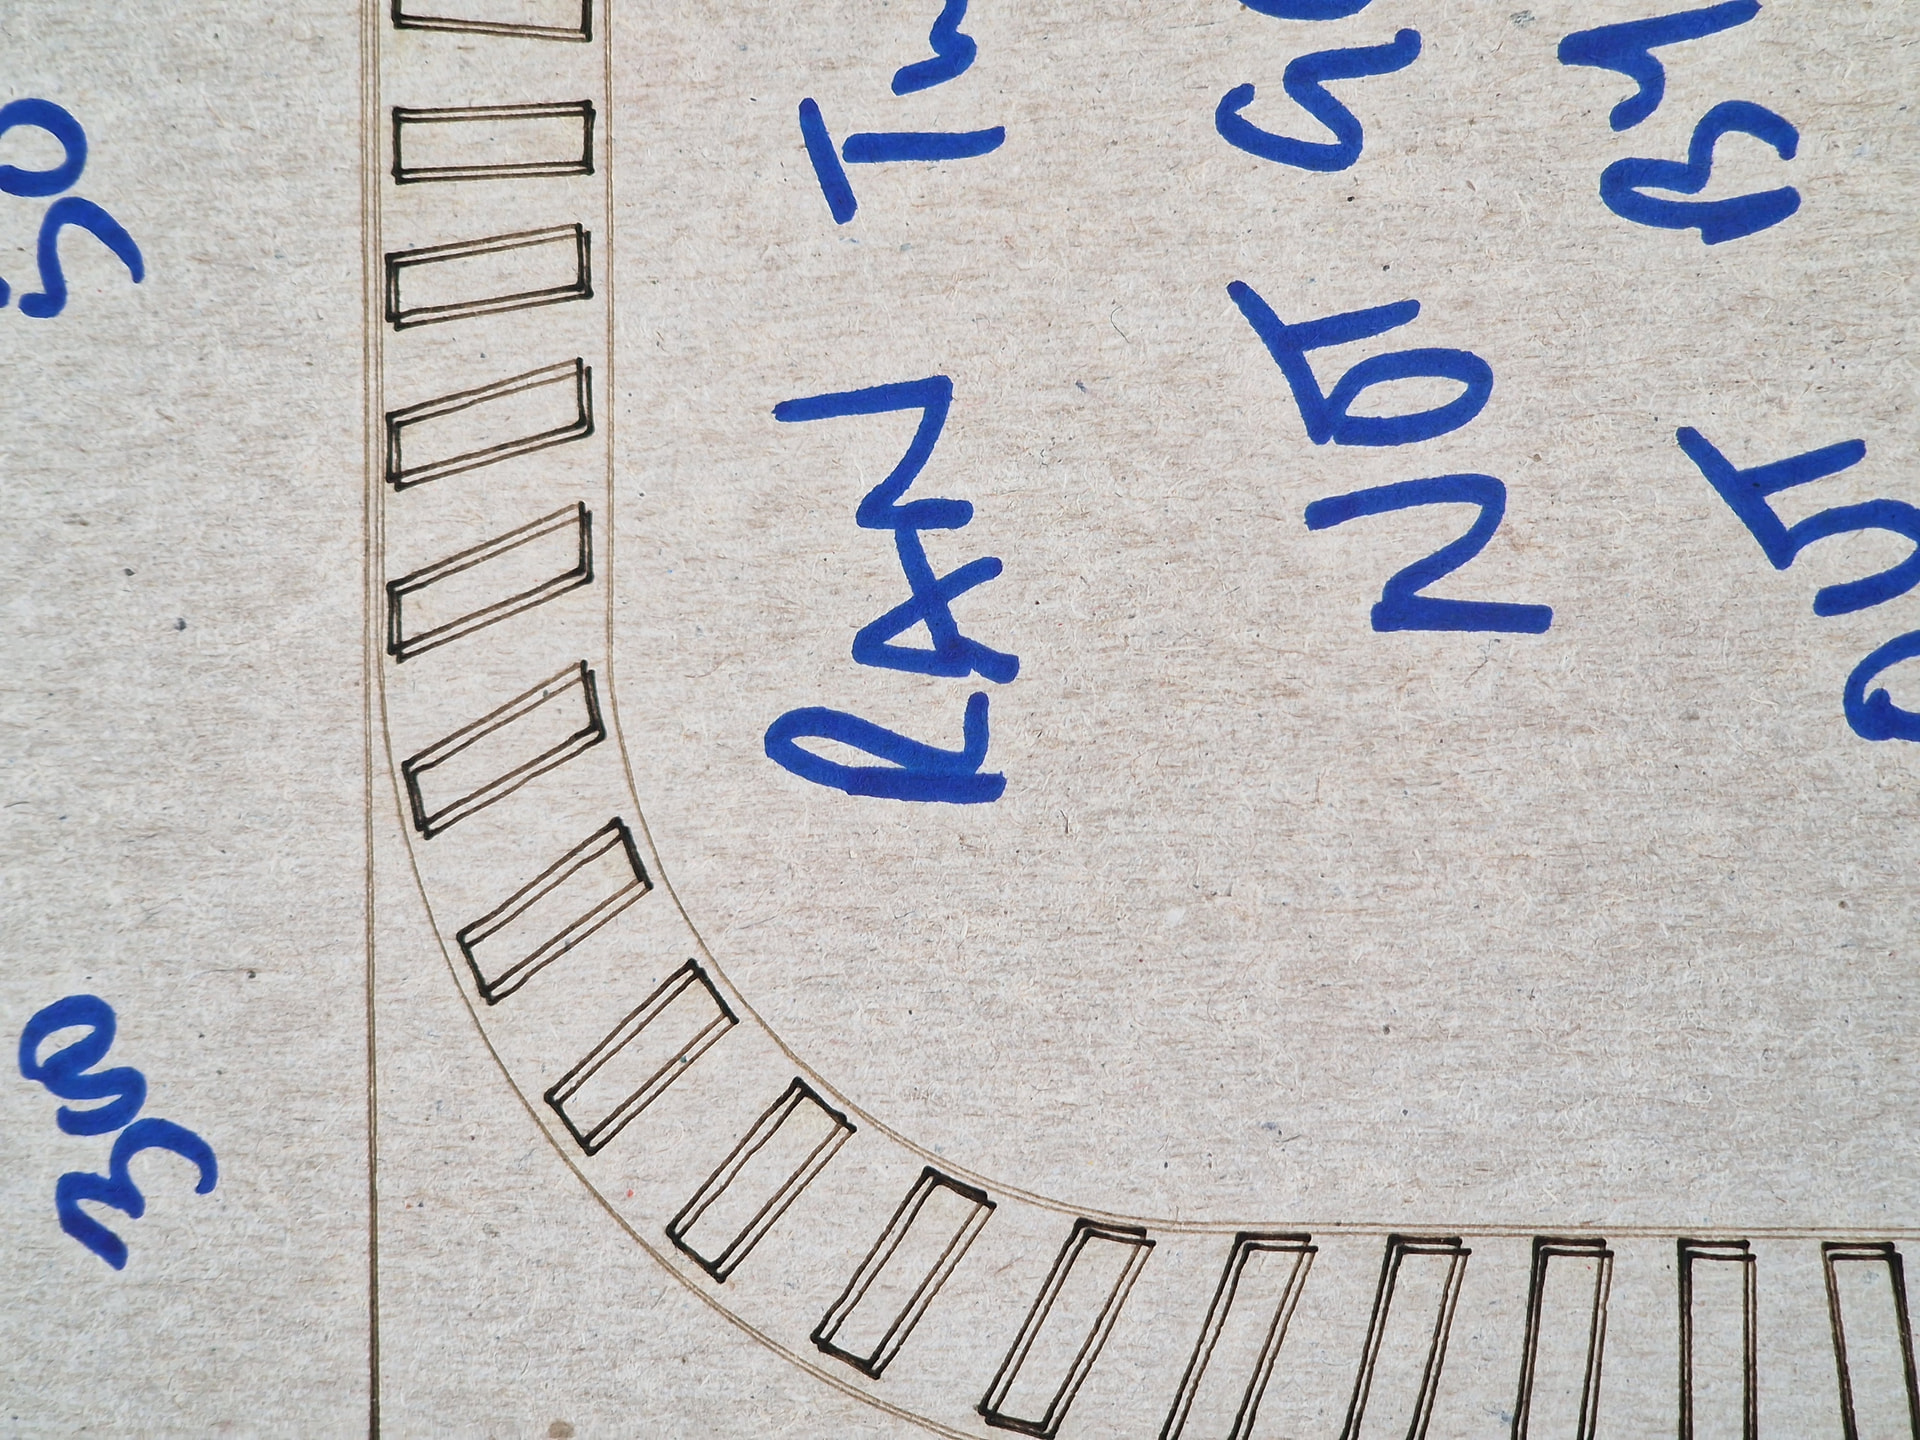
Done as requested. Rapid test fails but other shapes pass. I repeated the rapid 1 more time but the others I ran 4 times.
On the upside, you now have a less complex test case.
With a new sheet of cardboard taped down, run that test pattern four times to see if the displacement increases with each pass, levels off, or retreats.
If you can mark the corner of a rectangle with each pass to identify what happened, without moving the cardboard, that will help track the errors.
Ok a test for this afternoon…
Are you confident it’s no longer a power supply issue with not seeing any red leds?
As a thought are the issues with repeat cuts being slightly off related to the inner parts of the cat issue? I.e the same issue in disguise 
It’s curious as the repeated cuts show a consistent error with little added variance, e.g 1mm out, then 1.2mm out then 1.4mm out etc.
I’ll do the test after family time and see what we get. Cheers
A brief sidenote I’ve been using current position in Lightburn. As the examples showed origin issues on finishing a seperate layer burn project (on occasion) I tried user origin and pressed the origin button on the ruida to rule out software issues but the movement remained.
One thing that appears to be obvious so far is that all issues discussed are repeatable which indicates no randomness. Also as shown in the cat cuts earlier the start and end origin were about 4mm out in both axis which may point to a shared component failure.
At this point I’m confident of nothing. 
The errors in the cat interior seem too large for a cryptic mechanical problem, although a loose laser head or lens could account for them. If you haven’t checked for anything loose, now’s the time.
The speeds & accelerations you’ve shown seem reasonable, so it’s not likely to be motor stall, particularly with the driver current switches set high enough for good torque.
An increasing position error strongly suggests a mechanical offset that gets worse with repeated application of the same forces in the same directions in the same sequence.
The fact that it’s not random does not indicate anything, because the patterns do not apply random forces in a random sequence.
I have been assuming Absolute Coordinates, so let’s find out what the controller thinks is going on.
The setup:
Home position after job completion, if it doesn’t do that already. The 6442 manual description is baffling, but I think the sequence is Menu → User Params → Back Position, then select Absolute Origin or something like that.Absolute Coordinates in LightBurnHome position.The test:
Home position. Mark that spot so you can find it later.Caution: if the error puts the laser head toward the Home corner, the head may smash into the side as it moves toward the origin point, so be ready to slap the Emergency Off button.
If it returns successfully:
Home position, so the error is in the machinery.Next test:
Repeat the rotation / run / pulse sequence twice more (total of four runs) or until the error causes the laser head to whack into the side.
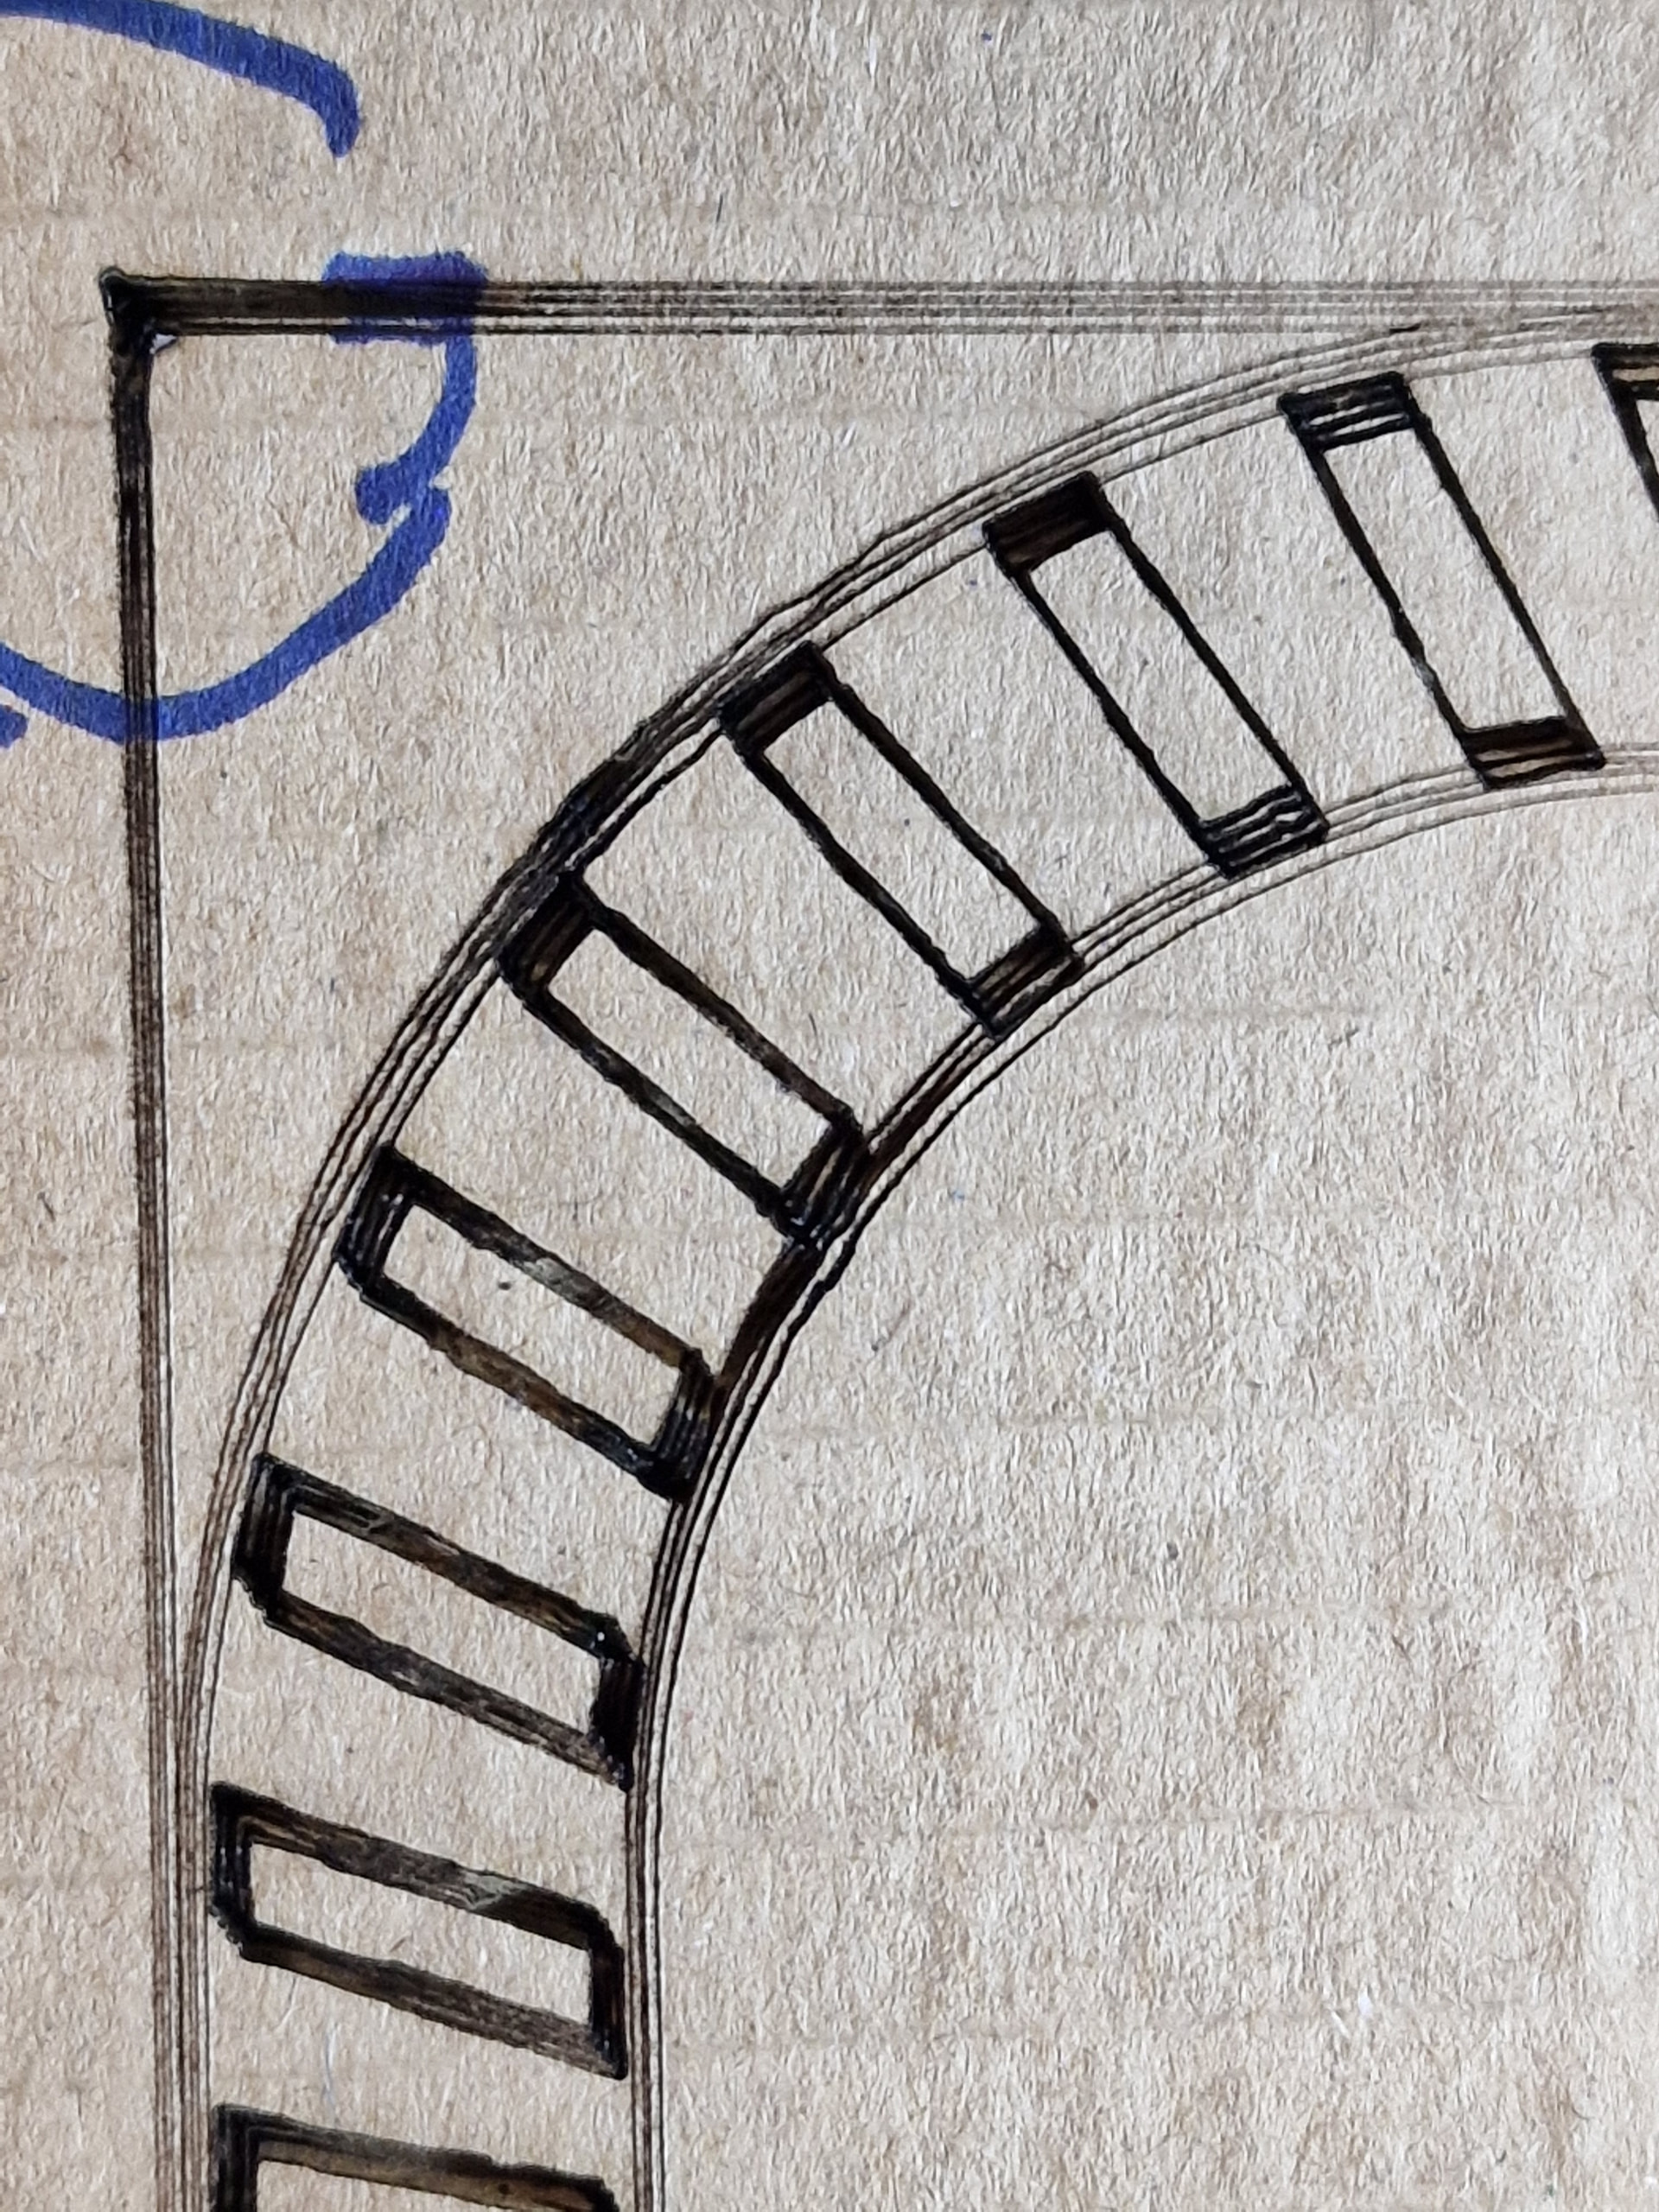
A crisp photo of the holes at the Home position will be informative.
Test 2 completed.
This is exactly what I expected as the movement in origin position matches other photos I’ve posted.
Homed machine. Pulsed. Ran cat then rotated.
Machine hit limiter trying to return home post burn. Escape. Head returned to Home. Did this 4 times but on the 4th there was physically no room for the head to finish where it thought Home was.
Result: from the homed origin the head returned to a position 3mm up and 3mm right. If we say Home is 0,0 then it would be -3,3 then -6,6 etc
These numbers are approximates or how I imagine it on a graph.
Thus confirming: the physical position does not match the controller’s coordinates.
The spacing of the errors does not seem to match the belt tooth distance, but let’s eliminate a few more possibilities.
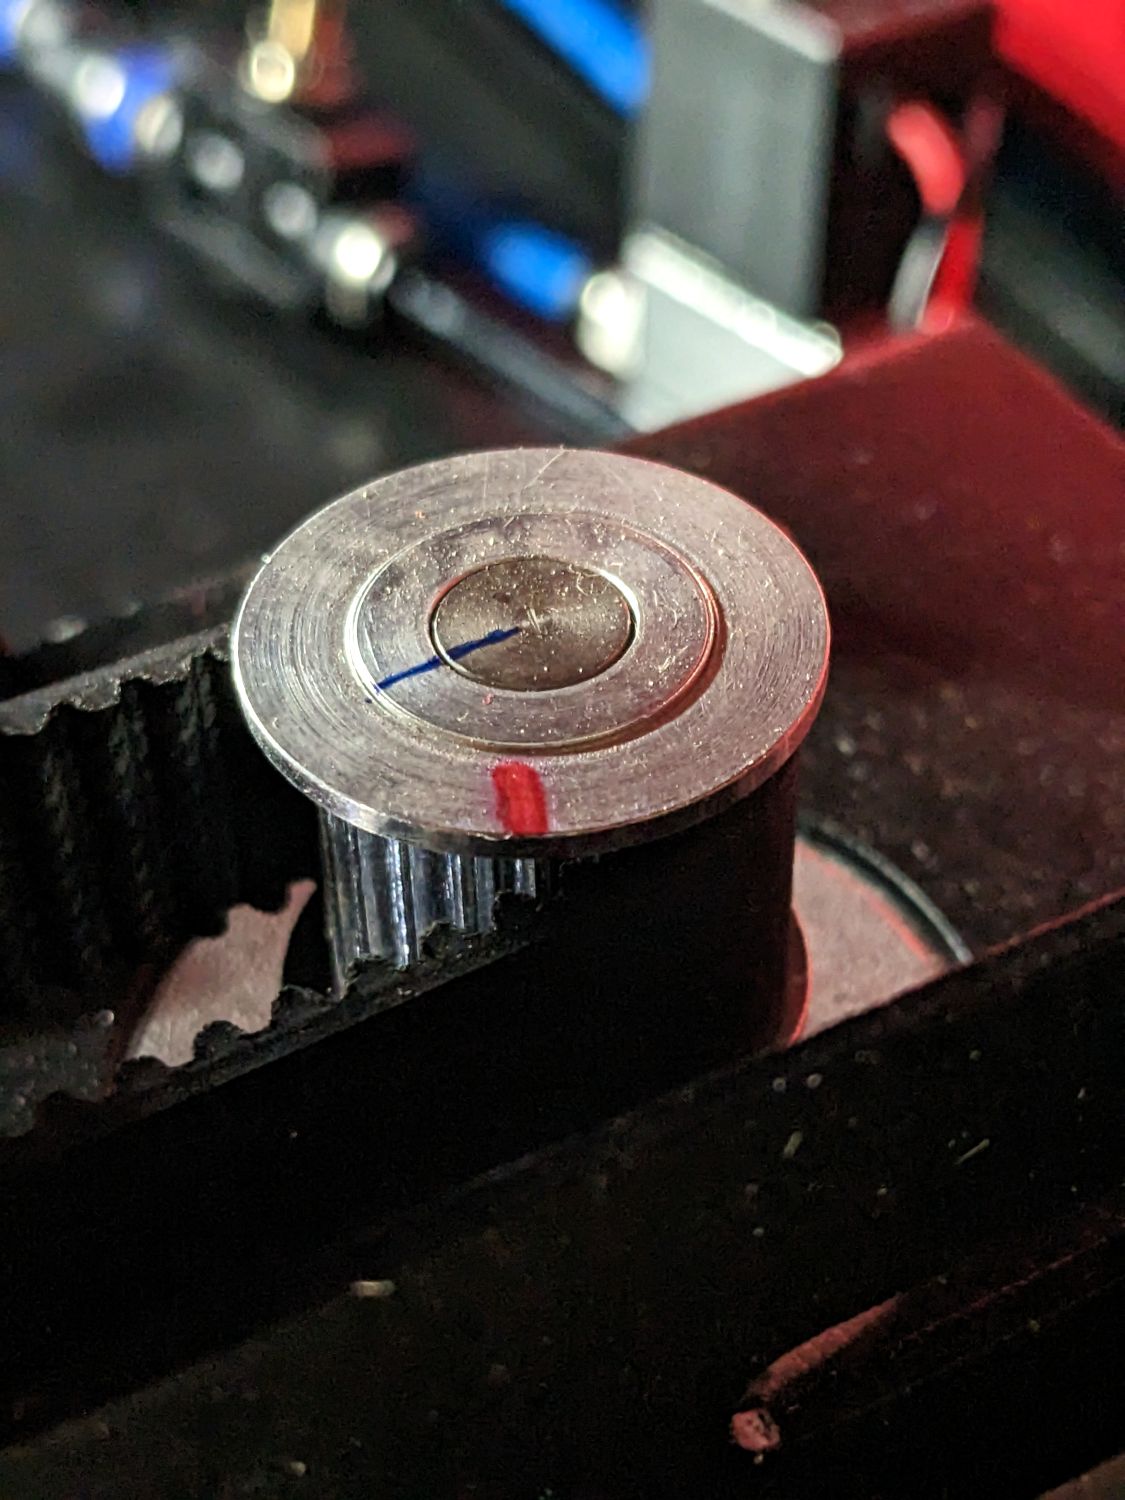
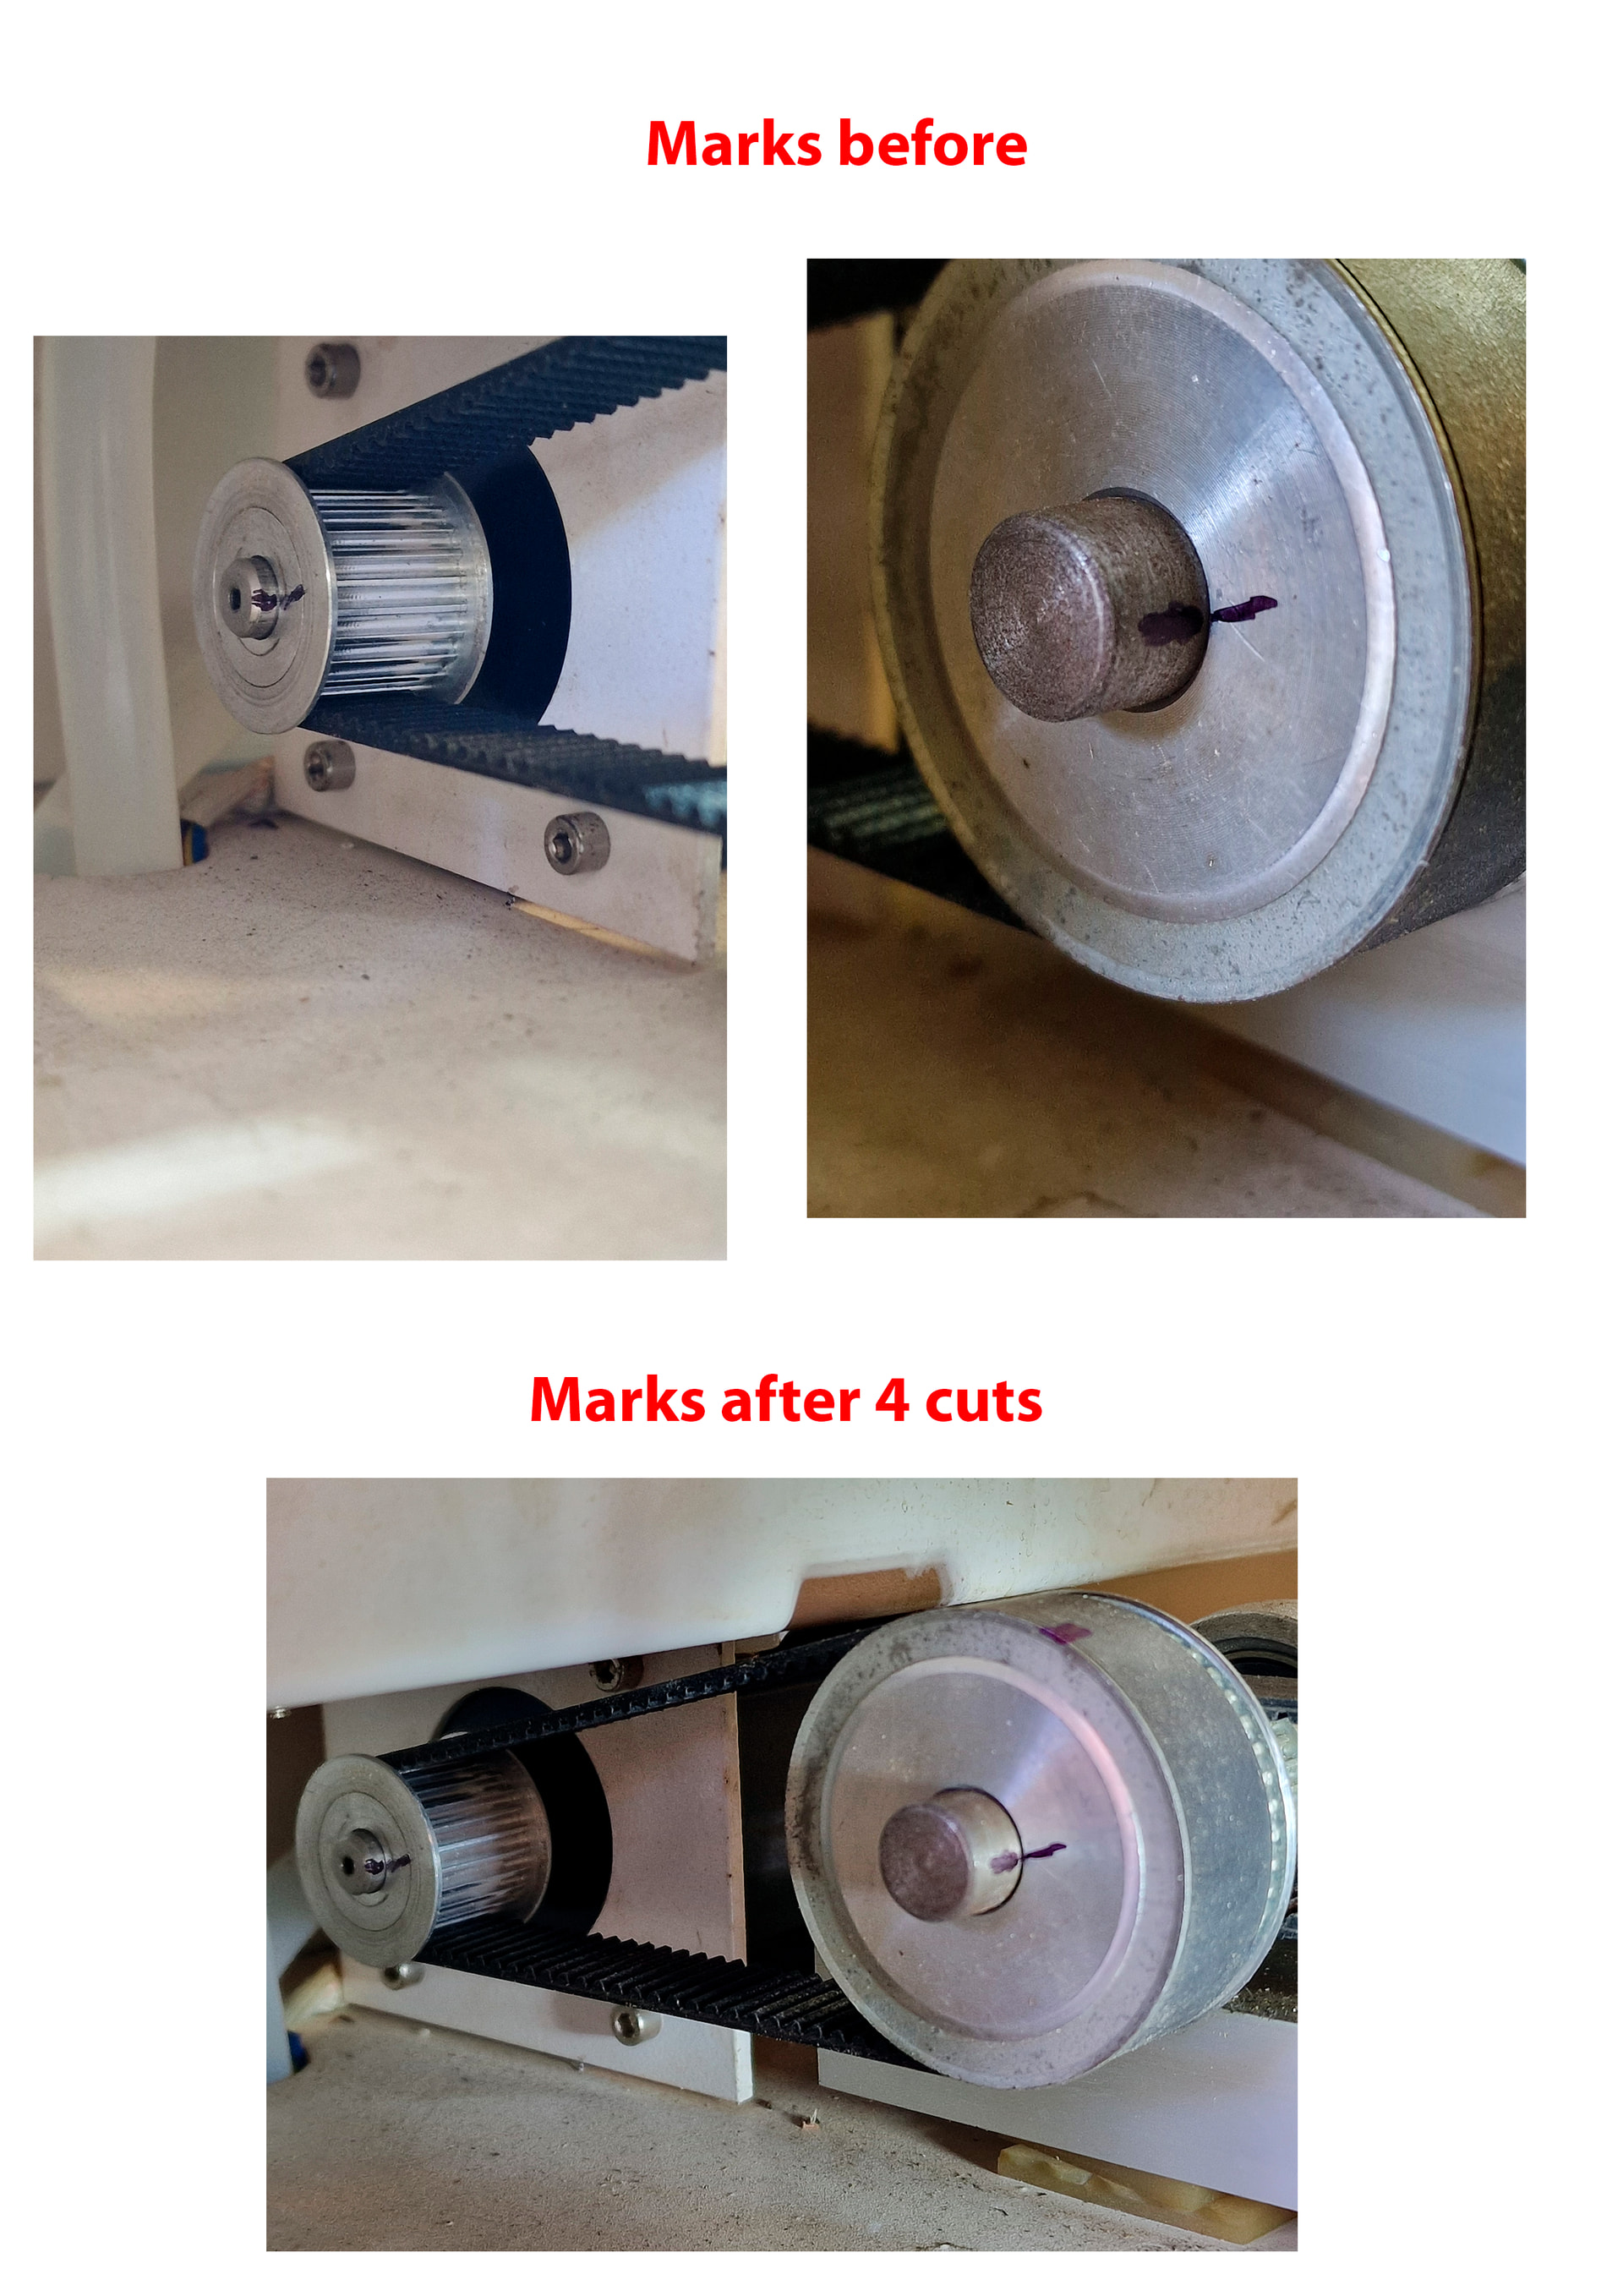
Mark both the X and Y motor shafts and pulleys to show if the pulleys shift relative to the shafts, as in the blue line:
Also mark the pulley and the belt to show if the belt shifts relative to the pulley, as in the red line. I understand the Y axis motor is hard to reach, but get a marker in there!
Then run another cat and verify:
More crisp photos will form a convincing record.
Very interesting and looks unusually consistent, if you use “Get position” at start and end of any user origin or current position job - do the coordinates change?
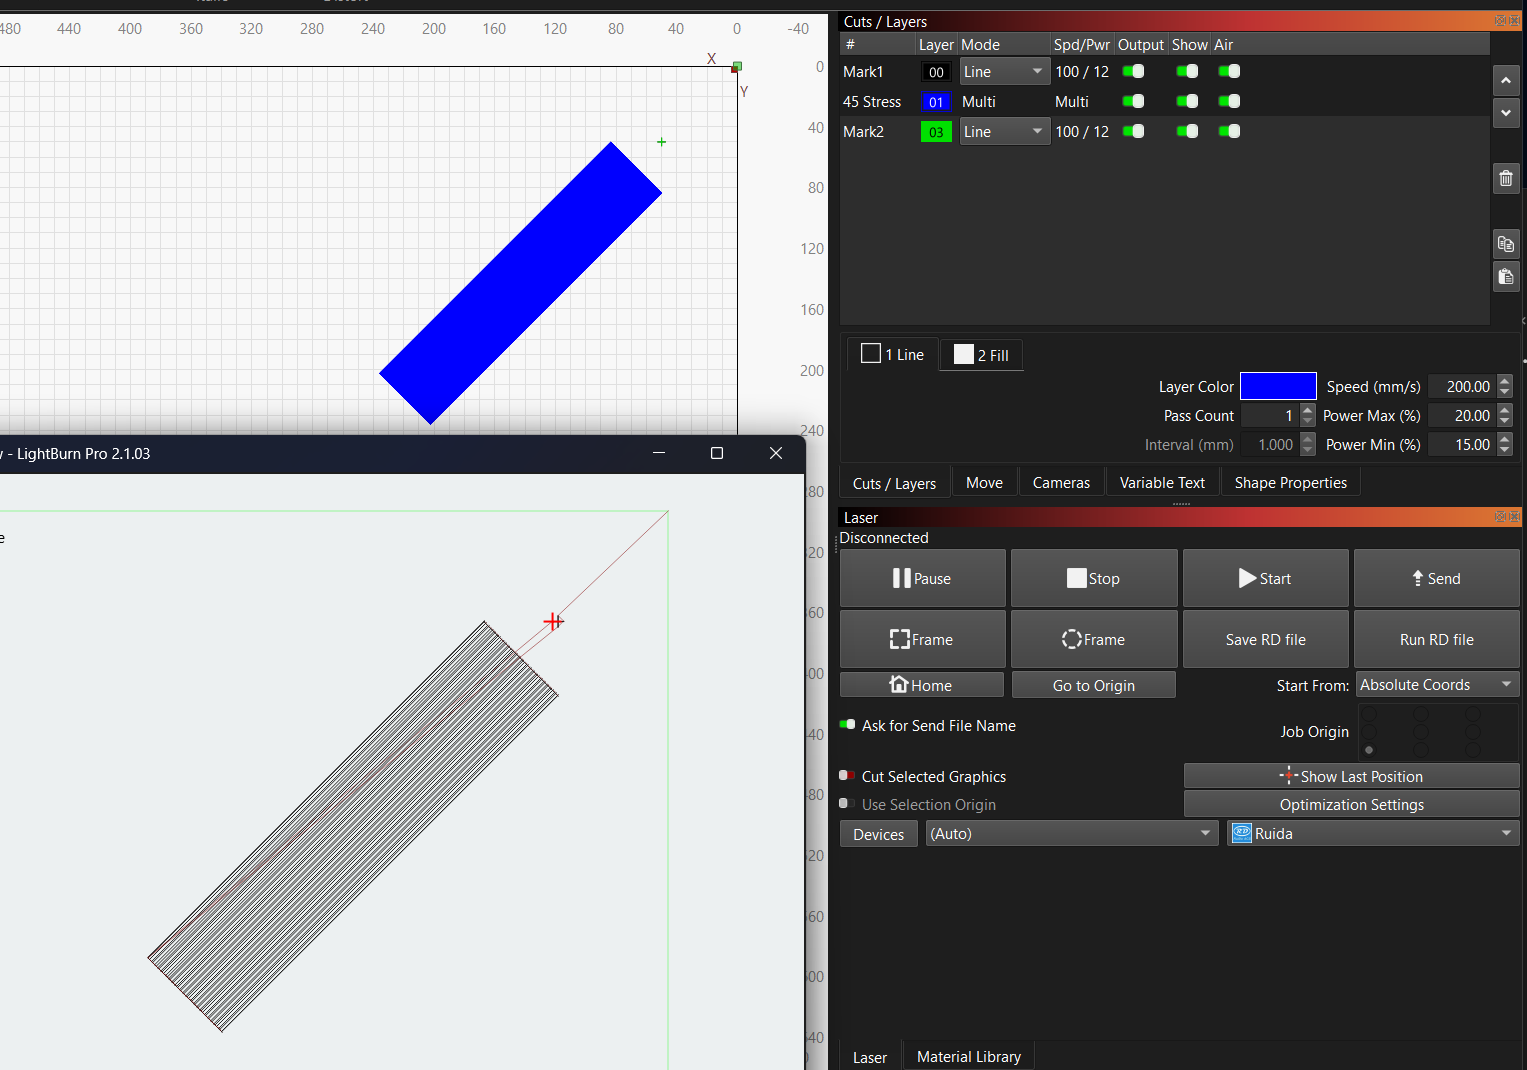
45 drift test.lbrn2 (6.7 KB)
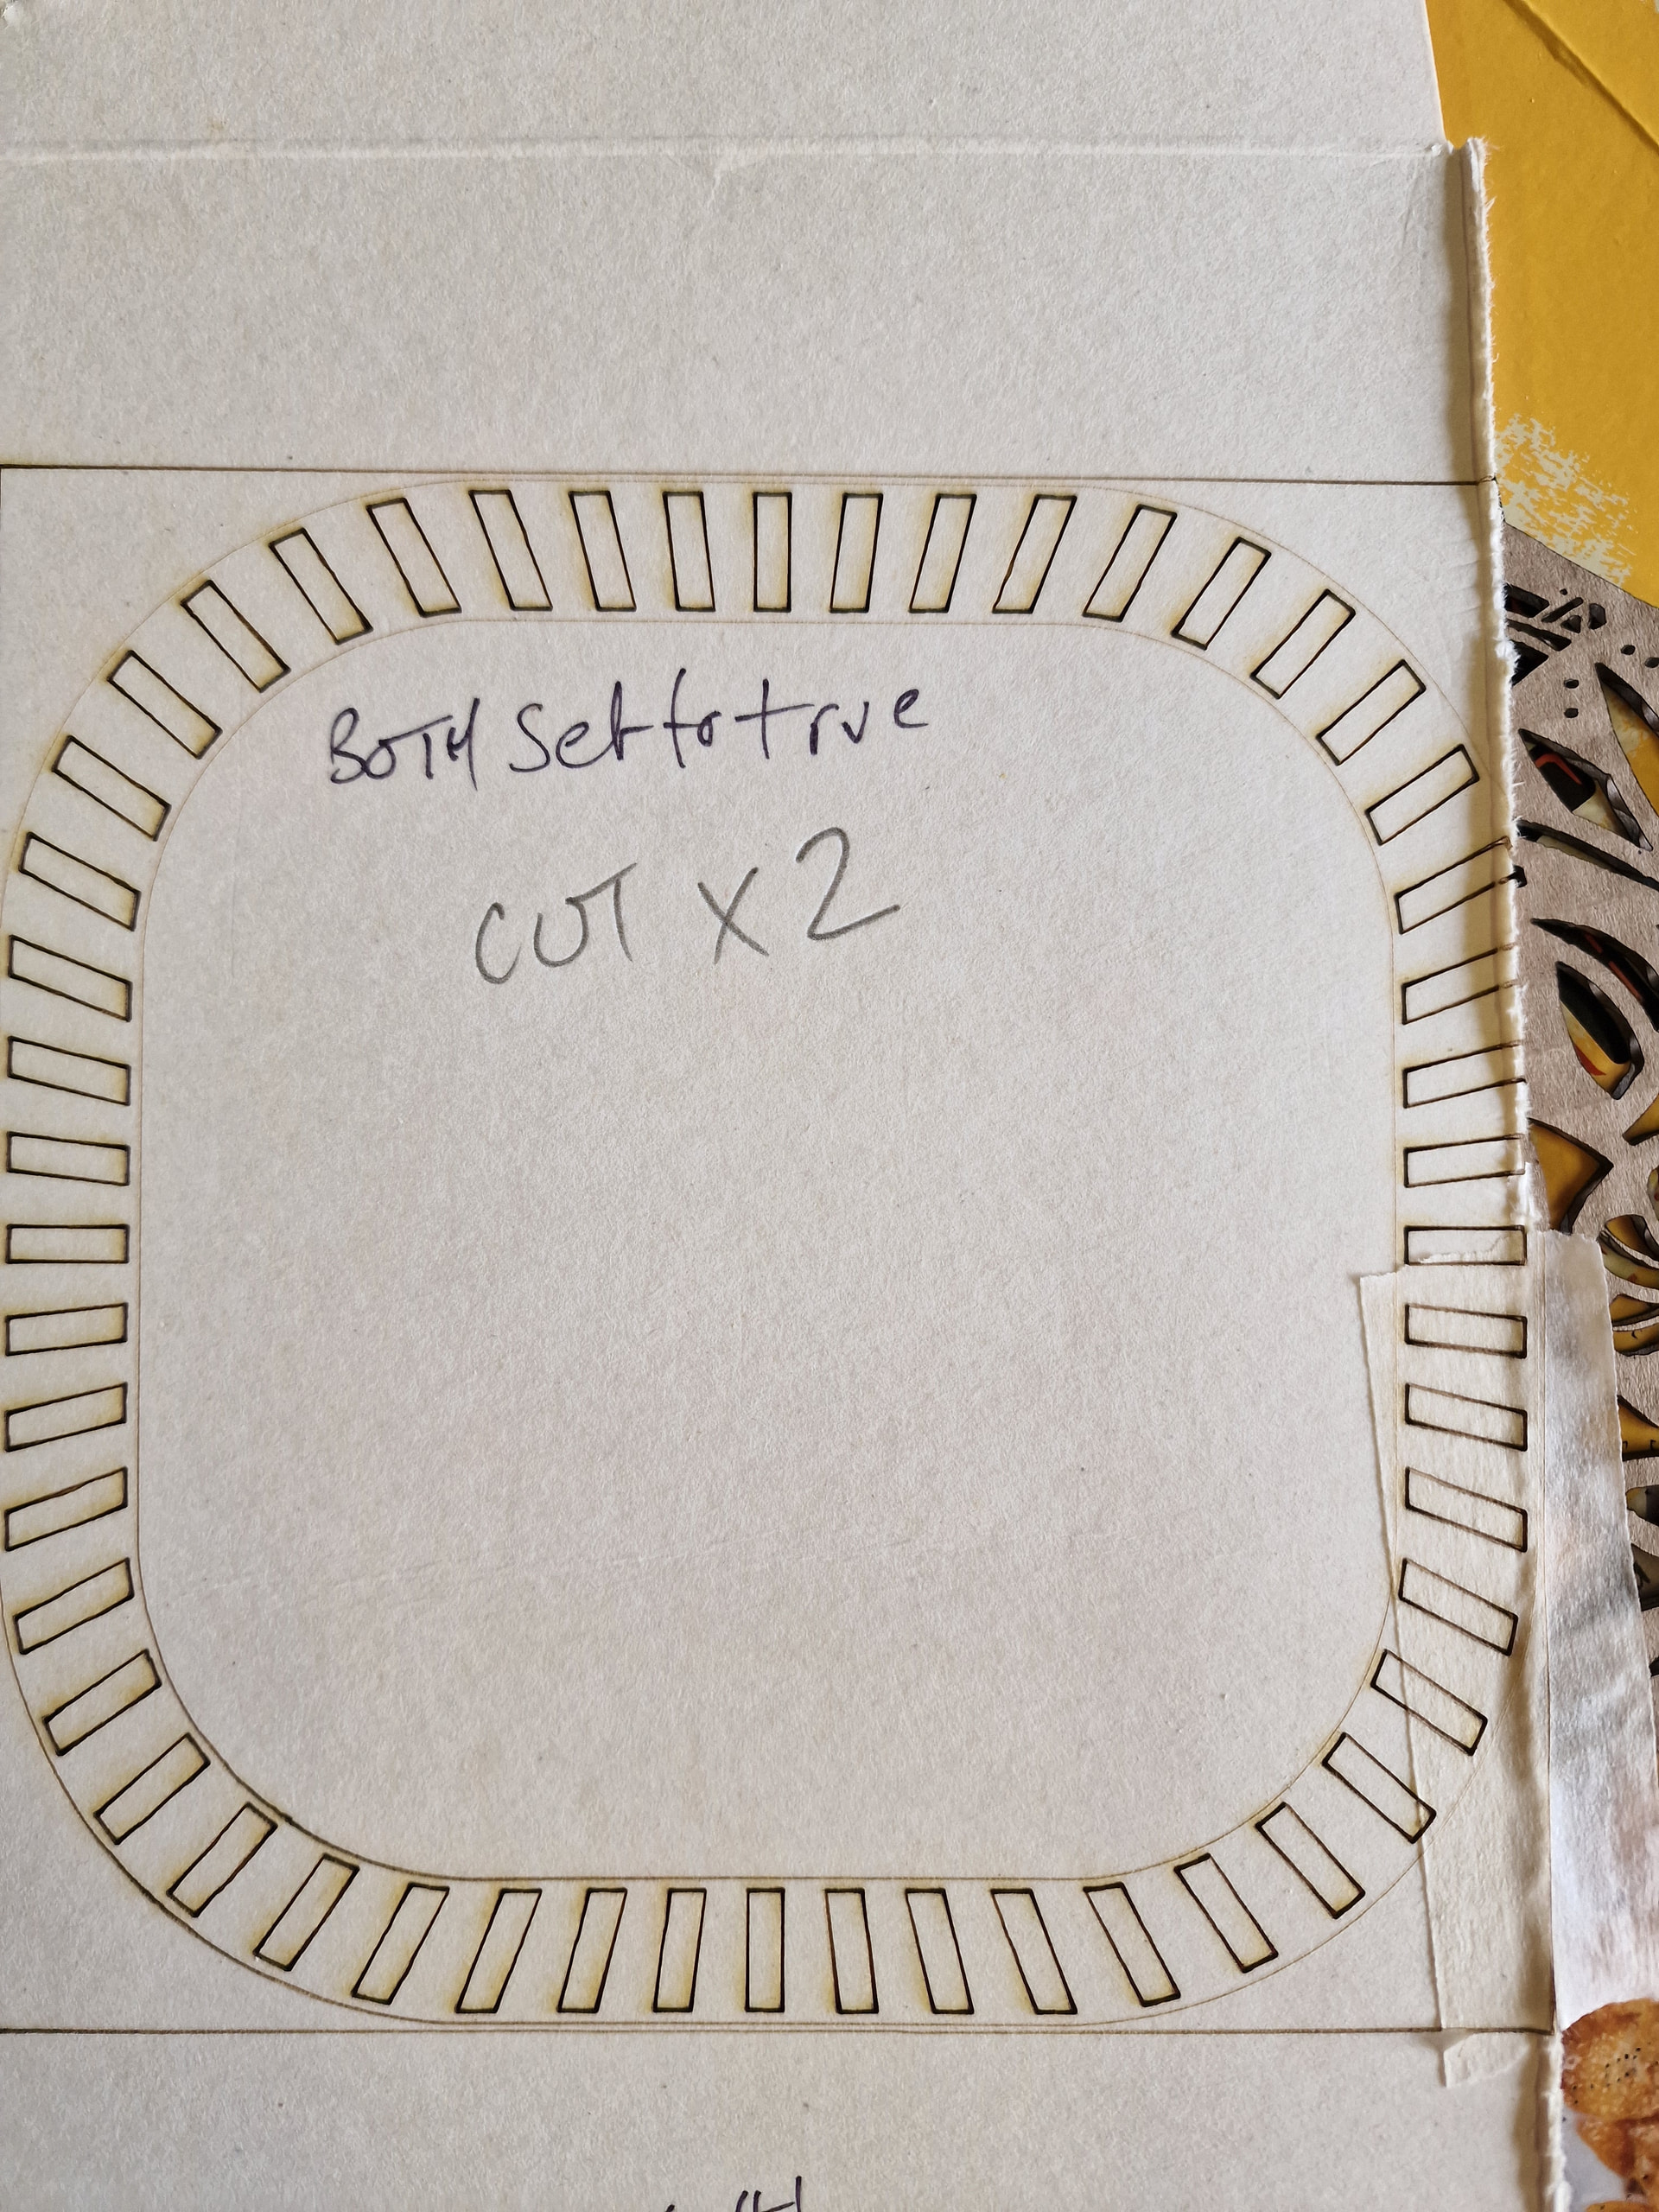
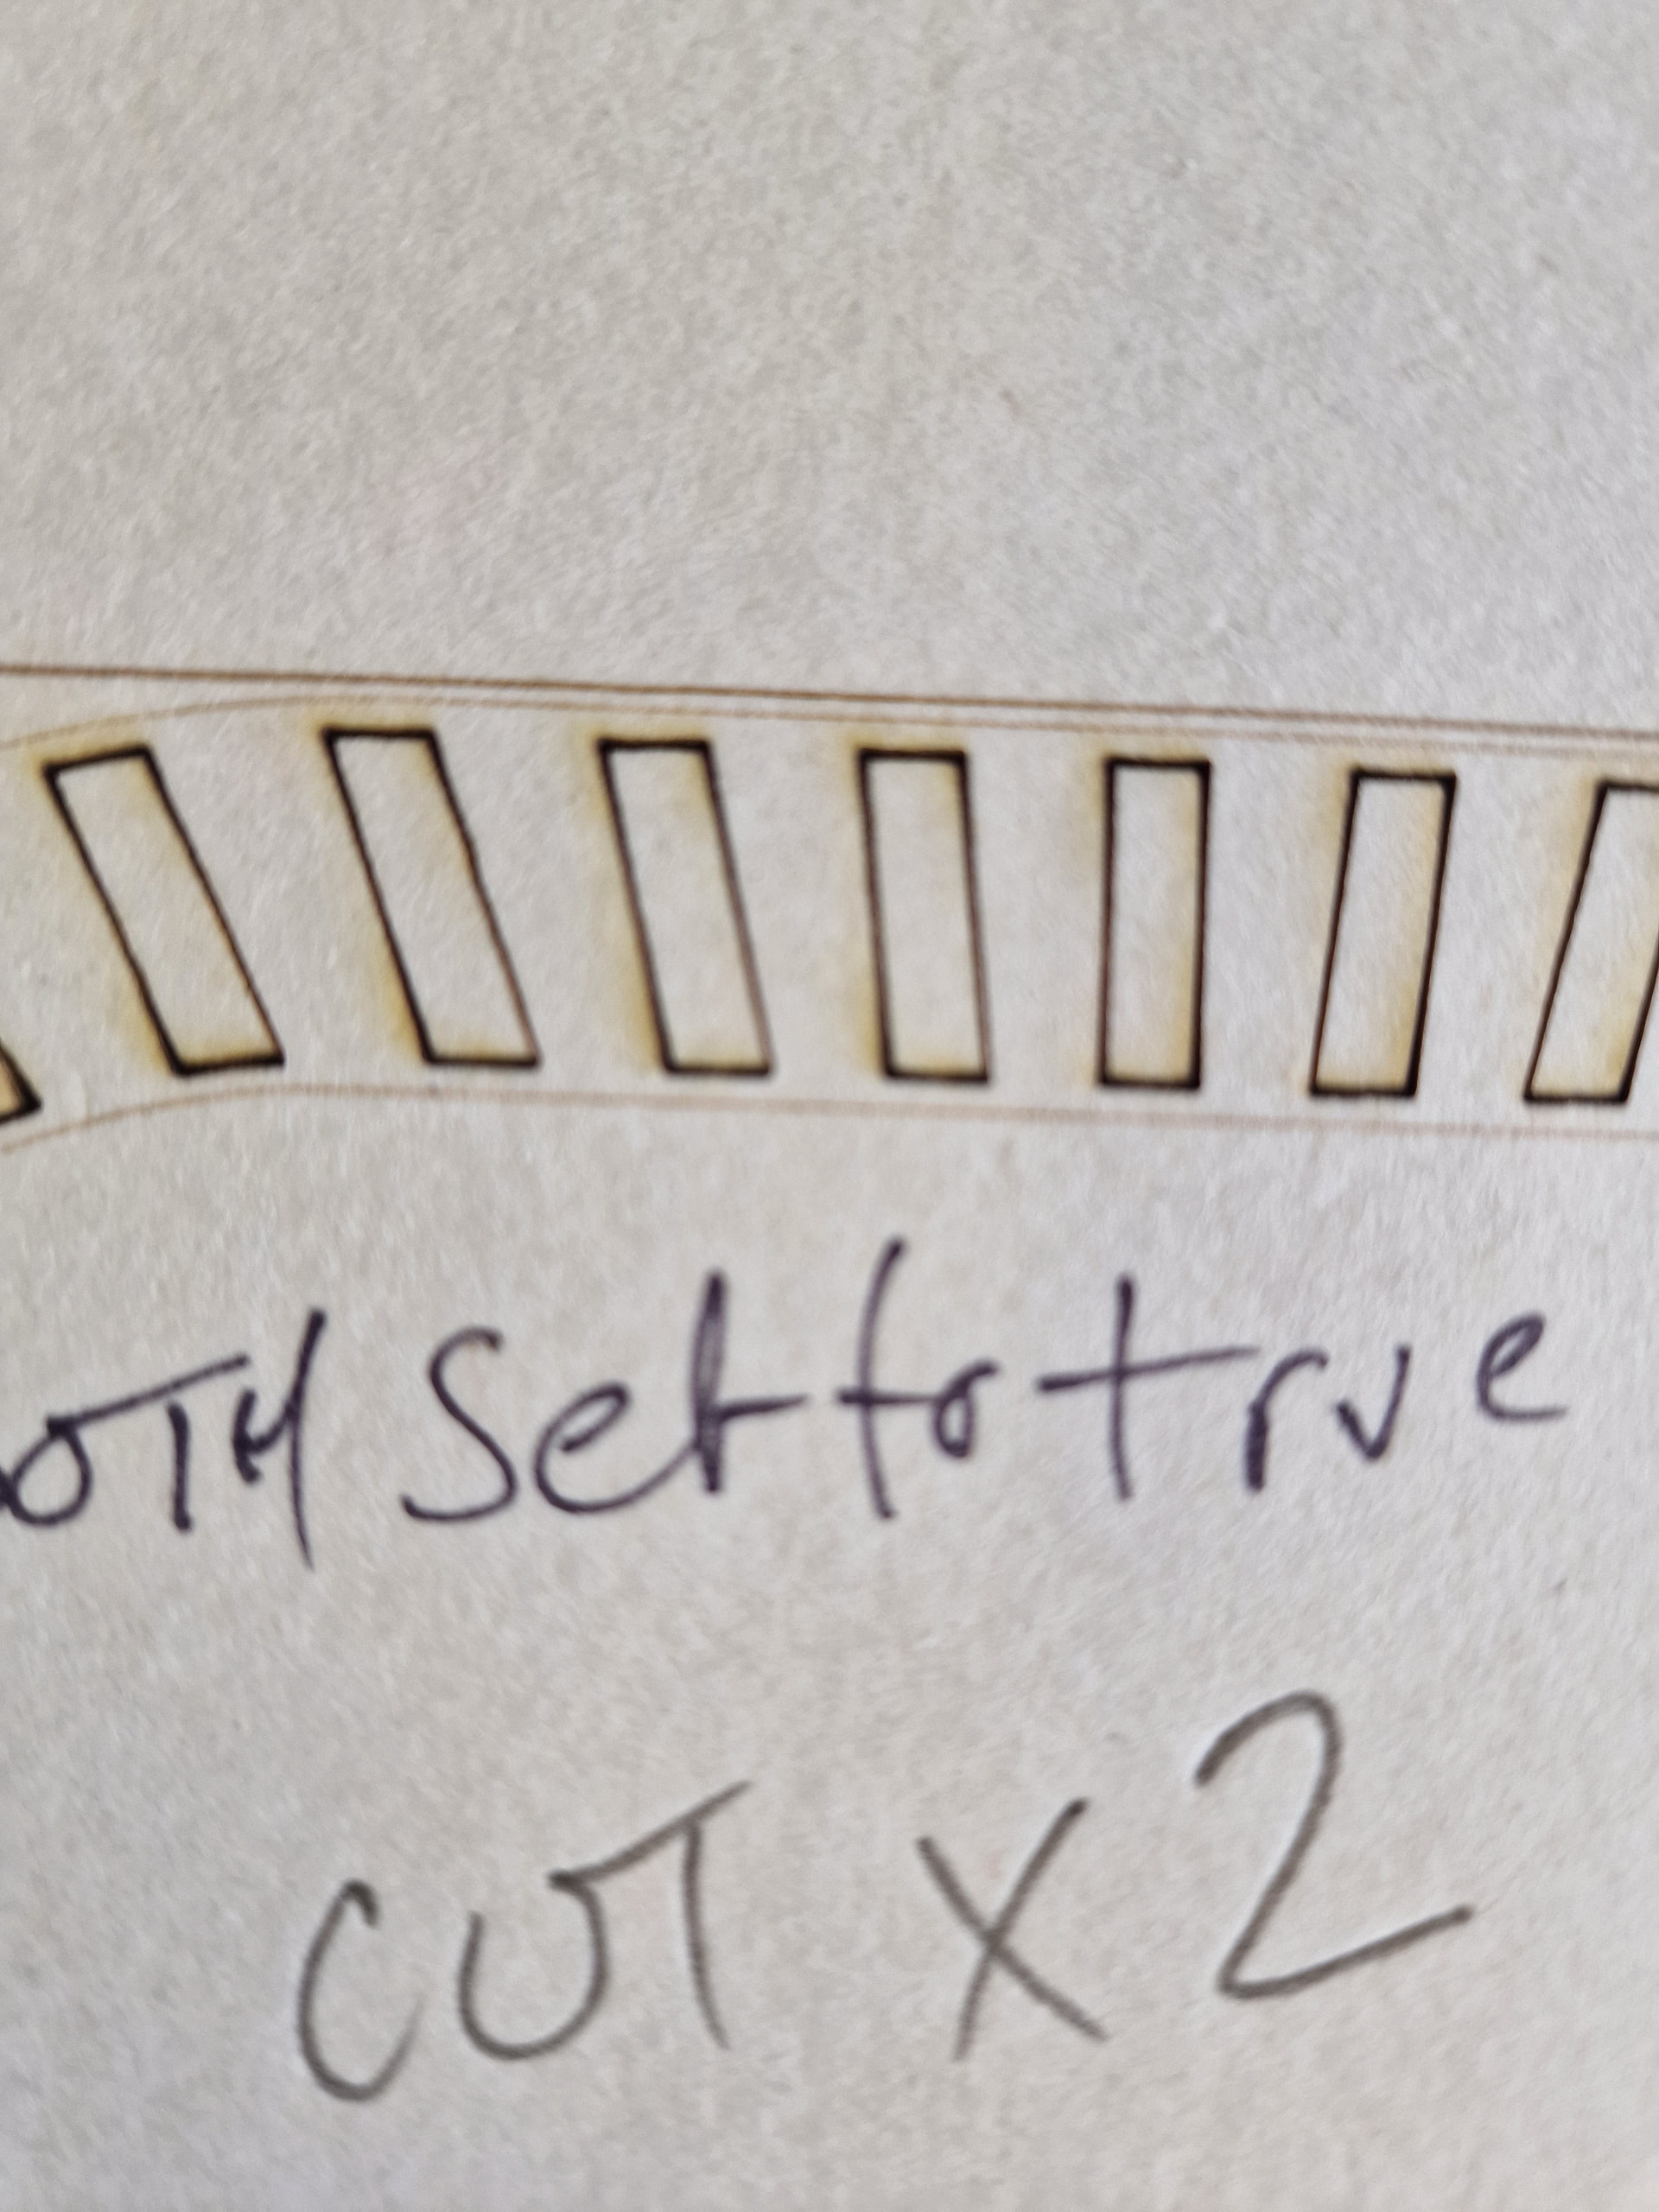
Here attached is a simpler (improved) drift test that should be interesting, it gives an even amount of work to each axis and it should be much easier to observe any drift (and accumulating drift) in the output.
45 drift test.lbrn2 (can be used in any position mode, change power % as needed but best to keep the diagonal fill lines at 400mm/s)
-burns start positon “mark1”
-burns rectangle outline
-fills rectangle lengthways at 45deg angle, and 1mm step (do the fill lines start creeping over the rectangle outline at the ends?)
-burns end position “mark2” (is it exactly over mark1?)
ok I have completed this test.
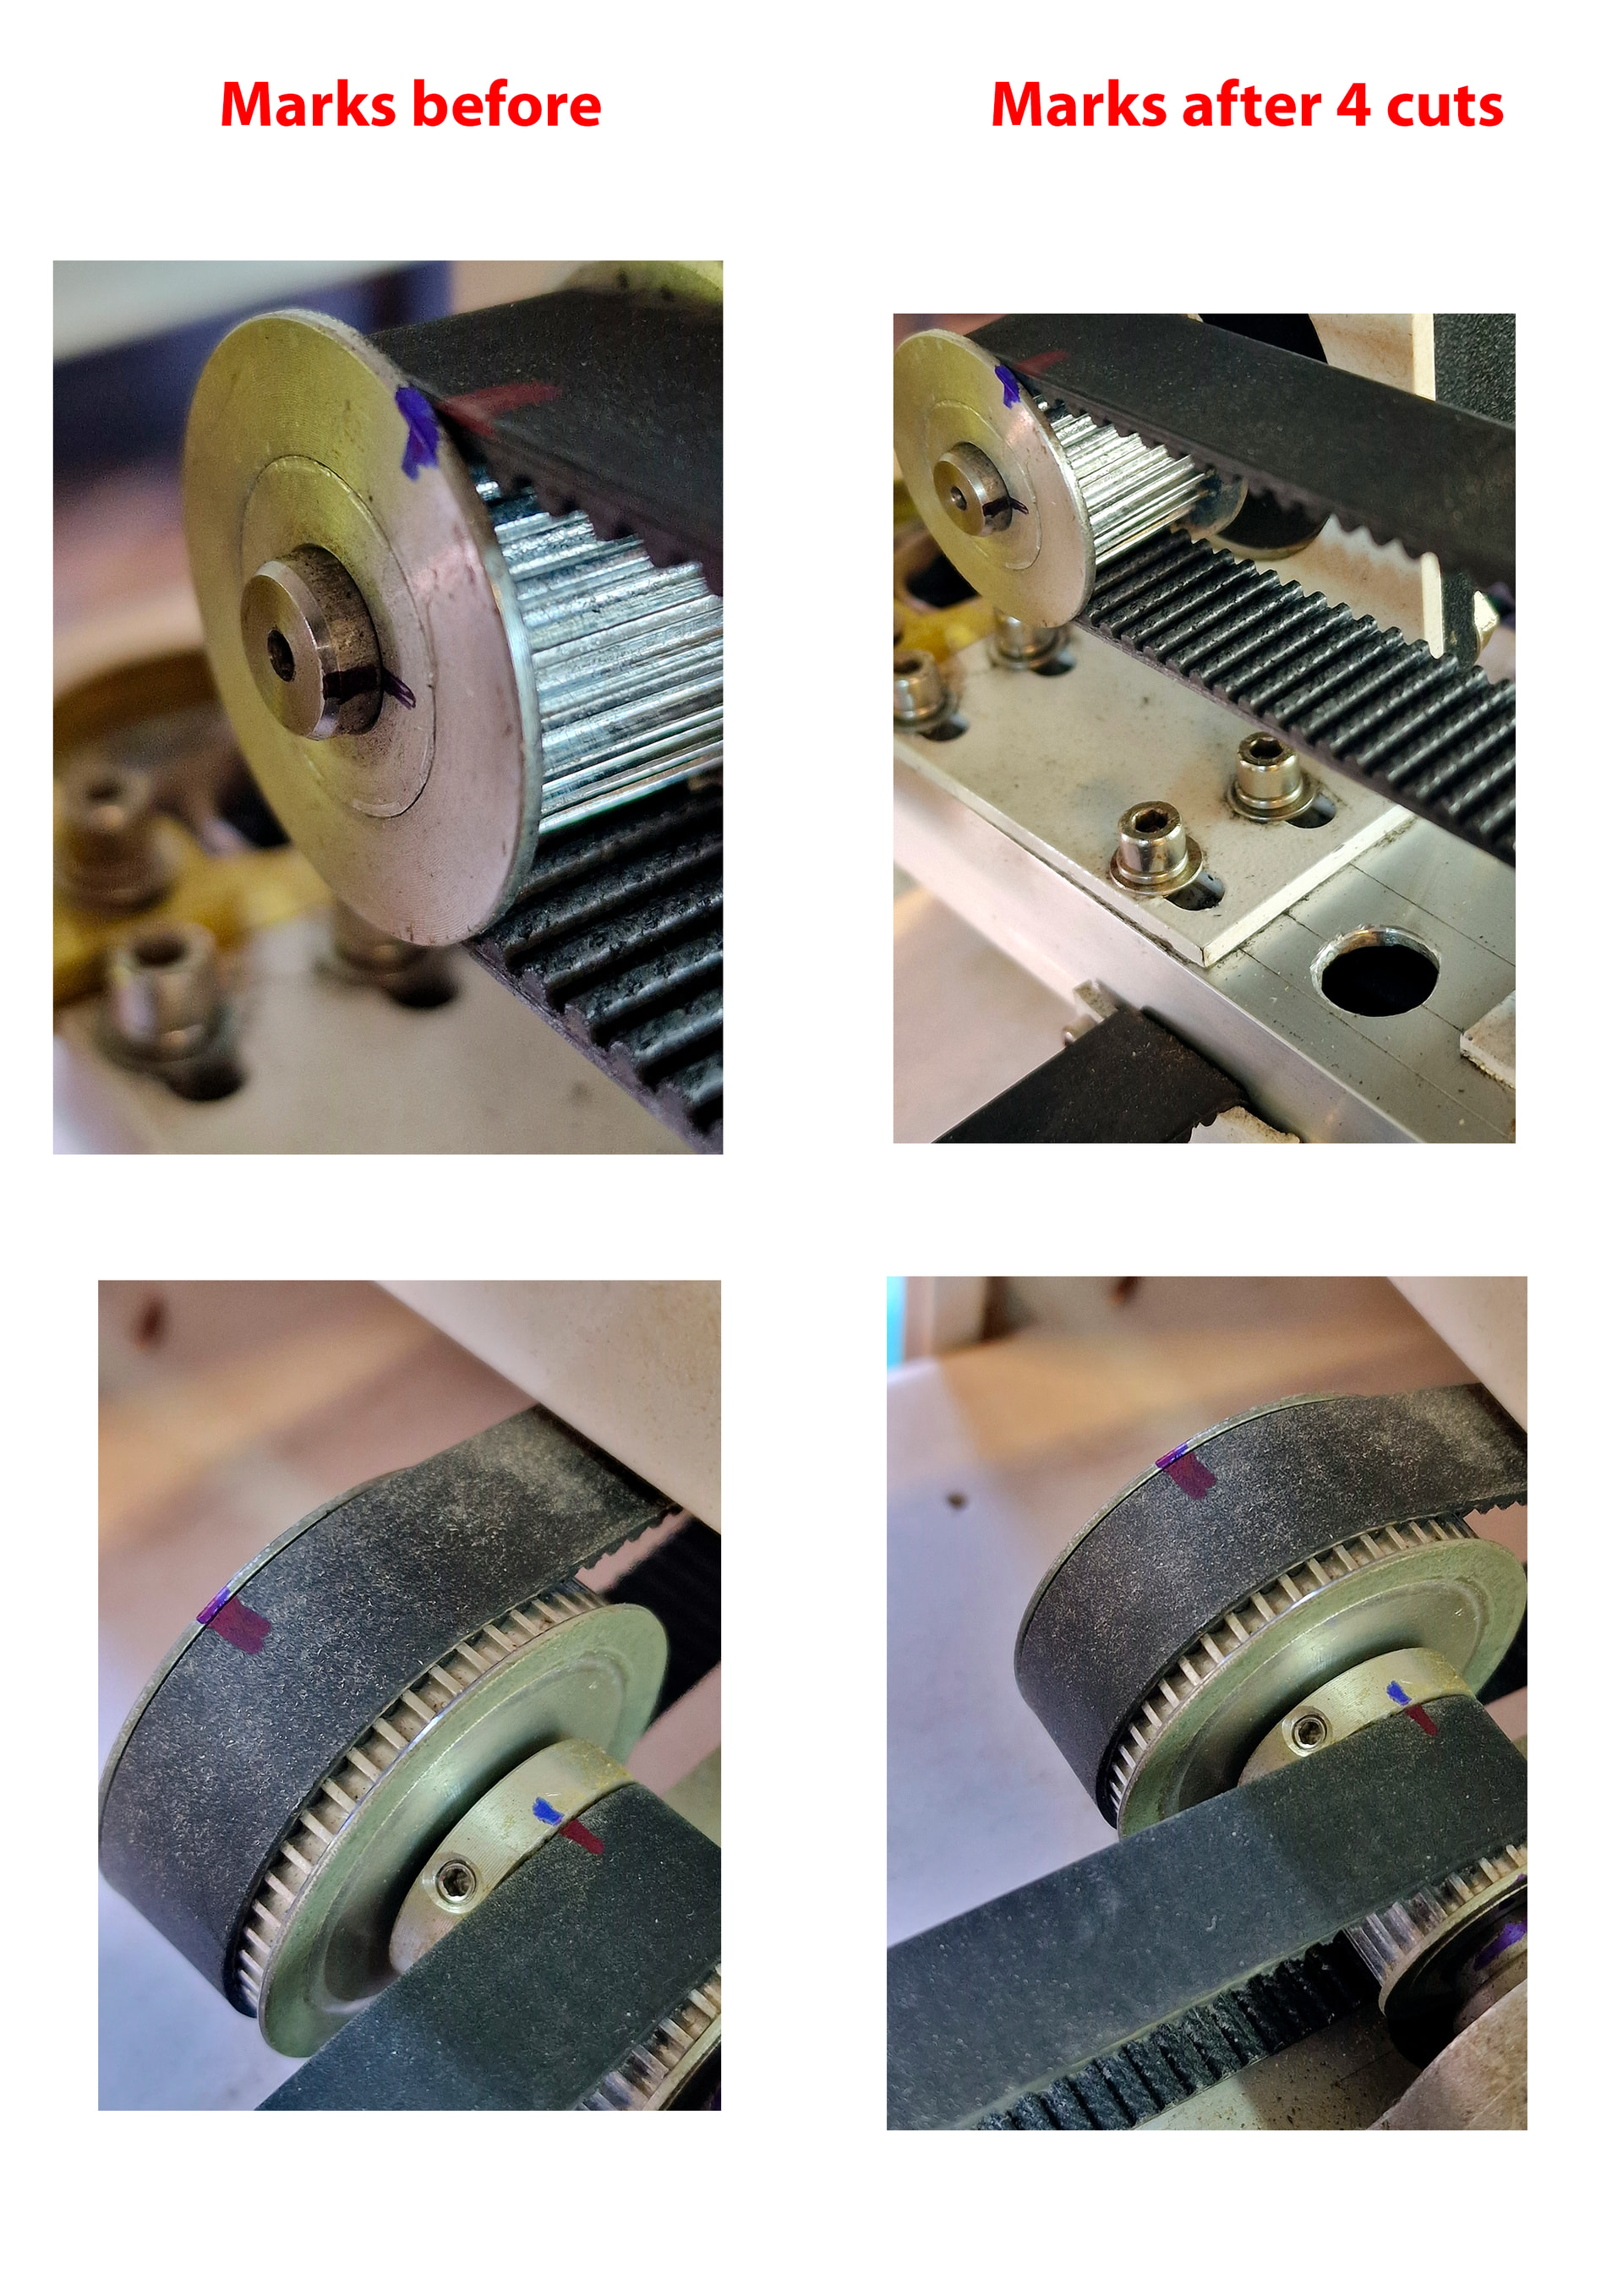
I homed machine. Marked belts and cogs as instructed. saved this location in Lightburn for later.
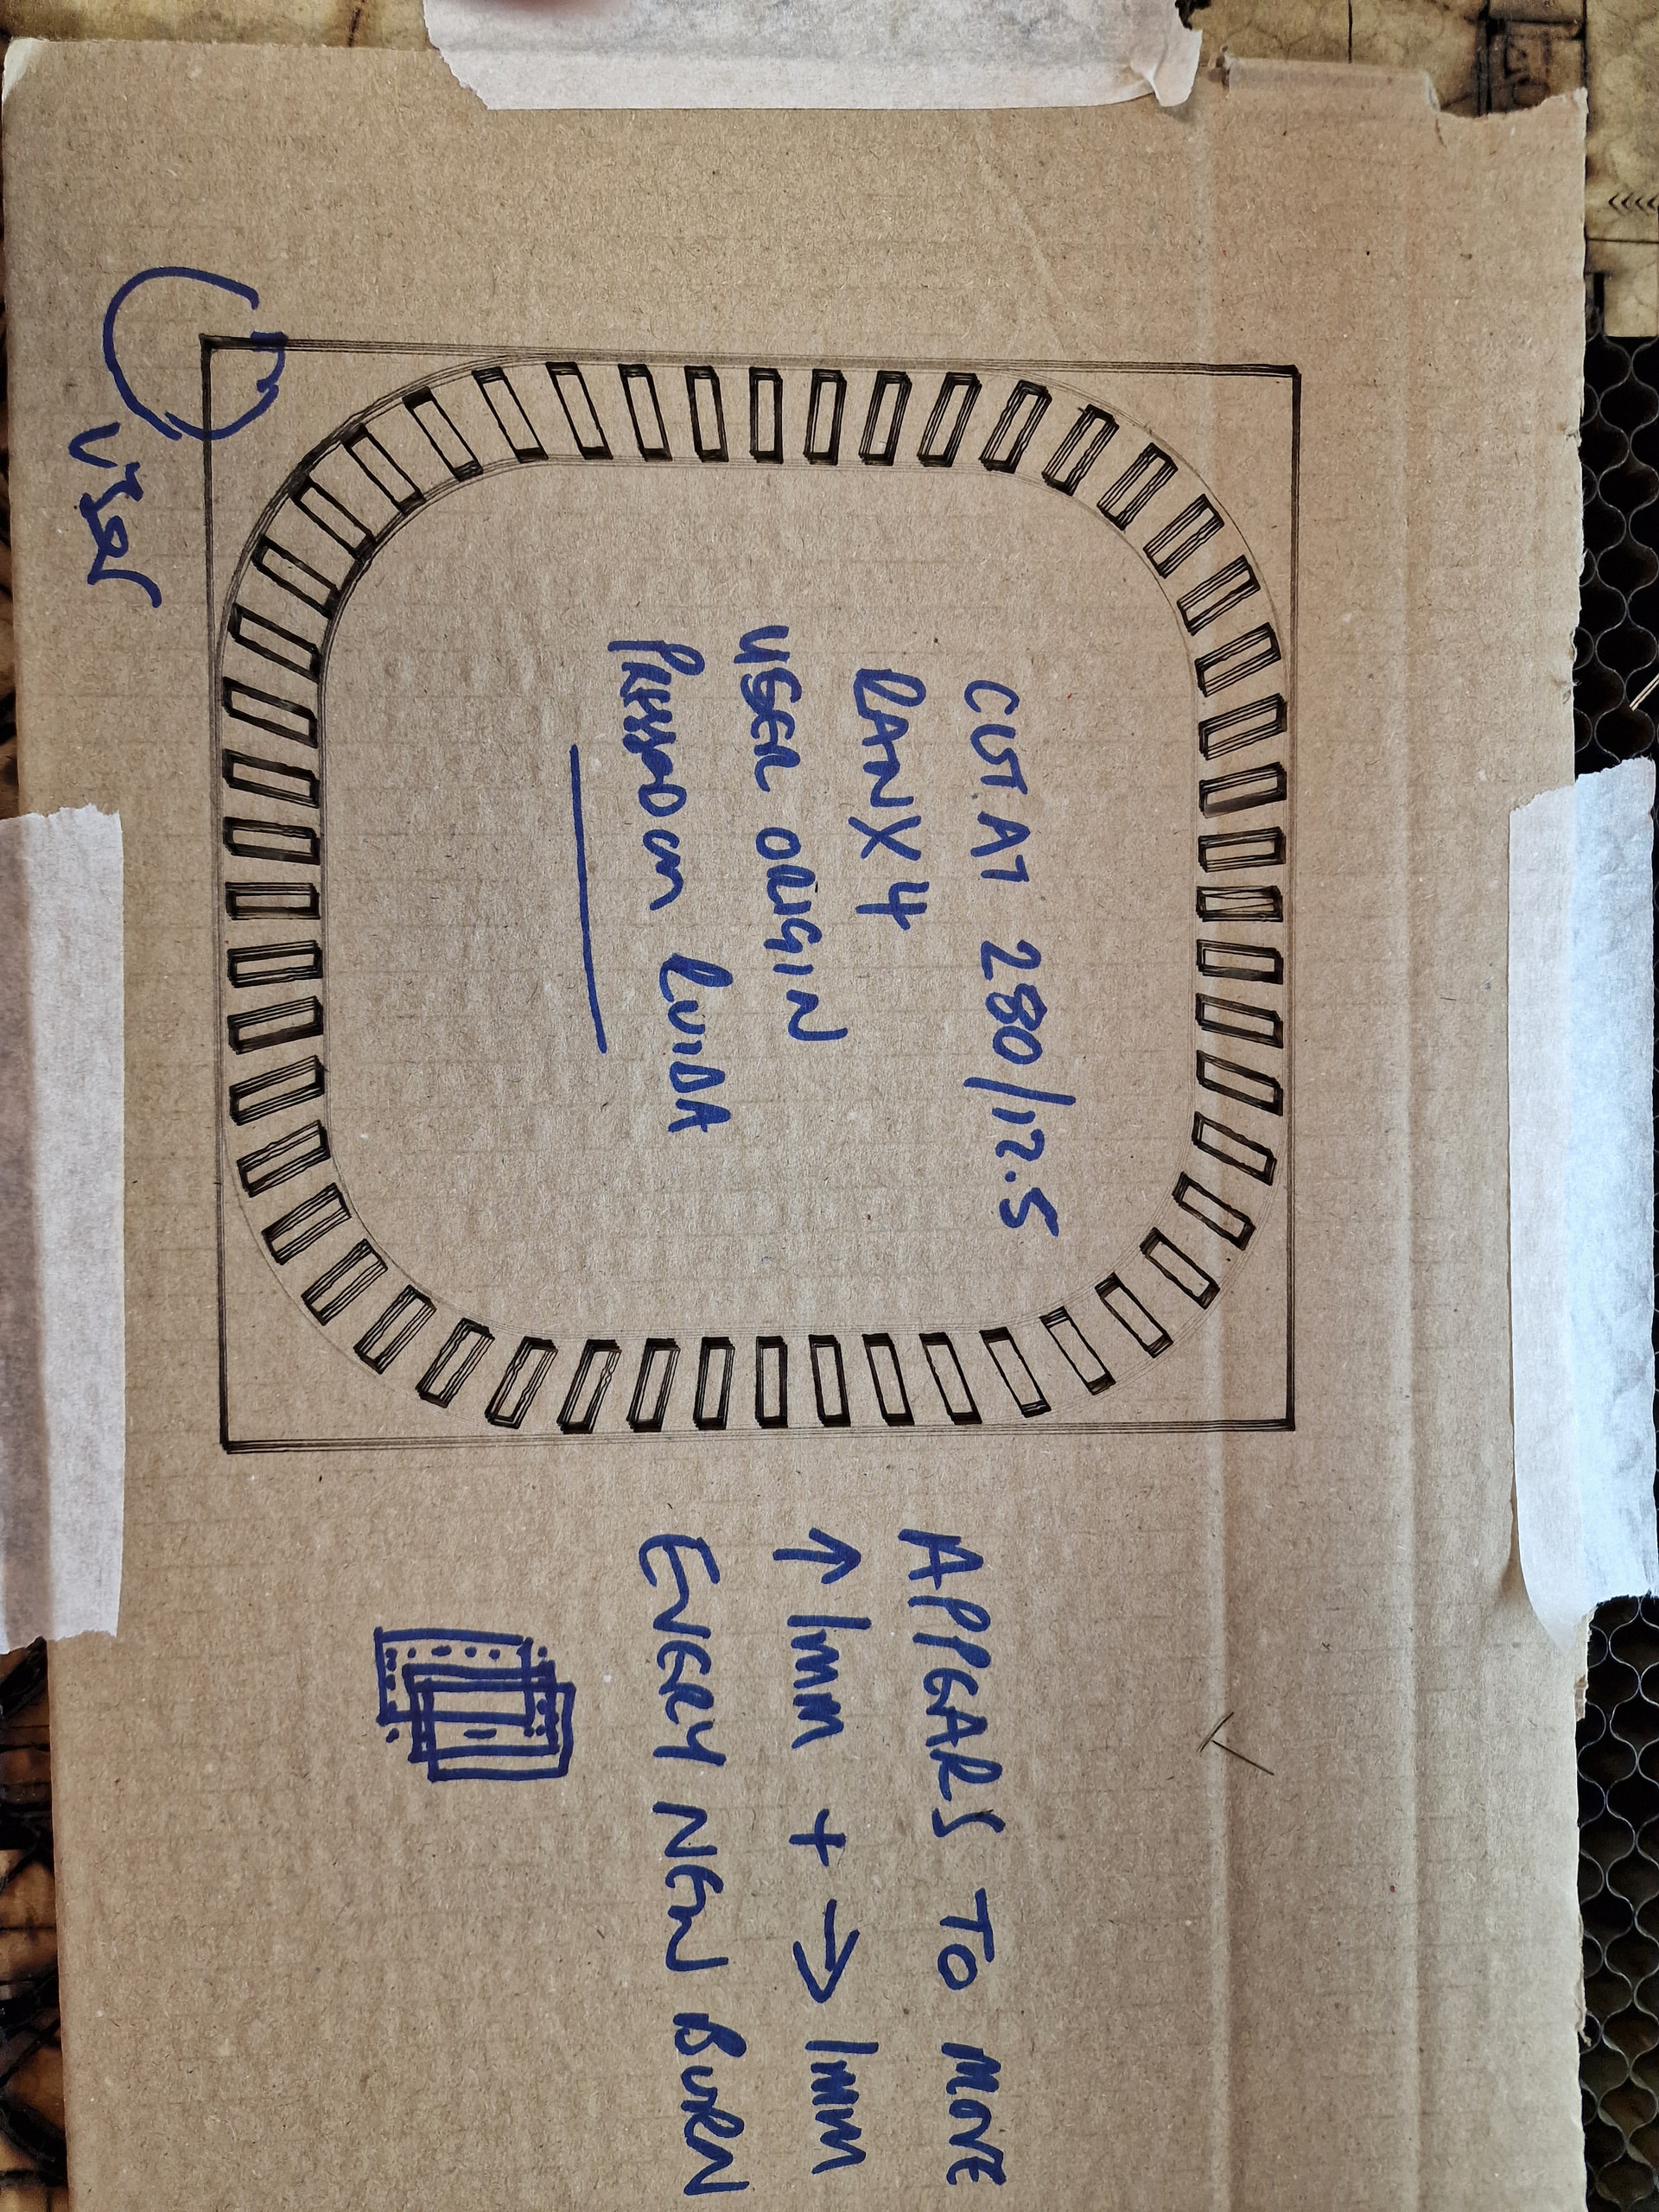
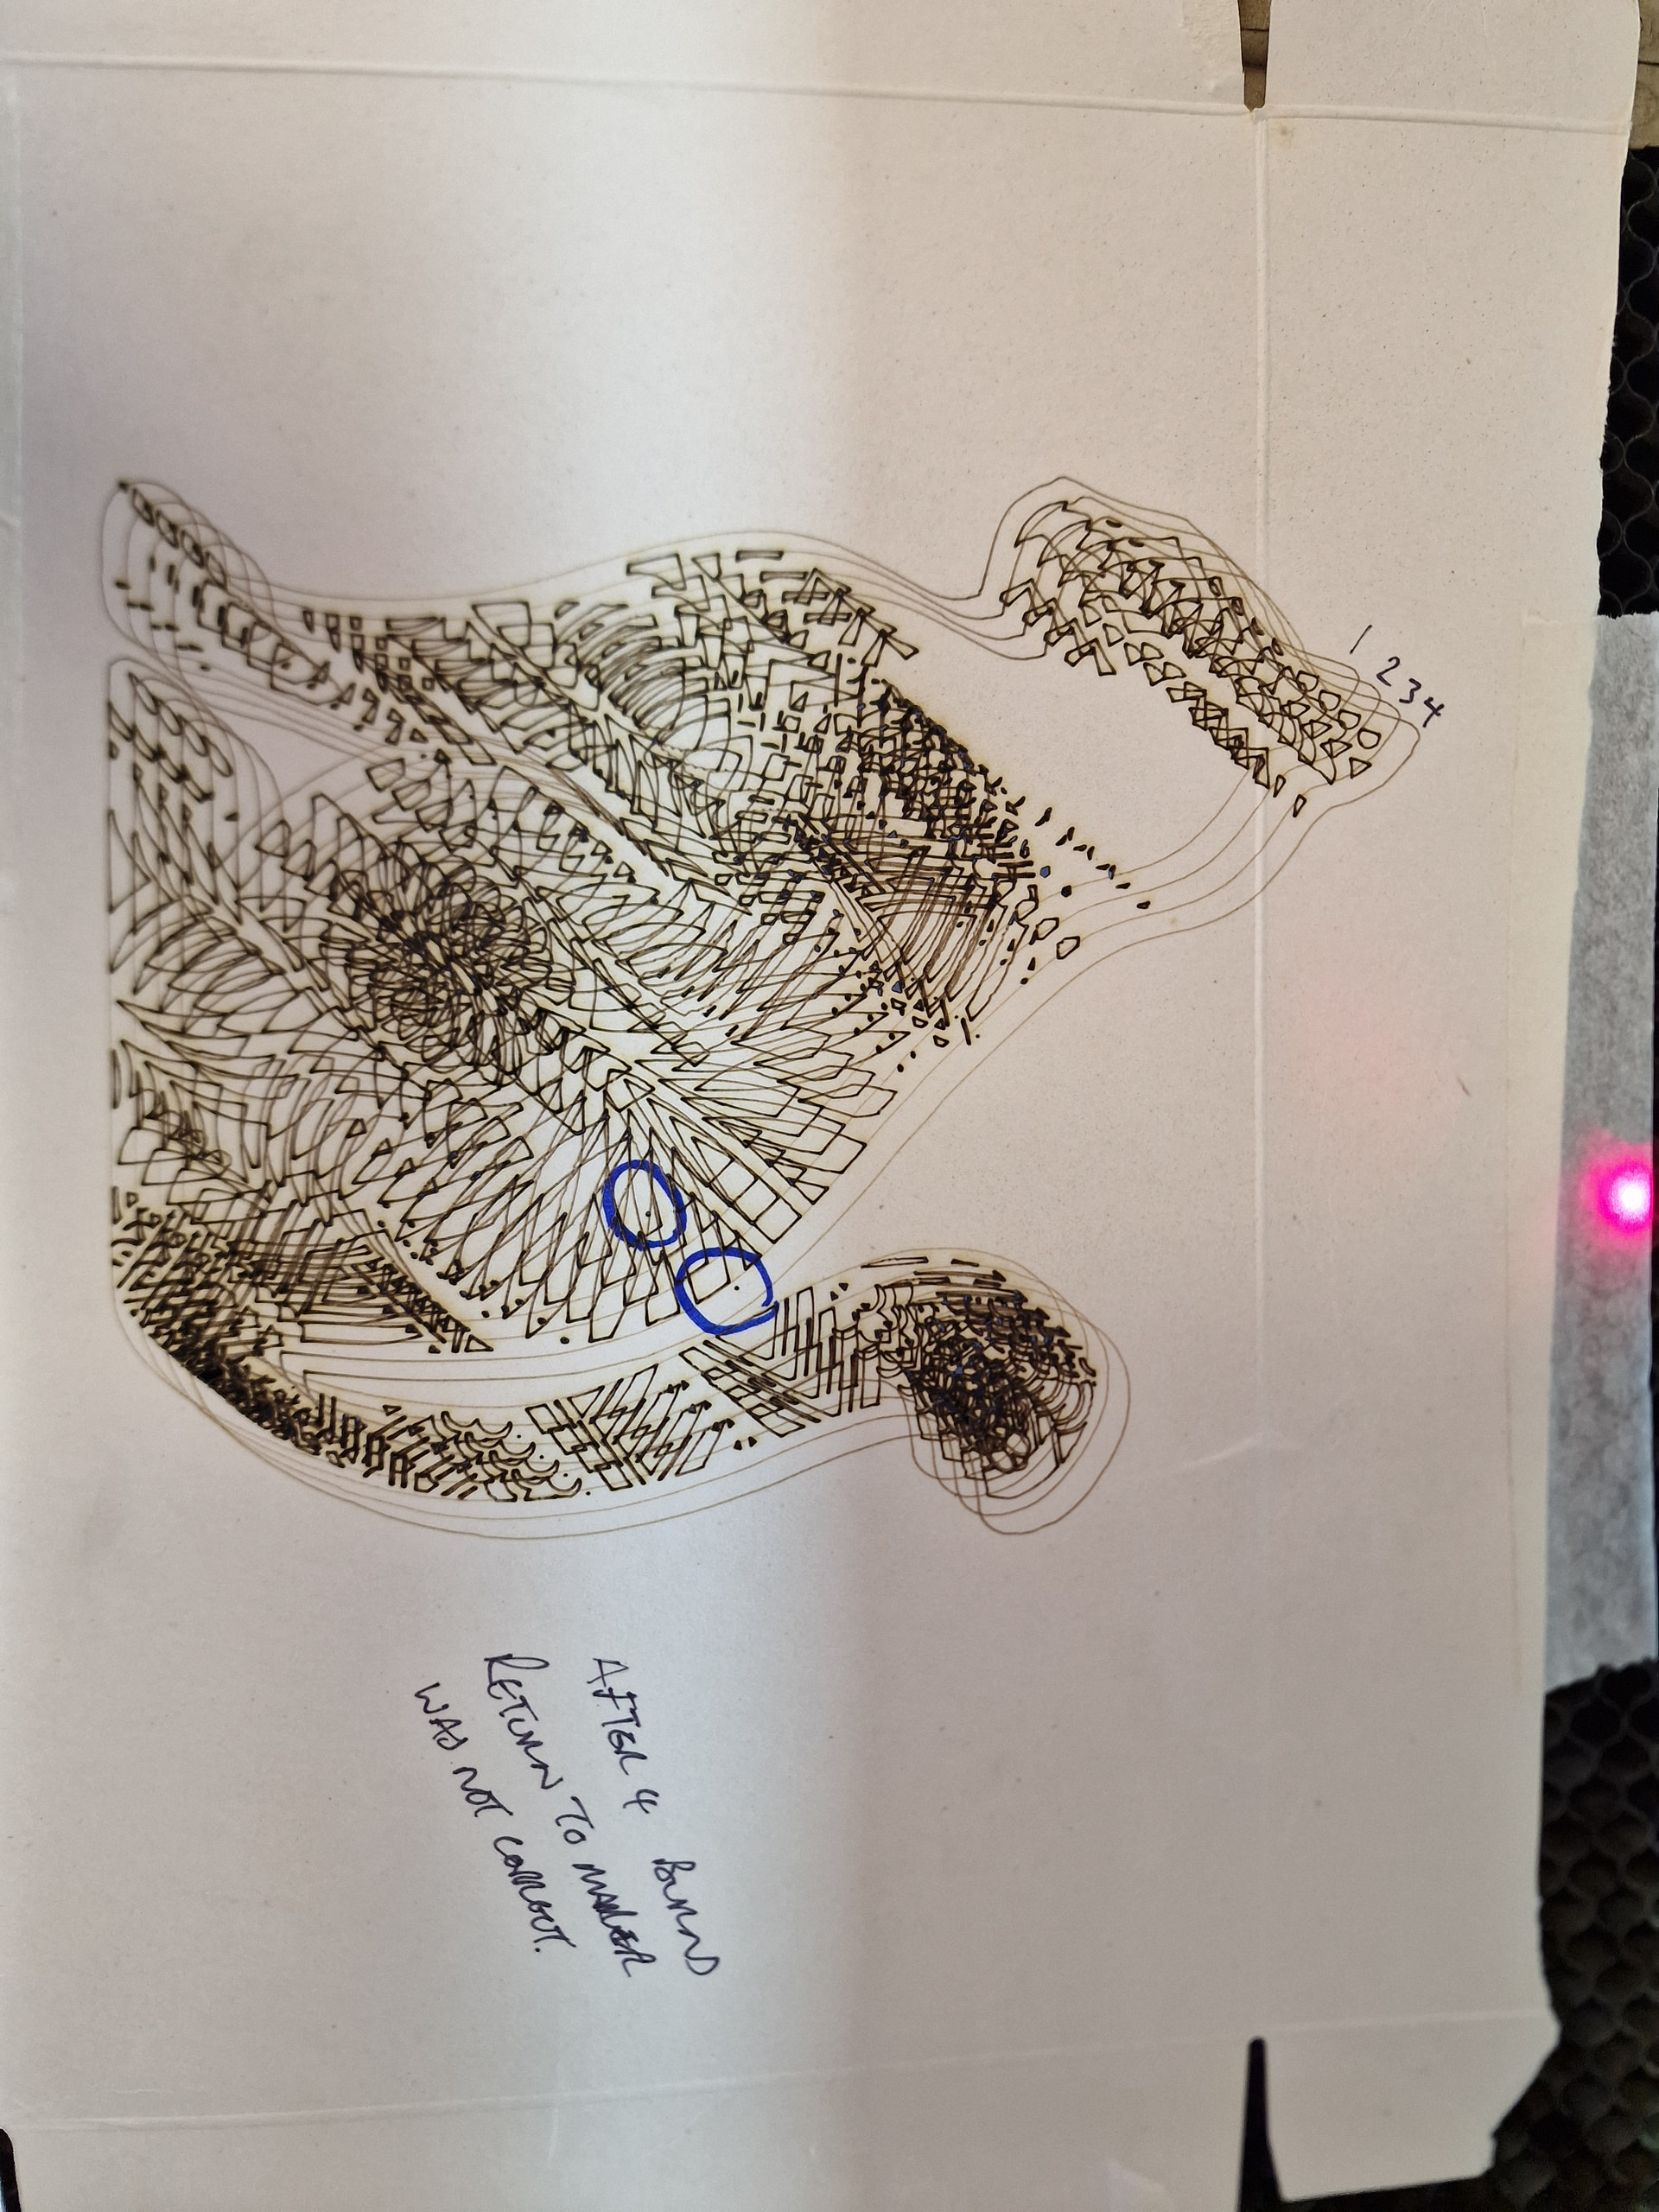
Used user origin as there is no difference in the errors between the 3 variants and put the origin as the return post burn selection. Ran the cat 4 times and it burned like before:
inner and outline shift per burn
3mm up and 3mm right shift per burn
I sent the head to the saved location to see how far out it was from pre-burn.
The 2 circles indicate the location of the head when I marked the belts before and post 4 burns.
At this stage the markers did not line up anywhere as a result.
I homed machine and sent the head to the saved position. I expected at least one of the markers to have moved but I don’t think any did move from their original position pre-burn.
OK, here’s what we know:
PWM Rising Edge Valid = FalseWe don’t know the controller’s power source, but it’s probably the 36 V supply. If so, it’s running well above its spec.
All of which leaves the 36 V power supply as the suspect.
At this point, it’s an Easter Egg hunt, so replace the supply and see if the situation improves. The suggestions I made earlier still apply.
Ed,
your input has been remarkable. You are a credit to this forum and Lightburn. I will make some enquiries regarding the power supply.
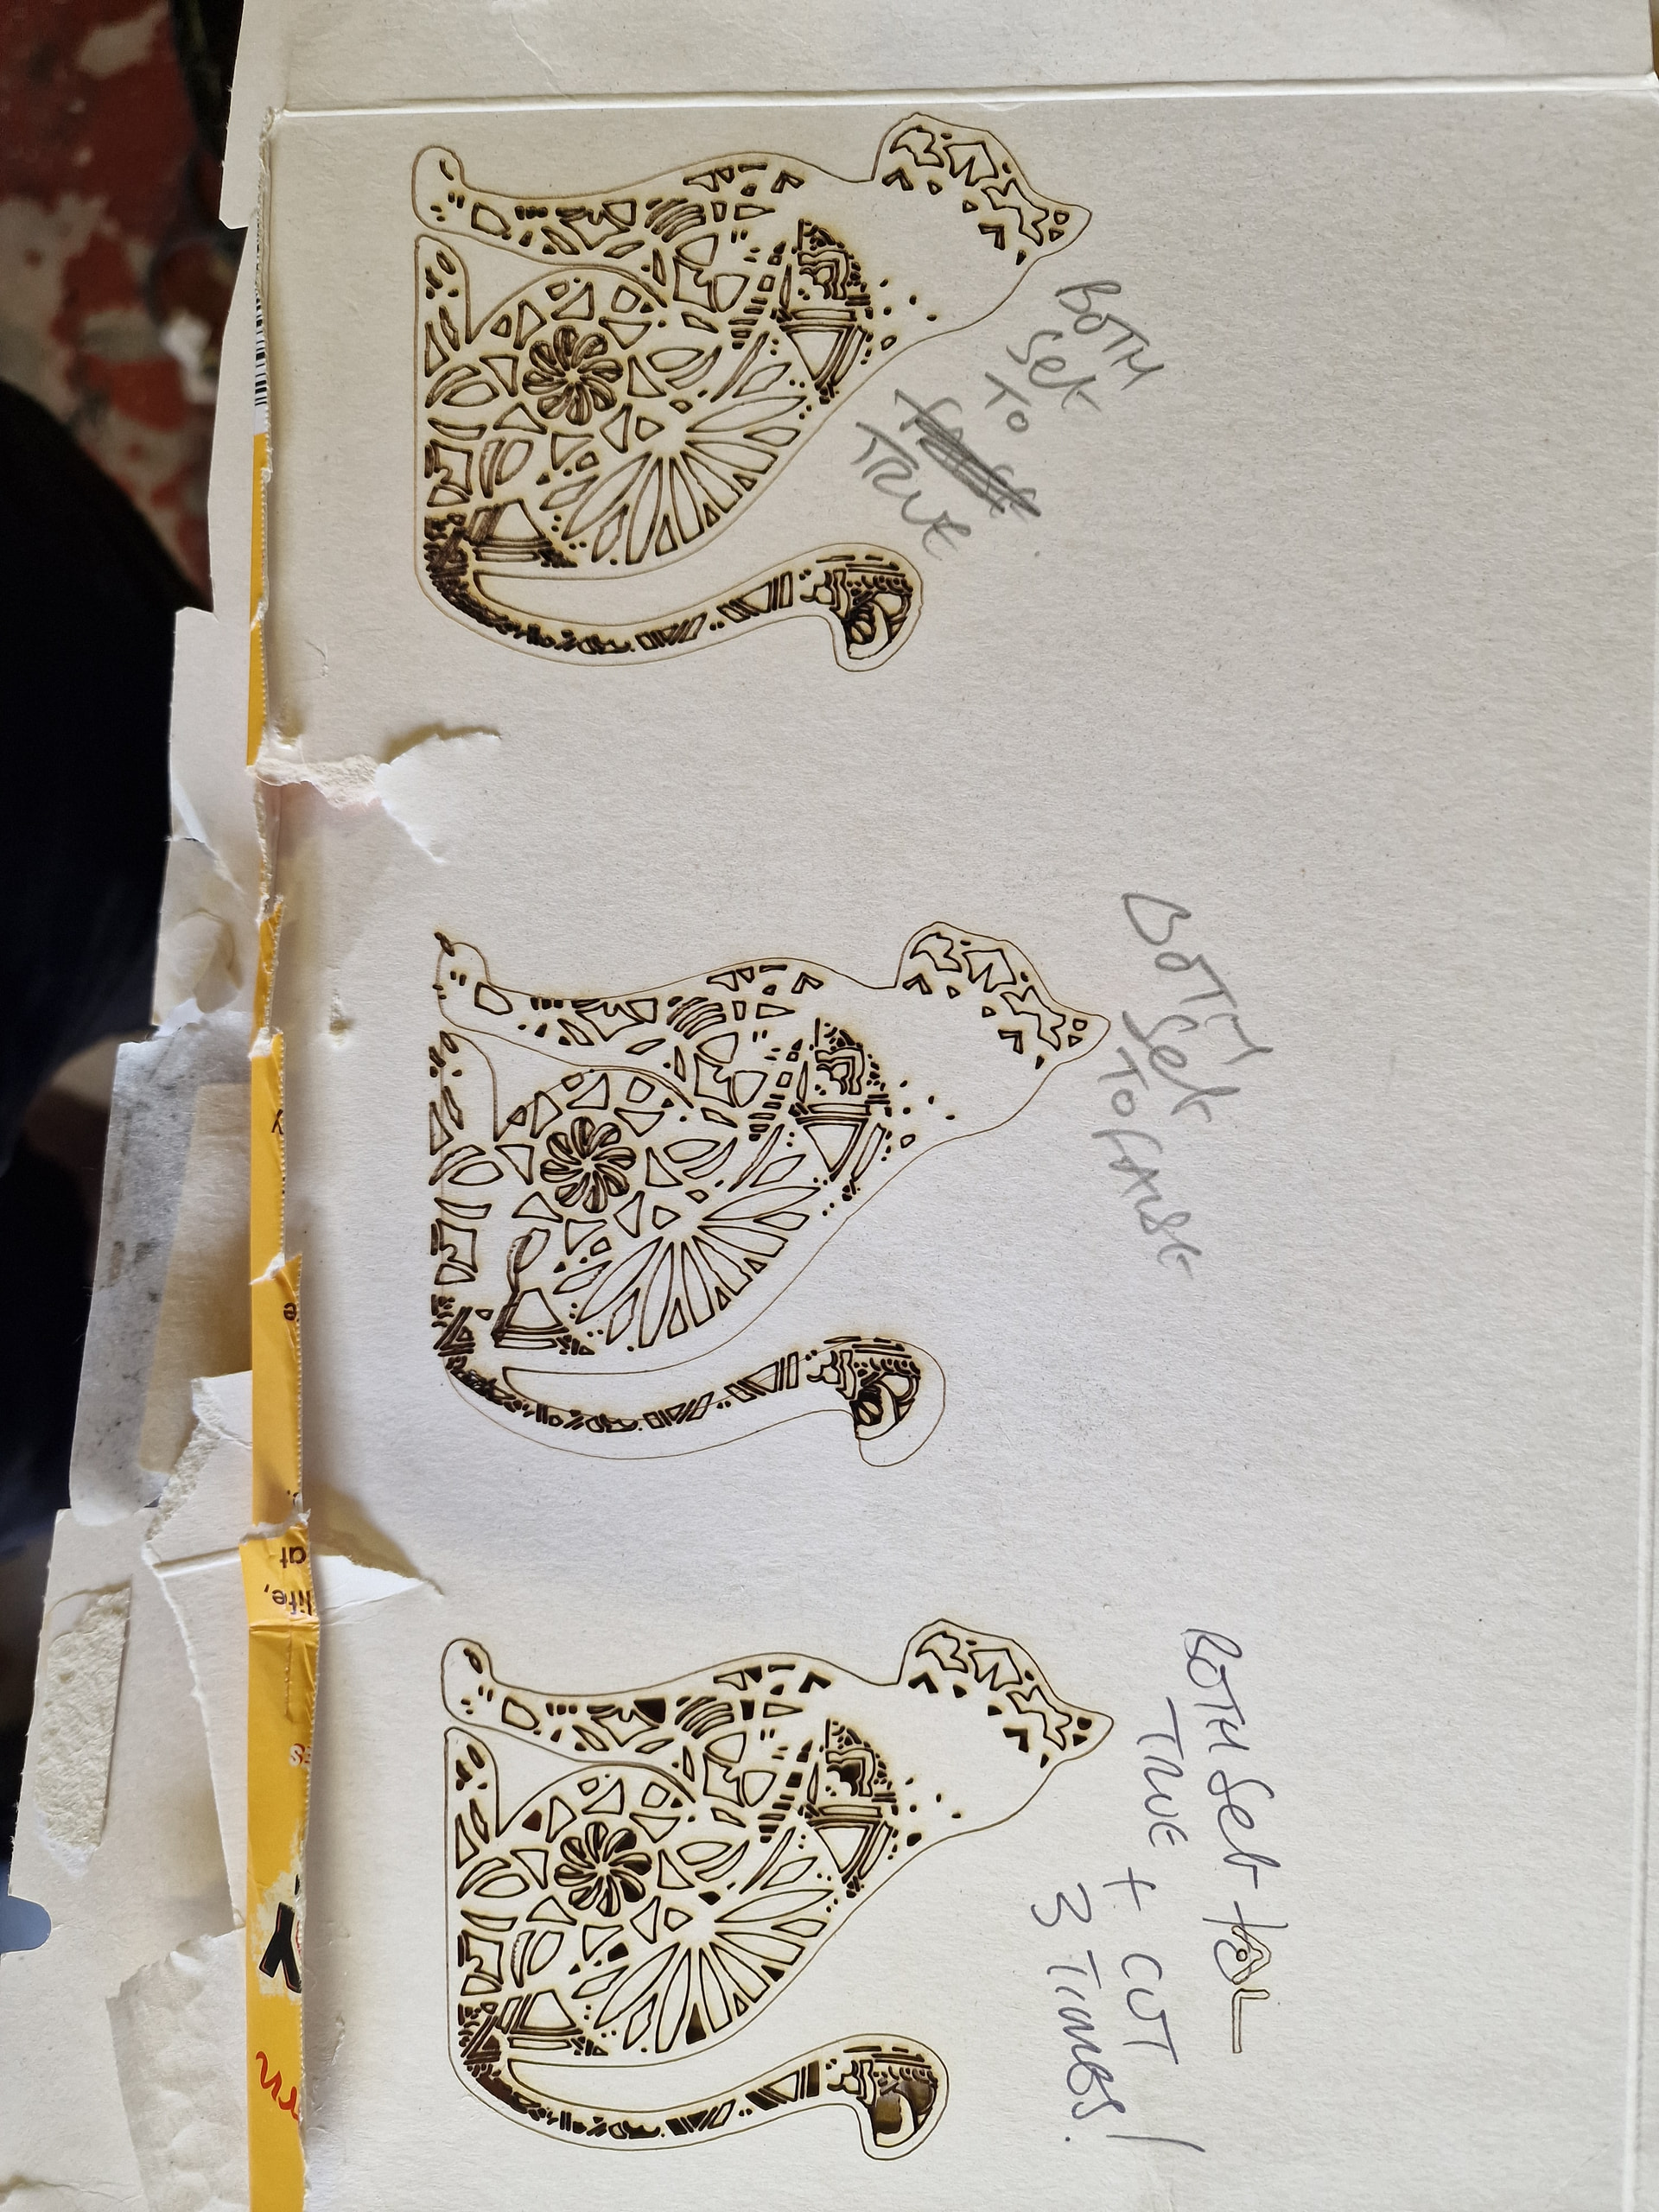
I have a feeling this change of the ‘PWM rising edge valid’ setting will be causing this very consistent offset, which is a different symptom than the first one you presented. I think they both should be set back to true for your machine otherwise you would have noticed a problem with this previously. Please try the ''45 drift test.lbrn2" before and after making changes to that setting.
ok i’ll go try it
That’s great it’s up and running. 
How about an update or a clue on what you did for a correction?

Looking much better! 
P.S. I just updated the drift test file in my last post as I must have attached the wrong one originally (because the fill should be going lengthways parallel with the long edges of the rectangle).