More fun with lasers, Lightburn... dot correction, ceramic tile, and window glass

Hi David . Thank you very kind of you for feedback, and really interesting.
When I did ceramic Tile engraving using Neje Master 2S 7.5W Diode Power & Norton method my settings are Negative Image, Preview : No Invert, DPI : 254, Speed 1000, Laser Power 100% using Grayscale with 1 Pass. But the end result is only average and not Dark enough. Are my settings OK. When you mentioned above - “exact same speed/power settings were used but with no dot correction (left), 0.02 (middle), and 0.04 (right)”, I don’t understand, It will be really great if you can attached a screen shot please from LightBurn. Thank you

Hi David Is me again. I found you screen send to another Forum member earlier. Please disregard my earlier email. Thank you.

Not getting much done but still piddling around with NWT tiles… and 3d optical illusions (delusions?). I did a few of these a couple of years ago and just wanted to see what’s new :roll_eyes:

Zapper tools…

Torus…

Hole…

Ladies… singing group?

What is this?

'tis a mystery…

Here’s a nice website for tons of this stuff…

– David

Another fun and enlightening test…

On another of the forums I keep up with, the subject of engraving ceramic tiles and glass was being discussed. One of the posters (@DrPete) was suggesting using black tempera paint to coat the glass prior to lasering… and showed a simple test he’d done, a few circles etched on a piece of glass. Because the circles had an etched/frosted look to them (as opposed to the black images fused onto the surface with NWT) and the method was simple enough, I decided to give it try.

So, not really knowing what to expect and taking no particular pains to be neat, I followed @DrPete’s instructions as best I could. I quickly brushed Walmart black tempera paint on a not-so-clean piece of broken window pane and lasered an image with the same little Eleksmaker 2.3W diode laser I use for the NWT ceramic tiles. To say I’m pleasantly surprised with the result would be an understatement…

To adjust for my lesser-powered laser (compared to @DrPete’s 10W laser) I used 1000 mm/min and 90% power… and got a genuinely frosted/etched image on the glass on my first attempt. Given the brush strokes in the paint were so inconsistent and streaky, I was surprised the etched surface still shows a relatively nice opaque image. But there are a few lines and streaks can be seen to coincide with some of the inconsistencies in the painted surface so I suspect a more uniform painted surface would yield a better result. Anyway, I’m encouraged with the attempt and feel it warrants a bit more playing, especially with trying to get a more uniform painted surface.

In summary… with the same laser, same glass, same image, but different paint…

flat-WHITE spray paint yields DARK embossed image… BLACK tempera paint yields LIGHT frosted image

How weird is that?

– David

4 Likes

Oh thats cool! I’m going to have to try that this weekend. I made some edge-lit signs by CNCing acrylic, but i wonder how it looks with that glass process.

1 Like

I think this is basic “edge-lighting”… a quick and dirty test

Does this help?

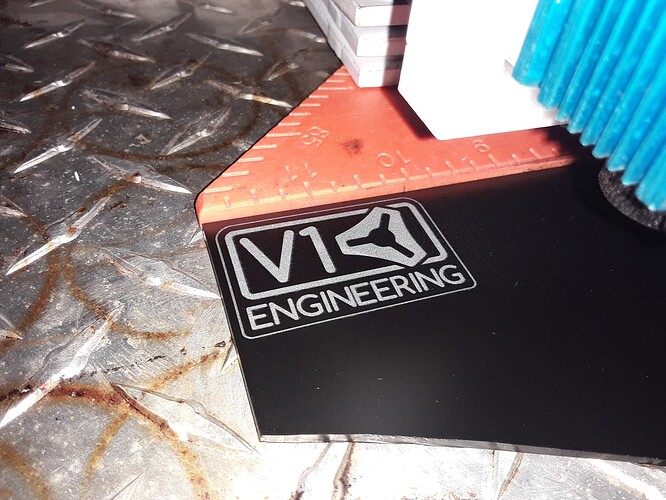
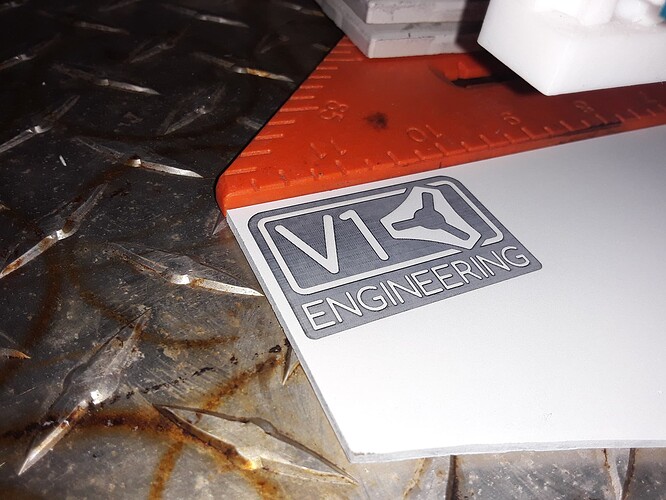
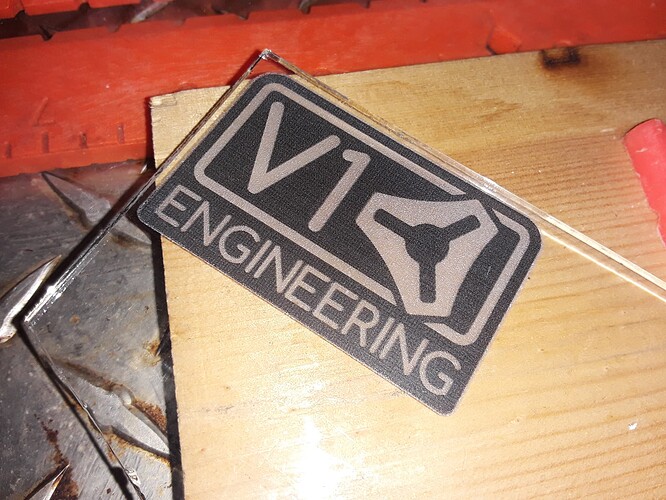
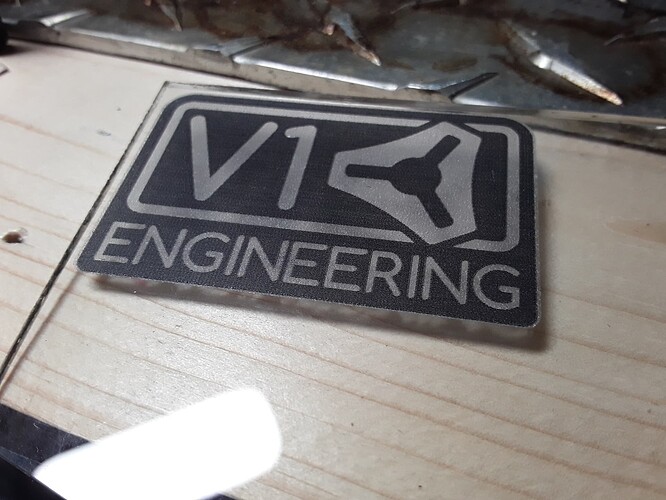
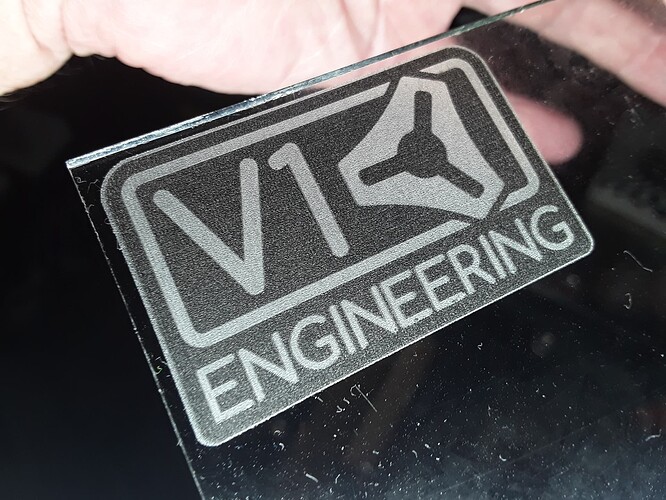
Still need to work out a better way to get a uniforn coating of tempera paint on the glass… still a bit of streaking in the engraving. I think the lizard was one coat, slathered on with a bristle brush… the V1 logo was a couple of coats, less streaky but still streaky.

– David

1 Like

Looks good! Maybe thinned out and sprayed on somehow, like with an airbrush?

1 Like

Don’t have an air-brush… but SIL does. Currently playing with Dawn dish soap and tempera paint… seems to break the surface tension a bit but still haven’t gotten a streak-free finish. The Dawn dish soap idea, mixed with white vinegar or cider, makes pretty effective fruit-fly traps… I’ve been over-run with the little pests over the past couple of weeks… :frowning:

1 Like

I want to thank everyone profusely for their suggestions about how to get smooth, consistent, tempera paint coating but, in my best Elon Musk-like “optimization-speak”,

  • the best paint coating is no paint coating at all!

Quite by accident, I discovered one of my early test burns was actually etched on both sides of the glass…

and looking at the surface I had put the glass blank on, it was just a battle-scarred piece of cereal-box cardboard…

so I put down a fresh piece of cardboard and laid the glass intimately in contact with it… and lasered through the glass (I mirrored and inverted the image in LightBurn)…

the trapped smoke/soot/gases/residue of the lasered cardboard left on the bottom-side of the glass resulted in the mirrored image…

which, when washed with dish soapy-water, revealed a quite nice etched image…

So, it appears the tempera paint isn’t necessary at all… just a dark-colored backing in close contact with the glass. I’m pretty sure it’s the laser energy locally-heating the backing and ablating chips from the glass as it travels. Maybe black construction paper would be better than the plain brown chipboard.

Or, hey, maybe I could paint the chipboard first… with black tempera paint! :thinking:

– David

3 Likes

Well crap. What do I do with the black tempera paint I just got today? :rofl:

1 Like

Found this unsavory character hiding on my hard drive…

and decided to immortalize him on a sliver of glass using my new-found method…

focused at surface of chipboard, 1000 mm/min, 90% power, 339 dpi… and looking pretty rough…

remember to mirror and invert the image… we’re etching the backside, which will become the frontside…

Washed in soapy dishwater and edge-lit…

It turned out far better than I expected… he’s almost recognizable.

He looks familiar… I’m pretty sure I’ve seen him someplace :wink:

– David

1 Like

You could beat your head against the wall and try to figure out how to get a smooth, consistent, coating on glass… :wink:

I’ve used soot from a “Carbide Candle”. I put a good layer of smoke soot on the glass and hit it with the laser. It works pretty well and wipes right off. Then I just rinse it with soap and water. It works pretty well. I’ll put up a couple pictures when I get a chance. I haven’t tried using it on an opposite surface yet, but I’d imagine it would work (just like your intimately close dark backdrop). I think you’d be able to etch opposite surfaces without being in contact with anything.

1 Like

I love this! I’ve never heard of a “carbide candle”… but it conjures up memories of the smoky ol’ “carbide lamps” we used when I was a kid, when night-hunting along the creek? I can see problems with my “thru-the-glass, no-paint” method… most glaringly, it’d be difficult with non-flat surfaces. And I see no real advantage to etching through the glass. So I definitely want to give this a try! Thank you! – David

We use carbide candles to blacken the sights on our rifles for High Power Rifle Matches. Typically these matches are open sights and the soot kills the glare on your sights. You just put some calcium carbide rocks in the back and add some water, the result is Acetylene gas.

1 Like

Alright… feeling a bit foolish, bypassing the most obvious candidate, to chase so many rabbits but the “candle soot” idea – and lack of handy soot-supplies – led me to pick up the can of Rustoleum ultra-matte black spray paint I already had on hand and quickly coat a piece of scrap glass.

Focused on top surface of glass…

after lasering…

and before complete paint removal with acetone…

then edge-lit…

no paint (top) vs flat-black spray paint (bottom)…

Ultimately, it appears IMHO the flat-back spray paint works as well as the “thru-the-glass, no-paint” (and tempera paint) methods I’ve tried… and is the same simple process I use for the NWT method for ceramic tiles and glass. All settings and process steps are the same.

Just use different color spray paint for either a fused-black embossed image (with flat-white paint) on white tile or frosted-white ablated image (with flat-black paint) on transparent glass.

Who’d a thunk it?

– David

1 Like

Carrying on, as if I knew what I was doing…

Prepared 2 gcode files in LightBurn… one for black paint (bottom), one for white paint (top)…

Black painted glass, lasered areas should be frosted/white…

After cleaning off the black paint, painted glass white, lasered background should be black…

After removing all paint with acetone… leaves two-“color” logo

Edge-lit, the black background actually appears to have a frosty texture… not sure why. Possibly changing the order of operations might have an effect?

I’m reasonably pleased with the result… :stuck_out_tongue_winking_eye:

– David

3 Likes

Really nice David!

1 Like

More pics of the two-“color” NWT process on transparent glass. I start with complementary gcode files generated in LightBurn… one for the frosted areas (painted matte-black) and one for the black areas (painted flat-white).

I don’t think it matters which color you do first… just make sure you’ve got a solid registration scheme. Here I’m lasering for the lighter, frosted areas…

Black paint removed with acetone, and prior to repainting white…

White-painted workpiece replaced and lasered for the darker, black areas…

Remove all paint with acetone and check out your work…

Just a FYI: Except for careful registration of the workpiece, the process seems quite forgiving. I’ve done several of these now and lasered the painted pieces within just 10-15 minutes of painting… i.e. it really doesn’t seem to require the paint to be completely dry to work. Speeds up the process considerably! :slight_smile:

– David

3 Likes

Playing around with the “two-tone” engravings on transparent glass again…

Ceramic tile and glass done on our little Cenoz machine with Banggood 2.3W laser…

The process… lizards for reference – same gcode, same laser settings, different paint

Flat-white painted glass being lasered for black background…

Before paint/soot removal with acetone… I keep a personal fan gently blowing across surface to keep lens from fouling…

White paint removed… note the lettering is still transparent…

Painted now with black tempera paint and lettering/scrollwork is lasered (negative image!)…

Paint removed and frosted letters… tempera paint can be washed off with plain or dishwater…

and now joins my “collection” of glass scraps… :wink:

Remember to use a negative image for light/frosted image bits. And since the workpiece is removed a couple of times… registration is key!

– David

1 Like