More fun with lasers, Lightburn... dot correction, ceramic tile, and window glass

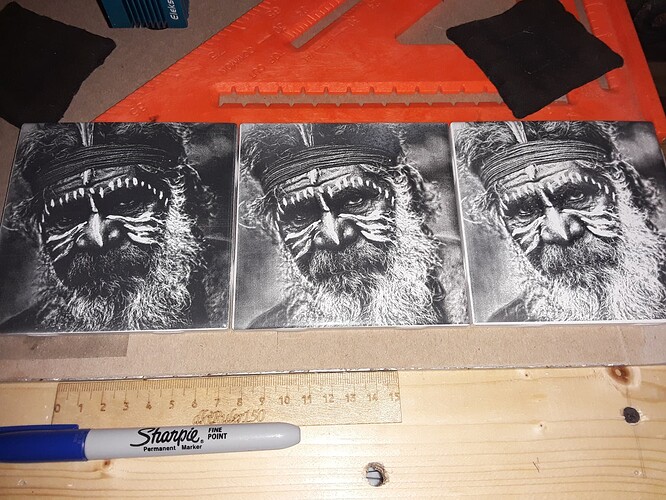
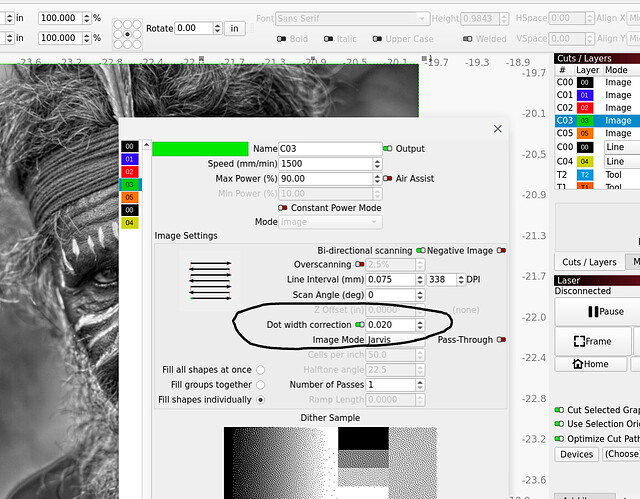
An update on recent NWT efforts… and some tests with Lightburn’s dot width correction setting. As you may or may not know, it is an adjustment for a line’s true length, which when lasered is extended by 1/2 the laser’s “dot diameter” on each end. It is especially useful for dithered images which are made up of many extremely short line segments. The effect of no correction on a dithered image is a darker burn and some loss of detail while adding dot width correction lightens the image and brings out more detail…

Here the exact same speed/power settings were used but with no dot correction (left), 0.02 (middle), and 0.04 (right)

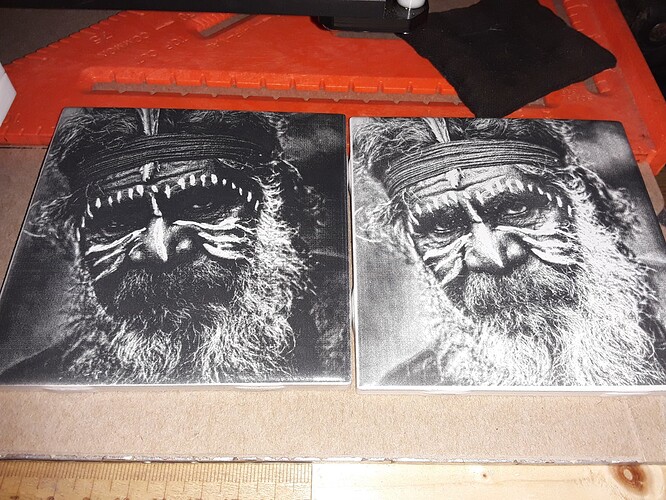
Here no dot correction vs 0.04…

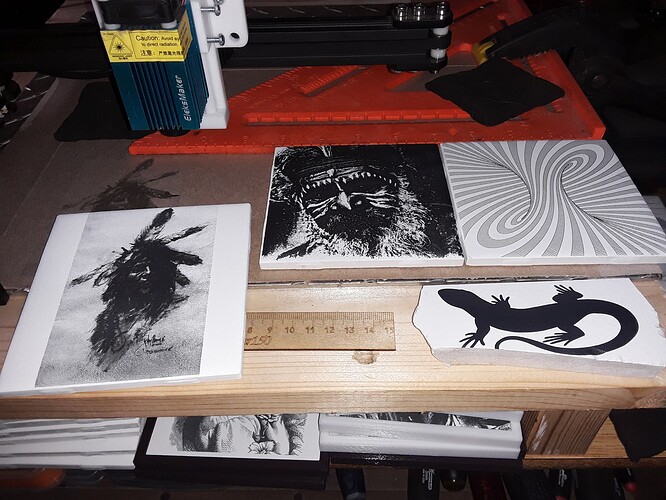
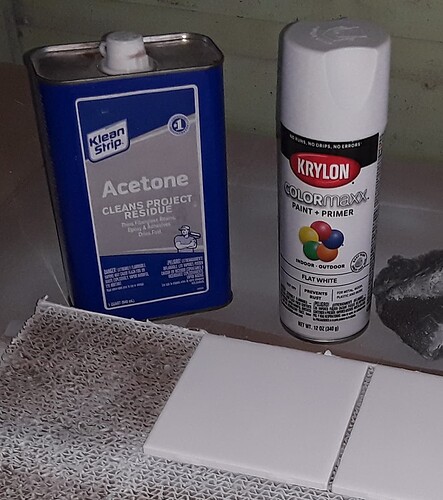
A few other miscellaneous tests using Krylon ColorMaxx flat-white paint/primer and 2.3W Eleksmaker diode laser running 1500 mm/min, 90% power, 33pdpi, and Jarvis dither…

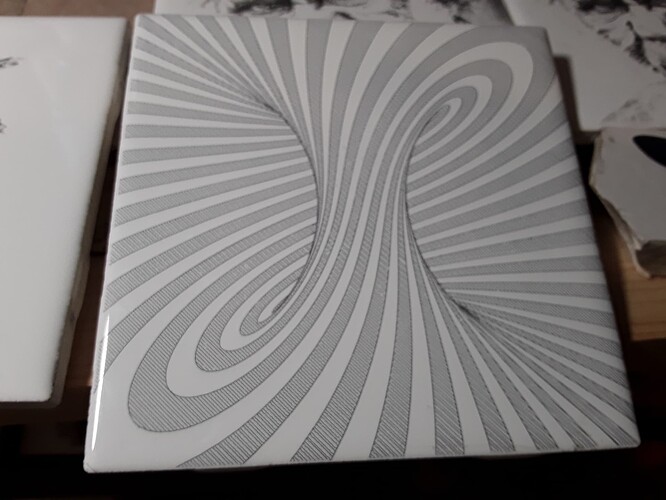
a vector (vs raster) burn of a torus…

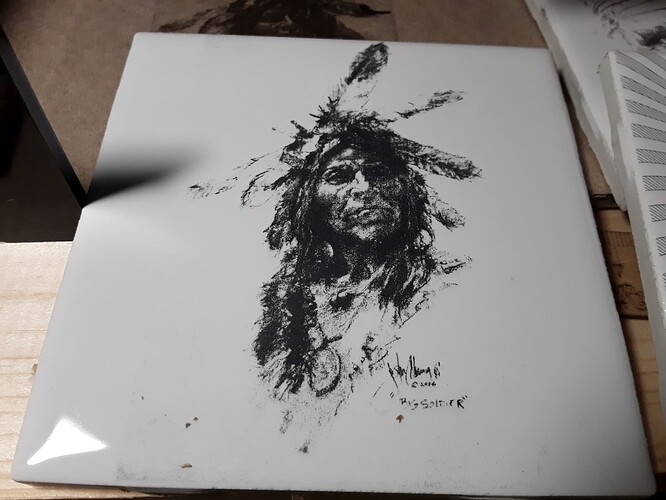
a screen-grab of a Native American painting/drawing…

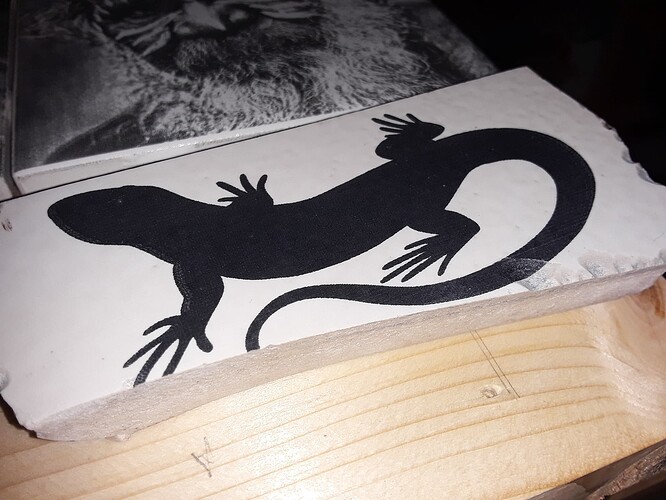
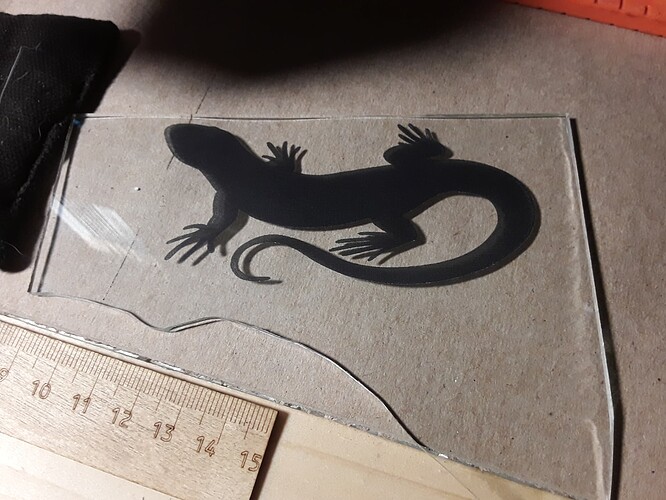
and a nicely-black clipart lizard on a piece of broken tile (porcelain?)…

Another fun, quick test… and something I’d done from a couple of years ago, I used the Norton white tile method… on plain window pane glass. Back then I’d done one of my grand-daughter’s pencil drawings on picture frame glass to demonstrate the texture and scrape-resistance…

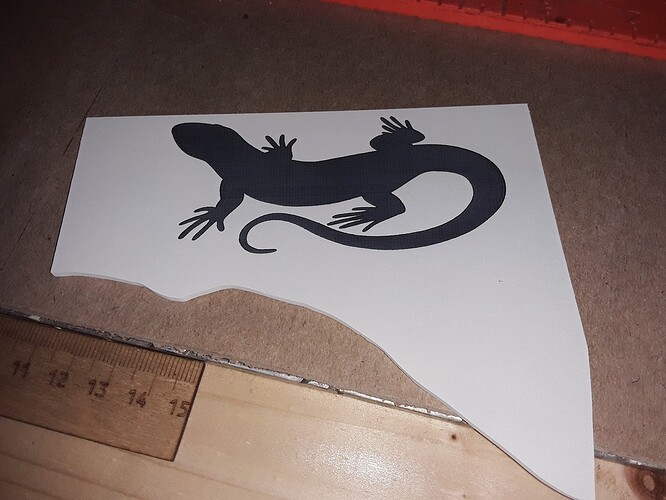
but now I wanted to see just how opaque a solid image might be. The lizard was agreeable… so, using the exact same recipe as before, I painted the test piece (broken, preferrably) with flat-white paint and then lasered the image…

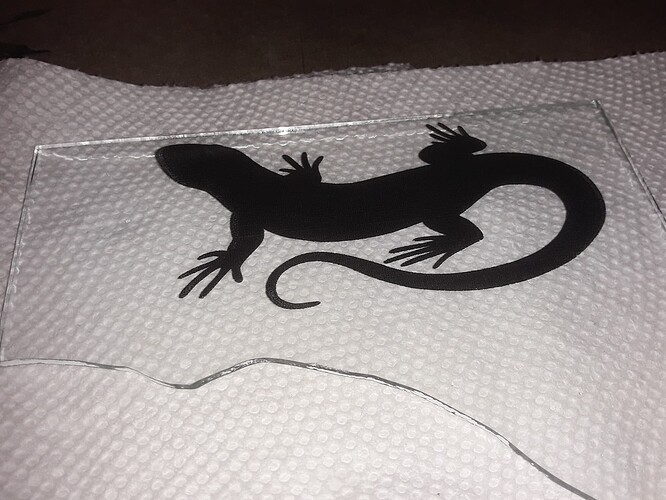
after removing all traces of paint with acetone… it’s nice and black

and even throws shadows!

How cool is that??? Surely that’s gotta be good for something… right? :stuck_out_tongue_winking_eye:

– David

7 Likes

That is some neat tricks!

1 Like

There’s so much you can do with this. Great work!

1 Like

David,
Where is the dot correction setting?
I cant find it.

1 Like

In the middle of the Cuts/Layers window… with later versions of LB…

I’m using LightBurn 1.1.03 on a Chromebook (Linux-enabled)… the window/title bars are missing the labels but otherwise works perfectly… :confused:

3 Likes

Thank you very much.
I’m going to try it and see if my tiles turn out better.

3 Likes

What kind of white color are you using that converts into black?

Thanks

I have version 1.0.06. But I can’t see this setting option. Do I need an update?

You spray with rustoleum flat white paint.
It has a high concentration of Ti02.
That is what fuses into the ceramic surface of the tile.
After the burn, wash off the paint with Acetone.
Google Nicky Norton.
He’s the one that developed the process.

1 Like

Sounds like it. I’m using LB v1.1.03 right now…

As Jan mentioned, the Rustoleum flat-white paints work well… and that’s what I started with also. When I ran out, I couldn’t find the Rustoleum but did find Krylon ColorMaxx flat-white paint+primer and am very happy with it…

It is the titanium-dioxide ingredient that does the “magic”… turning black and fusing with the ceramic when hit with the laser. I posted this to another thread and it shows the exact process/setup I’m using to do these tiles… again, all credit goes to Nicky Norton and his NWT method!

– David

50w Co2 blue white.can someone post a ballpark setting for NWT tiles mine turn out faded

1 Like

My experiments showed that NWT fuses at up to 20mm/s, but no faster. When run faster, the ceramic will blow outward and throw the black material out of the hole, leaving a clean white hole. We’re looking for an obsidian-glass sort of black melt that sits in burn hole and is mostly flush with the surface. It is hard to evaluate what you’re doing without a microscope, as there are some deceptive scenarios that appear black but it comes off with the primer.

And there’s no sweet spot at all for power that would prevent blowing the black out of the hole above 20mm. My gradient tests show that above 20mm/s at first can’t get through the primer to melt a spot in the tile, then as power increases it starts marking the tile but most or all of the black is gone. It may be somewhat gray and inconsistent, but not the obsidian black. The black is often deposited as a black halo around the burn spot but it’s only sitting on the surrounding primer. Thus it may deceptively appear to have worked, but upon washing off the primer the black comes off with it.

While under the 20mm/s speed limit, with a 2" lens producing about a 0.2mm line interval, the actual power needs to be on the order of about 4W.

This may be difficult to achieve with a DC-excited 50W CO2, because they have a dead zone at the low end. They cannot produce a consistent beam in the 0%-15% power output range, the arc goes unstable and the beam’s output goes unstable and flickers out. It’s not that it’s nonlinear, there’s no PWM setting that will make a DC CO2 tube output at 10% of its rated output and not go unstable and stop producing output entirely. The larger the tube, the larger the minimum output has to be or it just snuffs out. 50W is on the small side so you might be able to get the power low enough without snuffing out the beam entirely.

If you have an LPS with an analog pot, you might be able to get a stable beam by reducing the current with the pot but keep the PWM duty up more. I seem to have gotten results doing that the other day on a Reci W6, I’m going to sit down with my metering equipment and map out how that works.

Now when you hit the dead zone and can’t produce a lower power without snuffing the beam entirely, one might think it would make sense to get the beam to the min it CAN do without going unstable and then increase the speed to reduce joules/mm exposure on the surface. But, again, that can’t happen with NWT, above 20mm/s the beam can’t achieve a black melt that pools in the hole when it melts the tile surface.

Metal RF-excited CO2 tubes do not have this limitation. The will respond to any PWM signal and can do a stable output at less than 1% of its rated output when the PWM duty is set low enough. But this doesn’t change the fact that NWT has to run painfully slow. 6" tile=23,226mm^2, on 0.2mm LI you need 5 passes per mm, at 20mm/s this will need 96 min to cover.

3 Likes

Wow :hushed: much more than a ballpark setting
Much appreciated for all the detail it should help me dial in my laser
I’ll post again with my results or lack of :grimacing:
Cheers
Scotty

Russ Stadler became quite fascinated by the NWT method. He studied it and his findings showed that titanium dioxide, in its natural mineral state is actually black in color. Once pulverized into a powder, it became extremely white. So white that it reflected light to some extent.
When we run our lasers over the paint containing the TiO2, the laser begins to heat the layer, which essentially vaporizes the paint, but heats the TiO2 up and it sort of collects, or reforms with itself to make the original color of black.
Disclaimer: this is my take on what Russ explained to me. If my explanation seems off, feel free to correct me.

1 Like

Trying to get my microscope photos better-

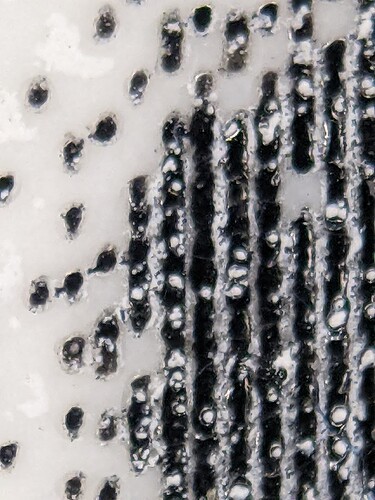
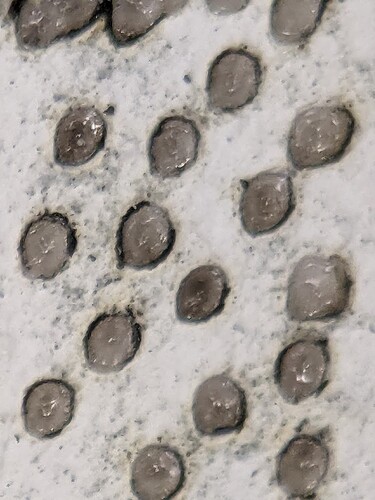
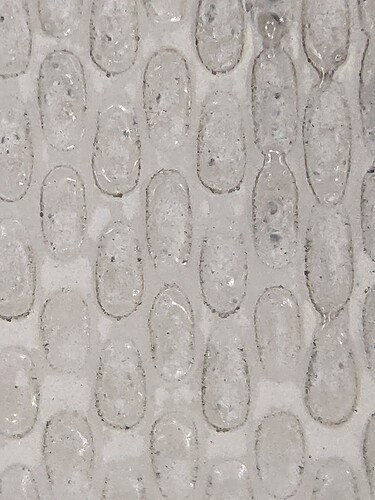
This is successful NWT. Obsidian-like flush glass melt. This is probably 20mm/s. It was poorly cleaned and flecks of primer remain.

If we go faster and increase the power accordingly, all we get is this. It is not cleaned off, note the black halo and the hole is only a bit gray:

If we go a bit faster, all the black gets blasted out and this is all that’s left after cleaning:

1 Like

Hi David . Thank you very kind of you for feedback, and really interesting.
When I did ceramic Tile engraving using Neje Master 2S 7.5W Diode Power & Norton method my settings are Negative Image, Preview : No Invert, DPI : 254, Speed 1000, Laser Power 100% using Grayscale with 1 Pass. But the end result is only average and not Dark enough. Are my settings OK. When you mentioned above - “exact same speed/power settings were used but with no dot correction (left), 0.02 (middle), and 0.04 (right)”, I don’t understand, It will be really great if you can attached a screen shot please from LightBurn. Thank you

Hi David Is me again. I found you screen send to another Forum member earlier. Please disregard my earlier email. Thank you.

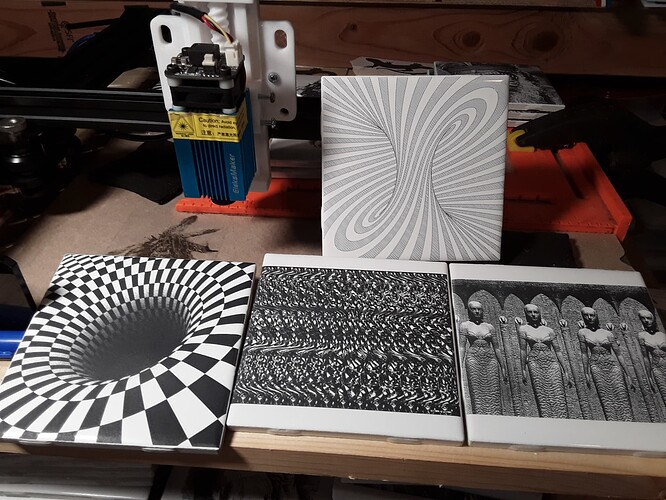
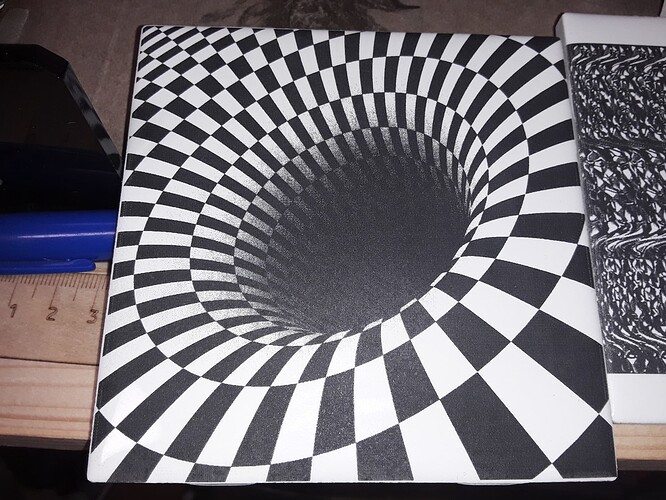
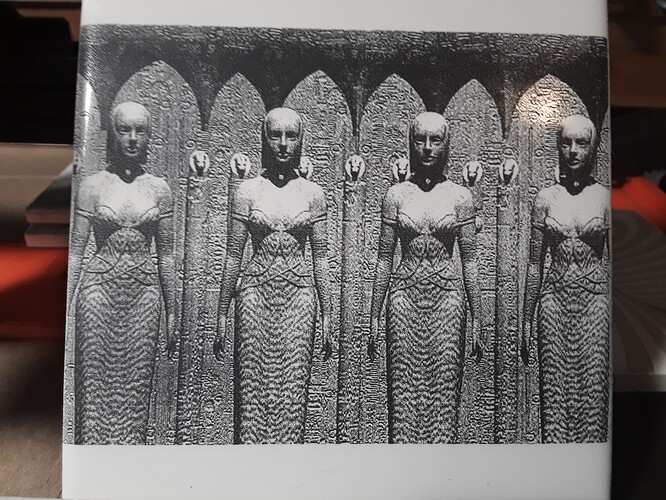
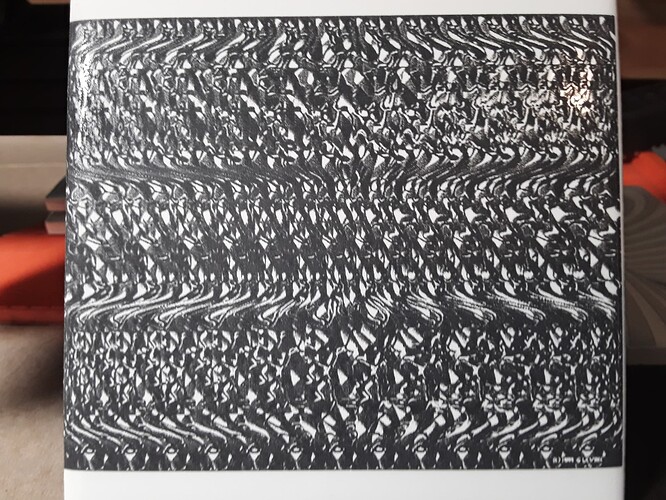
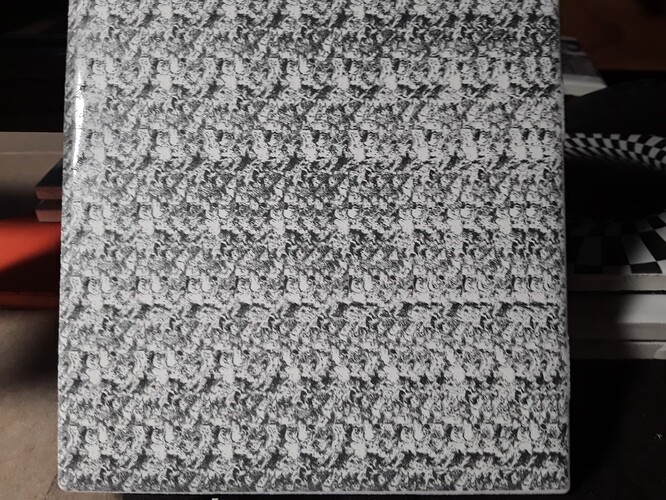
Not getting much done but still piddling around with NWT tiles… and 3d optical illusions (delusions?). I did a few of these a couple of years ago and just wanted to see what’s new :roll_eyes:

Zapper tools…

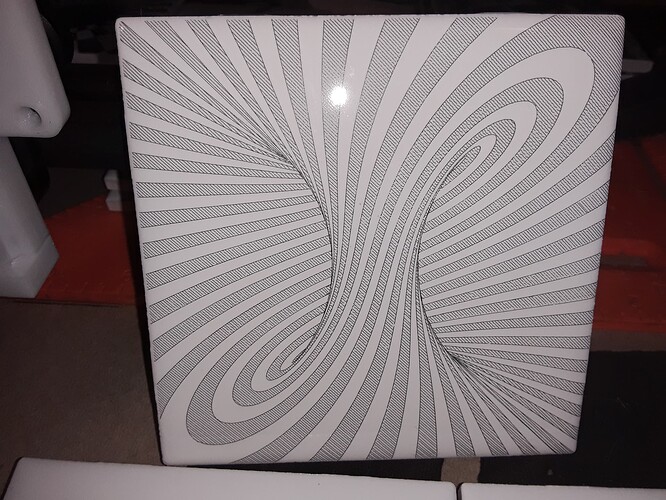
Torus…

Hole…

Ladies… singing group?

What is this?

'tis a mystery…

Here’s a nice website for tons of this stuff…

– David

Another fun and enlightening test…

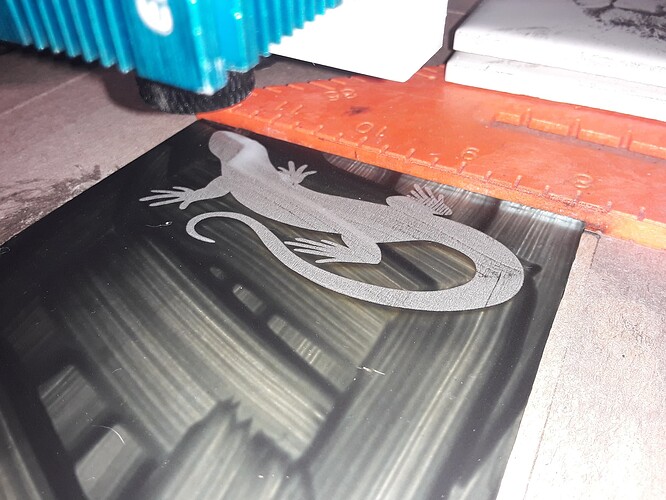
On another of the forums I keep up with, the subject of engraving ceramic tiles and glass was being discussed. One of the posters (@DrPete) was suggesting using black tempera paint to coat the glass prior to lasering… and showed a simple test he’d done, a few circles etched on a piece of glass. Because the circles had an etched/frosted look to them (as opposed to the black images fused onto the surface with NWT) and the method was simple enough, I decided to give it try.

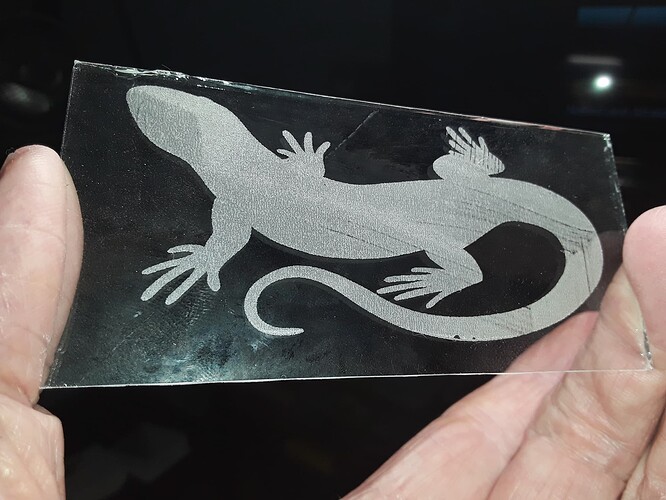
So, not really knowing what to expect and taking no particular pains to be neat, I followed @DrPete’s instructions as best I could. I quickly brushed Walmart black tempera paint on a not-so-clean piece of broken window pane and lasered an image with the same little Eleksmaker 2.3W diode laser I use for the NWT ceramic tiles. To say I’m pleasantly surprised with the result would be an understatement…

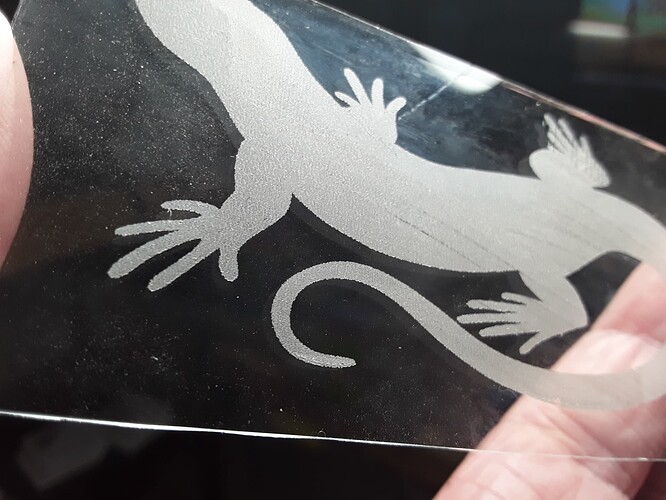
To adjust for my lesser-powered laser (compared to @DrPete’s 10W laser) I used 1000 mm/min and 90% power… and got a genuinely frosted/etched image on the glass on my first attempt. Given the brush strokes in the paint were so inconsistent and streaky, I was surprised the etched surface still shows a relatively nice opaque image. But there are a few lines and streaks can be seen to coincide with some of the inconsistencies in the painted surface so I suspect a more uniform painted surface would yield a better result. Anyway, I’m encouraged with the attempt and feel it warrants a bit more playing, especially with trying to get a more uniform painted surface.

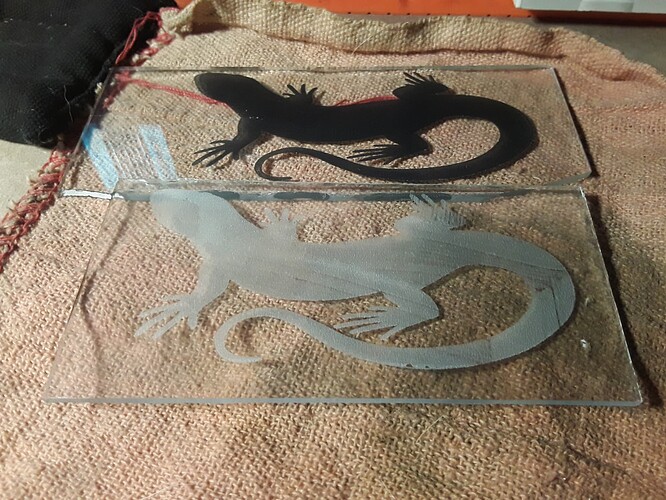
In summary… with the same laser, same glass, same image, but different paint…

flat-WHITE spray paint yields DARK embossed image… BLACK tempera paint yields LIGHT frosted image

How weird is that?

– David

4 Likes