New tile engraving method

First I’d suggest you use the materials test in Lightburn. This will ensure you are varying the power/speed values as expected in your test…

You need to understand and think about how this power is being applied to the material and what the expected results are.


Generally speaking, if the speed is low and the power is high it’s going to do the most damage to the material compared to high speed/low power, less damage to the material…

I would not expect the 500mm/m square to be equal to the 1400mm/m square at the same power level…

I’d also think there is a problem when the darkness of the 500mm/m at 20% is almost identical to the same speed with 100% power, add to that in the center of that speed, were the power is 50% and it’s almost white…

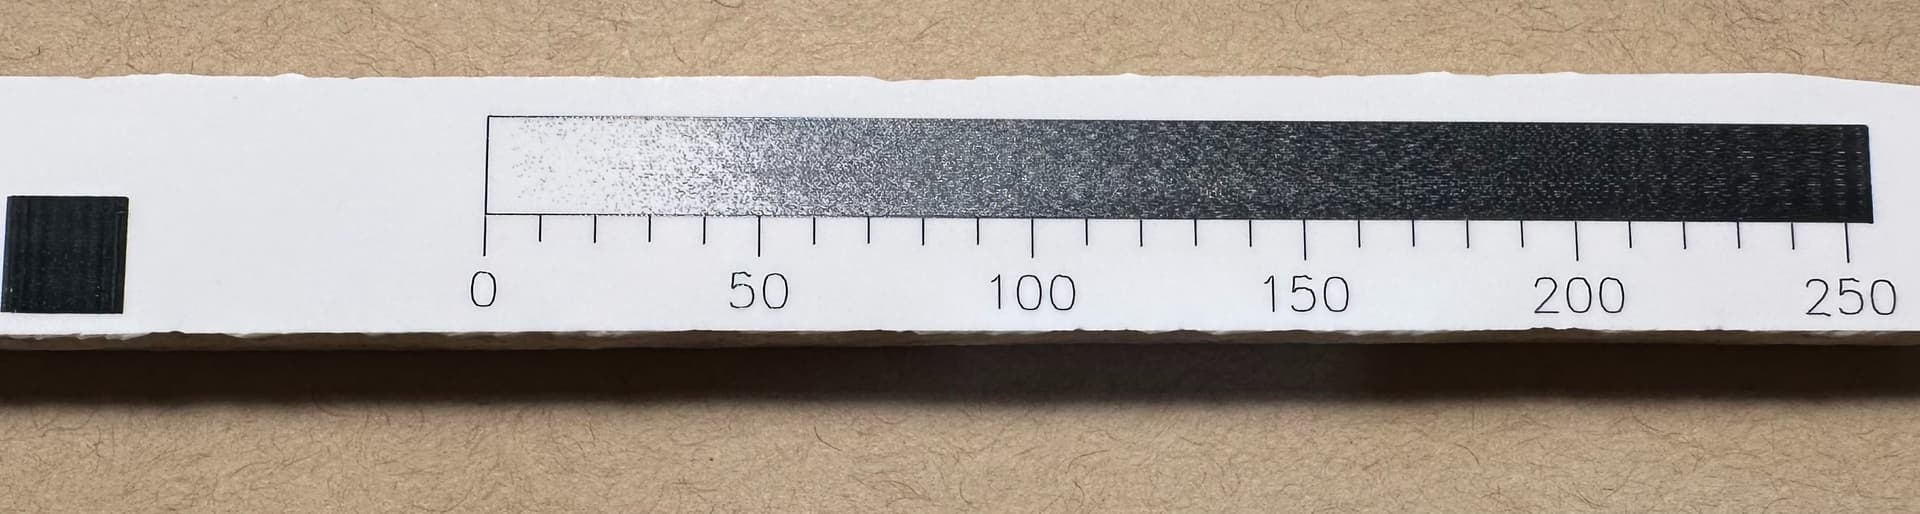
Look at this test grid from @dkj4linux at post 168, you can see the change goes smoothly from low to high not only in speed but in power also.

Make sense?

There could be a few issues here…

  1. artwork you made, isn’t asking the machine to do what you think it supposed to do.
  2. TiO2 coating isn’t evenly distributed across the area
  3. you have hardware issues.

I doubt you have hardware issues… it’s most likely that the coating is not even… I’ve had this issue. But it’s difficult to make these material tests, especially when it’s as large as yours requiring pretty good knowledge of how the layers and attributes …

The materials test does all of this for you including good labels… it’s quicker, easier and isn’t error prone as something hand rolled…


I understand why you posted here, but this is really better as a new thread… When you jump into a thread that’s 300+ posts, it’s hard to relate to, manage and keep track of…

We won’t shoot you for starting a new thread… :wink:

Maybe @JohnJohn can move this to it’s own thread…

Good luck

:smile_cat:

1 Like

Thank you for your help :+1:

Hi Uncle Ron. I followed your suggestion yesterday and managed to get the system working and back to normal again. Thank you

Glad you are back up and running👍

1 Like

Sorry for getting your name wrong, Mikey!

The gum arabic in watercolour is the ‘medium’; it’s the thing that turns pigment into paint. It’s basically a ‘glue’. Without it you would be able to brush the pigment off a surface once dry.

When folk talk about using it to get different textural effects, it’s about the quantity of pigment to gum. For example, with more gum to pigment, you get watercolour (a transparent effect) with more pigment to gum you make gouache (opaque matt paint) same ingredients, different ratios, different effects.

Gum arabic can also be used to ‘glaze’ a dry work to offer areas that are a bit glossy, or used to ‘push’ paint around when working ‘wet in wet’ with watercolour.

But its primary function in paint is that of a medium (the ‘glue’ that makes pigment into paint). Some other examples of mediums include dissolved acrylic (in acrylic paints) and boiled linseed oil (in oil paint).

The reason I suggest gum arabic is because it’s not just used as the medium for watercolour, but also for the traditional enameling methods of painting stained glass (like in church windows) whereby frit powder (finely crushed glass) is mixed with gum arabic and water (and sometimes additional pigment) to form a paint that doesn’t bead up on the surface of glass, but instead spreads thinly and evenly (this is then often selectively scratched off to form the image before firing the frit onto the glass in a kiln).

The reason gum arabic is best for our purposes here in engraving tiles is because:

  • The tiles are glazed (with glass) as the outer surface, that’s what we’re painting upon and many other paint mediums bead up on glass.
  • It burns off cleanly (the firing in the kiln).
  • It dries quickly, in my experience a couple of minutes, but I live in the subtropics!
  • It’s removed with simple water
  • There’s no waste, you can just let the paint dry out and then later reconstitute it with water.
  • We know exactly what’s in it, we don’t have to risk the use of products (like PVA glue or commercial paint mediums) where the ingredients aren’t clear, and could potentially be dangerous when burned/inhaled (I’m most concerned with preservatives often added to such things).

This gentleman is mixing paint for painting glass with a brush. Seems like he’s been doing this for a long long time, so probably knows better than I! https://www.youtube.com/watch?v=T_Pfs-_Xa84
Hopefully he will be better at explaining quantities than I was. Sorry I couldn’t be more exact, it varies based on humidity and starting materials and such, and it really is one of those things that you need to just reach the right viscosity by ‘feel’ hence my comparisons to vegetable oil.

We may also want to experiment with paint mulling (grinding the paint smooth between glass) Mulling Paint: A beginner-ish guide — Scribal Work Shop for folk that are getting lumping issues or using sprayers. Glass mullers are expensive but charity stores often offer great alternatives, you just want something glass with a somewhat solid and very flat bottom, that doesn’t feel too clunky to hold. Candlesticks, vases, drinking glasses, paper weights, and old glass bottle stoppers are some options. :slight_smile:

Also be sure to clean your tile before painting. Especially make sure it’s free of oils or detergents. If you are getting little dots that the paint is shrinking away from, it’s becasue your tile isn’t clean.

I’ll try and get a proper guide together with the results and such!

2 Likes

I just reconstituted my old paint, brushed it on, and did a test engrave using the same settings I use for corrugated cardboard, and this is the result.

I need to play with the settings a bit; I reckon I need to lower my line interval and speed. The vertical streaking is a product of the speed and the direction changes, not the brushing of the paint, the brush lines were horizontal.

But just wanted to demonstrate that it works as I describe. :slight_smile:

3 Likes

I just tried the gum arabic with my 10watt UV.
I did get a black. So that’s good.
I applied the mixture you outlined and put some on (using a wooden stick-i was just checking if a UV would work).

I painted the mixture on a powder coated tumbler (i didn’t clean it at all!)
The white was solid but I suspect it was put on too thick.
The black wiped off with a swipe of my thumb.

My question for a UV user (as i wait for an appointment):
If the powder coated tumbler is clean and the paint is applied on thin, will this work?
Any UV peeps try this on tumblers?

It really doesn’t matter which laser you are using if that laser can heat the TiO2 sufficiently.

What you should be concerned with is the what happens at the material level.

TiO2 will create molecular bond with the glass.

If it will bond at all, to a coating, especially one this is flexible I can’t say.

I would think that since TiO2 is solid after you lase it, it would break or chip if flexed.

Let us know after you try it out… :grimacing:

:smile_cat:

1 Like

No apology needed, this happens a lot!

I think @jkwilborn is correct in pointing out what you burn should fuse into the material being marked. It is firmly established that TiO2 does this verry well. My belief is that any coating material must have some TiO2, leaving the questions how much and what to mix it with. In this respect, I have seen ratios and solutions all over the place. :weary:

1 Like

It got black but wiped off with my thumb. No flexing at all = just a poor bond.
I’ll try cleaning the surface to see if that’s the real problem.
I was hoping to find someone with UV experience using this method.

jbc

1 Like

Ill try cleaning it as the surface and report back.
might be a week+ till I make it back home.

jbc

I know of anybody trying to apply this to any kind of coating on a mug… this is the first I’ve heard it being mentioned… probably for reason…

Most just lase off the original coating…

Good luck

:smile_cat:

I burn the powder coating off also.
Some light colors can be painfully slow or problematic but would look great with black art.

I can understand that…

Sometimes the wrong tool just won’t work for the job … :grimacing:


I don’t know how you could bond something to that coating with a lasers generated heat, especially not knowing what the coating is.

:smile_cat:

That explains why my projects take so long!

Thats why we have forums Jack.

:cowboy_hat_face:

1 Like

If you’re burning the powder coating off under the TiO2, this is probably why it’s wiping off. I reckon it’s leaving with the powder coating. Maybe try burning off the coating, cleaning, then applying the TiO2? What’s the material under the powder coating?

Ron, I have read through this very long topic and maybe I missed a detail. What type of tiles do you use? Are they glazed or unglazed? Any other info before I start experimenting.
Thanks.

I have used both and had great success with them. I have even used some rough surface floor tiles and made very nice clocks with them. Don’t expect perfect results first off as all machines and users differ. Practice and you will find what gives you best results. Good luck and do show us your results. The latest coating made with Gum Arabic is giving me great results.

1 Like

The material under the powder coating is stainless steel.

I plan on trying this on bare stainless steel maybe this weekend and hopefully getting the results you e gotten.

I had hopes this approach would adhere/burn into and darken the powder coating but I feel poor adhesion is the limiting factor.