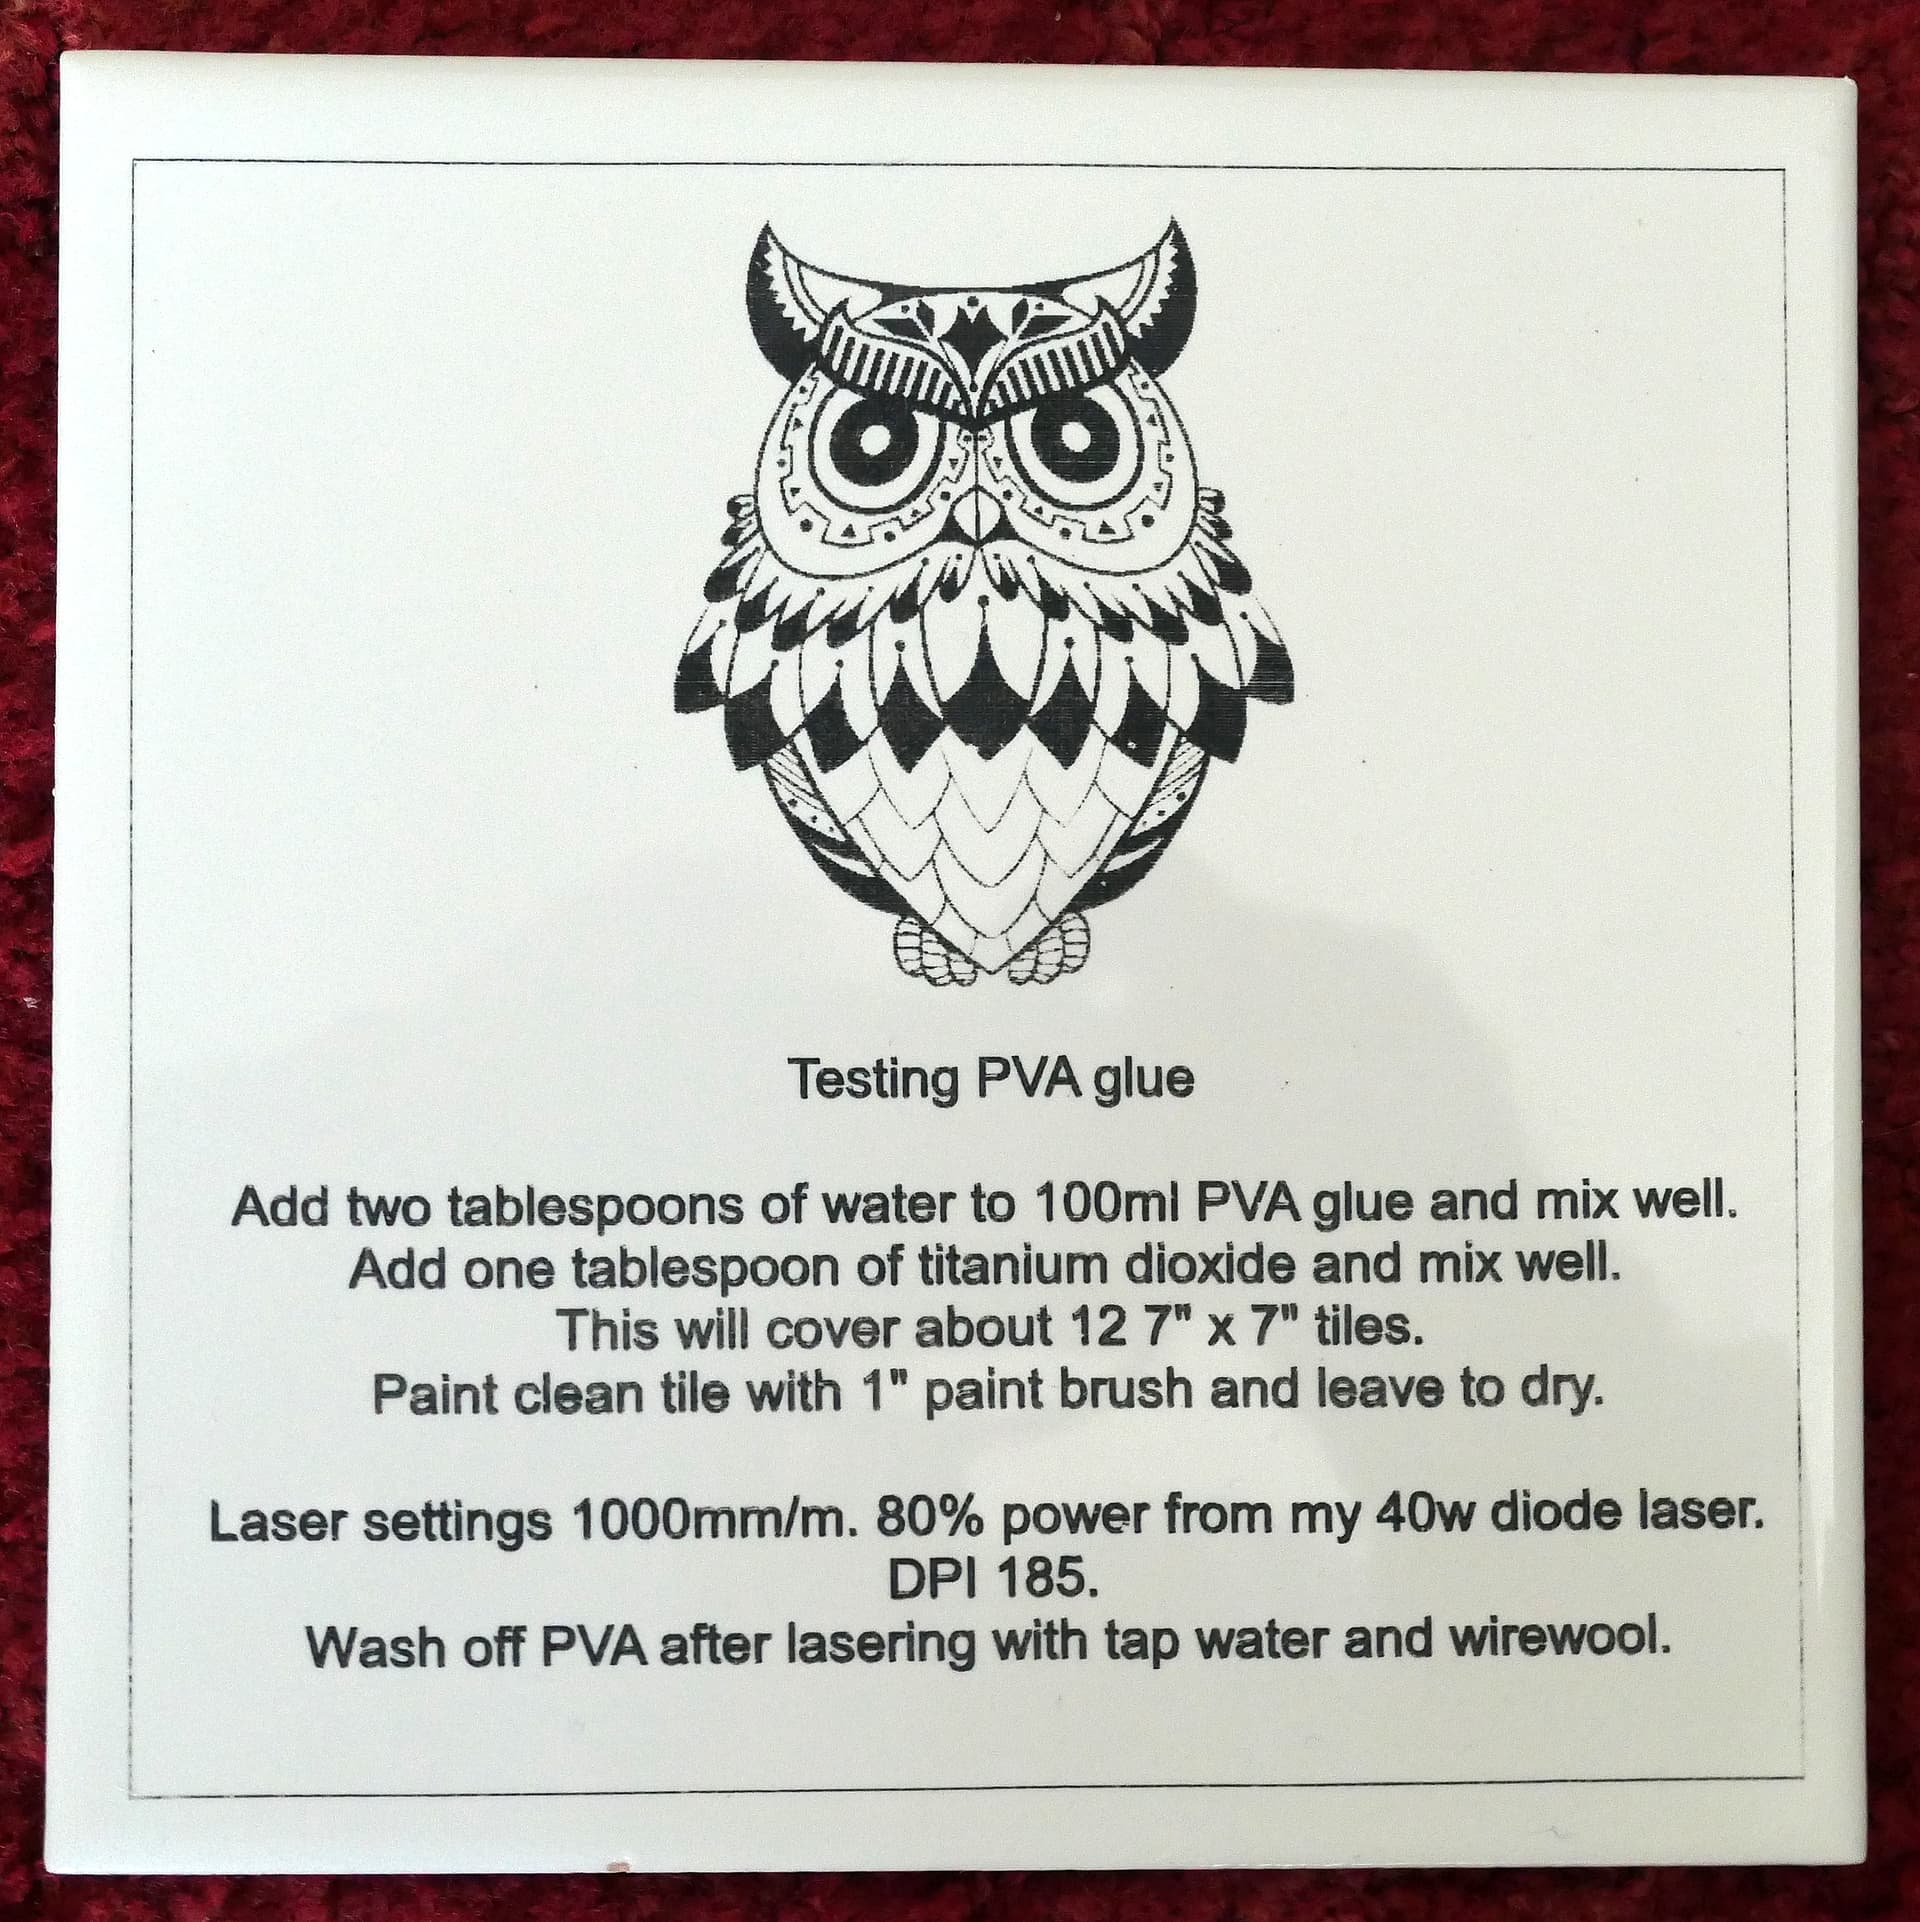
I have over the last few months been trying the Norton Tile engraving method and many others that I have seen on YouTube. To date I have not been able to get very good results. So not being one to give up I started experimenting and after many attempts have finally got to doing it this way. It’s also a very cheap method and totally safe.
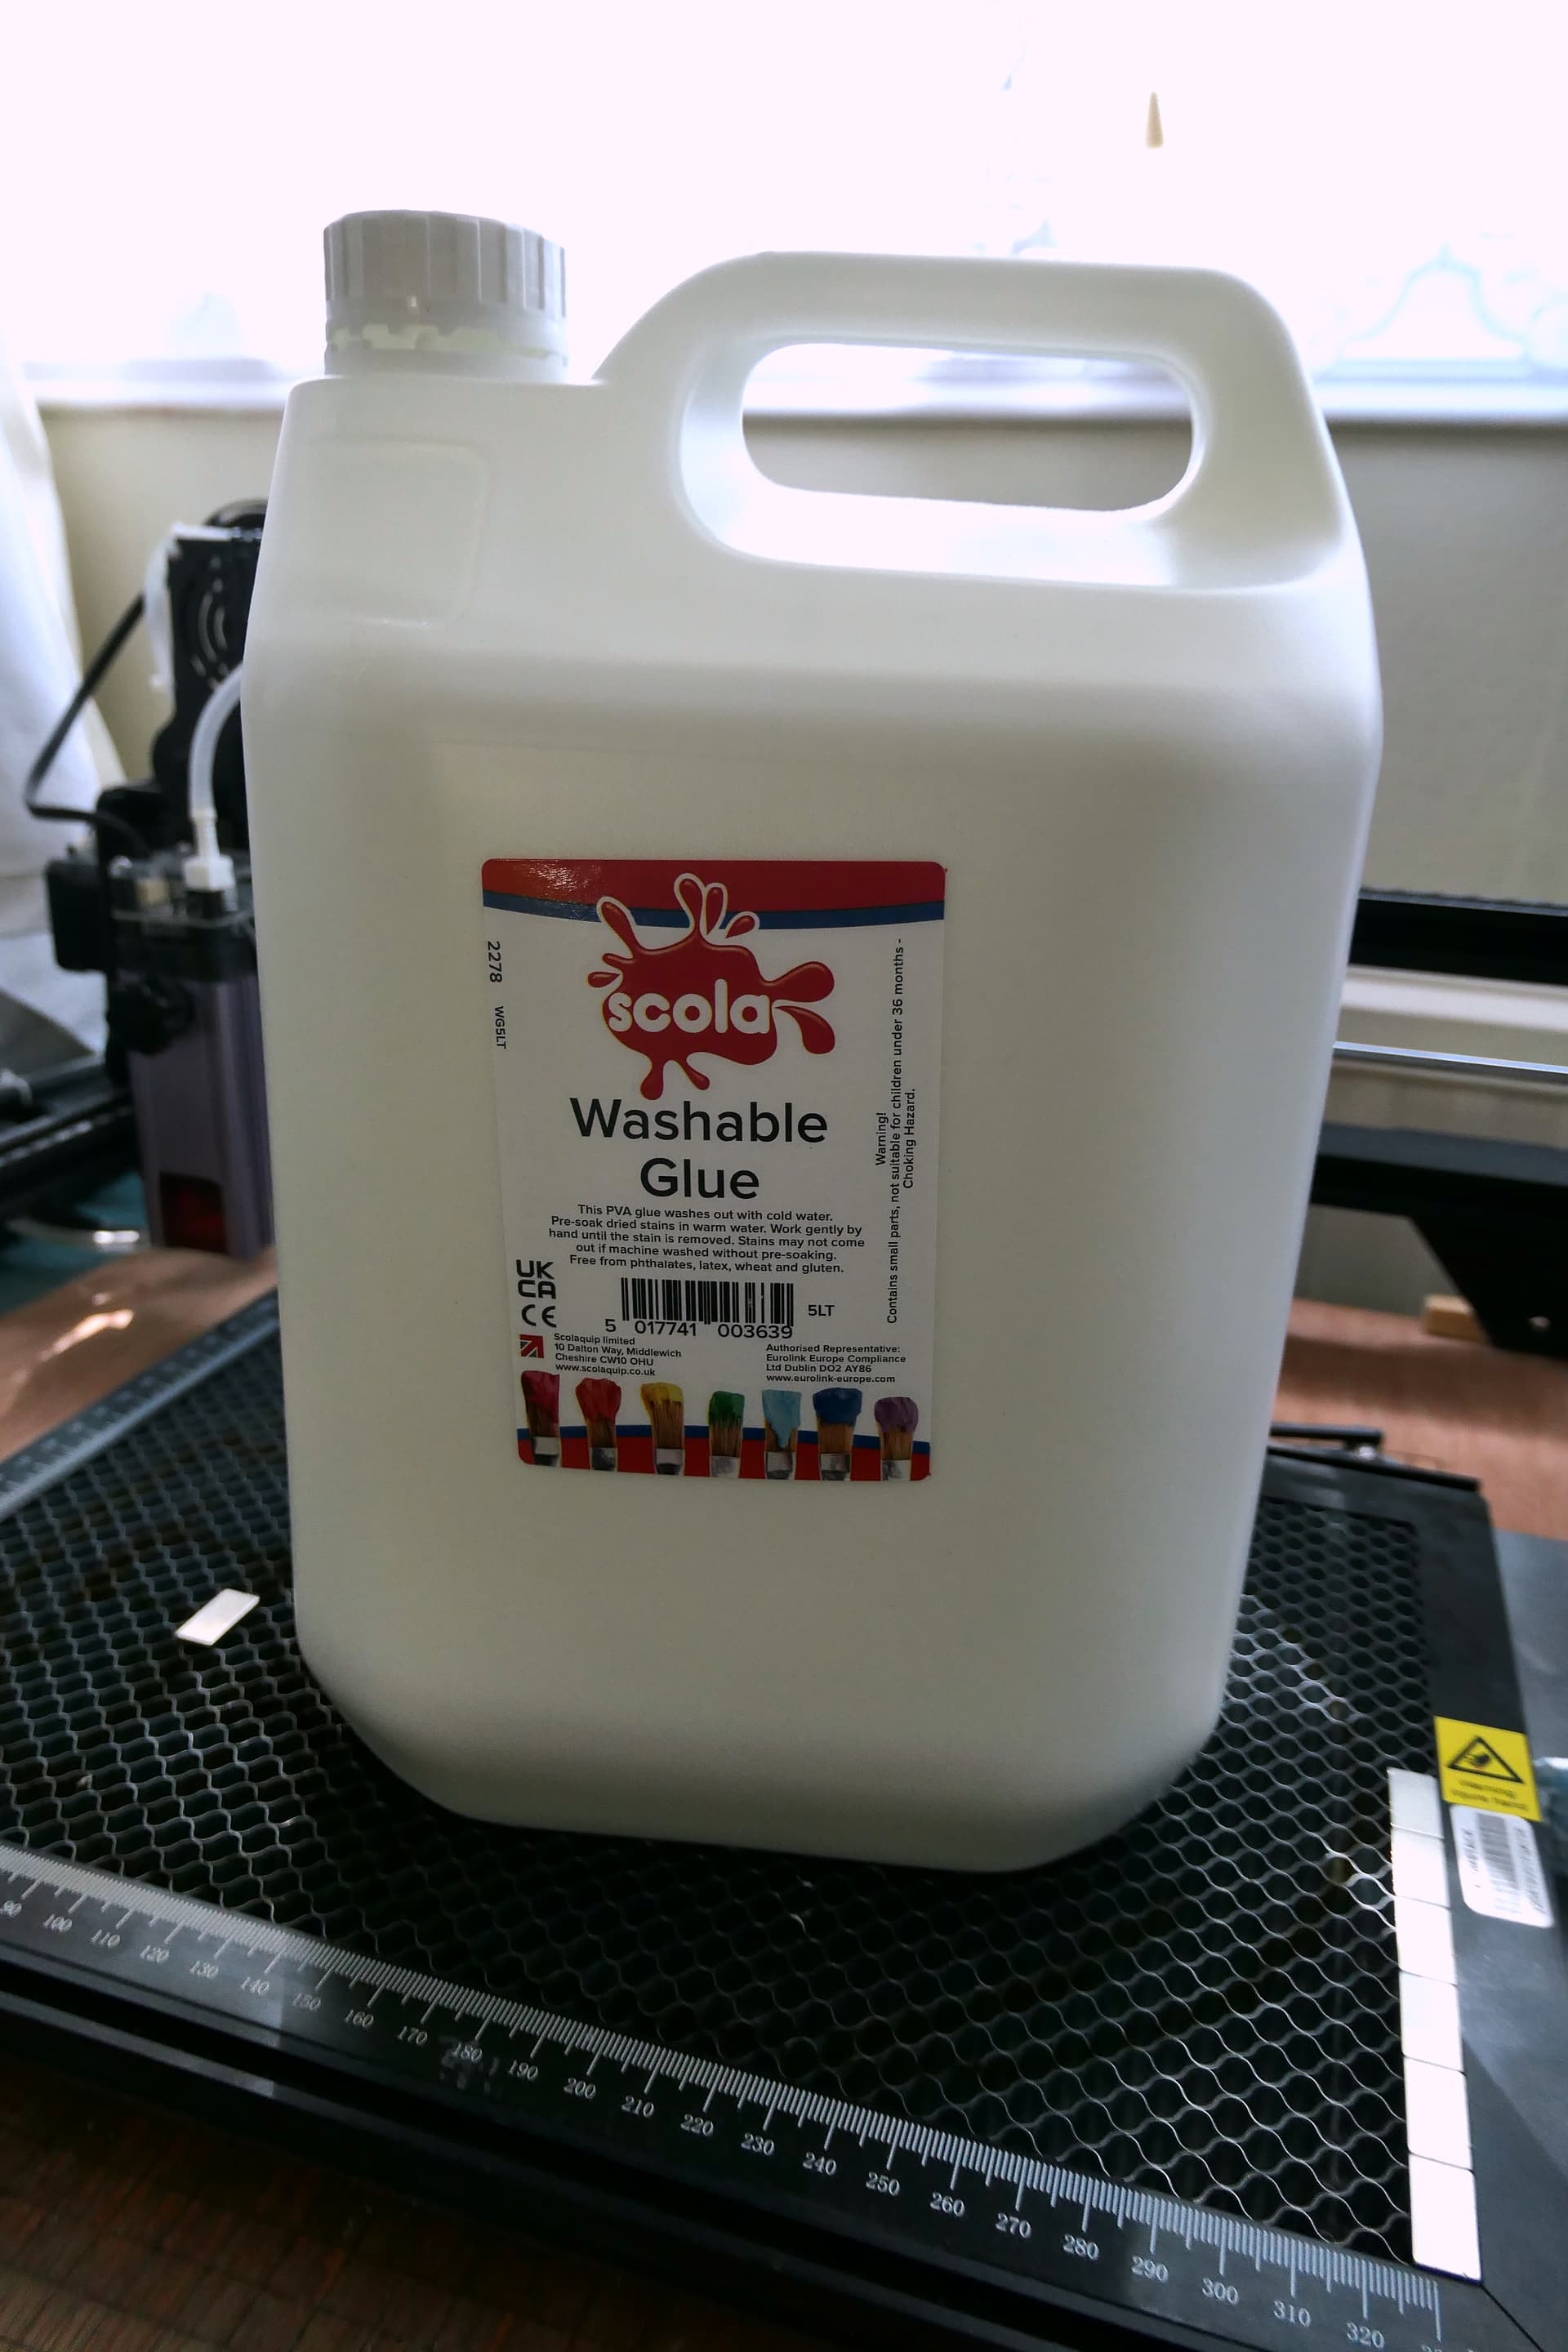
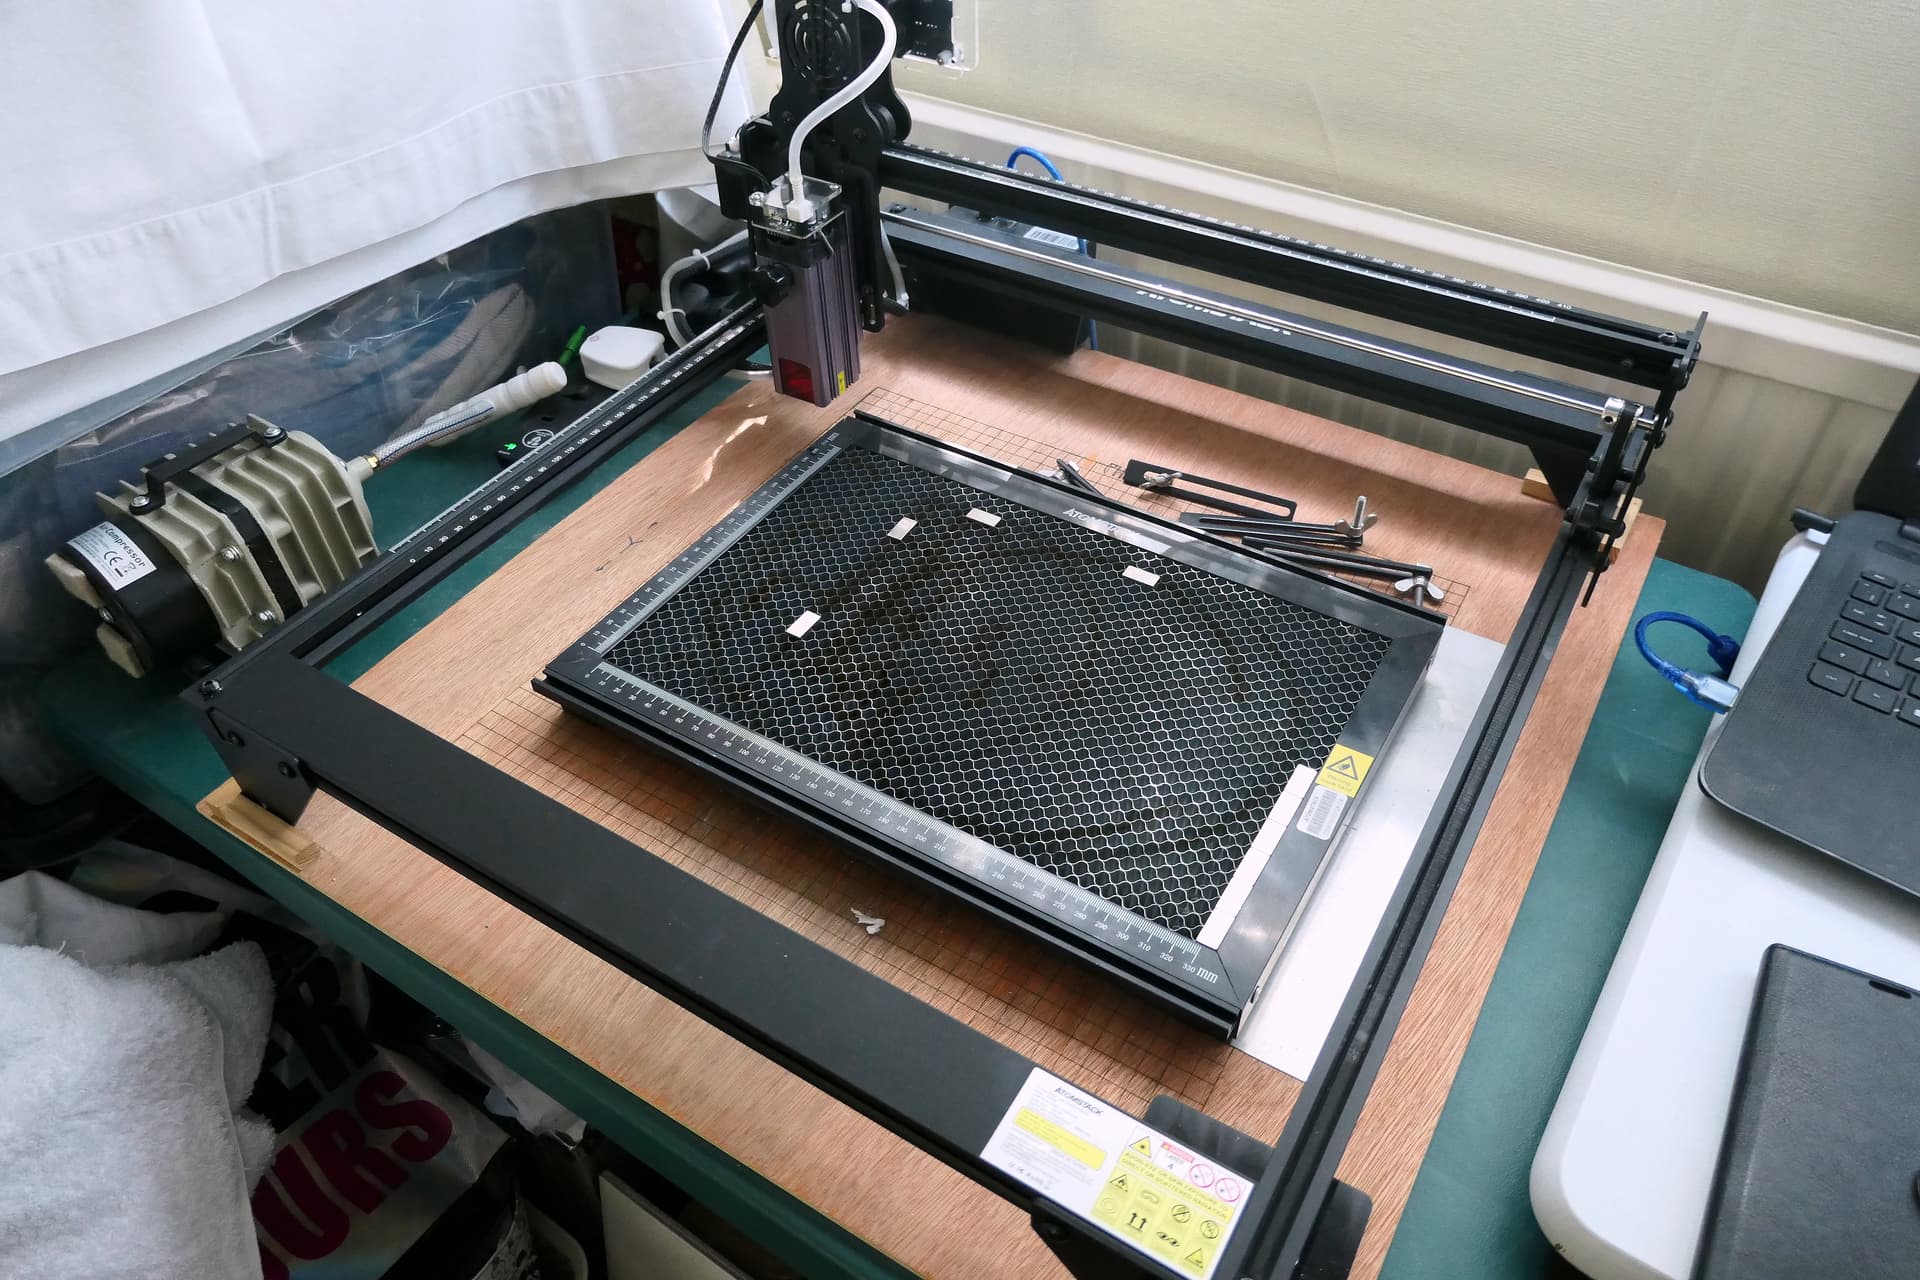
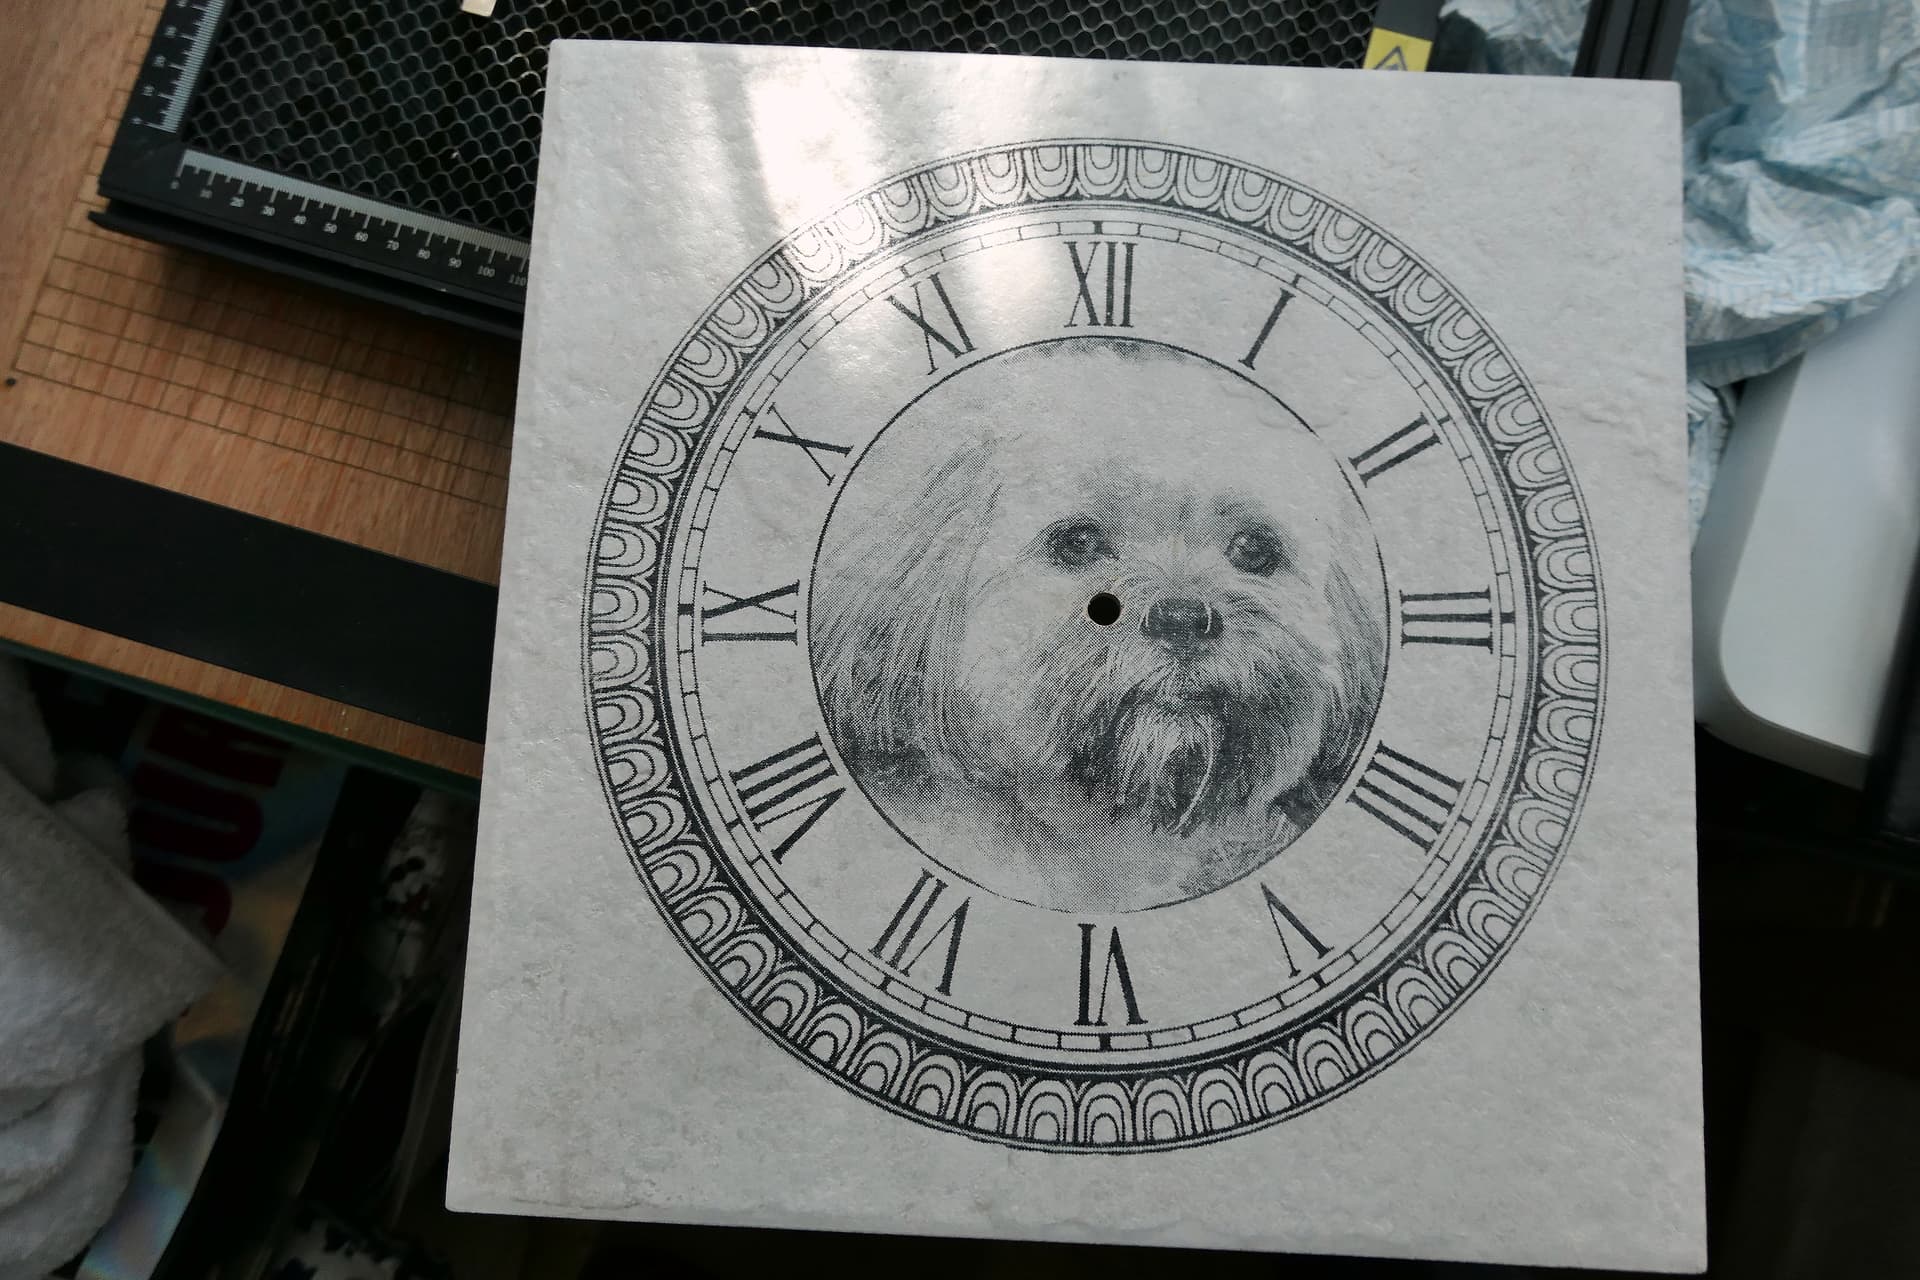
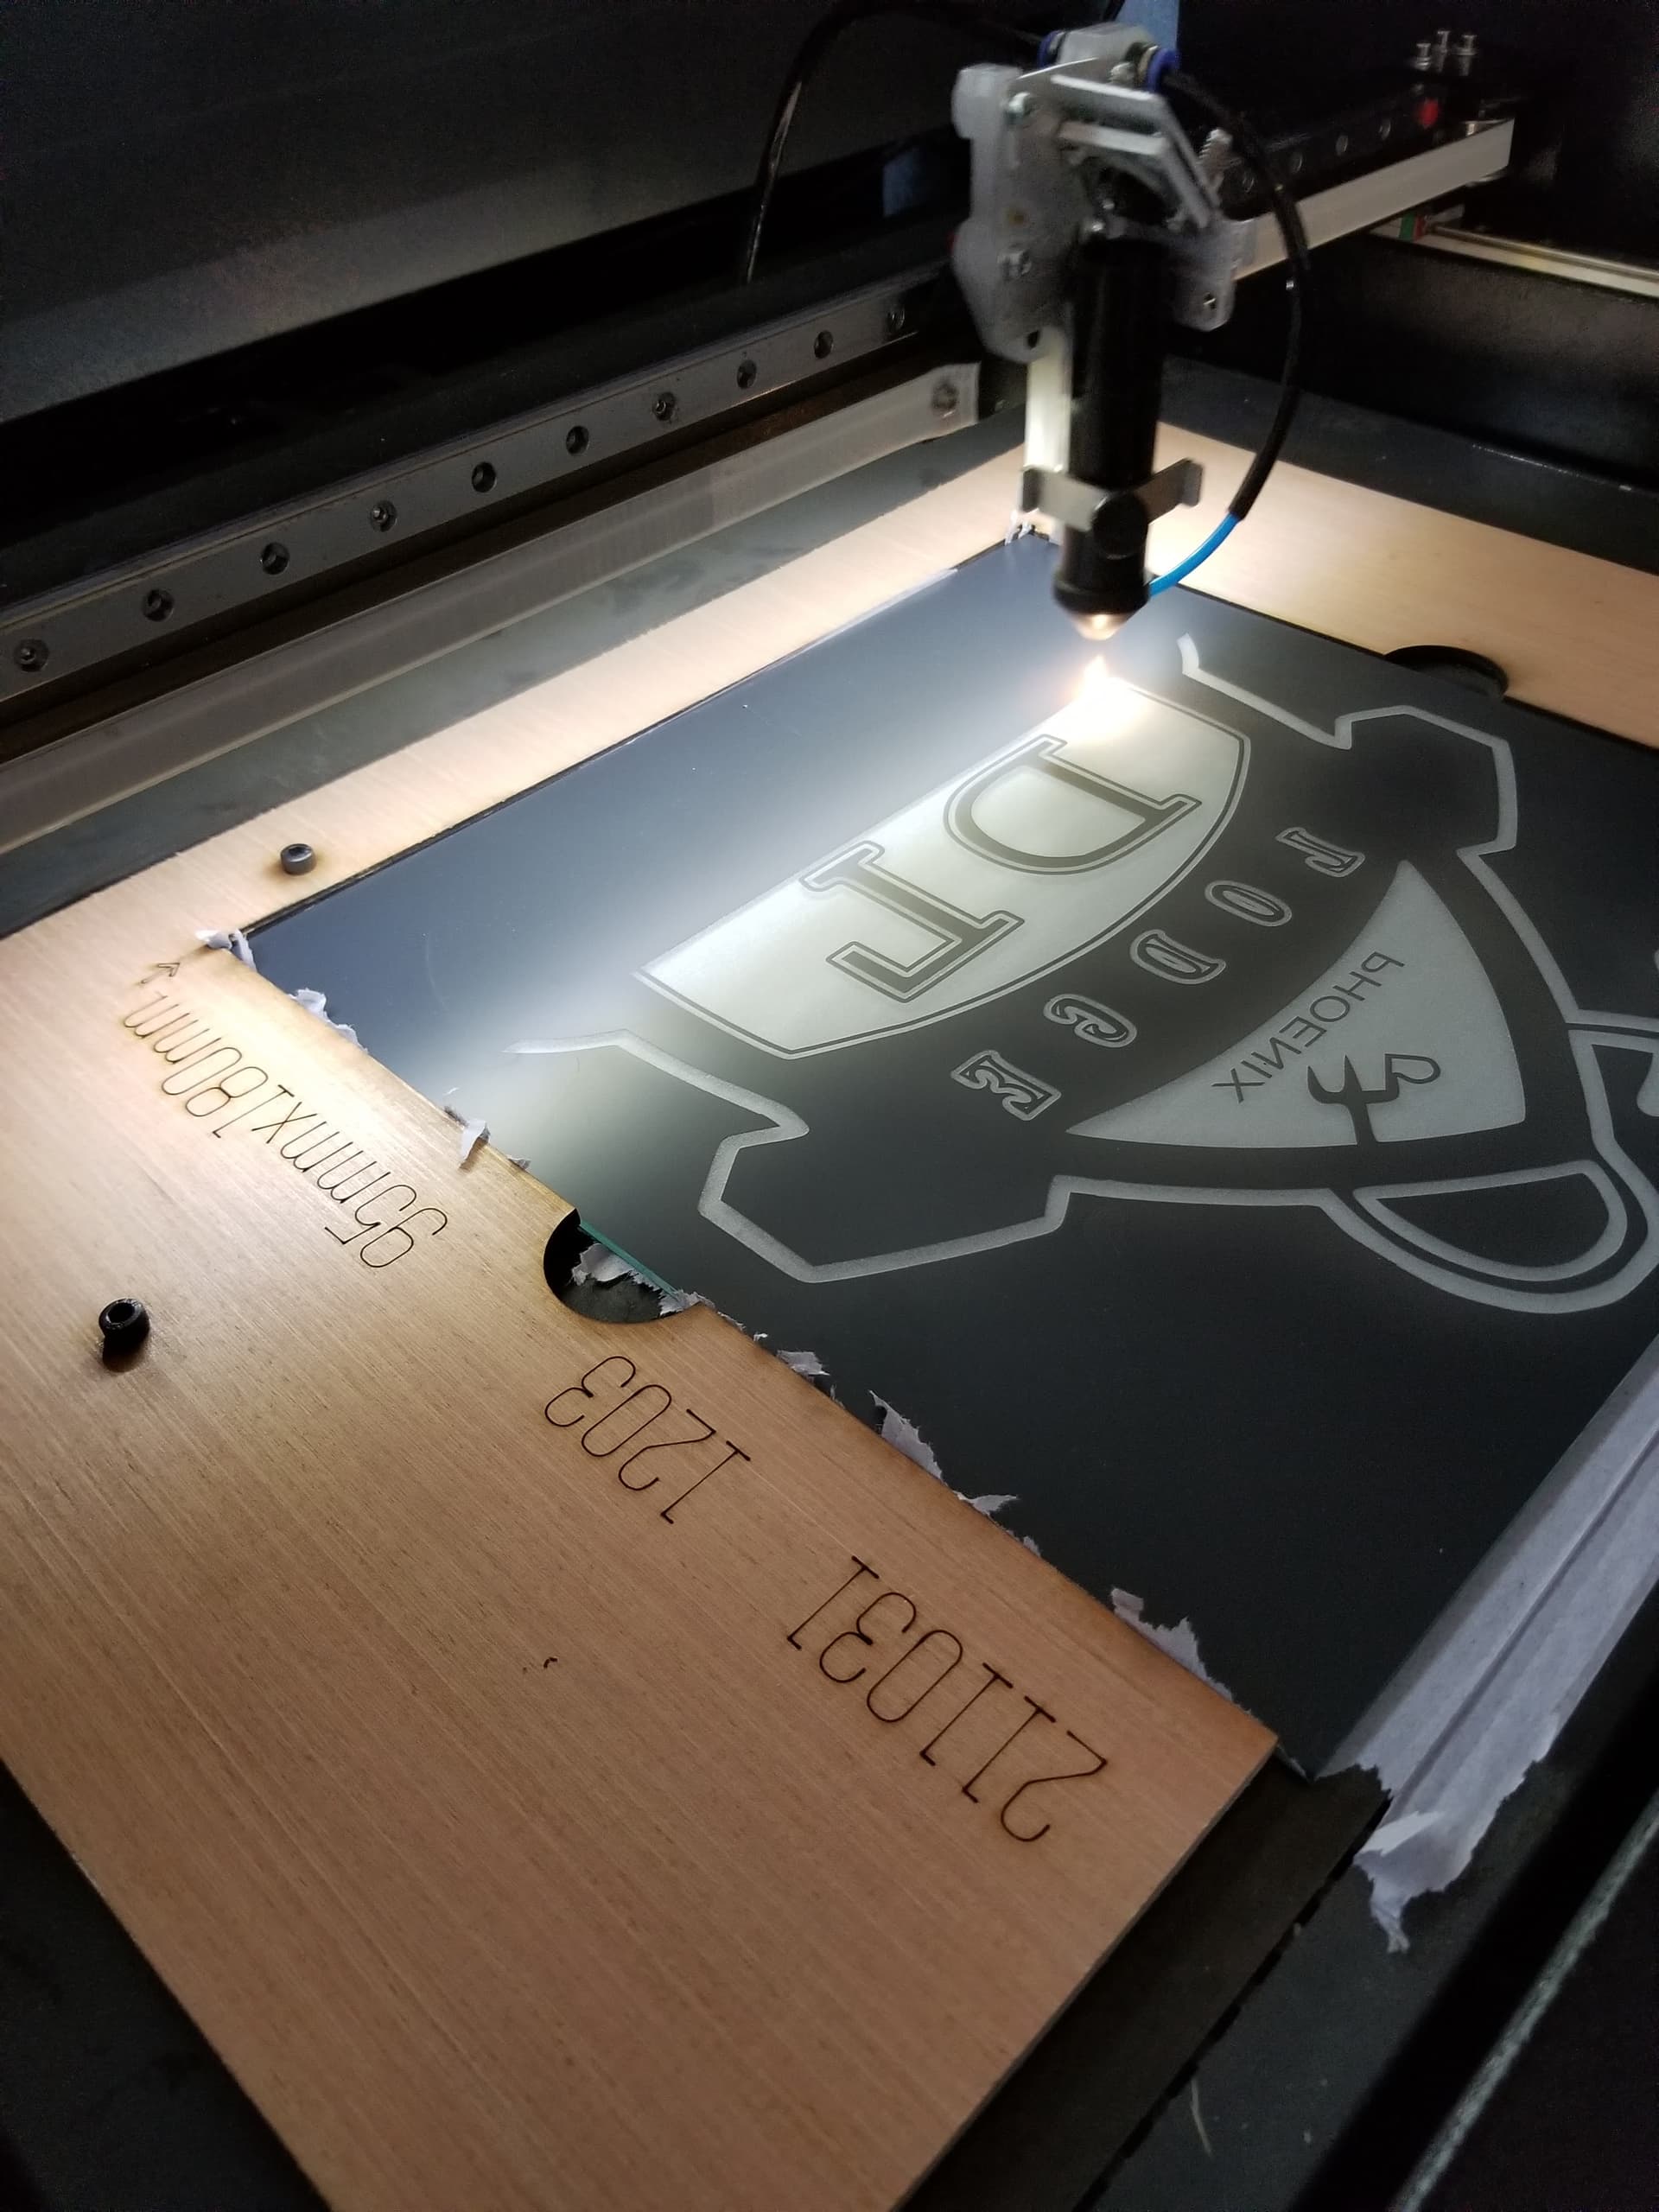
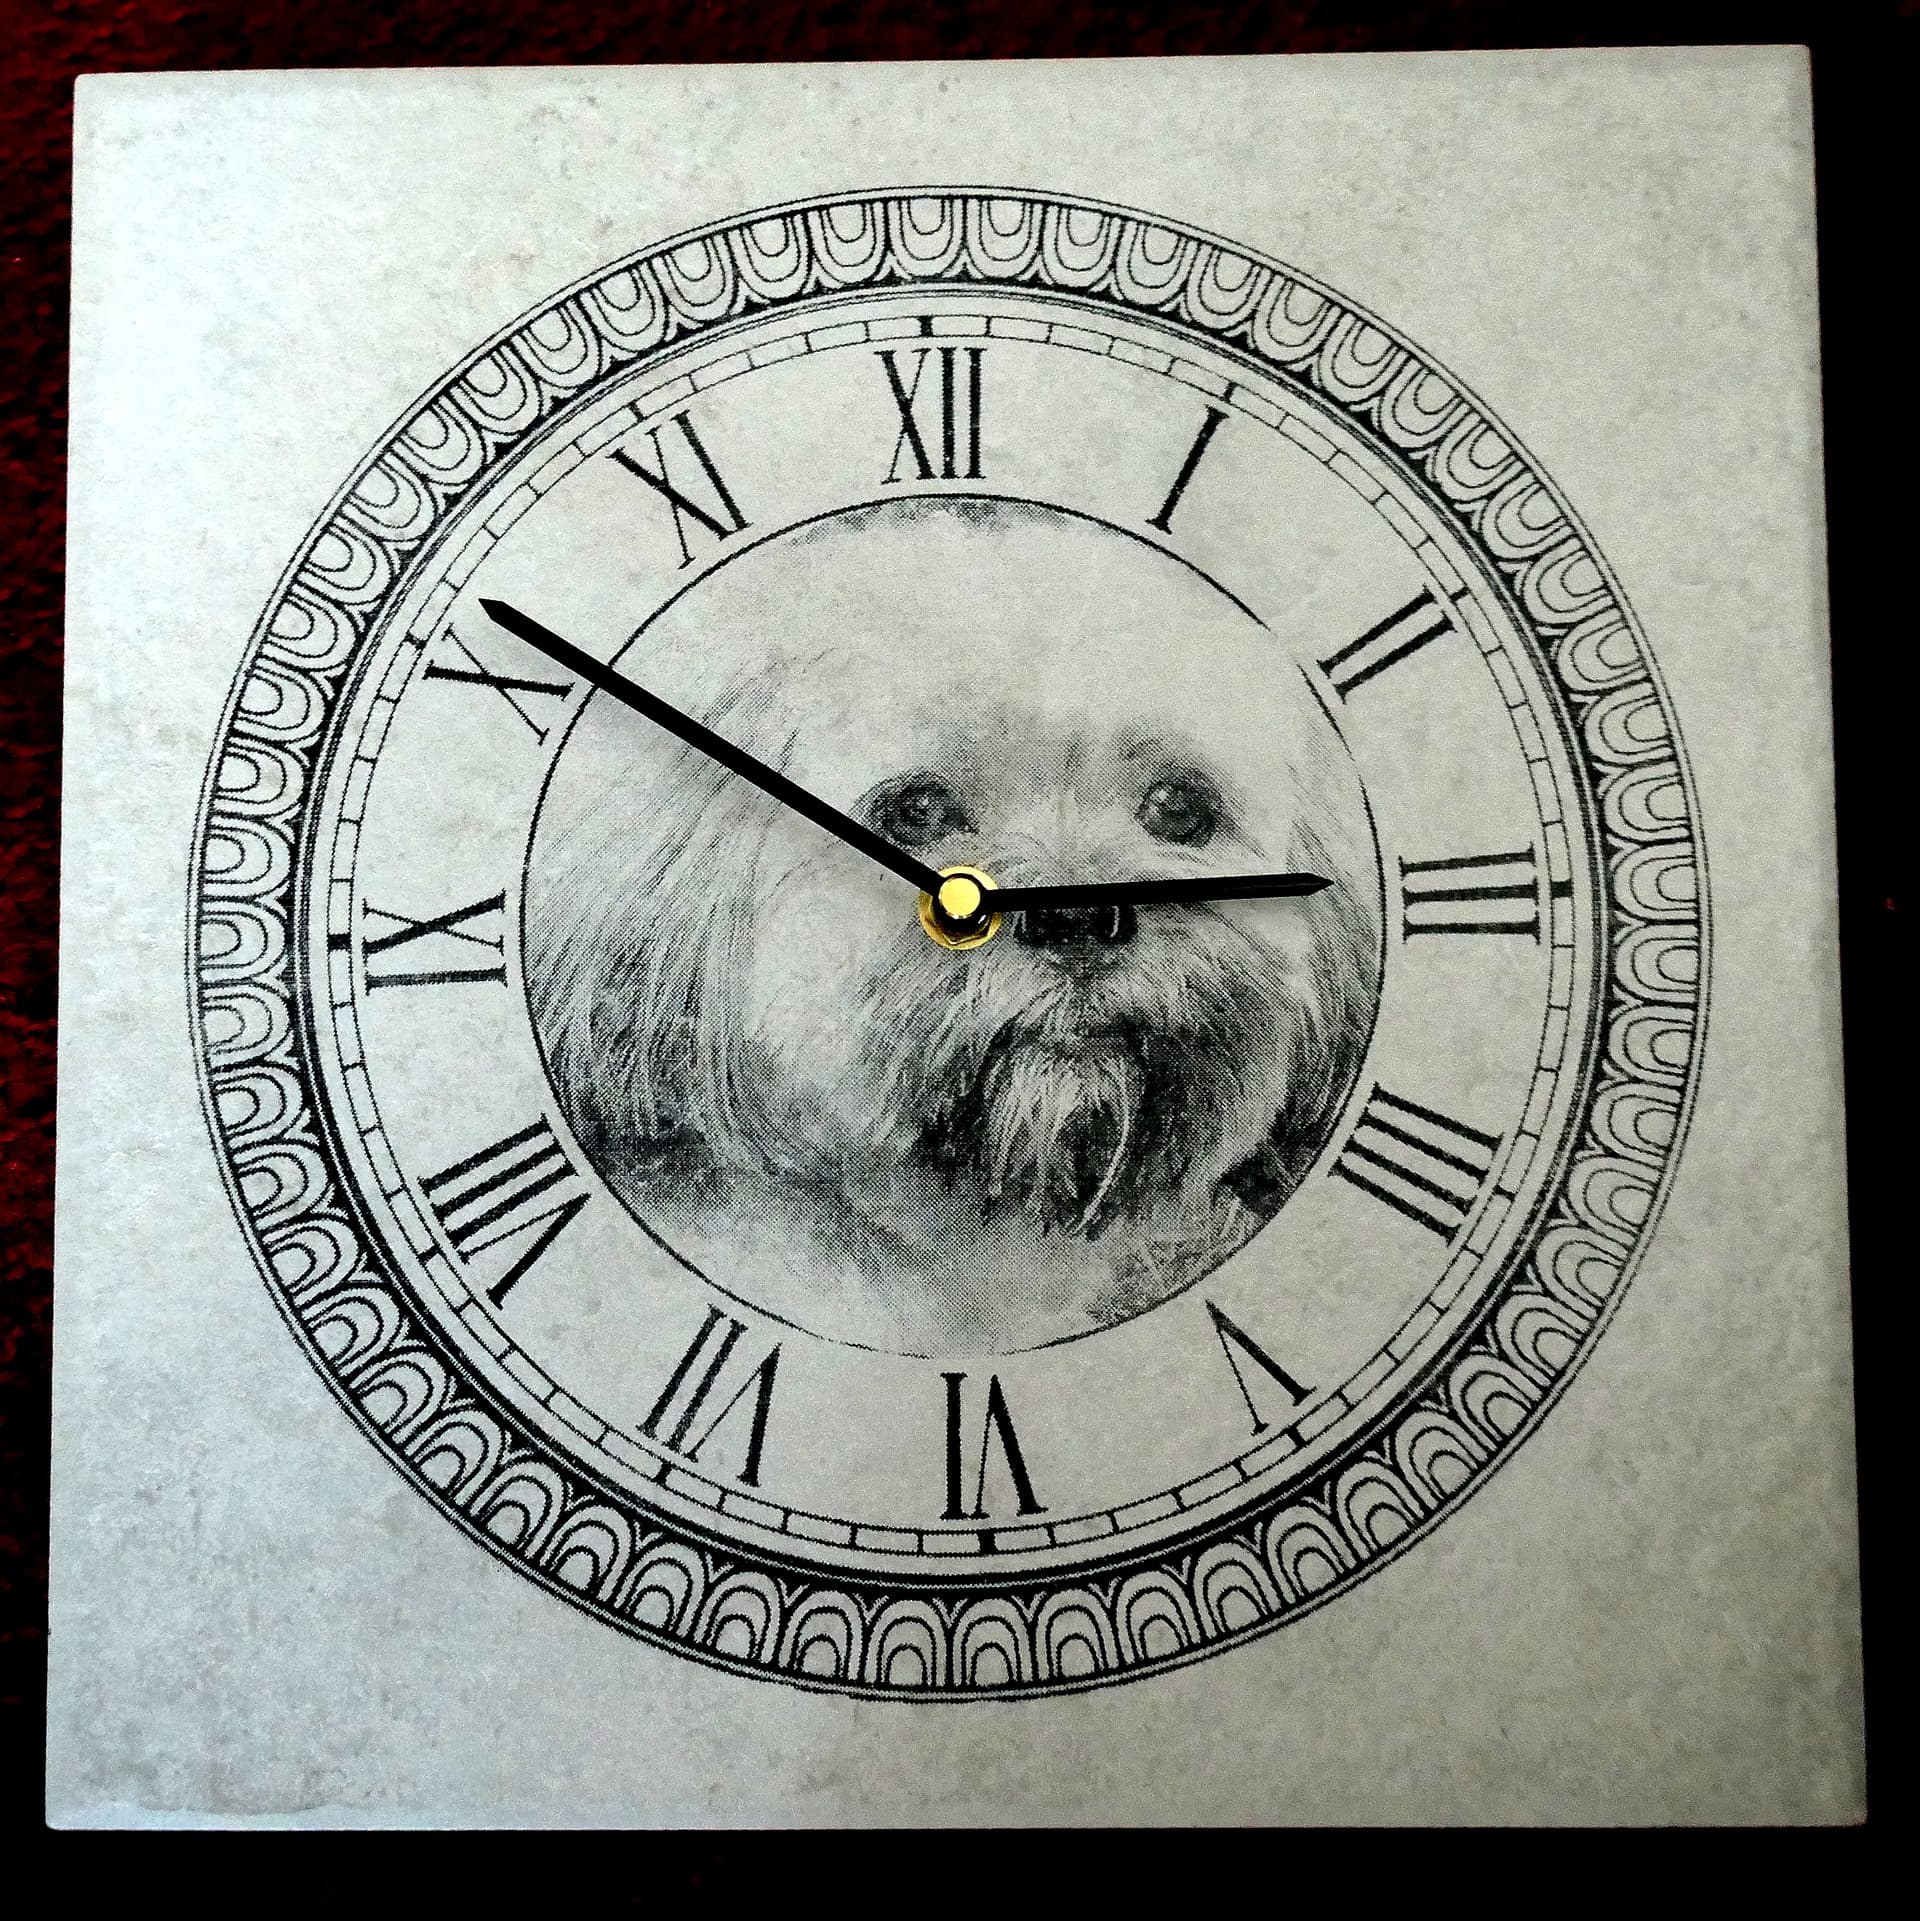
First I mix 100ml of PVA wood glue to 300ml of water. Add 3 heaped teaspoons of titanium dioxide and mix well. I then transfer this solution to a spray bottle. An old empty cleaner or disinfectant bottle will do. Clean tile and then spray tile (shake bottle to keep well mixed). I let tile dry and then spray again to get a good even coat over the tile. Once fully dry I laser at 1000mm 80% on my 40W Atomstack machine. Wash of PVA glue with hand hot water and a scouring pad. Here are a few of my efforts plus a large floor tile which I’m working on to make a garden clock with my dogs face in the middle.
Titanium Dioxide is available from Amason and is food safe. PVA glue is also 100% safe as it is used in schools for craft work. Total cost was just over £20. Enough for 300 odd tiles and more. Tiles were from local tiler who had odd boxes left over from jobs.
Jack I came up with the idea of using PVA as it slows down the settlement of the powder once the spray bottle is shaken giving me a smother coverage over the tile. I’m informed titanium dose not dissolve and when I used just water it separated very quickly from the water. My next attempt will be to mix PVA undiluted to titanium powder and paint it on with a brush. This should, I hope, get over the mess that I get when spraying. I’ll update this post when I have tried doing that. Your method sounds good and I may invest in an air brush at a later date. Do you get nice solid blacks, as this is what has been my problem till I used the PVA. As you mention getting a good coverage is the most important part of success when lasering tiles.
According to the ‘science’ journals on-line, Ethanol or Methanol are the suggested solvent. I tried Ethanol but it evaporated so quickly it plugged up the air brush. The potential is there with water if too thick or left in the brush. I also put red food coloring in it, surprisingly it was what came out of solution. If you let it sit it will separate, just like it did to me with Ethanol.
It will pool about as easy as Ethanol also. I think that’s the lines that are on the reject tile.
I live in the desert SW, so the water evaporates almost immediately and you can wipe off the TiO2 without water. Since I moved we’ve had high humidity and I haven’t broken it back out…
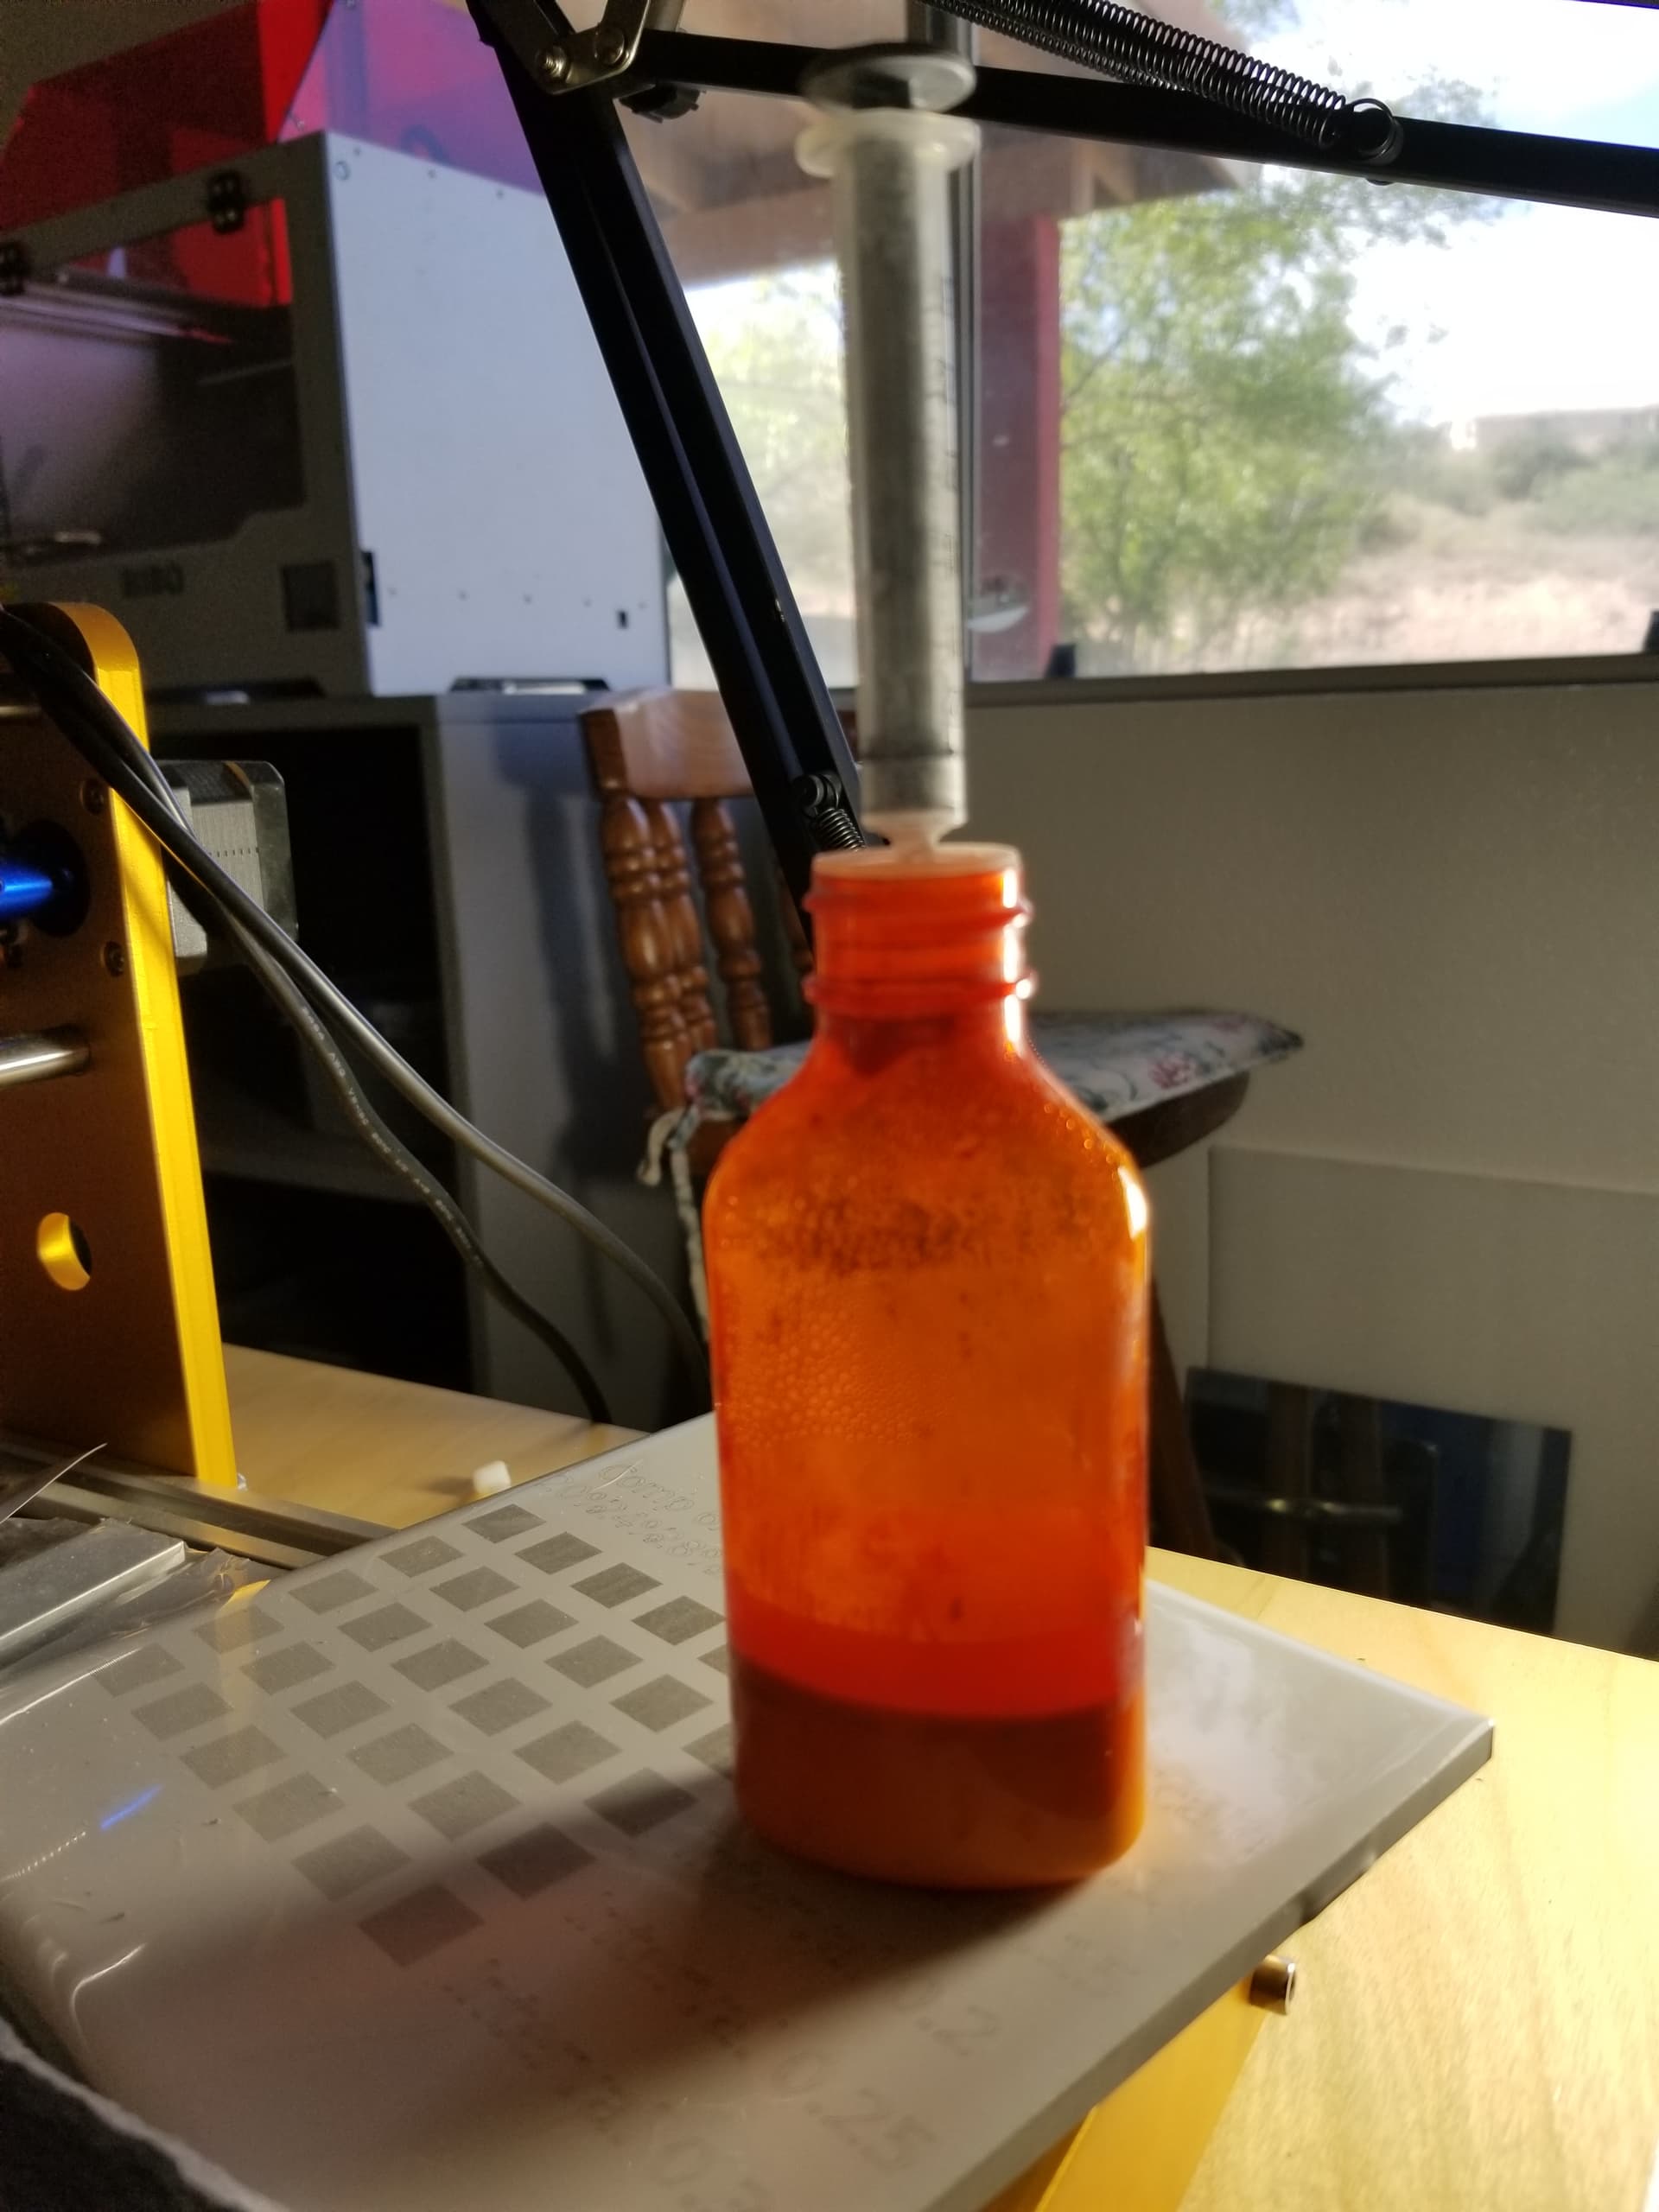
I have a cat that requires a 1/2 cc of medication twice a day… I use the bottle with the special top in it to store/dispense my mixture. I can shake it, draw off a few cc’s for the airbrush.
After wasting the kitchen with TiO2 dust, this keeps the mess very controllable.
There is a coating, LBT100, that is a spray, is non toxic and works relatively well, but rather expensive.
I think the warnings and suggestions apply to the TiO2 operation also. They advise the thinnest layer to get the best resolution. Too thick of a layer requires higher power and you end up with less resolution. Too thin and it doesn’t give you the deeper blacks or limits the range of the ‘dot’ intensity…
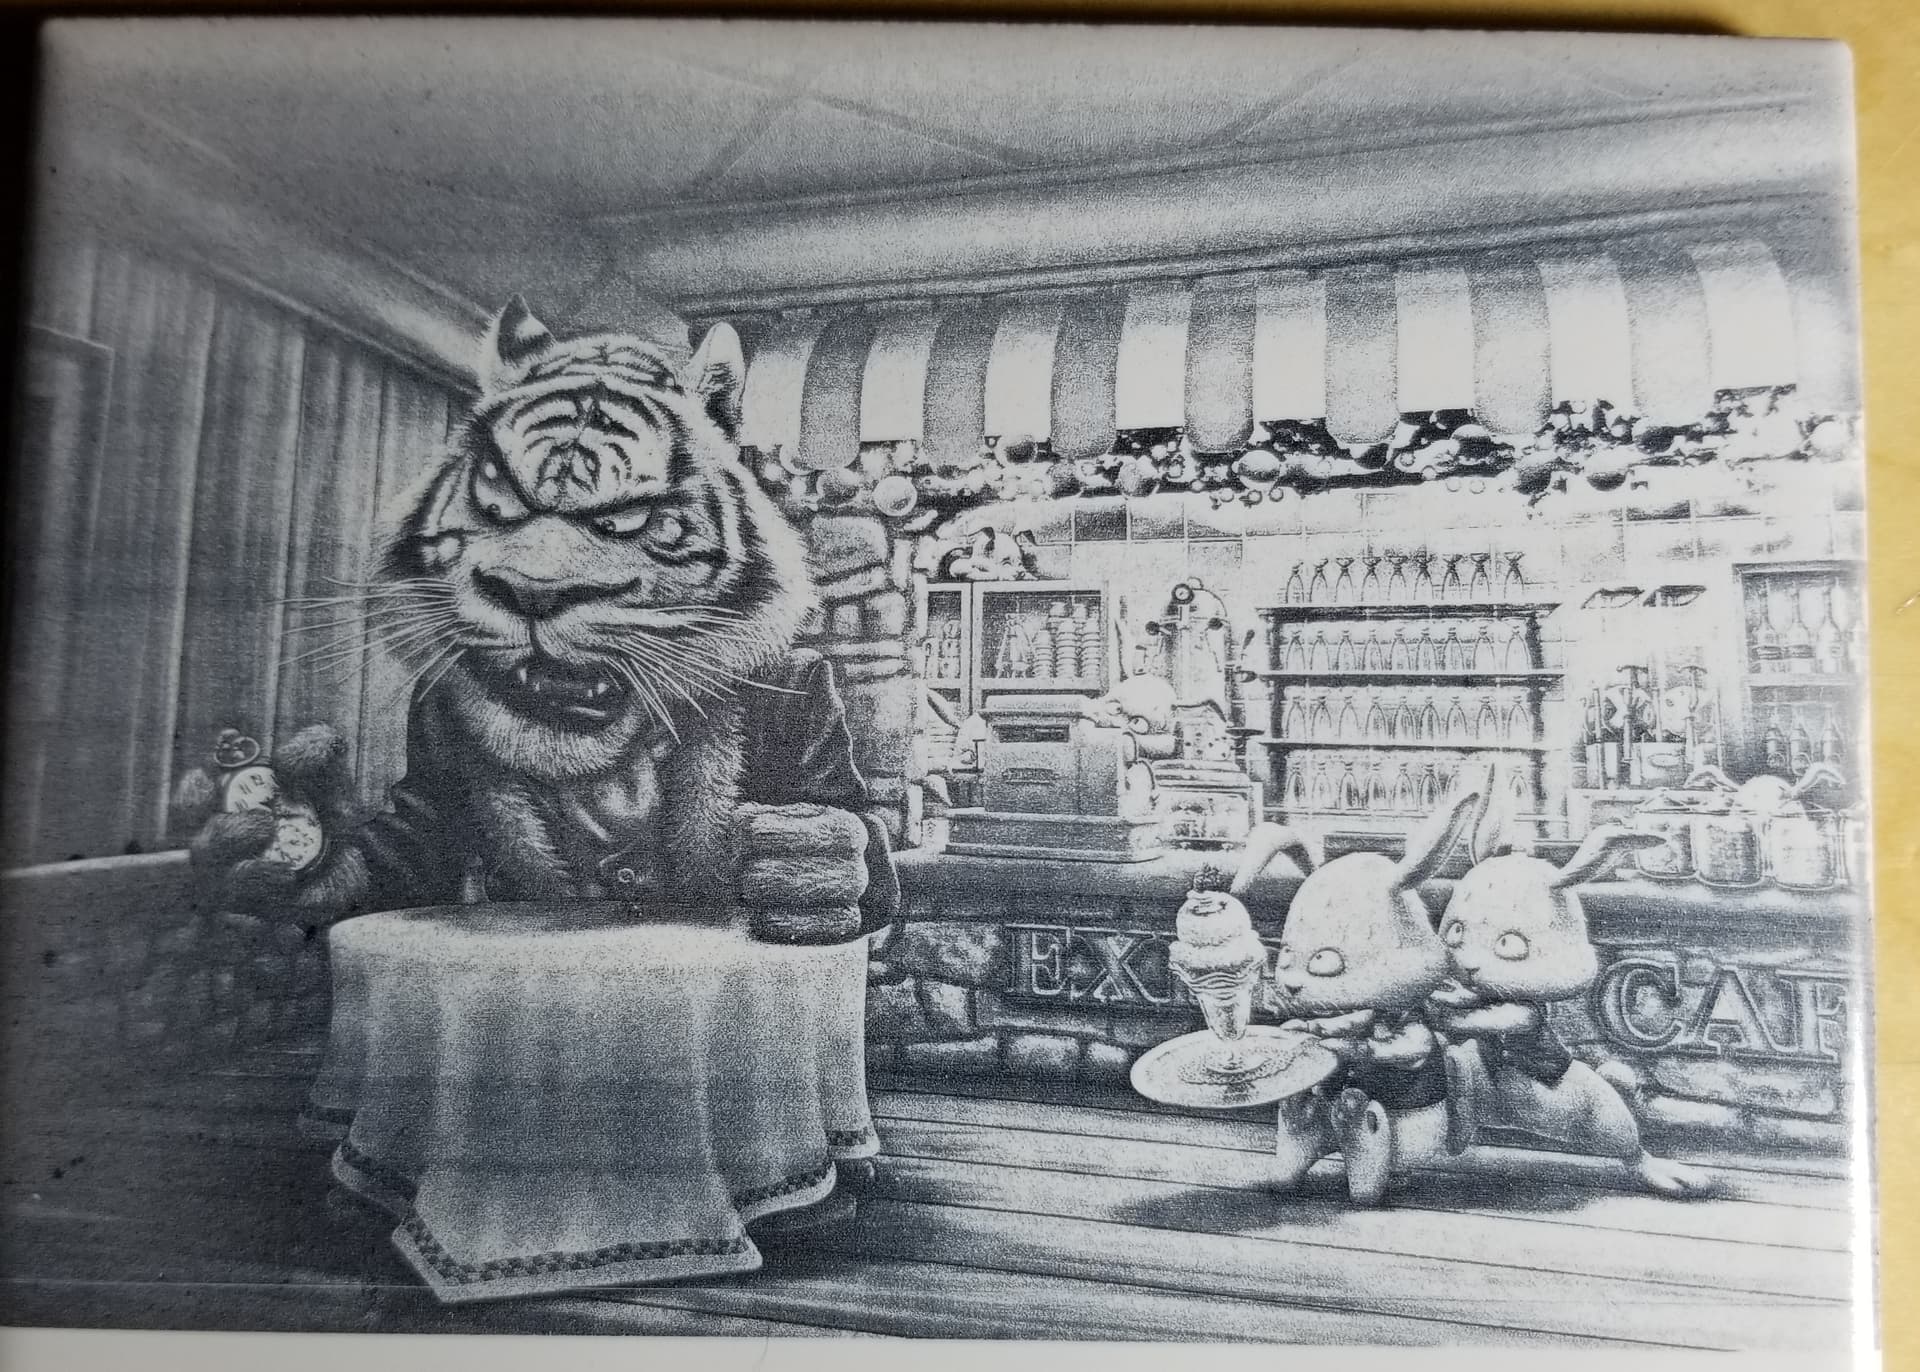
Here is one of my rejects… I think it was a combination of image quality and layer thickness for the failure.
I did get some good black, which is what I was after, but not sure exactly what how I did it. I seems to come down to the right amount of energy to cause the bond.
Russ Sadler has a couple videos out there on this. What I learned from Russ, was pick up a microscope. I use it all the time on my ‘laser’ stuff… On any material, I usually look at the damage…
If you look at the blacks with the microscope you can see what it’s doing to the TiO2. I think this is key to getting it working properly.
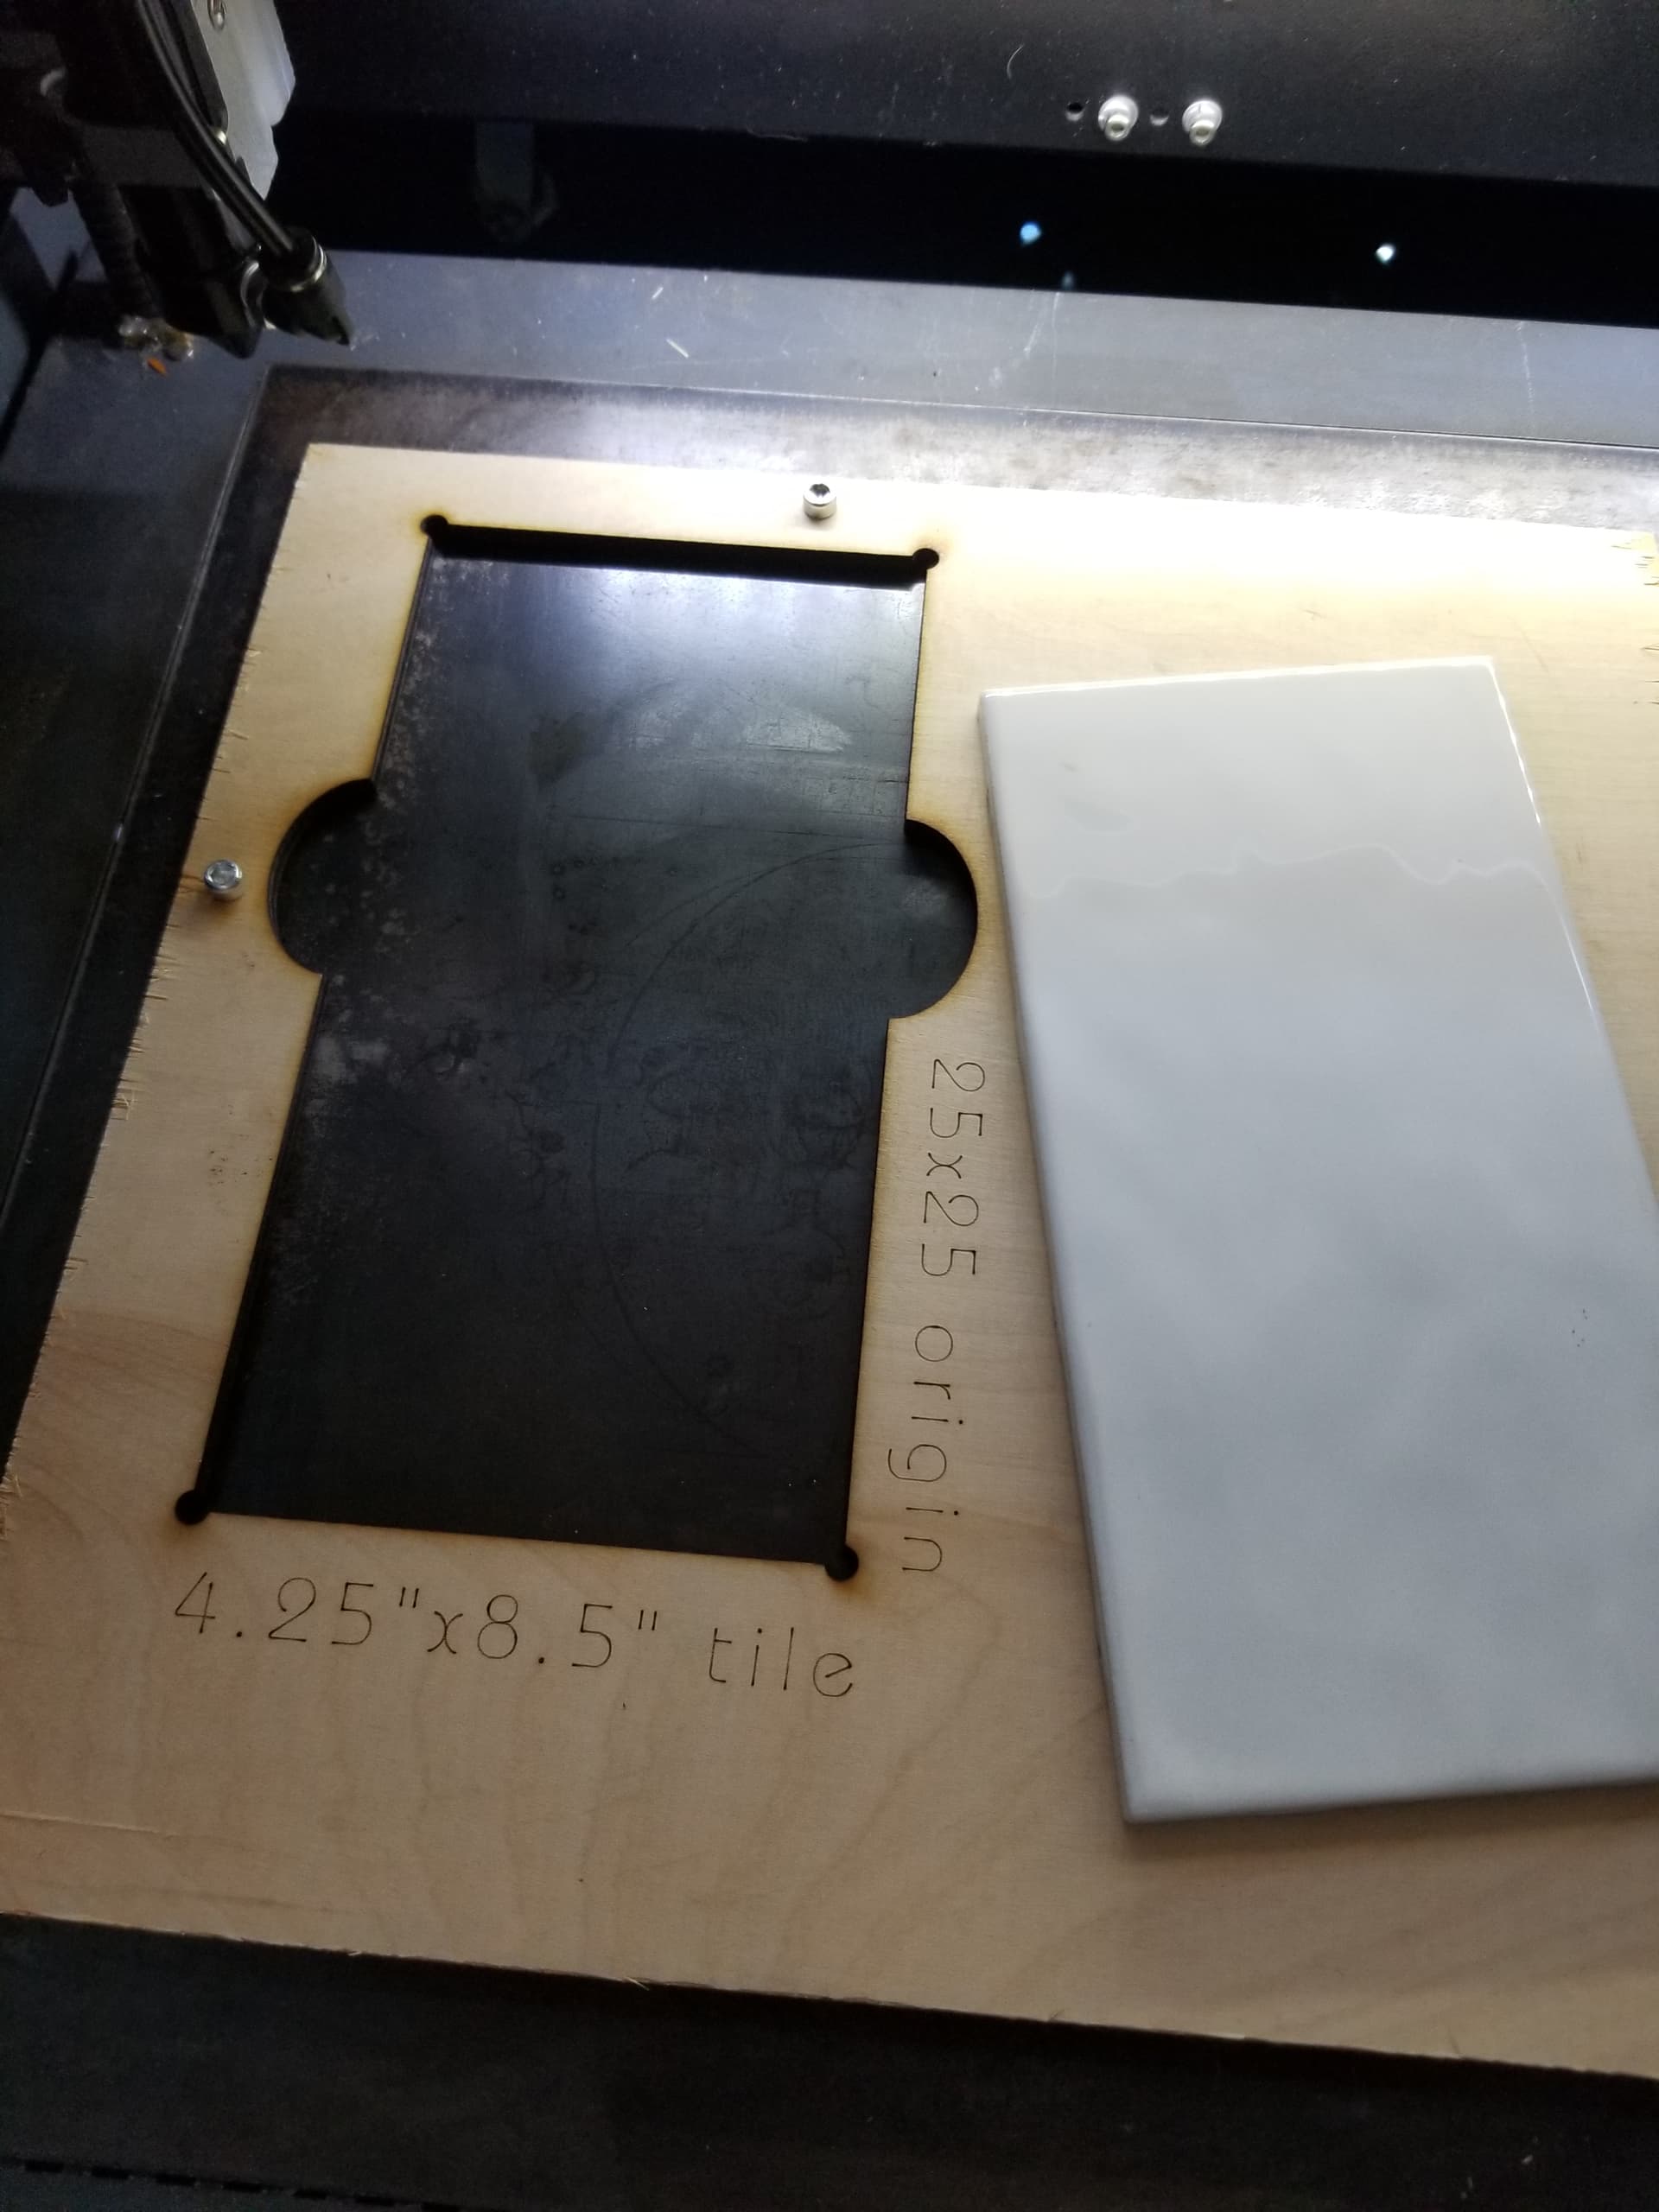
I’ve also noticed that with different tile manufacturers I seem to have different results. I’m sure it’s the material or the process they use. What made me scrutinize this more closely, besides variations in the job, was I use a jig to hold my material and my 6x6" tile from the new manufacturer would not fit…
It would seem you have done a lot more research into this subject than I have. Thank You for posting the links to the videos. I have learnt a lot from them about how the method works. I gather the density of the powder is most important to getting good blacks. My new improved method has now given me all I could wish for in producing far better images.
I have now modified my mix and also the method of applying the titanium dioxide. The new way has done away with the hassle of spraying and having to have a diluted solution, which reduced the density of the powder. Drying time is also reduced so all in all I’m very happy with how I do it now.
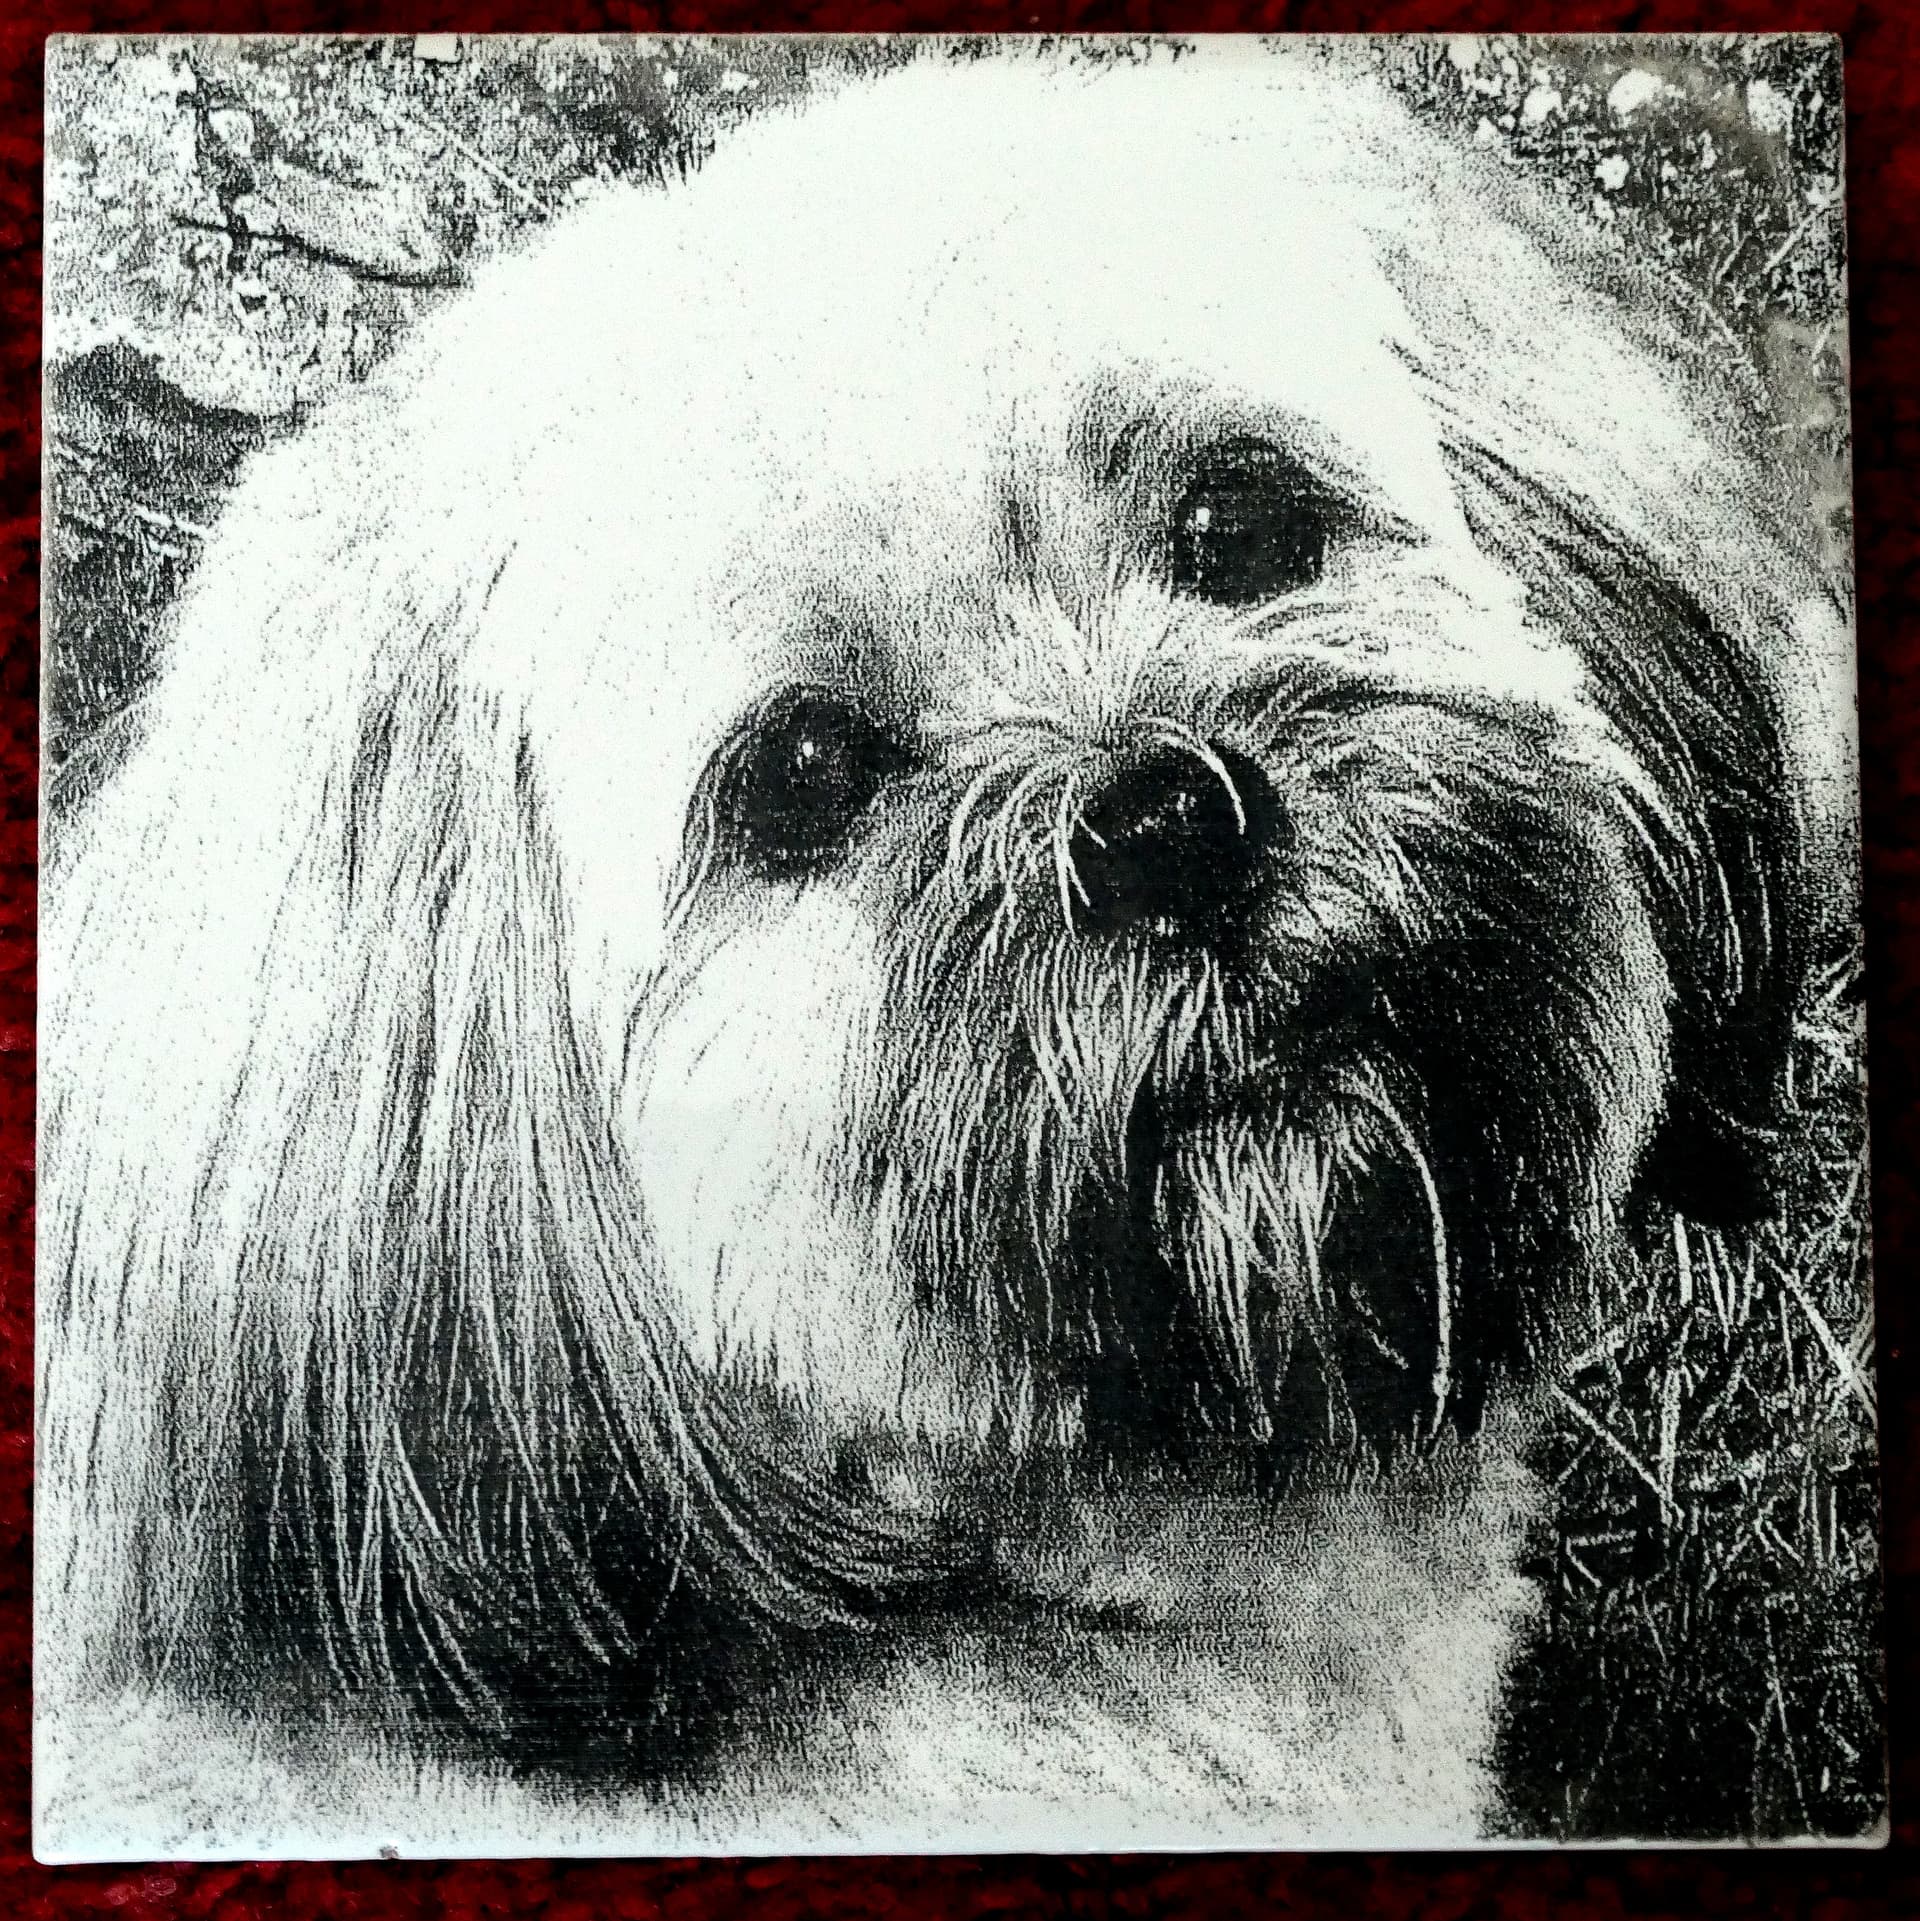
Here is an image of my little dog. Detail has improved and the contrast also.
You got me convinced enough to try it… You should post the .lbrn2 file of the formula… good thing to keep in my templets file and would be great to hang in the garage…
I like the Sadler videos. People don’t all learn the same way. I follow his explanations and understand what he’s doing. I have numerous ‘Sadler’ parts on my machine and he has ‘held’ my hand in moments of total confusion… Great guy…
Jack I’m 84 and not in very good health.I don’t know how to post files to the forum, or where they should be put. If you can do it fine. Or I need help.
Many thanks for your input to this post.
There are some types of file (by extension, such as .txt) that can be uploaded. These are set by the powers that run the site.
You can post the .lbr2 file in a couple of ways. Most just ‘drag and drop’ the file on the window they type their reply. You can also use the upload icon in the toolbar
There is also a size limit of 4.5mb, I think. If you wish to post something larger, such as a video, you can put it in something like your ‘google drive’ and get a ‘link’ from google and post the link by pasting in your reply. You need to right click (google) to ensure ‘anyone with link’ can access it.
How big is your clock? Did you drill it with a glass or masonry bit?
Jack the clock is 30 cm. square. It is a floor tile and very hard. Surface is not smooth so etching was not perfect. Plus I did this the old way and wish now I had known a better way to do it. Drilled with glass drill bit. Will do for now untill I get time to make another one. My main hobby is wood turning so laser work has to take second place most times. Regards the posting of the file, I’m looking into that and may have a go later.
Hi
Thanks for all of this info.
I’m on a CO2 60Watt laser and do some map etchings on Glossy White Porcelain tiles
12x24 from Lowe’s
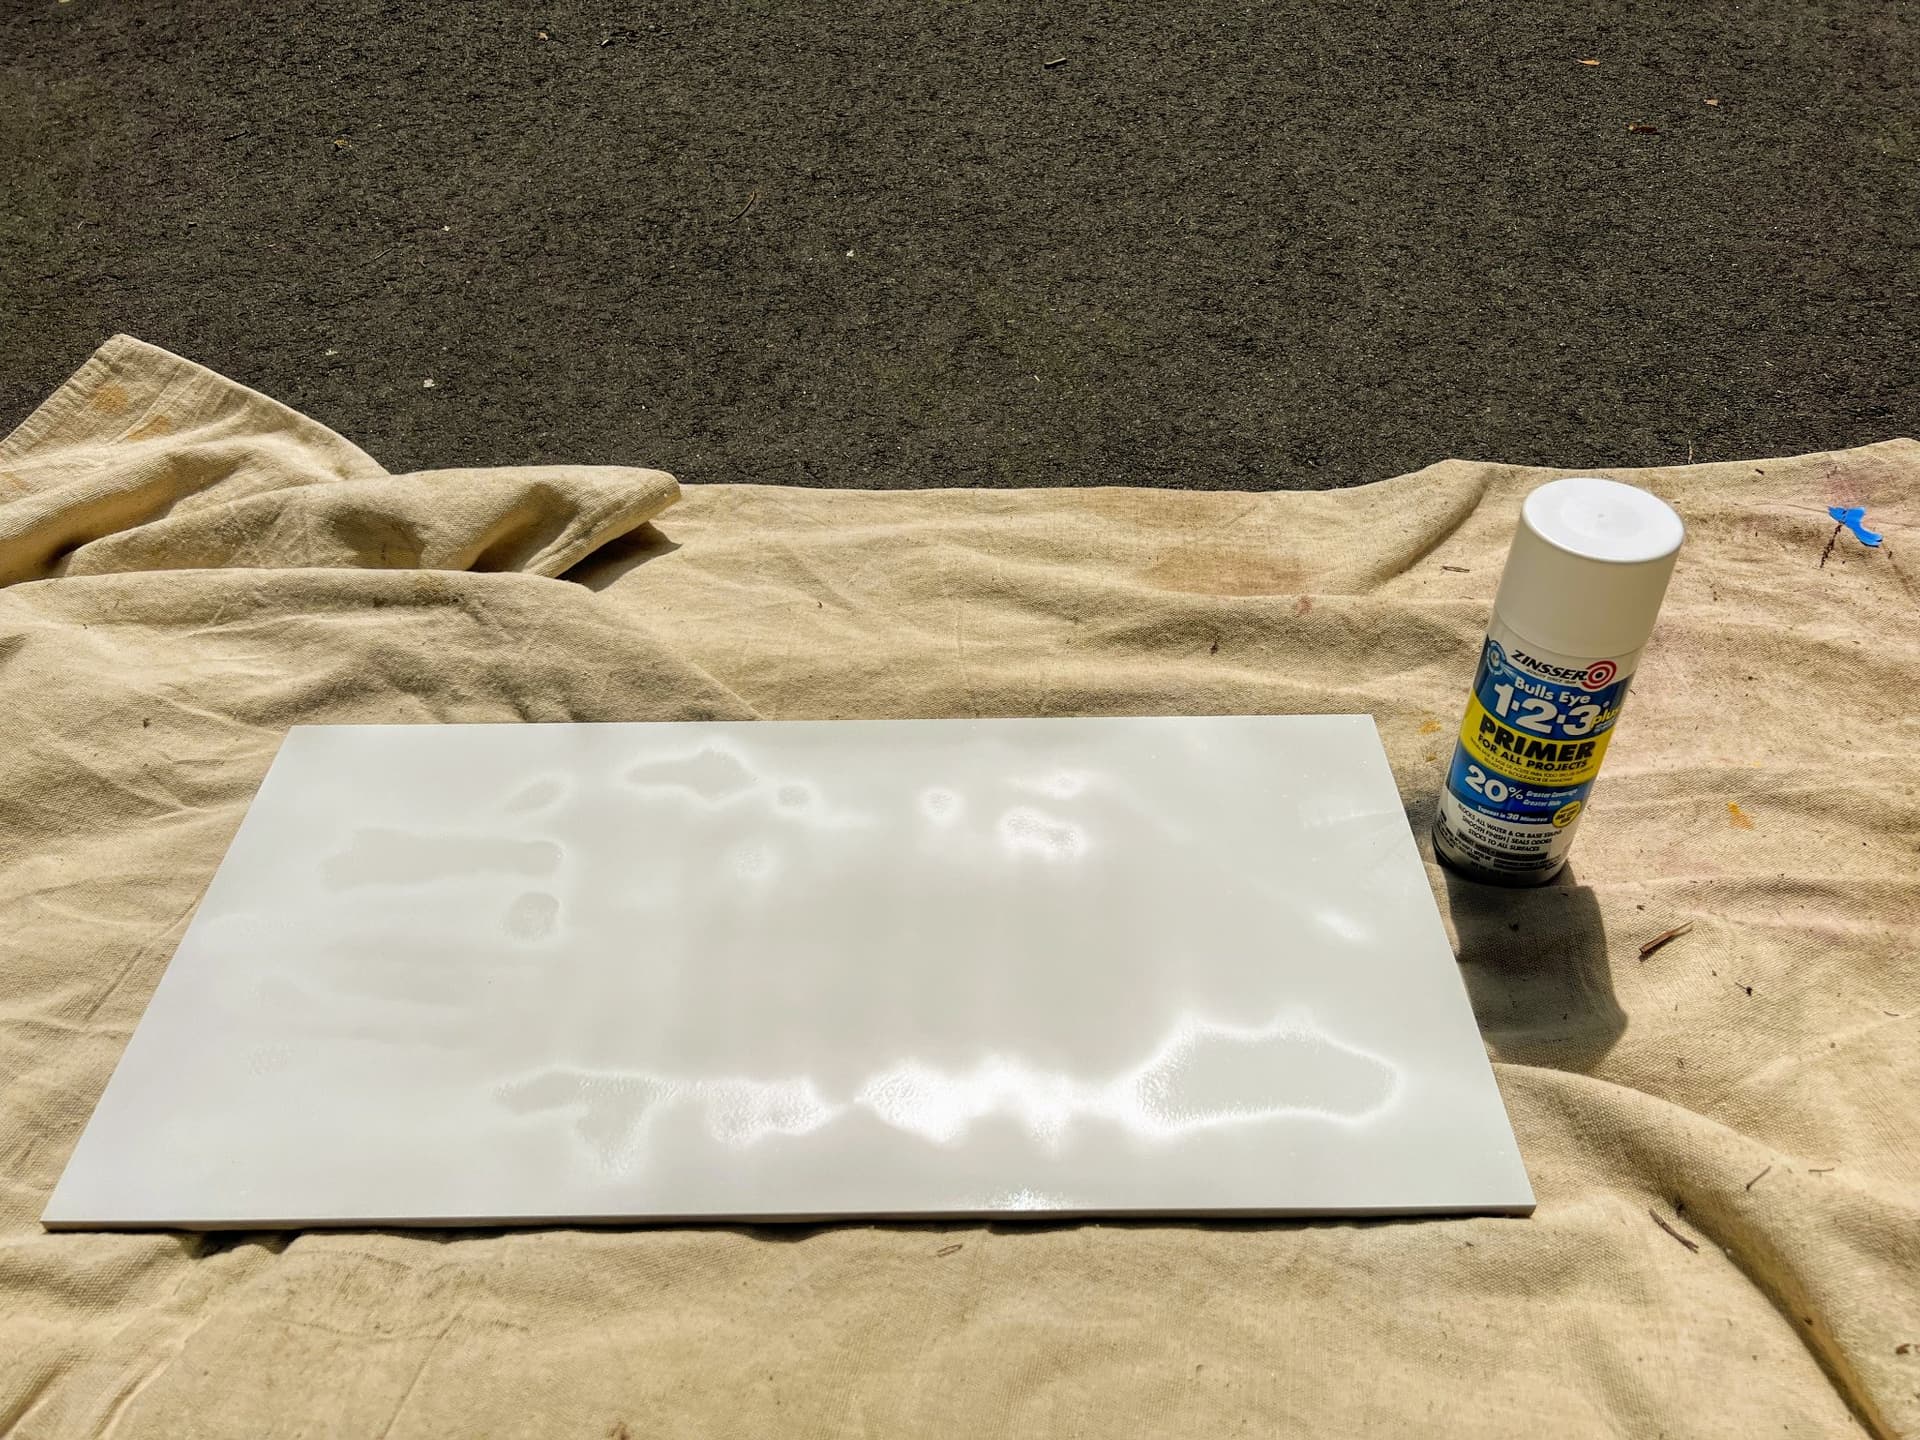
I have really good results with Zinsser Bulls Eye 1 2 3 Primer
It dries quickly as most primers do.
It has a good amount of TiO2 and creates deep blacks for Vector Line Art maps.
I need to test with some Raster images
Question: Have you tried this particular Primer as the delivery method for TiO2
If so how does this primer compare to some of the custom blended solutions you mention for TiO2 Coating if tiles.
Hi, first many thanks for contributing to this thread. No I have not tried that particular paint. I have tried many others and not had the quality I’m achieving now. Also the cost of most paint is far higher than the mix I’m using now. Do you need acetate to clean off the paint? My method only requires tap water. I understand that co2 lasers produce better dot separation than diode machines, but since lightburn introduced dot width correction I have found my image quality has vastly improved. I believe my machine can now match co2 lasers and is probably helping me produce better images on tiles. Your images posted here look great. I’m currently working on making a small coffee table using an image split into 6 parts and etched on to tiles to form the top. When all 6 tiles are assembled they will form one large picture.
Dealing with painting then trying to get it off was more trouble than it was worth to me. Did some mugs that way also, what a pain getting the paint off…
I like the powder method and I’m going to give @RonClarke formula a go.
Both of you thanks for the input… Sure like the results with @HellUpShutThe paint.
Thanks
Zinsser Bulls Eye Primer is not cheap compared to custom mix method.
Prep was an acetone wash.
Cleanup is with acetone and a copper Choreboy wire kitchen pot scrubber.
This will take the paint off in seconds and not scratch the tile or etching. But the wire scrubber can get gummed up so I use 2.
keep 1 in a cup of laquer thinner when it gets gummed up while using the other.
Usually just need 1 scrubber. But it does involve solvents.
Cheaper cost, plus water cleanup of tiles is tempting.
So I will try a custom mix.
Next question: Have you tried powder coat color pigments for color output?
Think of the color print industry.
They take color images and seperate them into 4 – C M Y K
Add registration Marks to align the 4 print jobs
and you end up with colorprints
I dont think anyone has tried this with Diode or CO2 lasers and powdercoat pigments yet. But thought I d ask?
Do you think we can mix the powdercoat colors with a liquid and spray or would we have to dry coat the media?
Guys this is getting way over my head. At 84 my poor old brain just can’t keep up with you. I spent my first 7 years doing an apprentiship in the print and another 10 years working on the London newspapers and fashion mags, as a compositor/linotype operator, and I should beable to use that experience to produce colour engravings, but sorry age has got the better of me and I will not be going down that road. I will however watch this thread to see what you come up with. The video on colour etching was very interesting but again to far advanced for me. I do hope you both gain somthing from my method. Maybe adding colour to the mix would work. Who knows.
Very interesting to hear what you have been doing. I didn’t like the paint spraying as much and certainly not the harsh chemicals of the original Norton method. I was working on the basis of a water soluble white paint which I diluted, so it spreads more evenly over the tile. You can remove the excess with a brush and some water.
Not sure if someone has tried to put some thin paper between the tile and the paint (or use the paper upside down after the paint had dried. I had some interesting results, but not even enough. I am not sure if that was because uneven paint distribution, paper not always flat on the tile, or because something else. With the “painted paper up side down” method (doesn’t sound as good as the Norton Method - I know) you don’t have any cleaning to do at all… I’ll have a go with the PVA (or is it now the RonClarke-) method.
I Had a co2 , and had trouble with the whit paint method, and accidently found a solution. I went to thr Dahl tile store and asked for samples and the gave me quite a few. One happened to be their 0790 matt arctic white. I found this particular tile lasers without ANY prep or cleanup. You don’t get true black, but rather a dark grey with a bit of sparkle in the sun. Also it isn’t like the ti02 or paint method as those leave a rough raised surface and this leaves a smooth indented surface. Unfortunatly I found that this dosn’t work with diode lasers. This also olly works with the Dahl Tile matt finish tiles and other brands I tried do nor turn black like the Dahl brand. (60w co2, 60mm/s ,80% power)
I think you will all be surprised how easy the PVA (RonClarke ) method is. PVA being water soluble and ries clear, which dose not interfere with the laser beam. It is easy to remove after lasering. I’ve now got to adding a couple of drops of liquid hand soap to this mix which gets over the odd surface tension problem. Do please try this and update us with your results. The guy in the posted video is not doing anything more than others have done with colour filling. He is just melting the powder paint so that it adherers to the surface. Covering with standard paint would do the same if surrounding areas are cleaned. I’ve done this with wood by sanding the paint off once dry. Colour photo images are a different kettle of fish as the image has to be slit up into four separate sections. One for each colour plus black. All four have to be printed one on top of each other. producing fine colour dots. Not something etching would be capable of in this present day.