Its the second formula, brush on job. Just think adding a bit more water may help the brush marks to smooth out and give a more even coat. Bit like thinning paint. My aim is to make this as perfect as possible. If it helps reduce required power and increases detail, them it’s worth the experimenting. As a very keen photographer I’m looking for the same quality image I get from my printed photos. Line images are near perfect. It’s the tones in photos that I want to improve.
As in an earlier post the conclusion was that a thinner coat may be better, I was looking to spray on alternative. I had an opportunity to borrow a airbrush this weekend. I am looking for a a thin coat, but still very even over the tile.
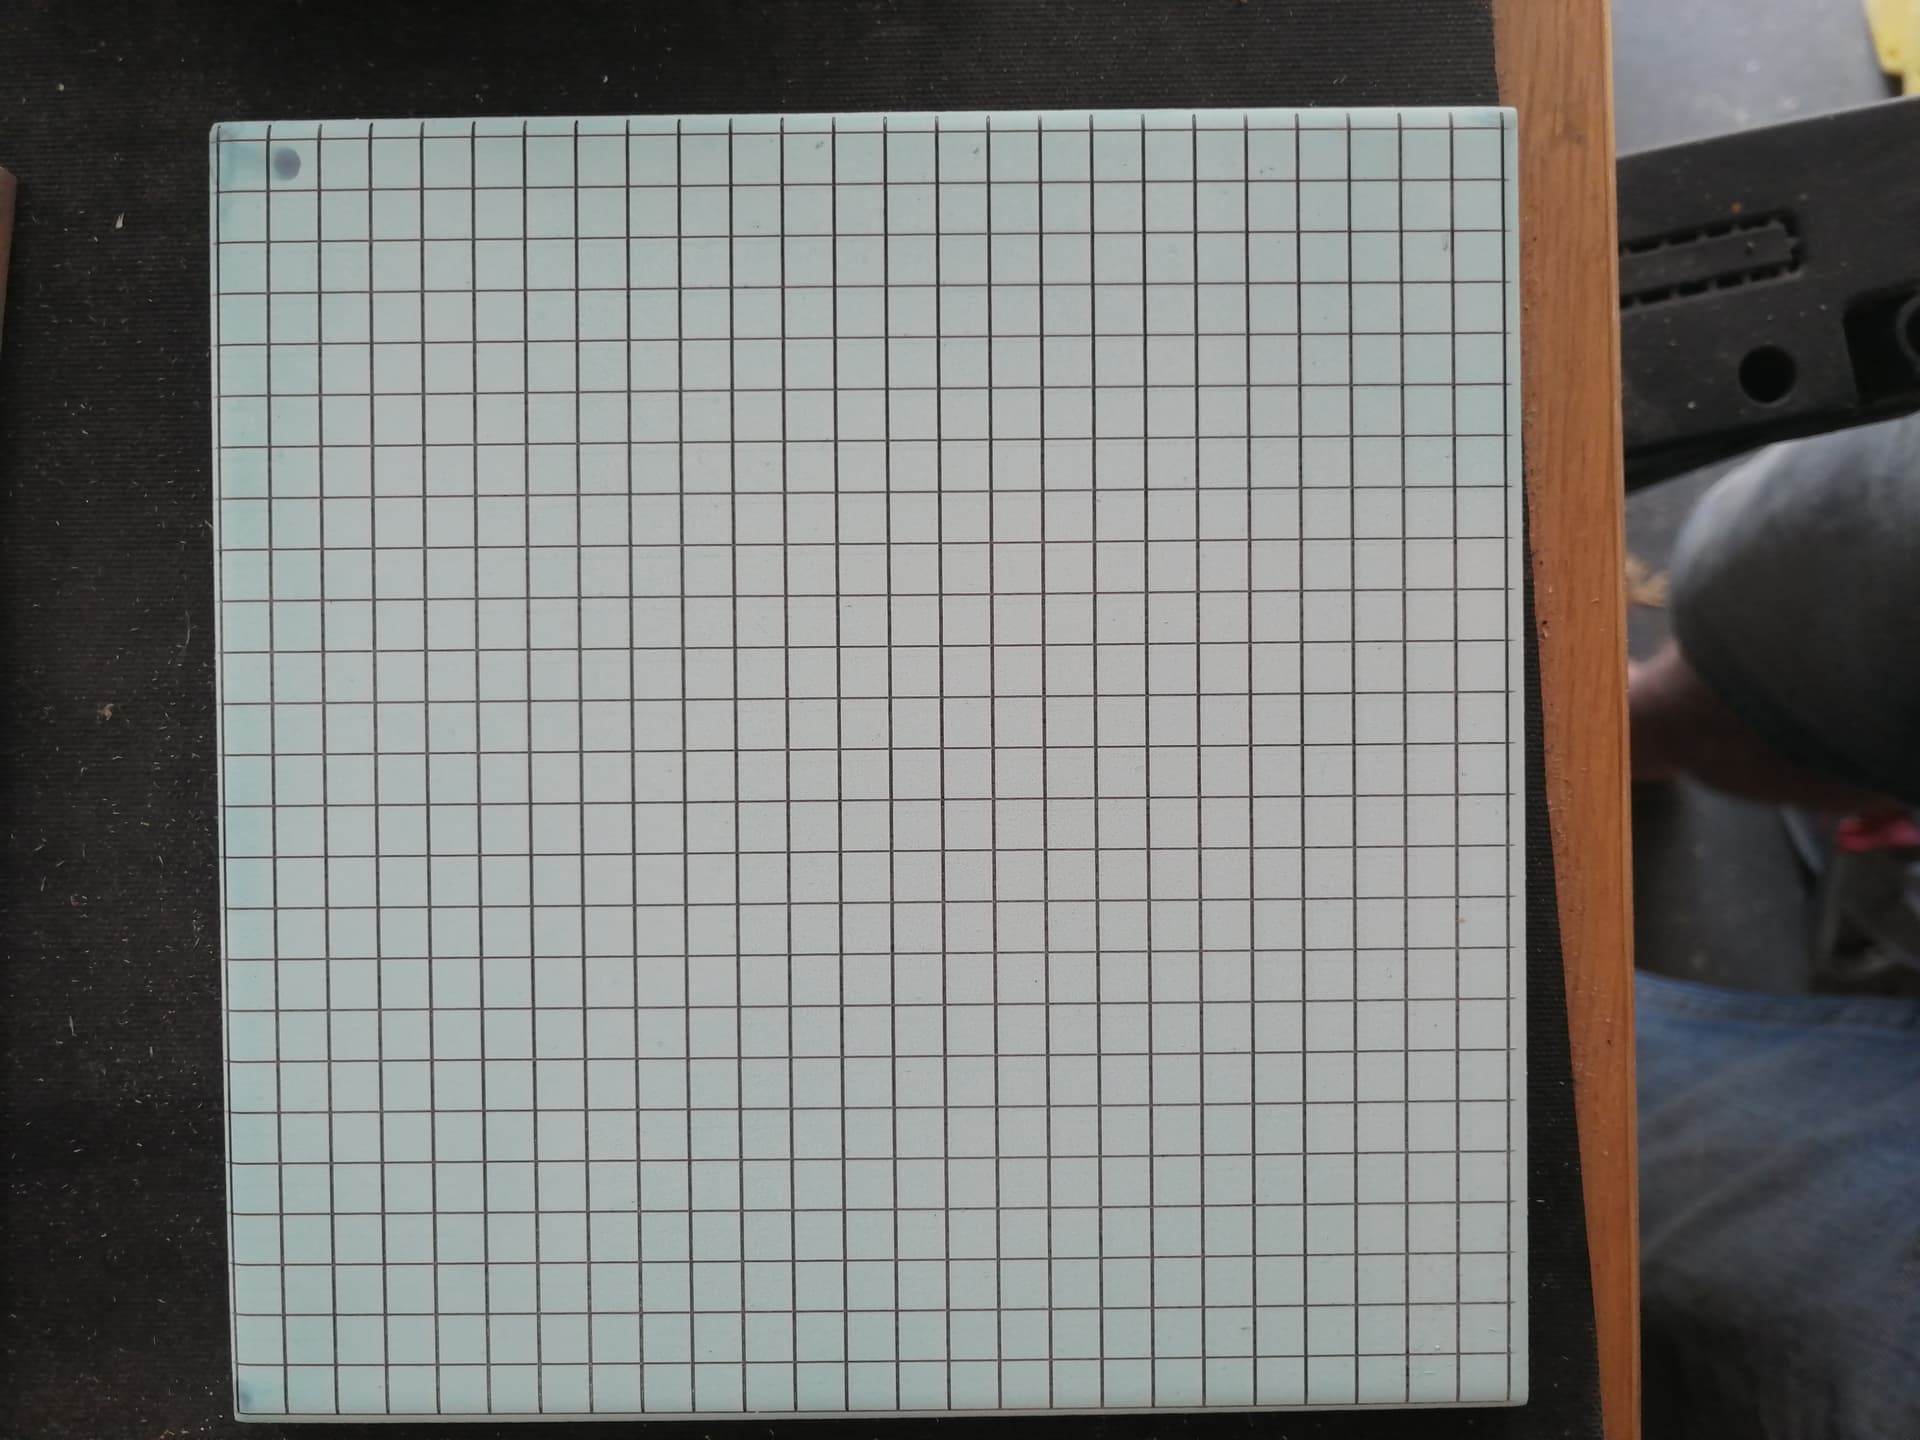
I thinned the RonClarke recipe a bit and sprayed it on a 15cm x 15cm tile. I created a mesh pattern on a tile, to check the coverge. I also used some green food colouring in the paint to get an idea where I’d sprayed (Thank you for the tip @jkwilborn!). The fist photo is after lasering before removing the paint:
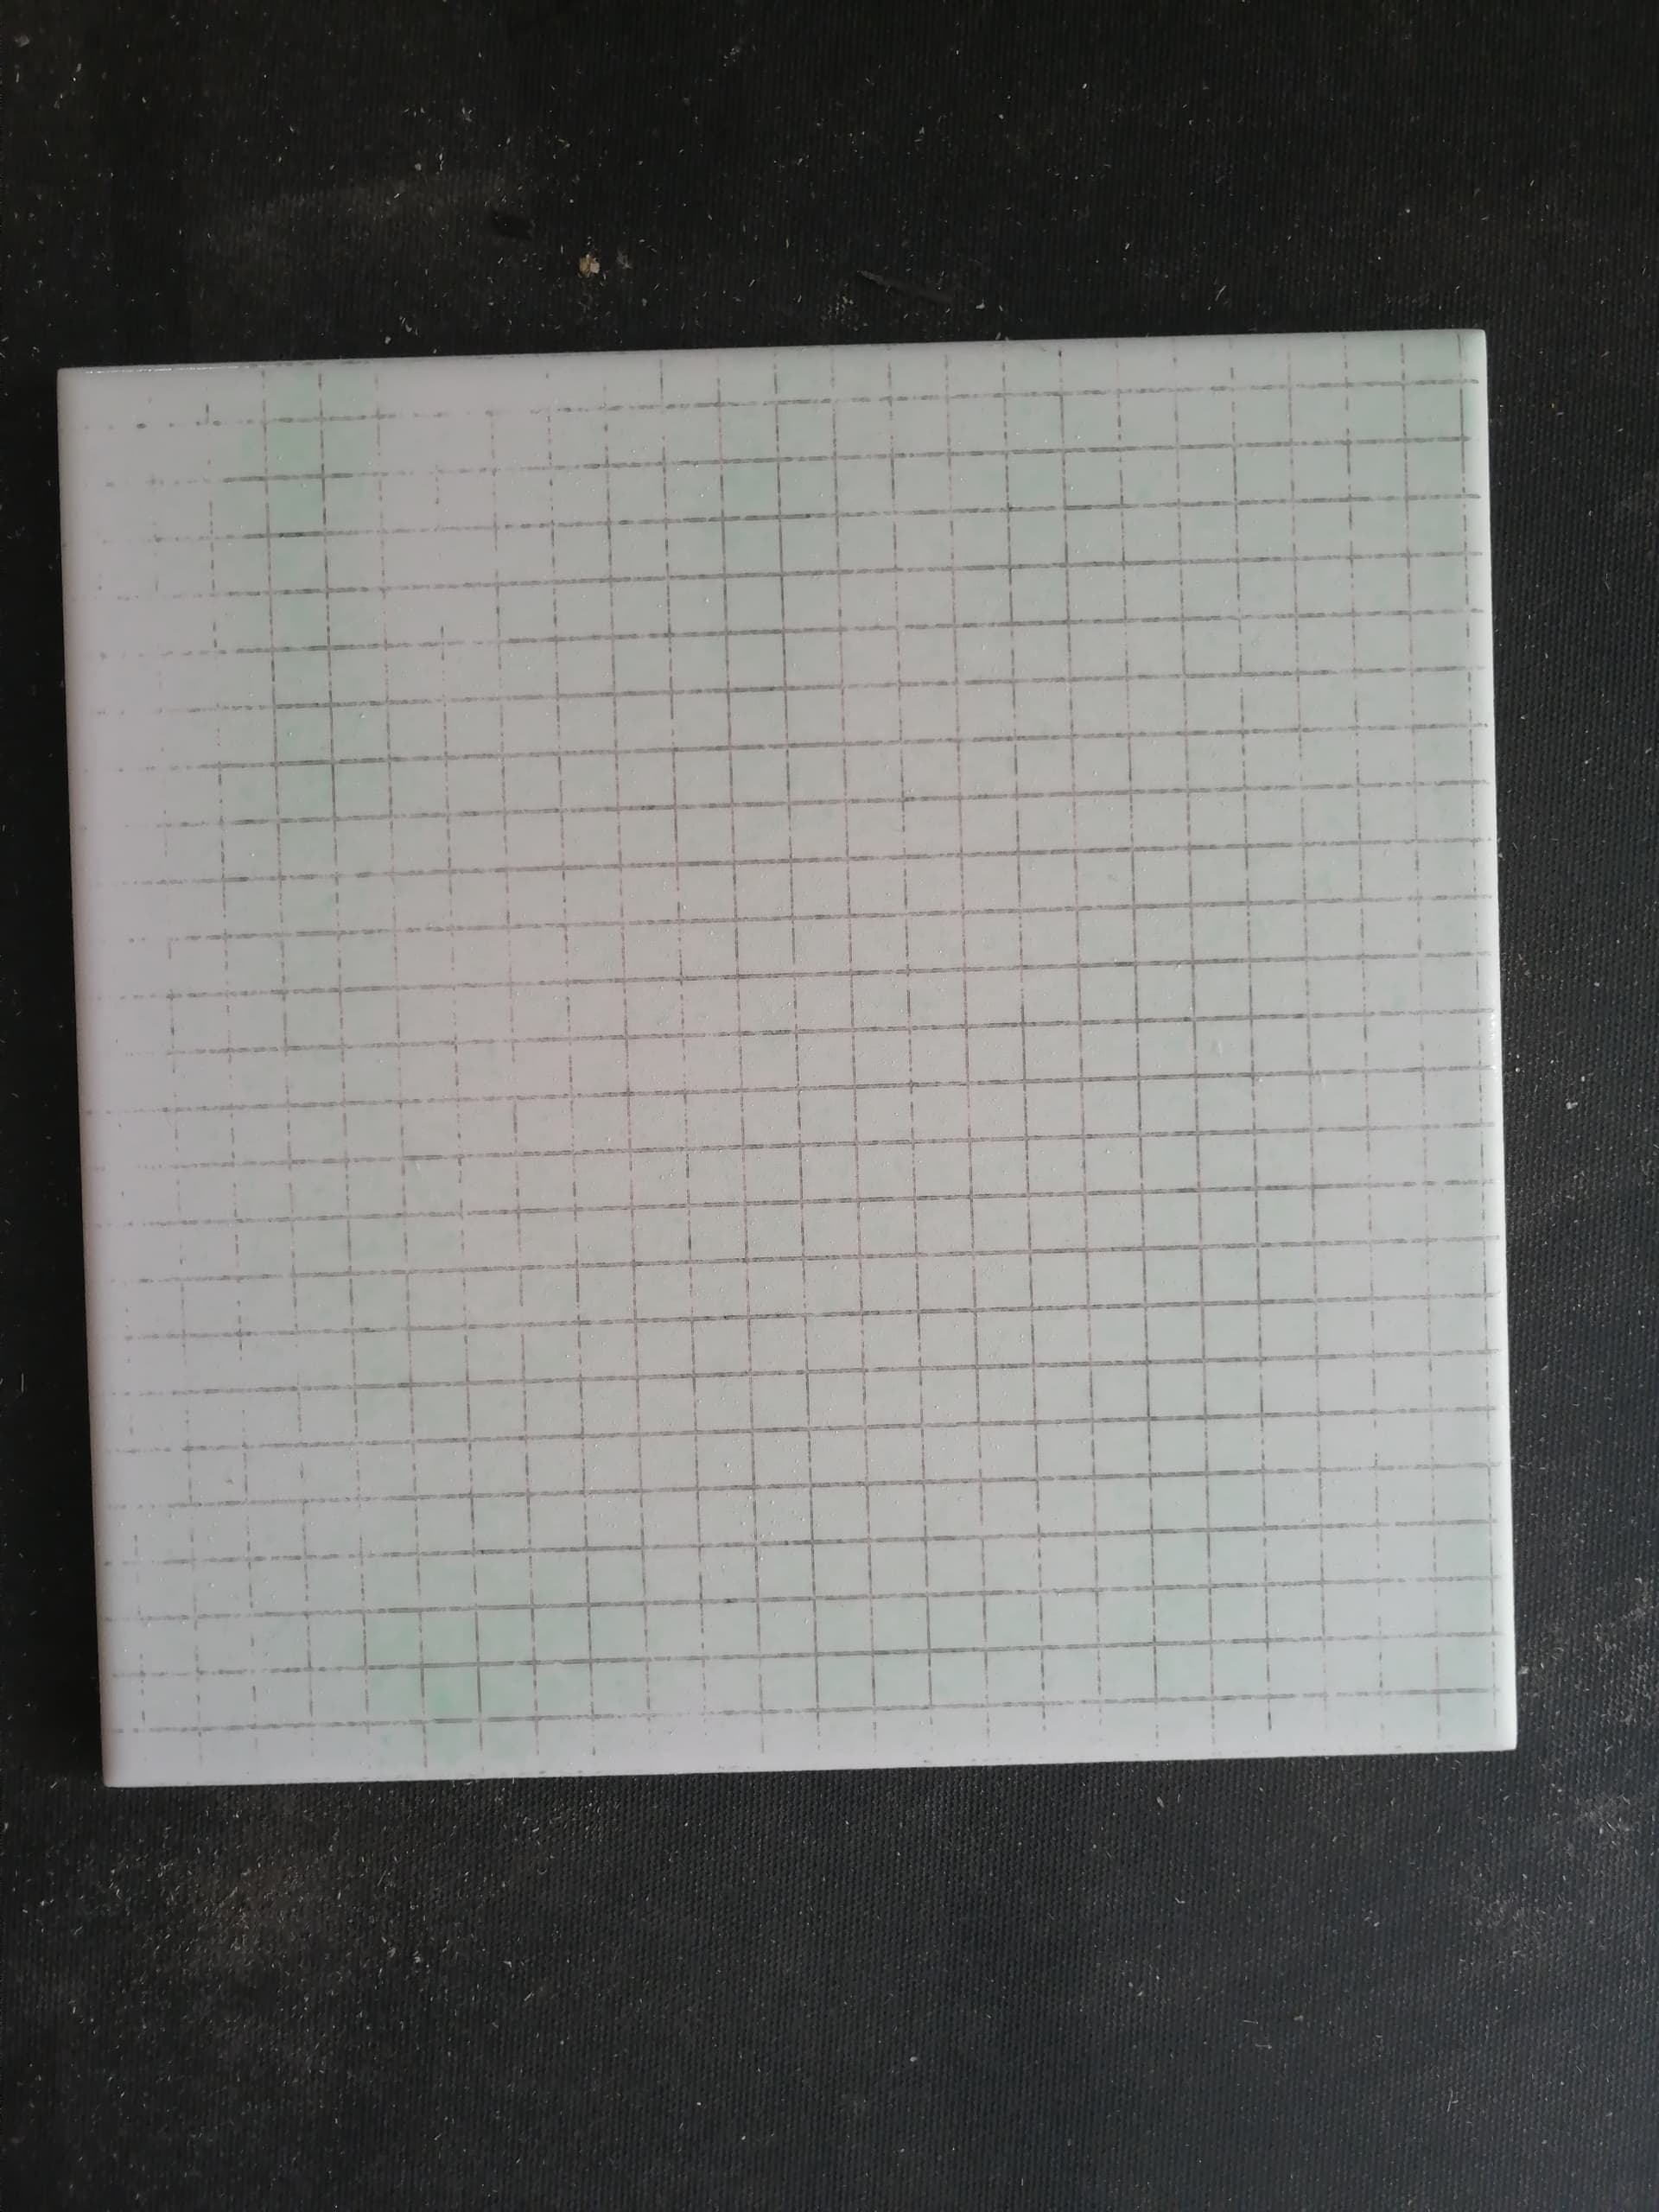
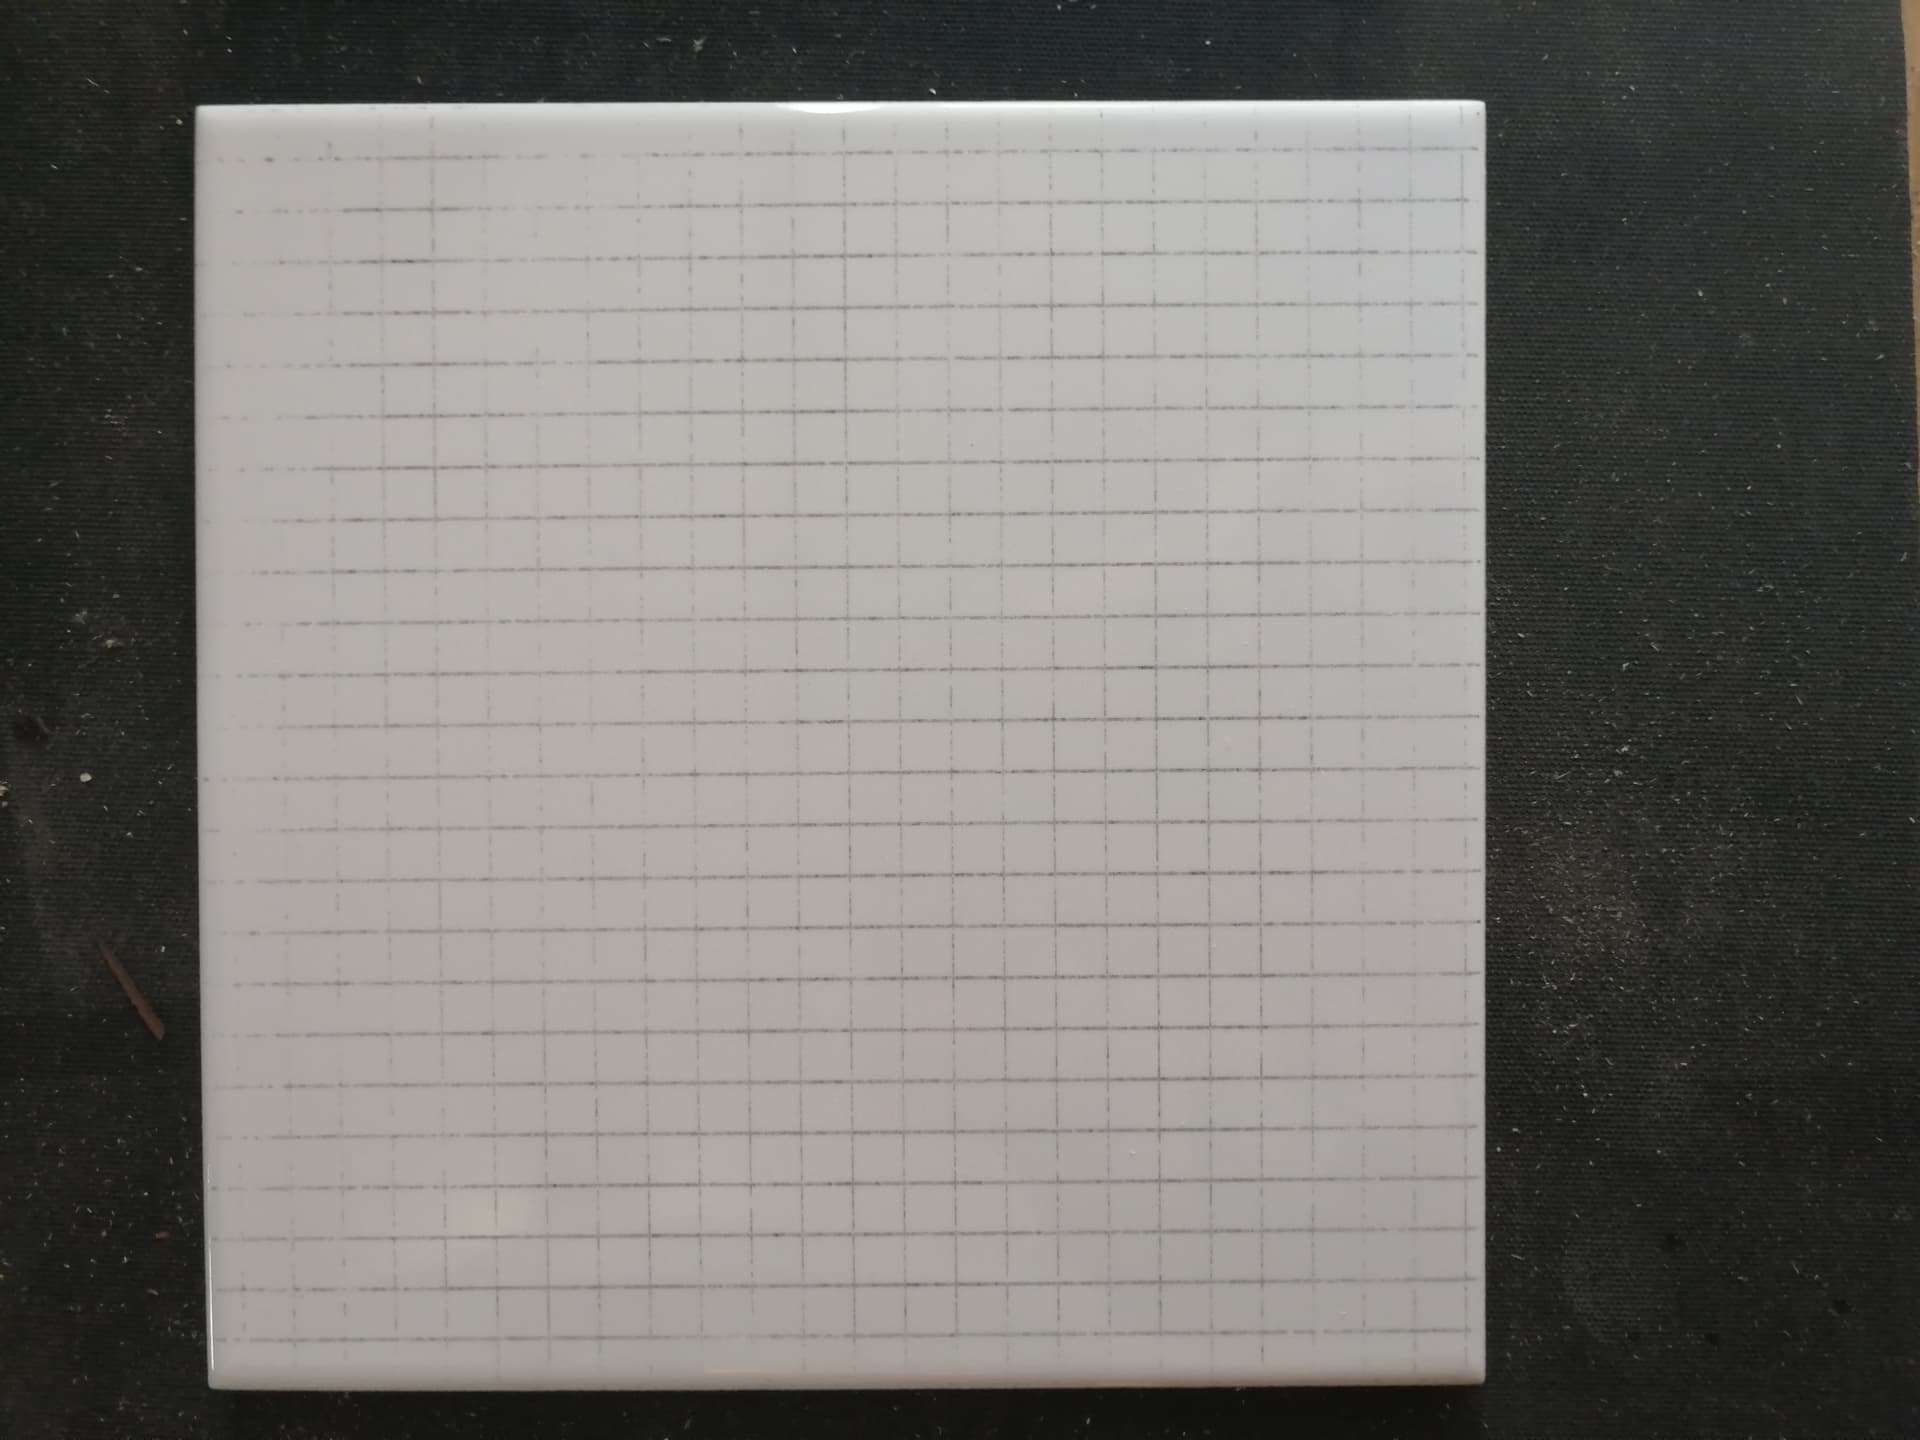
My painting is obviously not brilliant (it was the first test) but what you already can see is that the lines are bit blotchy… The next photo shows the same tile, but with the paint removed.
>
Next test was with diluted paint (Dulux Trade Matt on medium base - locally mixed, water soluble).
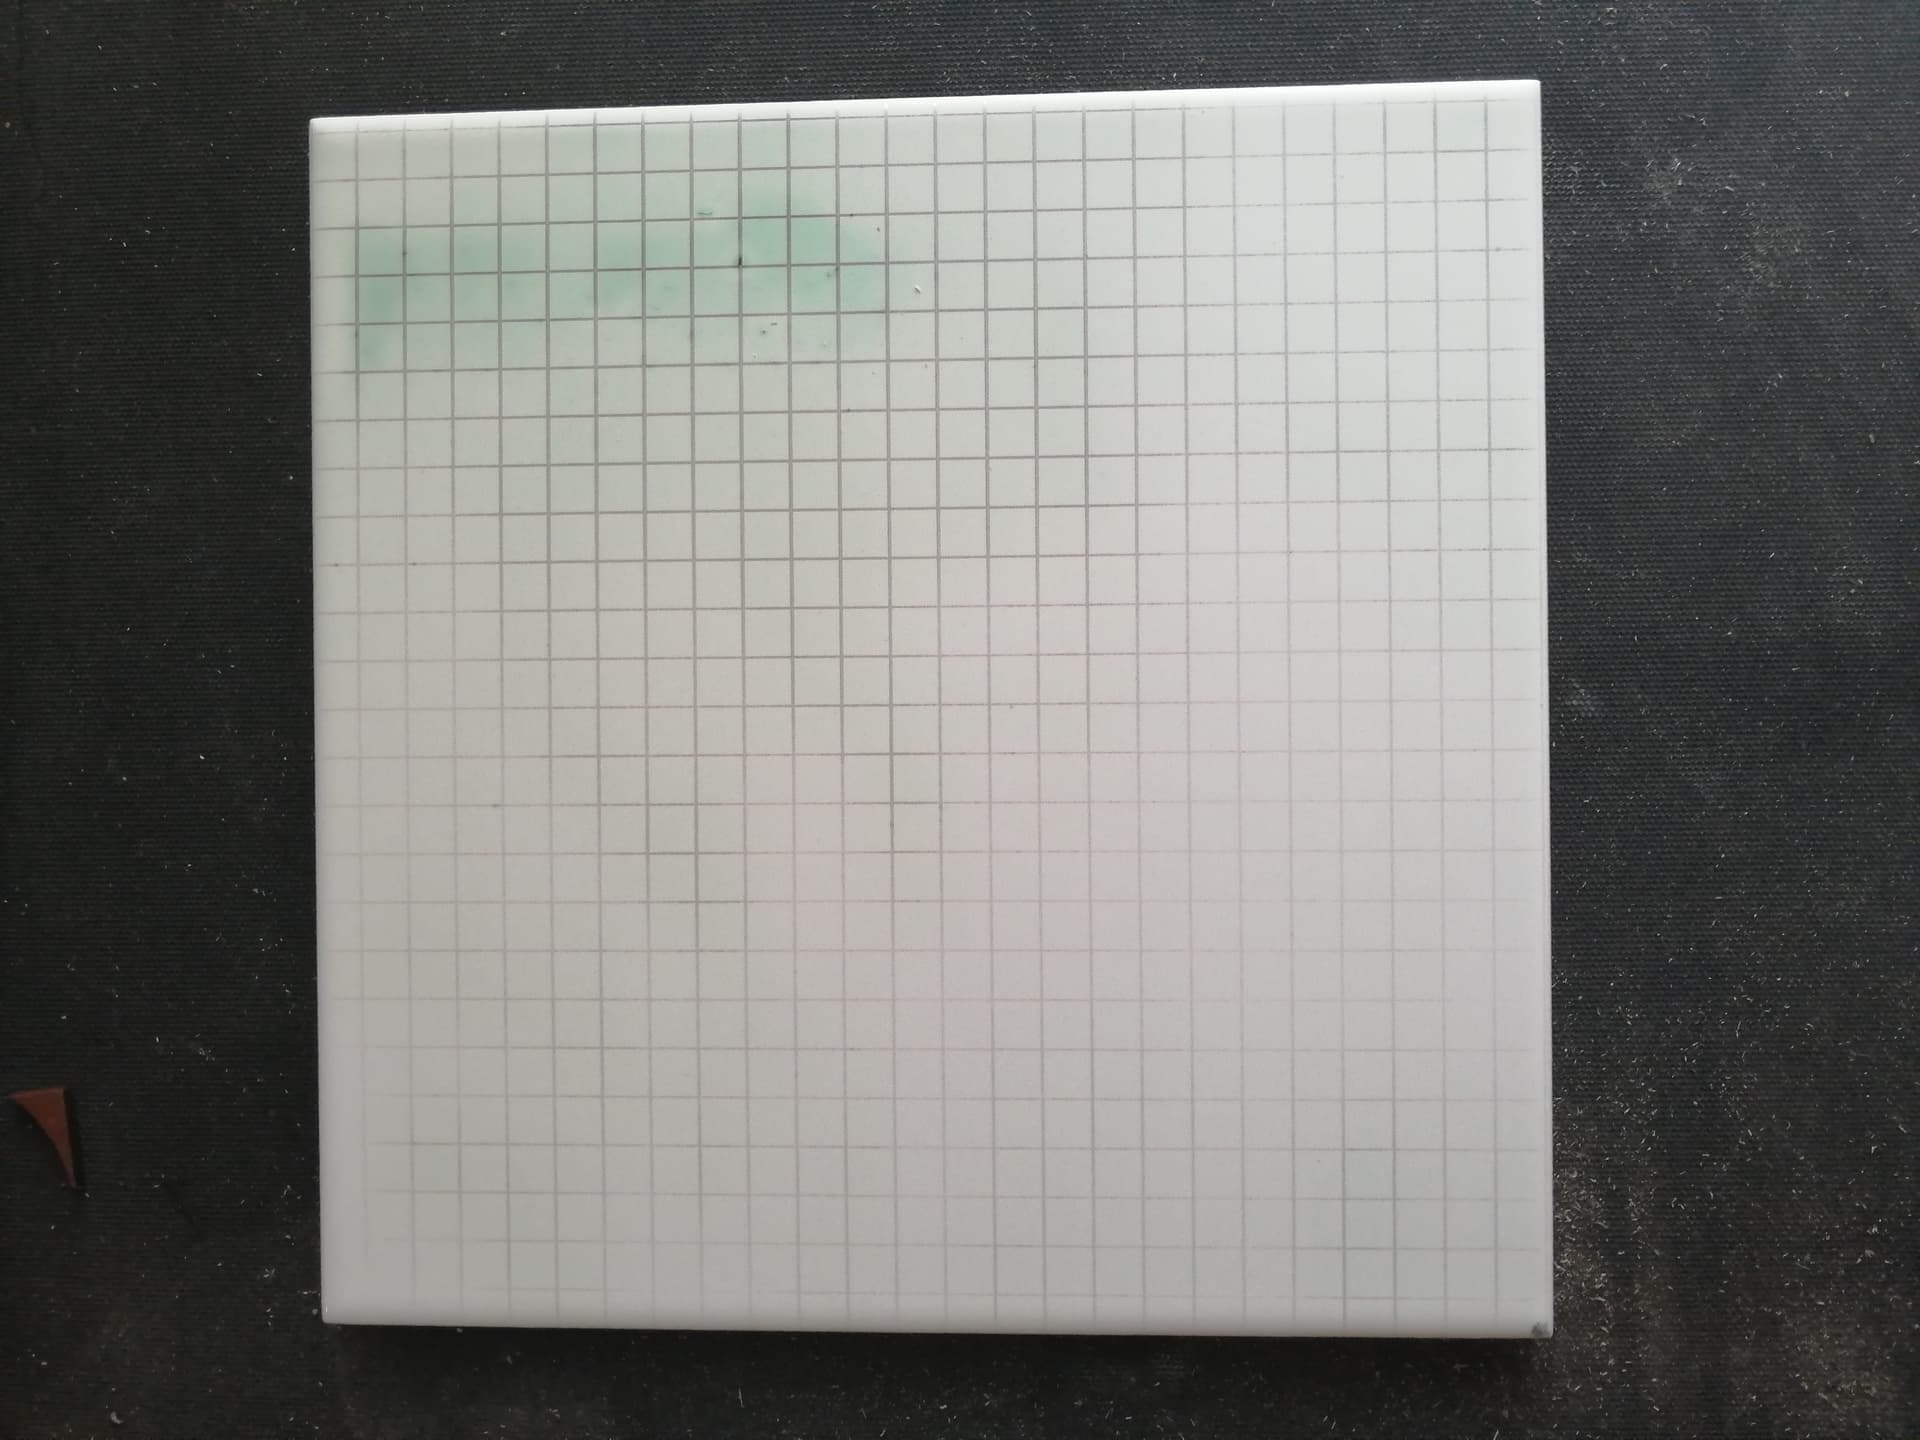
Al;so with green colouring, could be more even.
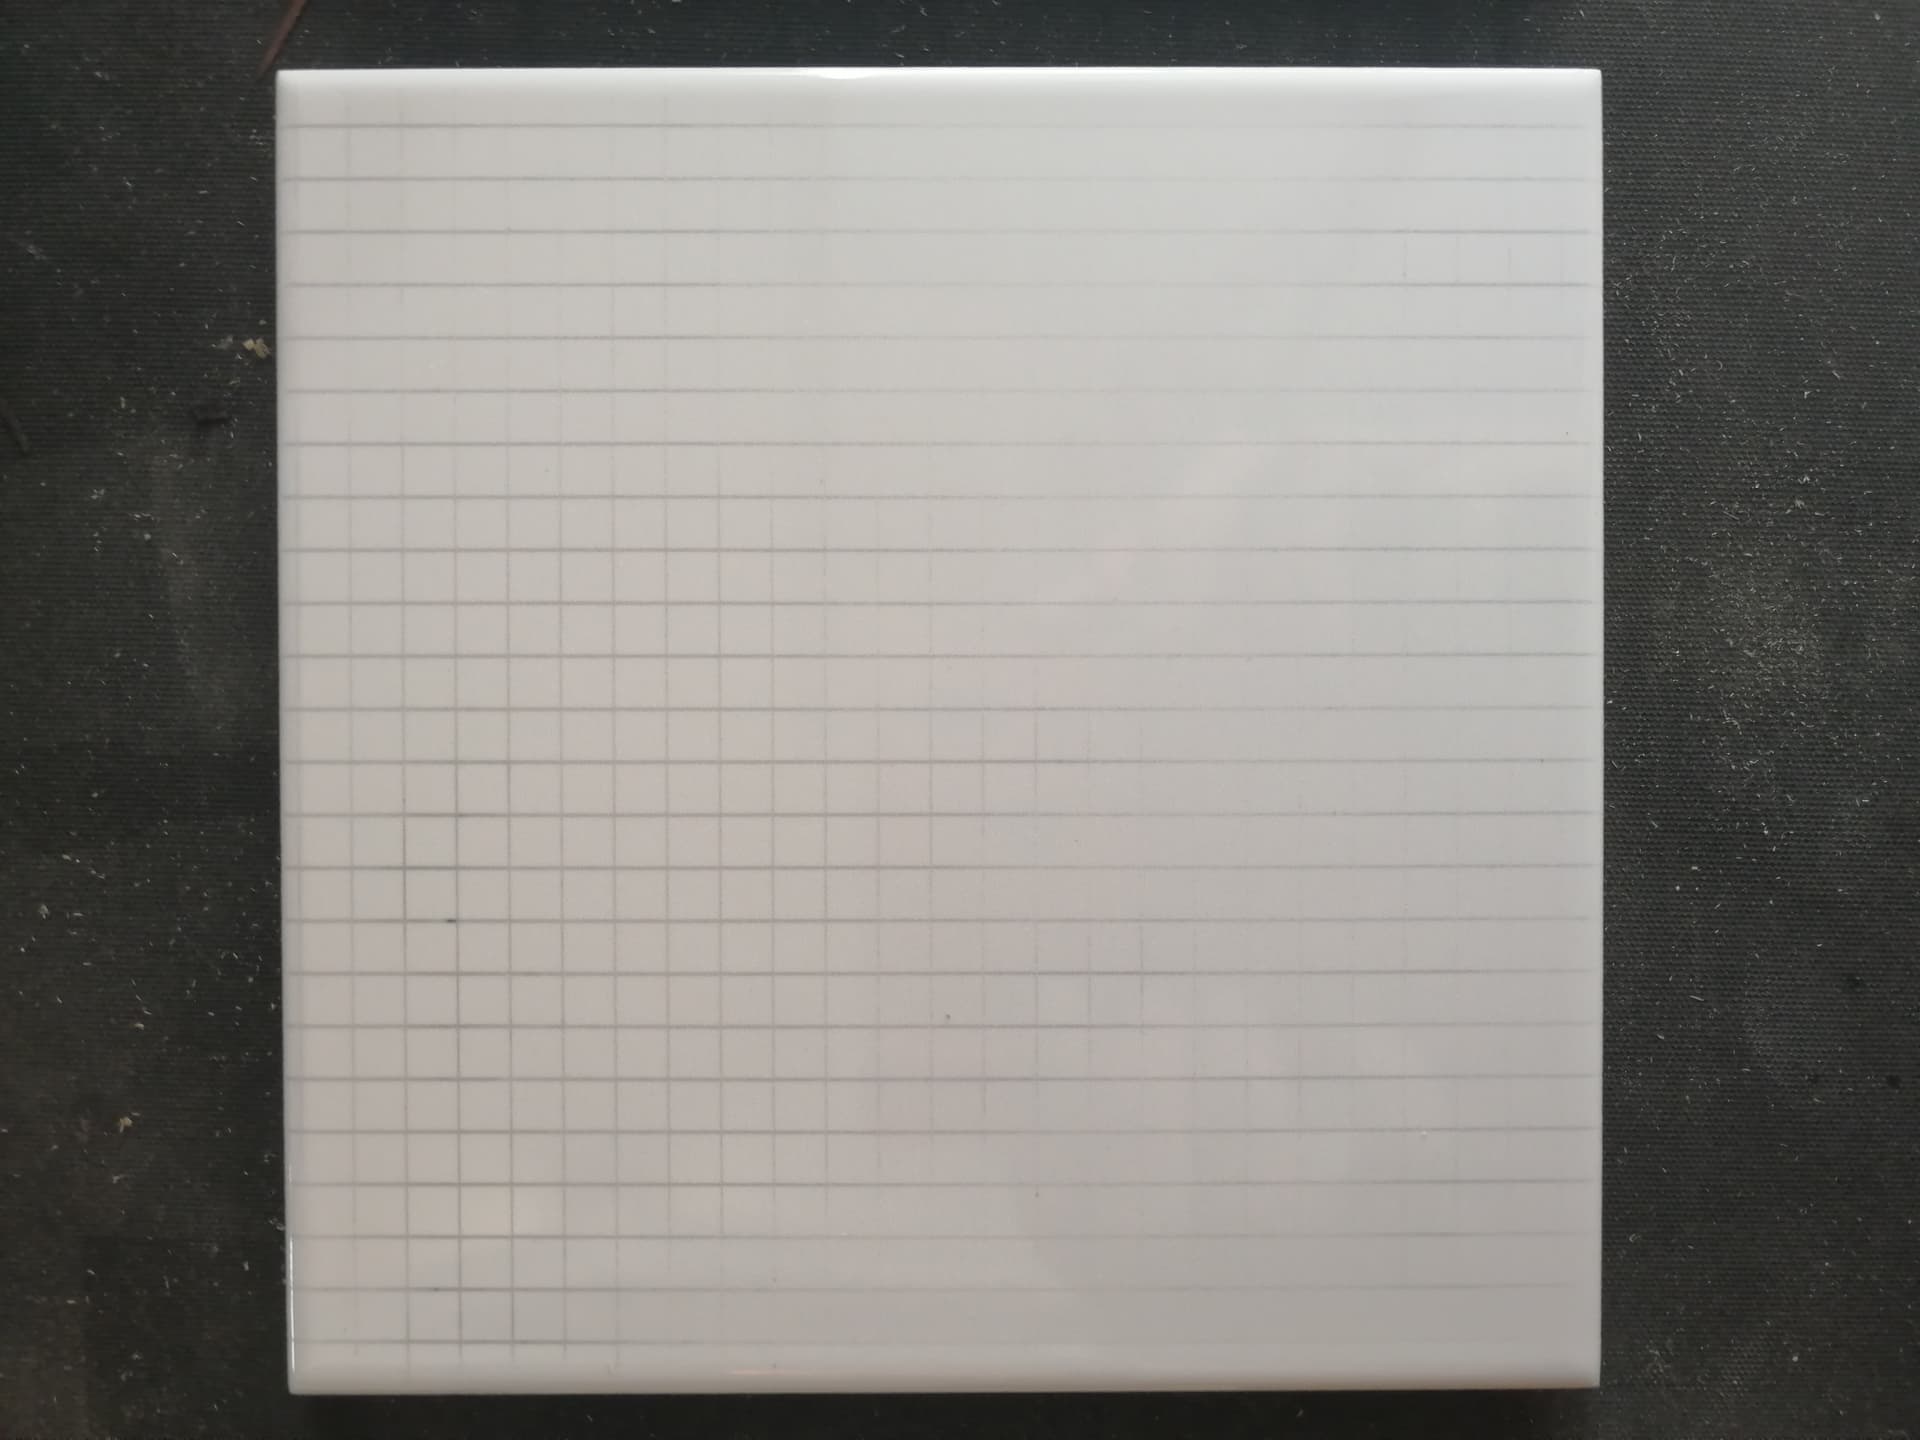
This is with the paint removed…
As this lines weI then wondered if the PVA would be giving the airbrush difficulty and creating the blotchiness (did I just made up that word?)
So I made a new mix, with water, bit of paint and a bit of titanium dioxide. i.e. the paint takes over the function of PVA use paint. Now it looked like this:
This made me happy!
With the same mixture, I continued to do a test for gray scales:
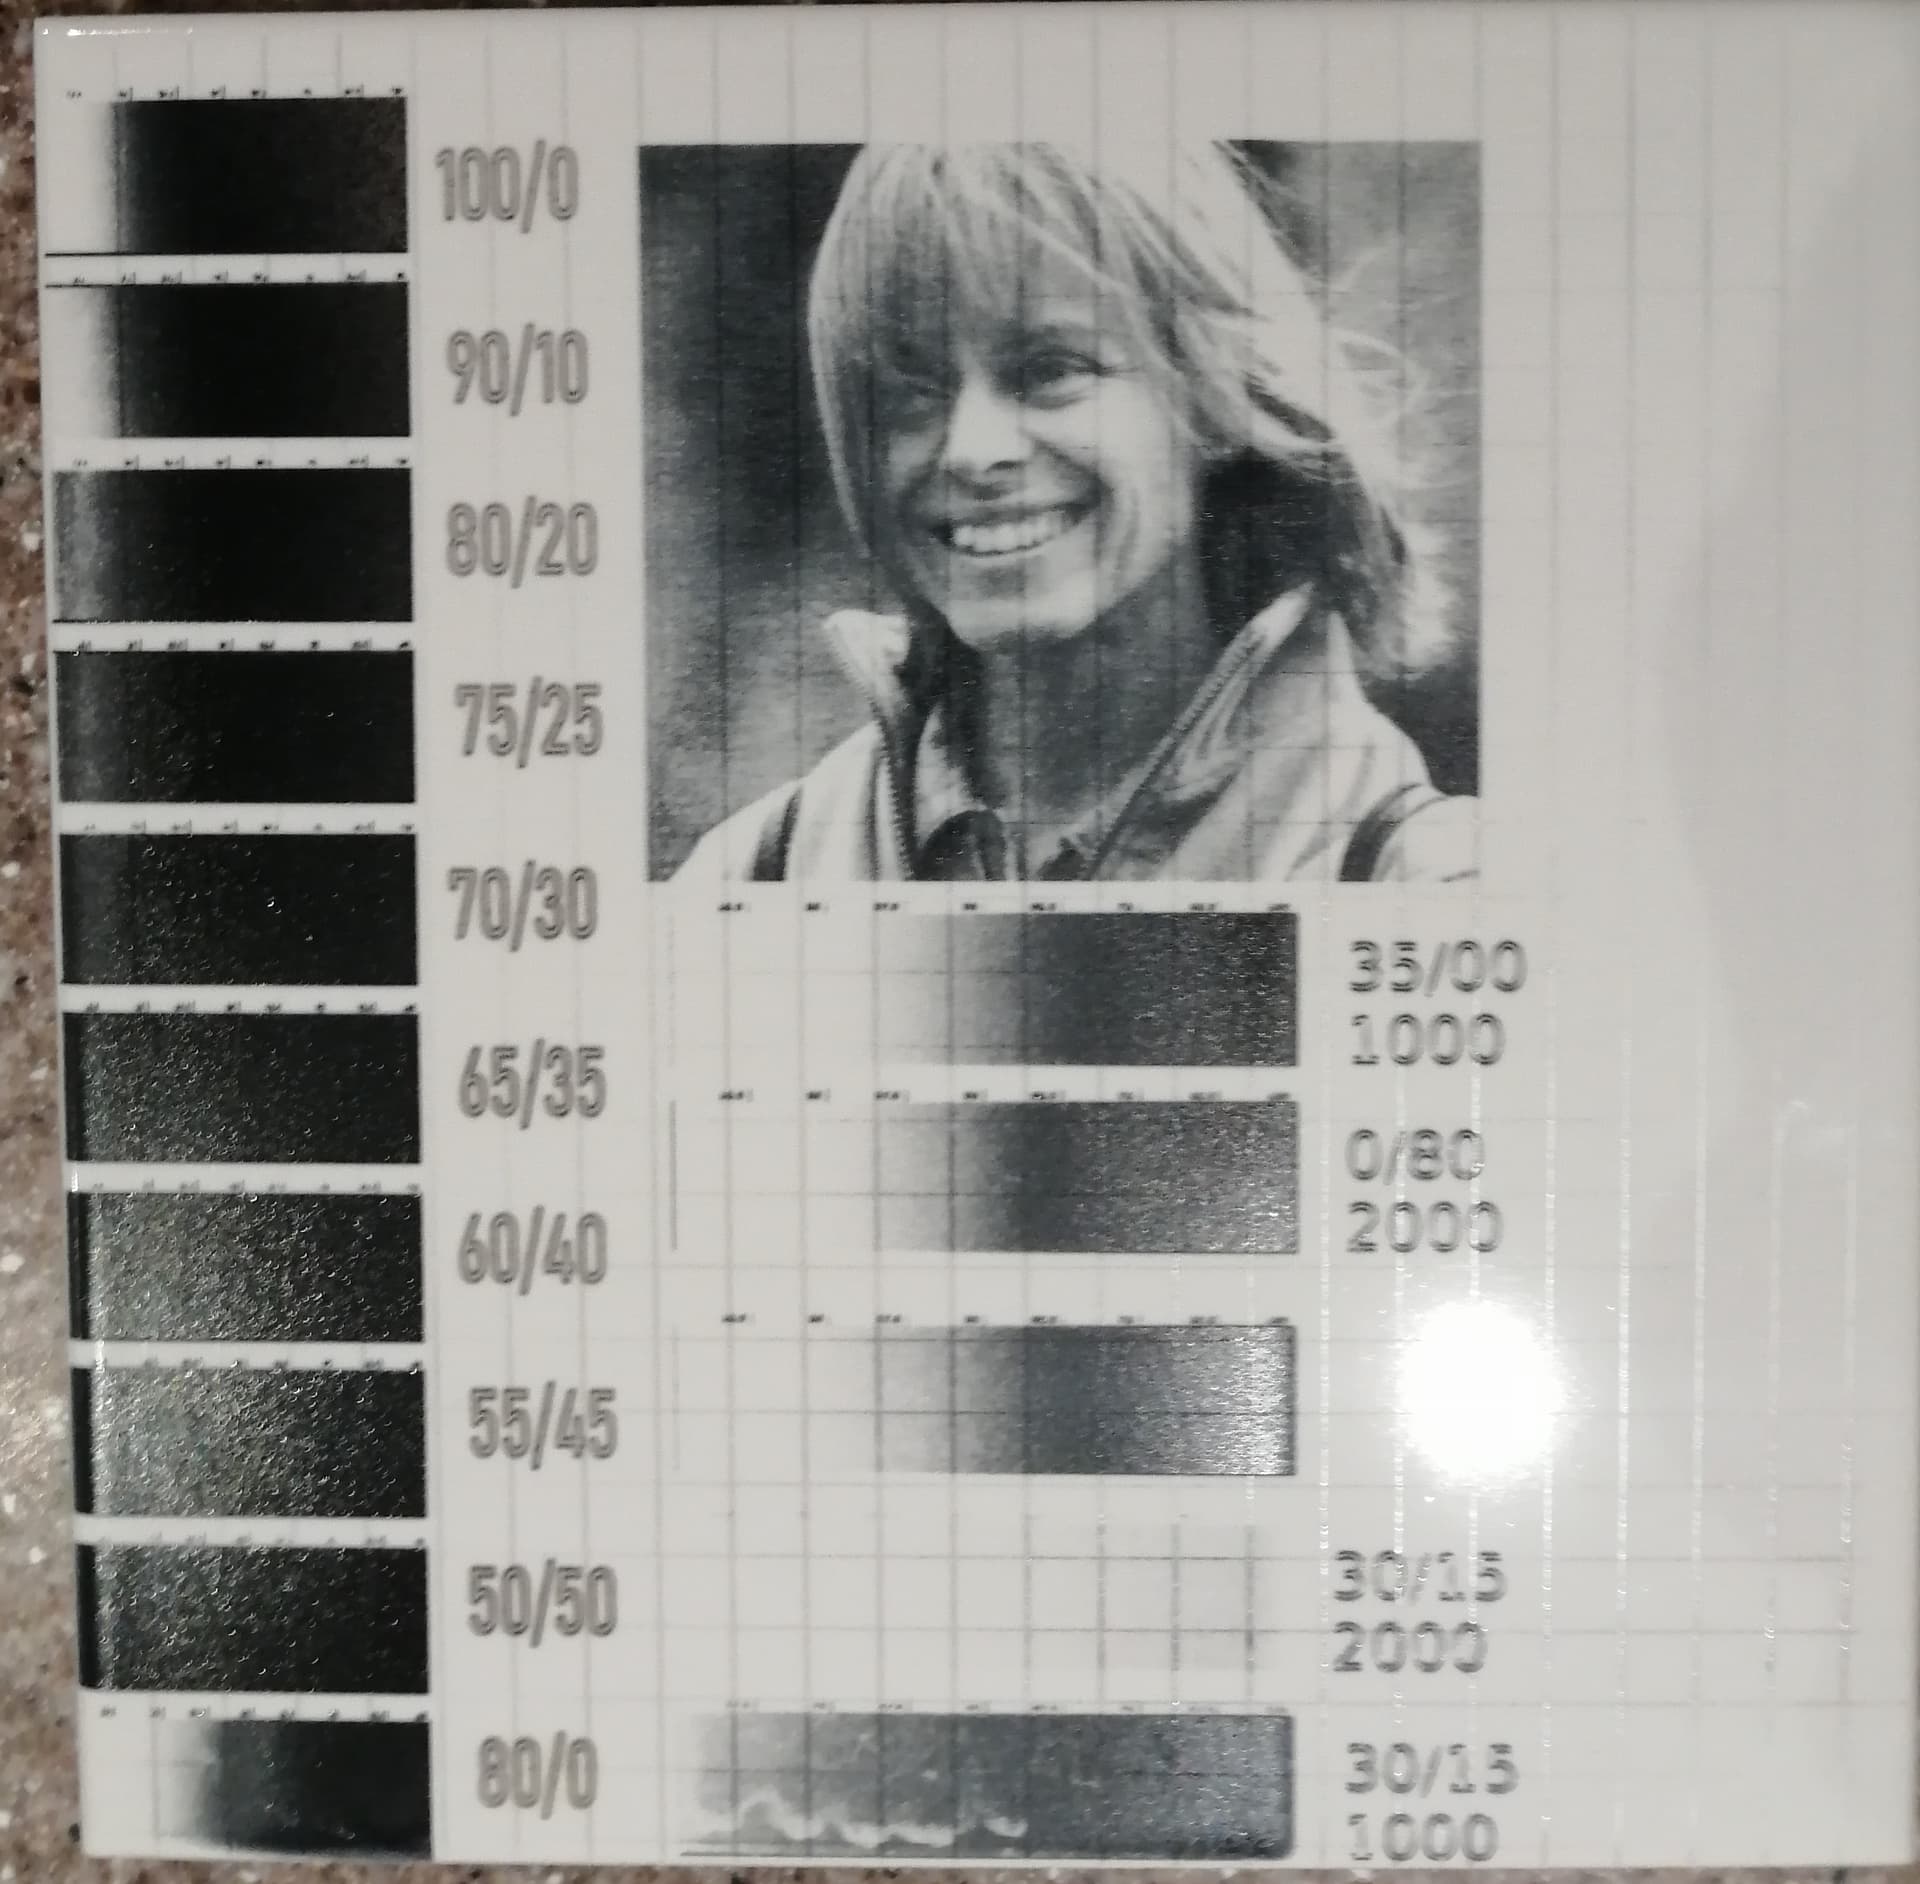
In the first column, which I ran at 1000mm/m I varied the max and min%. The square, I created in PowerPoint (other programmes are available) with a gradient fill from transparent to full black.
The first number is the max power, while the lower one is the min power. Although with the paint still on it, it showed slightly different, it gave me some values to work on. The second column I tried the lower power settings with 1000 mm/min (here I had a paint issue) and with 2000 per min (not much to show for) The idea is now to stretch the grey zone, so you get white only just on the left and black only just on the right. I need a bit more trialing, but I think the picture was already a big improvement. It was burned at 2000mm/m min 5% max 75%. There are no burned out areas, but lot of middle tone greys. Something you don’t see on the picture is that the blacks are really black. You don’t have the shiny glimmering which I had on the previous test.
So my conclusion is that for the airbrush, the PVA gives a irregular result.Was this my mixing or is it inherent to the product?
So the next step is to: get my own air brush, fixate the mixture and finalise the grey scale.
Did any one try to spray it on with a paint sprayer (like this https://www.screwfix.com/p/energer-enb769srg-700w-electric-spray-gun-240v/497KJ?kpid=497KJ&ds_rl=1243321&ds_rl=1241687&ds_rl=1245250&msclkid=f74bffa65f4218145a709cab7c13fb77&utm_source=bing&utm_medium=cpc&utm_campaign=MPX_UK_SHP_MAN_S_ALL_Decorating&utm_term=4584138878236871&utm_content=S%20-%20All%20Decorating&ds_rl=1245250&gclid=f74bffa65f4218145a709cab7c13fb77&gclsrc=3p.ds? It could be also an alternative to using a brush…
I hope this is interesting / helpful. At least it keeps the topic open a bit longer… ![]()
Very interesting…
Seems like a paint sprayer as you noted would apply too much paint…
Are you using the 15 watt module…? I just mounted a 30 watt Neje on the jl1 machine… Would like to try this…
![]()
No, for the tiles I use the 5.5 watt module from Sainsmart on the 3018 PROVer… I wonder whether that high power would be a potential problem. I will try it on the sculpfun s9, as it has a finer beam. But first I would like to get it right on the 3018…
I did a bunch of this with my 50 watt co2… I just run faster…
Doesn’t ever seem to be an end, always wanting a little more out of it… ![]()
![]()
1 Like
I appreciate seeing you trying to improve the PVA (Ron Clarke) method. I have to ask why is spraying so important. I use a brush and after smoothing it out as you would t get a good finish when painting with paint, I get no problems with coverage. I don’t get blotchy images and or broken lines. I will soon try diluting a little, just to see if it improves the detail. Some how I think the results are OK as I have been doing it and there will be little if any improvement. Today I will do a grid test as you have done and post the result later. Image grey scale results seem more to do with the image preparation than the method of etching. This applies to wood also. Do keep experimenting. Any improvements are always worth seeing.
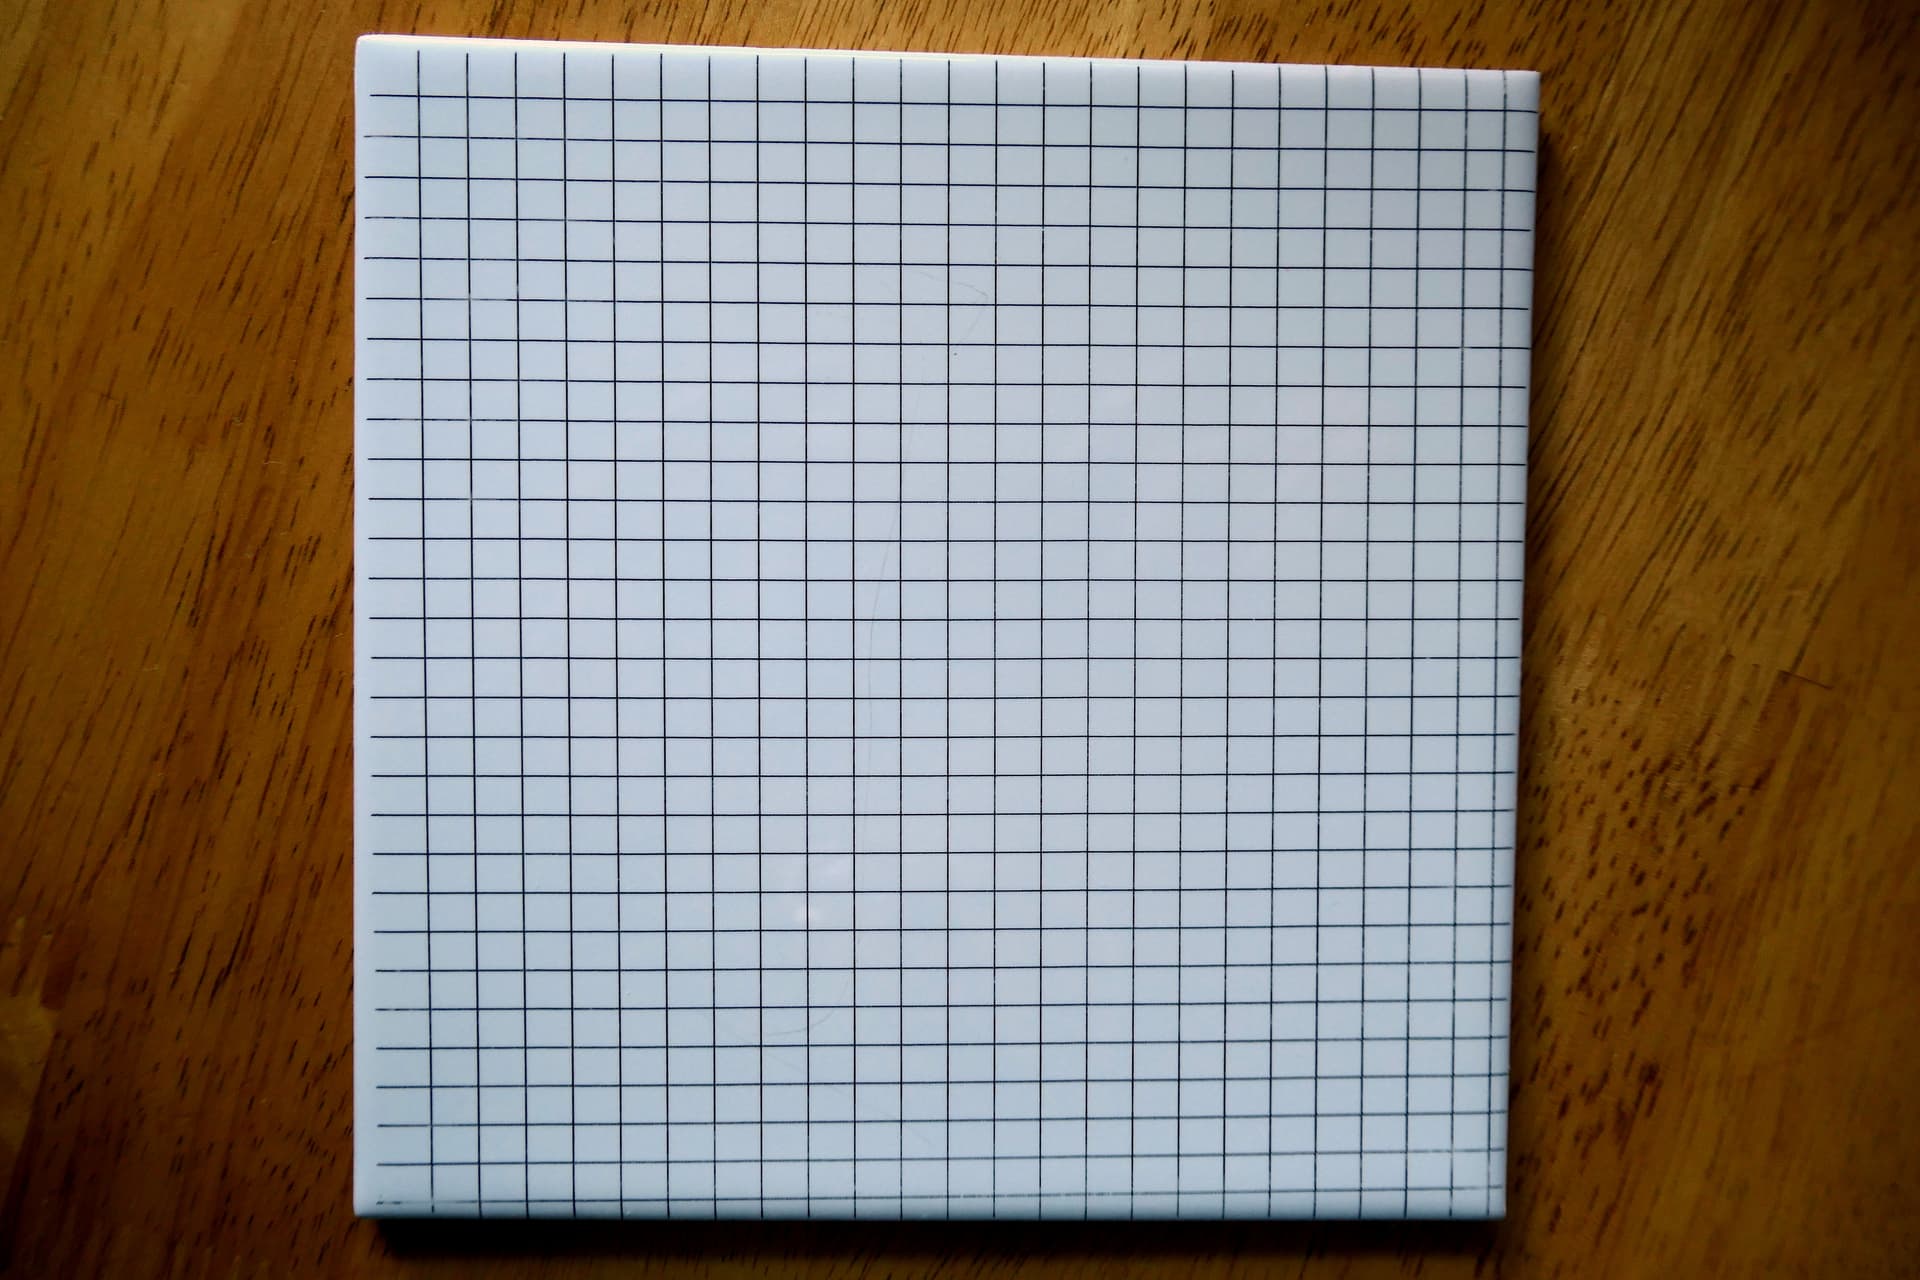
Just done a very quick test with a 5 mm grid on a 6"x6" tile.hand painted with brush. No problems with lines and coverage looks even to me.
Back in post 21, you posted the formula that you were using… Went back through the thread and you mentioned you modified it… ?
Are you still using the formula from post 21? I’ve got some pva coming today, I’d like to try it on both of the lasers…
![]()
I’m now using the latest modified formula. For best results with a brush on method measure out 100 ml of PVA glue and I now add 3 tablespoons of water plus two drops of liquid hand soap. Mix thoroughly. Now add one full tablespoon of titanium dioxide to a flour sift. Slowly mix sifted powered to your PVA as you stir. Make sure you mix well. I now strain this mixture through the flour sift into another vessel. Paint on clean tile as you would paint anything with gloss paint. I dry with hairdryer and laser at 1000 mm/m 80% power. 40 watt diode laser.
Hope that helps.
Substitute hand soap if necessary for washing up liquid.
OK, Will give that a shot… Thanks…
![]()
Quick question, Will this formula also work on plain aluminium? I am trying to make some dog tags but the Bulls Eye 1-2-3 is not working. I could be lasering it too hard, but not sure if this works on Aluminum.
Can’t comment on that one. Never used it on anything other than tiles.
The bullseye is only for tiles due to the titanium dioxide contained in it. TD will not work on aluminum and you will need to find another product that is within your budget. There are several products that you can spray on metals for a darker lasered print but they are pretty pricey. You may try experimenting with dry molly spray that is used for lubrication. It contains molidium.
1 Like
Does anyone have any tips on trying this with a 20w laser? I am a complete noob, so please be kind.
Mix it up, try it and see how you do… There are some suggested speeds and power… for a 40 watt, but you could cut the speed or increase the power to make up…
Good luck
![]()
Had bit of play time today so thorough I would try this PVA method on some glass. I only had a small piece and as luck would have it using the same setup I got perfect results. Ok not engraving like you get with a purpose. made tool. My results were similar to tile etching. The titanium Fuses with the glass and leaves a very clear mark. Try this yourself. I’m sure you will find good uses for it.
1 Like
I think the simple truth is both are really glass … I buy porcelain tile when I use your method.
Having trouble mixing the TiO2 thoroughly. I run a materials test and I can see part of the ‘block’ doesn’t look the same when it lases. Not to mention that part of the ‘block’ remains unchanged.
![]()
Getting the Titanium to mix is the hardest part of the job. I use and old electric hand whisk and give it loads of time to mix it well. Also strain the mixture again to make sure there are no lumps that can block the lasers path. Brushing well to get a smooth coat also is very important. I don’t have an air spray to try, but I would guess you would need to water the mix down and give two or more coats to build up the titanium layer. Do keep us informed of your progress and show us some examples of your work.
1 Like
Ordered one… I’m sure that’s the problem.
I tried some LBT100 also on the tile… when I remember I’ll post a shot of it… The LBT100 is easy to use, but rather expensive…
![]()