Help!
I’m currently using a green and black Chinese laser 80w Rudis controlled laser, and have nearly given up on photos.
I tried many times with my diode laser, but gave up on that.
I can’t afford coral draw and have been told that you can now do it all in lightburn.
Is there an “idiots guide” or a video that anyone can link me to?
I’ve been using lightburn from a very early stage and understand the software “mostly”.
The ideal situation would be to do photos on wood and slate.
Thanks to any experts that can help
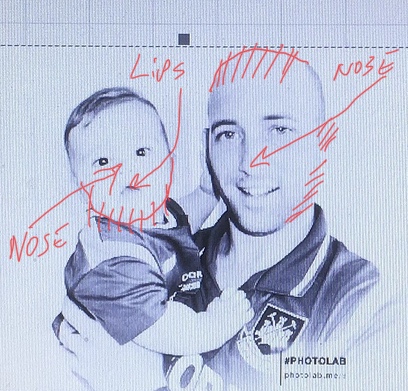
I am no expert but its almost like you need to invert the image so blacks come out white and vice versa… the shirt in the image is black but is printed white but the face is white in the image and prints black.
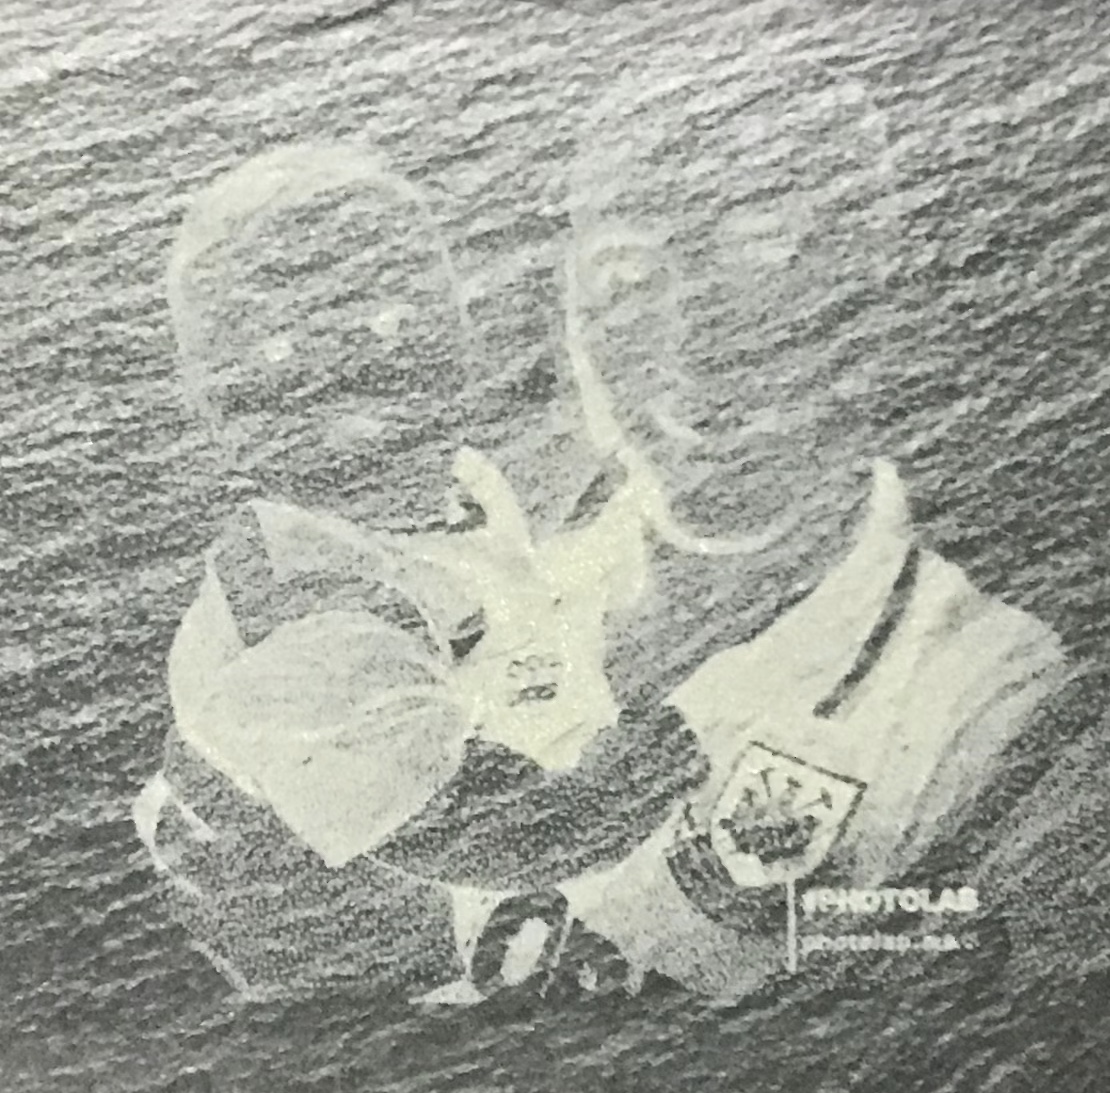
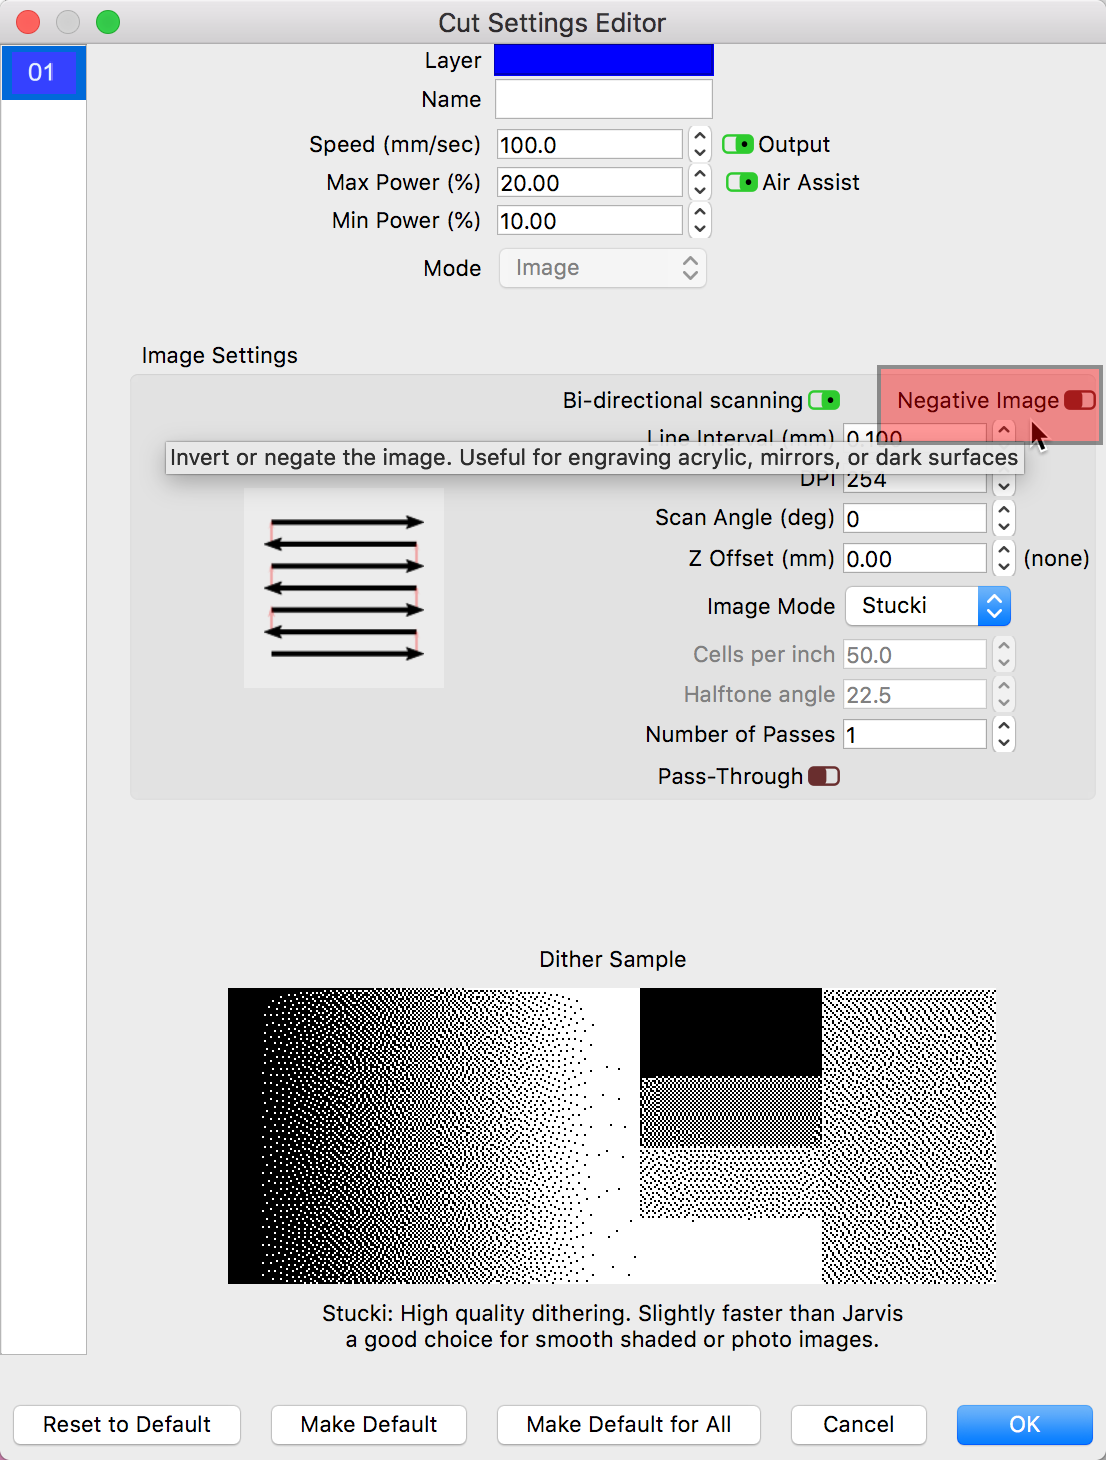
Slate is an interesting substrate as the burning of the job creates a lighter color than the original material. For Image work, LightBurn provides a simple way to turn the image negative for this type of burn.
As @Sasquatch identifies, the suggestion he posts, “How do I invert (negate) a vector engraving?” is for vector art only and will not affect your image as desired.
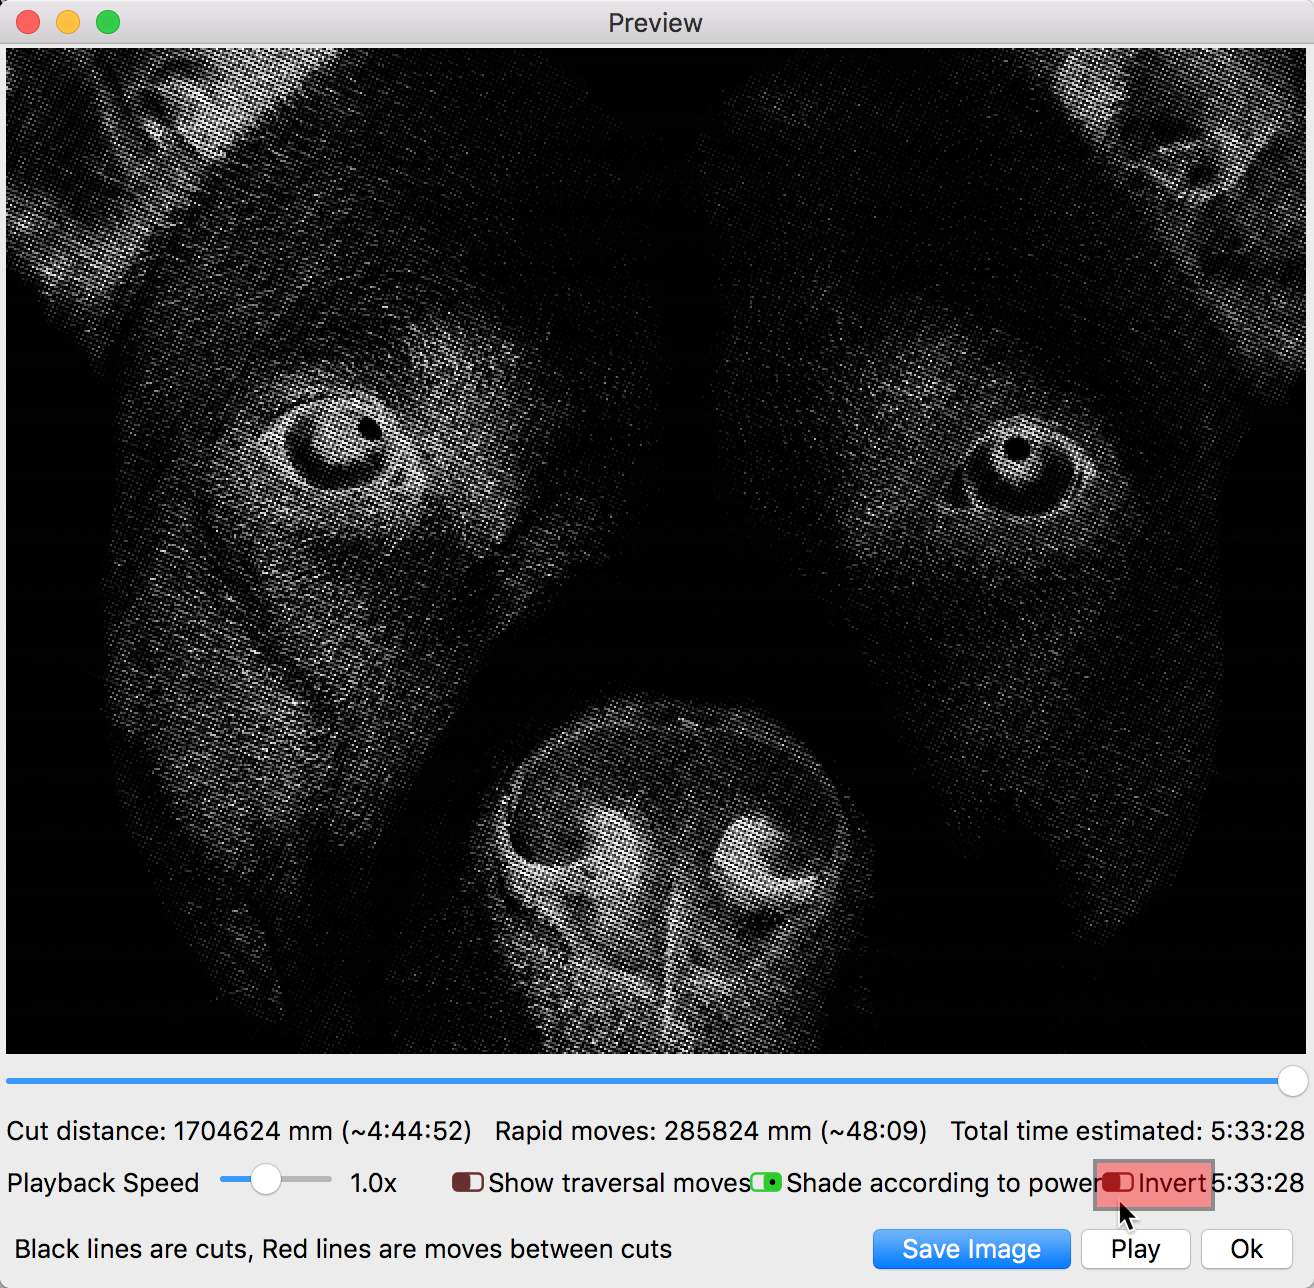
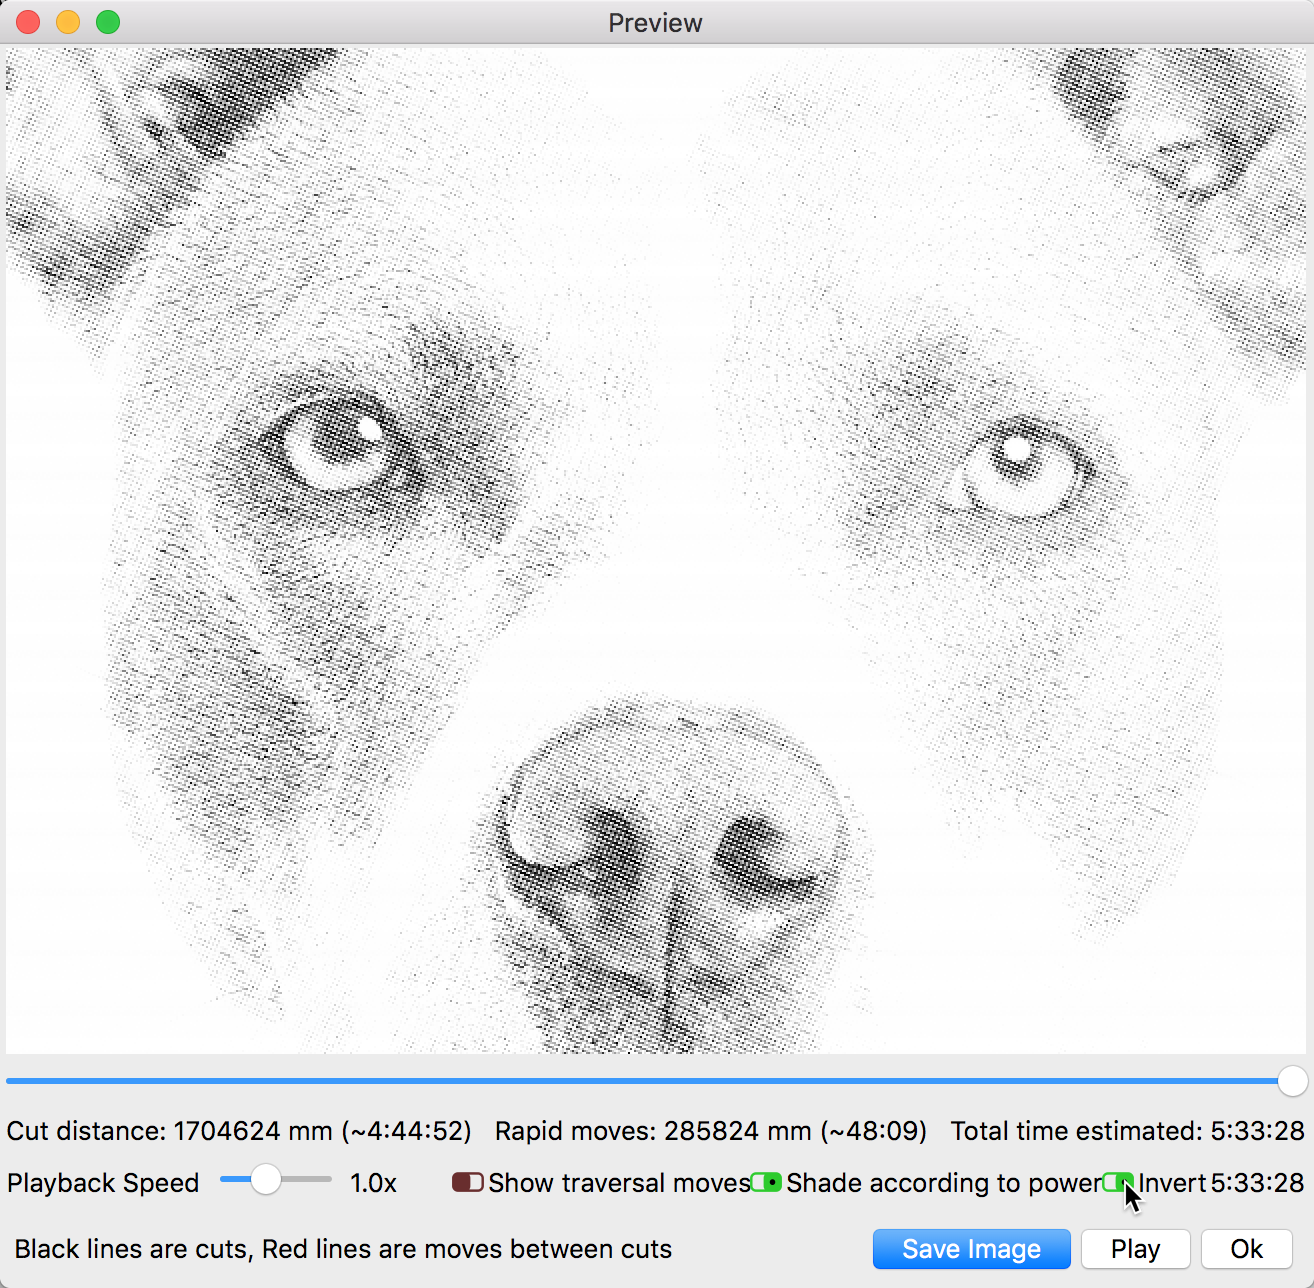
This image is using that ‘Negative Image’ setting and here is the ‘Preview’.
We also offer a switch in the ‘Preview’ that allows you to see the resulting output in the way it will appear due to the different, lighter color change some substrates produce.
Really interesting feed back, thank you.
I will try working with gimp, see what that brings and with the scale.
I will post results as soon as I get a chance.
And to be fair, there is also InkScape as an alternative free editor option as well. But you do not need to edit your image outside LightBurn as the changes you are looking to make can be done in LightBurn.
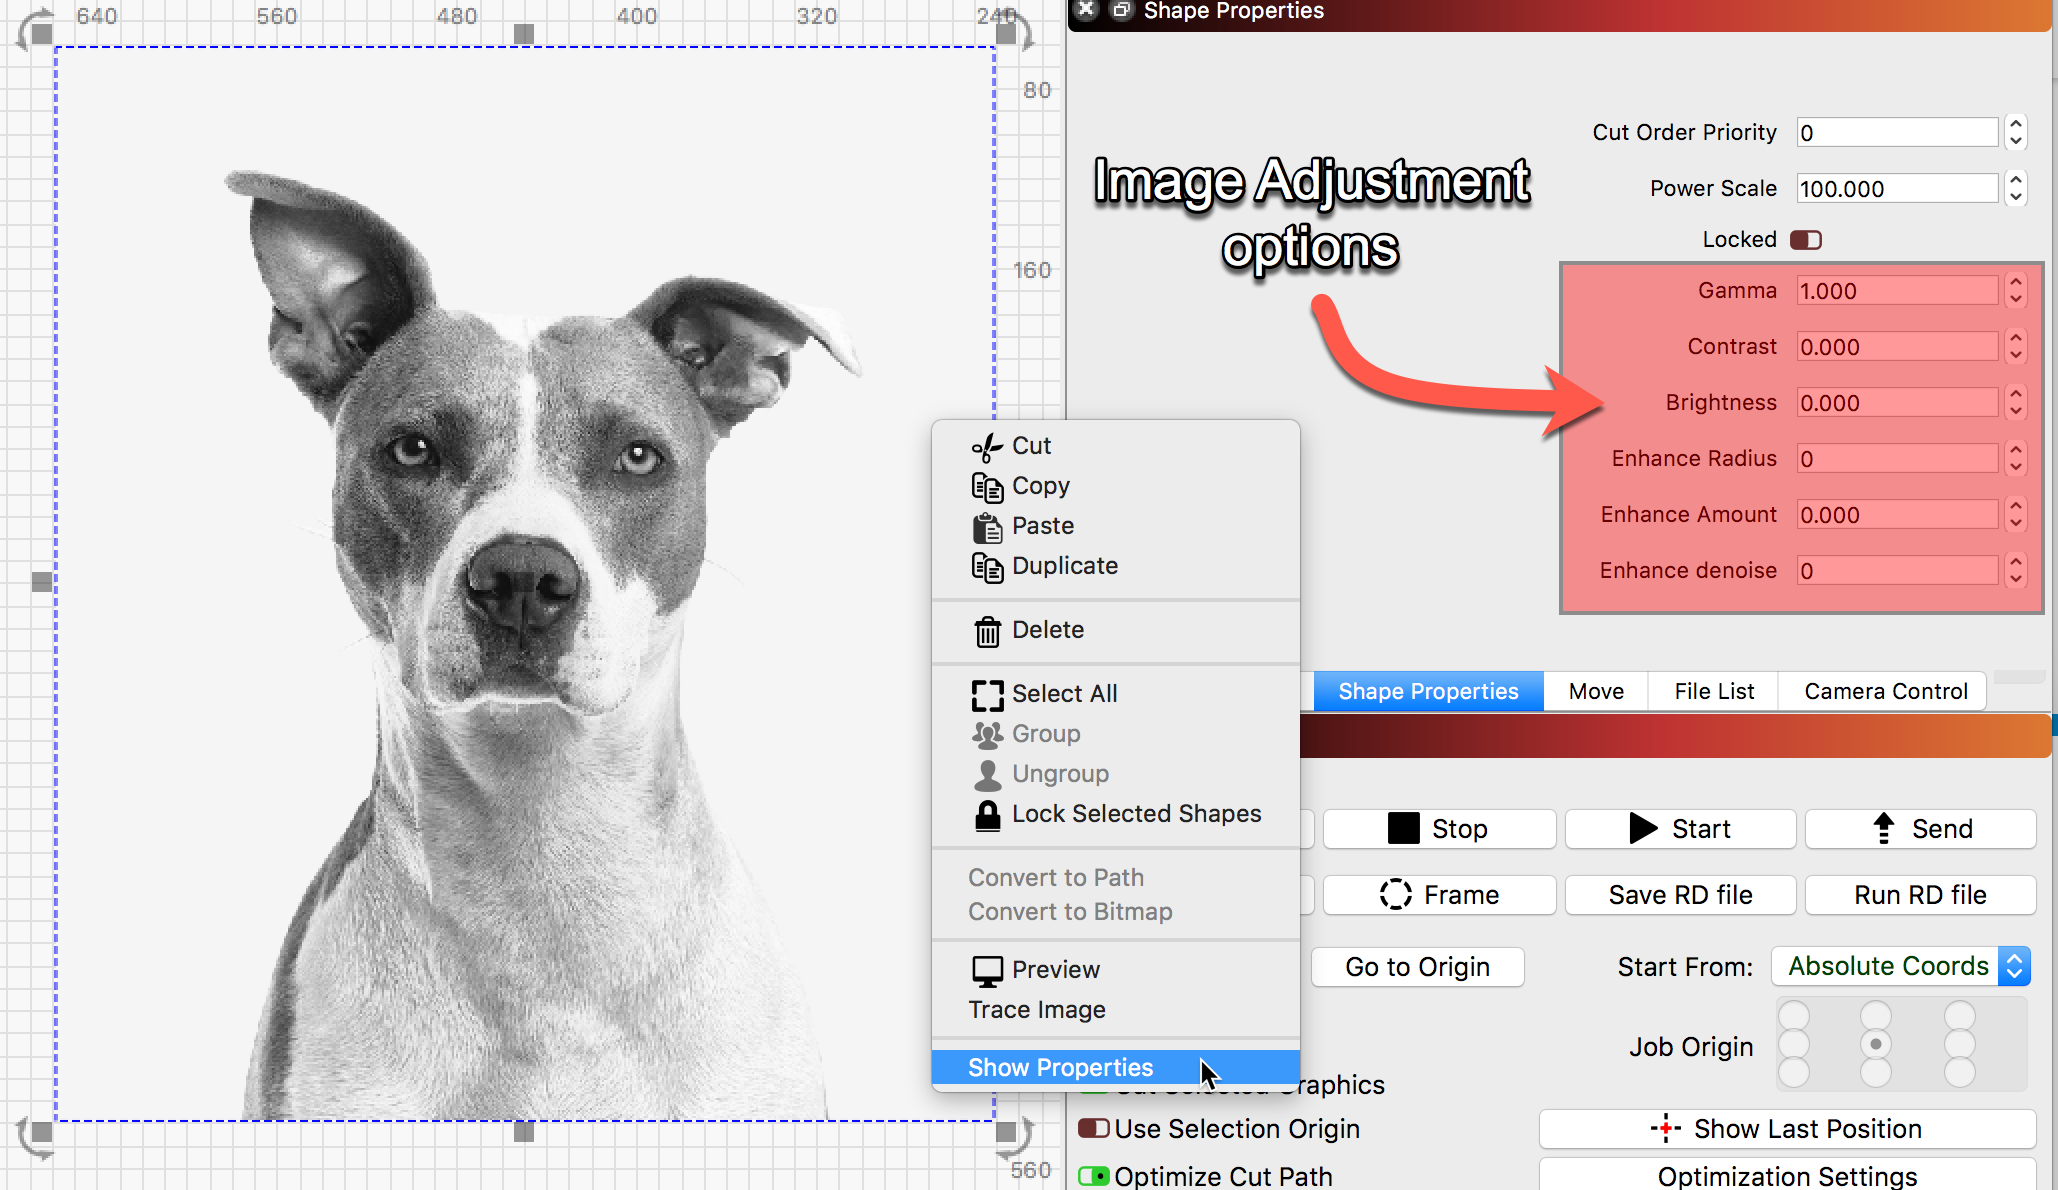
The suggested changes I made are for the cut settings and not editing the source art. You can work with the image inside LightBurn and do many of the laser prep adjustments, but that is a different procedure. Image adjustment for the best possible laser output can be done using the controls available in the ‘Shape Properties’ tab. Right-click the image for easy access to these options.
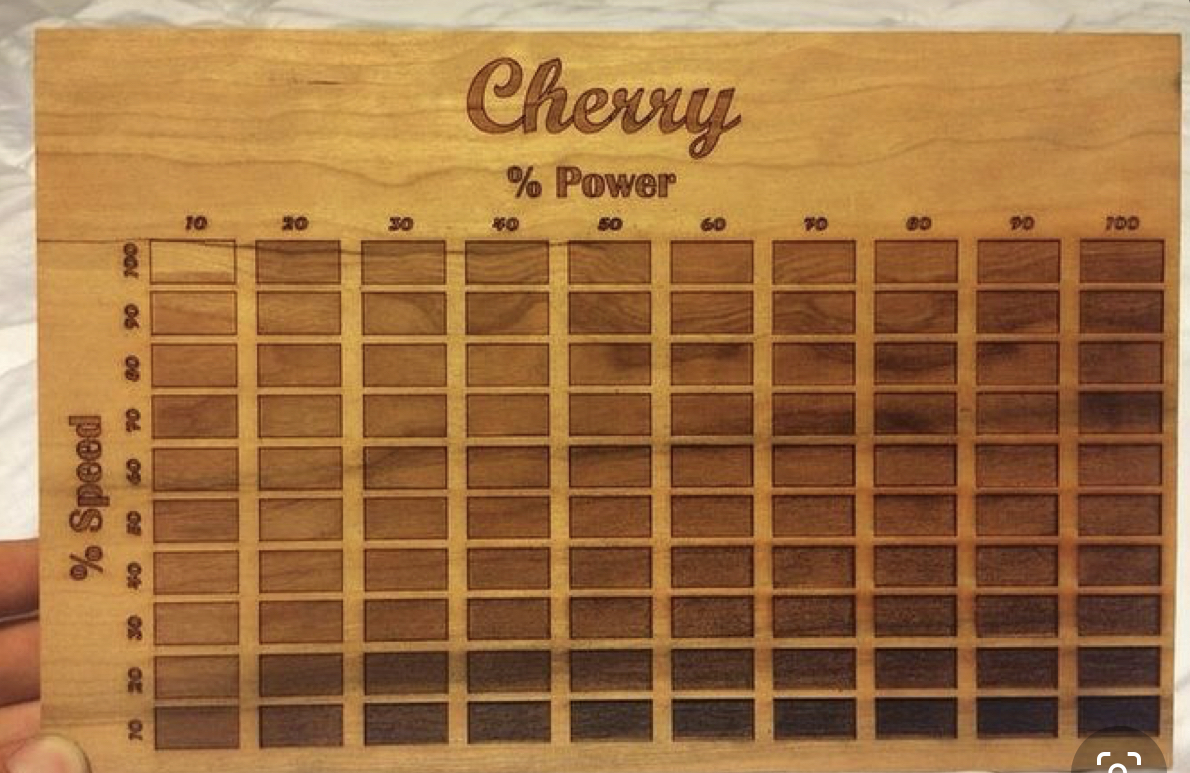
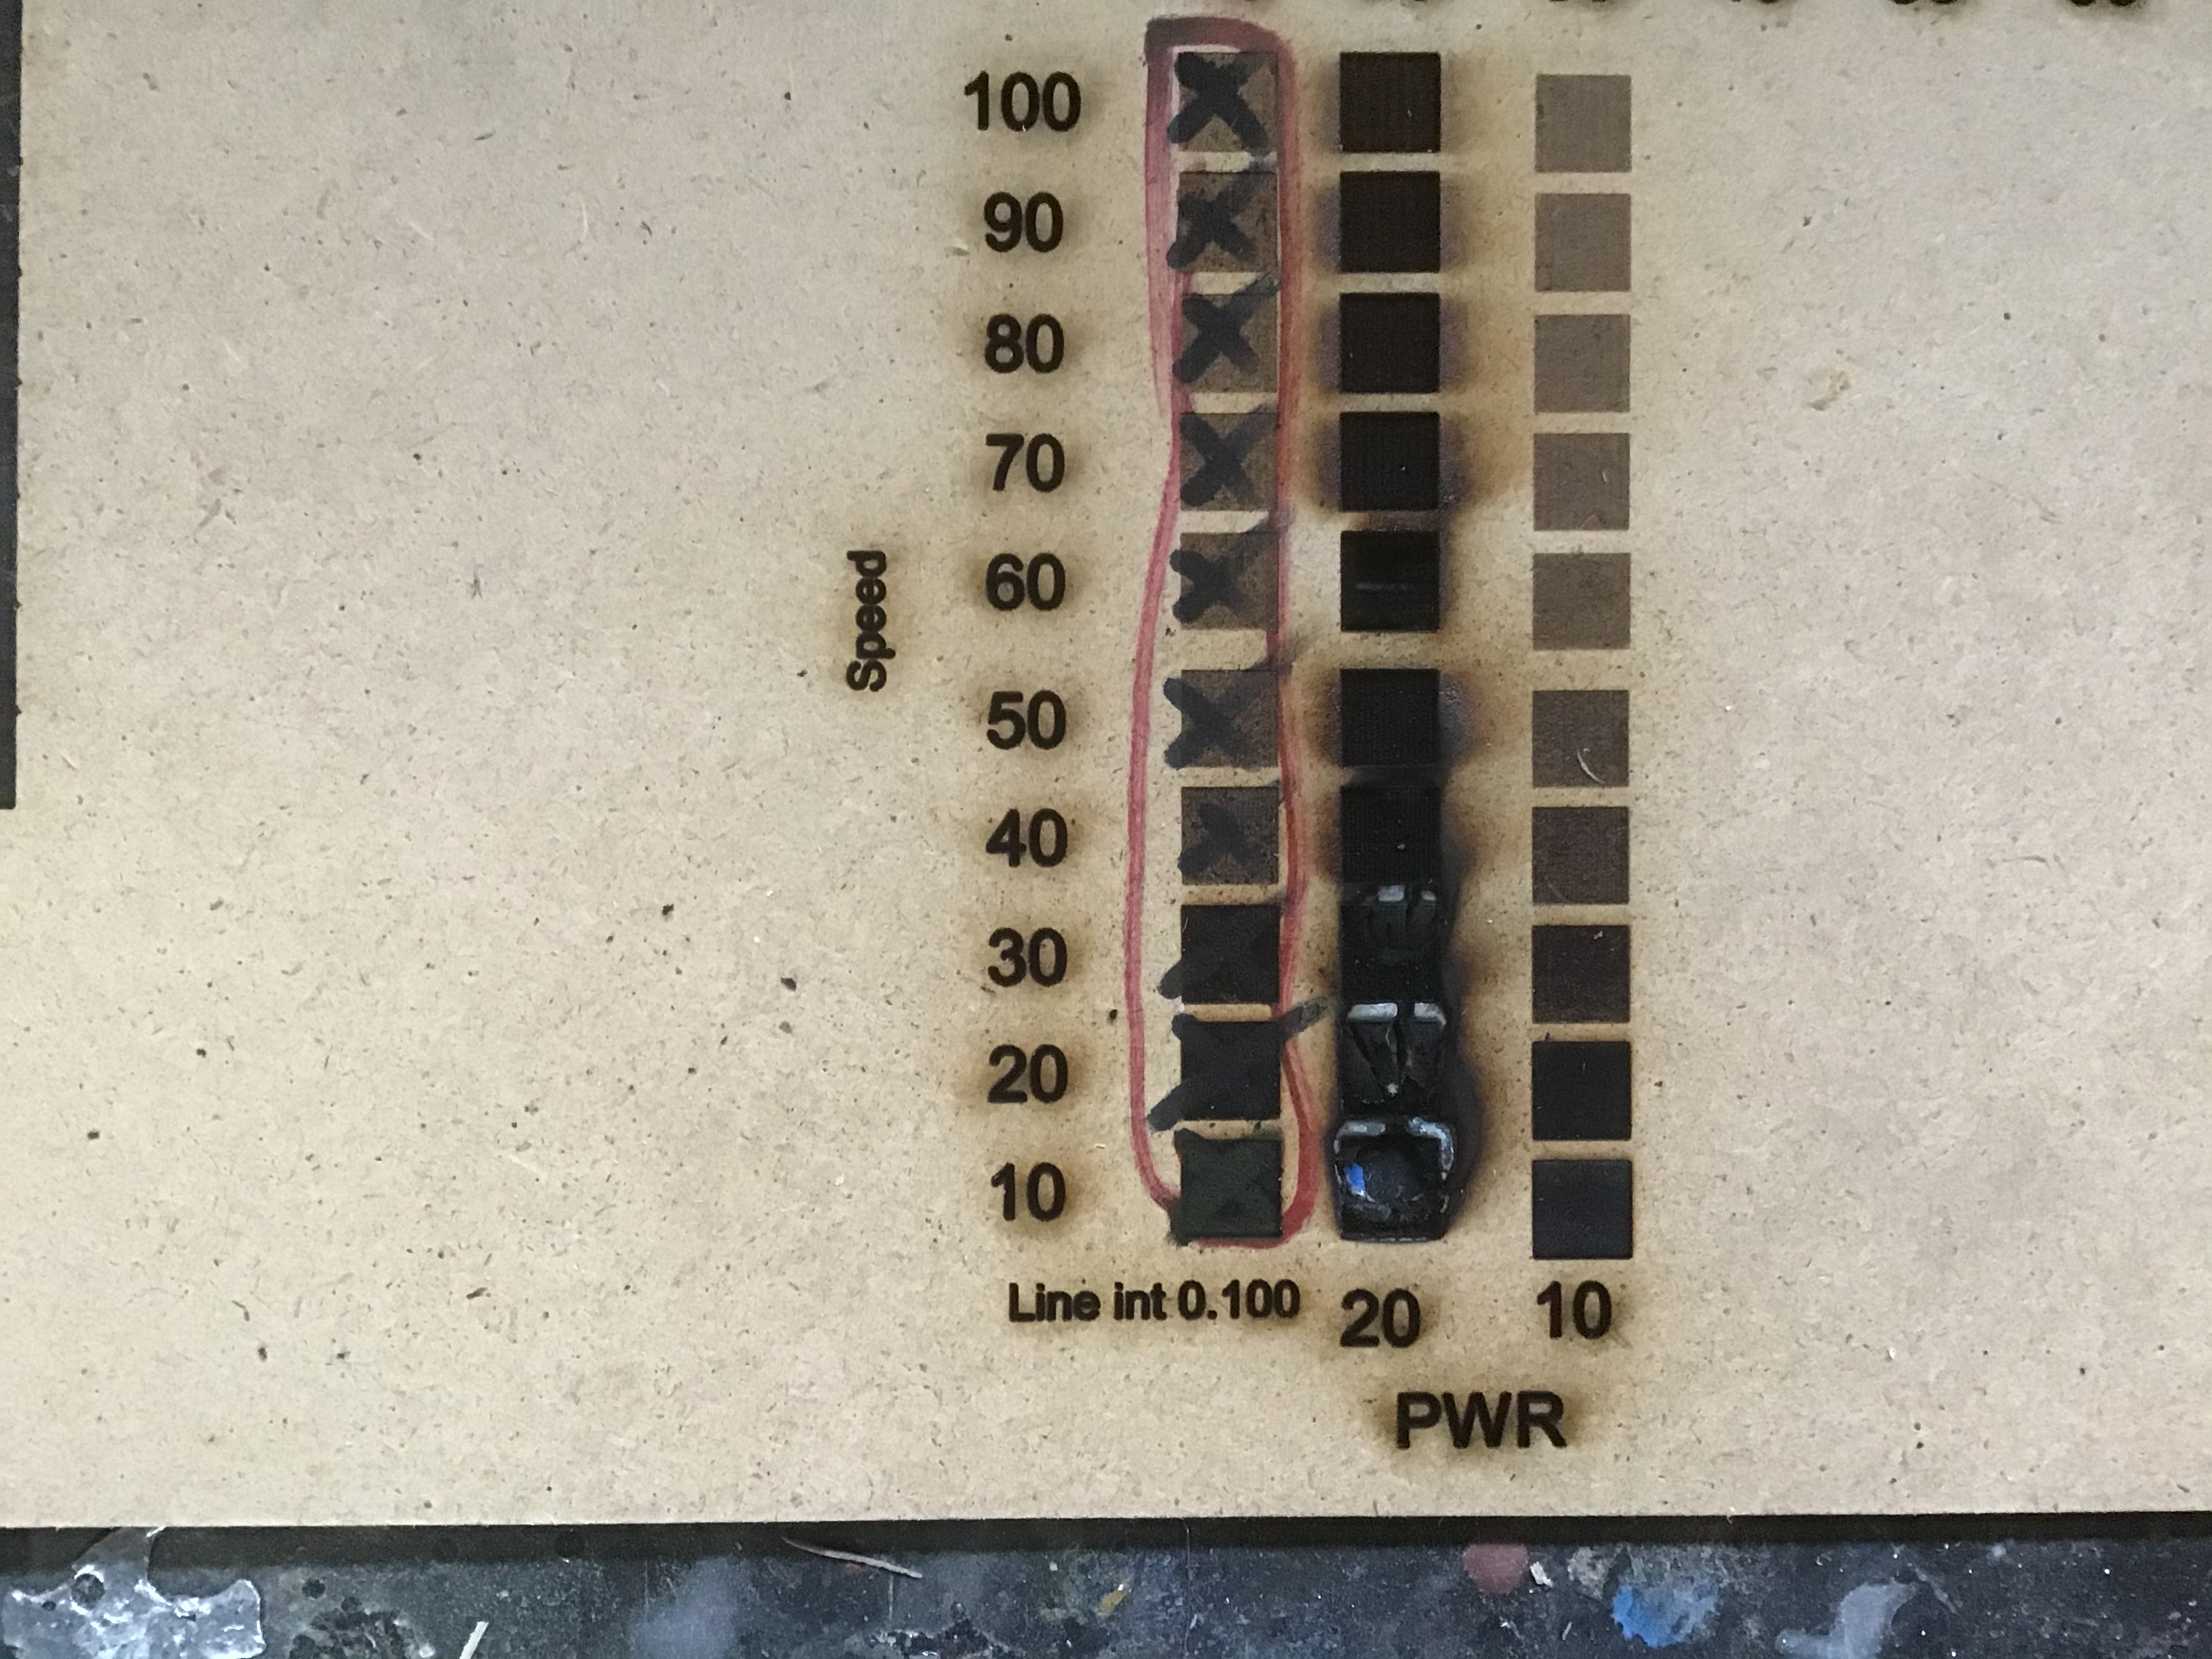
@sasquatch, I’ve done a speed vs PWR test on a 3mm
Didn’t see the point in going much further.
Ignore the blocks marked in red pen, some of them had 2 layers.!
I think you don’t have enough resolution in speed and power more to power on your test. Try to be at the low end for power. For me I am at the limit were the laser just has enough power to fire. My speed is also at the slow end.
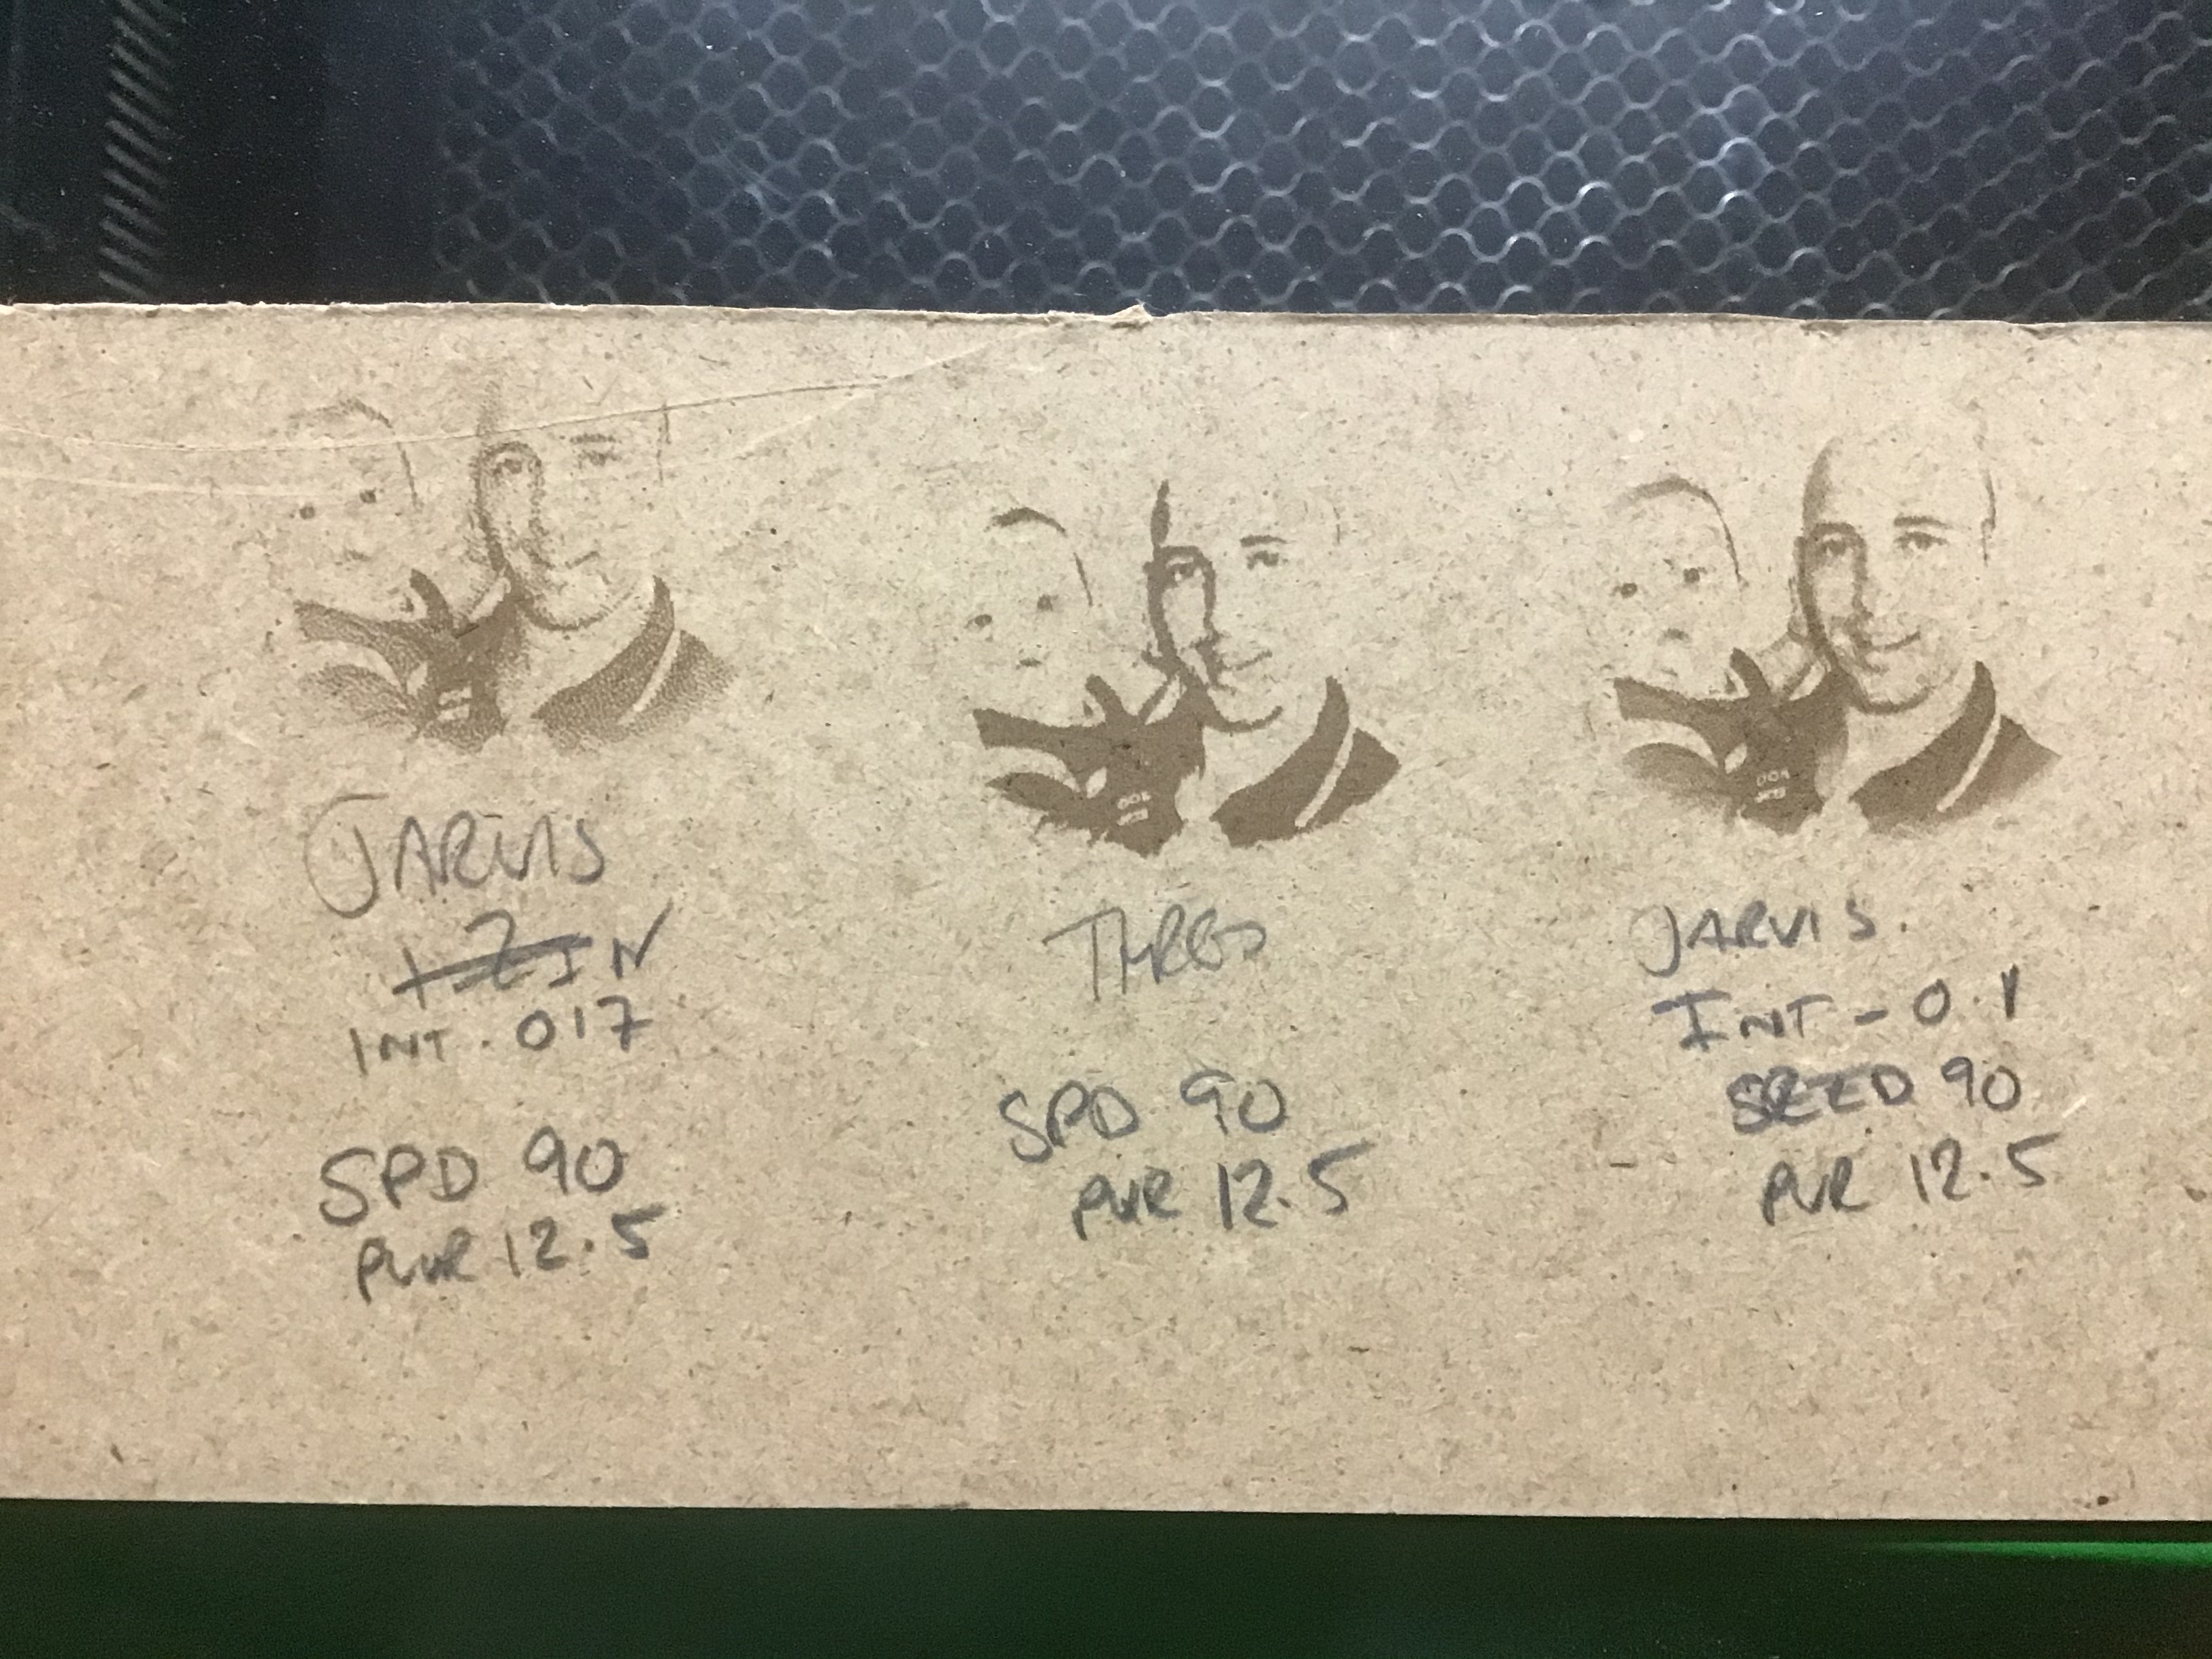
For photo speed I usually go at least 100mm/sec, most often 150 or higher. Power would be somewhere between 10% and 15%. The most important thing to get right is the DPI. If you are too high with that, it’ll ruin everything.
It looks like you’re close. The 0.17 interval is probably too large, but the 0.1 is a bit too low. I would try 0.14, and increase the power to 13 and see how that looks. Could go to 150mm/sec and 14% power.


 or the nose
  on the baby