I have a CO2 laser 700/500 chineese with a 6445 ruida controller. I d like add a diode laser only to burn picture on wood I don t want to cut anything with it. I’ve red several subject on this forum.
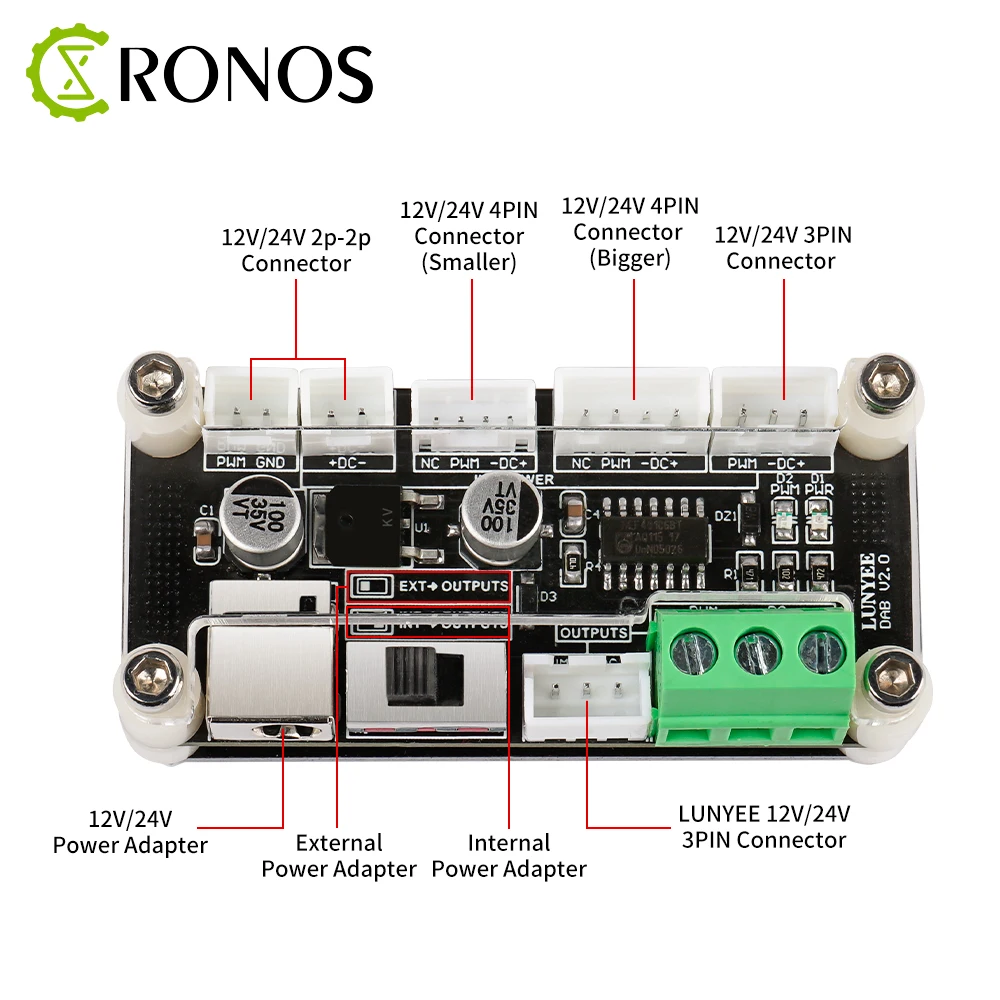
Ruida is 24V powered / laser diode is 12V powered only 3 wires 12V / GND / PWM.
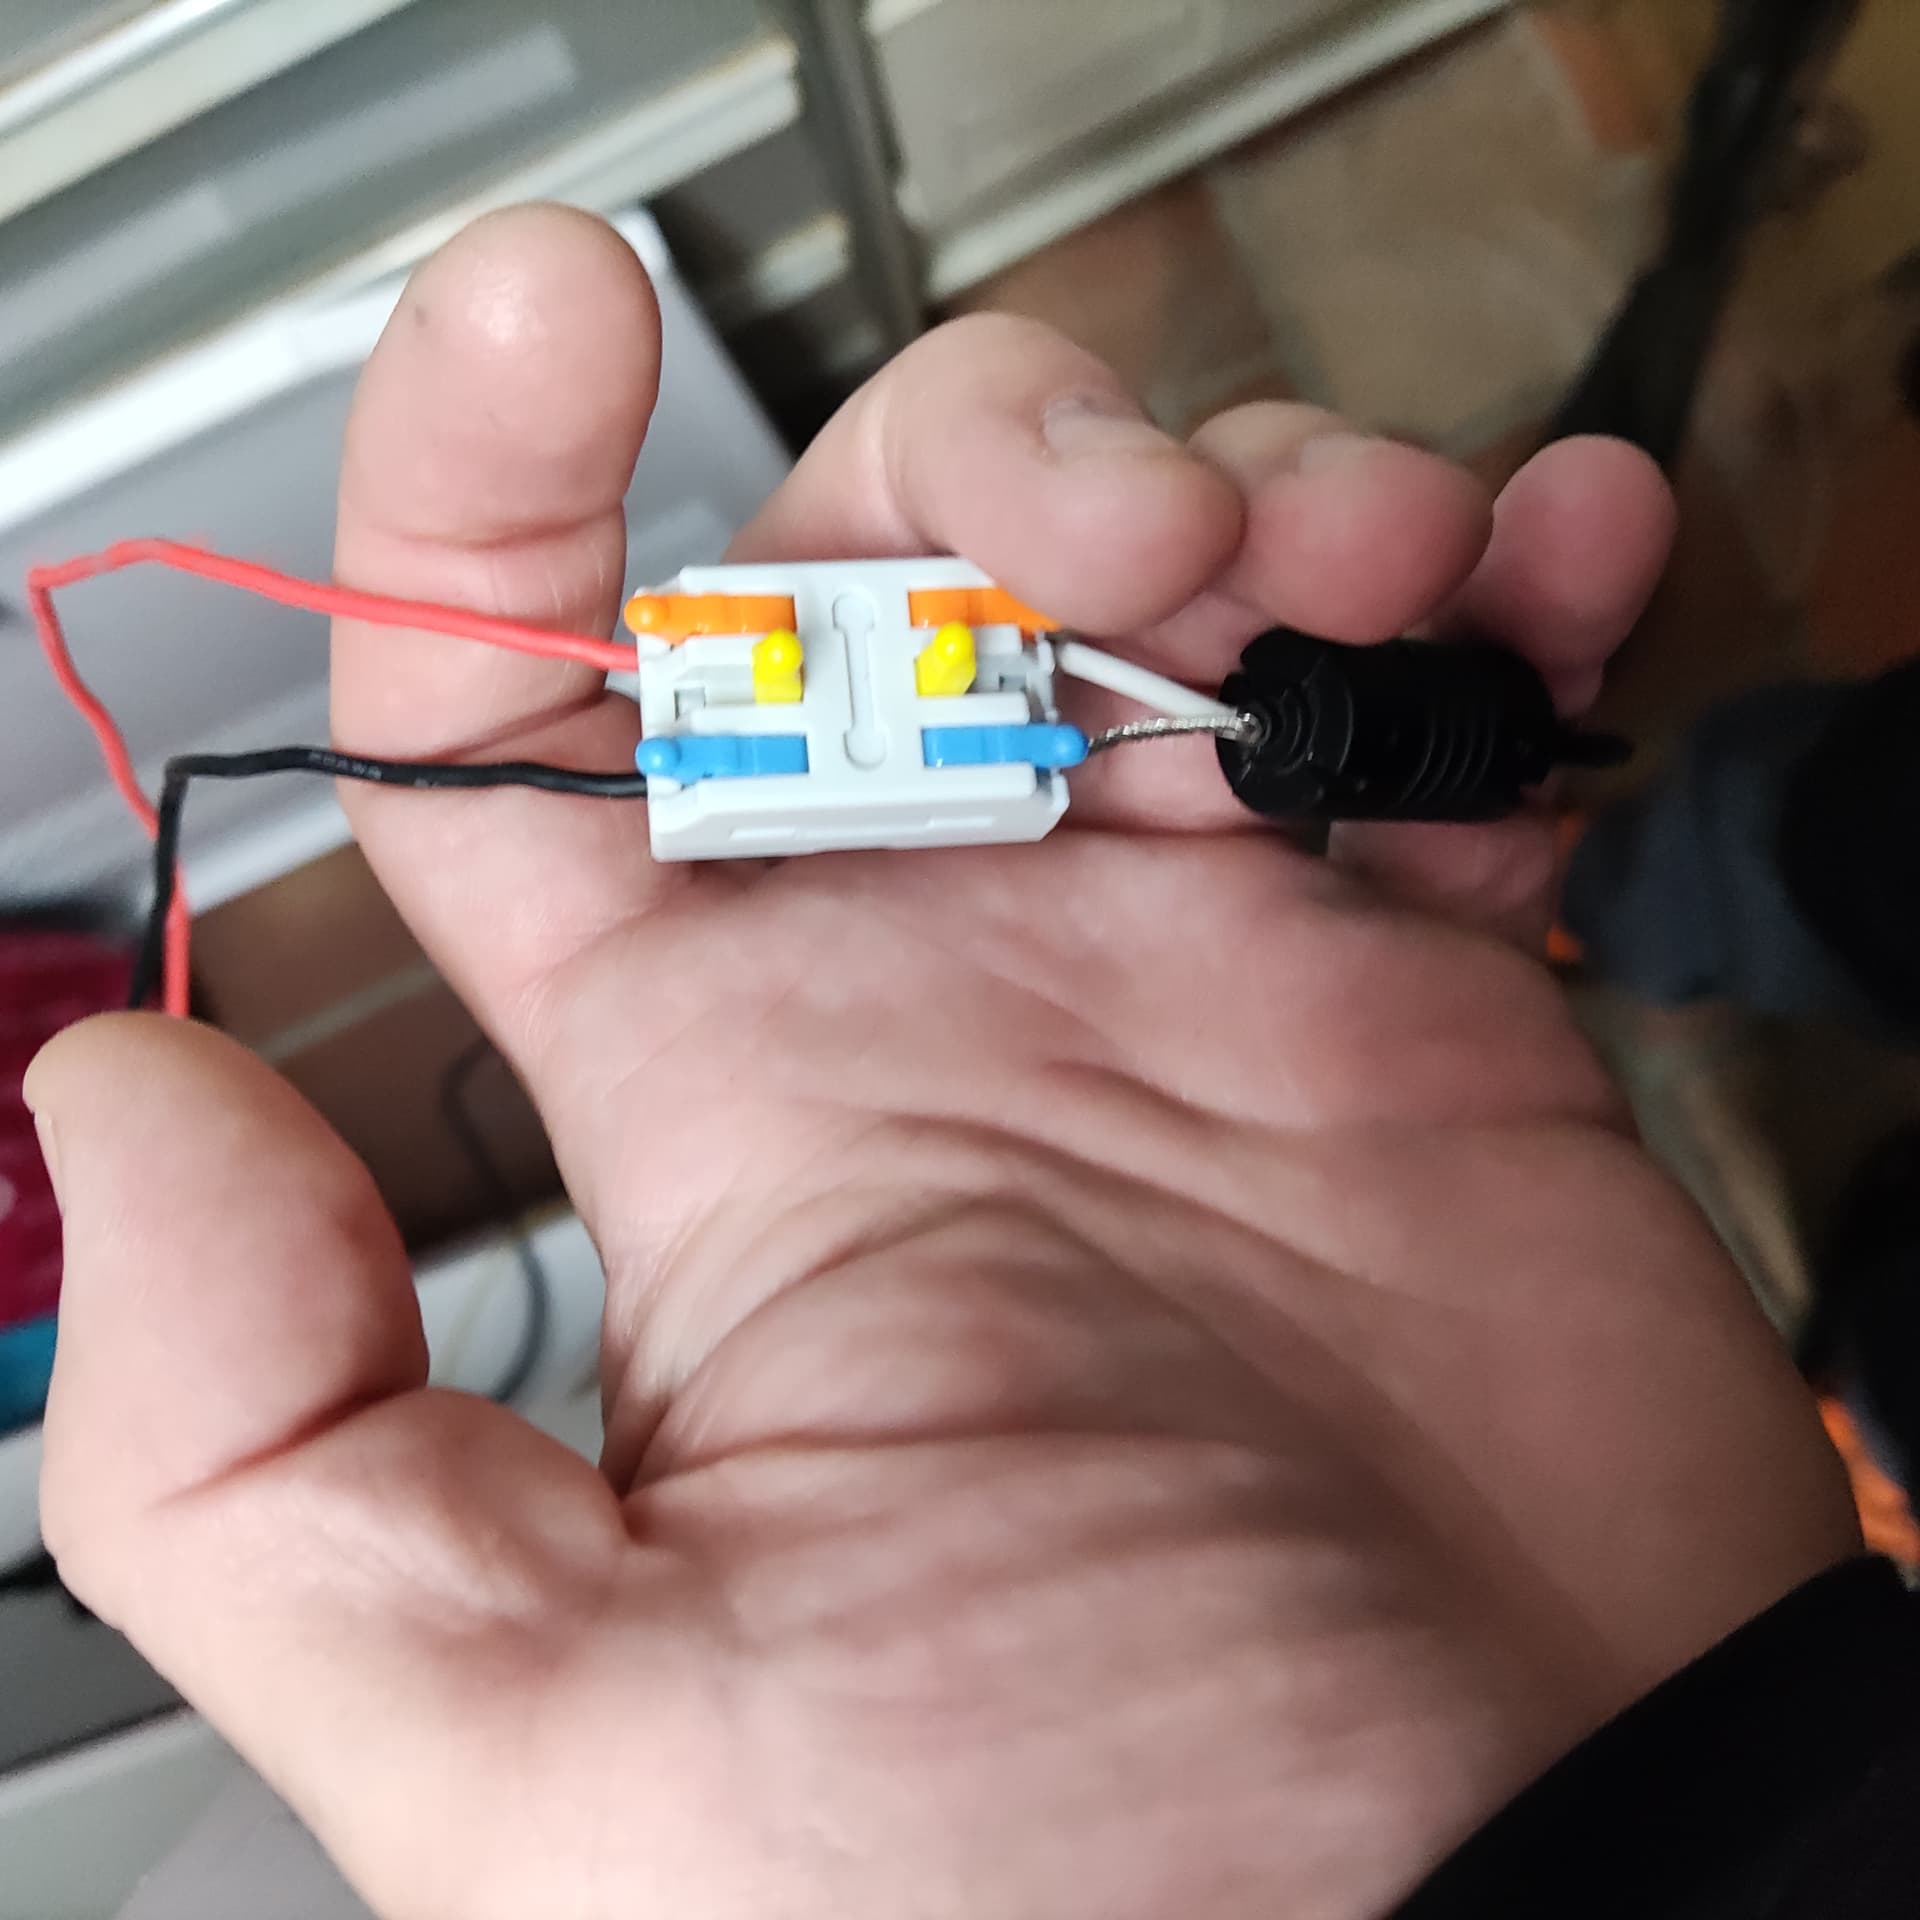
12V / GND are provided with an external power (12V 3A). PWM is wired to LPWM2, no ground is wired on this connector (should I ?)
My trouble comes of the fact that when I power my laser with the external power, it always runs and so burn… I thought that laser would be off and only when TLL/PWM drive it, it runs… Did I messed something ?
Interesting Project!
As a side note, there are now plenty of nice 24v diodes so if your 12v ever dies and you are in the need to replace you could opt for a 24v.
As per your problem on the wiring:
a) You are powering GRD+12v externally
b) You are connecting the PWM/TTL
Did you measure for GDN differentials between both sources?
Grounds should be common. If you have the slightest difference on grounds you can have enough variety for the laser driver to get confused and trigger.
Multimeter would help on this
My initial thought is, yes you should or the TTL signal has no ground reference.
However, I am not an expert on CO2 Ruida controllers and we have here in the Forum a big hive brain!
If you can be a little patient i am sure a couple users will come up and give you some insights.
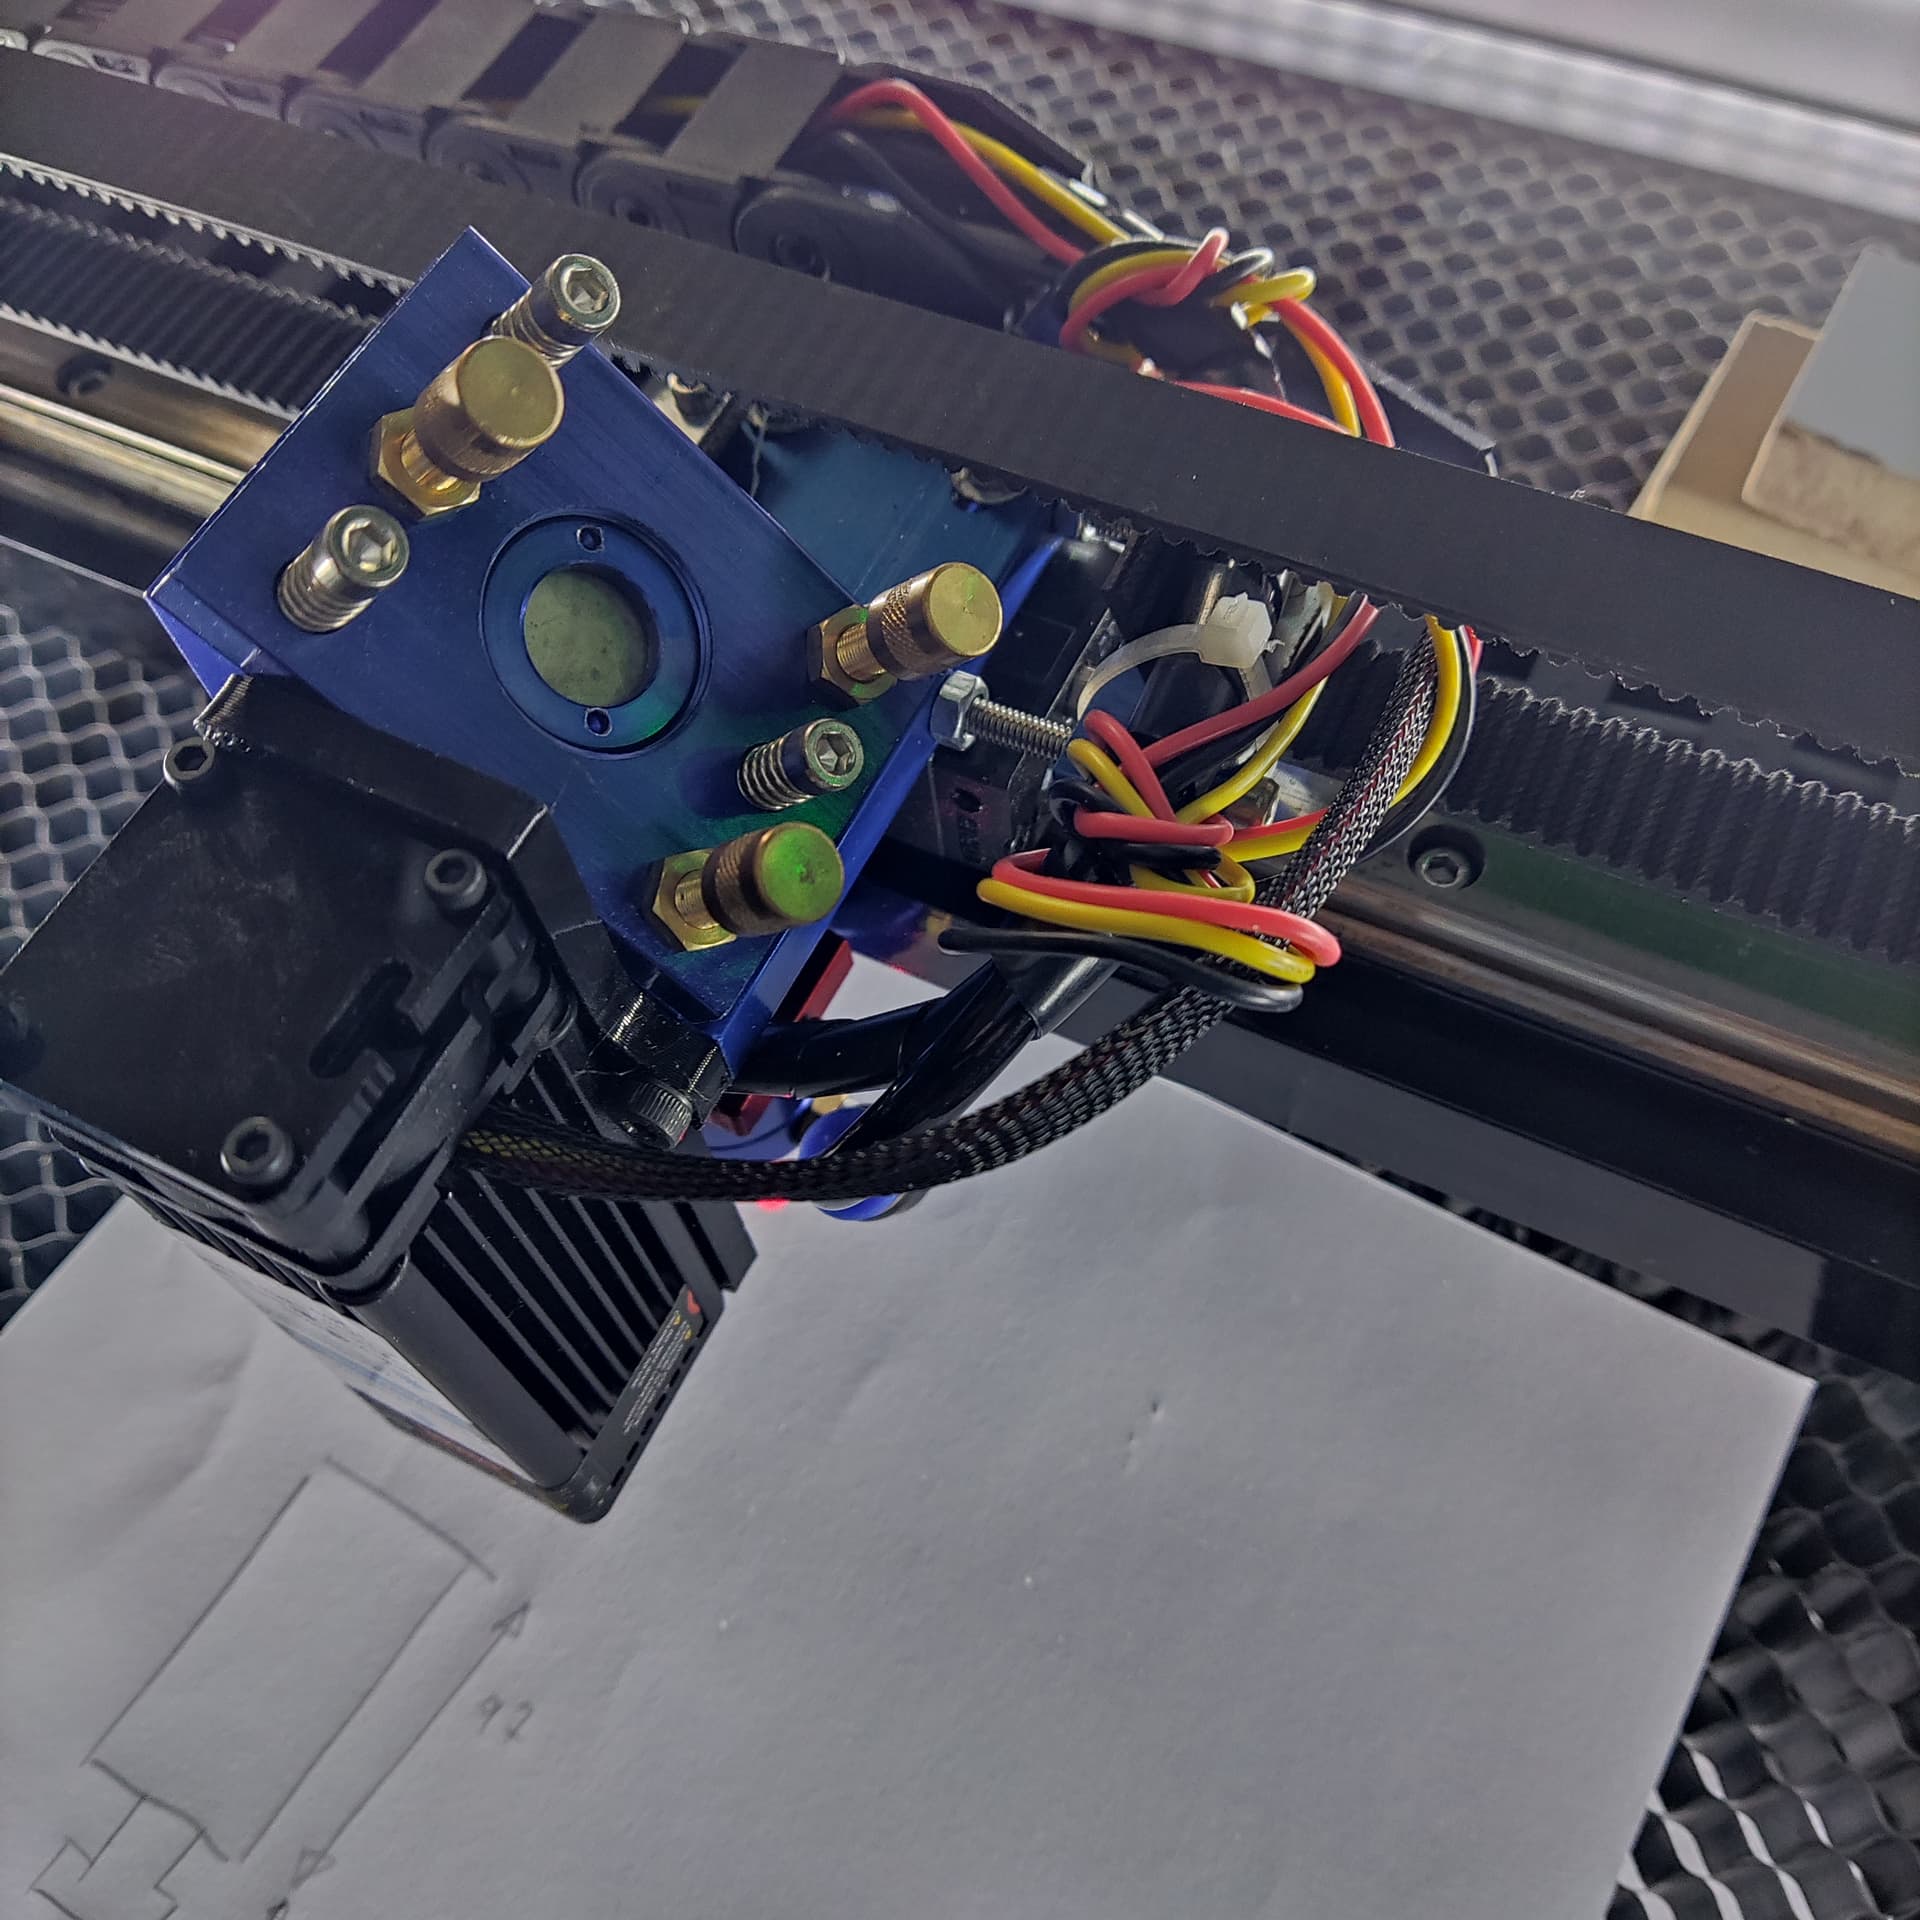
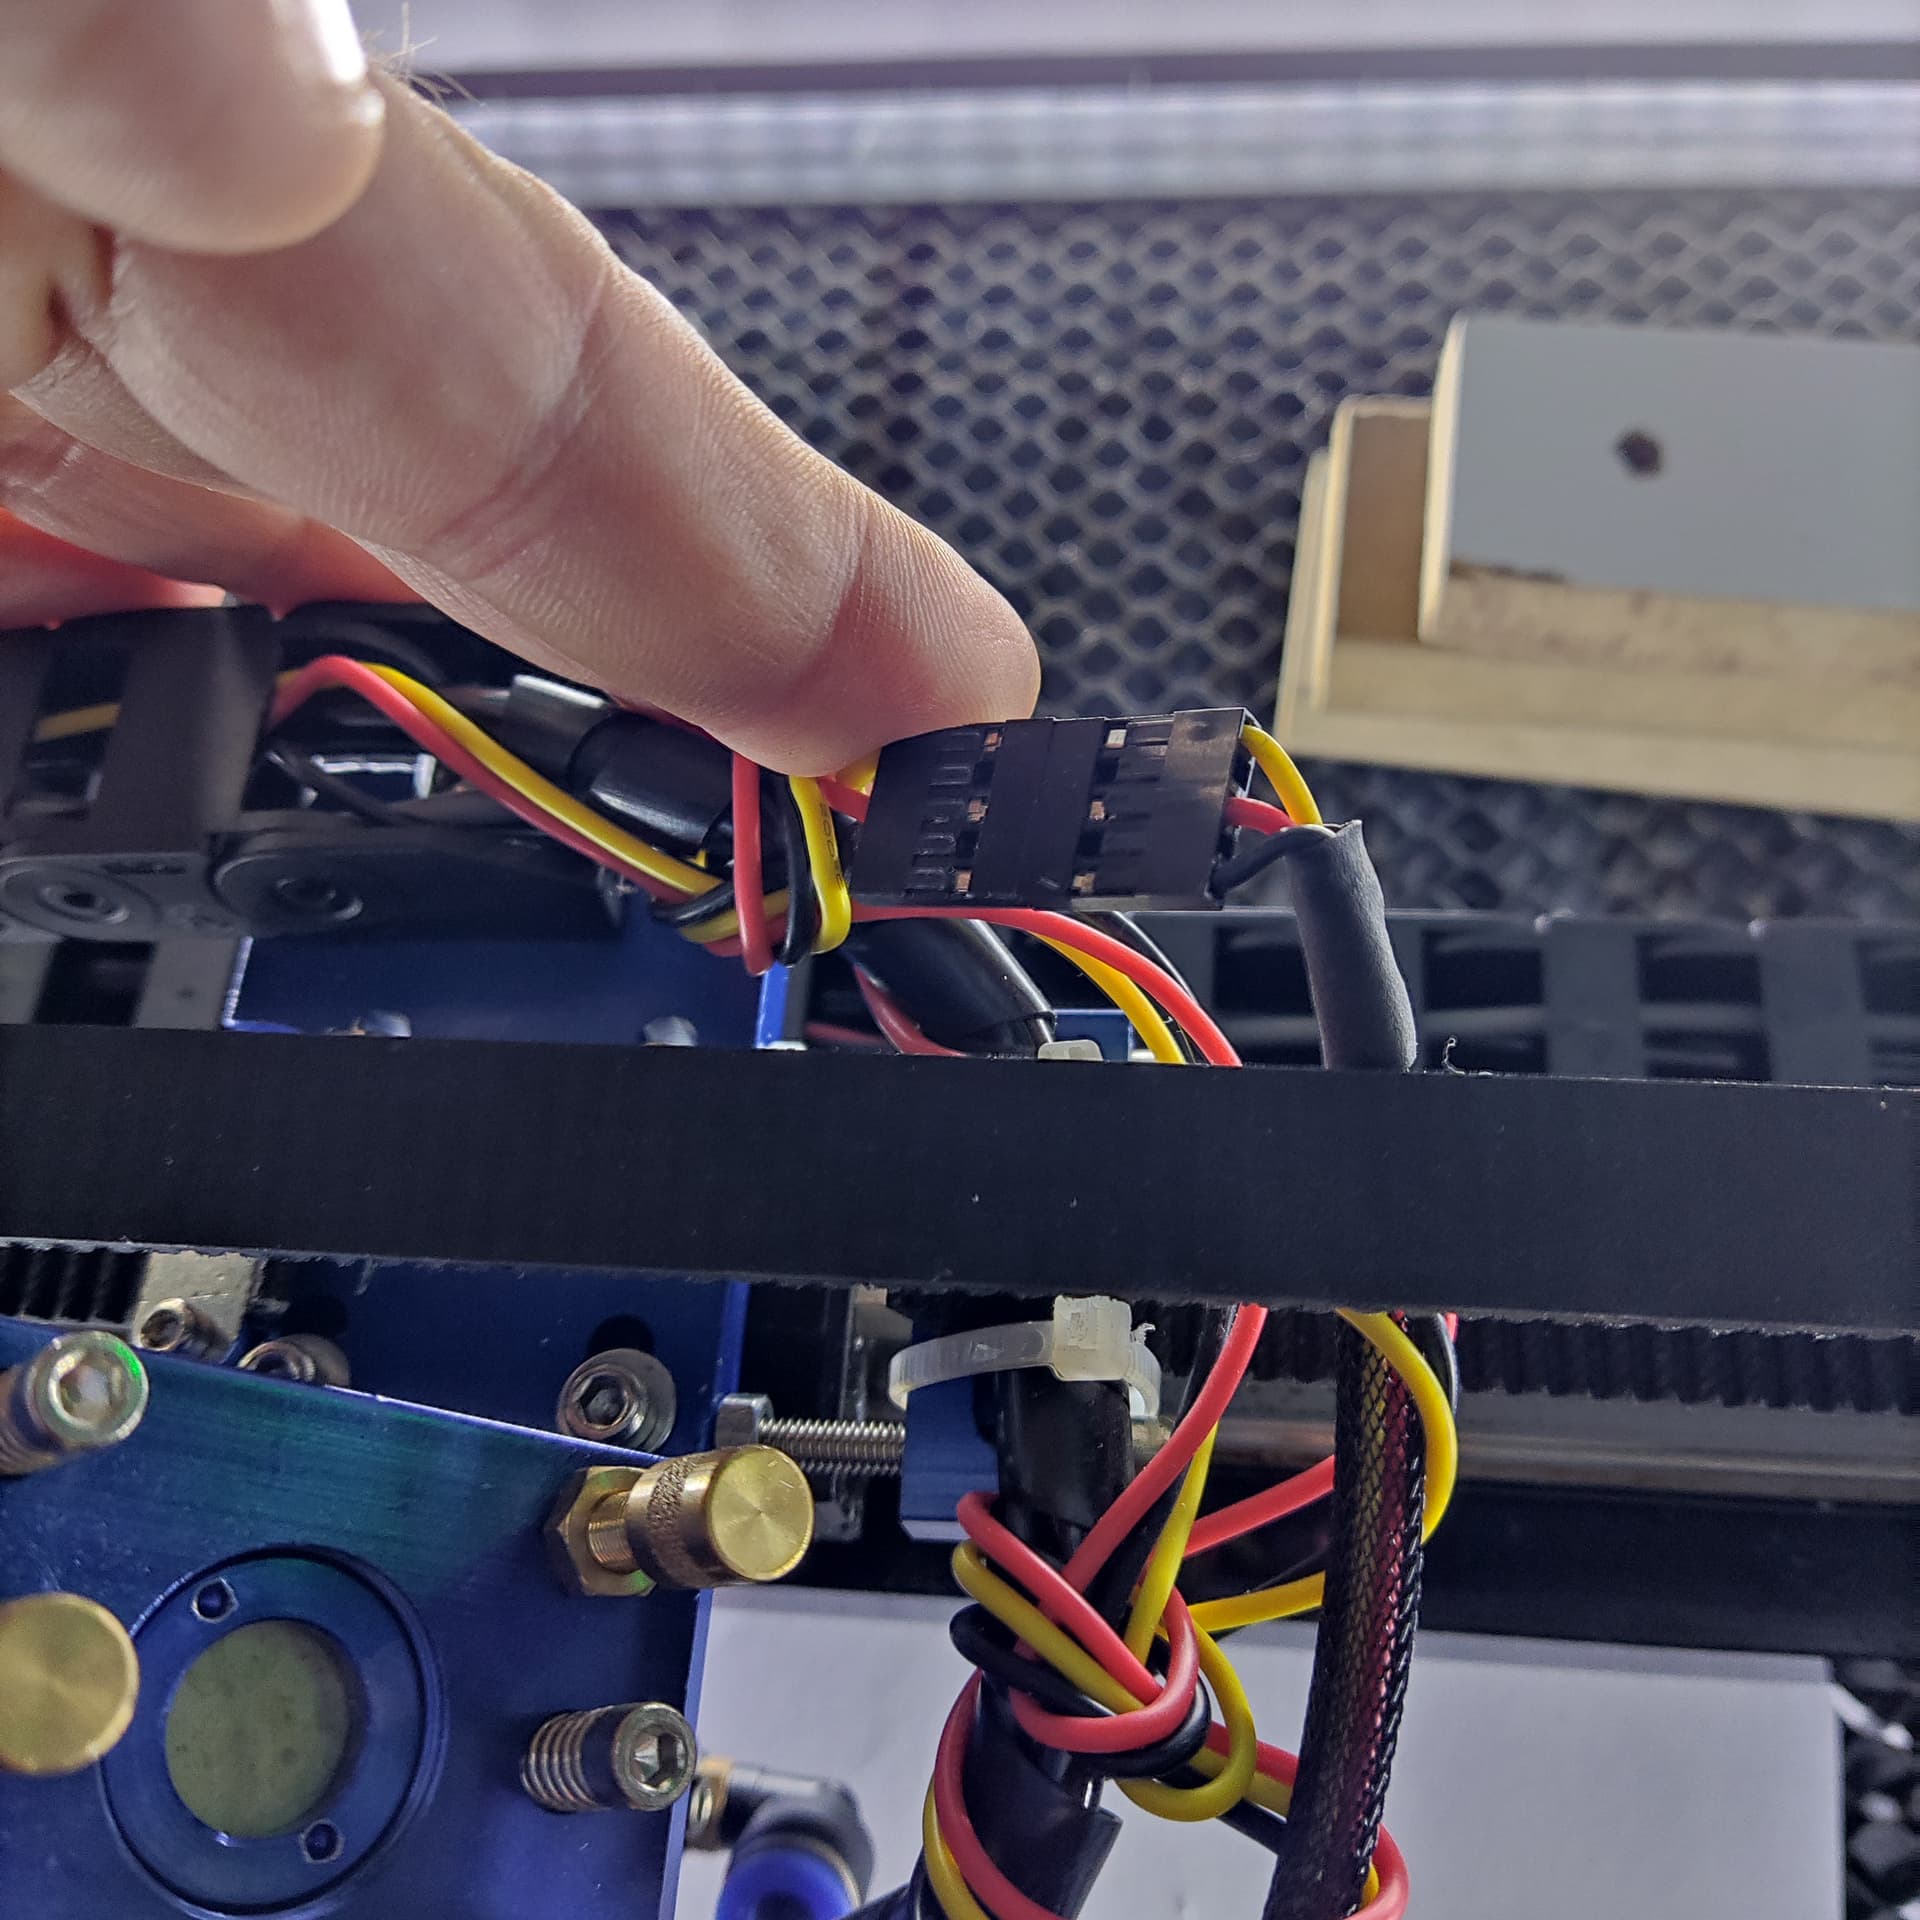
A few pictures of your wiring instalating would be ideal so others can “see” your setup.
A single wire from a controller GND terminal to the external power supply GND / COM terminal will work. Because that wire is carrying only signal current, not the laser diode current, it need not be a heavy wire.
A diode laser can only be on/off, it’s a digital device.
The DC excited tube is an analog device. Requiring:
a. input voltage - current limit control
b. laser enable input.
The problem is that the Ruida and other dsp generate a pwm signal continuously, the whole time it’s executing a layer. It depends on the L or laser enable to lase at the specified pwm…
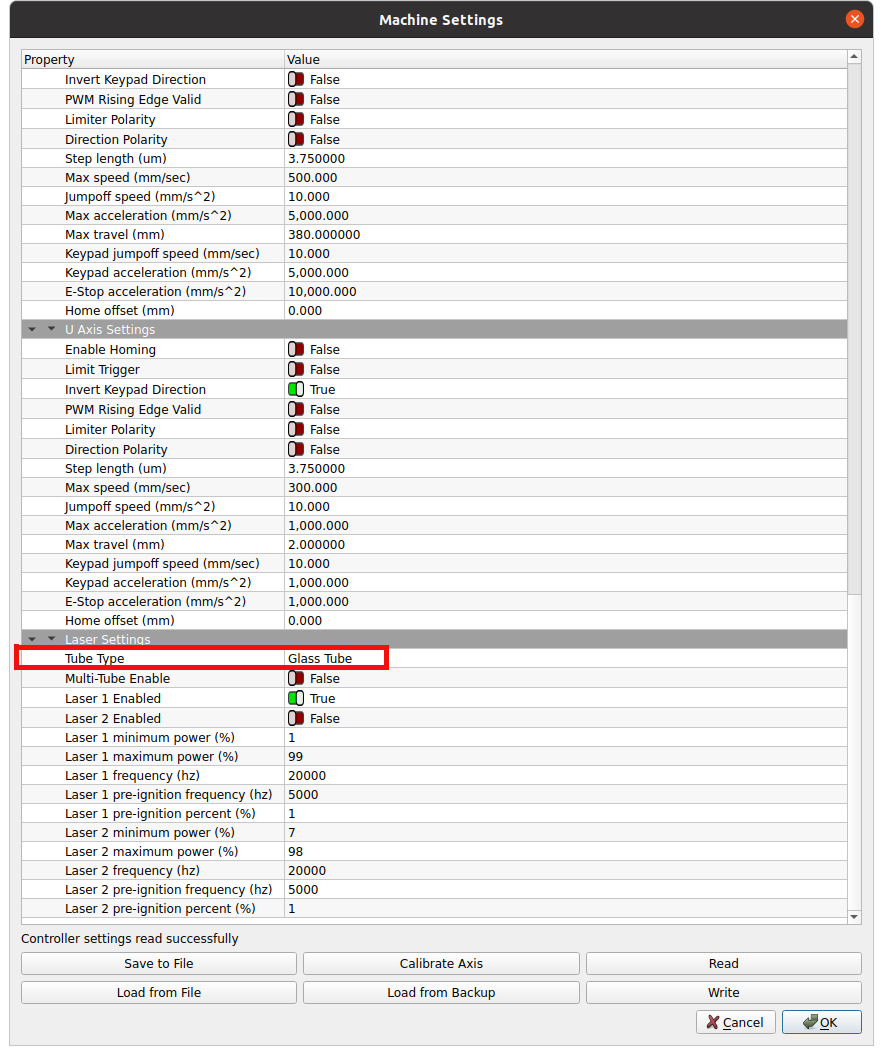
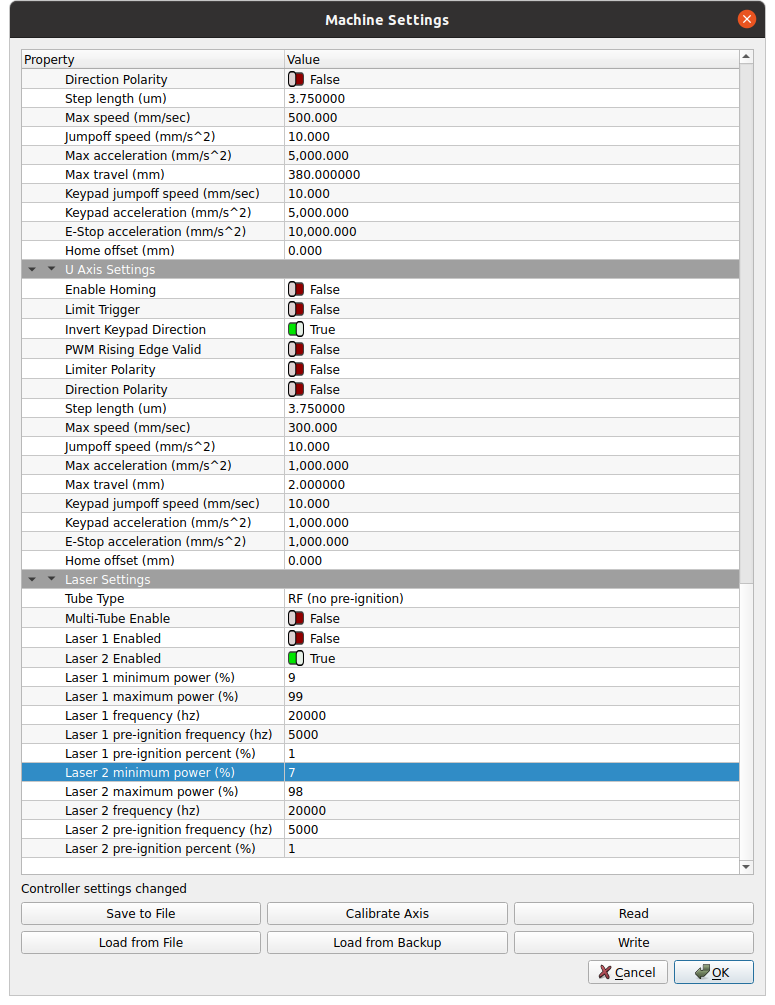
So - just running it configured as a glass tube co2 is the issue. You need to switch it to an RF type and I think it will do what you want.
Don’t know if you can run both RF and DC (glass tube) excited lasers on the same machine configured as a dual tube — kind of doubt it … however, the Ruida operation still surprises me now and then.
If you can’t select different modes you could use a logic gate so the pwm is passed through only when L-On goes low. I believe L-On is invertible, so to speak, but it’s been a while since I was looking at this.
I took a slightly different tact and changed out the head, so this didn’t come up…
So, I’ve plugged Ruida GND (on the same PWM 5 seats plug)and External Power GND.
Result : now it s ok. when I turn on my machine, diode laser is off. I went into ruida menu and I’ve activated the second laser.
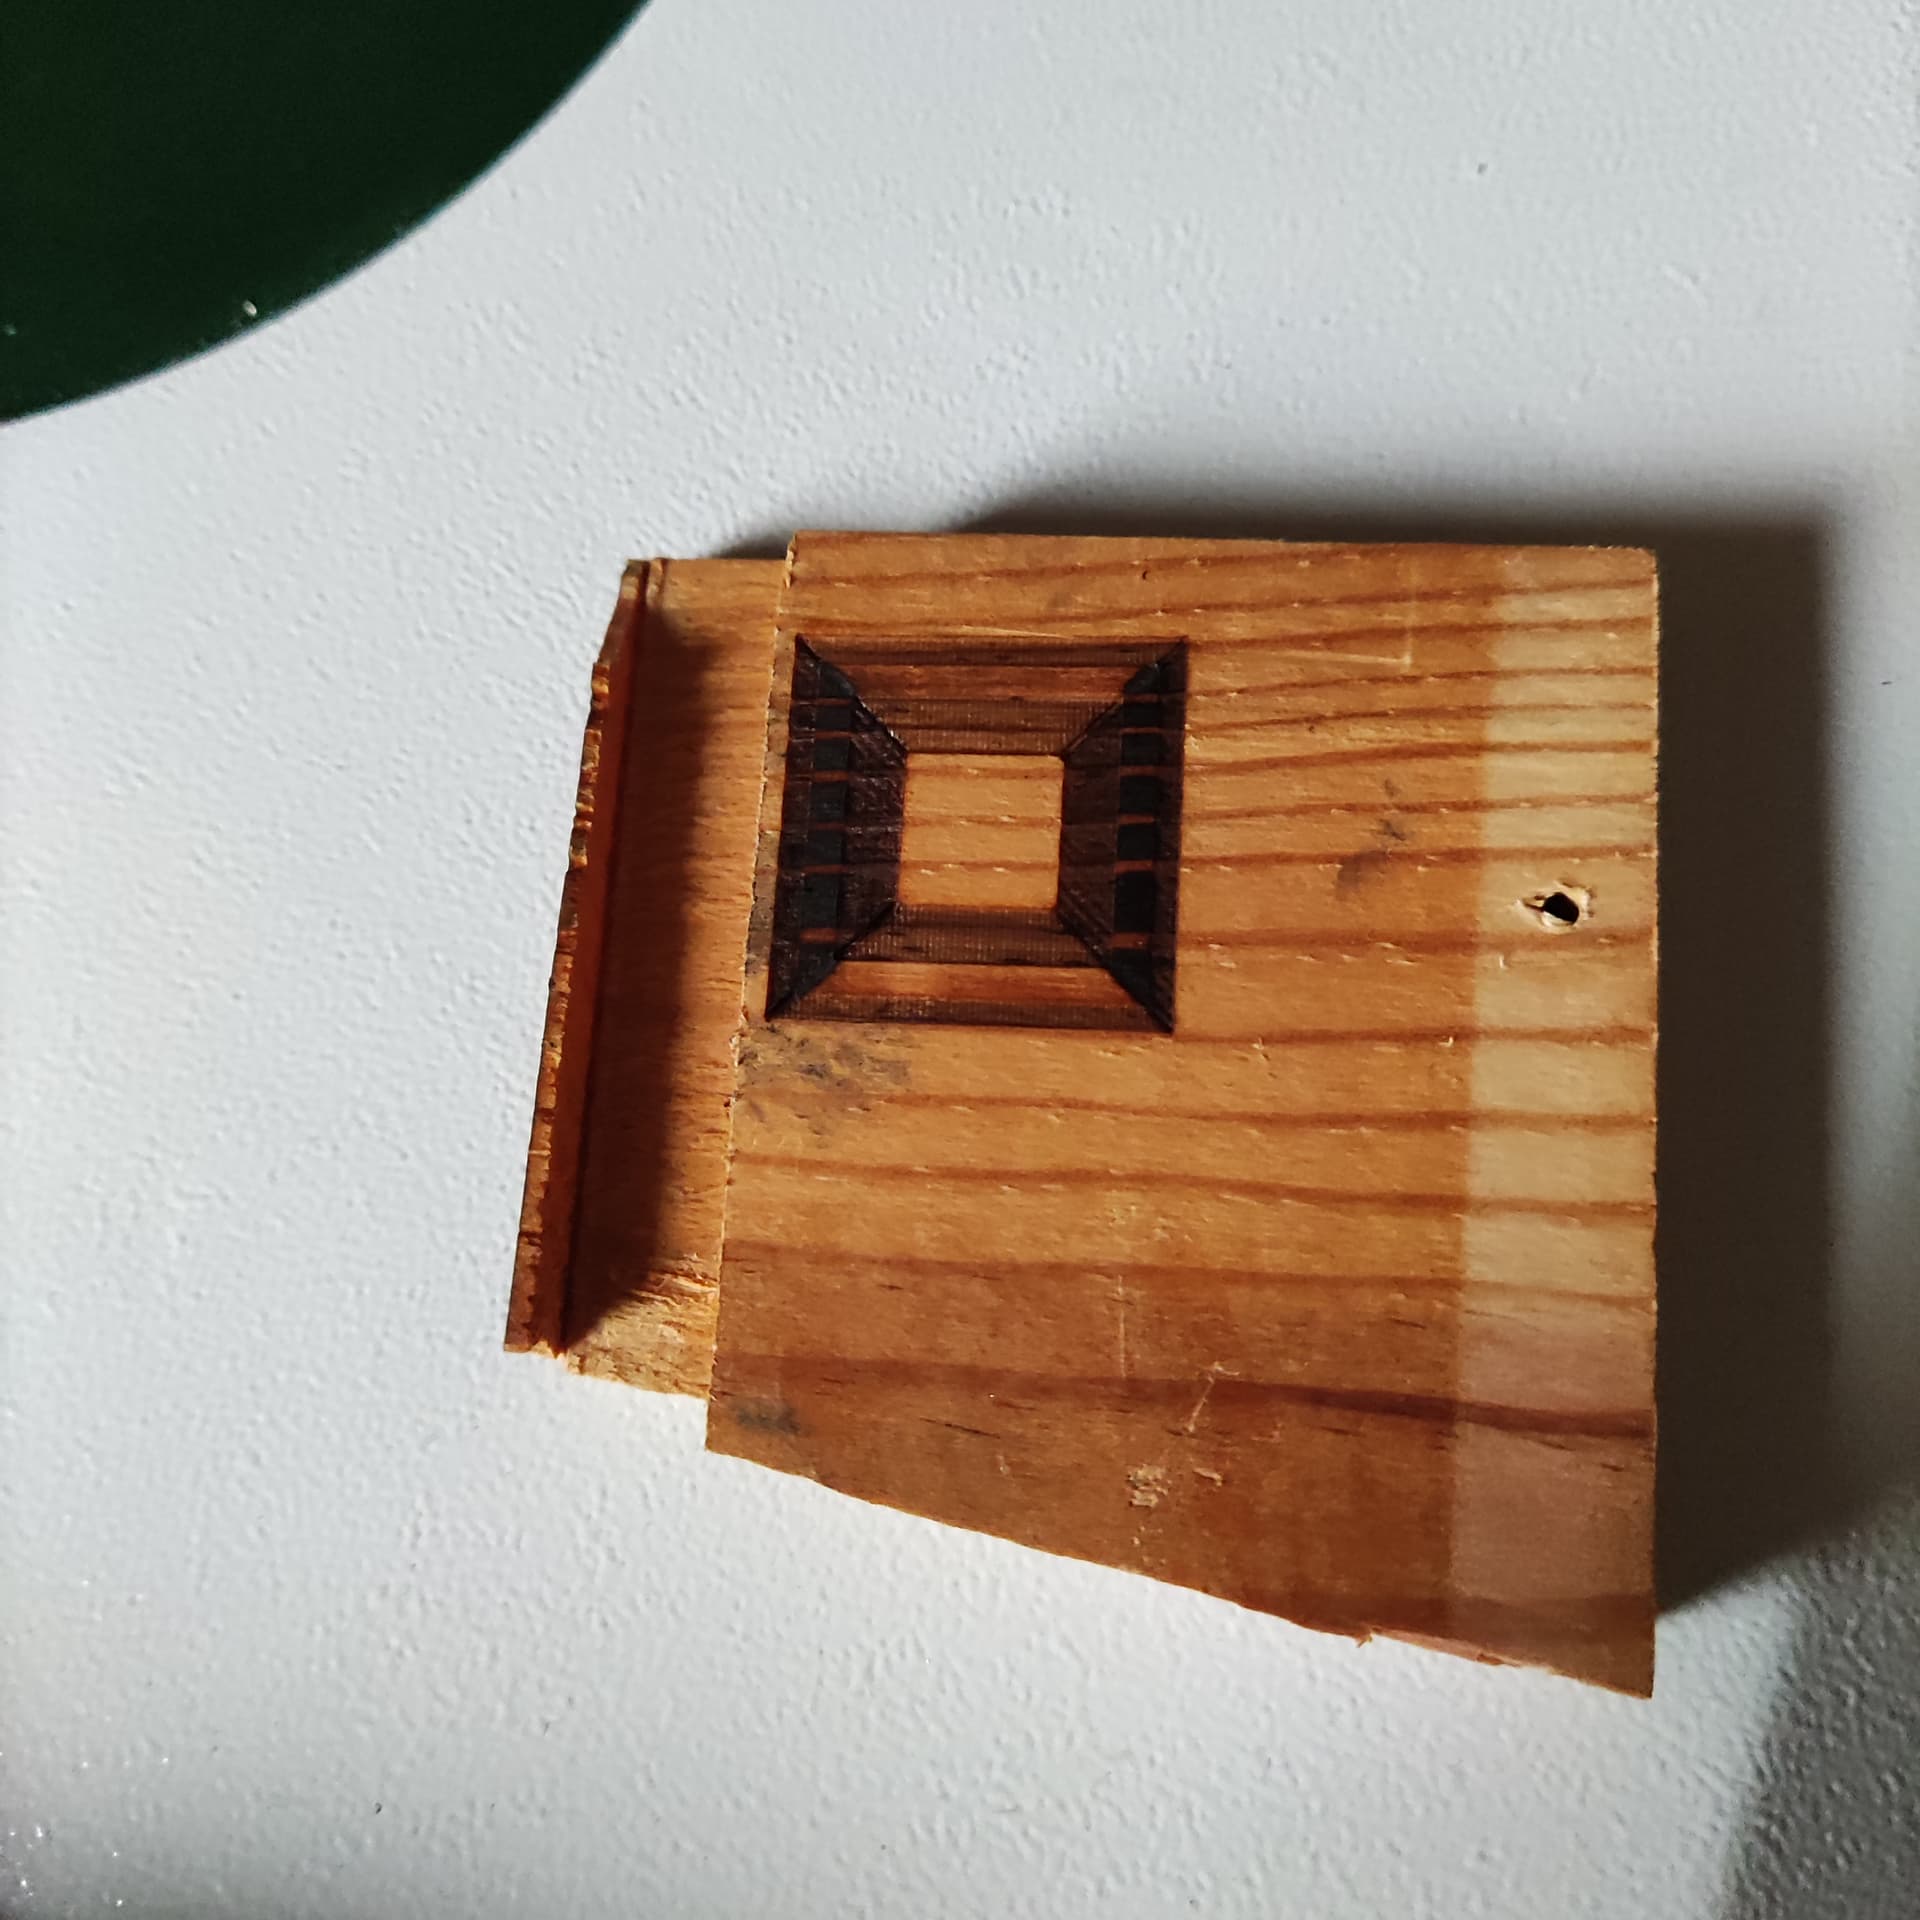
Pulse is OK but as told Jack PWM is “activated” like “on” or “off” for a line.
My goal now is to burn in Grayscale.
Could you please, Jack or someone else teach me how to wire my diode laser to Ruida with my 3 wires yellow / red / black like RF laser and by the way how to tune this into Lightburn ?
I think to “swap” firmware of my machine each times that I need a kind of use. Except an issue from me, it is the easier way and most secured to prevent error.
Assuming wire colors are what I expect… Black to ground, red to supply voltage and yellow to pwm output of the Ruida… This is how I ran mine.
Don’t really follow what you mean… Don’t swap firmware out as a general operation, this is generally a bad idea…
If you change anything, you can save the current configuration and then modify it to accept the ssl and save that. When you need the ssl, load the associated lbset file for that device…
L-AN2 to ?
WP2 to ?
LPWM2 to ?
L-On2 to ?
GND to ?
What would be the configuration/settings into Lightburn ?
What is the ssl ?
Finally, when I talk to swap, I would load / save machine parameters with CO2 cfg for a kind of use and RF (diode laser) for another kind of use, that s what I hope.
All circuit voltages are relative to something. So you need a common or something as a basis. This is ground. On the Ruida, the GND pins all go to the motherboards ground plane – they’re all connected together.
An ssl (solid state laser or diode) has only a single control for on/off. You only need a signal (LPWM2) and it’s common (ground). You might have to turn water protect off for tube 2 and you wouldn’t have to connect anything to it either.
All of these are assumptions and you will have to fool around with things like framing, as I never used it with an indicator, so didn’t strike me to even try to make it work. I also didn’t use a dual setup, which may make some assumptions incorrect…
There appears no way to use the dual system with an RF and a glass tube, so I think you’ll need to make separate device profiles for each… maybe load different lbset files - same device… I never went the dual setup way. Let us know and we’ll try to help.
Create a new device and set up for only 1 laser, either ssl or tube. I looked at mine and set the fields in the Laser area. The first 4 were changed and the first three relating to tube 2 - you won’t be using any of the other areas. The pwm frequency (Laser 2 frequency) might be of use to you.
Don’t forget to change enable what you need in Lightburn via Device settings…
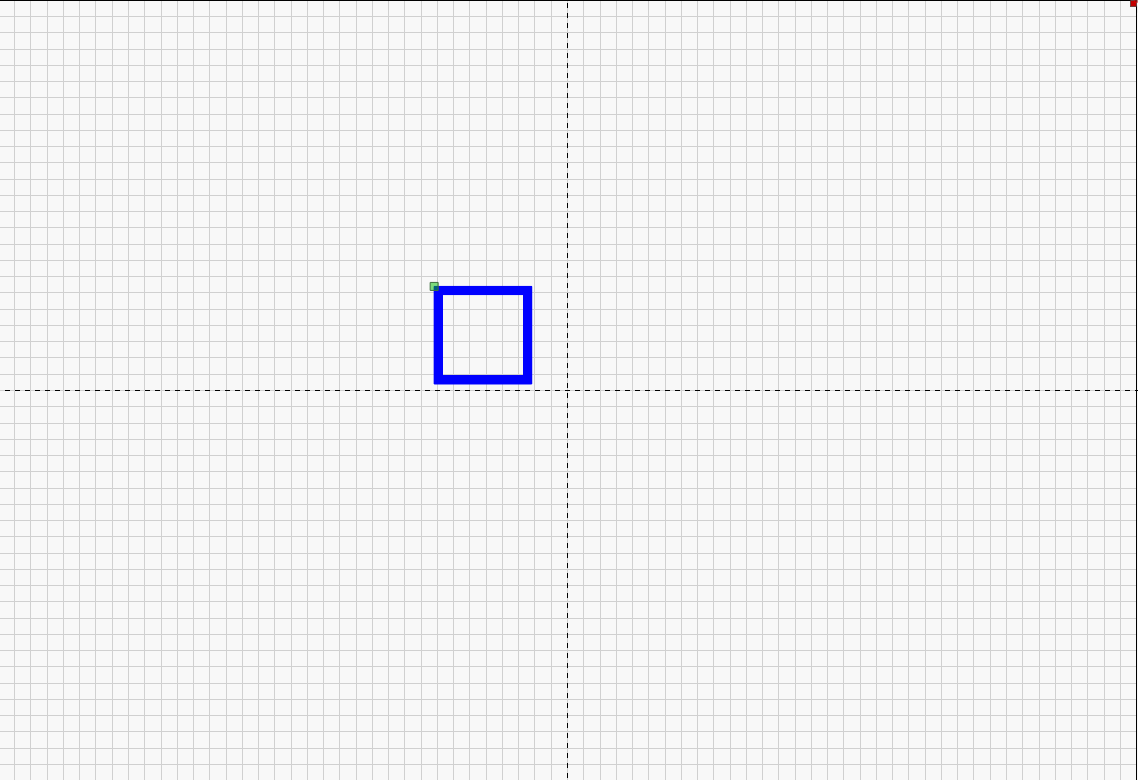
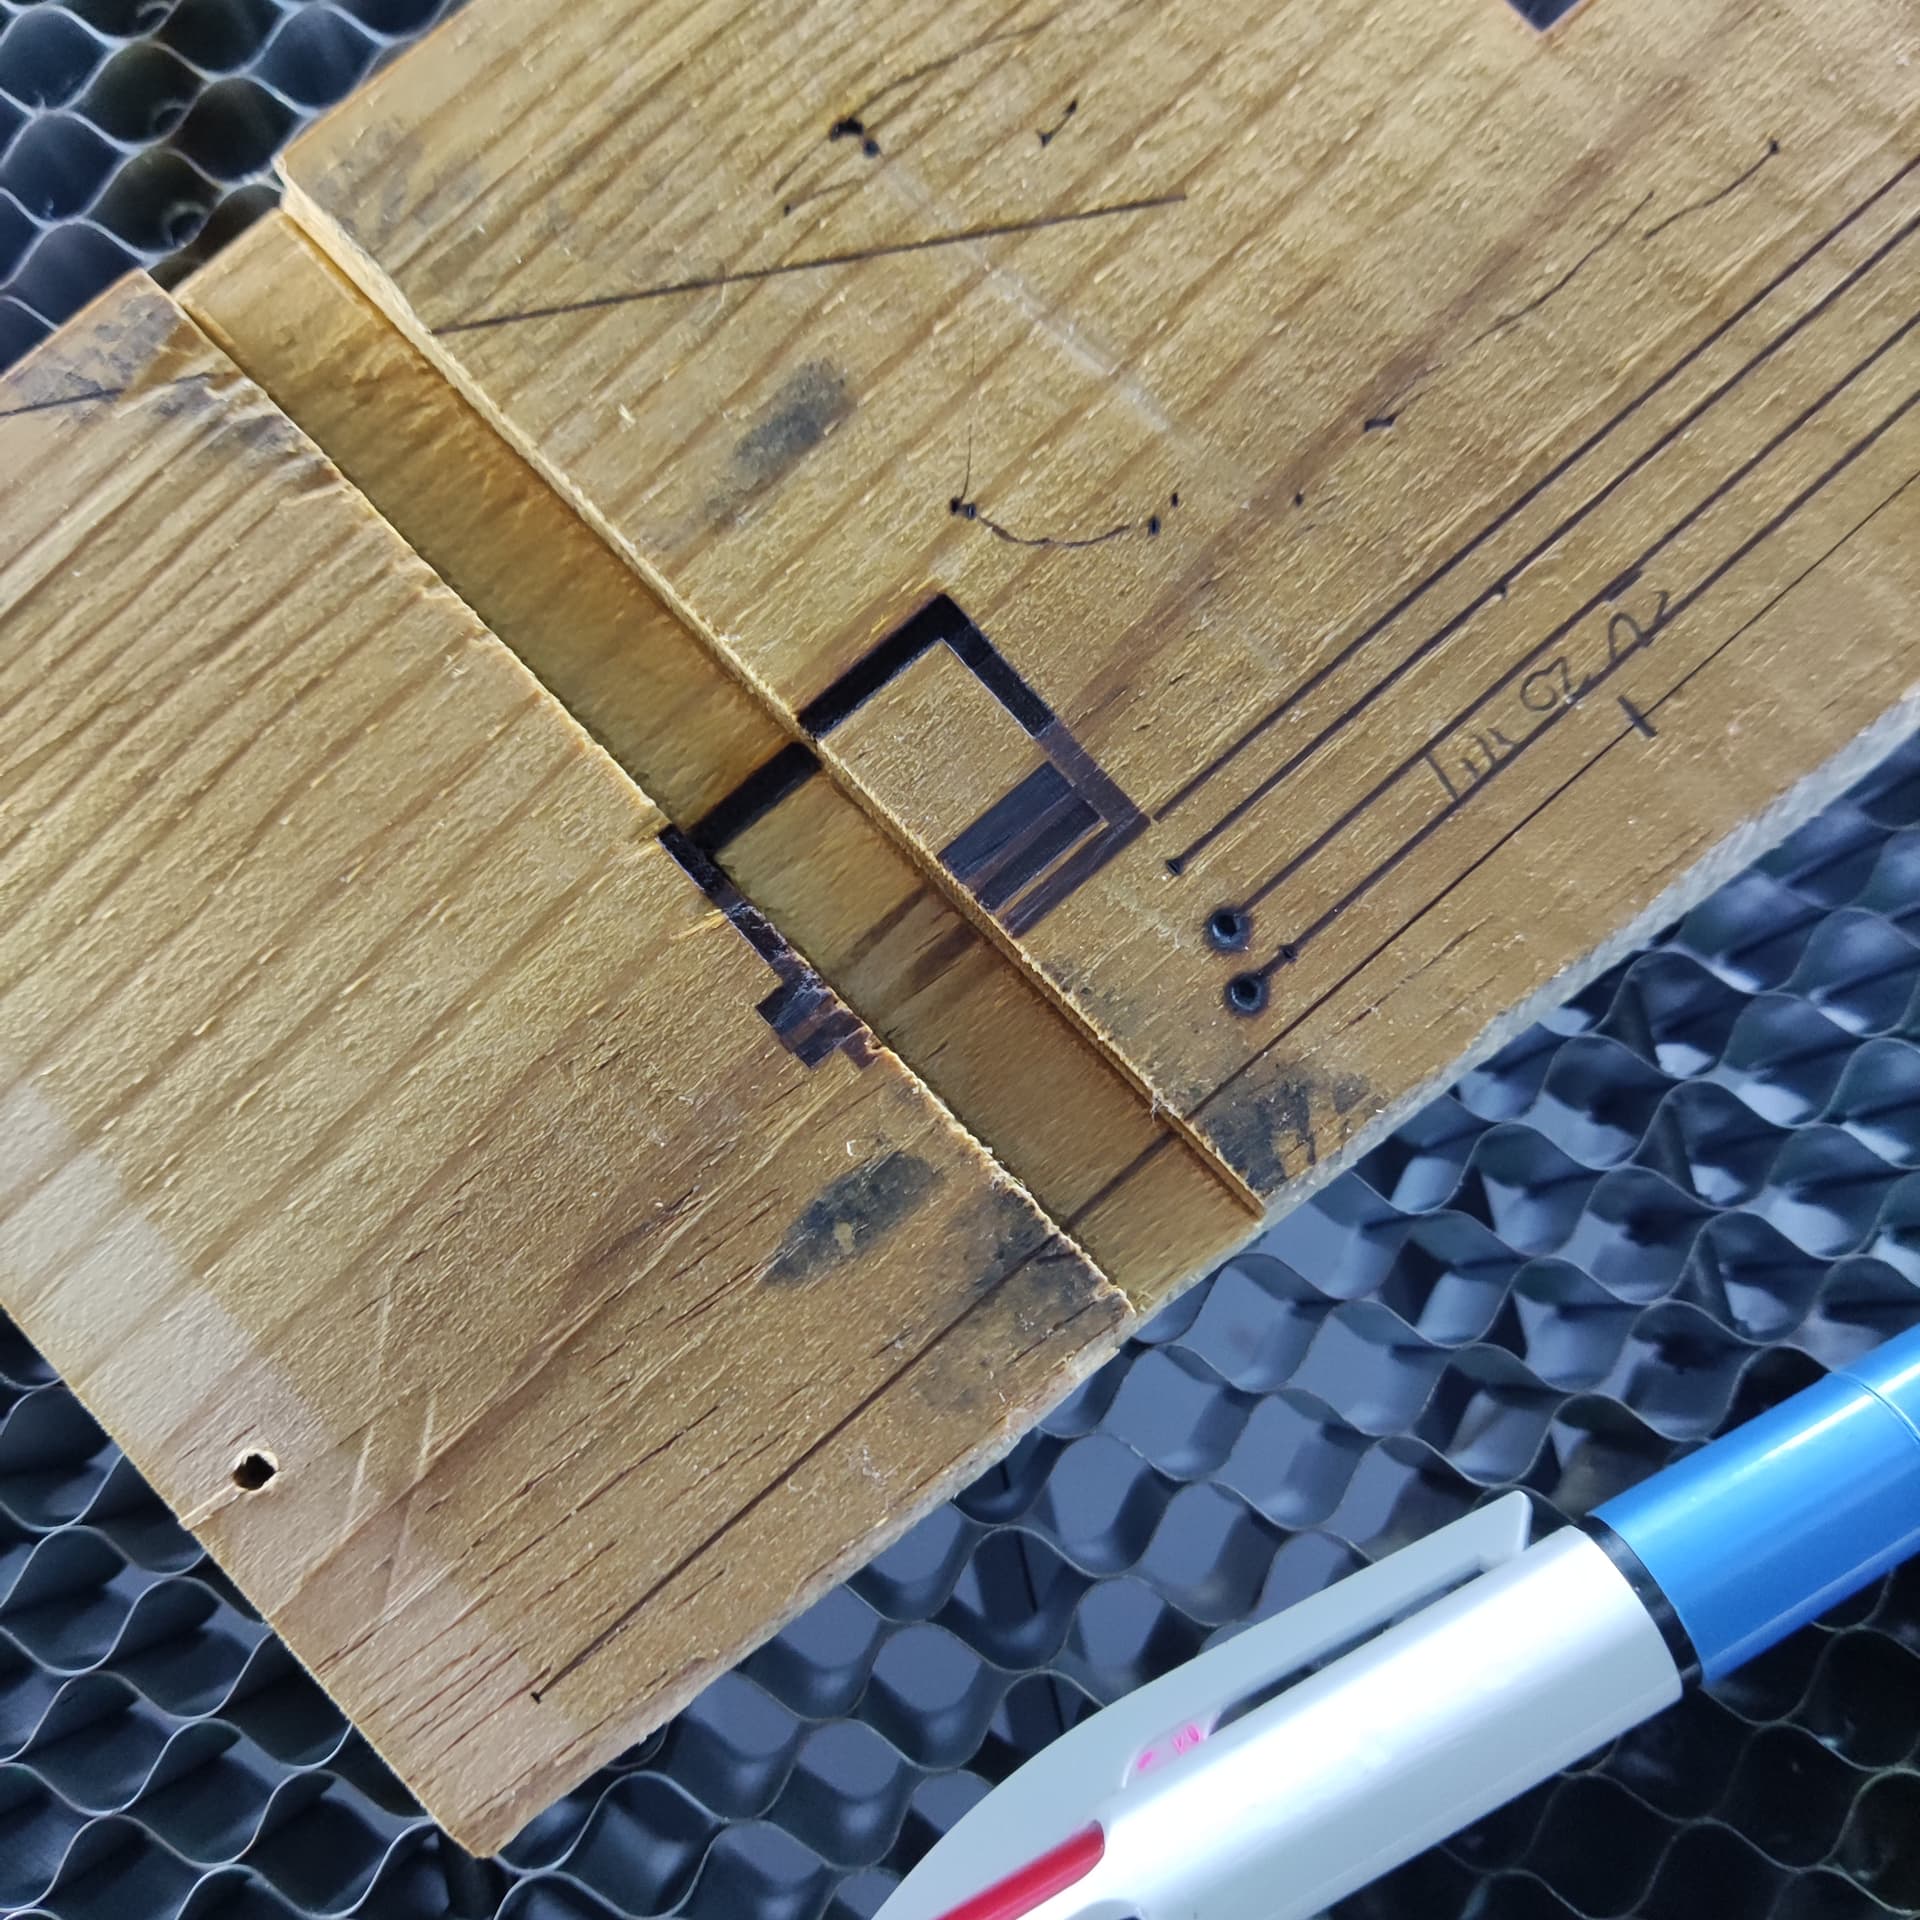
offset fill : so as I saw in another post : PWM is always on or off when starts a line till the end of these one. So I’ve stopped rendering that’s why it seems look like that I’d like… but if I left it till the end, the square had been entire black and not like a frame.