Upgraded to v1.1.04 and went to engrave. Saw the offset was way off and checked my settings. Removed Lightburn and downgraded to a previous build. same issue, reinstalled and no fix. Removed device and reconfigured with no success. Reset my Ruida and powered cycled Mac and all devices with no success.
Issue observed on ethernet. I will try to use USB next.
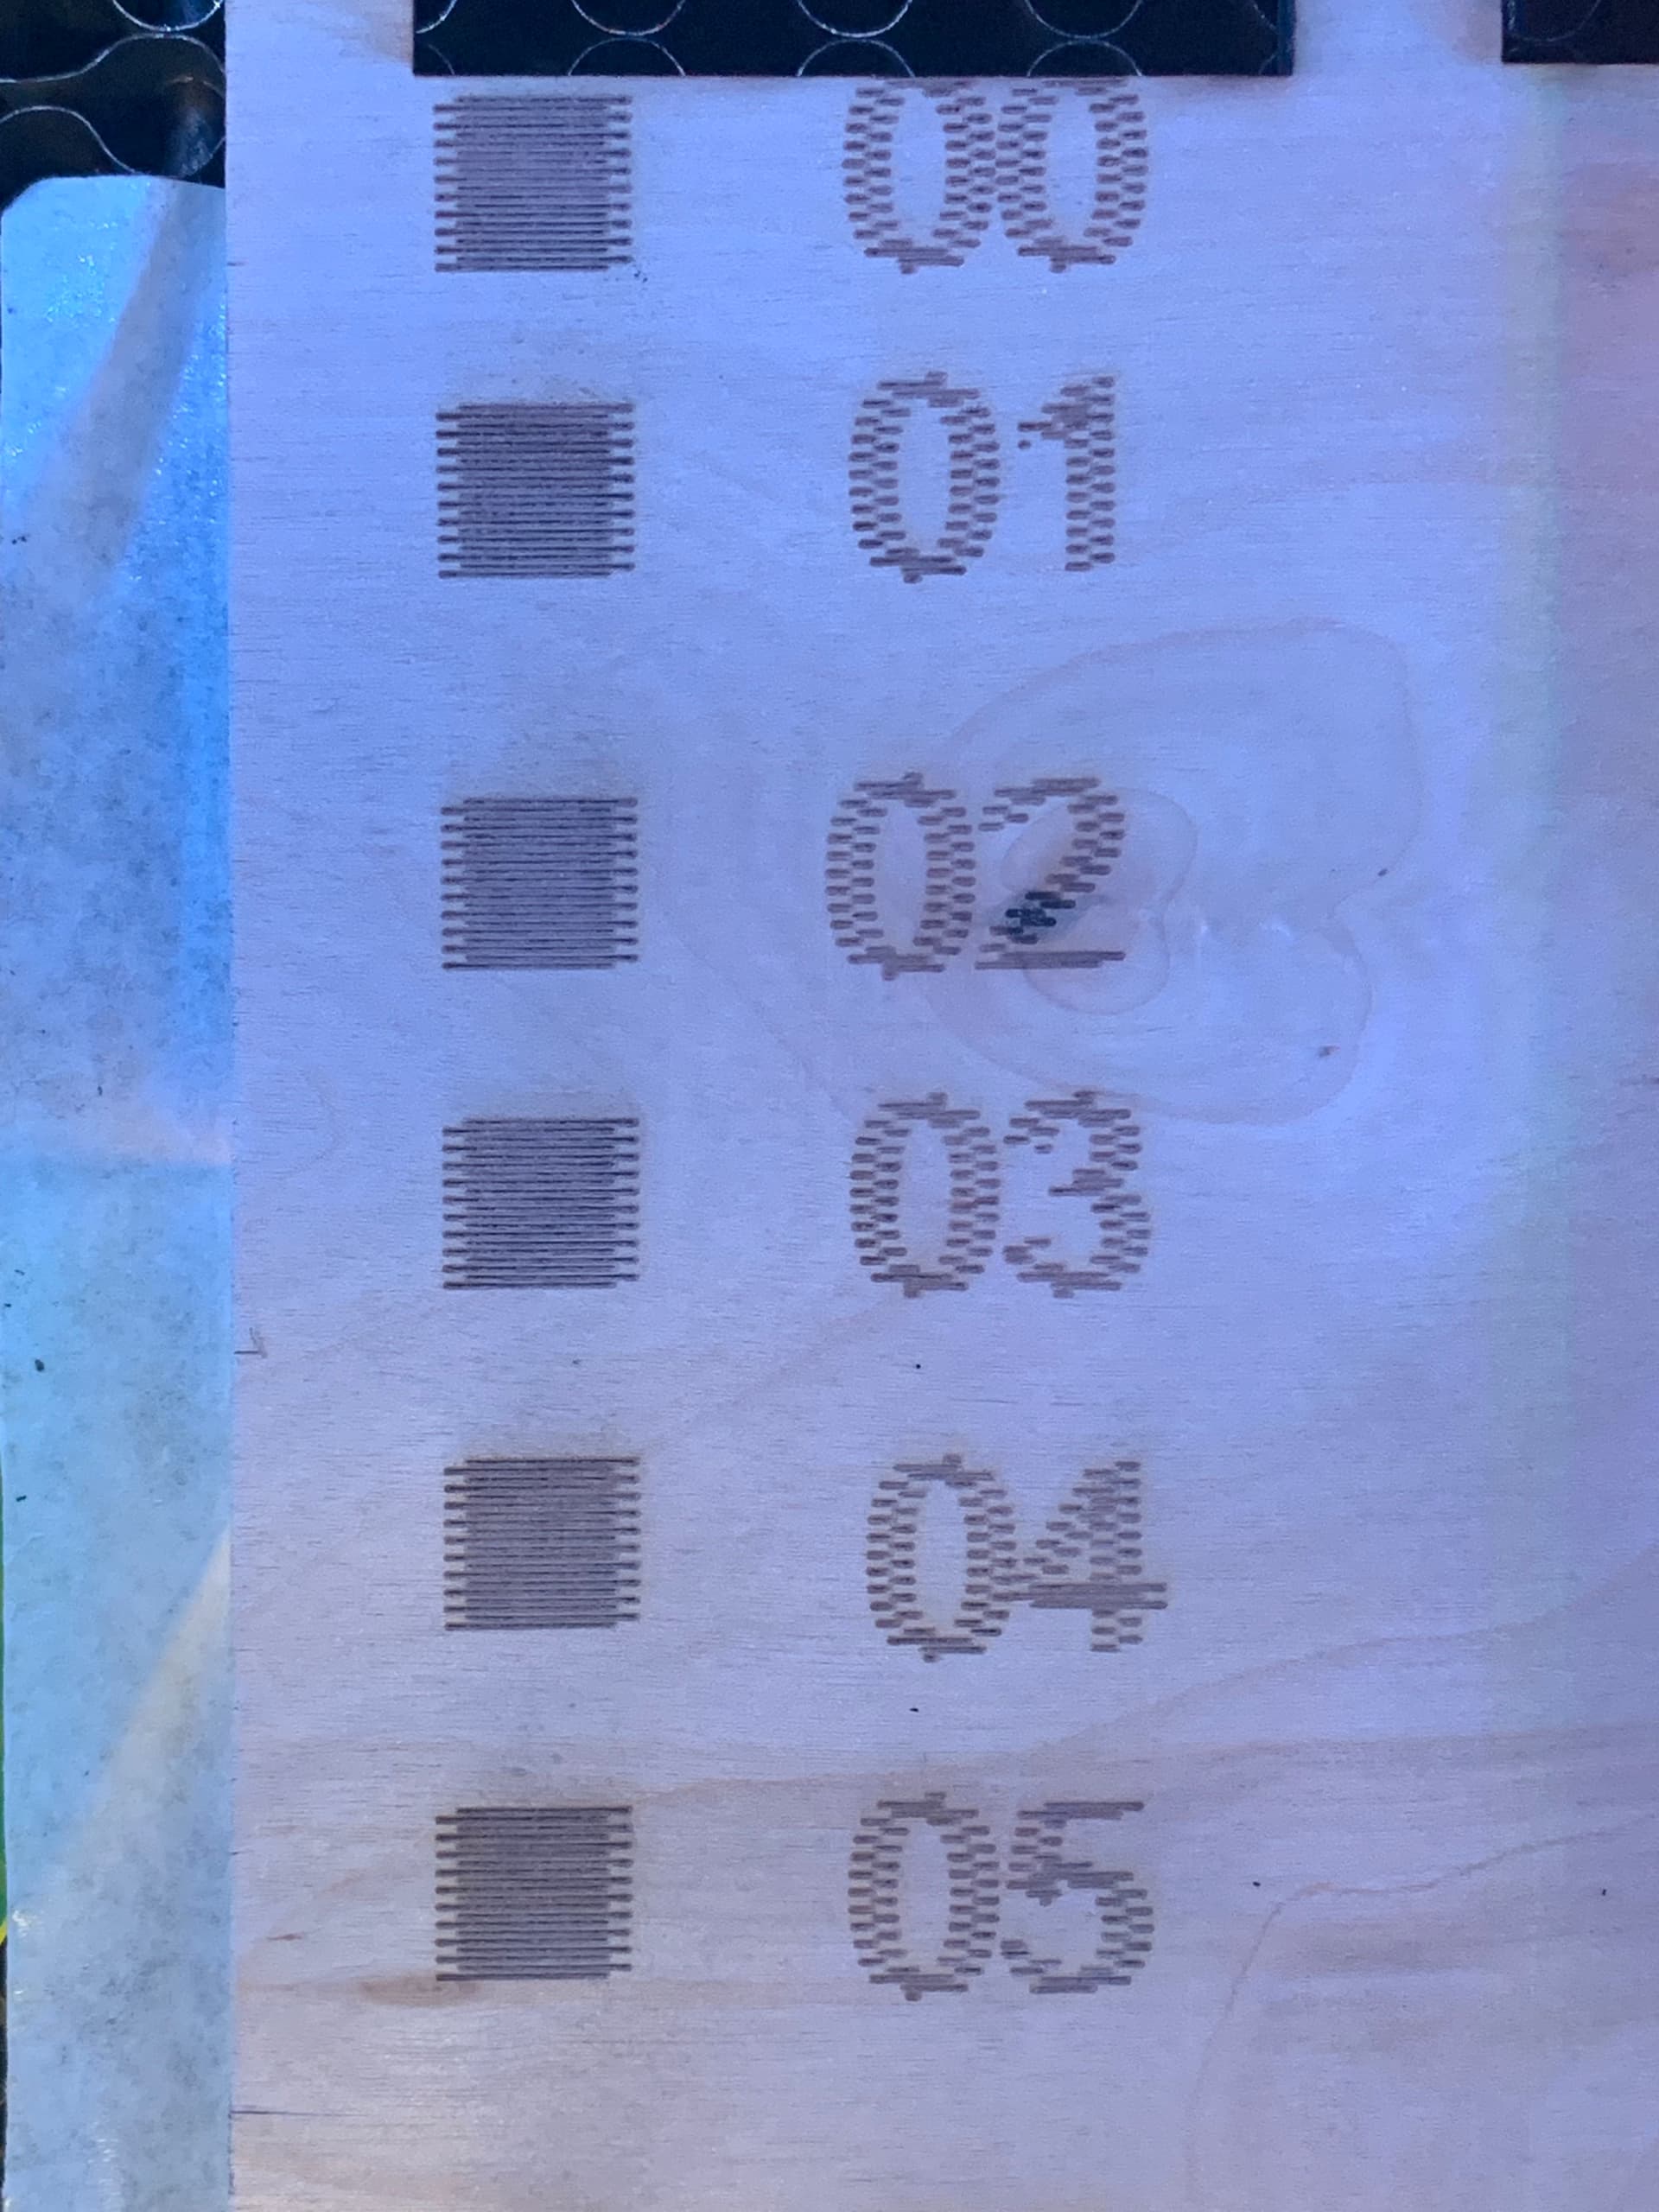
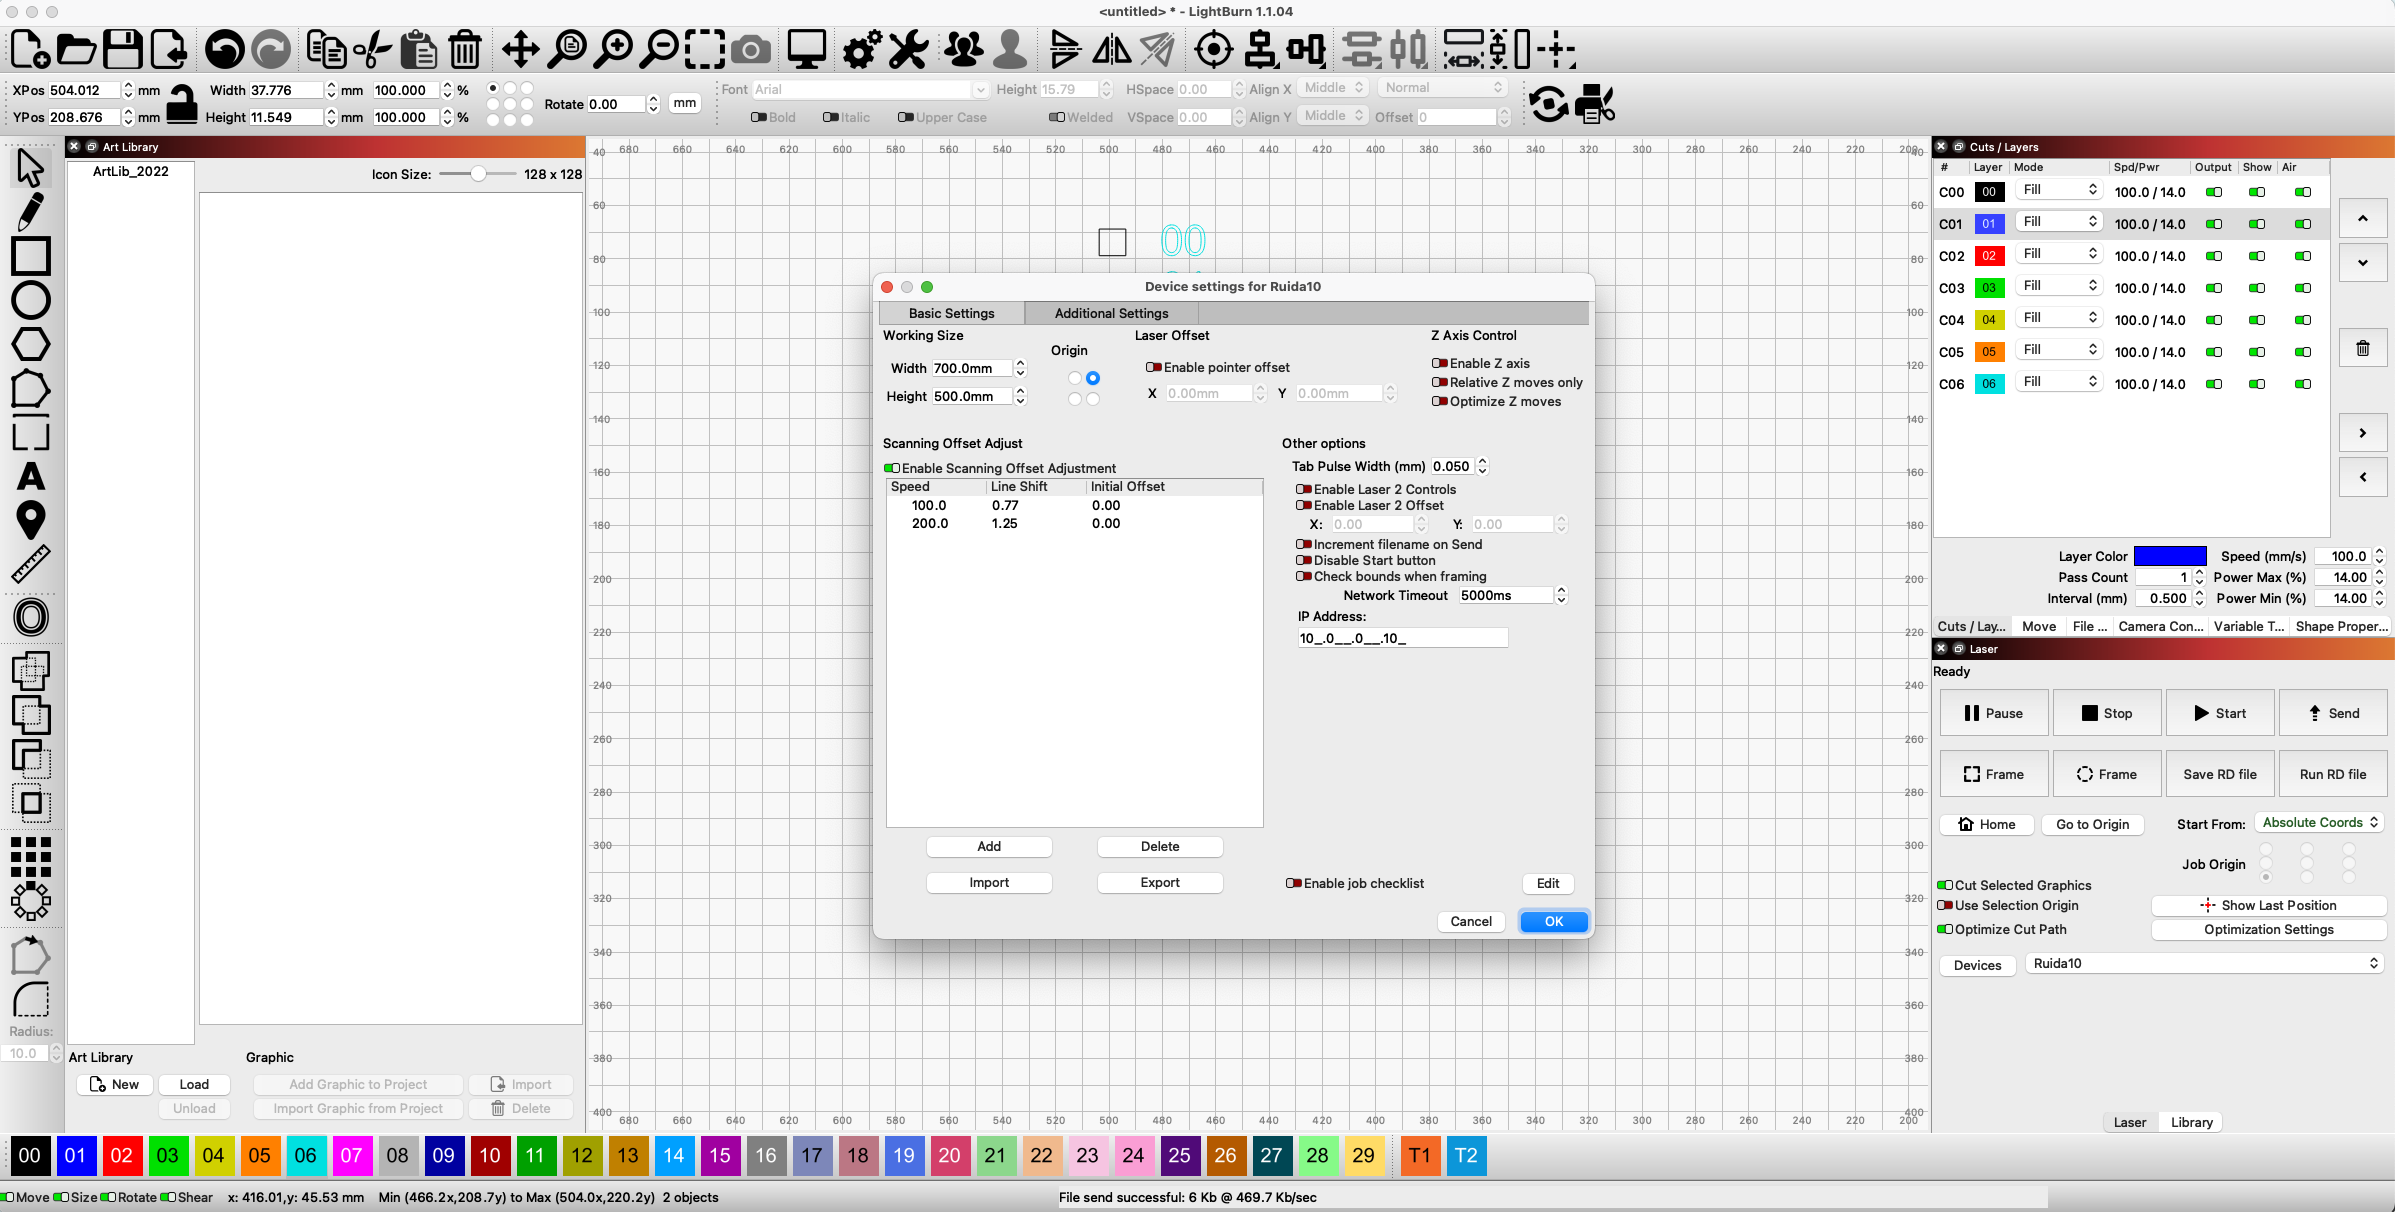
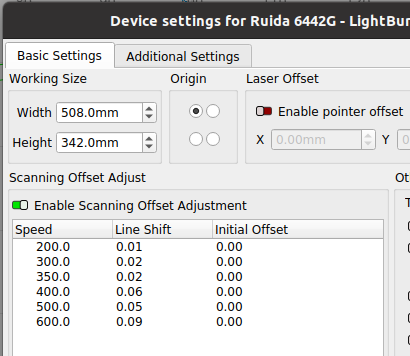
6/8/22 UPDATE: Spent around 4 hours troubleshooting issue. In the end, I tried USB, Ethernet, Multiple revs of LB from 9.xx to 1.1.xx, Resetting Ruida, Resetting Network, power cycling everything. My issue ended up being solved by changing the color from the default black to Red. For some reason, black was not sending or the machine was not recognizing the scan offset adjustments set in LB.
T1 and T2 are the only layers that shouldn’t send to the machine.
I’m curious to know if you can repeat the behaviour in black and if you’d like to share your lbrn (or lbrn2) file. I’m suspicious of the Cuts / Layers settings but I’d like to know.
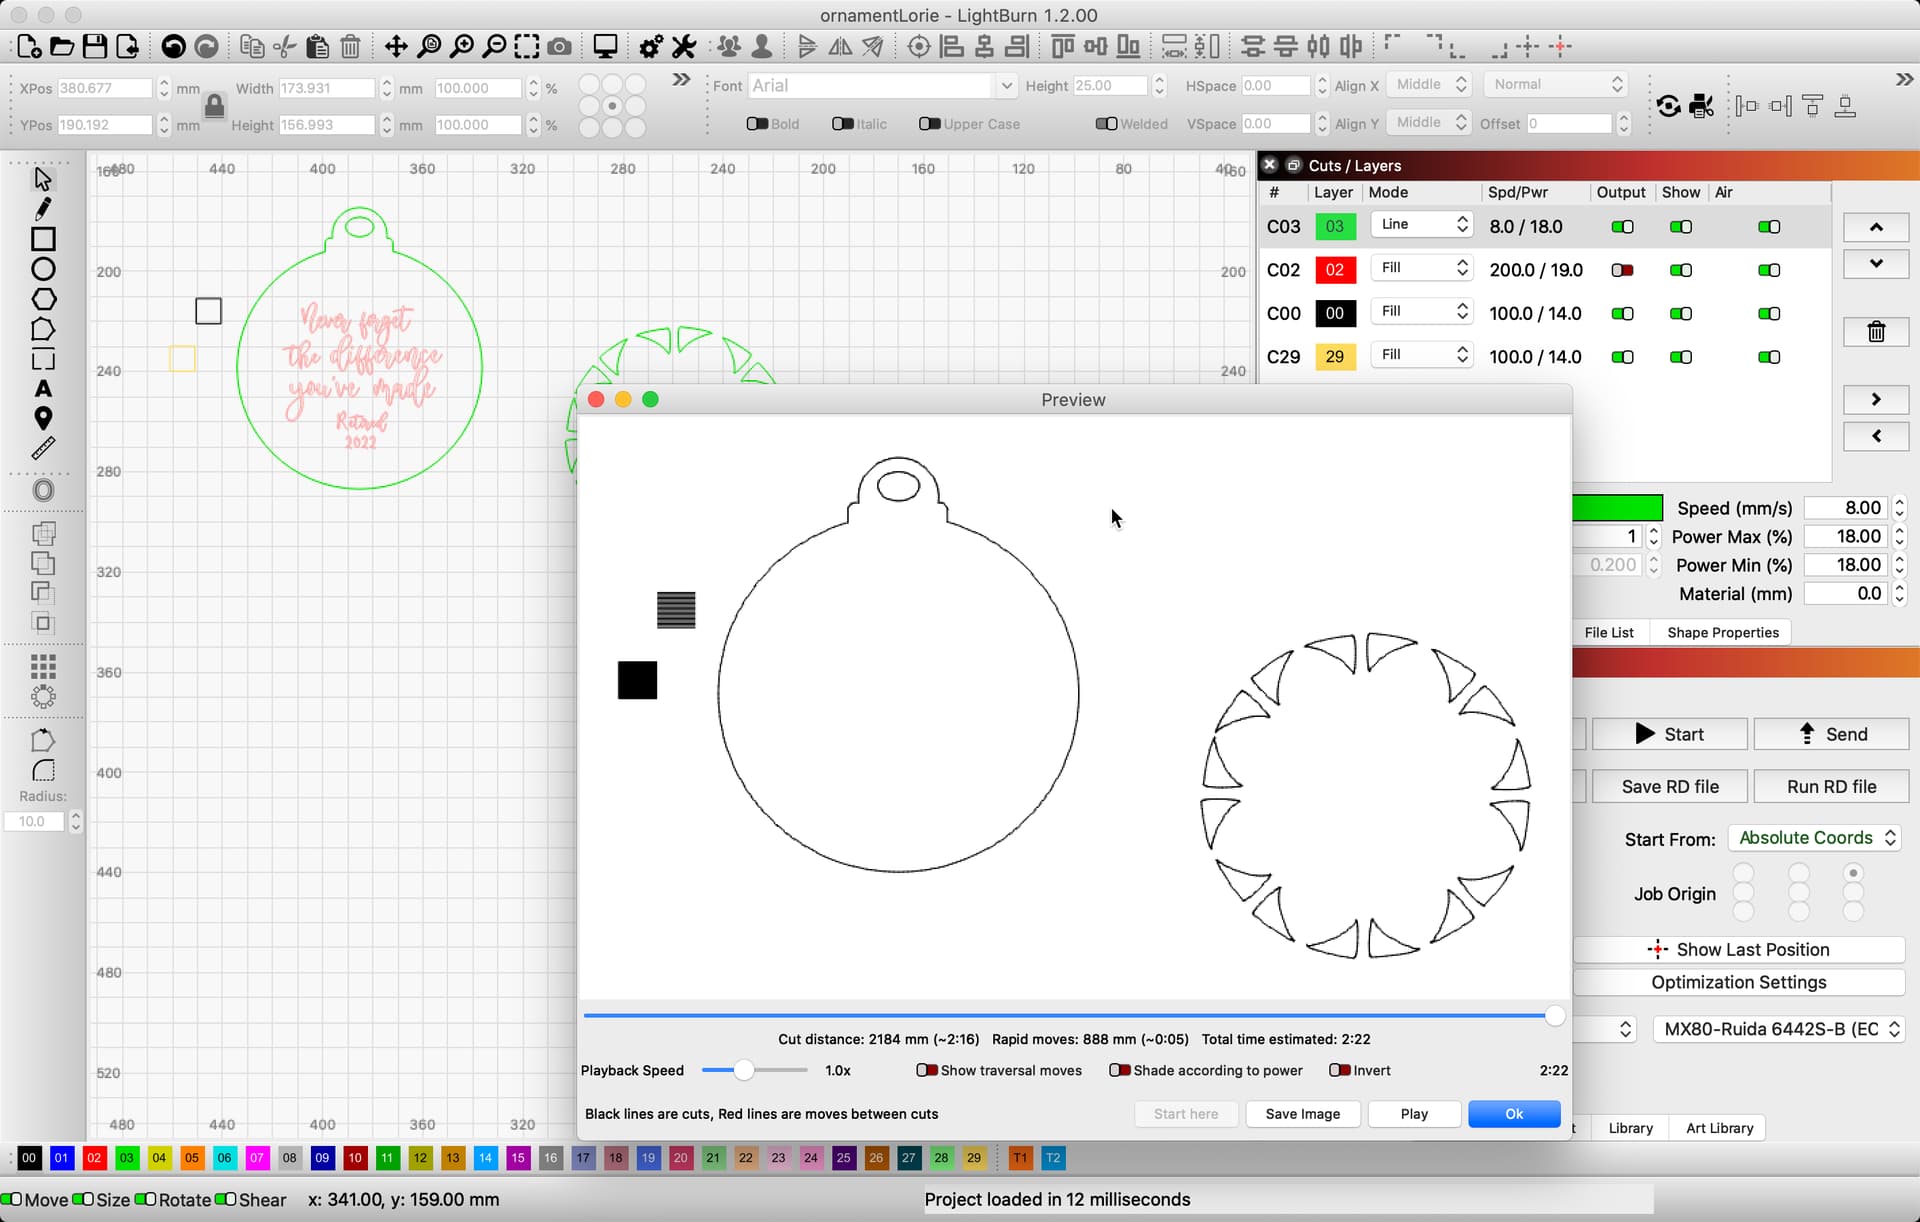
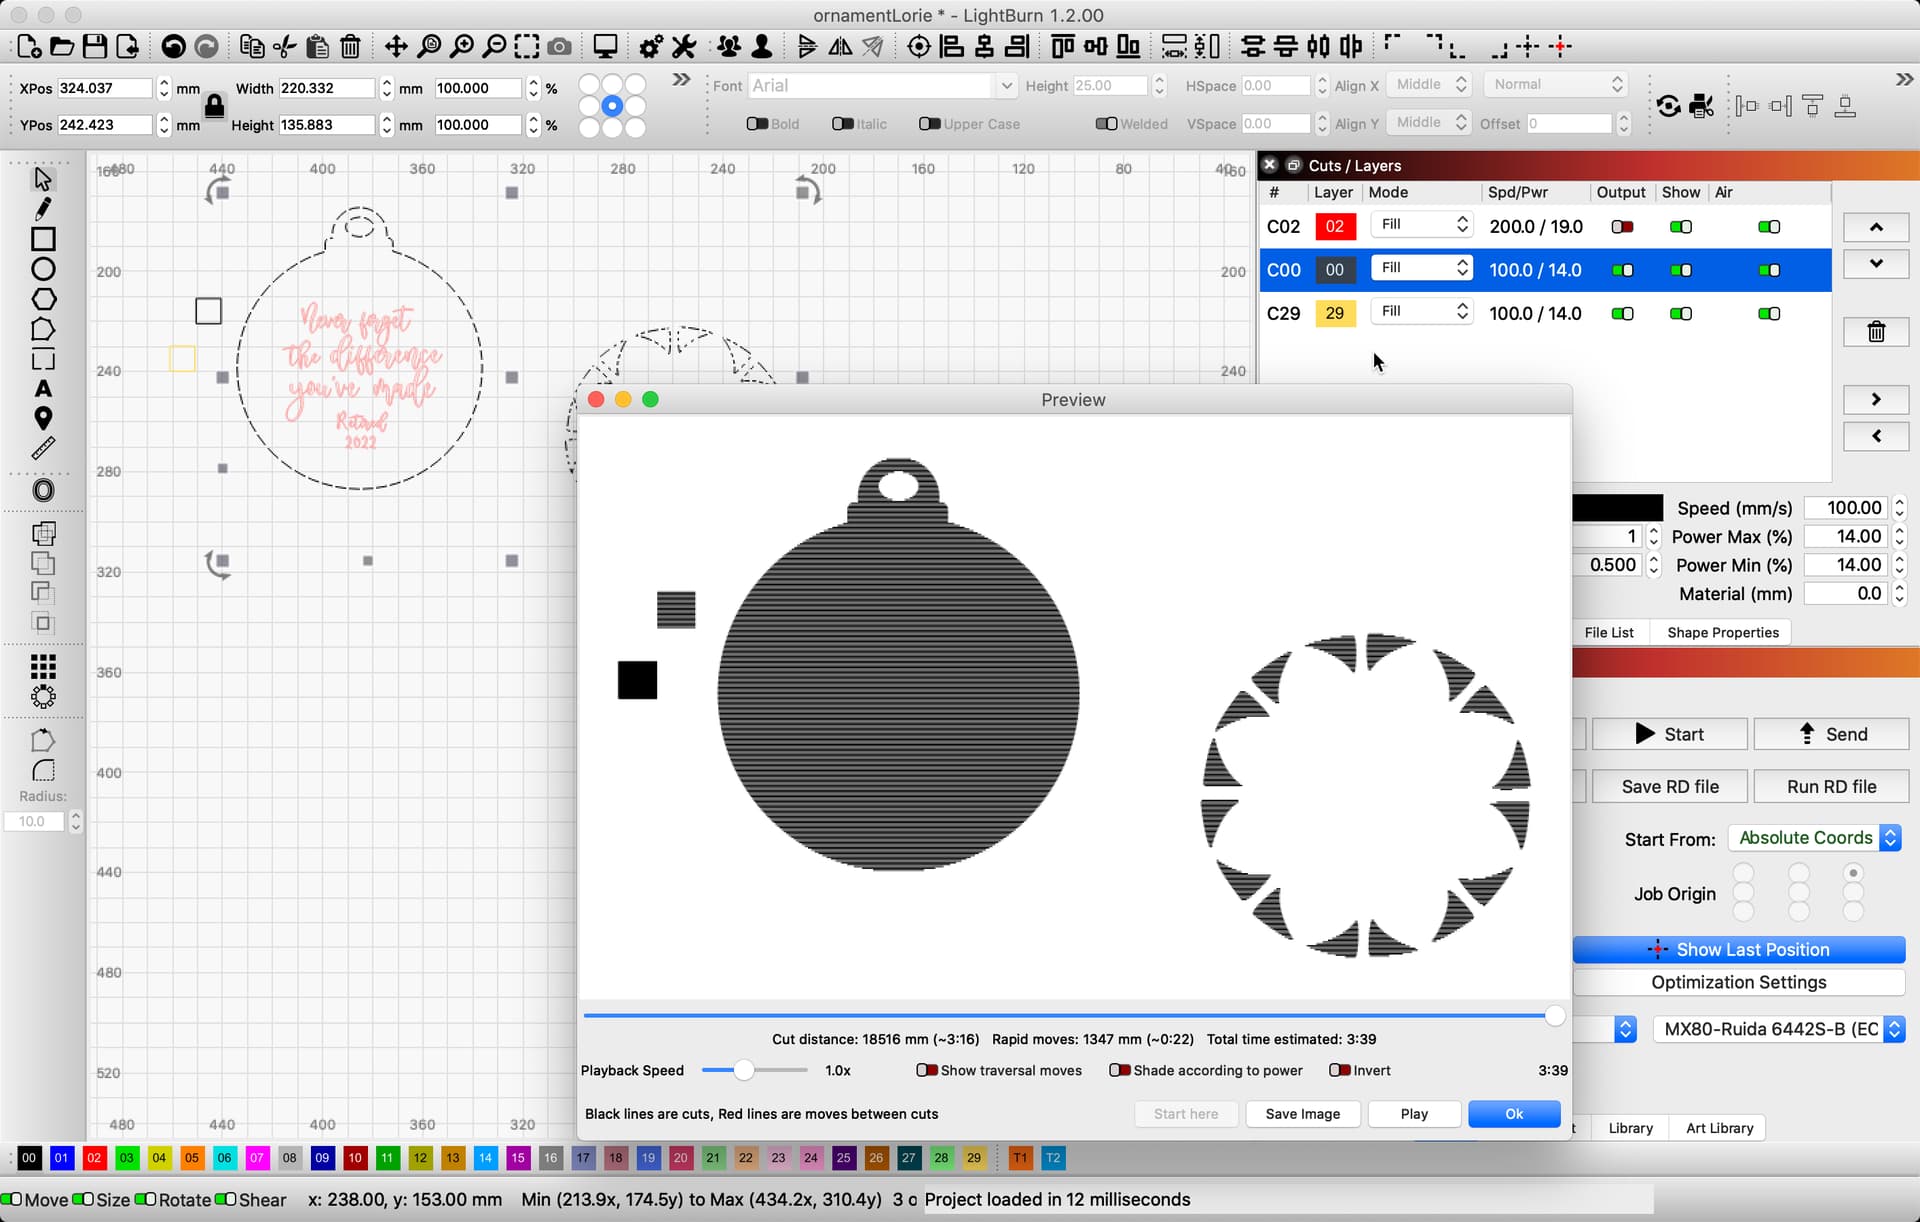
Im aware of T1 and T2 functionality. As mentioned, this issue is observed over Black 00 and Blue 01 colors. The only change to my set up was updating to a Studio Mac from a Mac mini M1. This issue is very strange. Attaching project. ornamentLorie.lbrn (289.5 KB)
Looking at this file, I find things produce as expected. I also changed your green layer shapes to the black layer to test this output. Same result, produces as expected.
I created a new project. You can see after running project the offset is bypassed within the material. This time all the colors did not fill in job correctly. When I load my old working project. Colors after 02 work as expected.
Maybe a dumb question for the Original Poster, but did you check the output selector next to the “problem” layer is set to green not red, indicating it will be cut or engraved by the laser? I’m building a new file right now and I noticed lightburn likes to assign roles to the black and red layer…my blue layer was automatically set to output off (red position). So I had to change it. Good luck.
I just noticed, my black text layer did not cut in line mode, but it does engrave fill text if I switch the layer mode. Perhaps black is meant for engraving fill only and blue is meant for lines? The laser head moved along the black path in line mode but nothing happens. Not sure if this is the first time I’ve noticed this. Am I experiencing an error or can someone corroborate this?
Any layer (aside from T1 and T2) can be made to do anything and there is no functional difference between the layers aside from the settings. You can fully interchange the layers and settings and add the sublayers regardless of the name, color or initial settings.
If there are some residual settings from your last piece you may have this experience but I encourage you to explore the Cuts / Layers menu (by double-clicking on a given layer) and having a look to see what’s different between the layers that might be causing the different behaviour.