So to start again. I turned off the laser and closed lightburn.
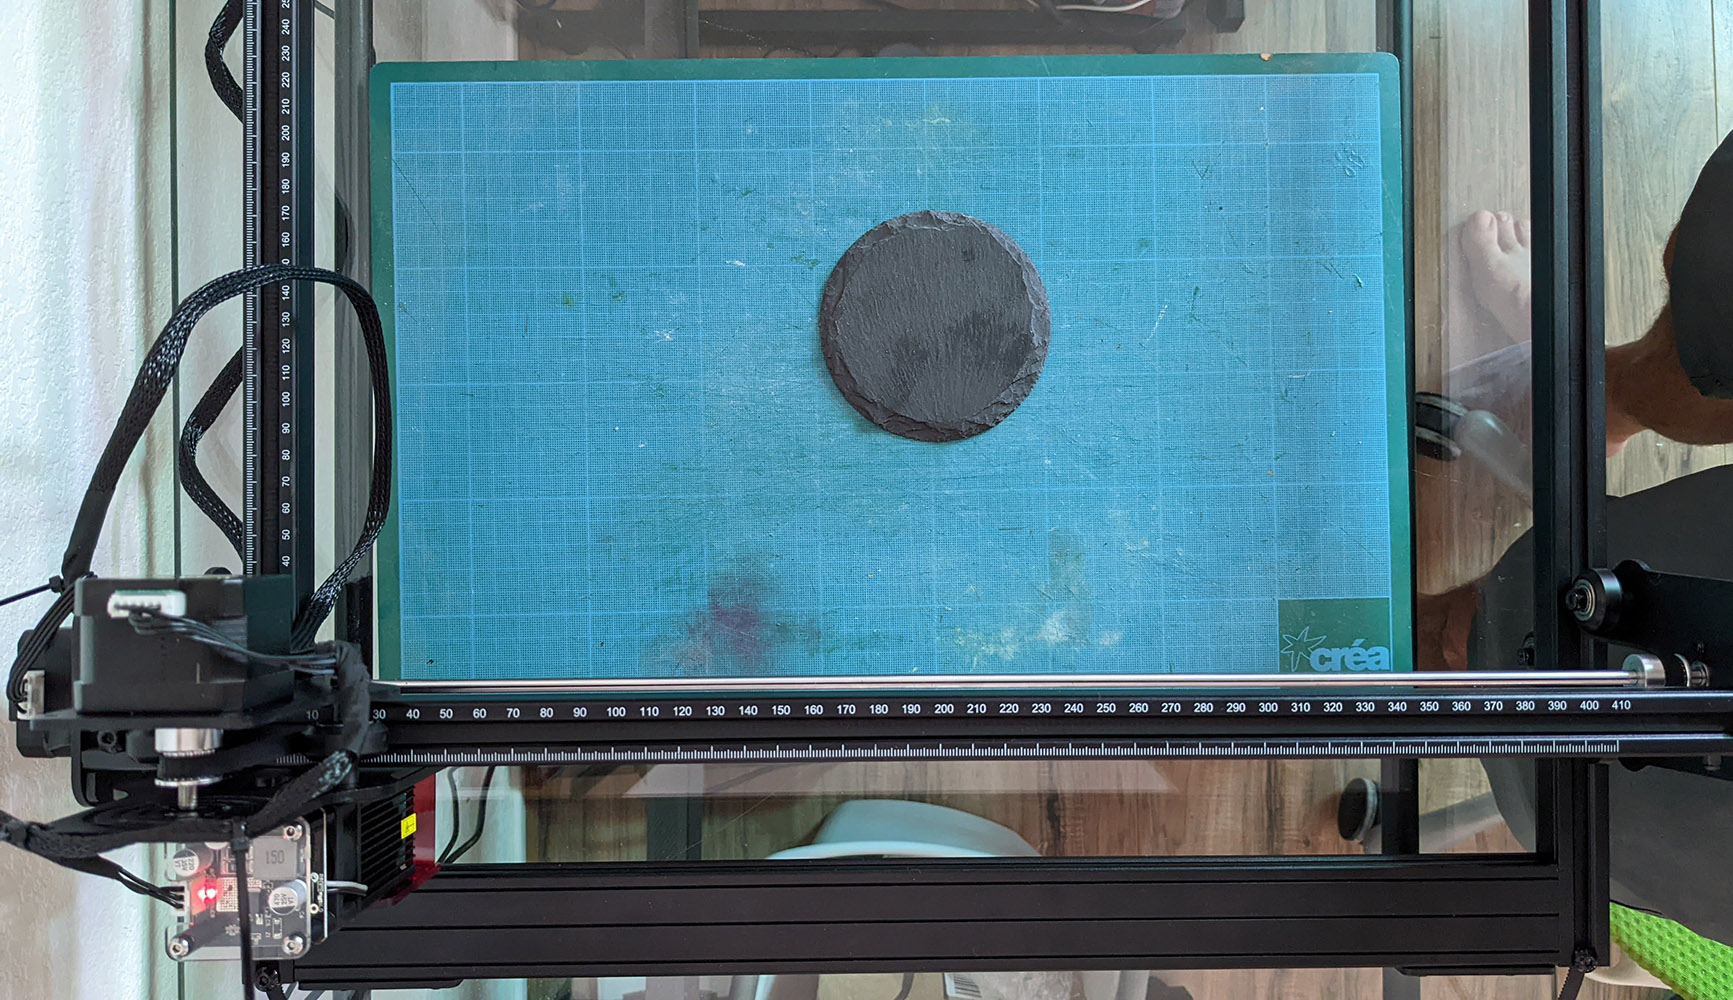
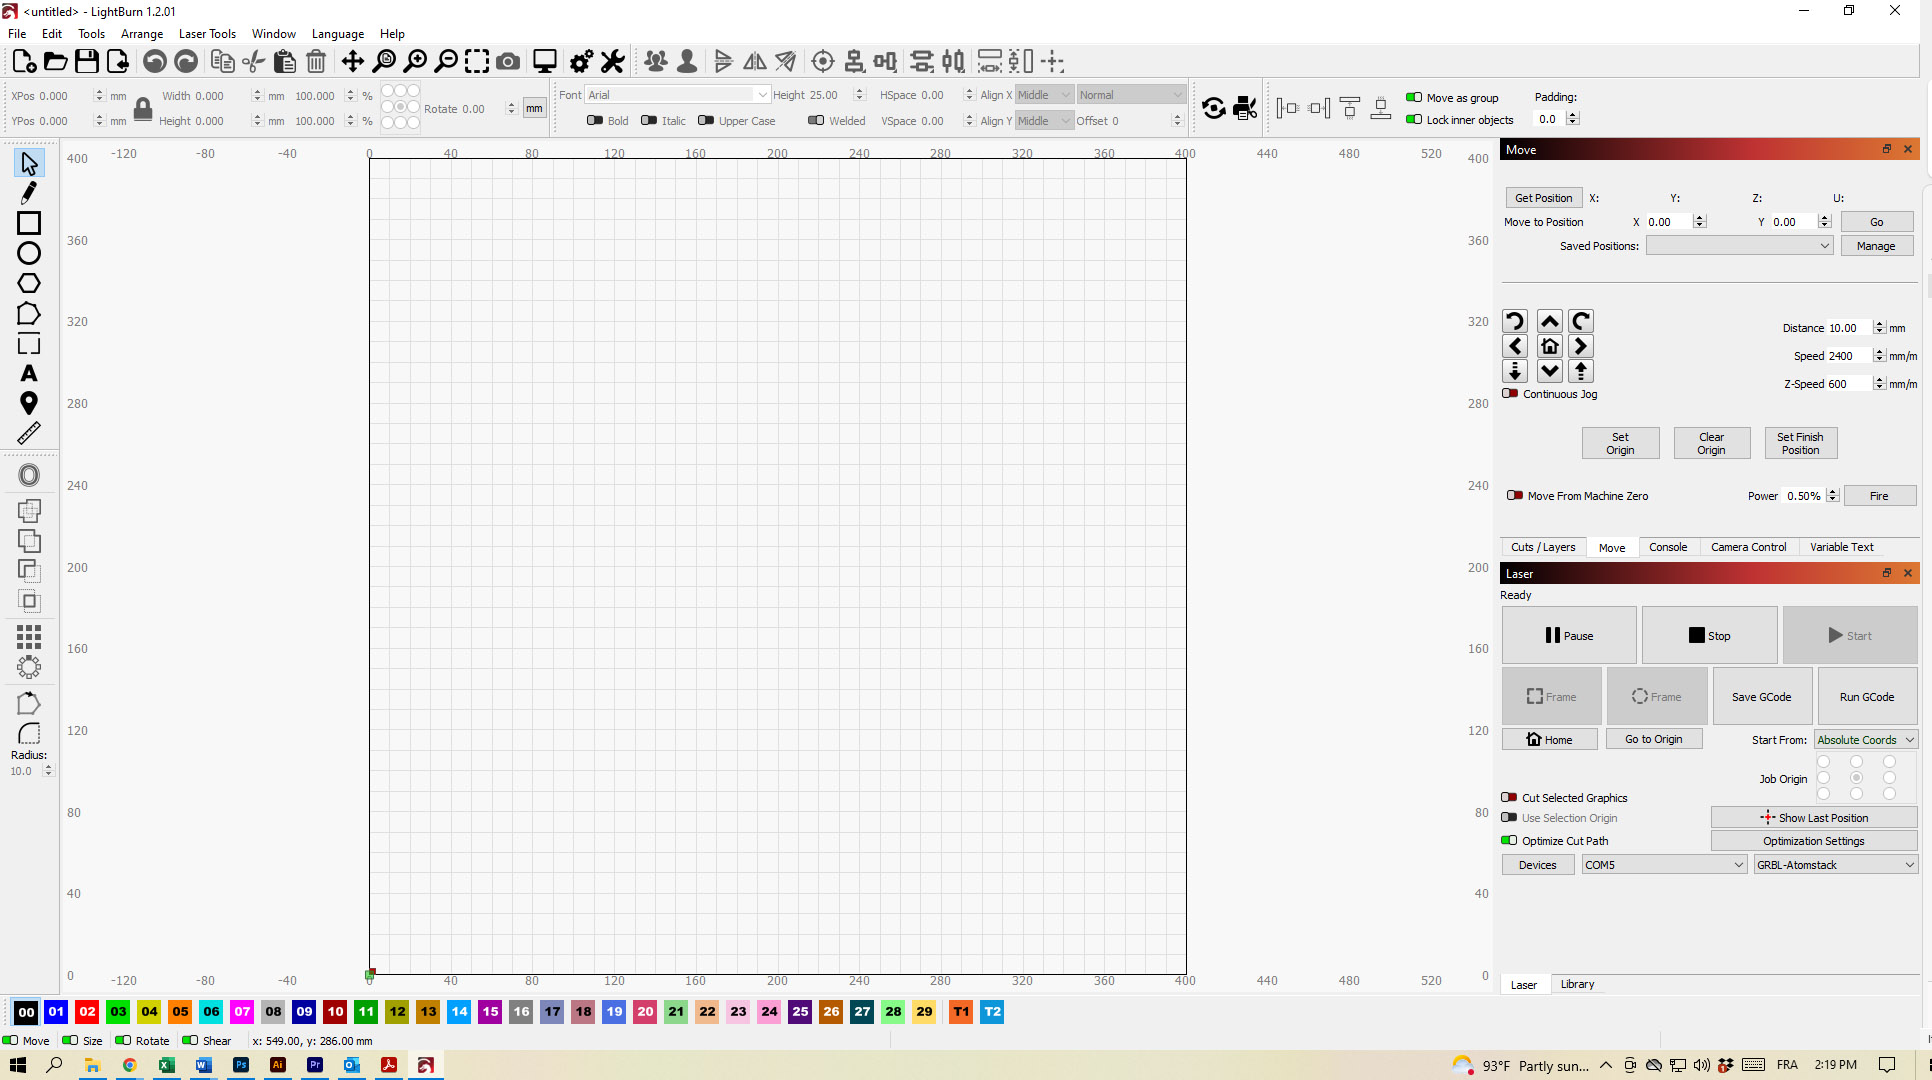
Then, I placed the laser head at the bottom left corner, opened LightBurn, and turned on the laser.
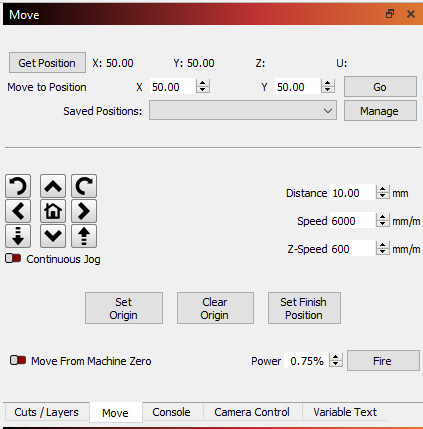
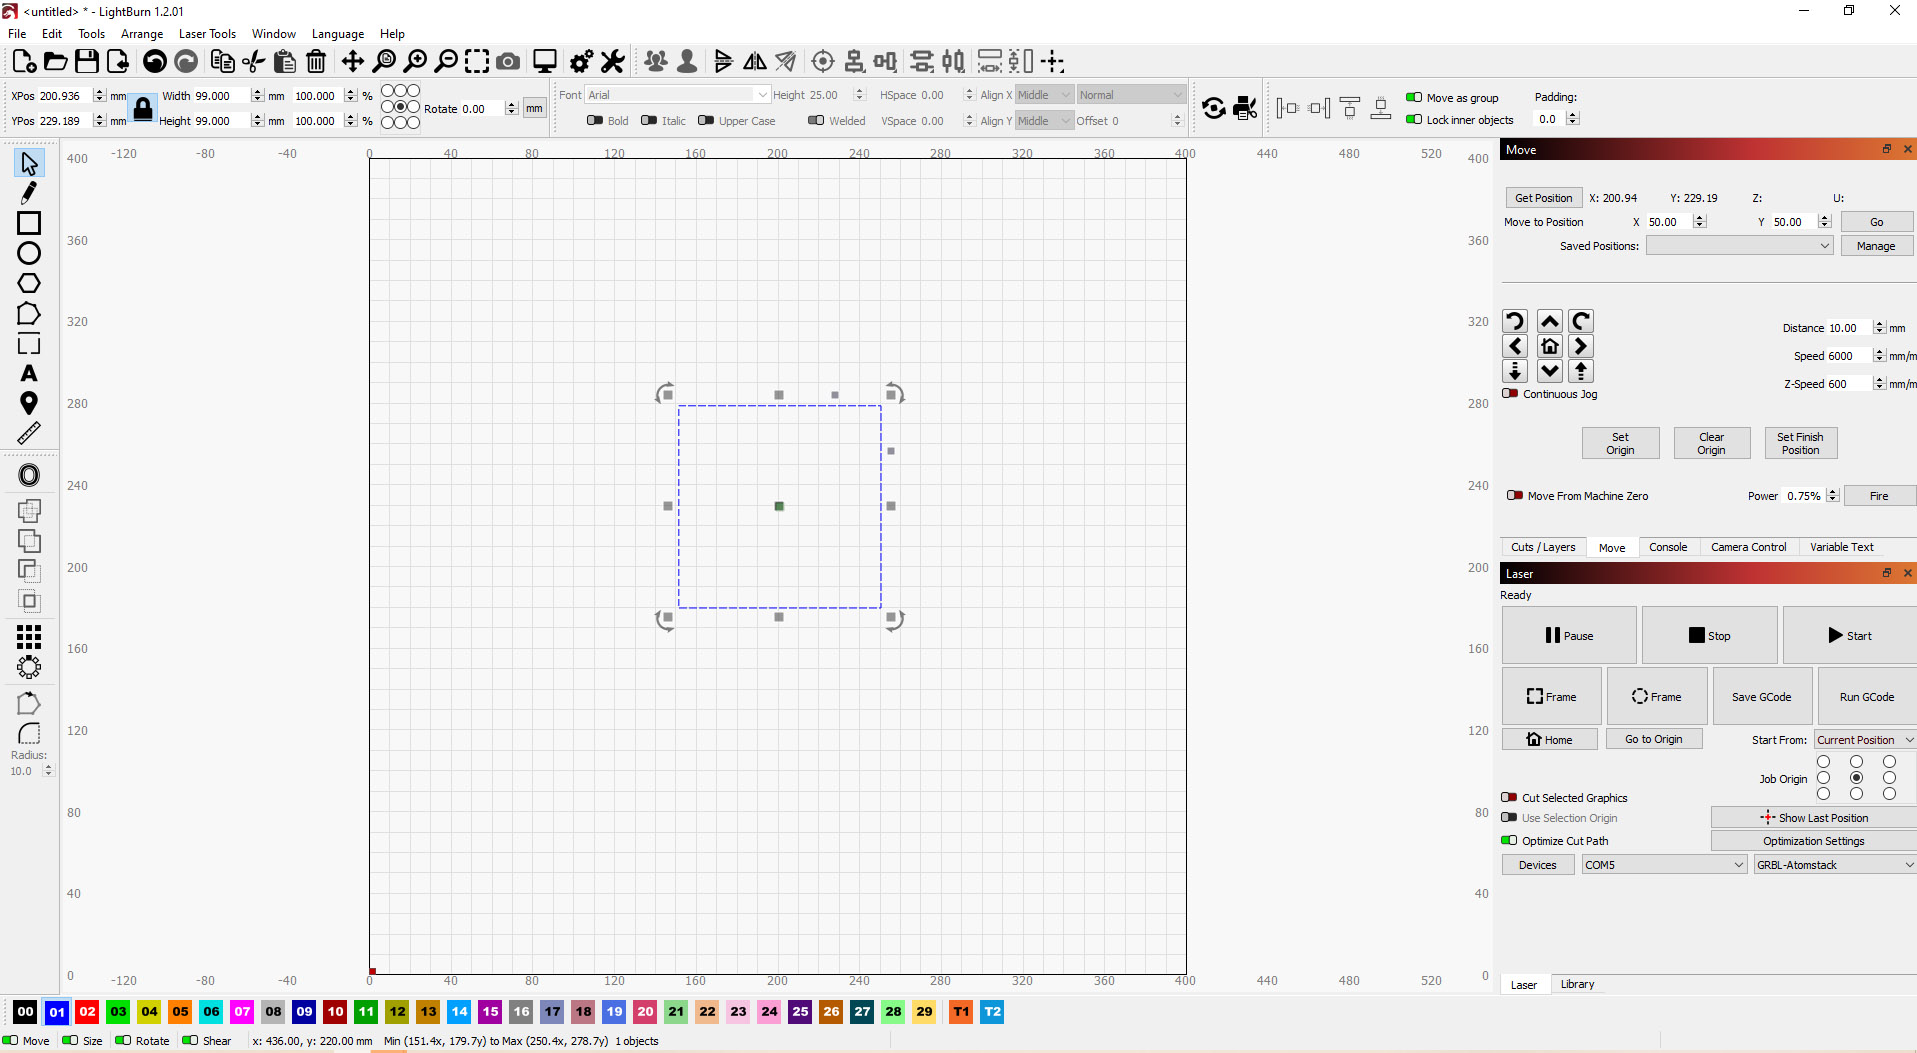
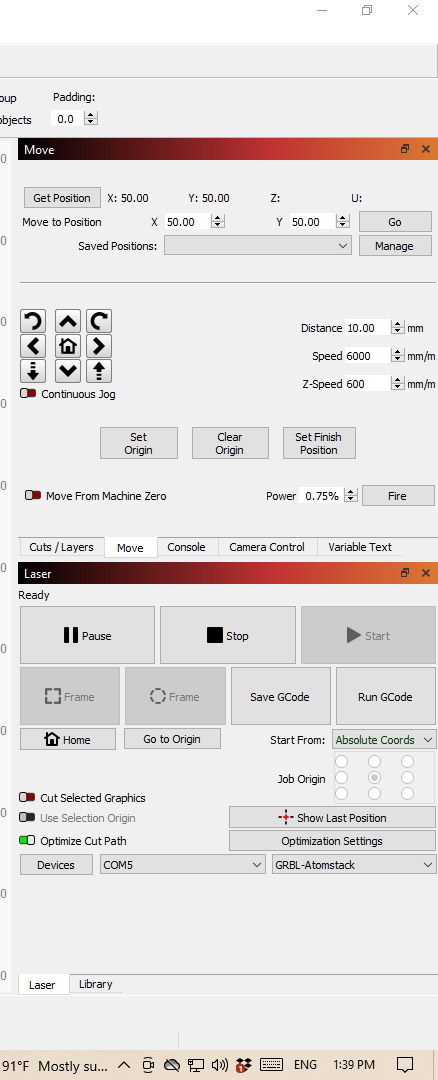
Here is my screen:
So, I just did what you said: “Switch “Start from” mode to Absolute coords in Laser window.”
Then I enter X50-Y50 as shown on the screenshot below.
Then the result was noise in the motor, the laser trying maybe to go in the opposite direction and not a single movement.
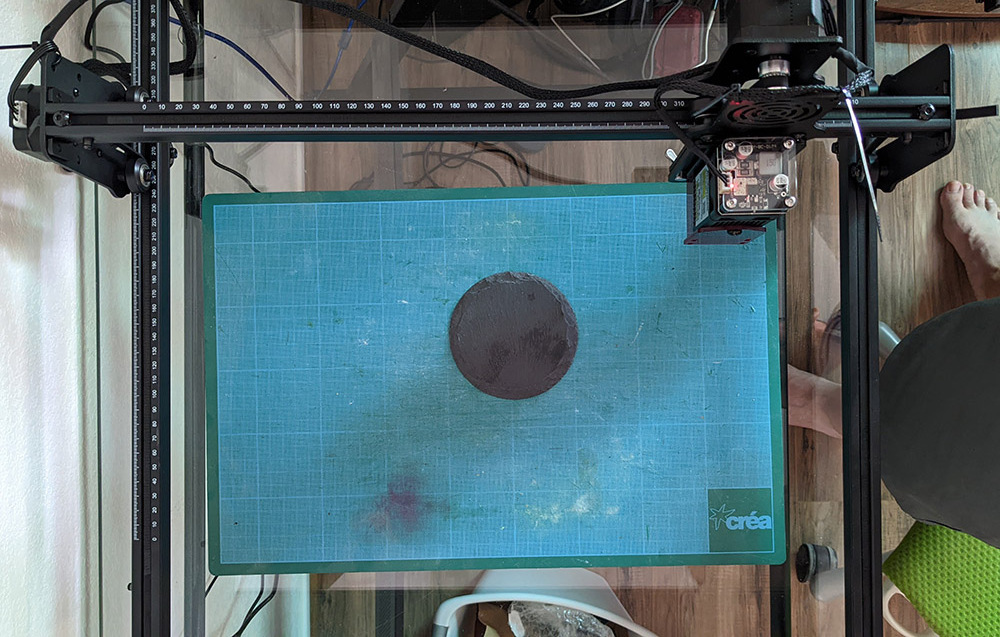
So if I place before to start the laser at the bottom left and then use the jog controls to move up and move right, etc. it works.
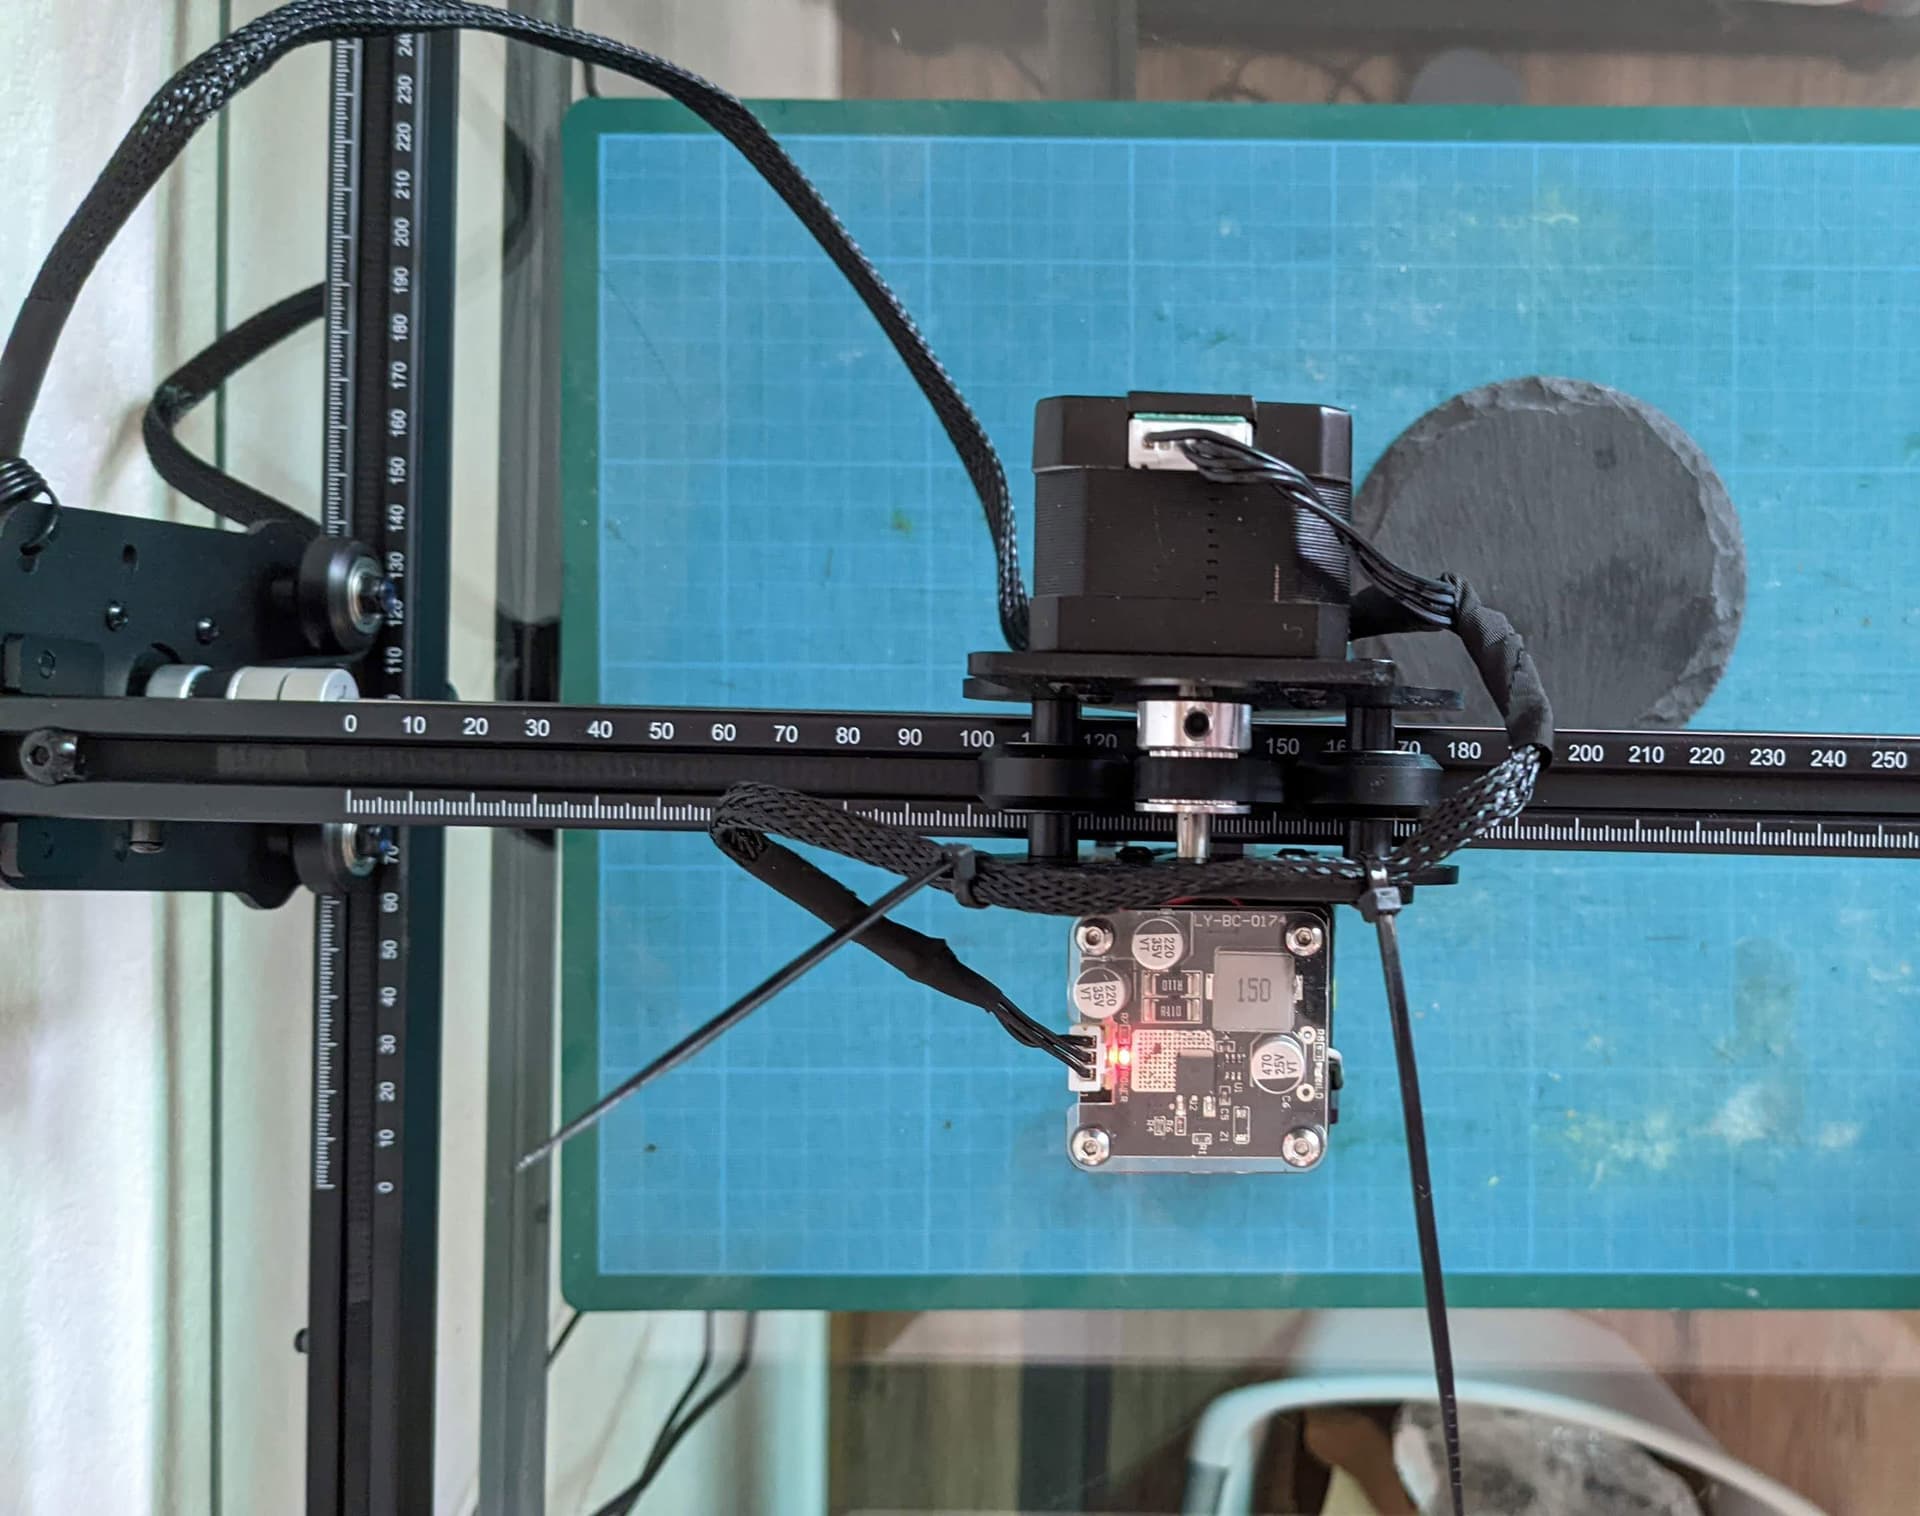
However, if I do that few times and go for example to X:100 and Y:100, if I measure the position of the laser, it is not at X:100mmY:100mmm from its origin but around 60-70mmm
Why is that? I don’t understand… Any idea?
2 screenshots, 1- when it is in the bottom left corner and 2- when it is suppose to be at 100-100
Just an FYI. The A5 PRO does NOT have limit switches. The laser head should be manually moved to the lower left corner (with the ATOMSTACK text on the frame on the far edge away from you) before ANY operations to insure it is properly ‘homed’. There are no sensor or switches for the machine to know where the laser is actually positioned, other than by manually ‘homing’ it on startup.
1. One has to not only correctly set the origin (0,0) in:
Devices → Edit → GRBL → Serial/USB → [machine name and X/Y dimensions] → Front Left
(and don’t forget to disable “Auto home your laser on startup”)
but also in the menu:
Edit → Device Settings → Origin (click the radio button on the bottom left)
2. To completely prevent the laser from crashing into the frame and the stepper motors to badly rattle, it’s not enough to prevent just auto homing at startup. You also need to tell Lightburn explicitly that the machine has no limit switches. For that, go to menu:
Edit → Machine Settings
and from there set:
Soft limits: true
Hard limits: false
Homing cycle: false
and click Write to write these values into the Atomstack firmware.
This way when you unintentionally click on the Home button in the UI, your laser won’t crash anymore into the frame.
3. You also need to set Start from: Absolute coords in the main window, as already explained above.
That’s the three basic things I discovered at first while tinkering with my brand new Atomstack A5 Pro+ a few days ago to make it work (I’ve only cut circles in corrugated cardboard for now^^)
just to note: the A5 pro should NOT need to be manually set-up other than the few steps mentioned in the Atomstack manual and (important!!) updating the S-Max value in device settings from 255 to 1000 (which is NOT mentioned.)
If Lightburn is not auto-detecting your machine, something more fundamental is wrong and you may need to contact customer support.
I confirm that my A5 Pro+ is not automatically detected by Lightburn using the button “Find My Laser”, but works using “Create Manually”. This is weird I concur. I have a MacBook Air M1 with macOS Monterey 12.5, and I connect the Atomstack to the Mac using the USB-A to USB-B cable provided in the box and an Apple USB-C to USB adapter.
I will try again a direct connection without adapter when I buy a USB-B to USB-C cable. But it seems that such cables only exist unshielded, with no ferrite. Another oddity.
EDIT: It seems there is really an issue with this machine and current macOS, see the various posts on the same subject:
I give only three, there are others.
Atomstack says this machine is compatible with macOS when using Lightburn. It’s in the web site and the manual that comes with the machine.
All solutions provided in the Lightburn forum consist of asking to configure the machine manually.
hmm, seems strange Mac’s would have a problem … that would be question for the Lightburn staff I would think. I used the supplied usb cable with Windows … found it no problem. I don’t actually regurlarly use my laser with LightBurn … once I got things set-up and validated, I switched to saving GCode and doing a “Load and Send” with LaserGRBL. However, you would only want to do this if you have good reason (I have a good reason :D)
Should you want to contact Atomstack support, I use the email: support@atomstack.net. Their “24/7” support seems more like “1/when you’re lucky” to me, so if you want to contact them, I’d do so ASAP. Their first response will be: “Please send a video that demonstrates the issue”, so you might as well make a video and include it on first contact (They’ll probably ask for it anyway … )
From what I’ve seen whether or not a laser is auto-detected vs manually configured seems to have any bearing on how well the machine works from that point forward. In fact, Marlin based lasers are never detected and must be manually configured.
Not sure why but this does seem to occur very frequently on Mac but from what I remember this isn’t unheard of on Windows either.
I wouldn’t be overly concerned with it unless you were experiencing other issues. This in isolation hasn’t seemed to indicate a greater problem for others although it can’t be ruled out entirely of course.