Square Cut Adjustment

I am sure this topic has been opined on many times…..

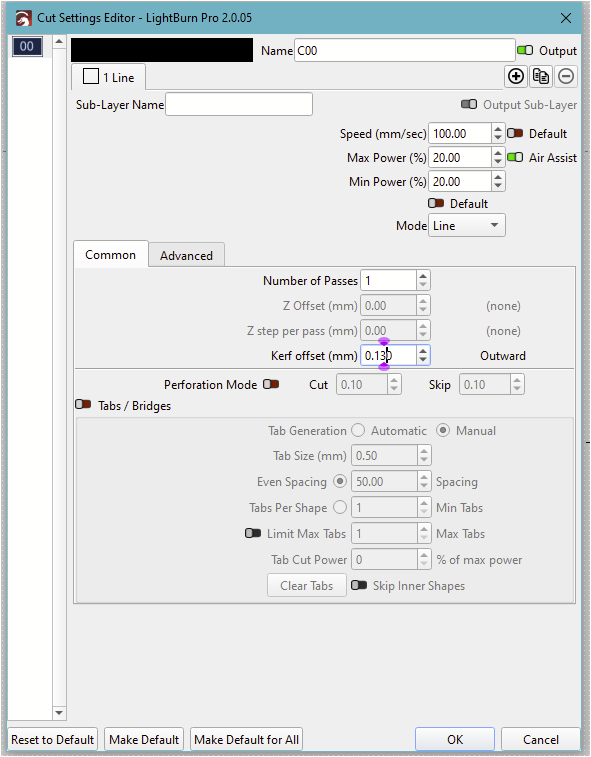
so after 1 year of cutting I decided to take a look at a ‘square 25mm x 25mm ‘ !

as expected it was not really square (see pics)

Now I realize this is pretty dang good, but the engineer in me, is bugging me to ask the obvious question !

“How do I get it perfect ! “

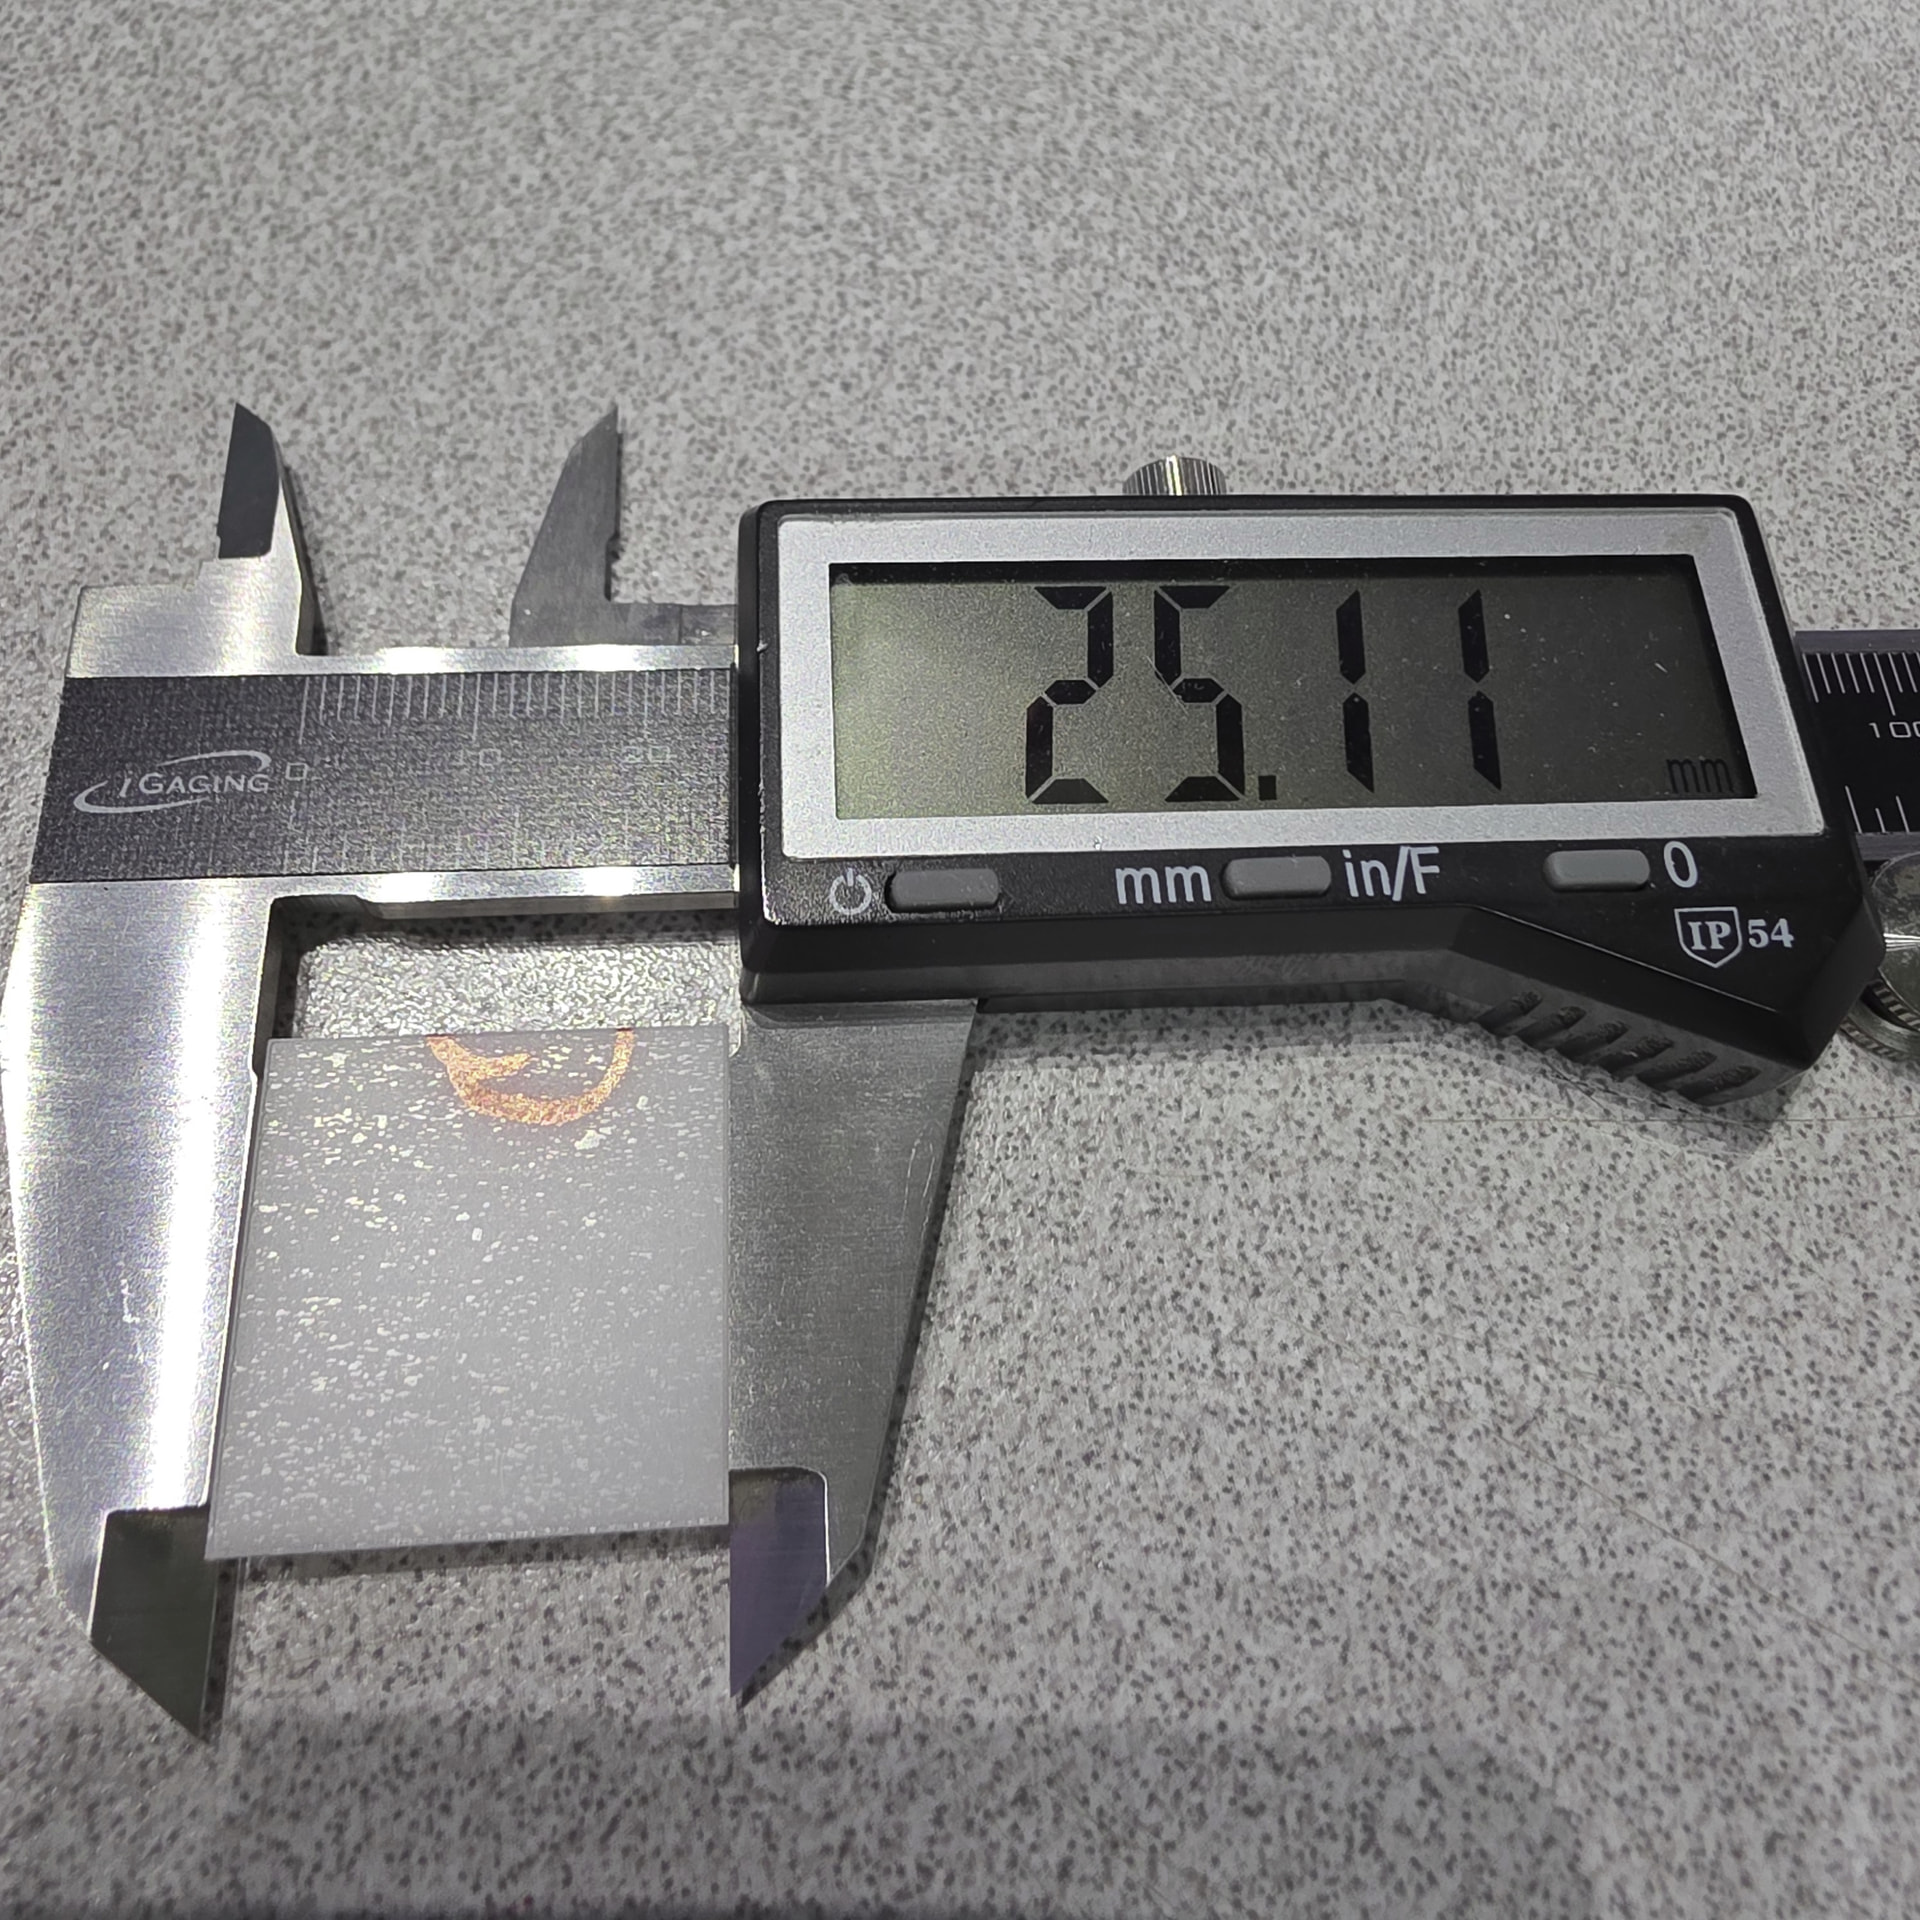
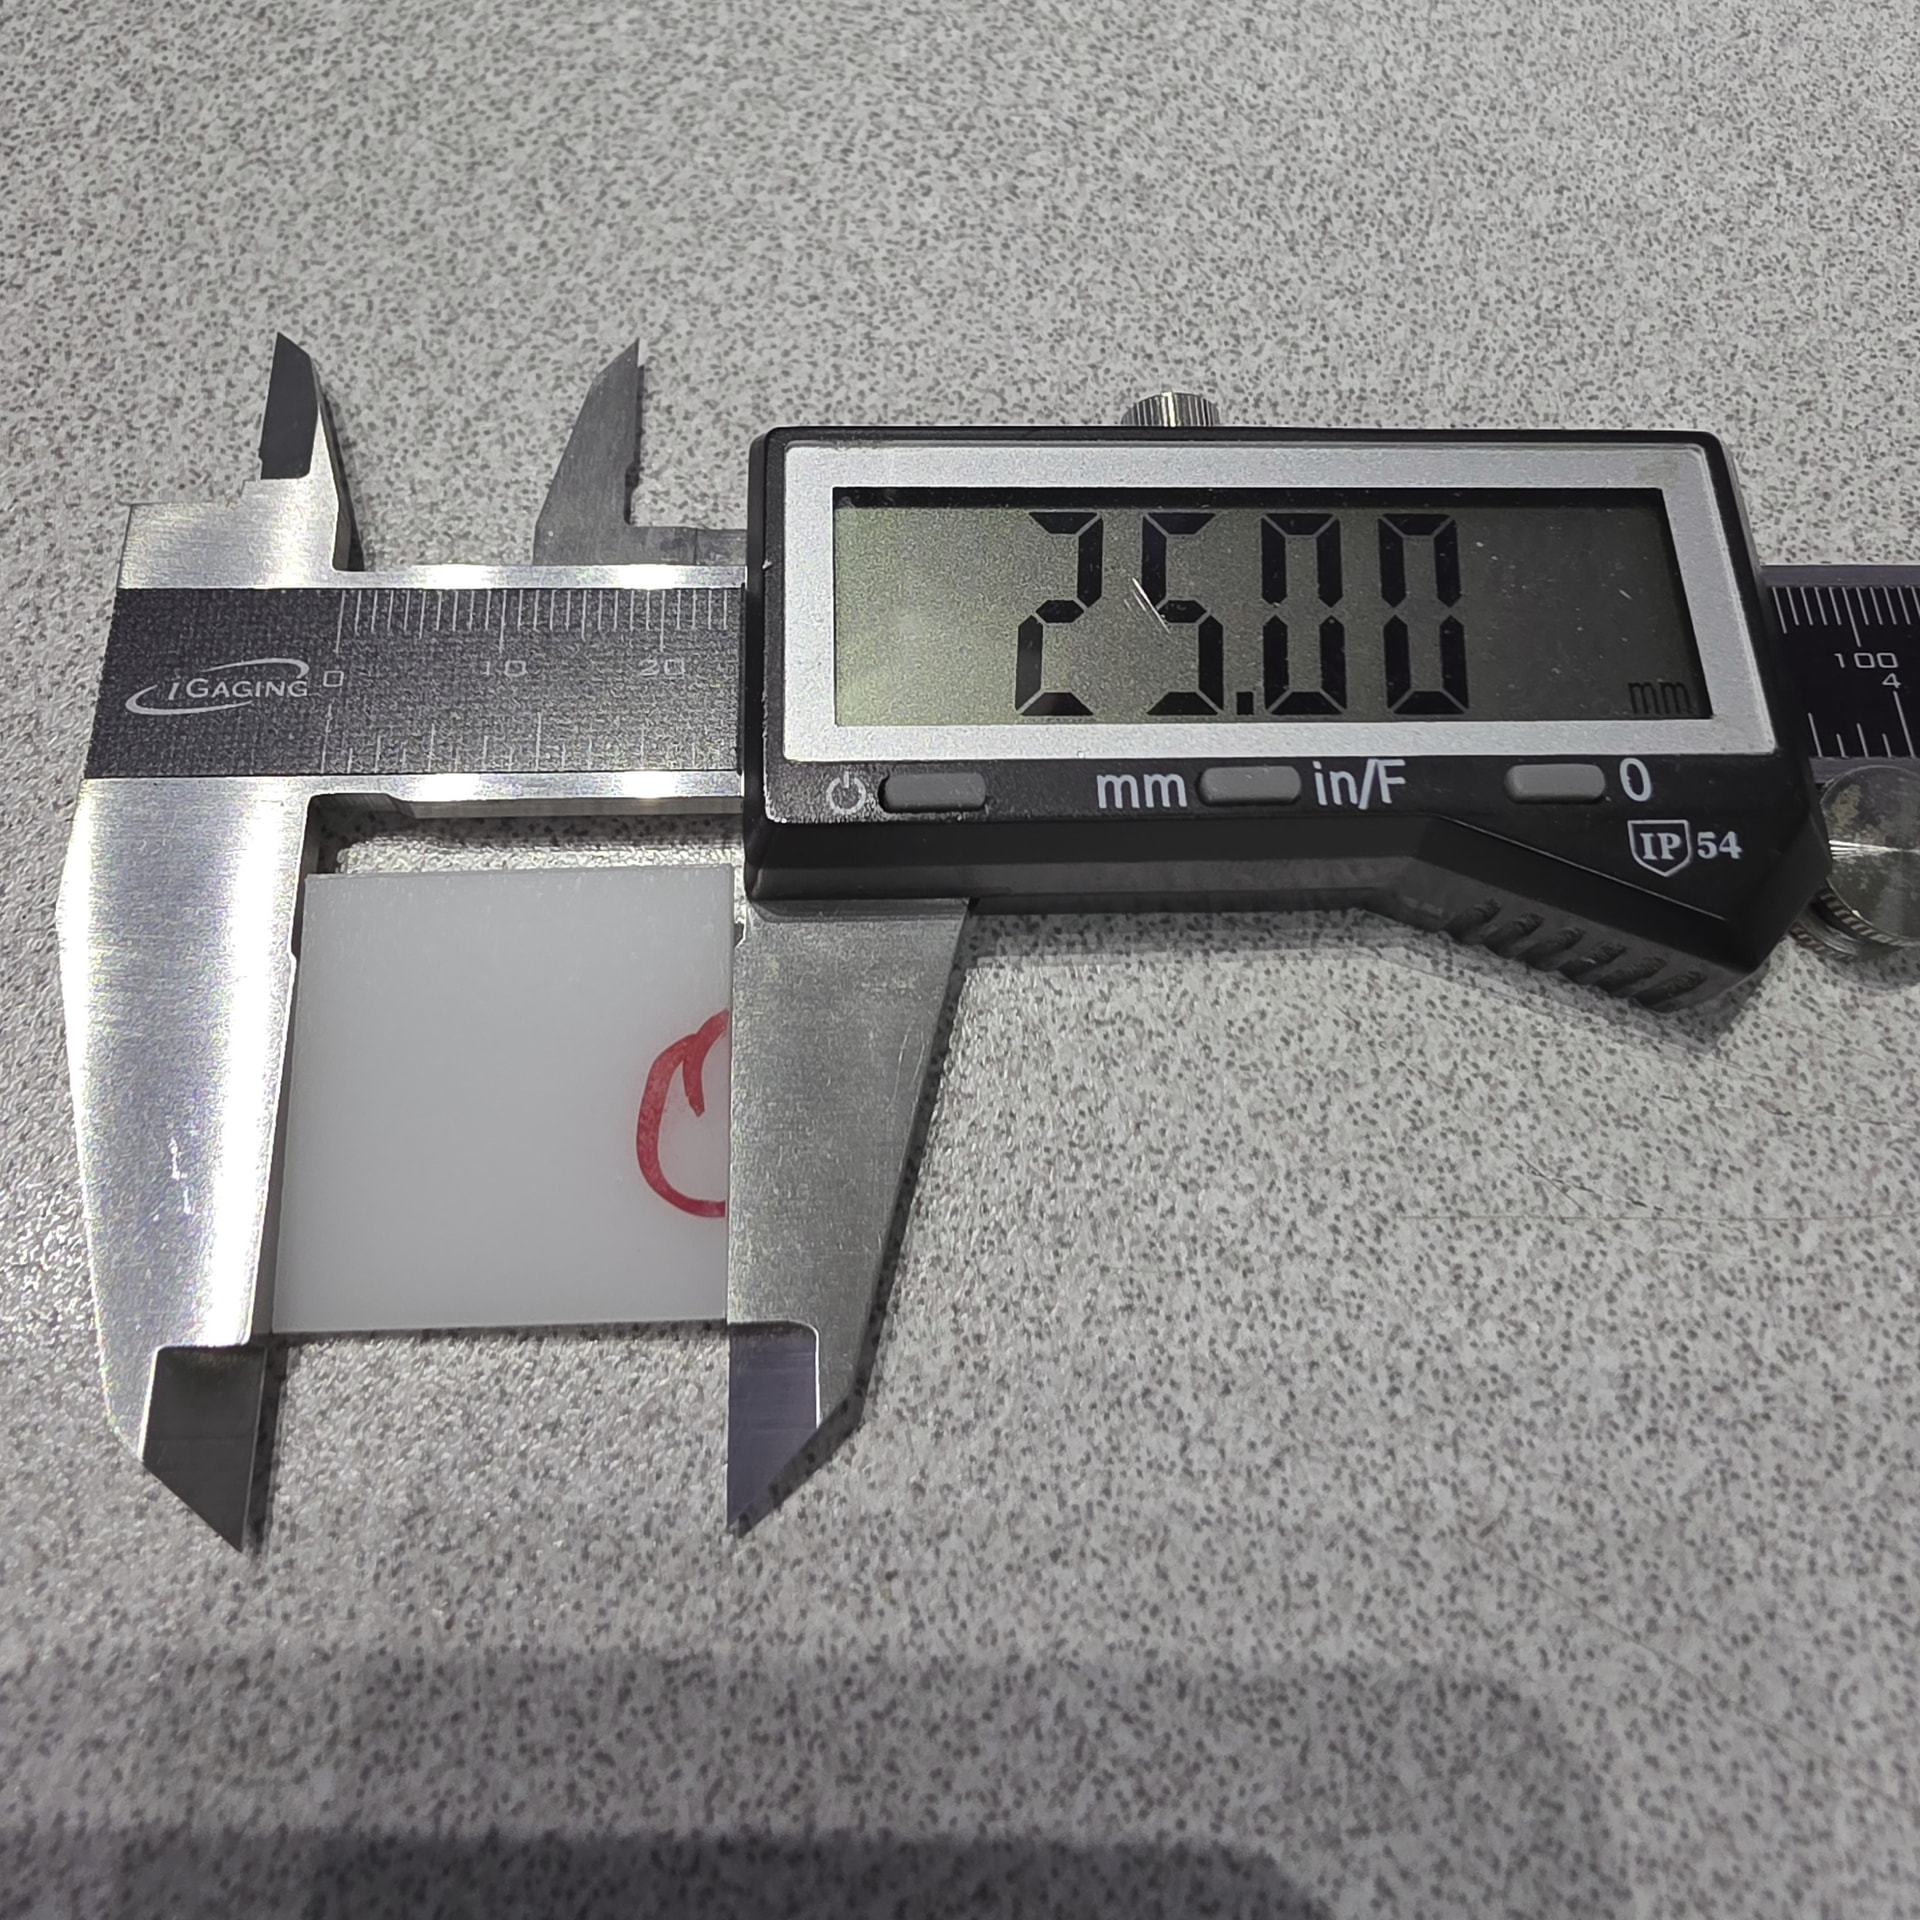
I’ve adjusted the cut kerf to get one side to 25.00 as you can see, this was the x axis, so the y axis
seems to be off a bit 0.11, and could be adjusted.
FYI ( I have cut 5 squares to ck for repeatability and yes it is repeatable ) same delta..

I would concede that I am ‘really’ being picky and and should just move on with a big smile…. BUT !

I would like to know, from all the experienced folks here, if there is a preferred method to adjust the 0.11 out of the cut on the y-axis. ( as kerf is for all cuts, as in LB I could not find an X kerf / Y kerf setting….

Also: I checked to see if the 0.11 was additive over size, so I cut a 100mm x 100mm square.
the x-axis was still good , but the y-axis ‘was’ additive it showed 0.33 which would be correct for 4 squares next to each other… so Over length we have a build up that looks like it should be a candidate to ‘adjust out’ this error.
Maybe Stepper motor adjustment ?

I have not looked around yet at the Machine or Device setting to see if there is an offset/adjustment that can be made….. ( as I mentioned, I know you folks have done this already, and I don’t like to re-invent the wheel :slight_smile: )

so, I am beyond moving on with this with a smile, and would like to understand if this is do-able….

Then I can smile again :slight_smile:

Chuck

If it is not a mechanical or optical problem I will change the settings for steps on the relevant axis, it is (on Ruida machines) relatively easy and quick to fix.
And of course it has to be perfect! :wink::+1:

:slight_smile: was looking at the Y step, but wanted to drop in here first….

This is the way. Just be sure that you measure to the center line of an engraved line rather than a cutout piece. The kerf has width and you must measure to the center. If you measure to the edge, the calibration will only be perfect at that dimension.

Yea I did the center line and got the kerf out of the equation for these cuts…

now it is just the sizing, I believe

EDIT:
Yup…. did not earlier see the calibrate axis, was very handy…..did the Y change in steps

cut / measure .. Perfect….

but that was with the Kerf offset made

so I’m thinking I should set this back to 0 and do the calibate for both X and Y axis again

to tweek it in for the kerf ??

EDIT 2:

ok set Kerf to 0 recalibrated thed X and Y steps… remeasured 100 x 100mm square 99.996 x 99.998

so I guess I can live with this ! :slight_smile:
again thanks to all (TIM) as usual the folks here come up with all the right answers…

Chuck

As @thelmuth points out, measure lines marked on the surface, not cuts. Adjusting the kerf without accurate step sizes for both axes will only confuse the issue.

Measuring a cut square as you show also has issues. If the cut is not a clean perpendicular edge, you’re also measuring:

  • Cut angle w.r.t. the top / bottom surfaces
  • Edge irregularities
  • Beam irregularities
  • Axis angular misalignment
  • Crud melted off the mask film

Don’t adjust the kerf to make the answer come out right. You must measure the kerf in that material, then set the offset accordingly:

Also, verify the head’s angular alignment to ensure it’s not cutting a diagonal on the Y-axis faces.

(I gotta start thinking & typing faster …)

Got it…… I only showed the actual measurement for simplicity but did consider all the cut angles

Did a number of cuts and with the new settings, all is good !

now I can sleep at night :slight_smile:

1 Like

Now we all know! :grin:

Gotcha….did that last month as yearly maintenance…..

also had to replace a Lid hinge…..wow My son was using the laser, opened it and closed it….SNAP…

but the lid on this unit is big so…. just surprized, luckily on Aliexpress, ‘everyone’ sells these hinges….

Surely made from the second-finest pot metal ever poured from a crucible of mixed scrap!

My 700×500 lathe has three lid hinges, each sporting two-in-three fingers: the premium version with Number One fine pot metal. :grin:

You’re running that machine hard; keep up the good work!

2 Likes

yea my bed is 1320 x 900 so 3 small 50mm hinges,…. well nope…..
need a nice BOAT Piano Hinge…..in case I want to take it to the beach… :slight_smile:

Just realized….

Crap…. gotta do another camera alignment :frowning: Ugh

Not crazy about the new camera support in 2.x the brightness/contrast and AUTO control do not seem to work properly or at all….. hmmmmm

Unfortunately, this is an “old” known problem, and I have brought it to the developers’ attention. The difference is, before it was only(?) non-Windows machines that could not control their camera properly in LB.
However, the problem is being worked on. :+1:

Yea I get all the cameras and drivers etc ….but I opted to buy my camera from Lightburn to ensure
compatibility :slight_smile: hmmmmmm well I am sure it will get resolved…

as long as they get me my top level menu BUTTON to change Display Background from Dark to Light with a ‘Click’ :slight_smile: so needed….and such and easy add-on…

these LB Folks do a great job on the software for us and they keep this forum running, so KUDOS to all of them !

We do appreciate you !

1 Like

a good idea, have you added it to the suggestions section?

Yes sir…. I hope they put it in…

So many layers I cannot see on light backgrounds very time consuming especially

when it is such a nice feature to have handy….

1 Like

Hi,

For me it was about equality of belt tension. I bought an Amada tension gauge and set the tension of the X and Y axis belts to equal values and checked it delivered a square form as approached from both minus and positive direction. It also resolved a very slight, almost invisible to the eye, parallelogram form.

1 Like

Yes, I’ve been bitten by the ‘loose’ belt …..as part of my maintenance (3mos)

I ck all the belts, mirrors and power…..

Would like a link to the tension guage you use…. always,like,new toys to review :slight_smile:

https://imada.com/products/fb-20-mechanical-force-gauge/

That is a really nice guage… a bit pricey for me…. but it gives me some ideas just the same.. :slight_smile:

1 Like