@ErnieHodge ~ Please do not misunderstand the following, I am trying to help. ![]()
We are trying to share that you do not need a printed grid. You can make one, but you do not need one.
If you do choose to make one, keep in mind that it is a more advanced project, ending up with an accurately produced and registered waste board grid. The skills required include a solid understanding of how LightBurn uses its ‘Coordinate and Job Origin’ to define the starting location of any job. This must be understood, then leveraged to produce repeatability of any kind.
Nowhere in the process of understanding do we suggest the use of a printed grid on the laser bed for placement. It is a pain in the backside to set up with no real benefit when using LightBurn.
We offer tools to help you align a job to your workpiece. This is known as “Framing” the job. When you click one of the ‘Frame’ buttons, the laser will start to travel around showing you where it will be working when you send the job. For your system, Oz offered this to help explain: How do I turn on my diode at low power to focus it or frame a job?
I do this all the time, as do a lot of the users here. Many of us will use a jig to do this. Think using a sheet of cardboard where you have cut the same shapes of your workpieces. Pin cardboard to bed, and use the cutout to hold each workpiece in place. Run job, remove finished pieces, replace with fresh stock material and repeat.
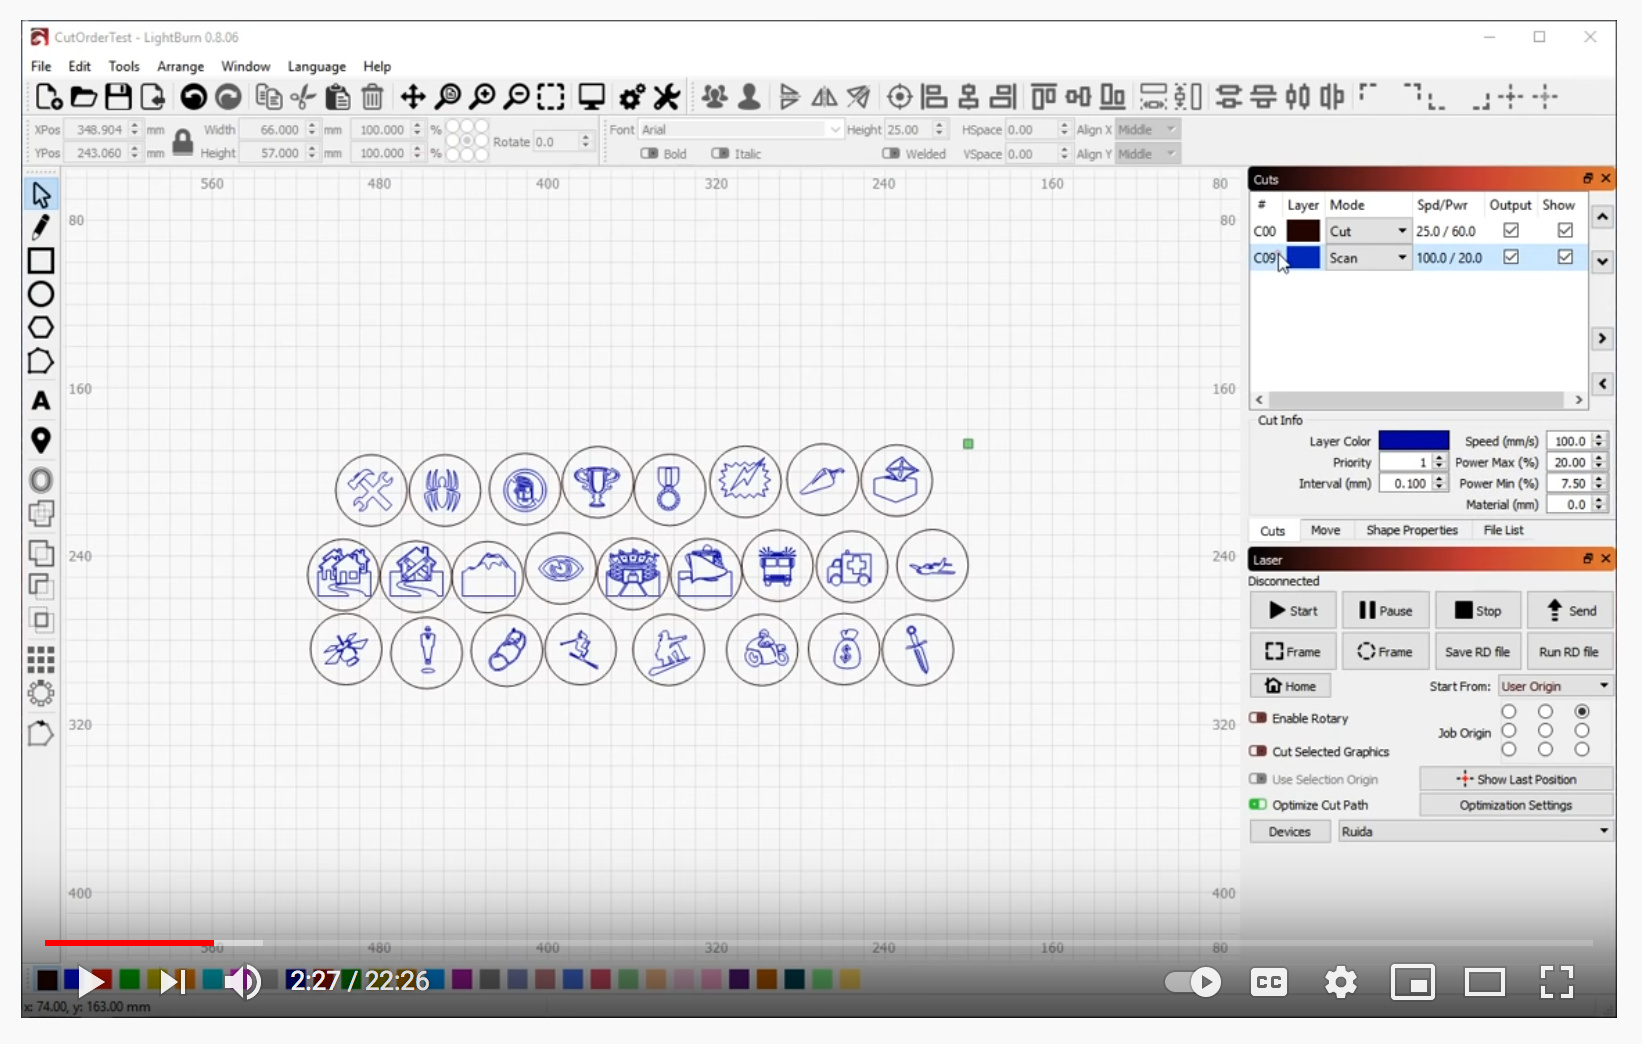
Here I am showing “…multiple designs at the same time”.
(screenshots from Demo video)
With the proper understanding of how LightBurn uses this Coordinate and Job Origin system, along with a good understanding of the hardware in use, accurate and repeatable tasks can and are achieved every day, without a waste board grid.